You are faced with the exciting challenge of designing a gallery view for your web application. In this tutorial, I will show you how to take the design from a template, customize it, and integrate it into your PHP application. Let’s go step by step together to ensure you’re on the right track.
Key Insights
- Download the required supplementary materials, including the logo files and the PSD template.
- Ensure that you pay attention to the legal conditions for using the images.
- Understand the basic structure of the gallery page and the integration of CSS and JavaScript.
- Set up a directory for static files to improve the organization of your project.
Step-by-Step Guide
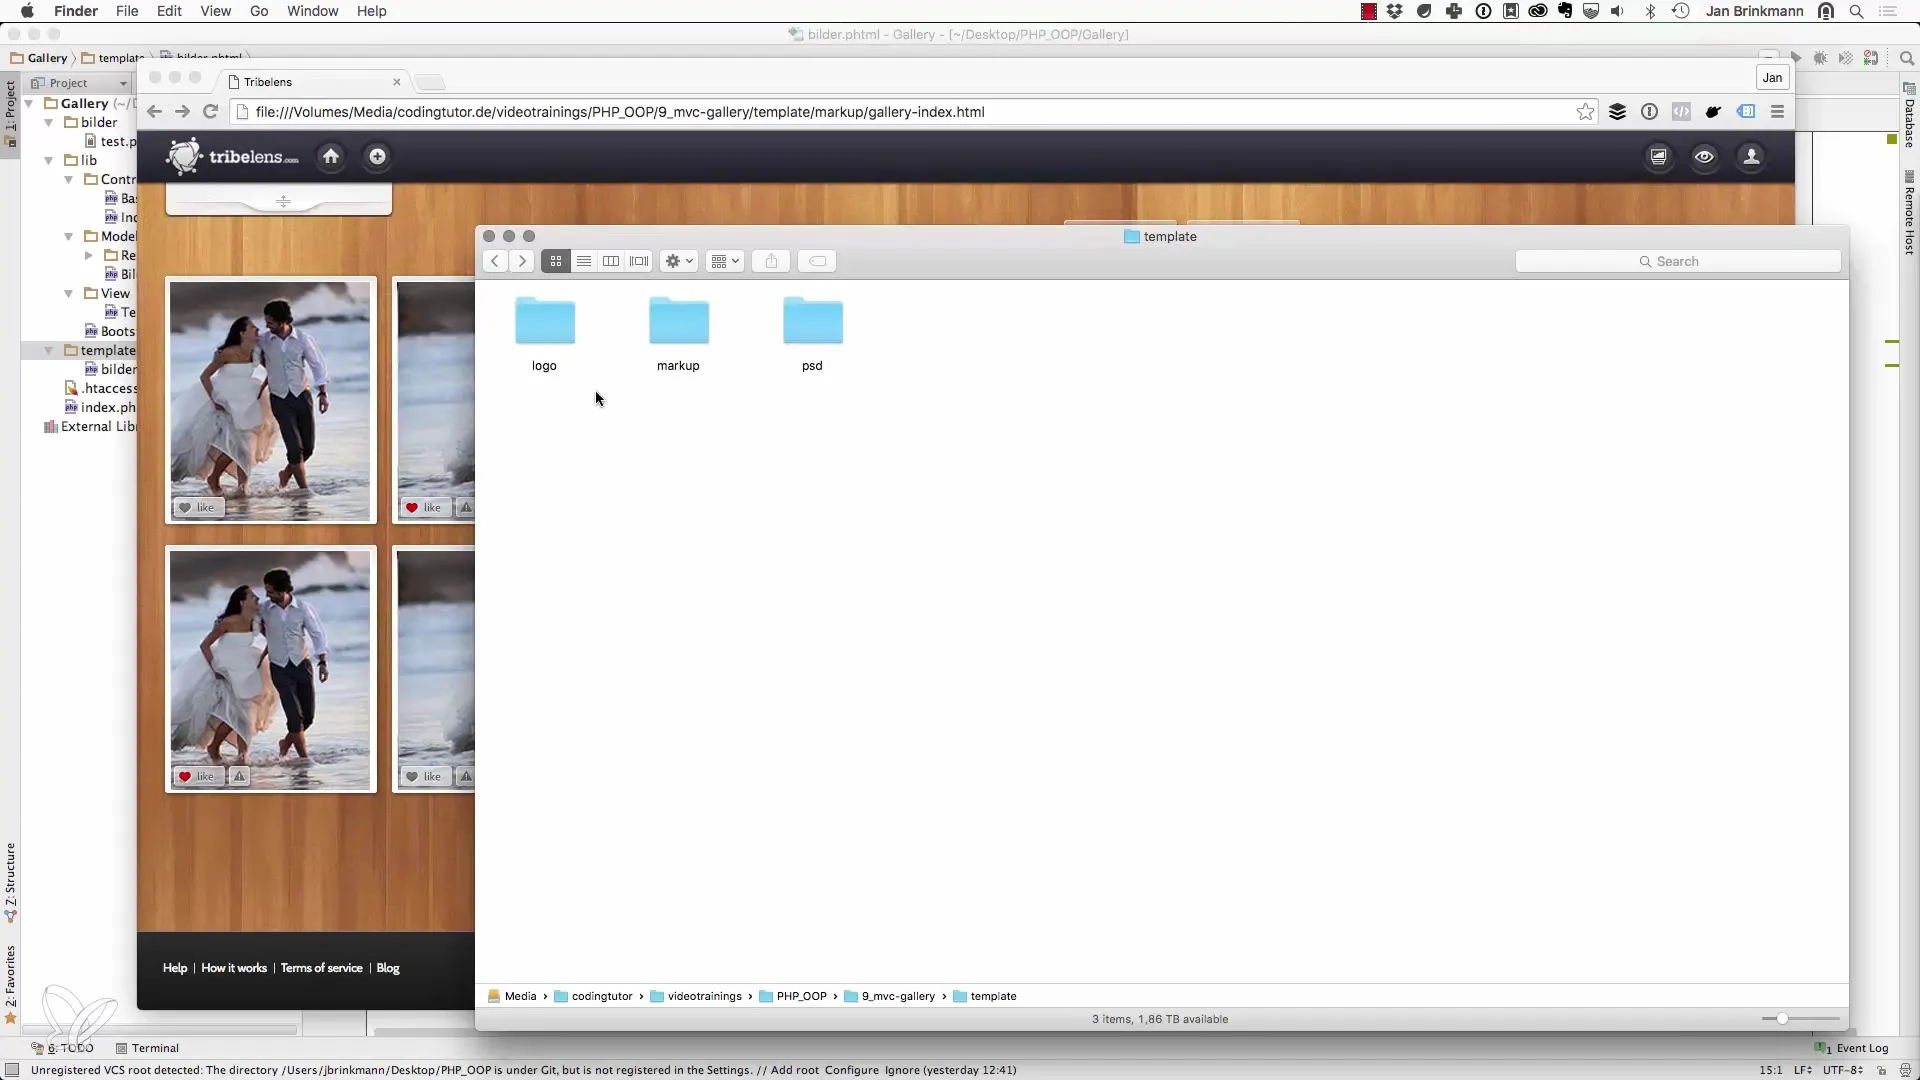
Step into the exciting world of web development by first downloading the necessary supplementary materials. This includes the directory for the logo, where you will find an editable version of the logo, as well as the PSD template for the entire gallery project. Everyone can utilize these files as they wish, but you should note that the embedded images are mockups and the rights for further use on the web are not granted. Replace these images with your own.
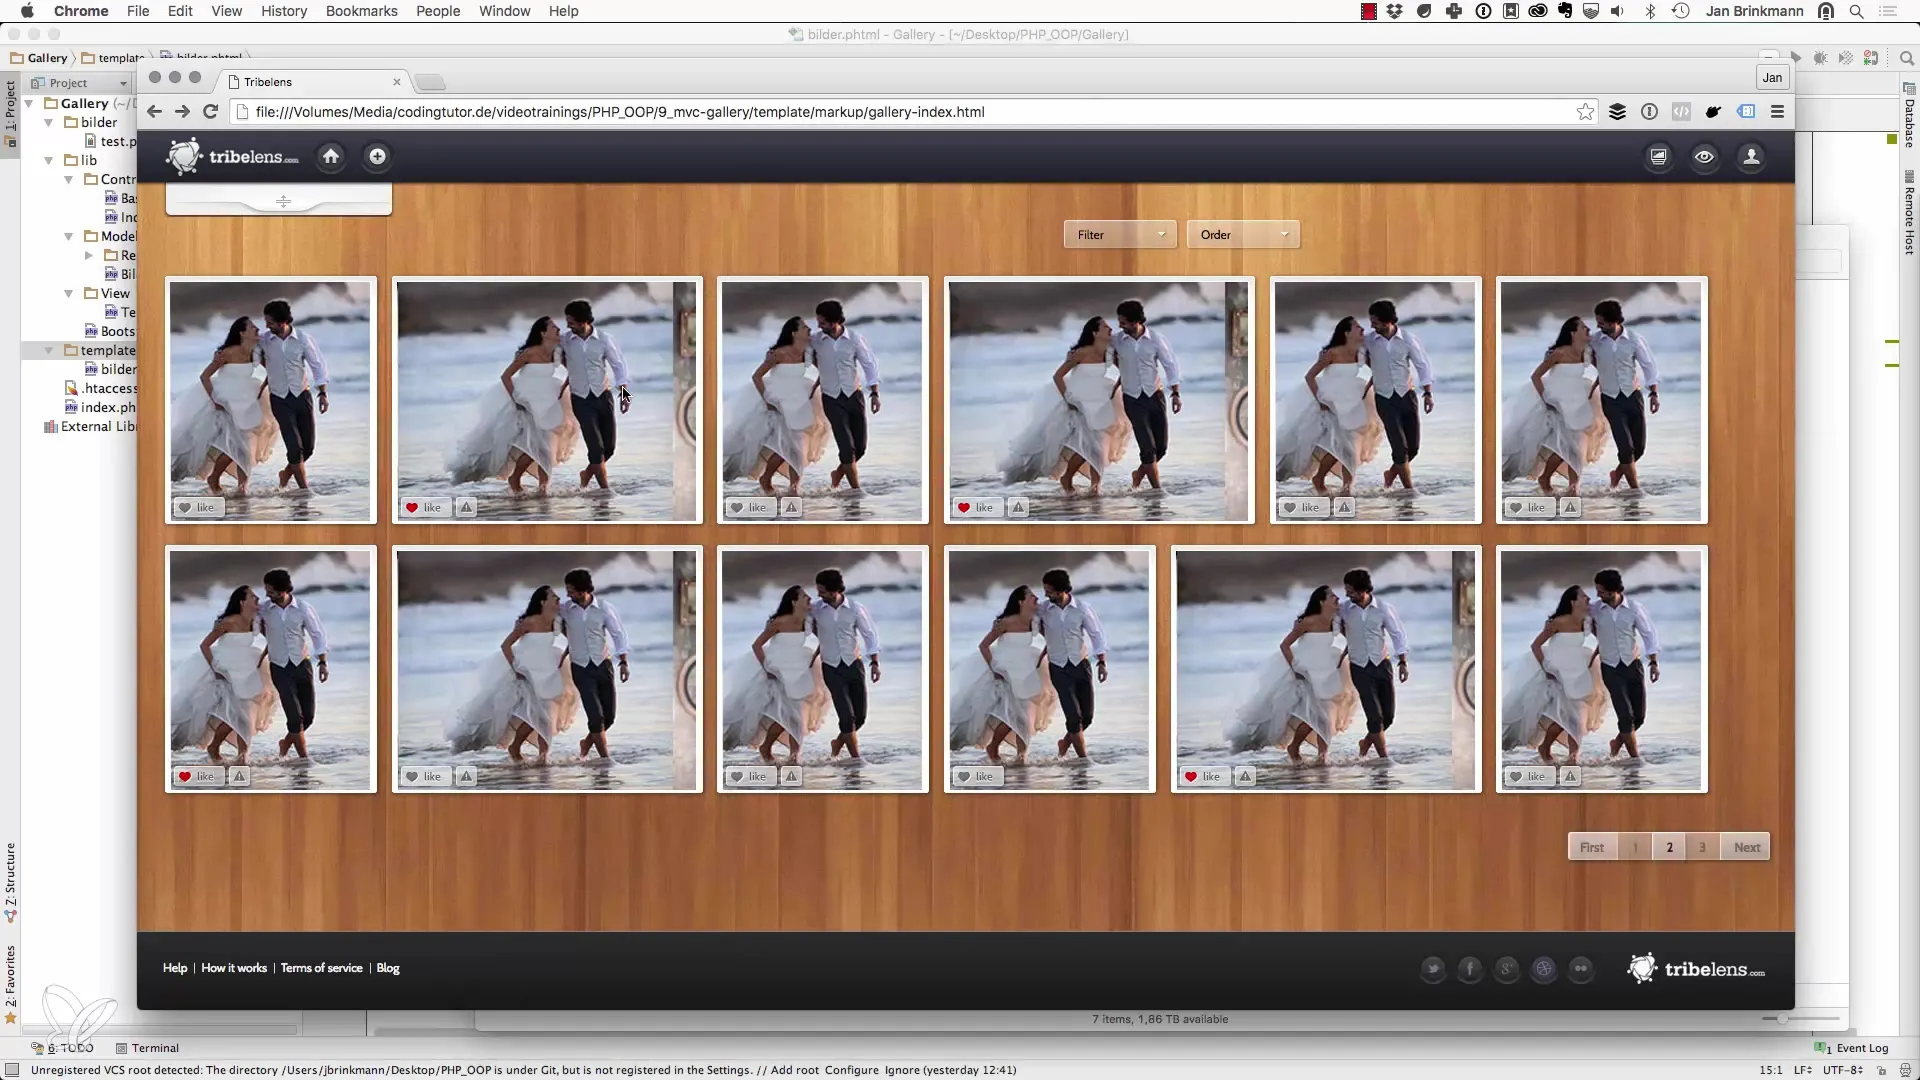
Next, open the file gallery_index to see the raw version of your HTML and CSS implementation. The design includes various elements such as a side navigation bar and a content area with images. These elements are crucial for presenting our final gallery. In the top toolbar, you will find buttons that you are already familiar with from the demo. However, note that there are additional elements that we will not use in this implementation.
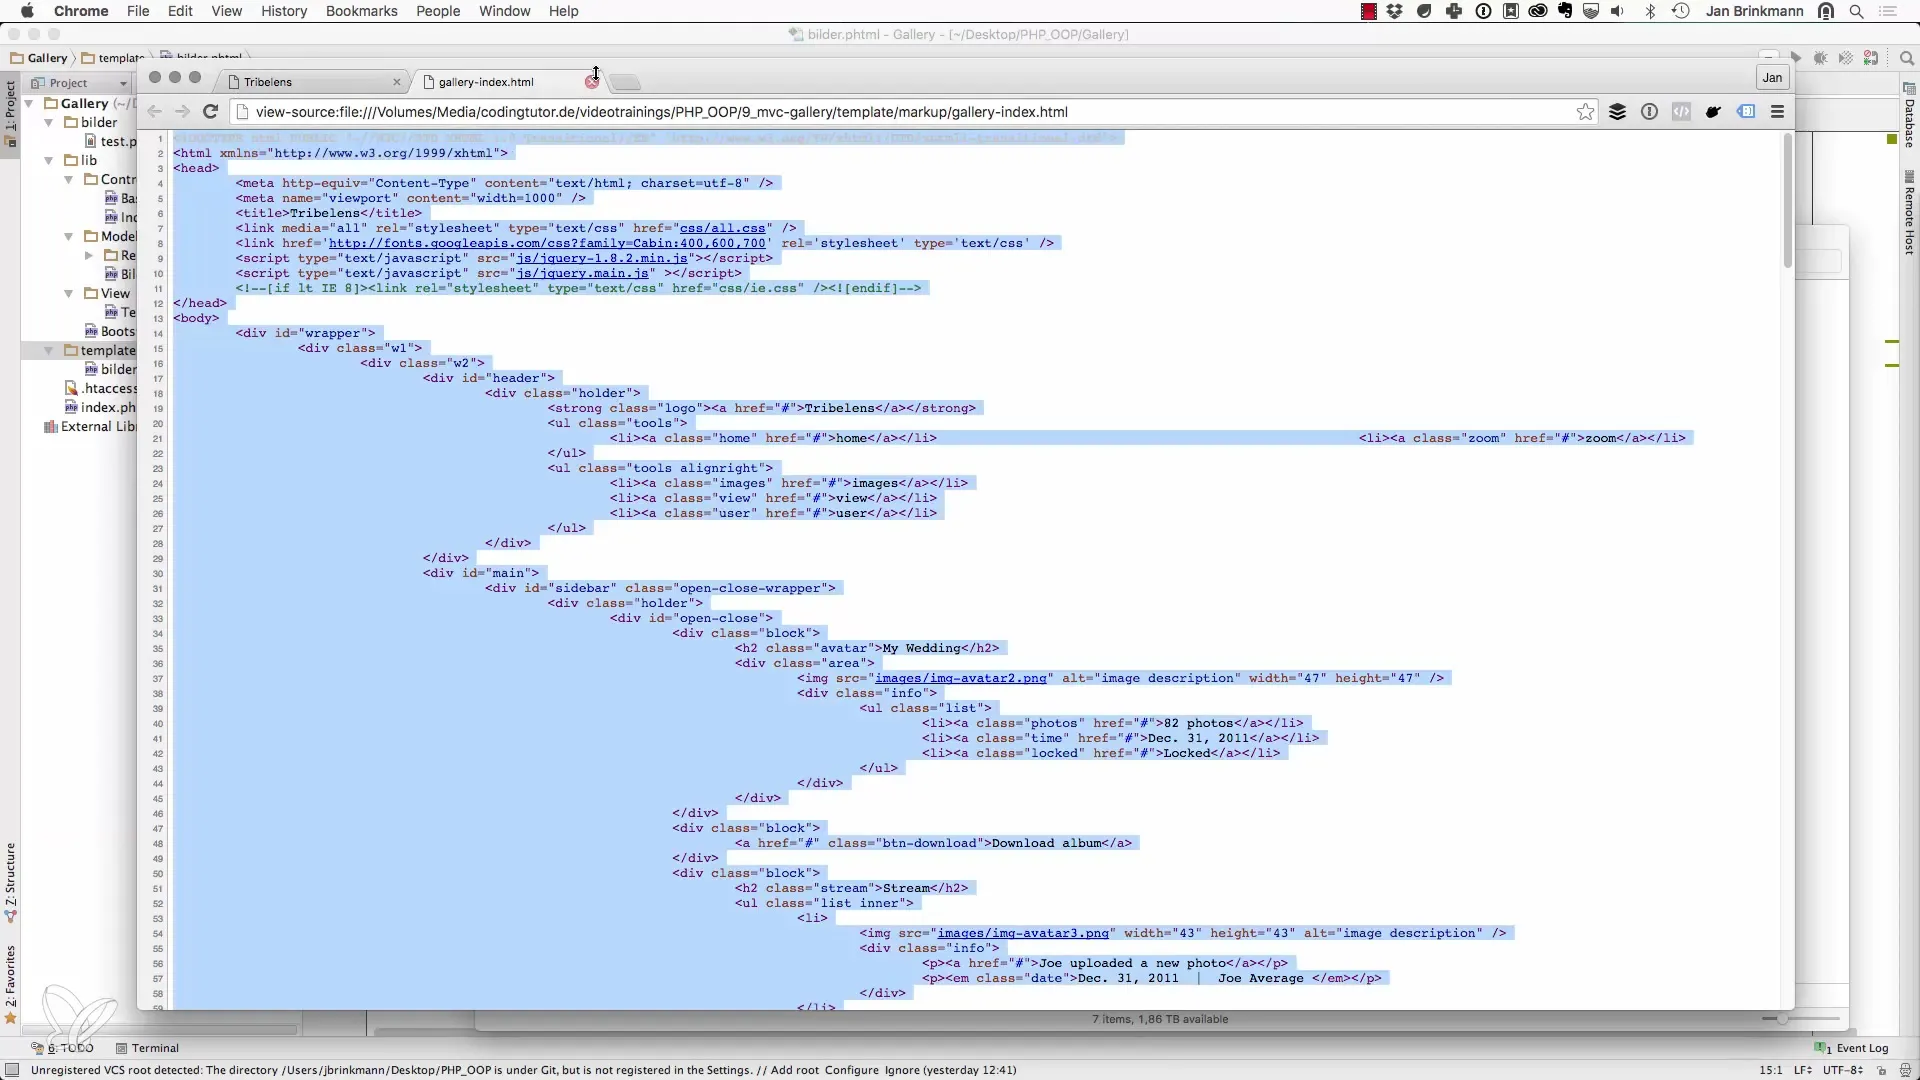
Copy the source code of the page to insert it into the file bilder.phtml. Before that, remove the foreach loop and the existing document, as we will be working with a different structure. In the code, there will be two JavaScript files: the jQuery library and your own JS function. Additionally, you will need a CSS file responsible for styling. Remember that you also need to insert CSS rules for Internet Explorer.
If we look further into the code, we find the black toolbar and the sidebar. The sidebar contains various avatar images and possibly a stream with recent events. However, at this moment, it is not necessary to integrate the sidebar. For now, focus on the main part of the gallery.
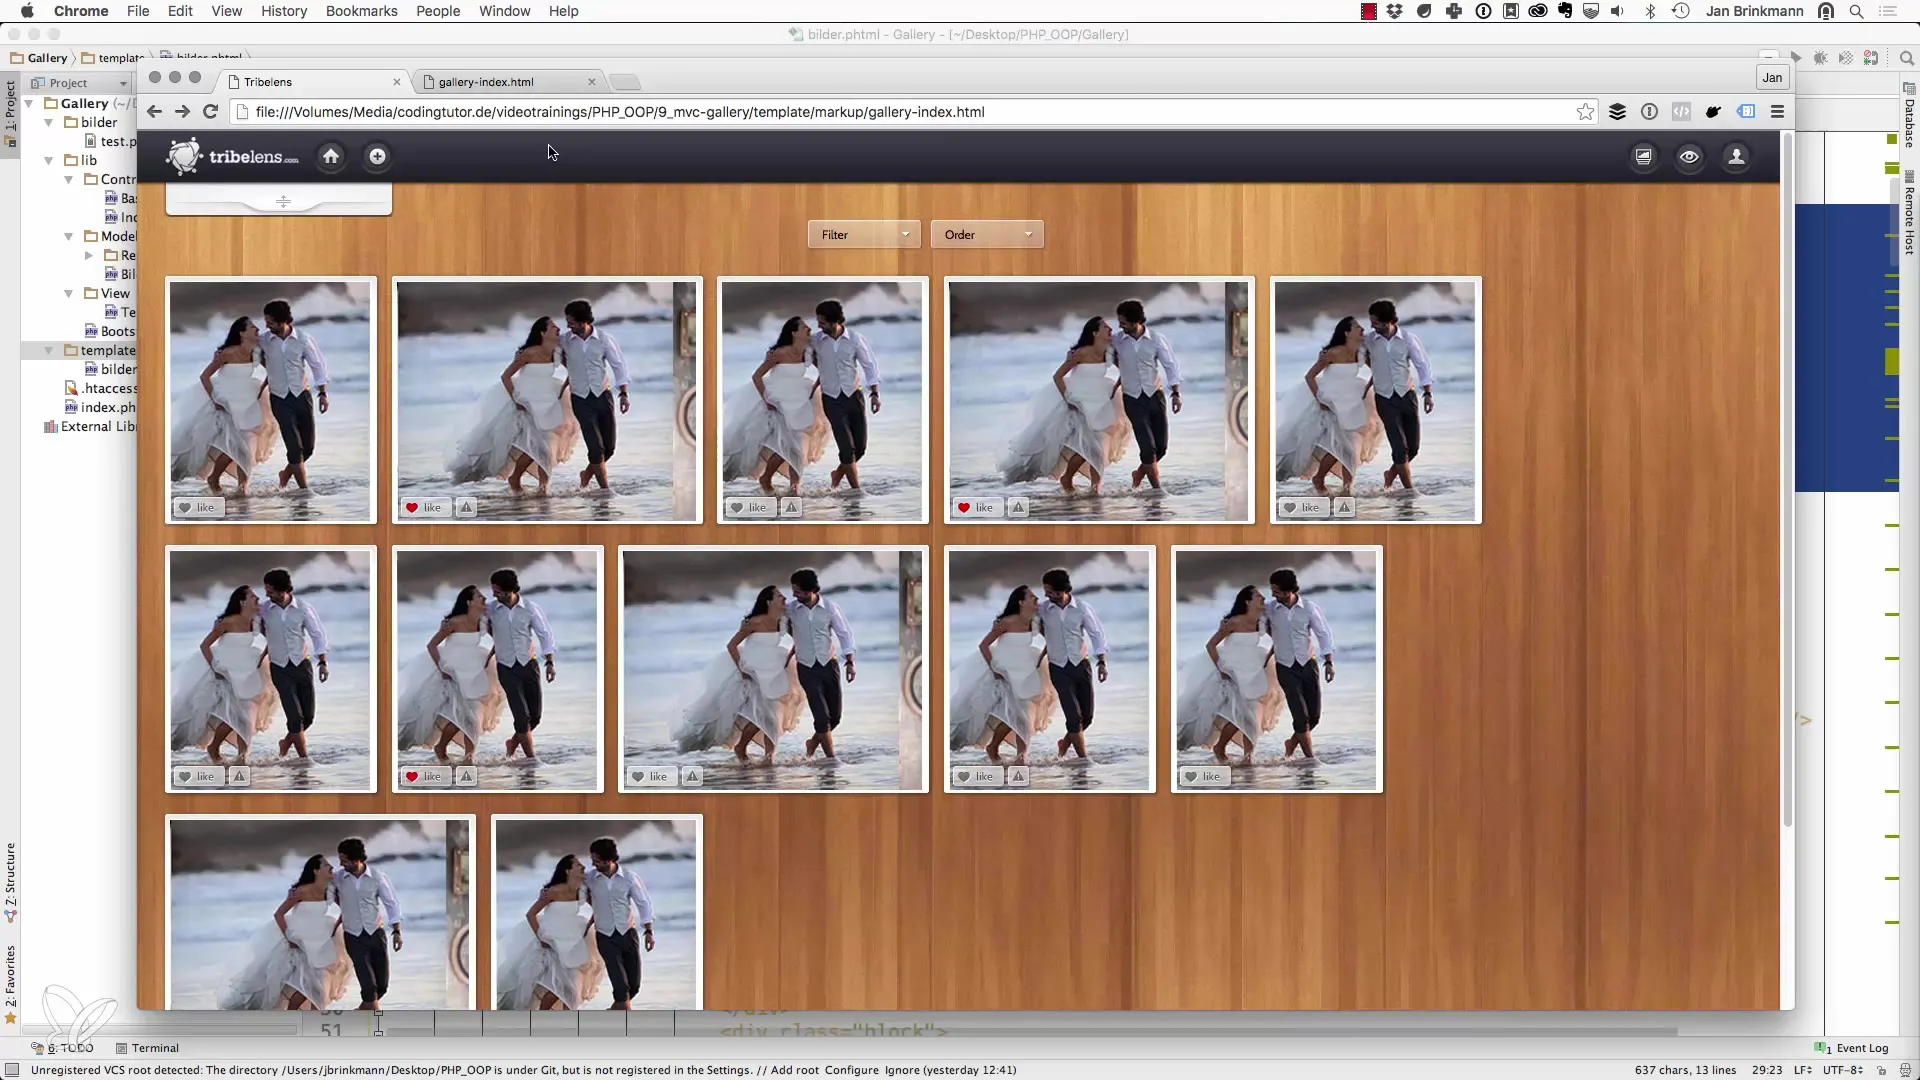
The crucial point is the listing of the images, which will be arranged in an unordered list (UL) in the gallery. This list is our central object that we will work on. There are various list items (LI) based on it, and we will adjust the contents shortly. The remaining images used for the original design can be removed here.
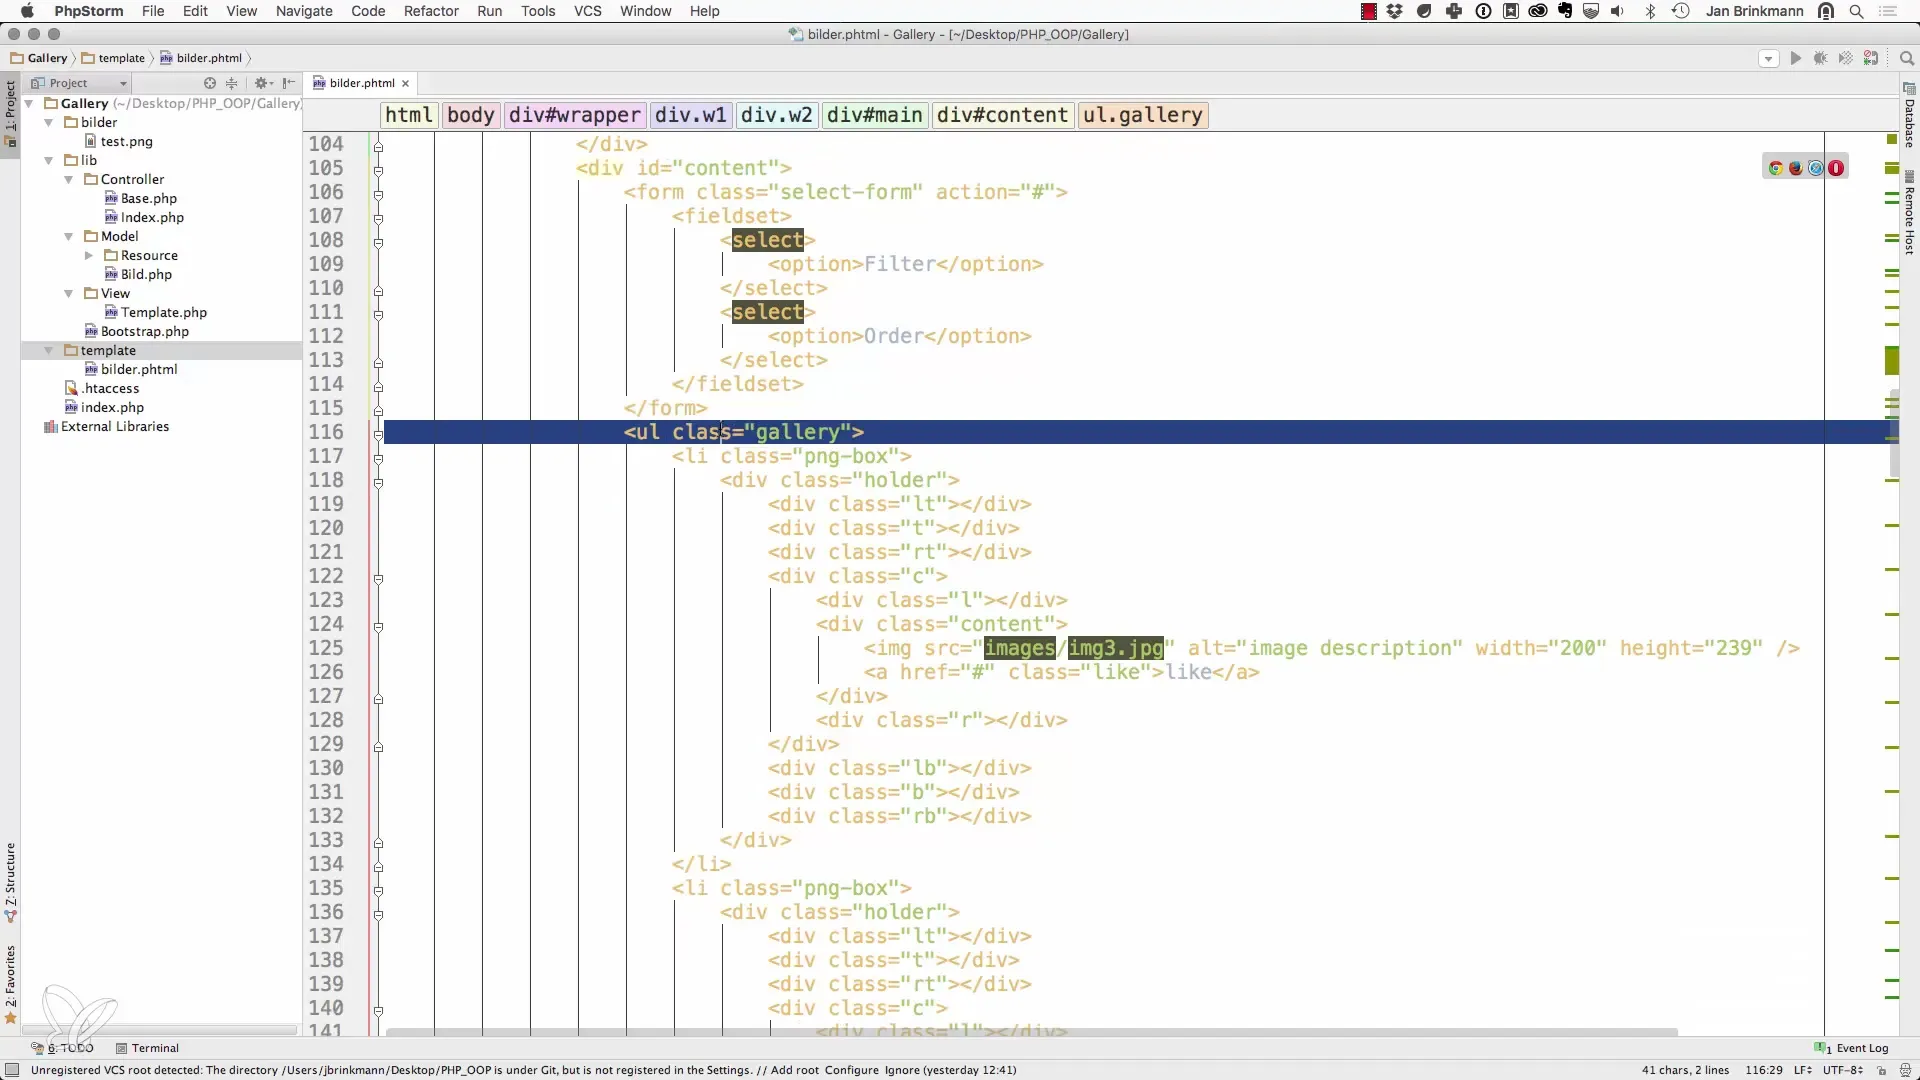
To display the images dynamically, the foreach loop comes into play. Implement the loop around the list item and replace the existing image tag with the dynamic image you want to fetch from your database.
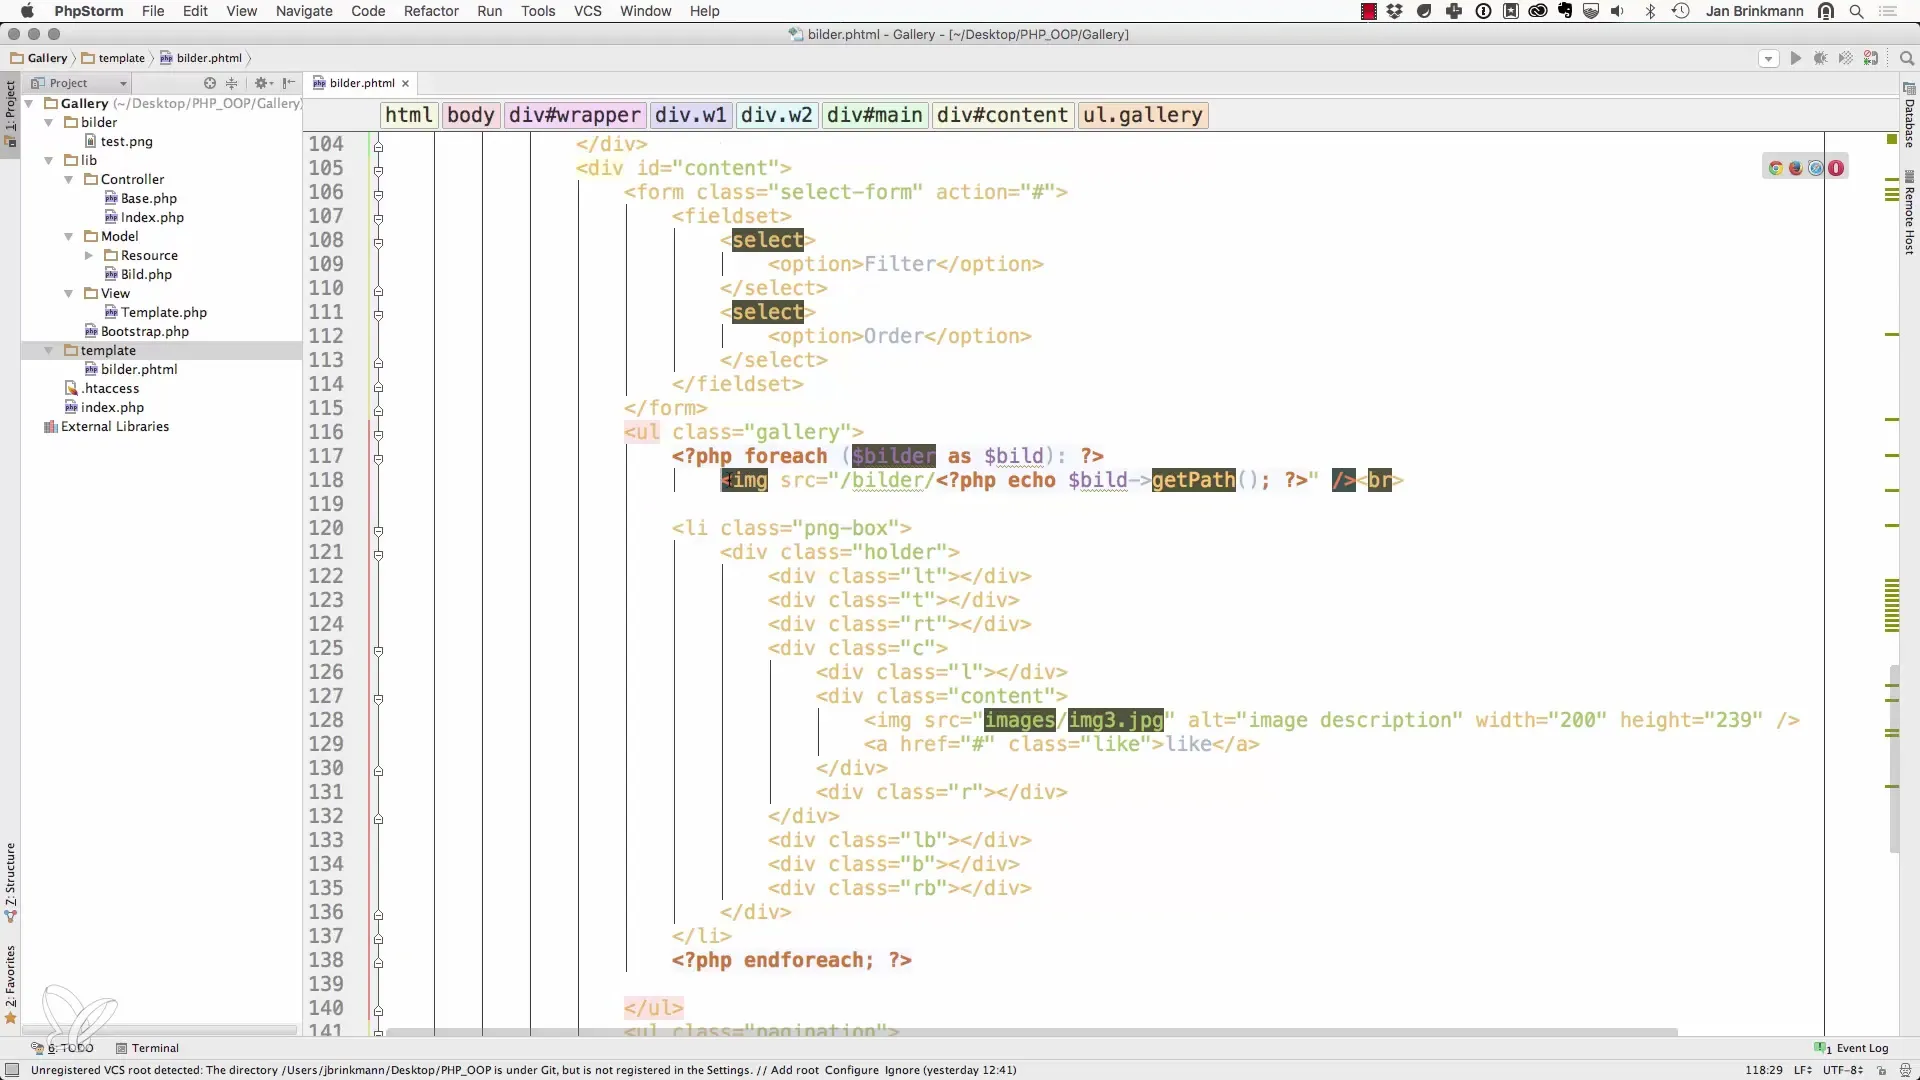
Format the index.php by inserting the necessary CSS and JS files in the header. Currently, access to these files is missing, so add a slash and create a skin directory to organize the static files.
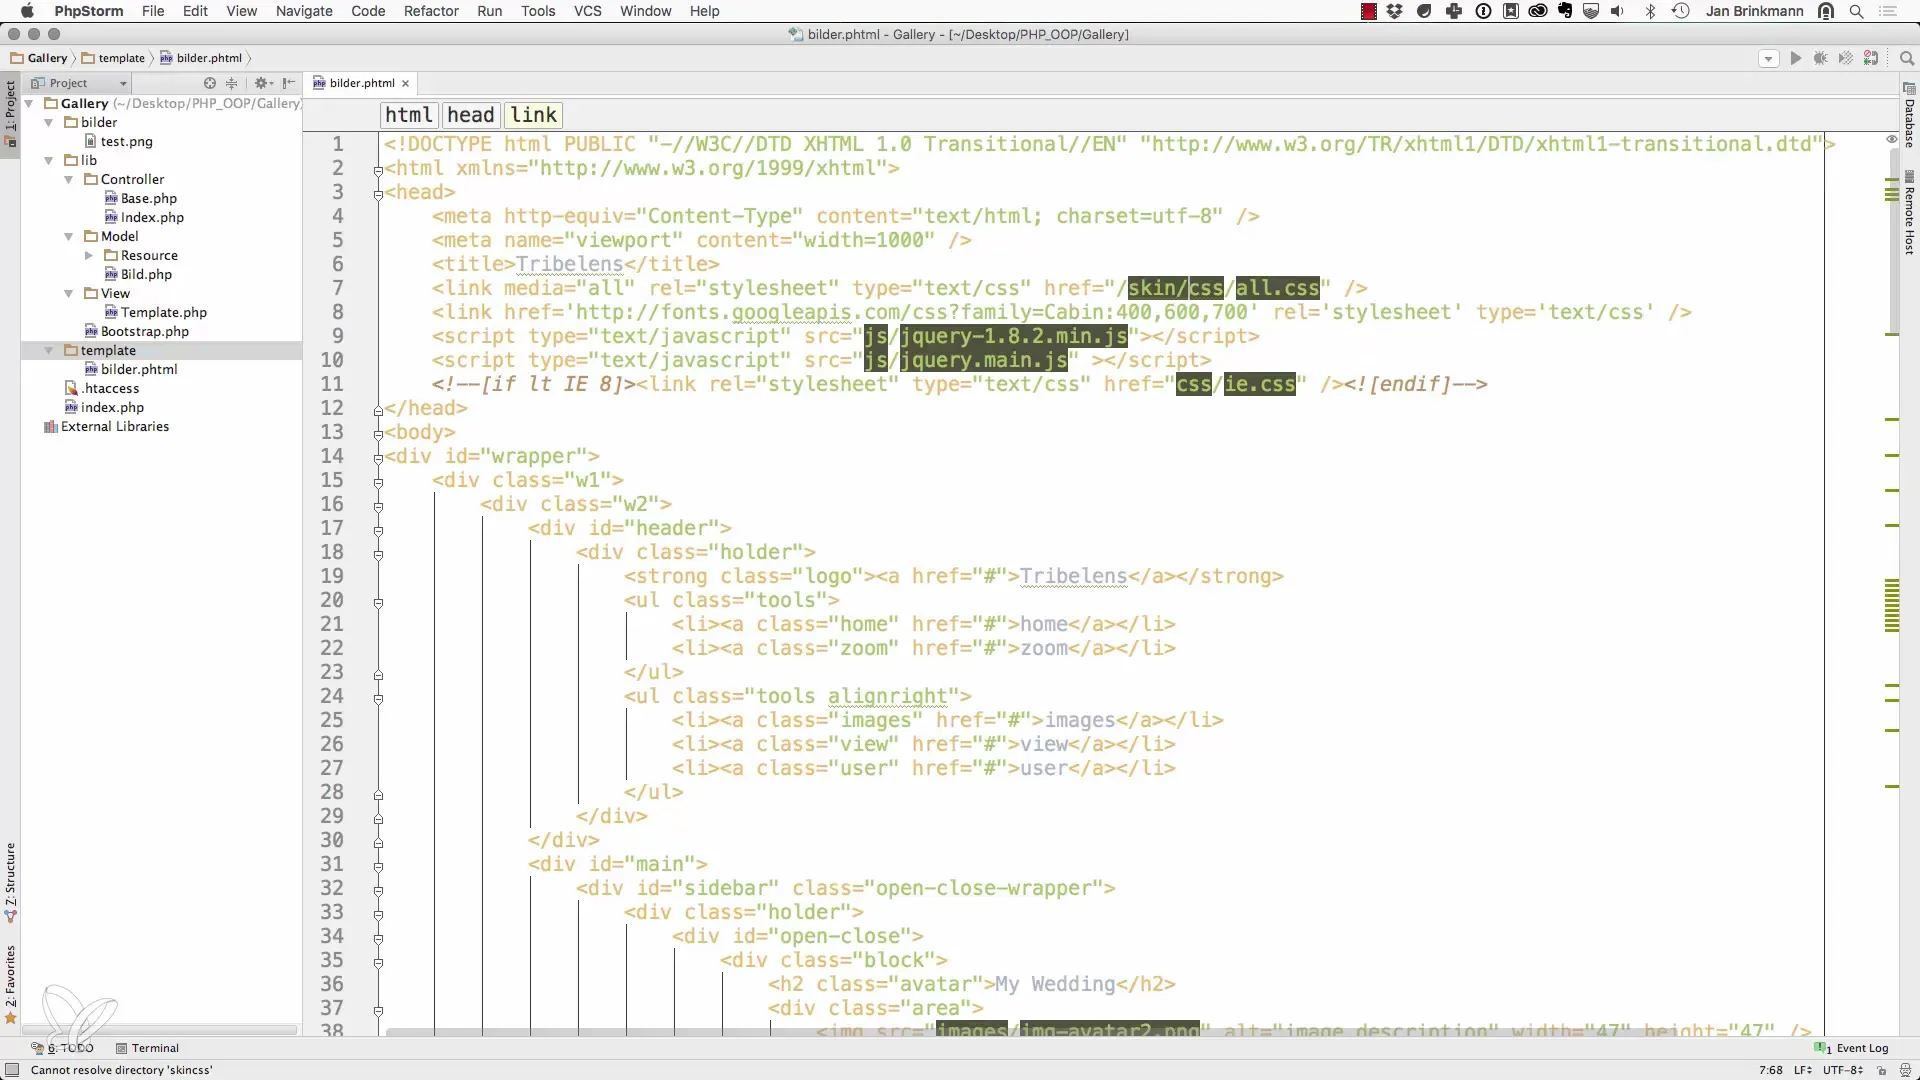
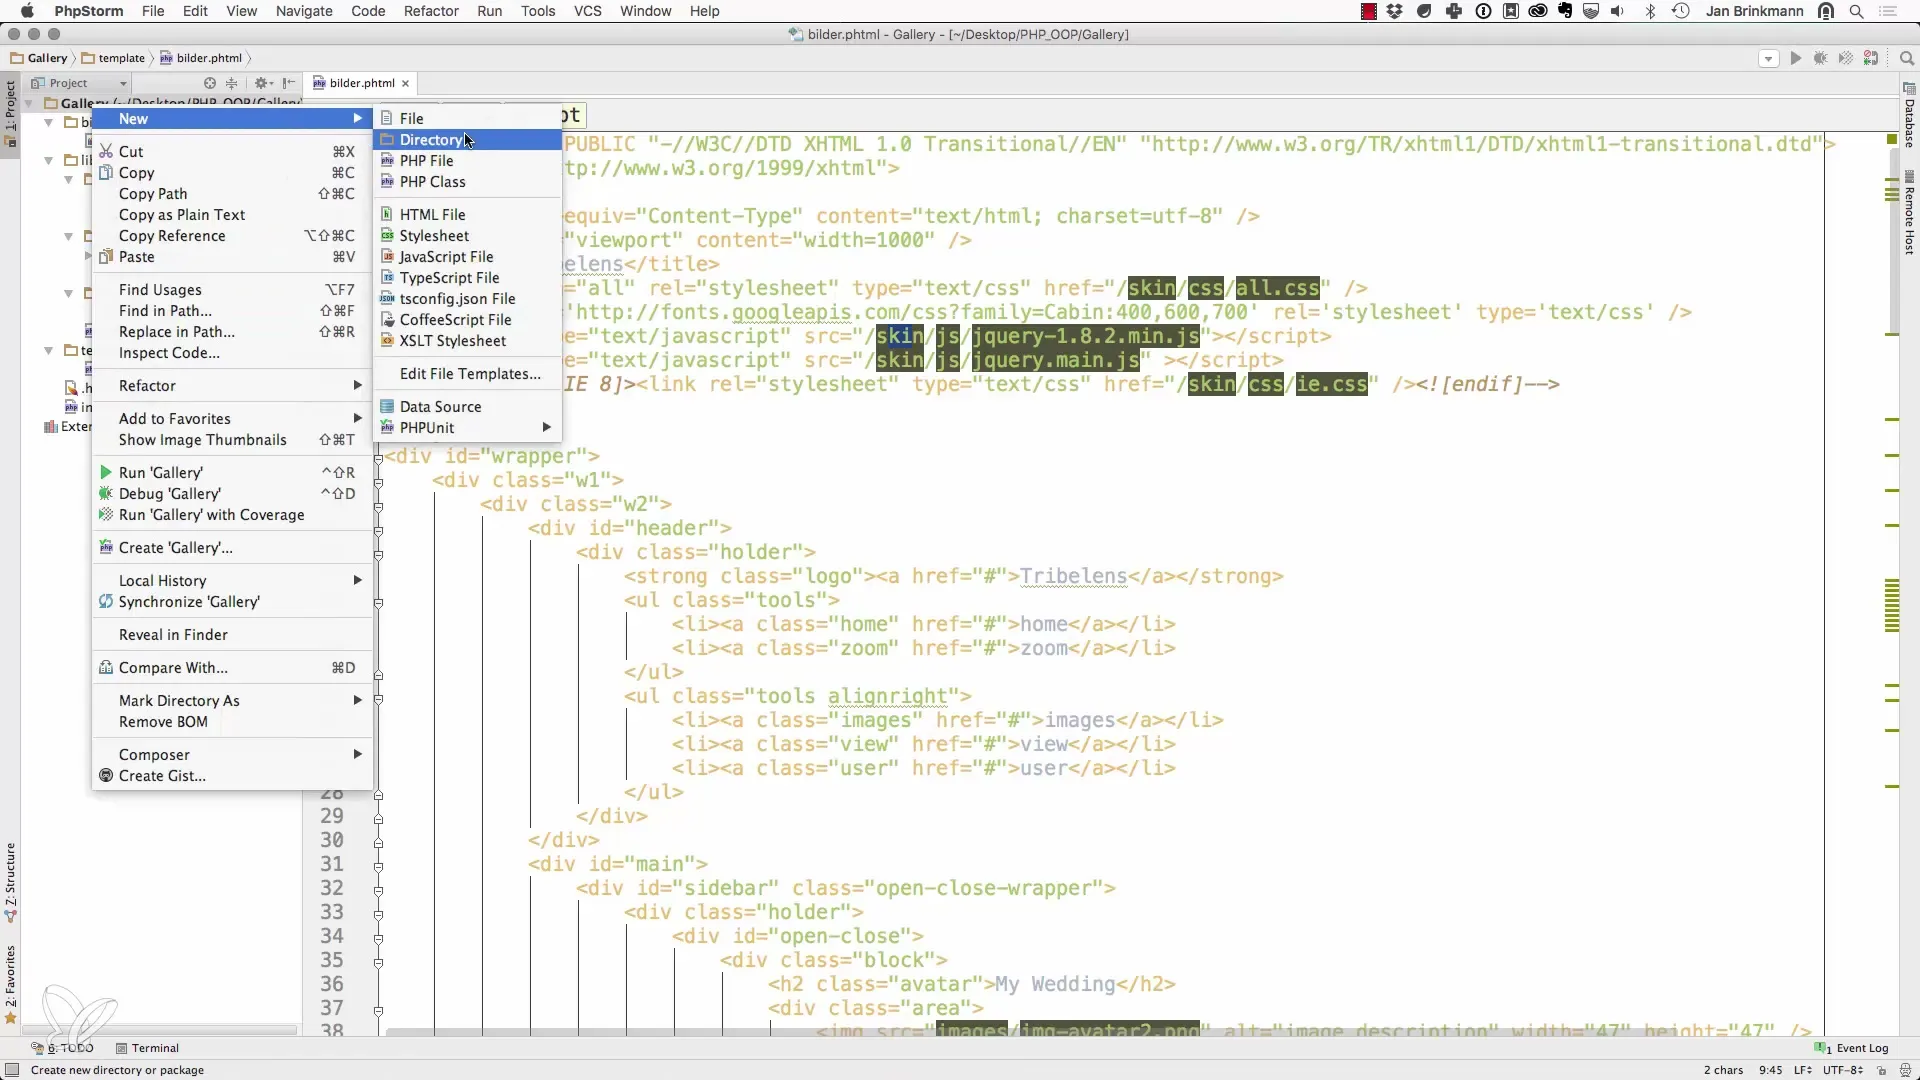
Create the skin directory and place all files from the template there. This way, your project achieves a better structure and it will be easier to make changes. The skin directory should accommodate all necessary resources responsible for the outer styling.
If everything is set up correctly, refresh the page. You should now see the first images being loaded from your unordered list. You may still need to clean up and adjust some elements, such as pagination and like options – which we do not need for now.
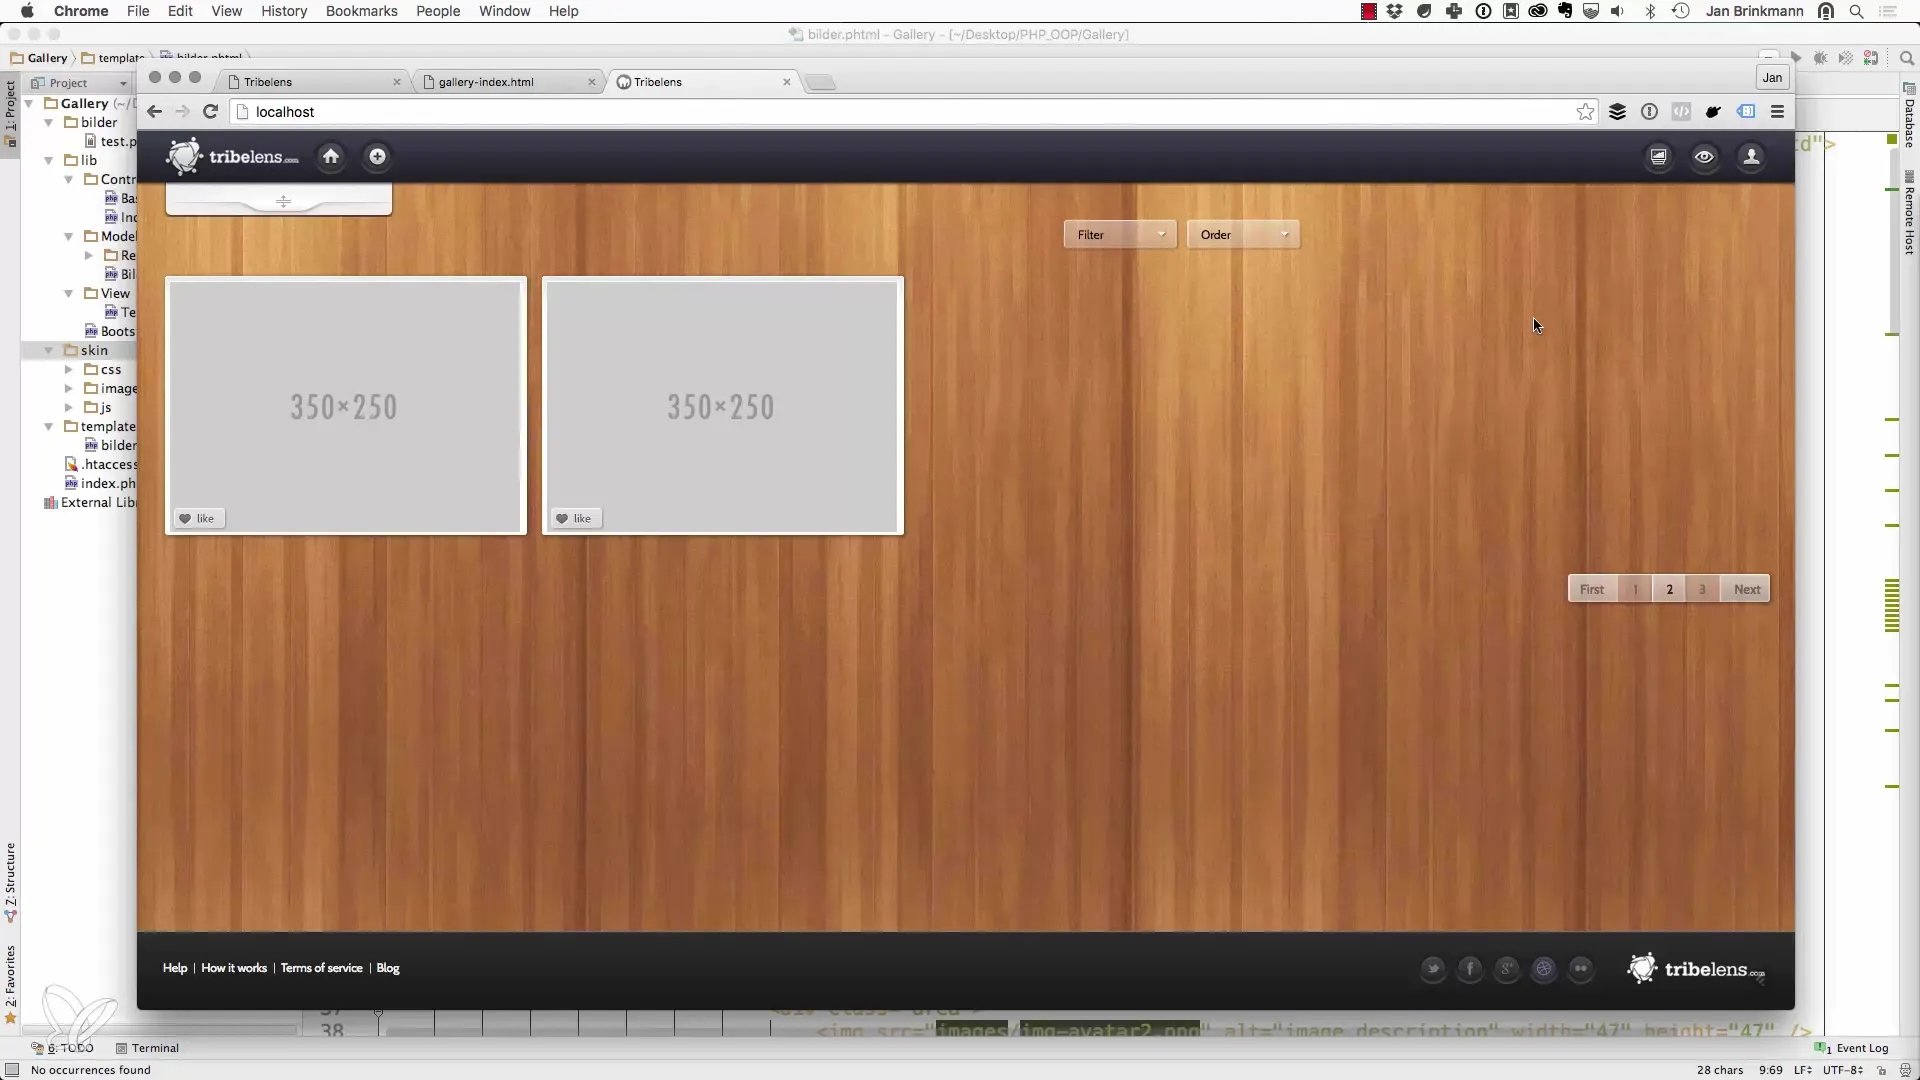
Now that the basic design is in place, you can plan further features such as upload and login functionalities. In the next step, we will take care of the navigation and the dynamic management of base URLs to further enhance your project.
Summary – Effective Design of the Gallery View in PHP
In this guide, you have learned step by step how to create the design for a gallery view with PHP. You now understand the necessary steps to get started with a defined set of initial operations, including handling directories and CSS files.
Frequently Asked Questions
How do I download the required template?You can download the template from the specified source on the tutorial page.
How can I replace the images in the gallery?Replace the placeholder images with your own images to personalize the gallery.
Can I customize the sidebar?Yes, you can customize the sidebar, but it is not necessary in this step.
What is the purpose of the skin directory?The skin directory is for organizing all static files related to the design of your application.
Do I need jQuery for my project?Yes, jQuery is required for certain functions in the gallery, so it is important to include the library correctly.
