The uploading of images via an API can be an exciting and challenging task. You will see how to implement a simple way to upload images from an iOS app to a PHP server. This guide shows you step by step what measures are necessary to create and test a working API.
Key Insights
- You will learn how to handle a POST request in a PHP controller.
- It will explain how to handle errors in the API and provide appropriate feedback.
- A simple iOS app will be used to demonstrate the upload of images.
Step-by-Step Instructions
First, you need to ensure that your PHP project and all necessary files are ready. In this example, a RESTful API approach is used to enable image uploading.
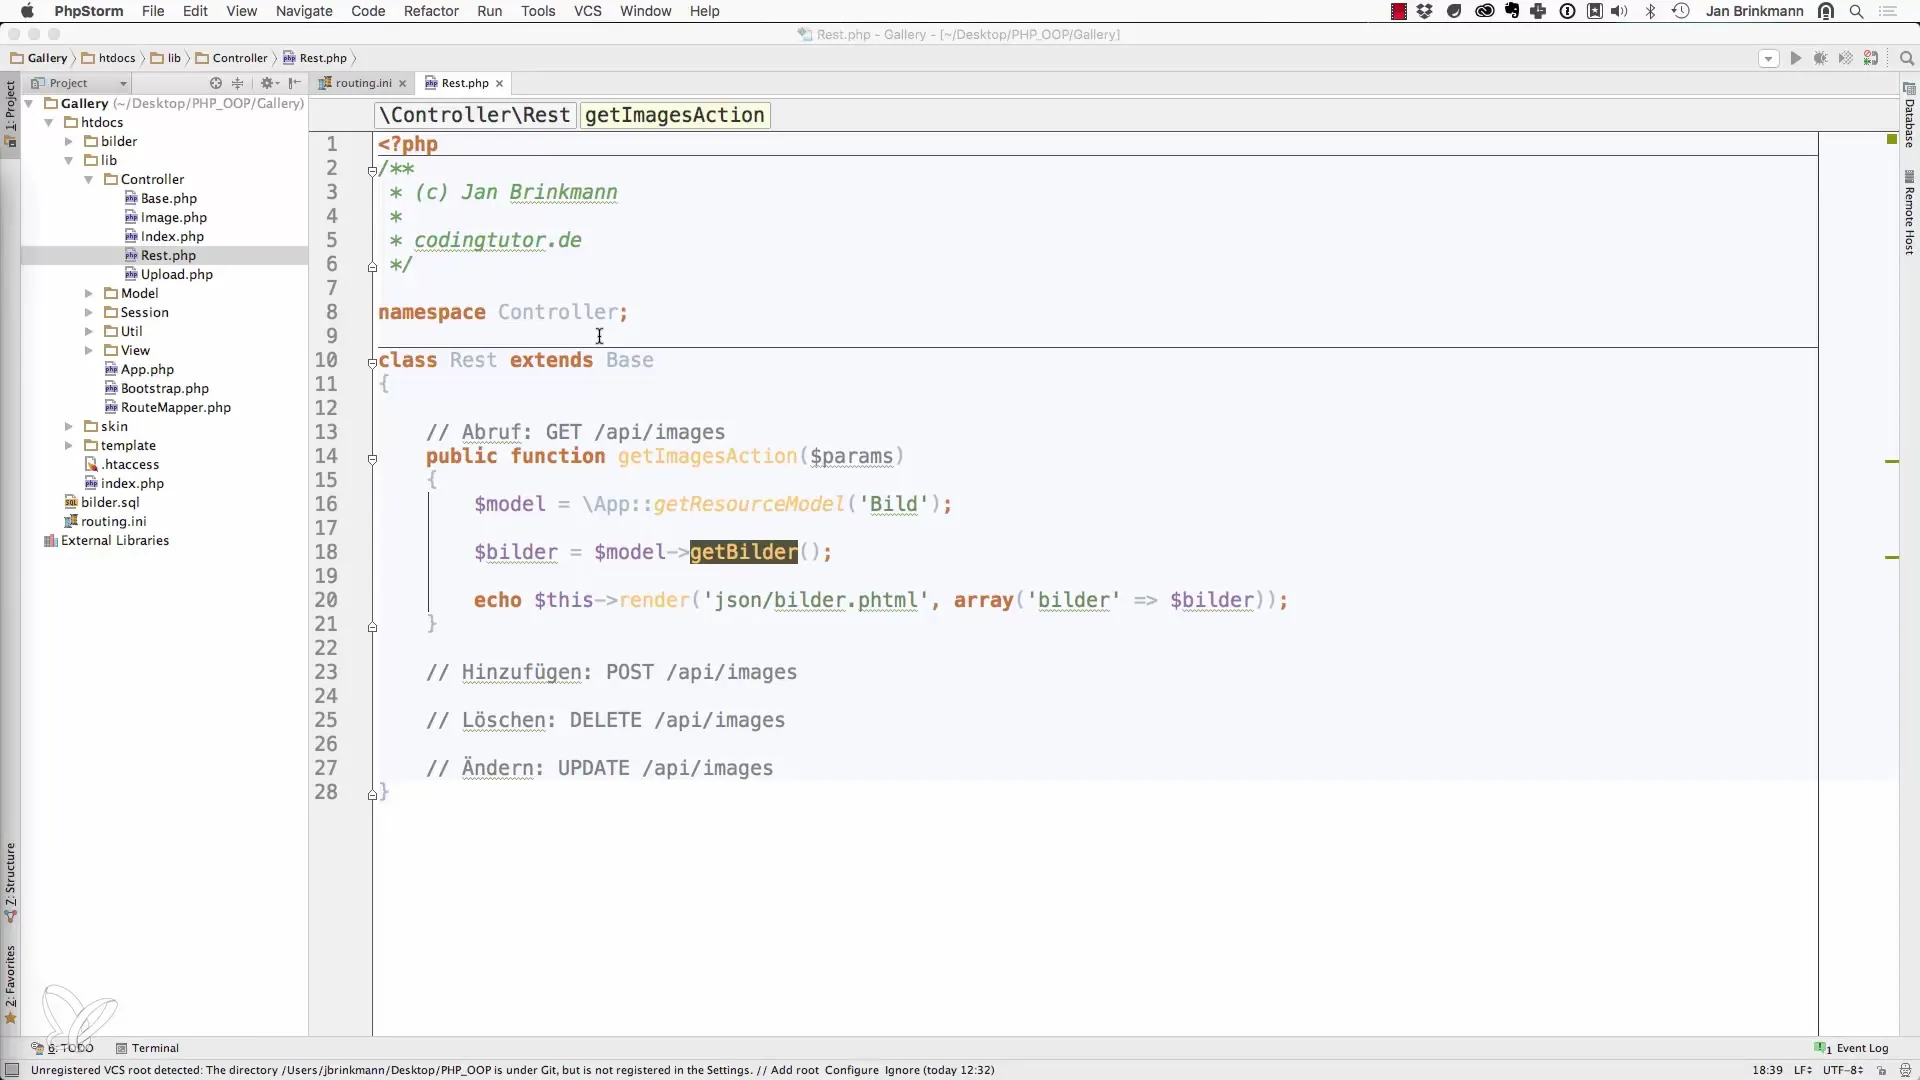
1. Create the Controller
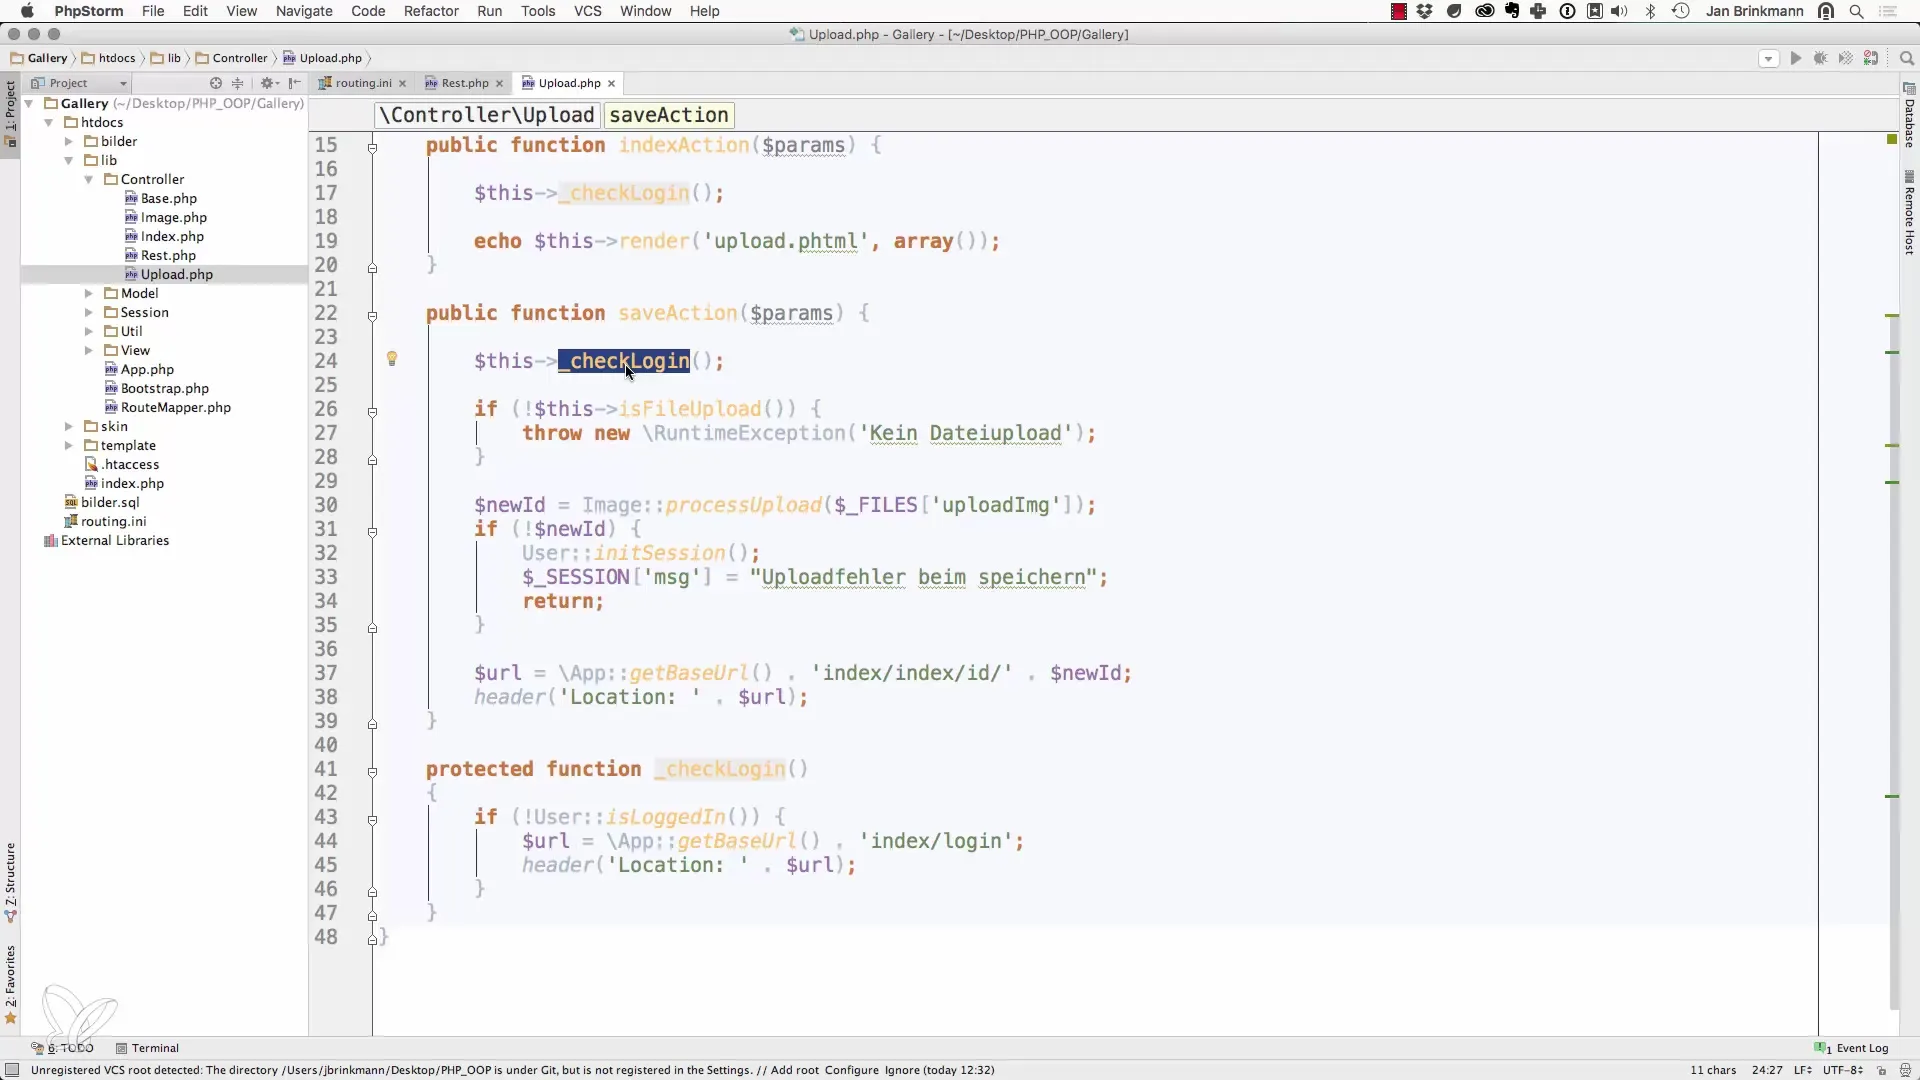
Start by creating a controller that manages the API logic. You will need a method that can handle POST requests. In this method, you will define the configuration that is necessary for uploading.
2. Define the API Route
The API routes should be designed so that they clearly indicate which actions are supported. For example, you might create a method called newImageAction that is responsible for uploading images.
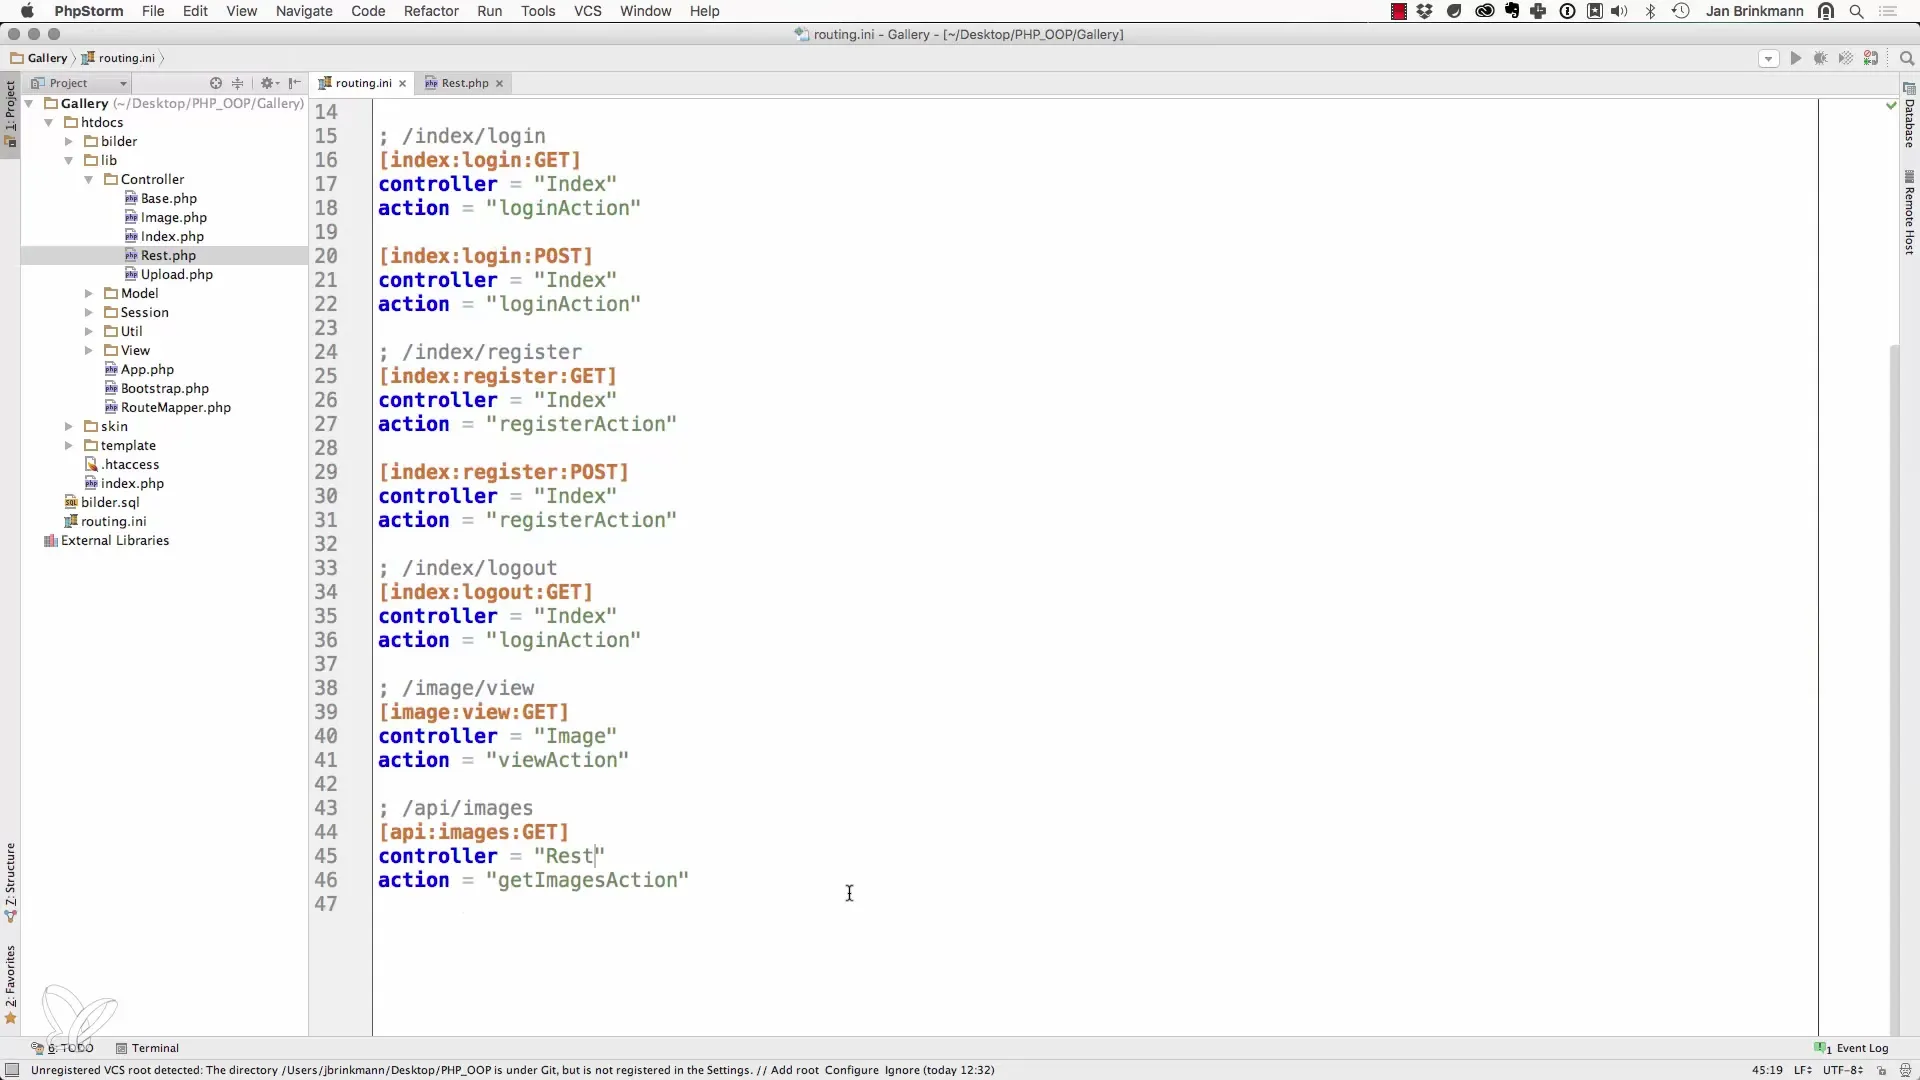
3. Parameter Passing
In the newImageAction method, you pass the necessary parameters for the upload. This includes the logic that ensures the incoming data is processed correctly.
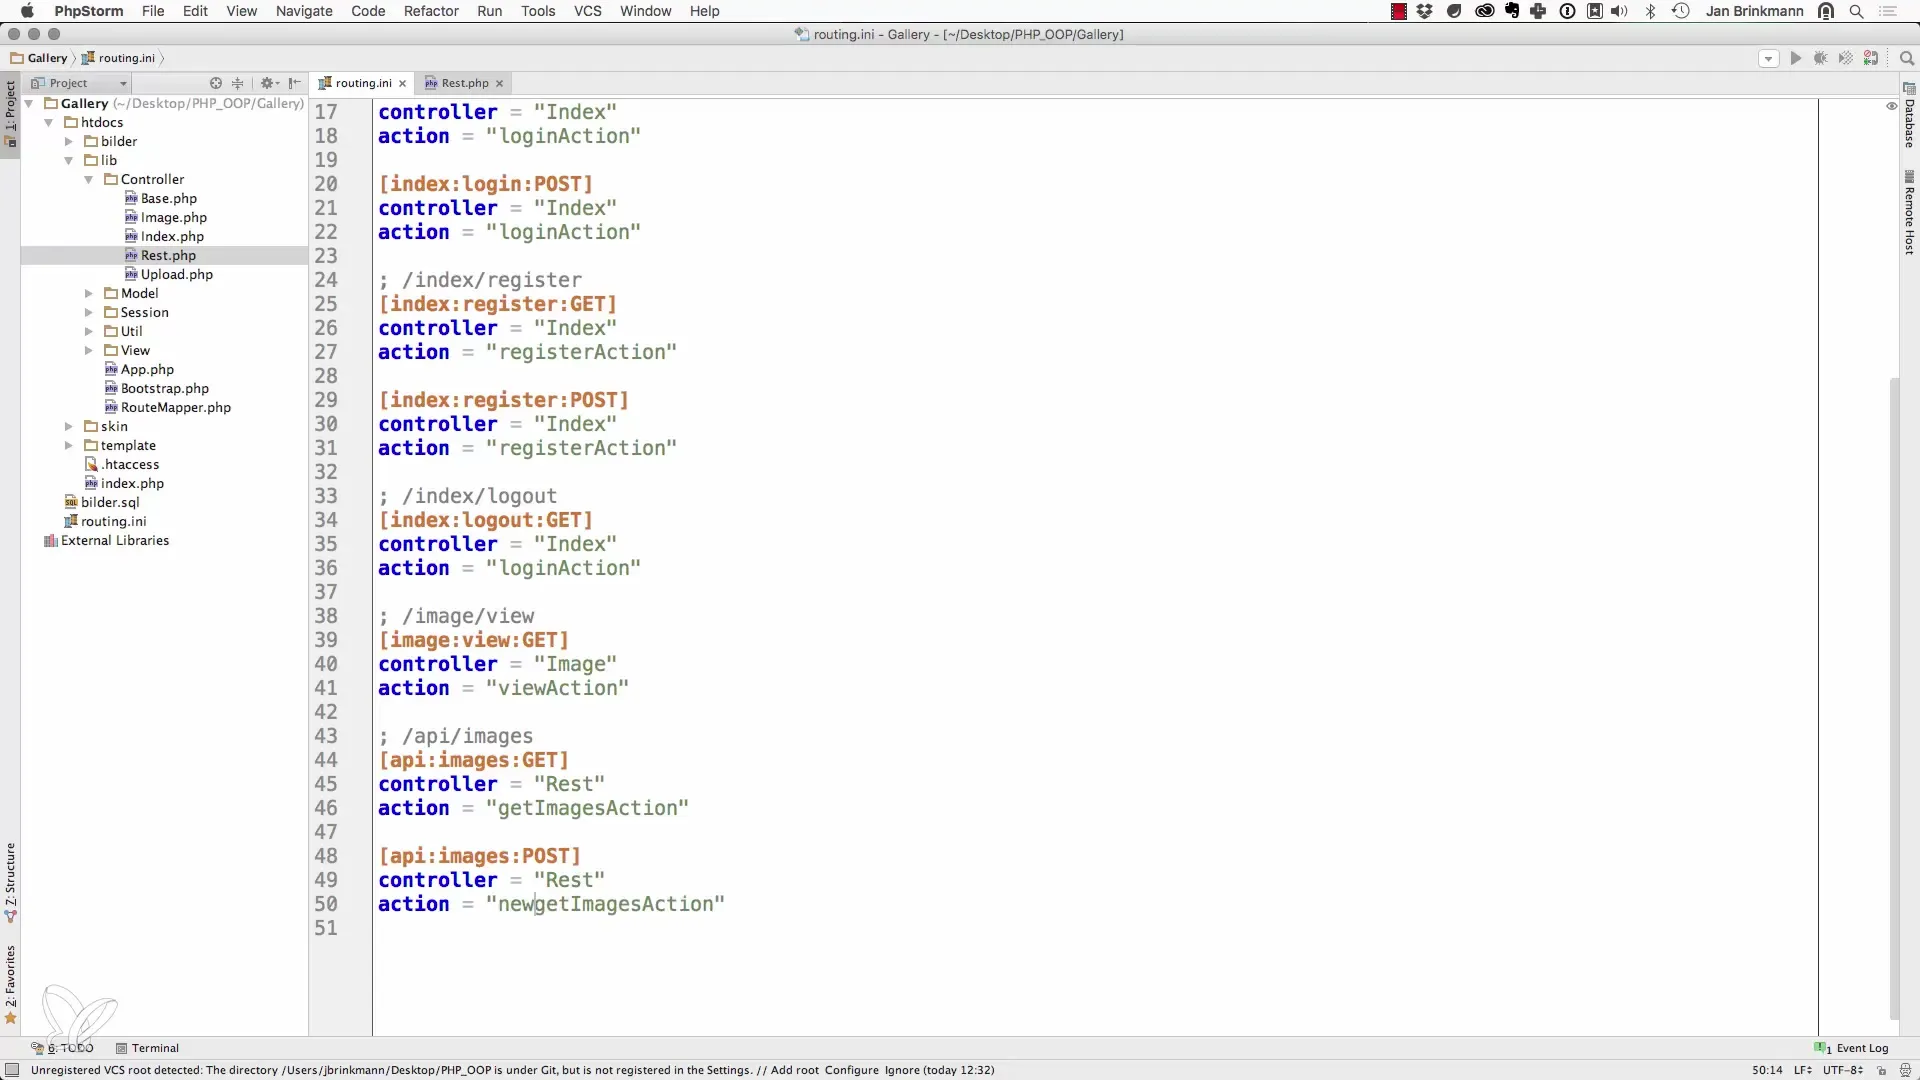
4. Process File Upload
Here, it is important to process the file. Use PHP functions to safely store the uploaded file. Don’t forget to make the necessary imports for images and sessions in your PHP script.
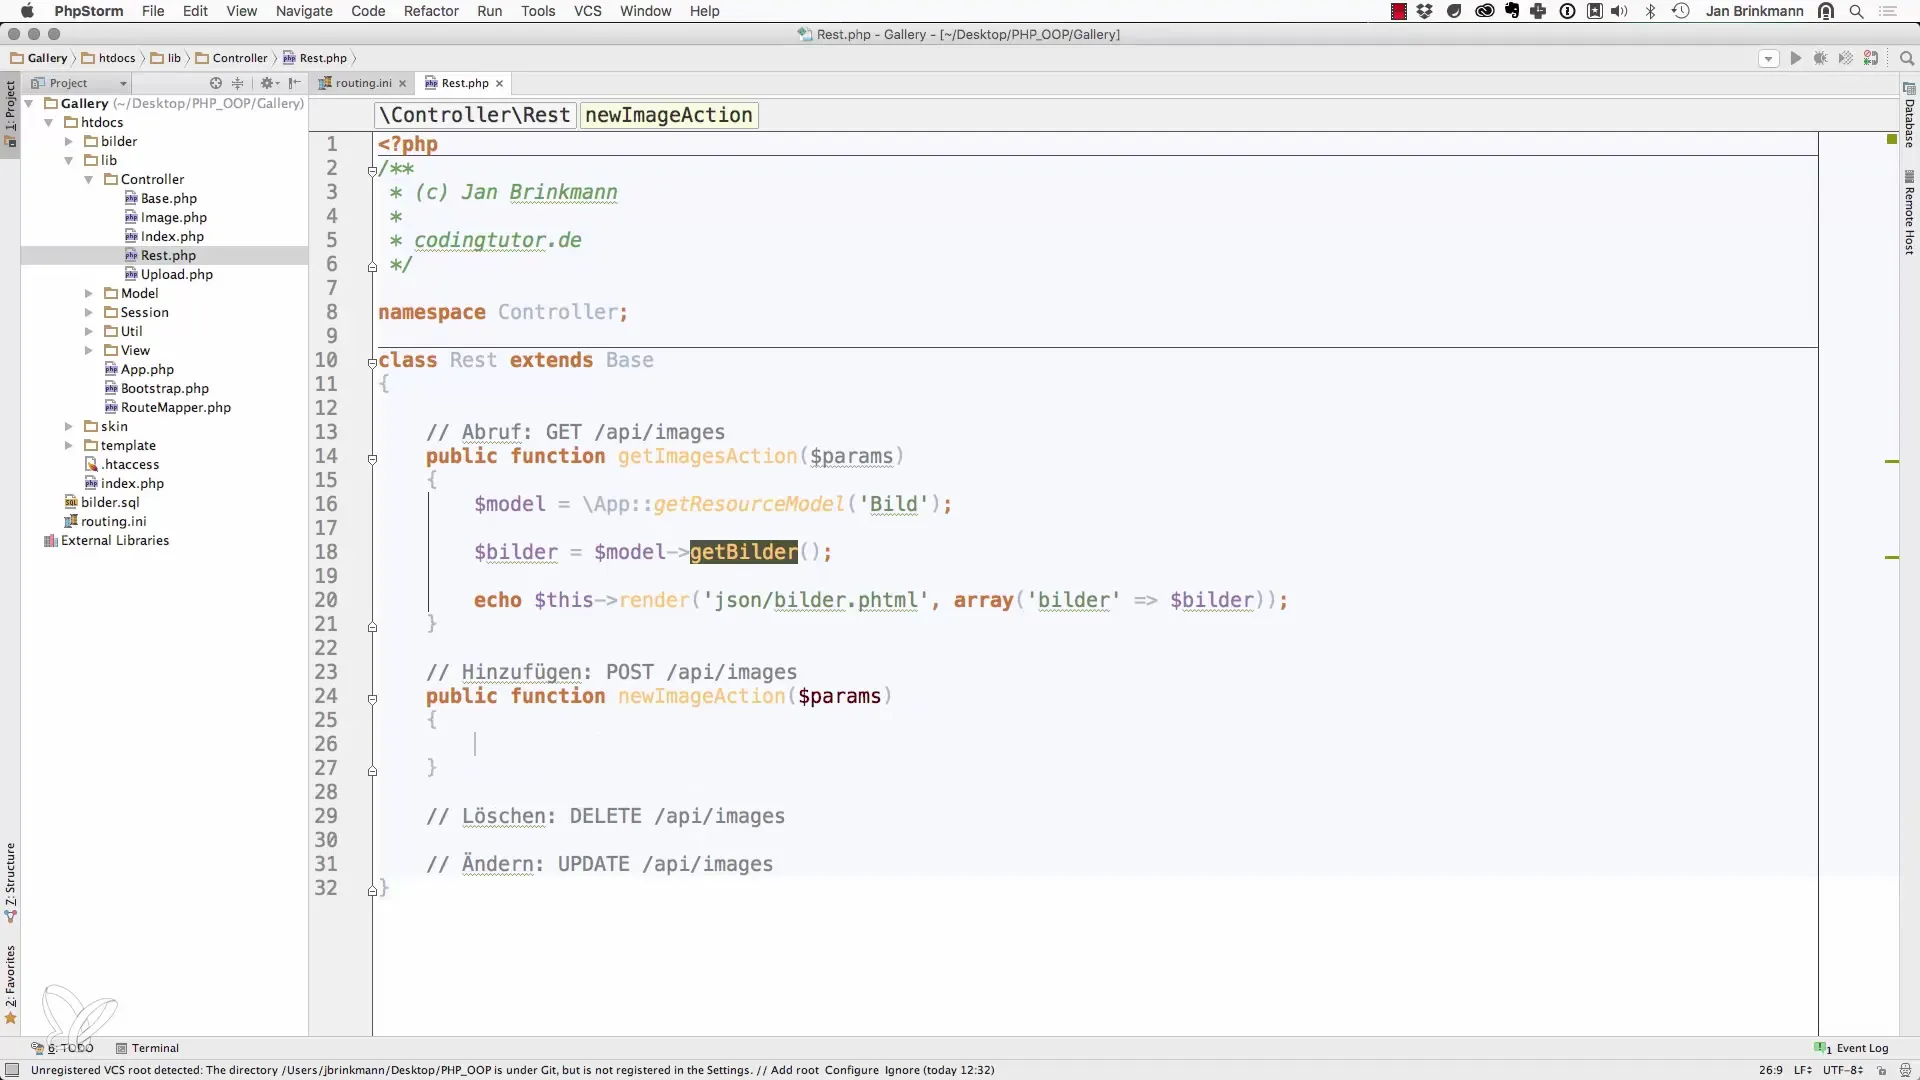
5. Error Handling
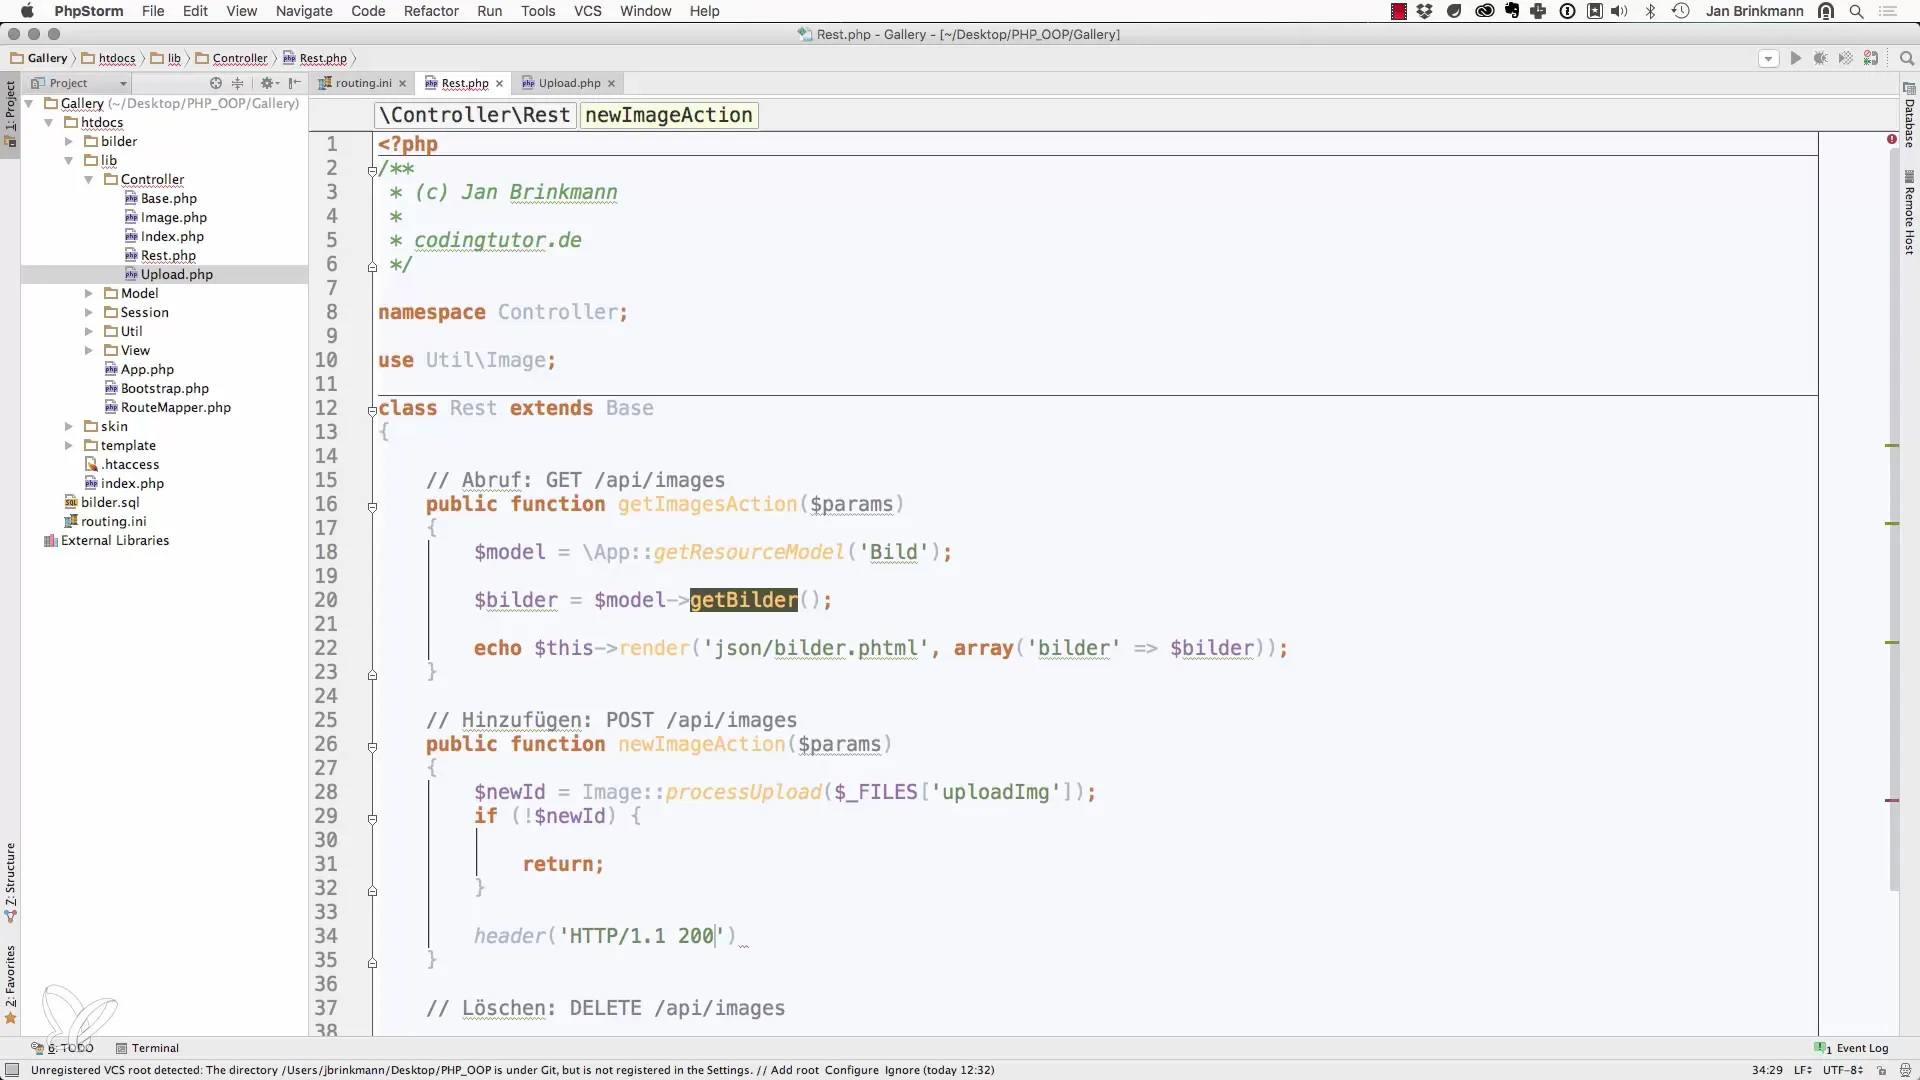
If any error occurs, the API should be able to provide clear feedback to the users. Use the HTTP status code to signal the different results, such as a successful upload or error codes like “500 Internal Server Error.”
6. Create Response
Once the upload is successful, create a JSON response that informs the user of the status of the upload. This is especially important for the frontend integration to ensure that the user knows whether everything worked correctly.
7. Testing the API
Now that the server logic is complete, you will want to test everything. Here you can create a simple iOS app that helps you upload images. This app should allow user interactions to select and upload images.
8. Create iOS App
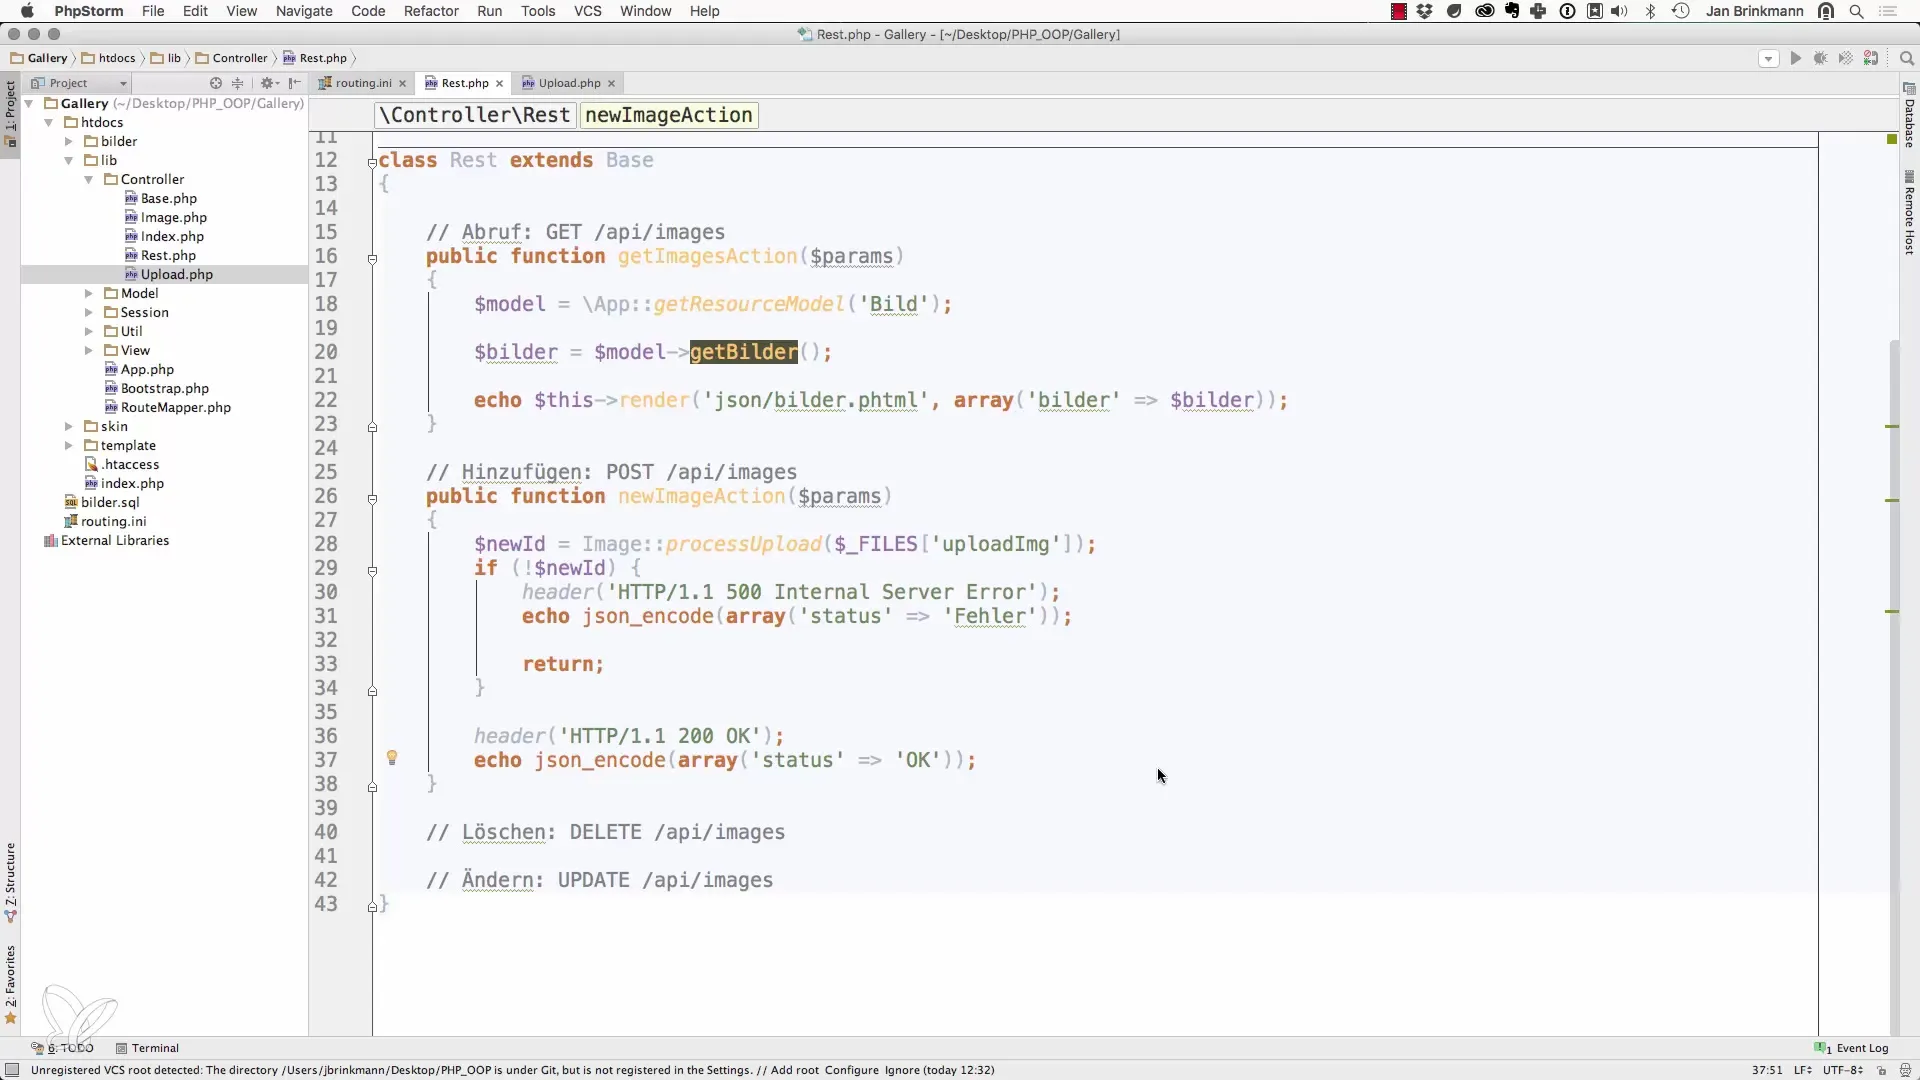
Open your Xcode project and make sure it has a simple user interface that includes an upload button. This button will be used to select the image and send it to the API.
9. Select Image from Library
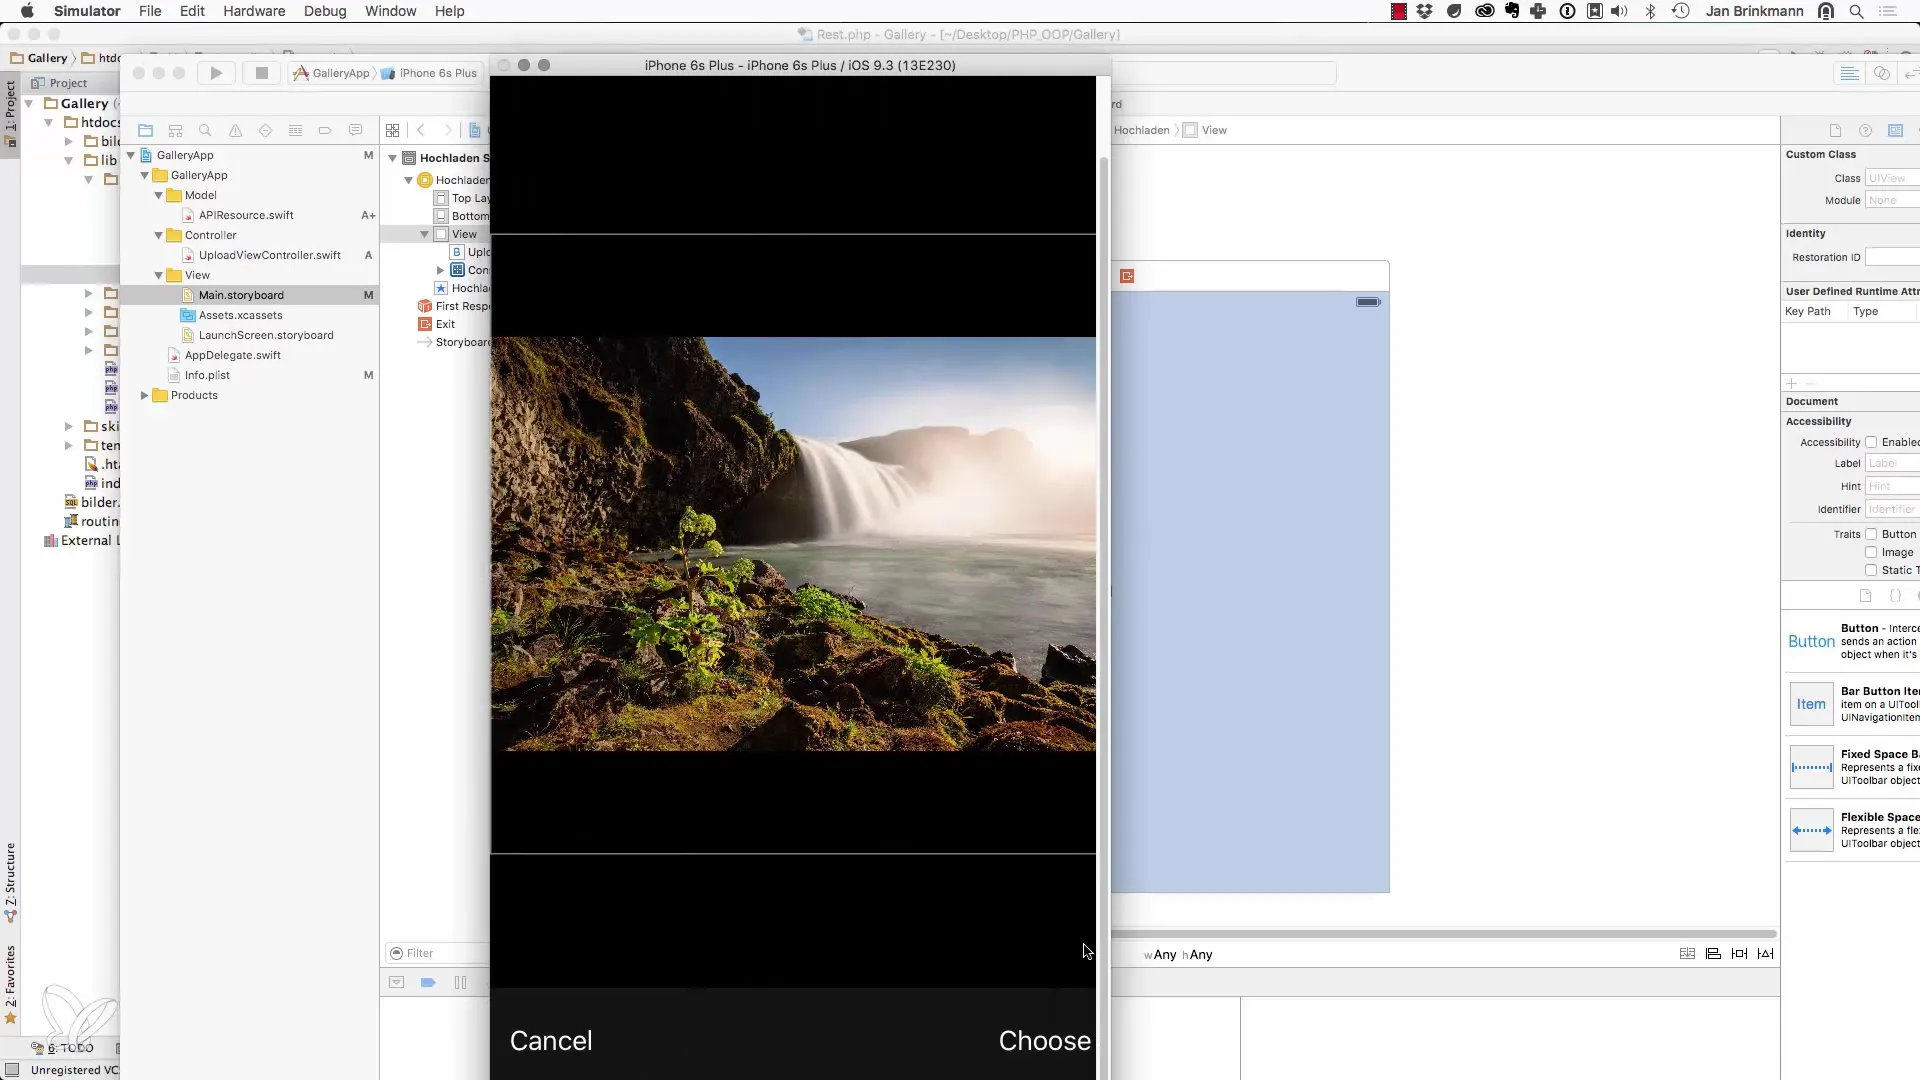
Use the iOS API to give the user the option to select an image from the library. Test the app in the simulator and make sure to receive the correct status codes upon a successful or failed upload.
10. Verify API Connection
After uploading, you should ensure that the data has actually reached the server. To do this, you can simply test the API once and check the feedback.
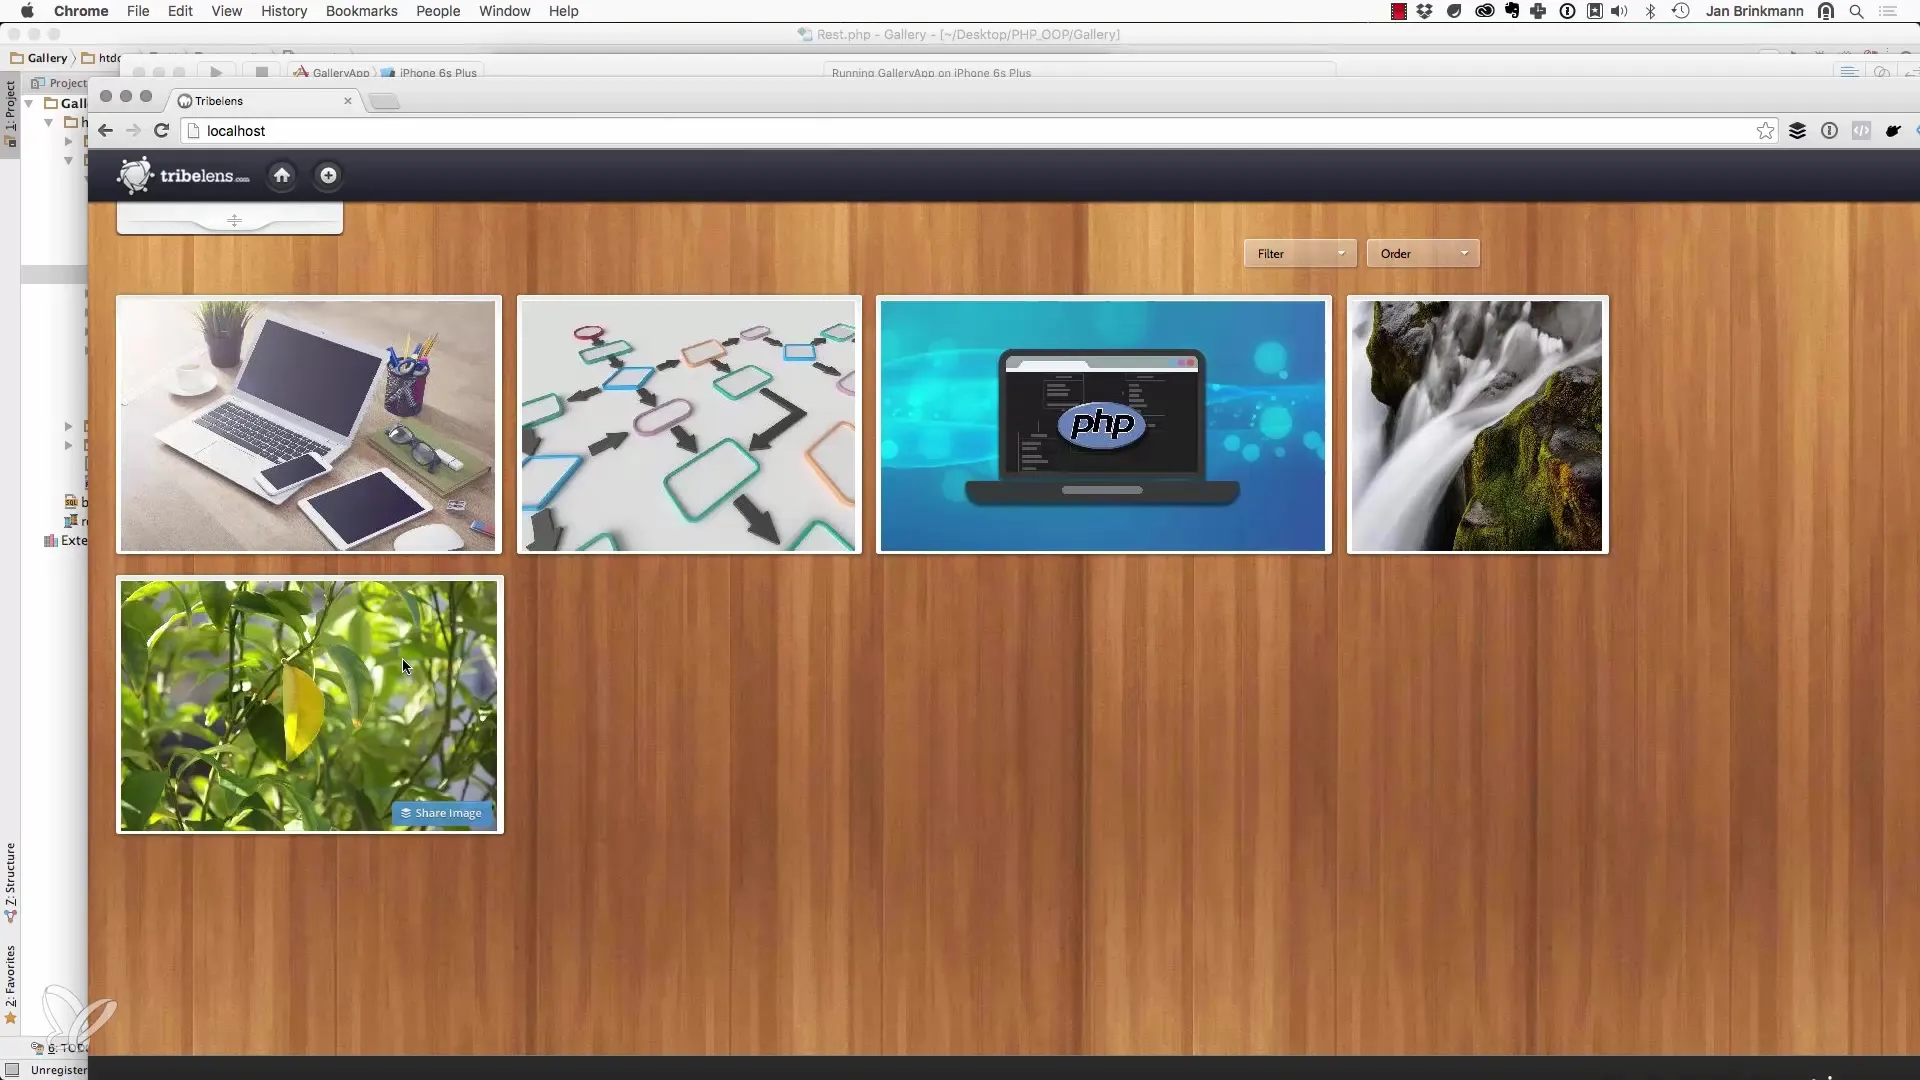
Summary – Uploading Images via API in PHP: Step-by-Step Guide
In this guide, you learned how to upload images through an API using PHP. You learned which steps are important, starting from the creation of the API up to the implementation on the frontend side with an iOS app. The process involves specific PHP functions and the importance of error handling to create a robust and user-friendly API.
Frequently Asked Questions
What is an API?An API (Application Programming Interface) is an interface that allows software applications to communicate with each other.
What are the benefits of using an API for image uploading?An API enables different applications to exchange and interact with data, providing a flexible and scalable solution.
How can I ensure that the upload works?You can perform the upload test by selecting an image through the iOS app and clicking the upload button to check the status of the API response.
Are security measures important for the API?Yes, in practice, security measures such as authentication are crucial to prevent unauthorized access and misuse.


