The interaction with users is an essential element of any web application, and uploading images is one of the most common requirements. In this guide, you will learn how to create a form for uploading images in an object-oriented PHP environment. You will learn how to create a new controller to properly handle the logic of file uploads.
Key Insights
- New controllers for uploads should be created to structure the logic.
- The form data should be effectively validated and processed.
- The code should remain clear and maintainable for future changes and extensions.
Step-by-step guide
To implement the image upload feature, we will follow these steps:
Step 1: Create the Upload Controller
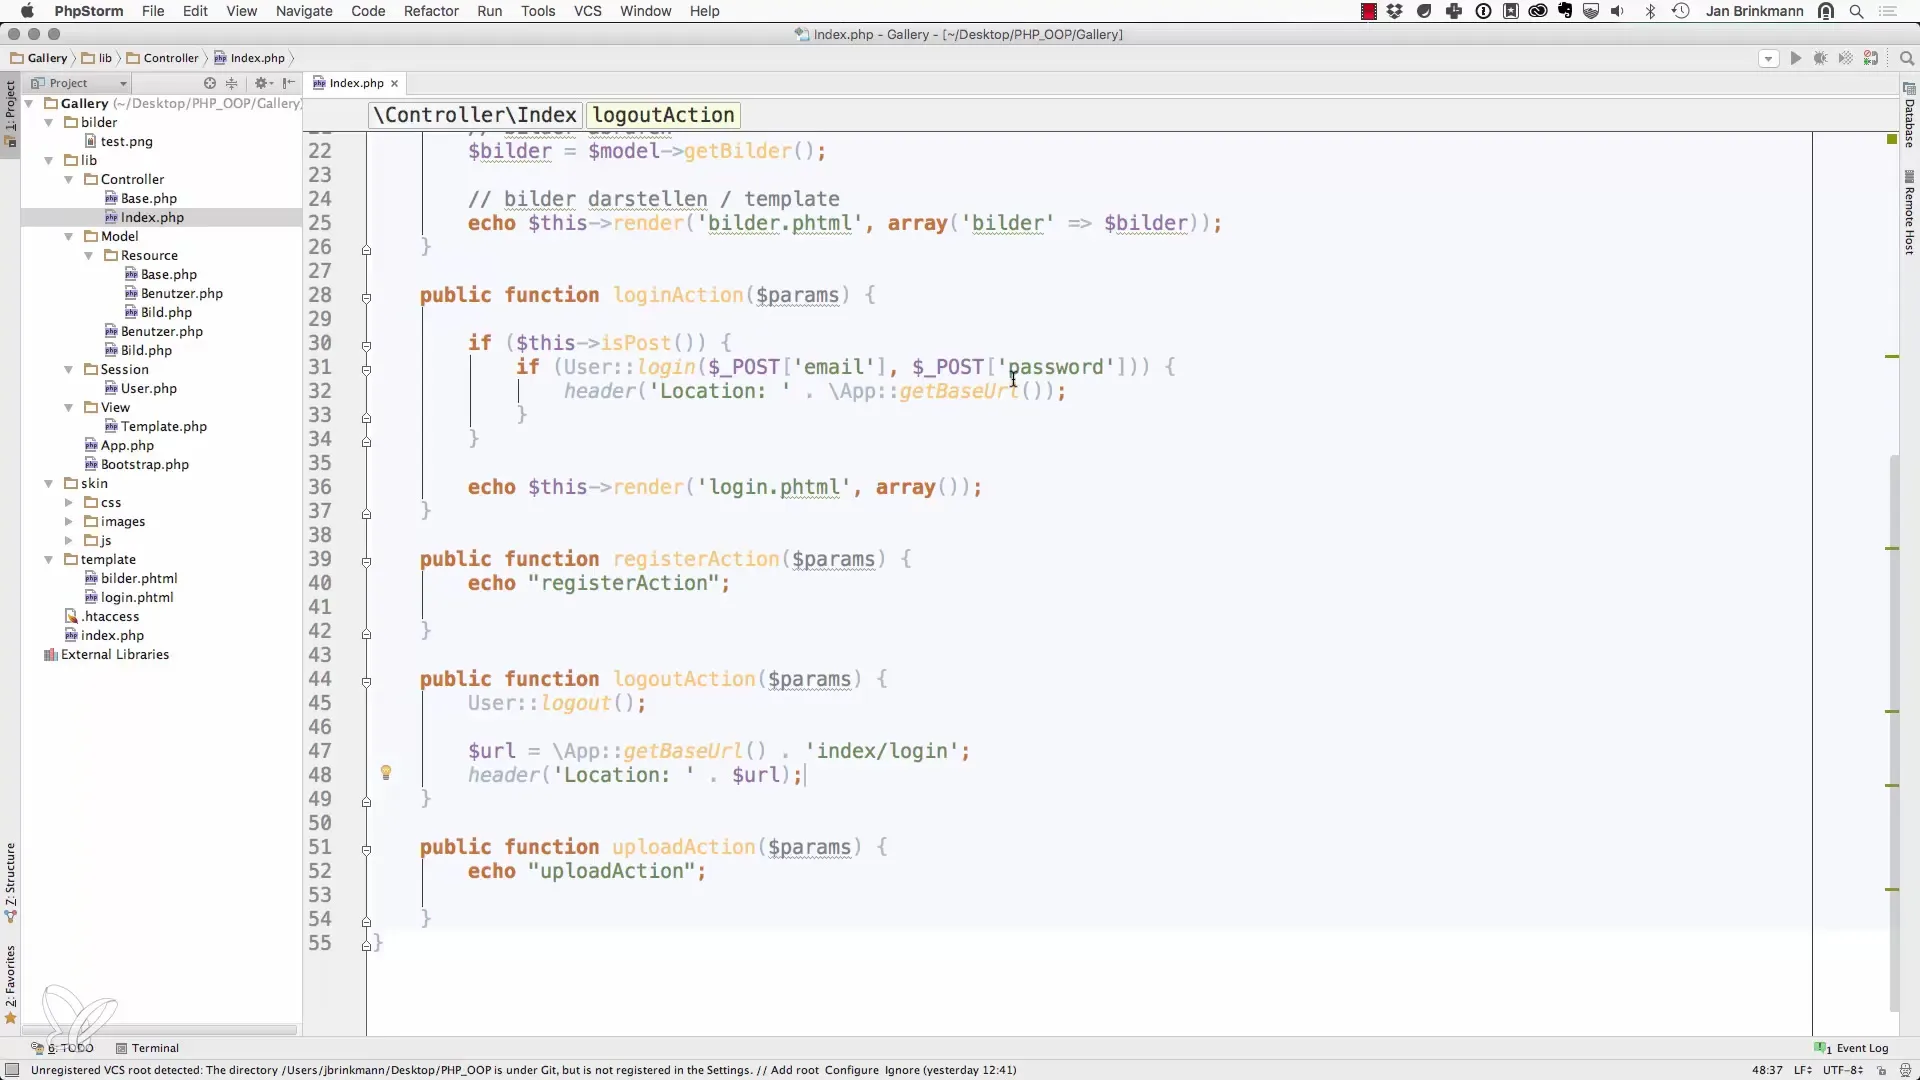
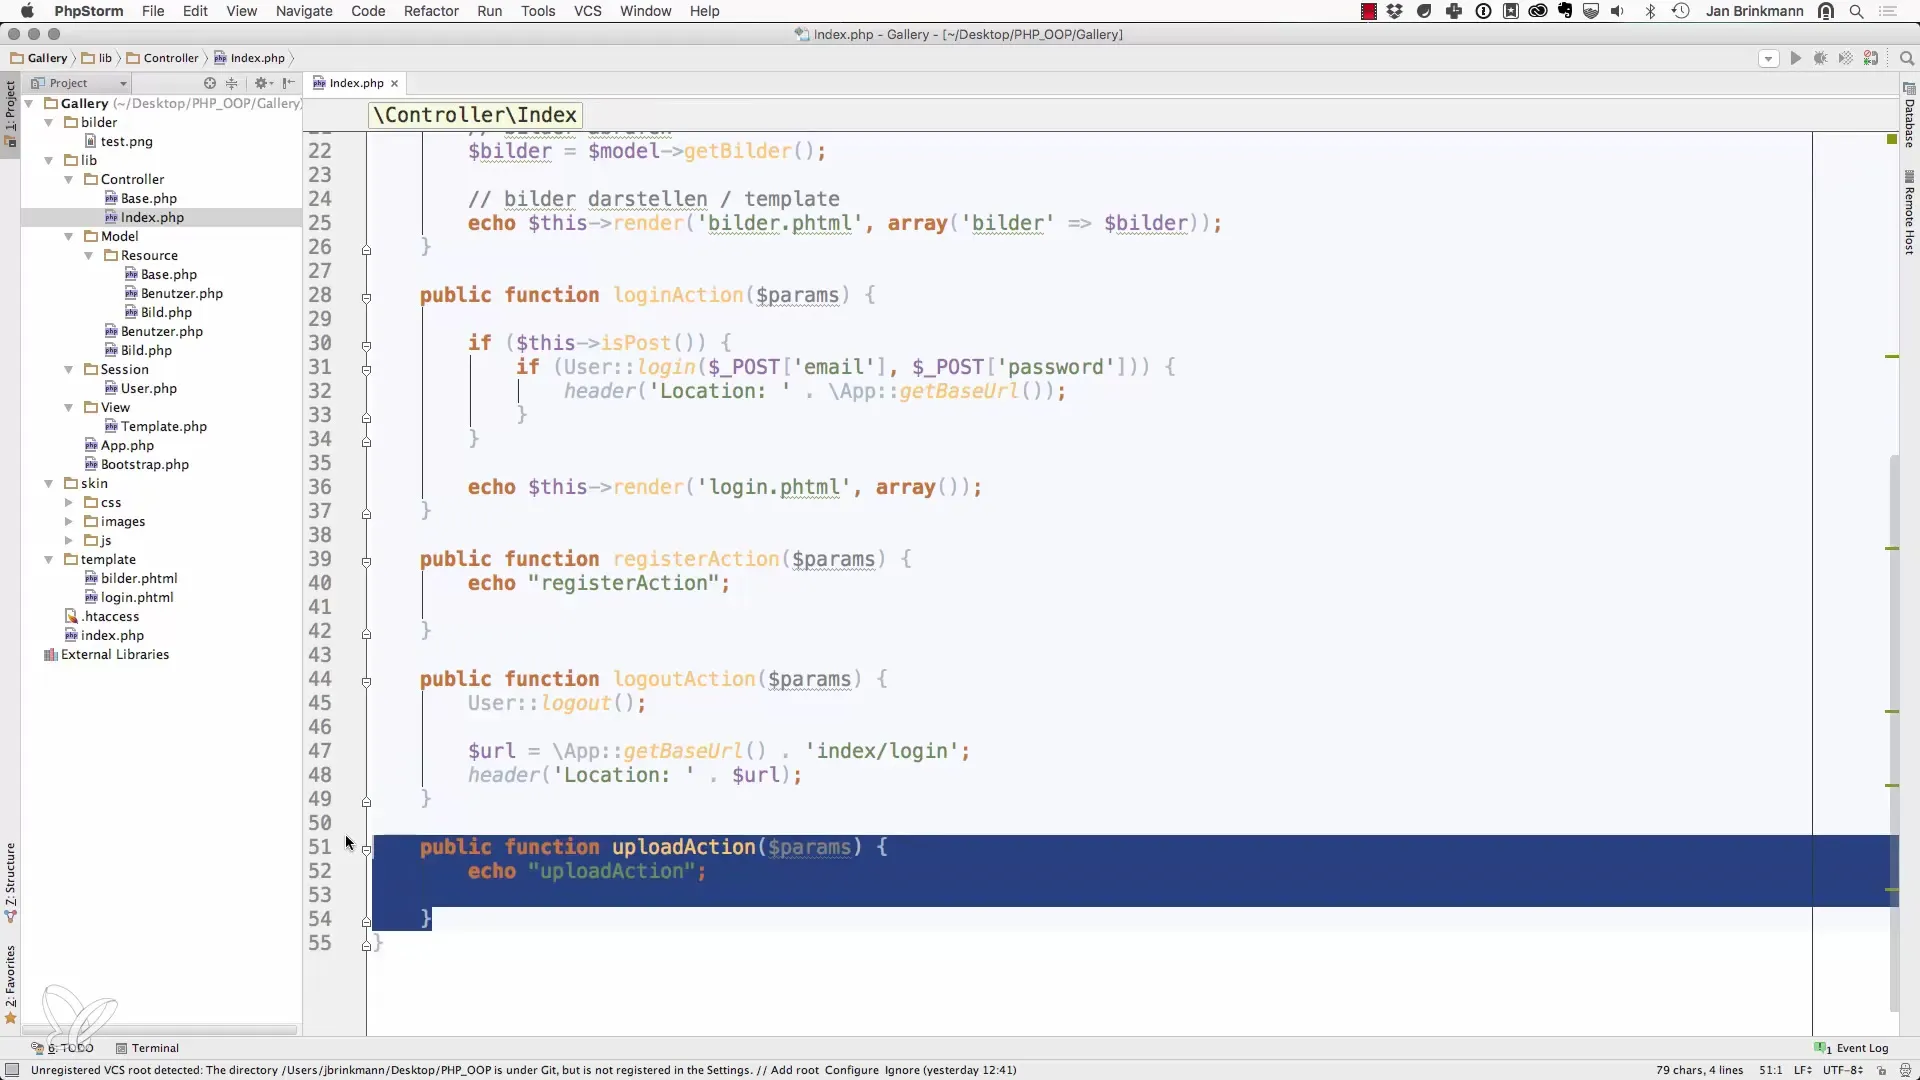
First, create a new controller for the upload. You can create a new PHP file that includes the upload controller. This promotes structured programming and allows for more accurate control over the logic. To do this, go to your project folder and create a file that contains the code for the new controller.
Step 2: Define the Upload Class
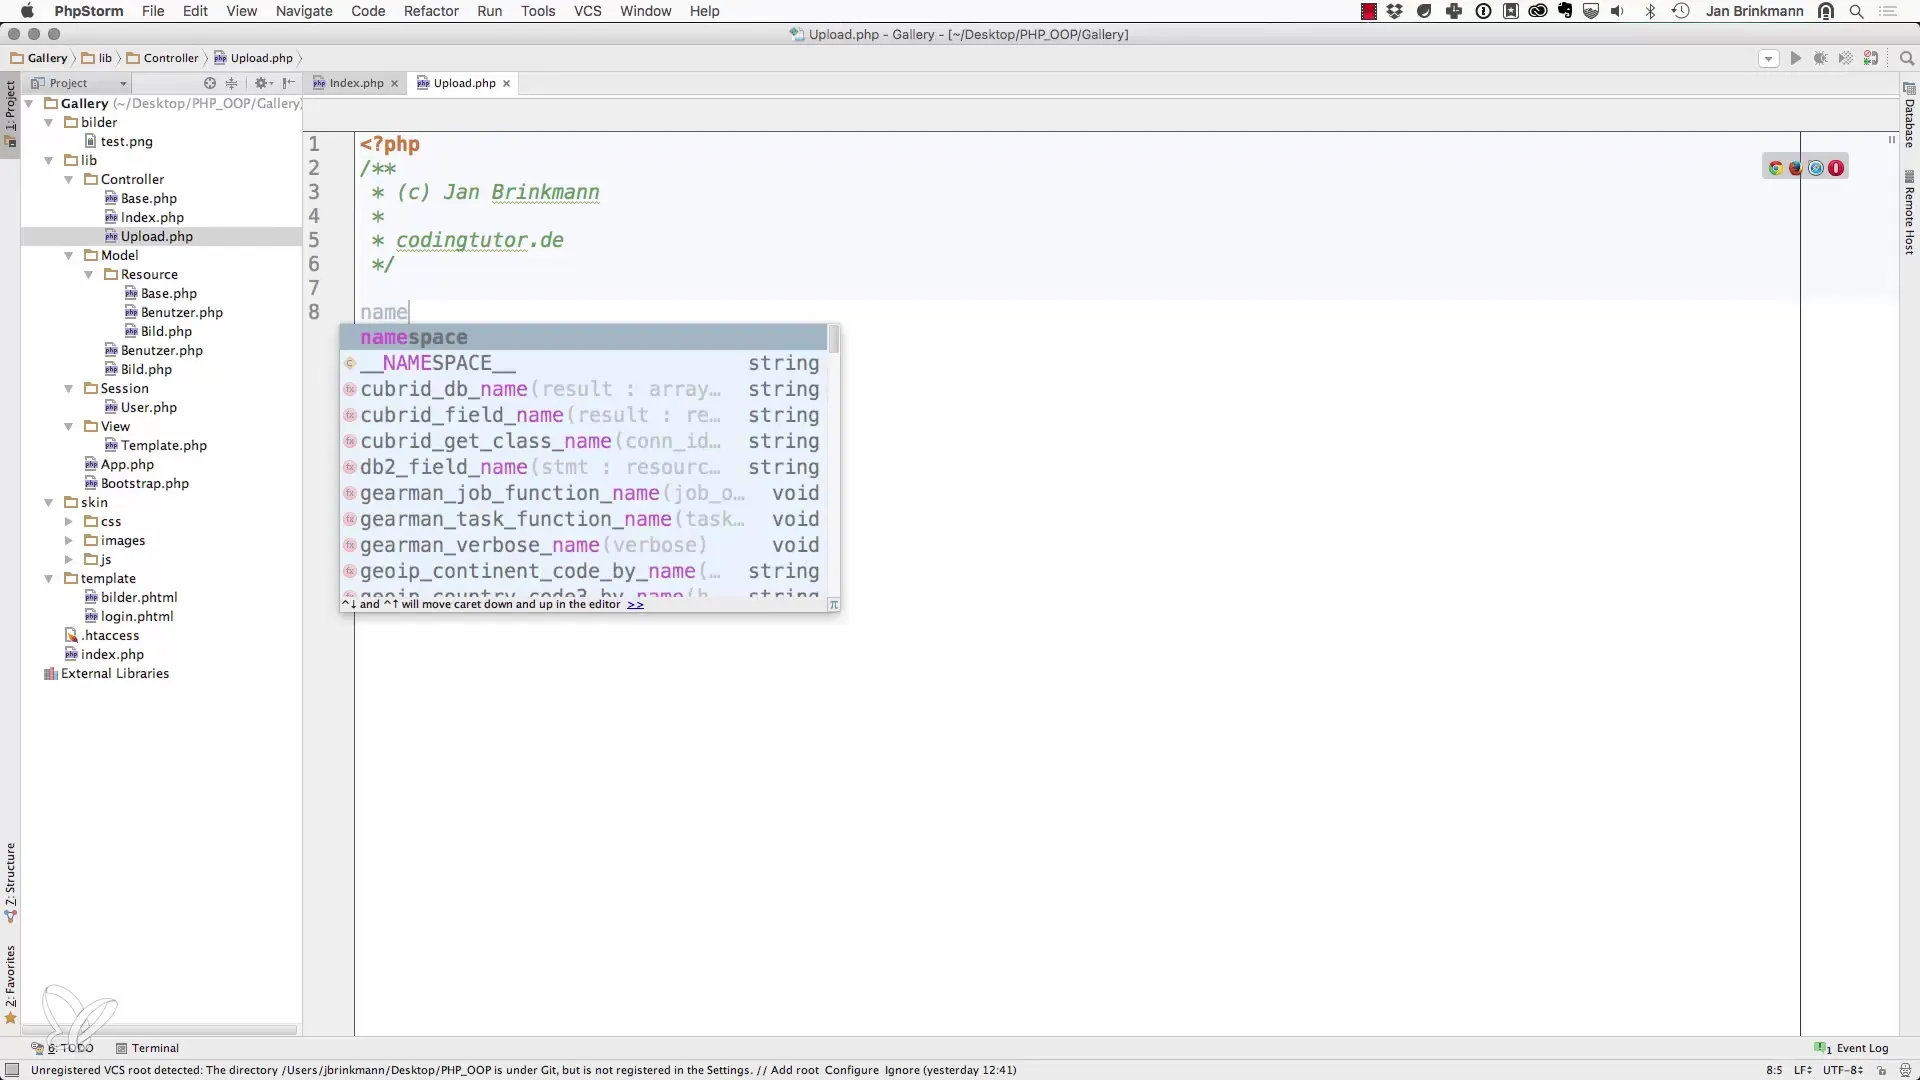
In the new file, define a class that extends your base controller. It is important to rename the upload action to perhaps “index” to make the intent clearer.
Step 3: Render the Form Template
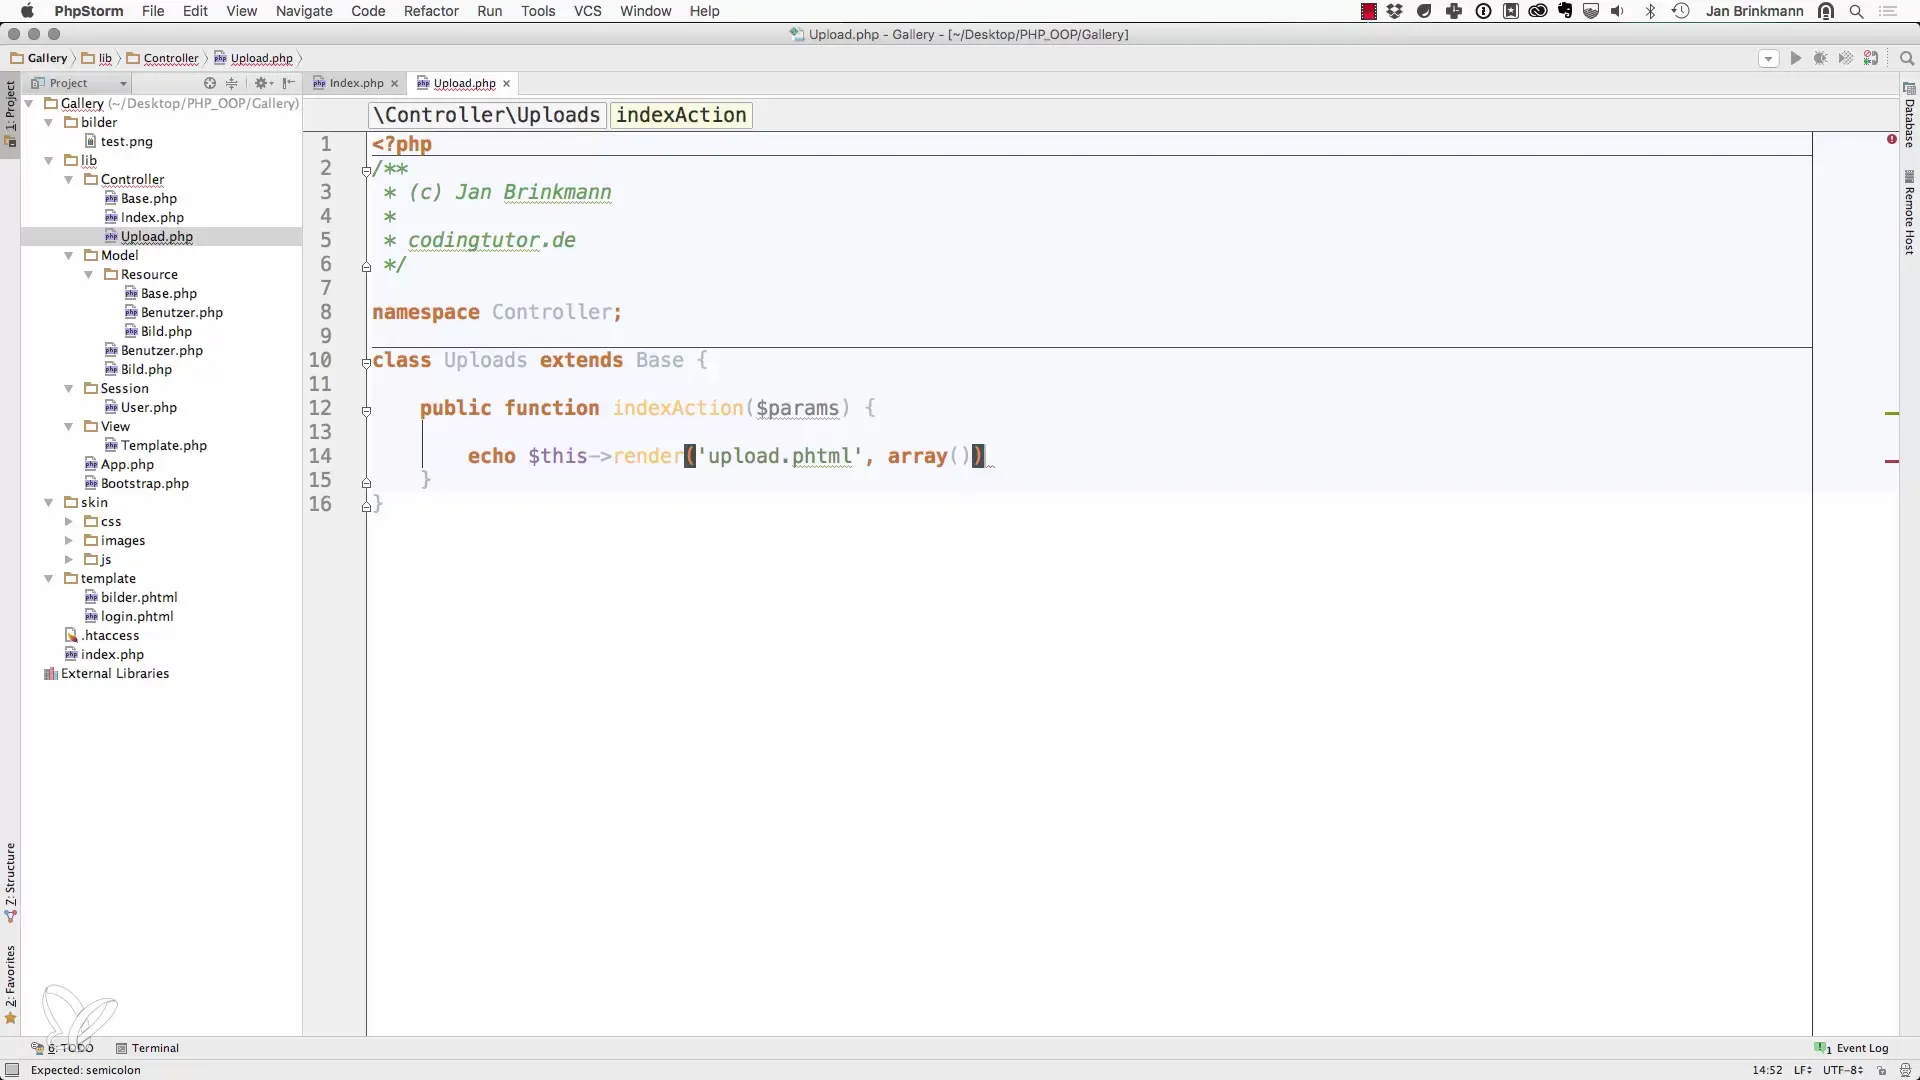
To display the upload form, you should use Echo to render the template. Here, the template is a.phtml file that contains the HTML for your form. At this point, you do not pass any parameters into an empty array as you start to build the layout.
Step 4: Create the phtml File for Uploading
You now raise the upload in the template through a new form field. To do this, copy the layout of an existing template, for example, login.phtml, and adapt it for the upload.
Step 5: Define the HTML Form
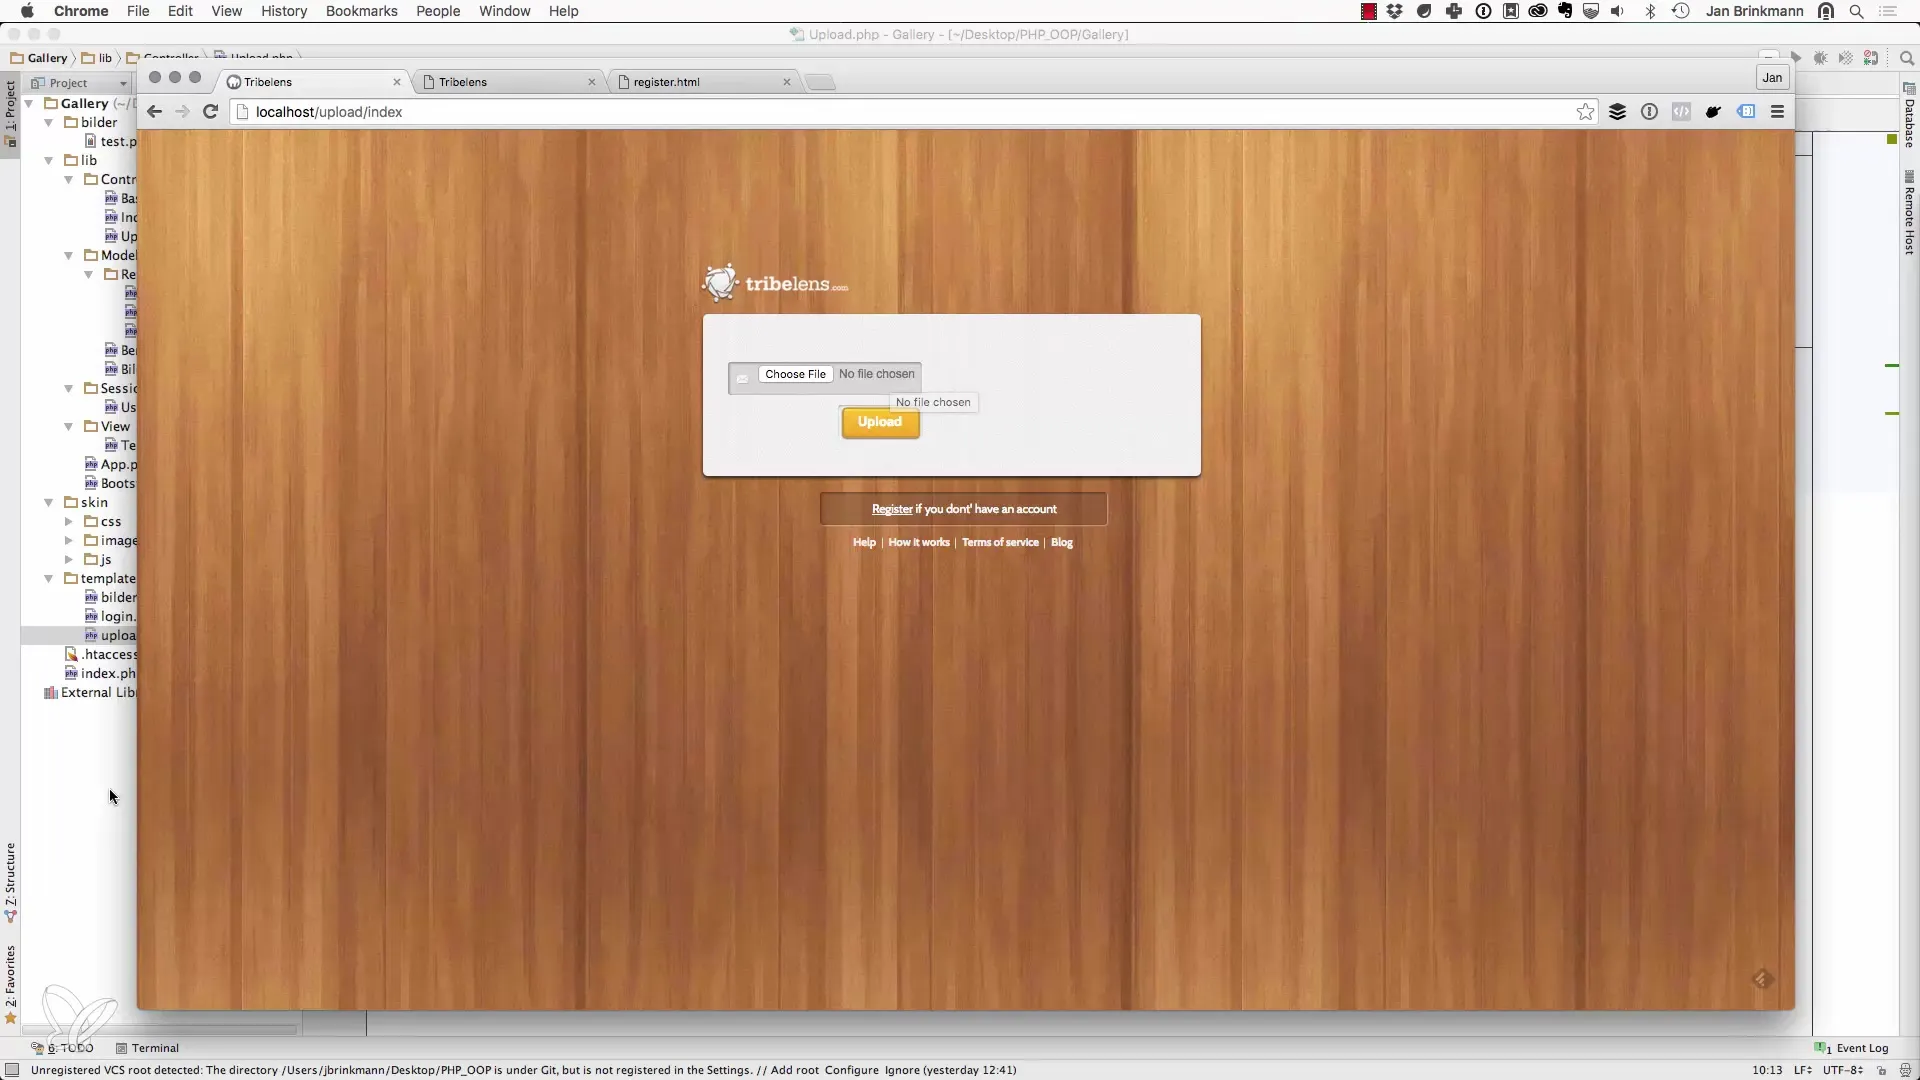
In the now created template for the upload, manage the input fields. You need an input field to select the file to upload. Make sure that the type of the input field is defined as “file” so that the user can select a file.
Step 6: Test if the Form is Visible
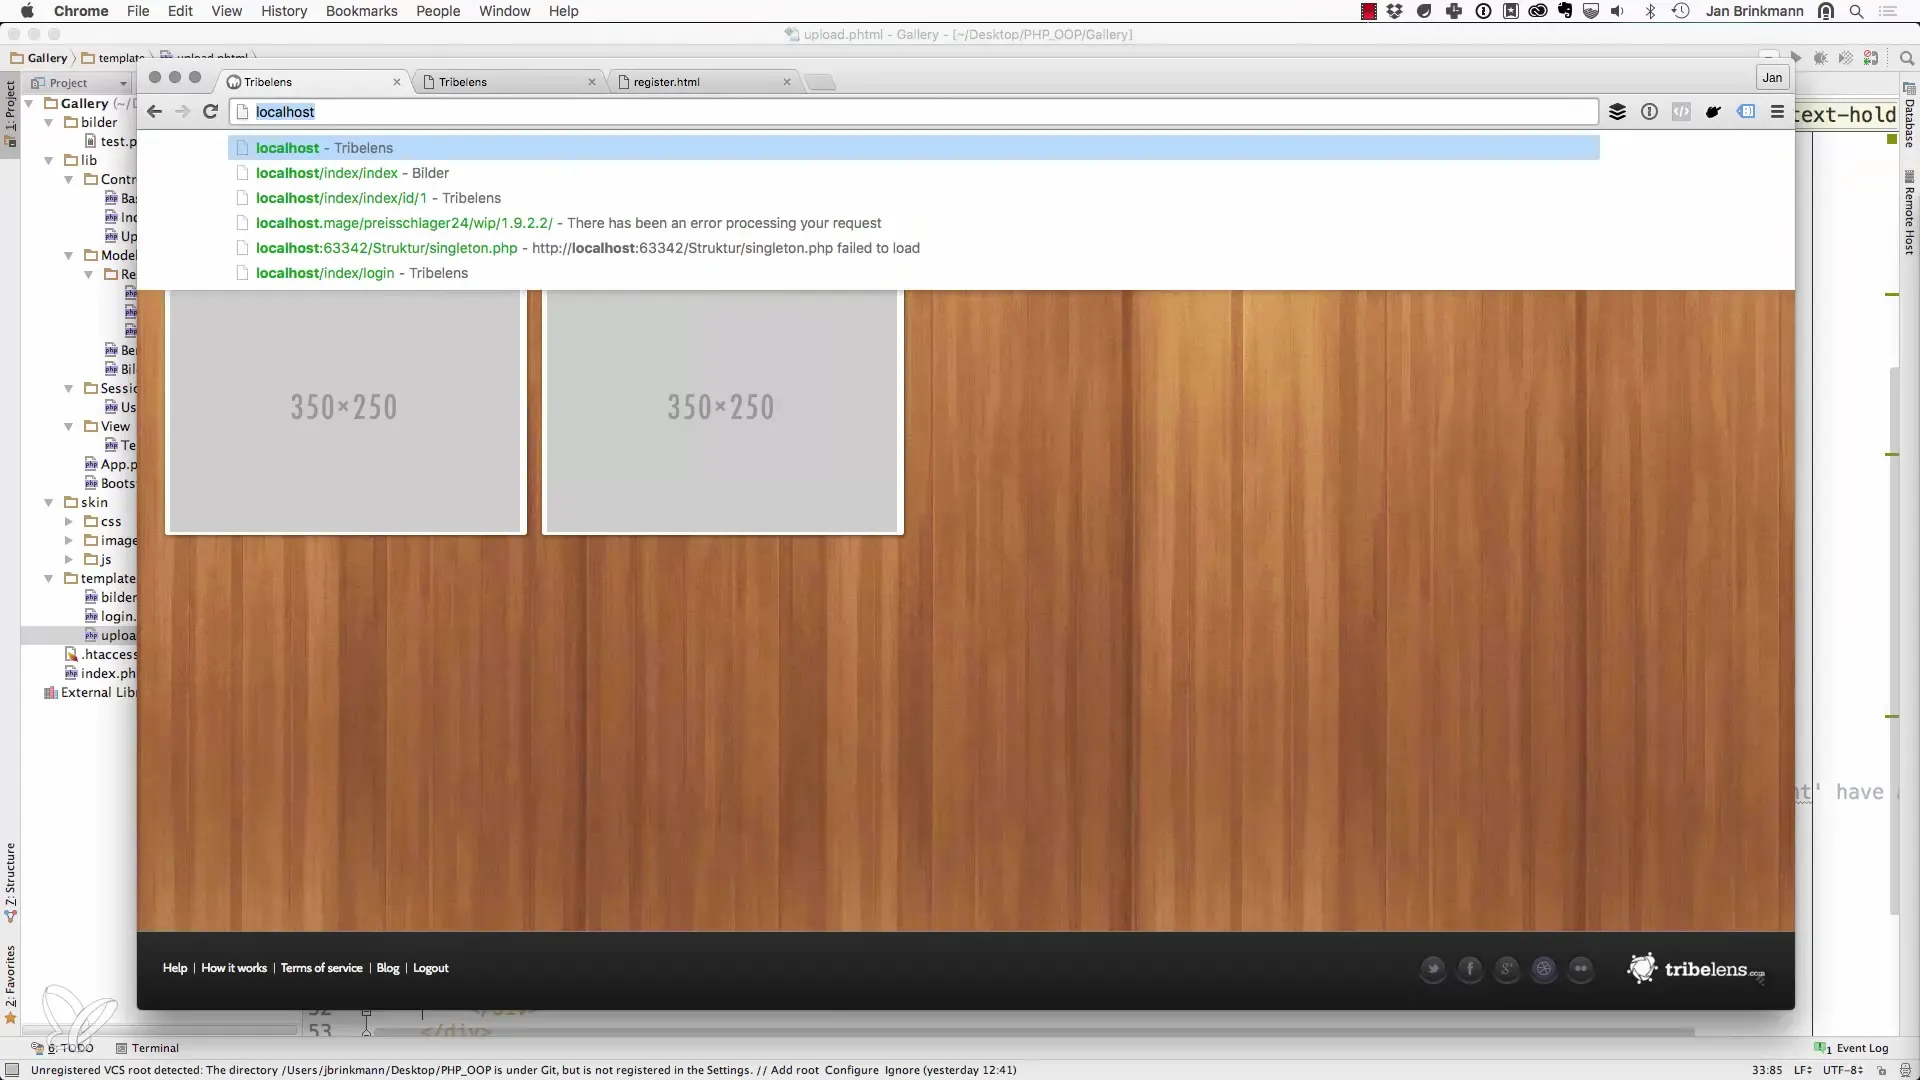
After the form has been created, go to your web browser and enter the corresponding URL to check if the form is displayed correctly. Enter the URL configured in the routing file. Check that the controller routes are defined correctly.
Step 7: Optimize the Styling
Depending on the project status, you may also want to adjust or optimize the form's styling to ensure a better user experience. It should be noted that it does not have to be perfect, but it should be designed to be user-friendly.
Step 8: Add the Upload Logic
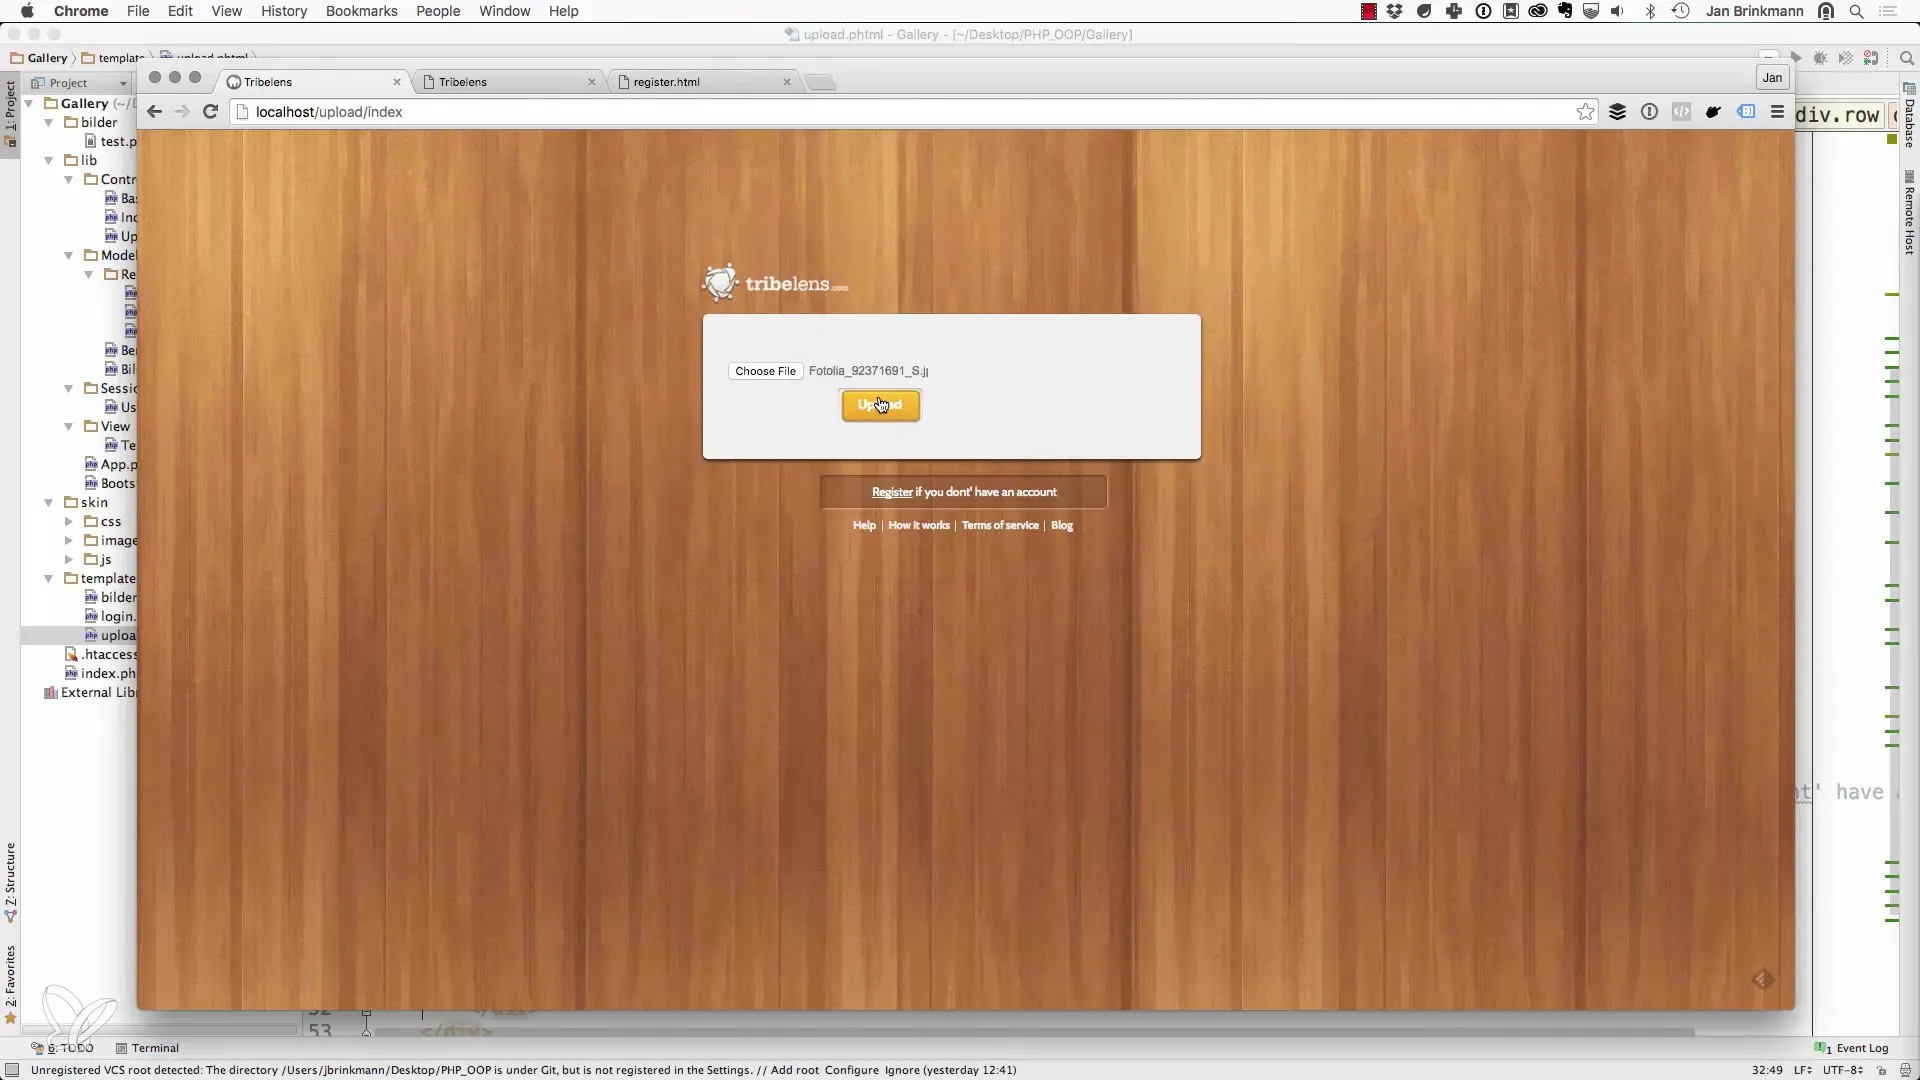
The upload itself is not yet being processed. This happens at the moment the form is submitted. Make sure that the logic for processing the image files is on the correct page defined in our controller.
Summary – Object-oriented PHP Programming – Uploading Images: Preparing the Form
In this guide, you learned how to create a new upload controller in an object-oriented PHP application. You implemented a simple form to upload image files, as well as covered the basic steps for visualization and manageable logic implementation.
Frequently Asked Questions
How can I customize the controller for the upload?Change the functions in your upload controller class to integrate specific tasks, such as validating file types.
What file formats can I use?The supported formats depend on your implementation and the server, typically PNG, JPG, and GIF.
How do I test the upload process?Ensure that your server is properly configured and use the browser development tools to check network activity.


