Creating a new project in Adobe Premiere Pro is the first step on the way to your film, video or editing project. It's important to choose the right settings to ensure a smooth workflow. In this guide, I'll take you through the individual steps you need to follow to successfully create a new project in Premiere Pro.
Key takeaways
- Choosing a safe location for your project files is essential.
- Set the right settings for fast rendering and efficient file management.
- Using proxies can make editing large videos easier.
Step-by-step guide
Start by opening Premiere Pro. Once you have started the software, you will see the start screen. When you open Premiere for the first time, you will see this view:
Click on the "New Project" button to create a new project. This seems obvious, but there are a few settings to consider.
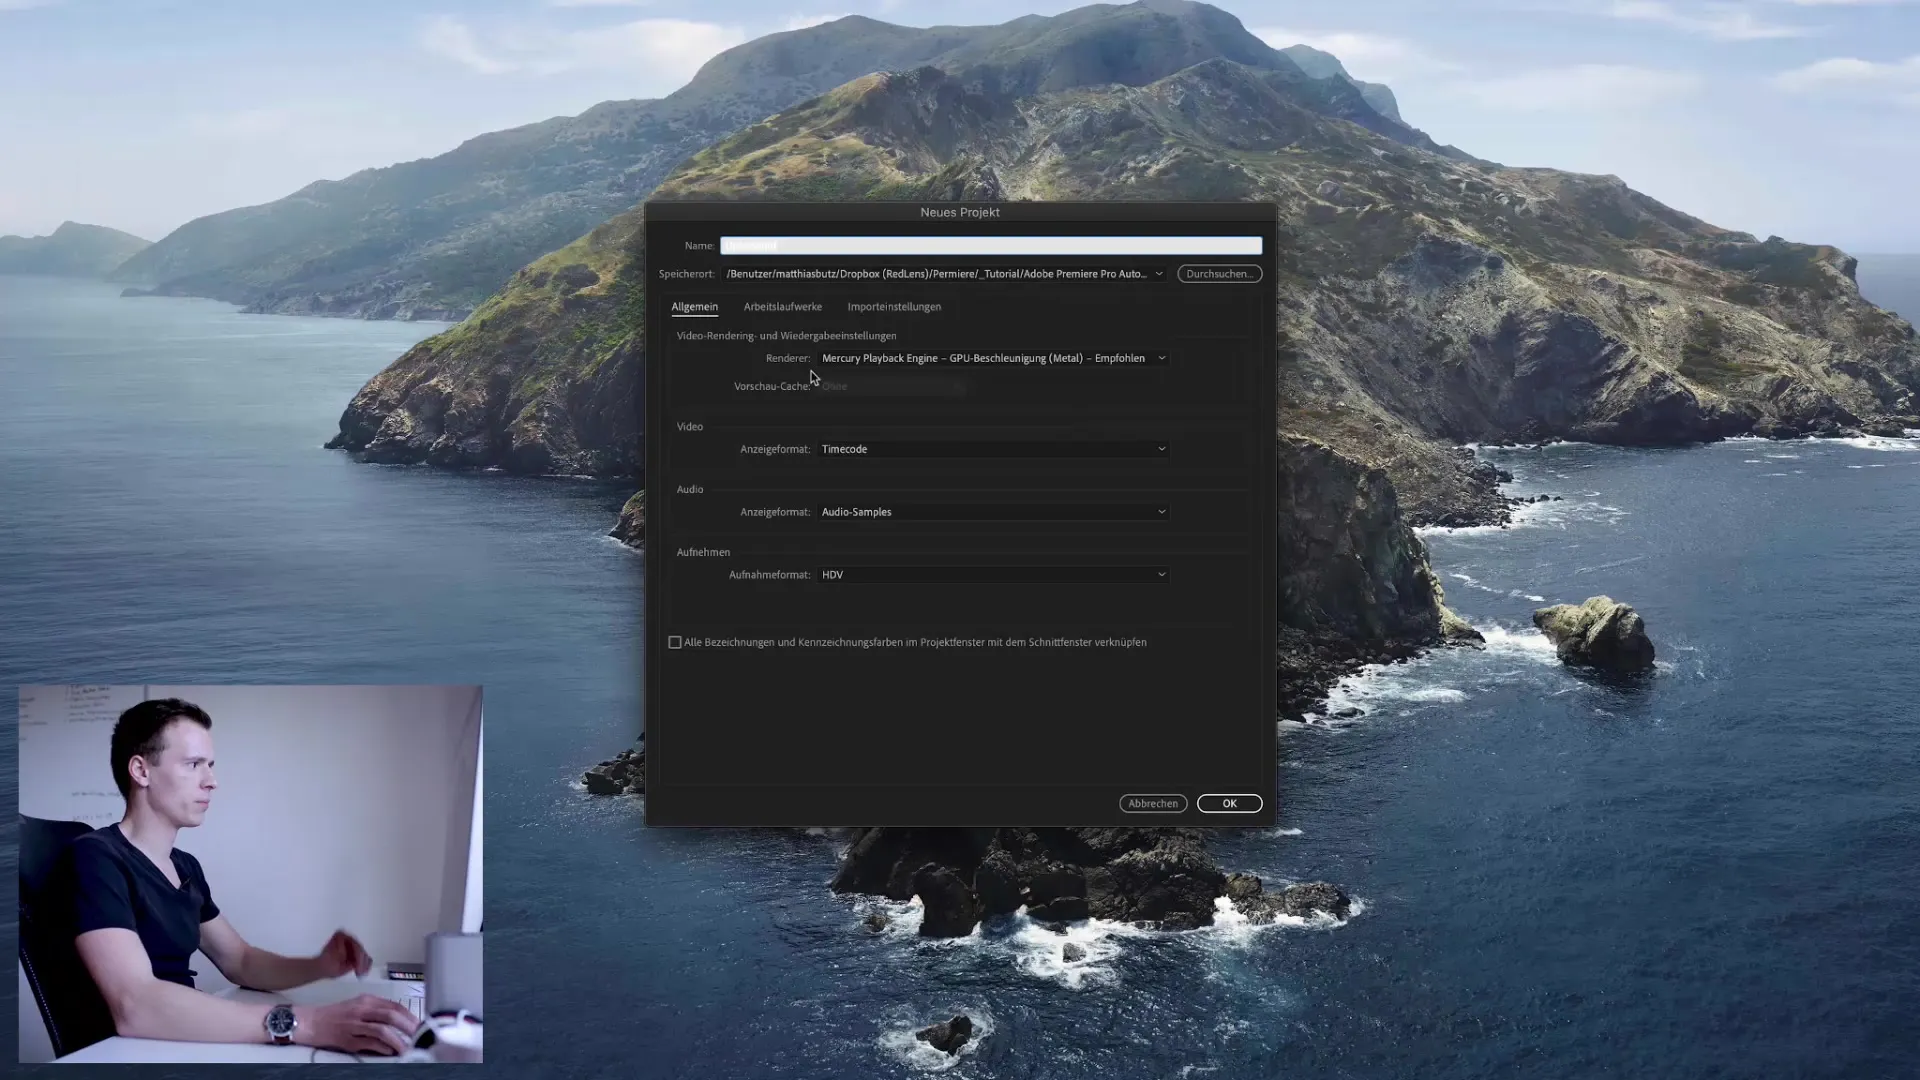
Here you can specify the storage location for your project files. I like working with Dropbox because it offers automatic backup. This means that my project files are always backed up and I can restore older versions if necessary. Make sure the storage location is secure - not on a USB stick or an external hard drive lying around. Without the project file, all your work will be lost.
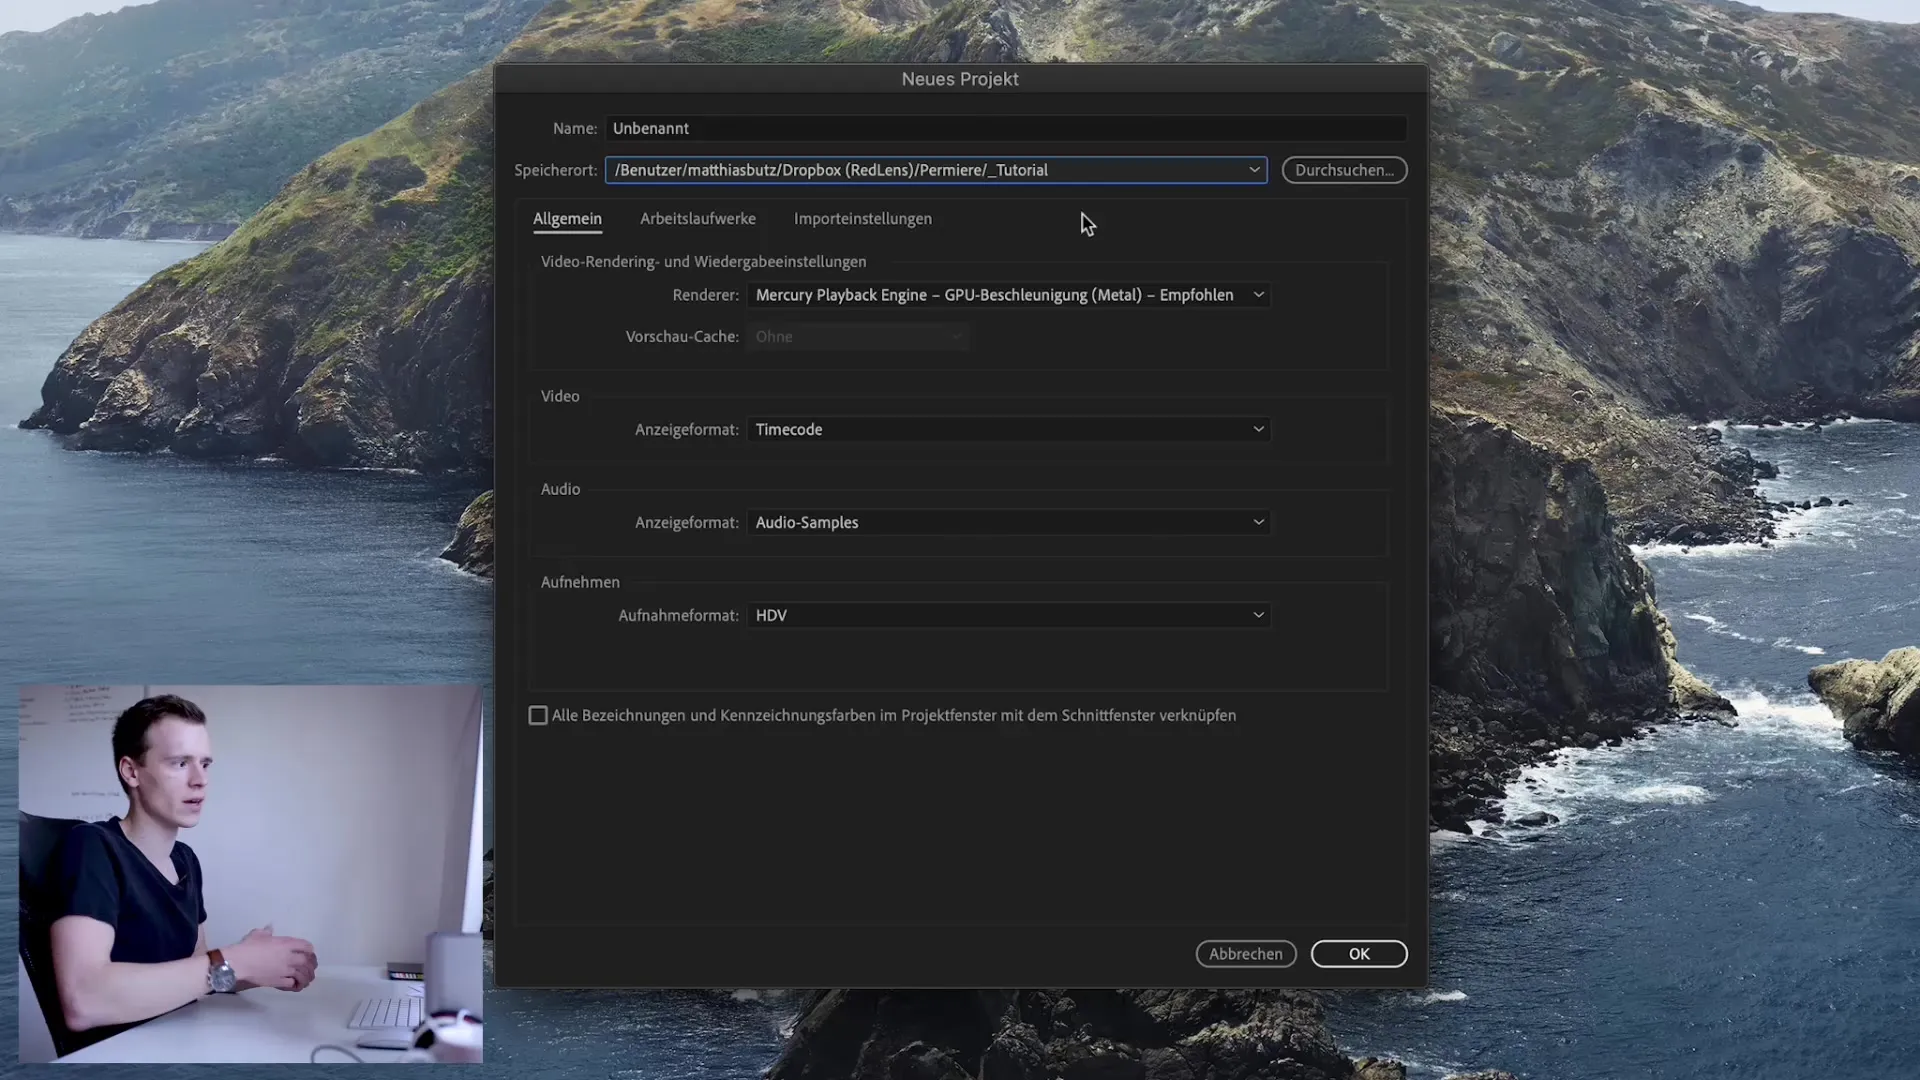
Now choose a suitable name for your project. In my case, I call it "Test". The path should lead to your safe storage location that you have previously selected. It is advisable to choose a fast storage location, such as your internal SSD. This way you can ensure that cash and render files are processed quickly.
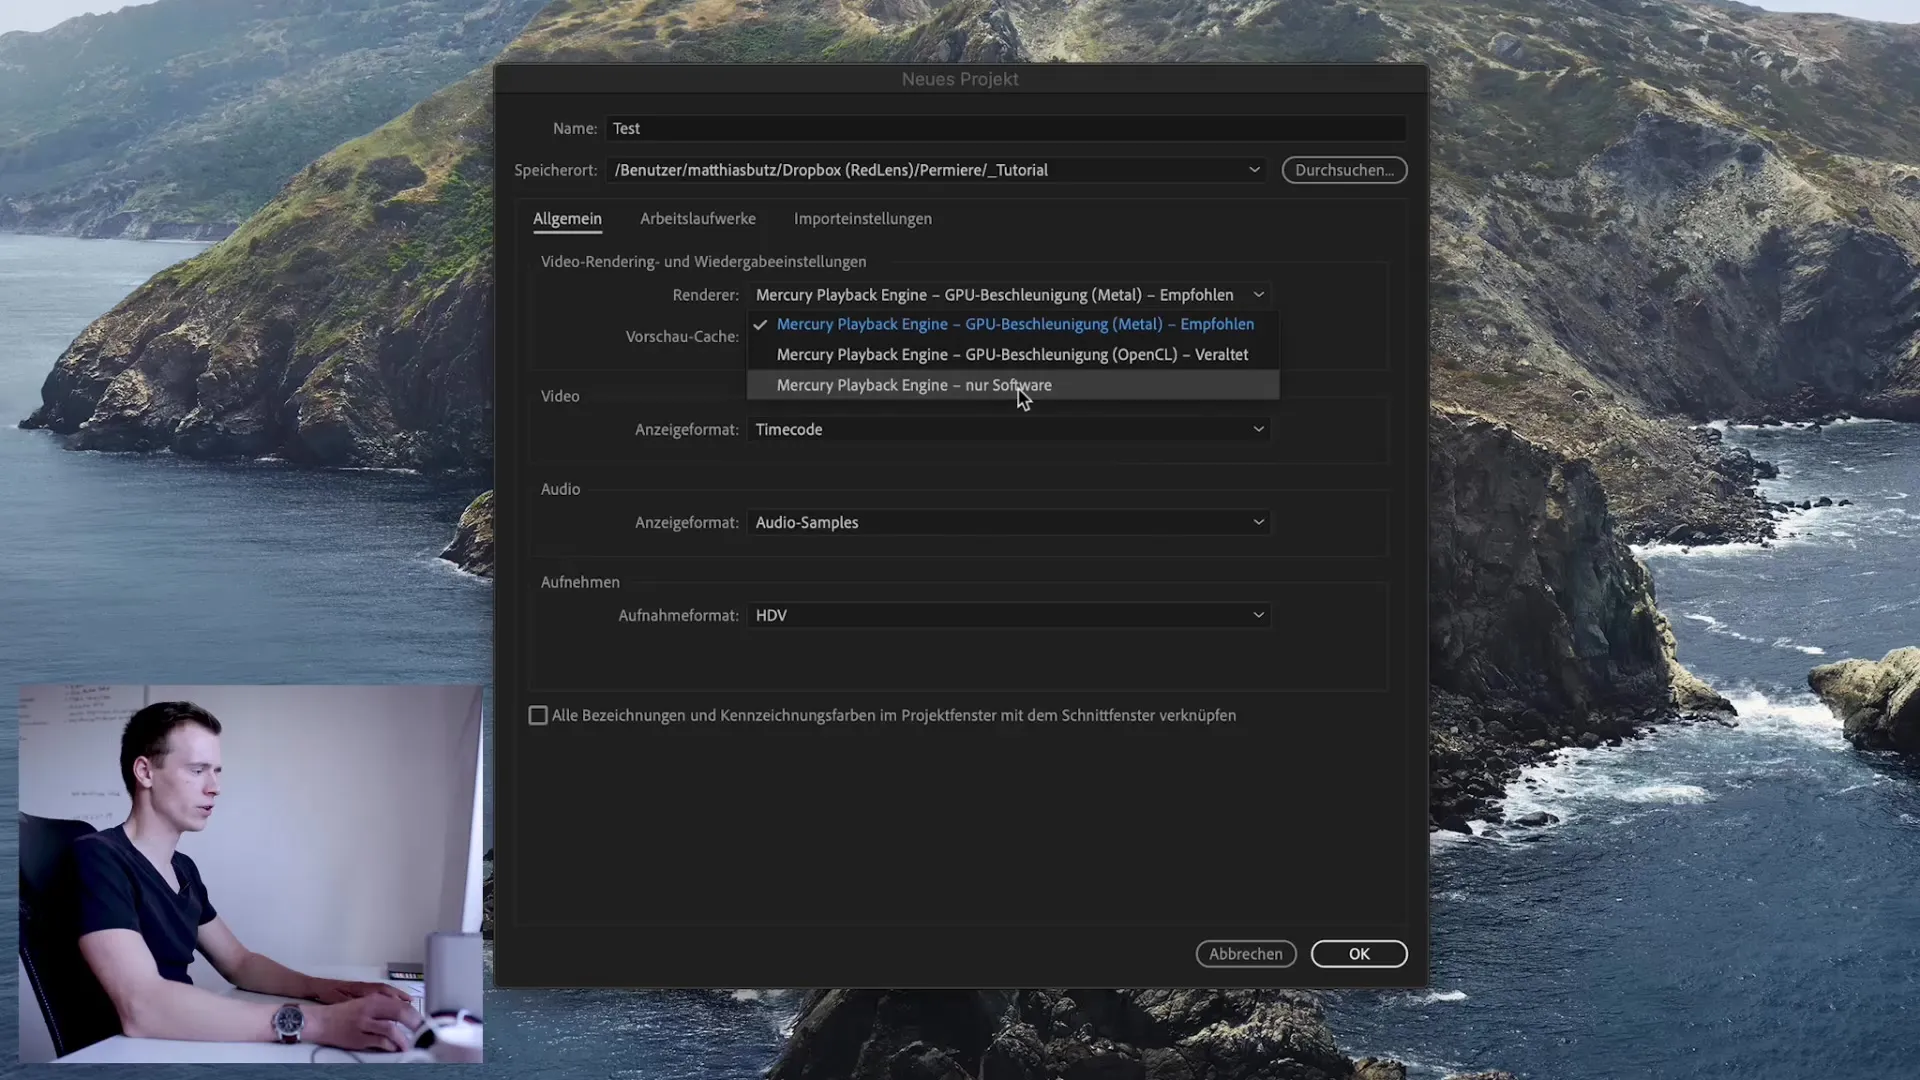
It is important to select the fastest possible setting for the render variable. If you are working on Mac, "Metal" should be selected as the fastest render option. Normally you do not need to change any other settings here, as Premiere usually selects the best option automatically.
Now you should select the storage location for the working files. It usually makes sense to save all files in your project folder. This keeps all data together and you don't have to search for a long time after importing files. This central storage provides a better overview.
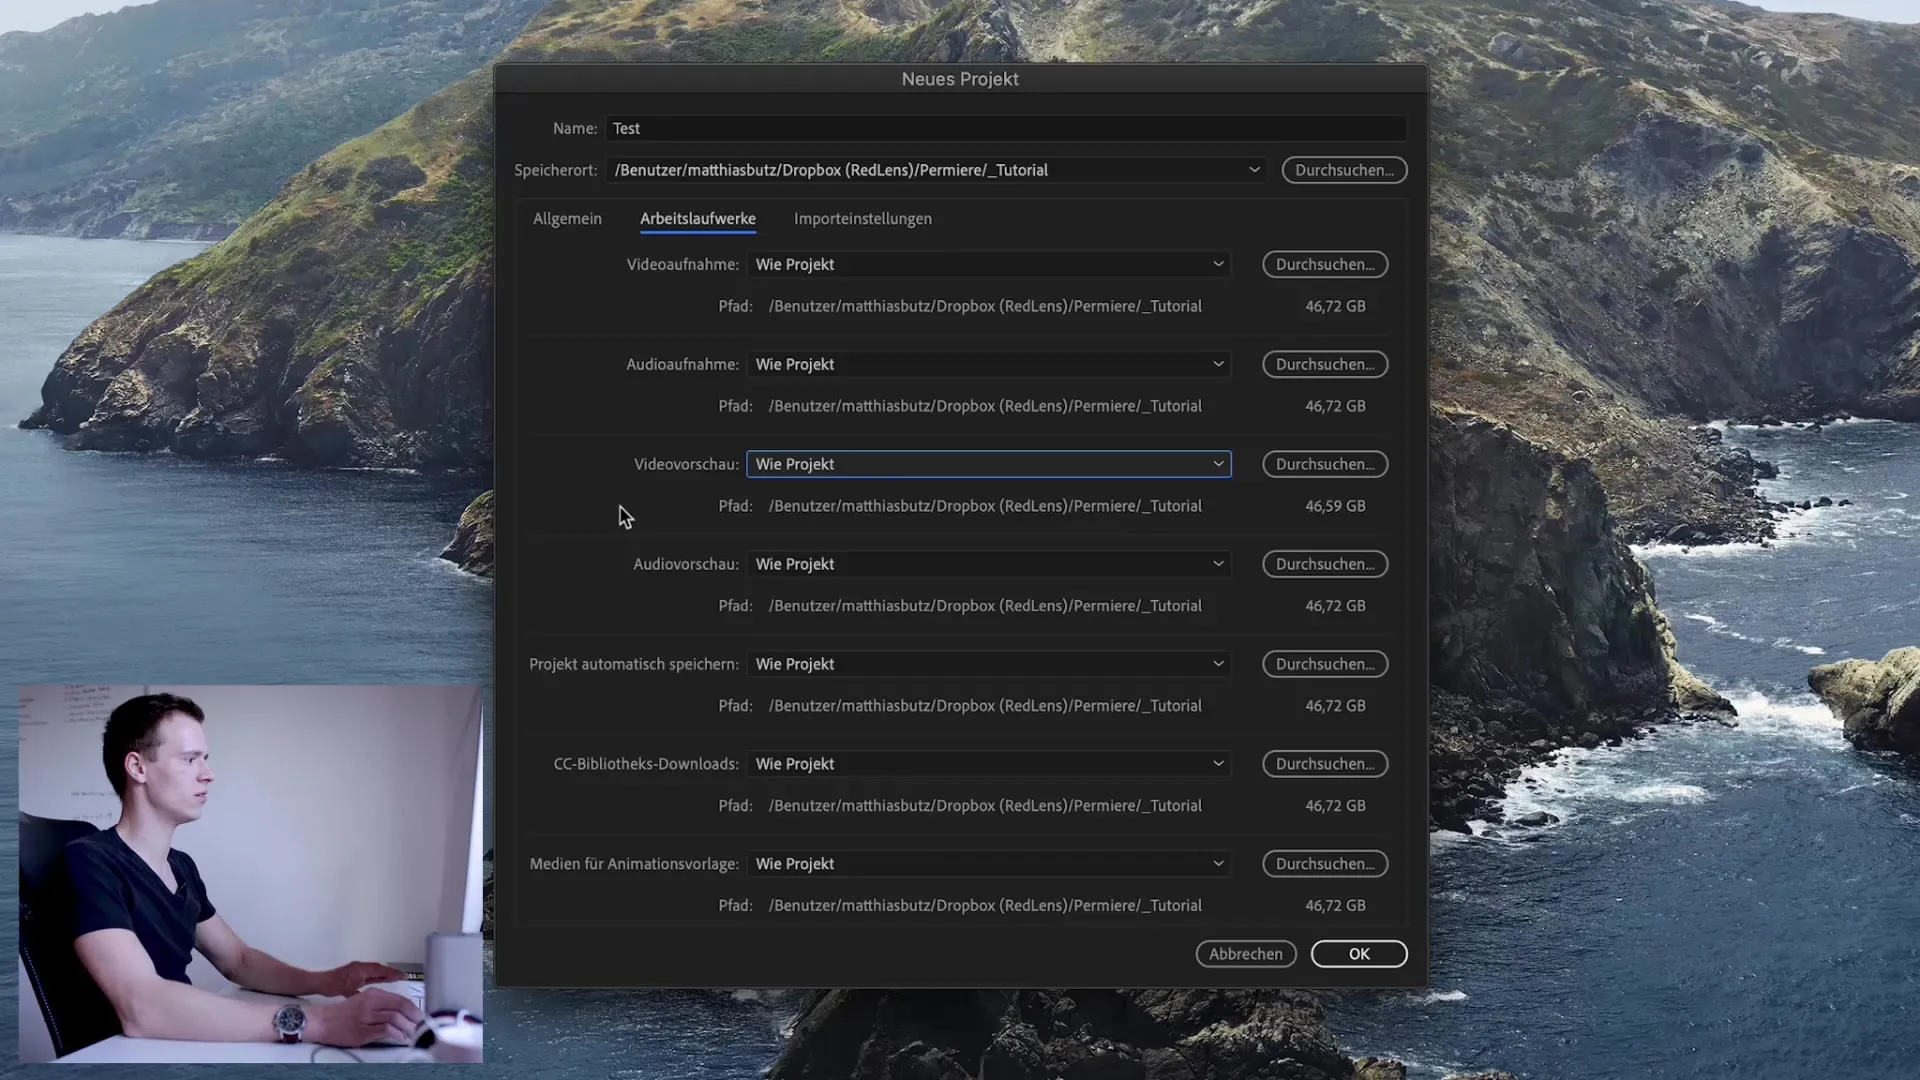
It is also possible to specify special folders for different file types, such as for audio material or preview files. However, this does not necessarily have to be done. Many things can also be organized later.
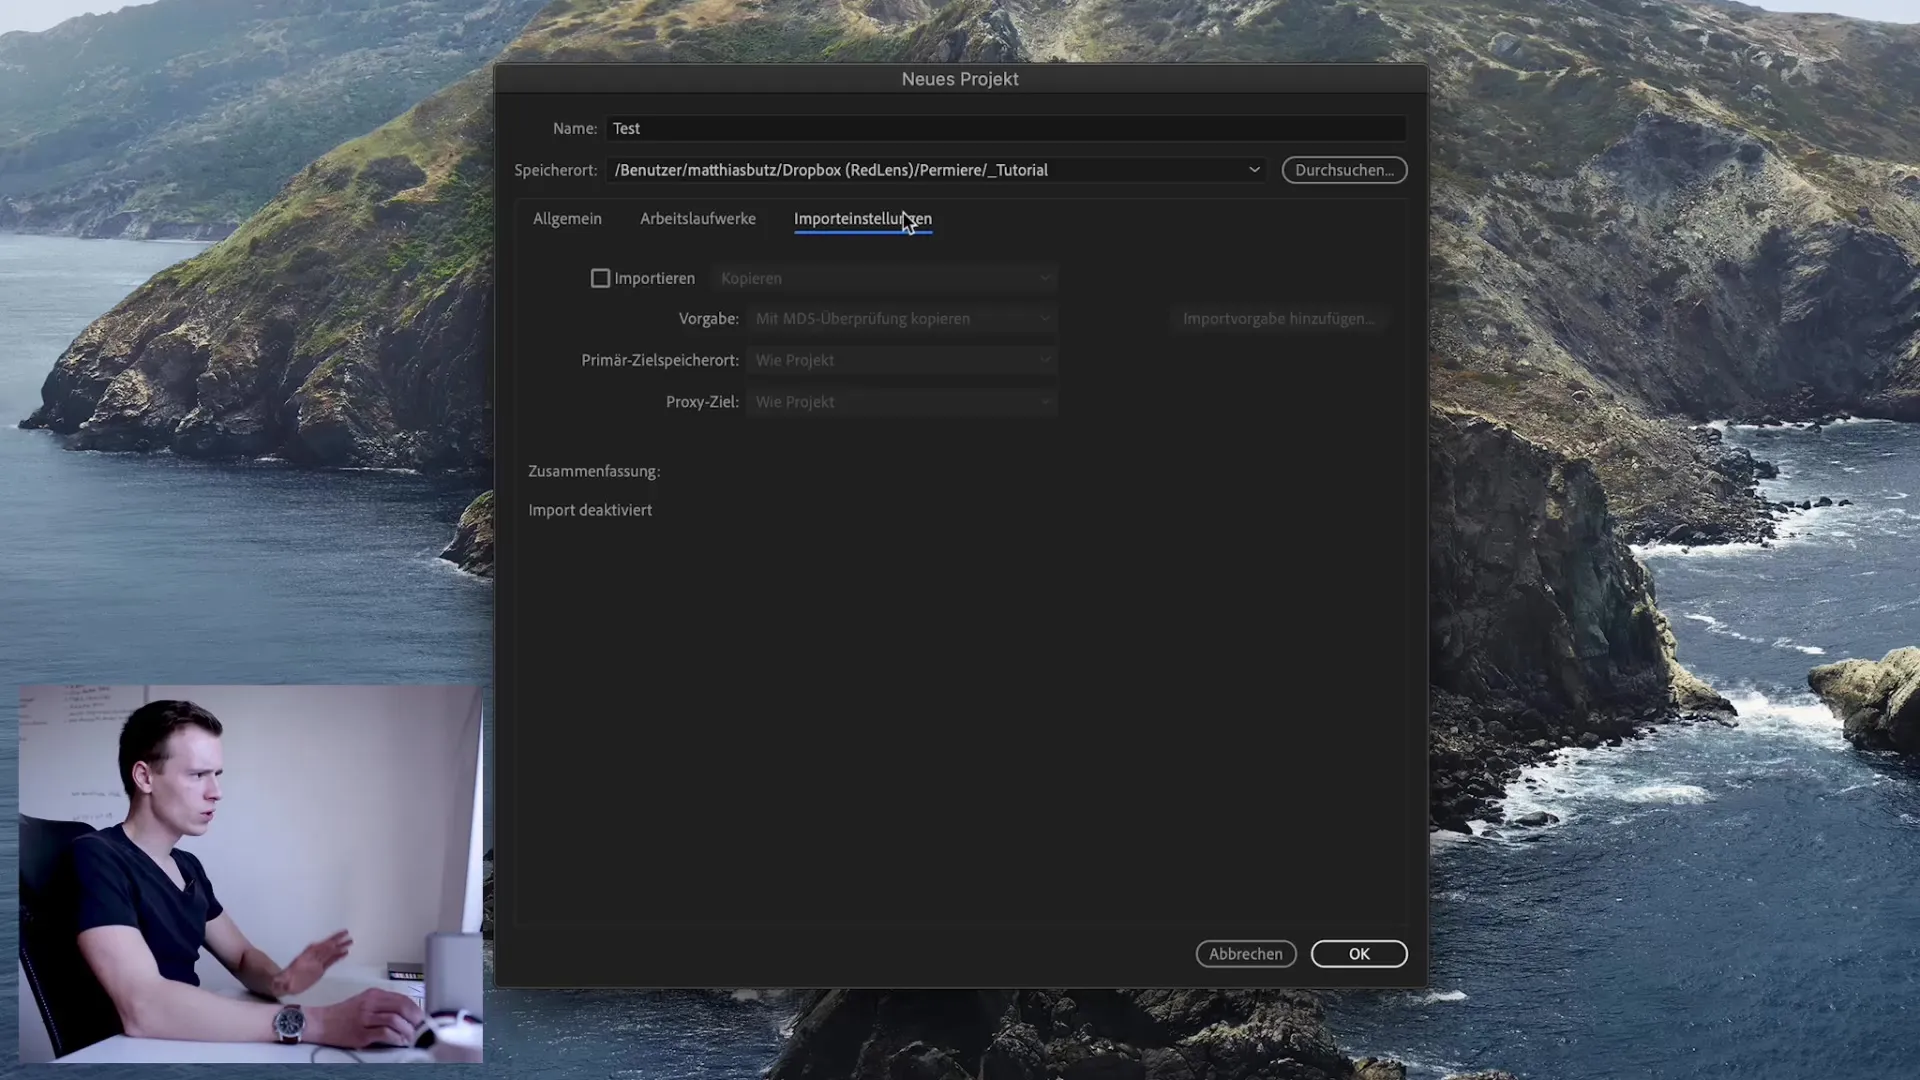
At this point, we can also decide whether we want to copy or transcode files when importing. Transcoding means that you convert the files into a different format. Highly compressed files require significantly more power to be played back or rendered. It might therefore make sense to use uncompressed files, which take up more storage space but require less processing power.
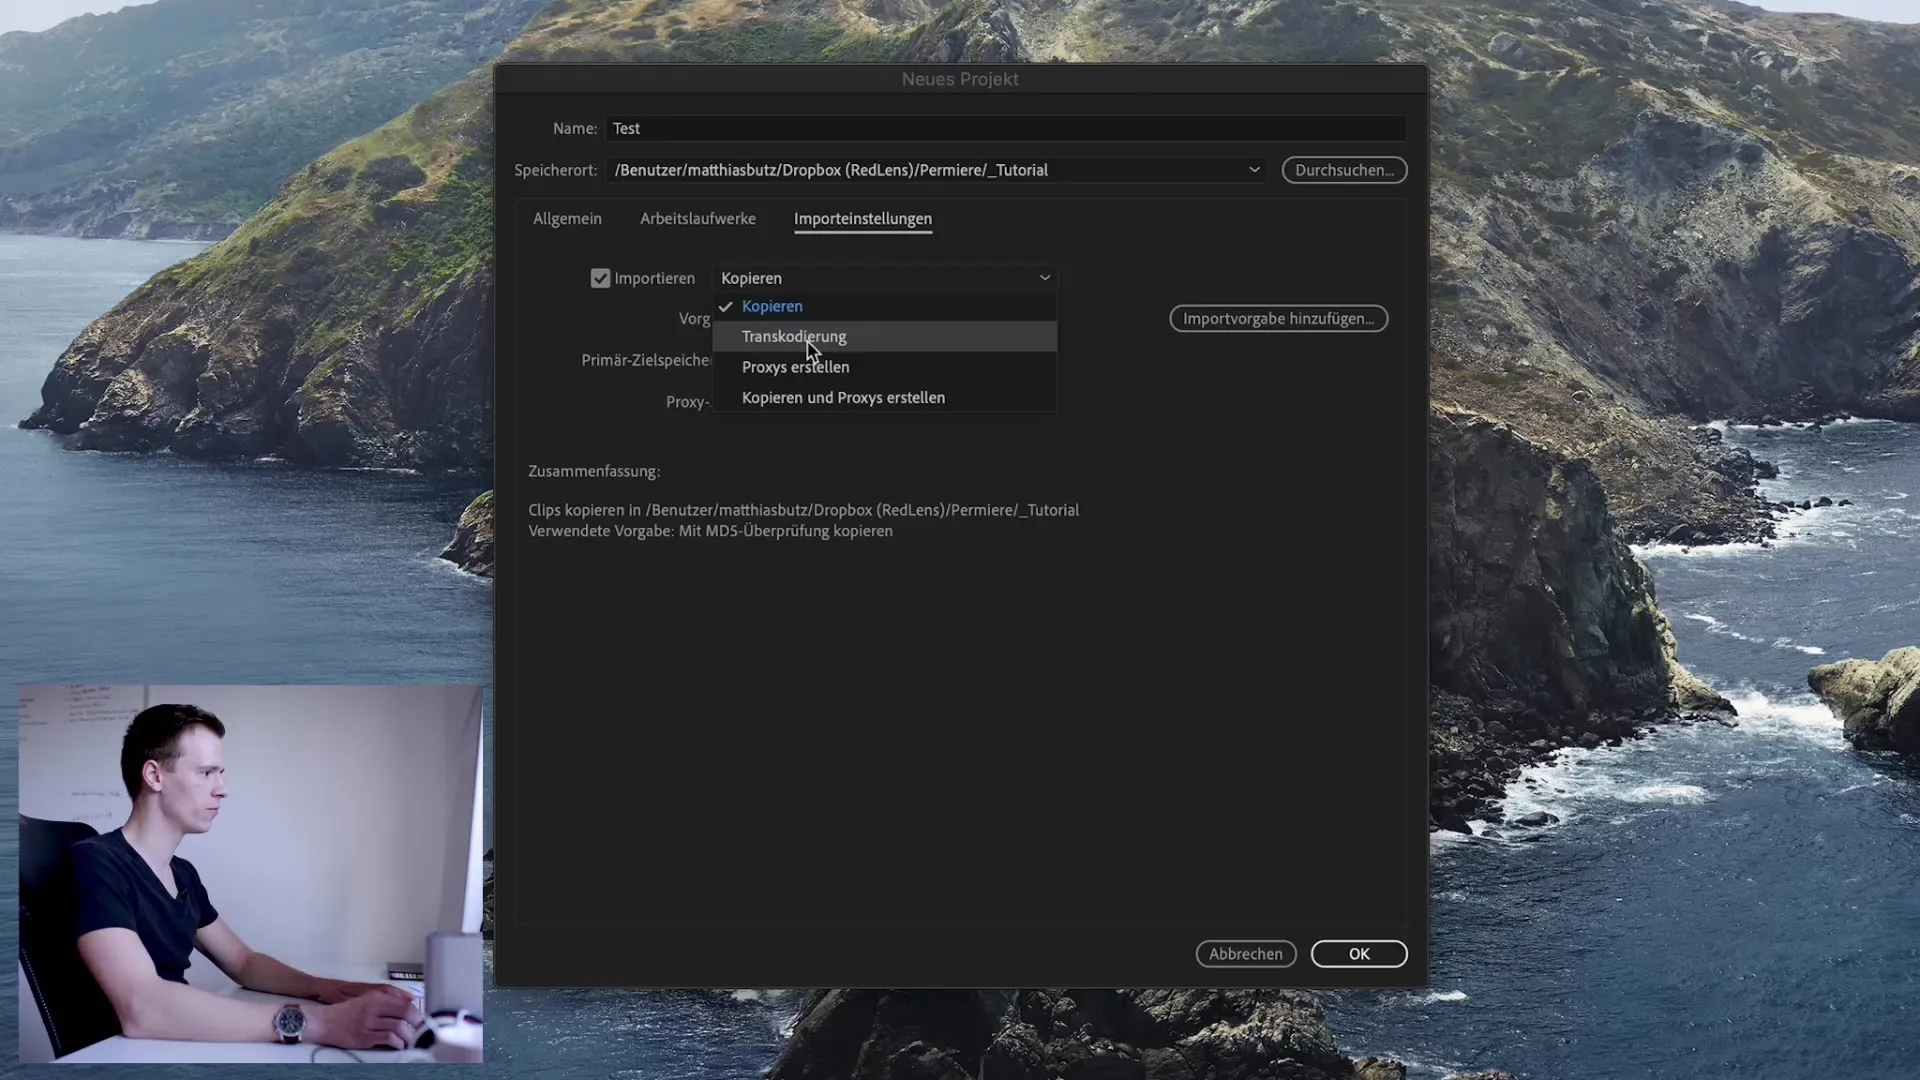
Another point is the possibility to create proxy media. This becomes particularly interesting if you are working with very high-resolution videos, such as 8K. Your computer may struggle to process such large files, making editing more difficult. With proxies, you can work in a lower resolution, which speeds up editing considerably. These proxies are smaller video files that are easy to handle.
When everything looks good, click on "OK". This will open the main Premiere Pro window where you will work on your project.
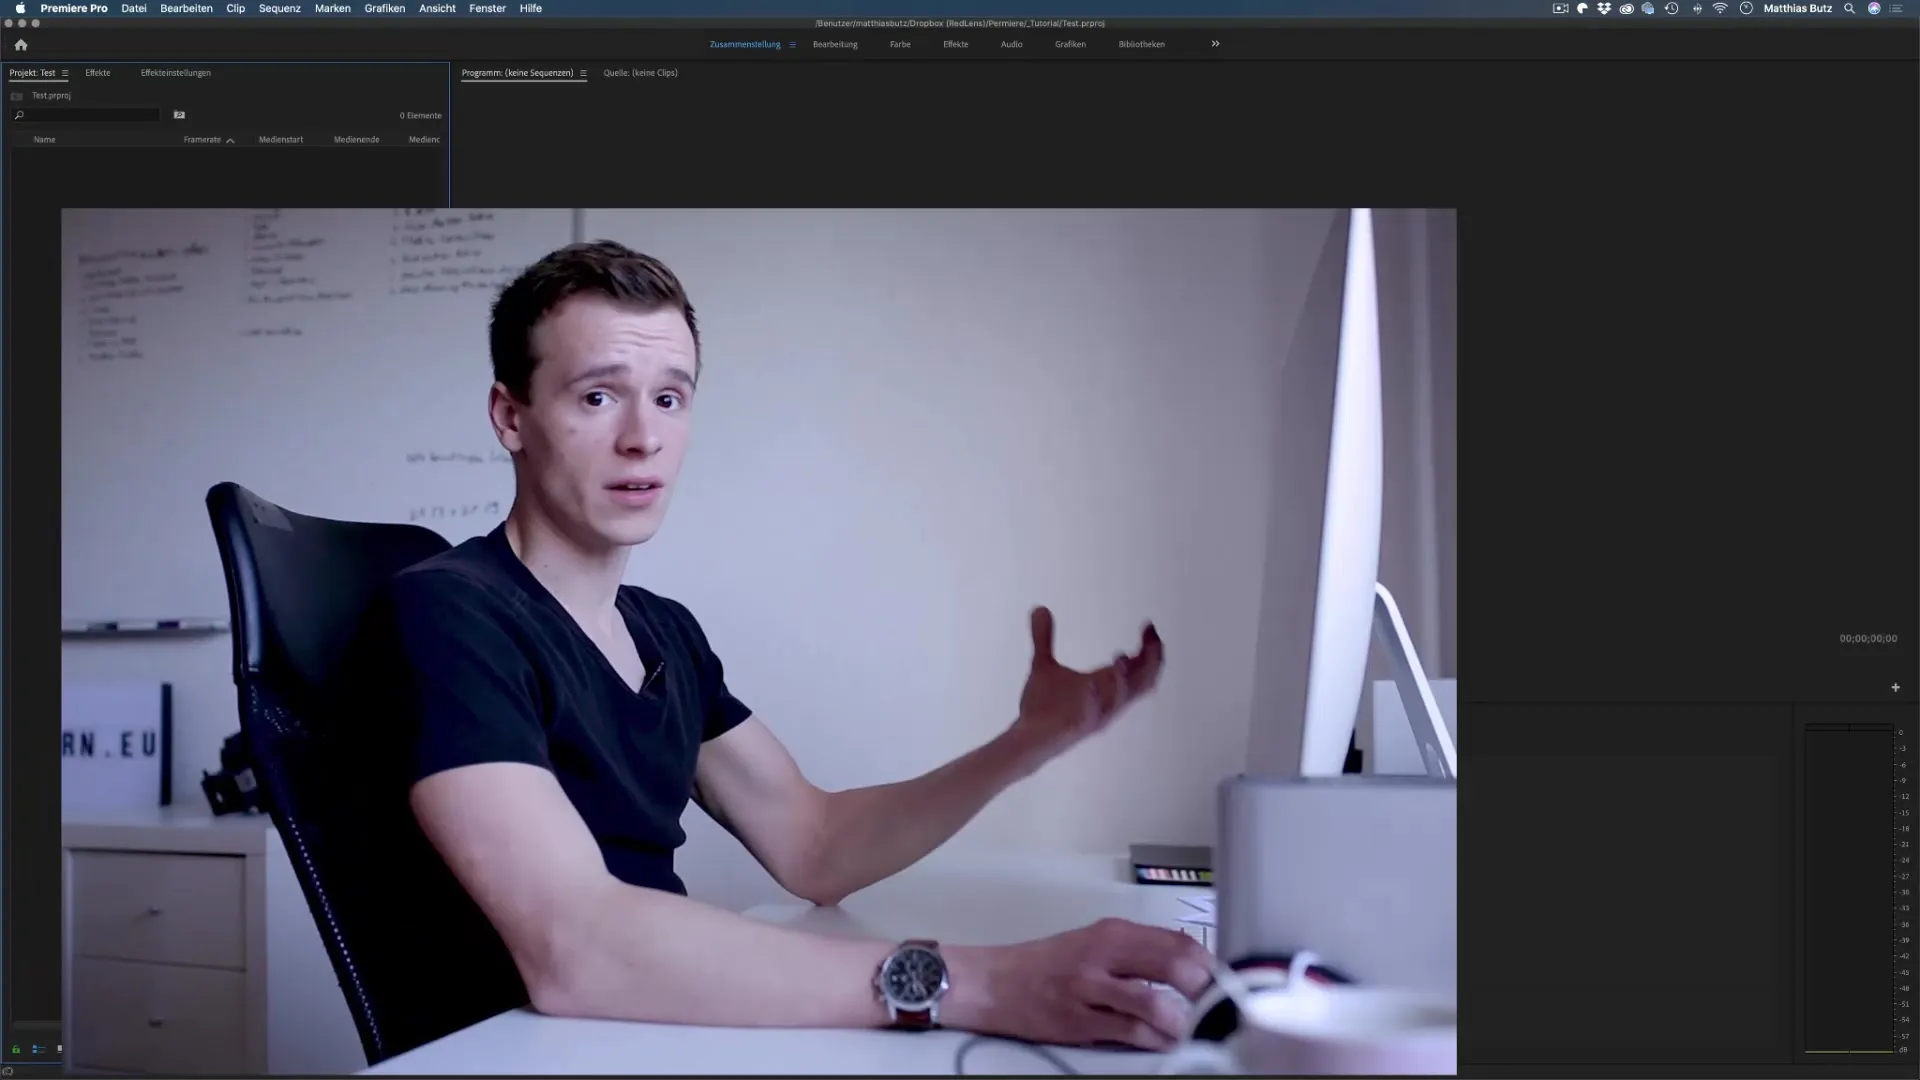
Here you will continue with the basic functions of Premiere, which I will introduce to you in the next lesson.
Summary - Premiere Pro CC: Creating a project made easy
In this step-by-step guide, you have learned how to create a new project in Adobe Premiere Pro and how to make the necessary settings that are important for smooth editing.
Frequently asked questions
How do I choose the best storage location for my Premiere project?Choose a safe location, preferably an internal SSD or cloud services like Dropbox for automatic backups.
Is there a recommended render option?Yes, usually you should choose "Metal" for Mac or the fastest software option for Windows.
What are proxies and why should I use them?Proxies are smaller video files that make editing easier for high-resolution projects.
How do I organize my files efficiently?store all project files in a central project folder to keep track of them.
Why should I transcode files?Transcoding can improve performance, especially when working with highly compressed files.
