Creating credits can be an exciting way to add the finishing touches to your video. Not only does it add professionalism to your work, but it also provides a platform to convey important information as well as messages of thanks. In this tutorial, you'll learn how to create stunning credits using Adobe Premiere Pro CC.
Key takeaways
- Easy creation of credits with the text tool
- Using graphics and nested clips to enhance the design
- Adjusting speeds and effects for an appealing result
Step-by-step guide
Step 1: Create a text field
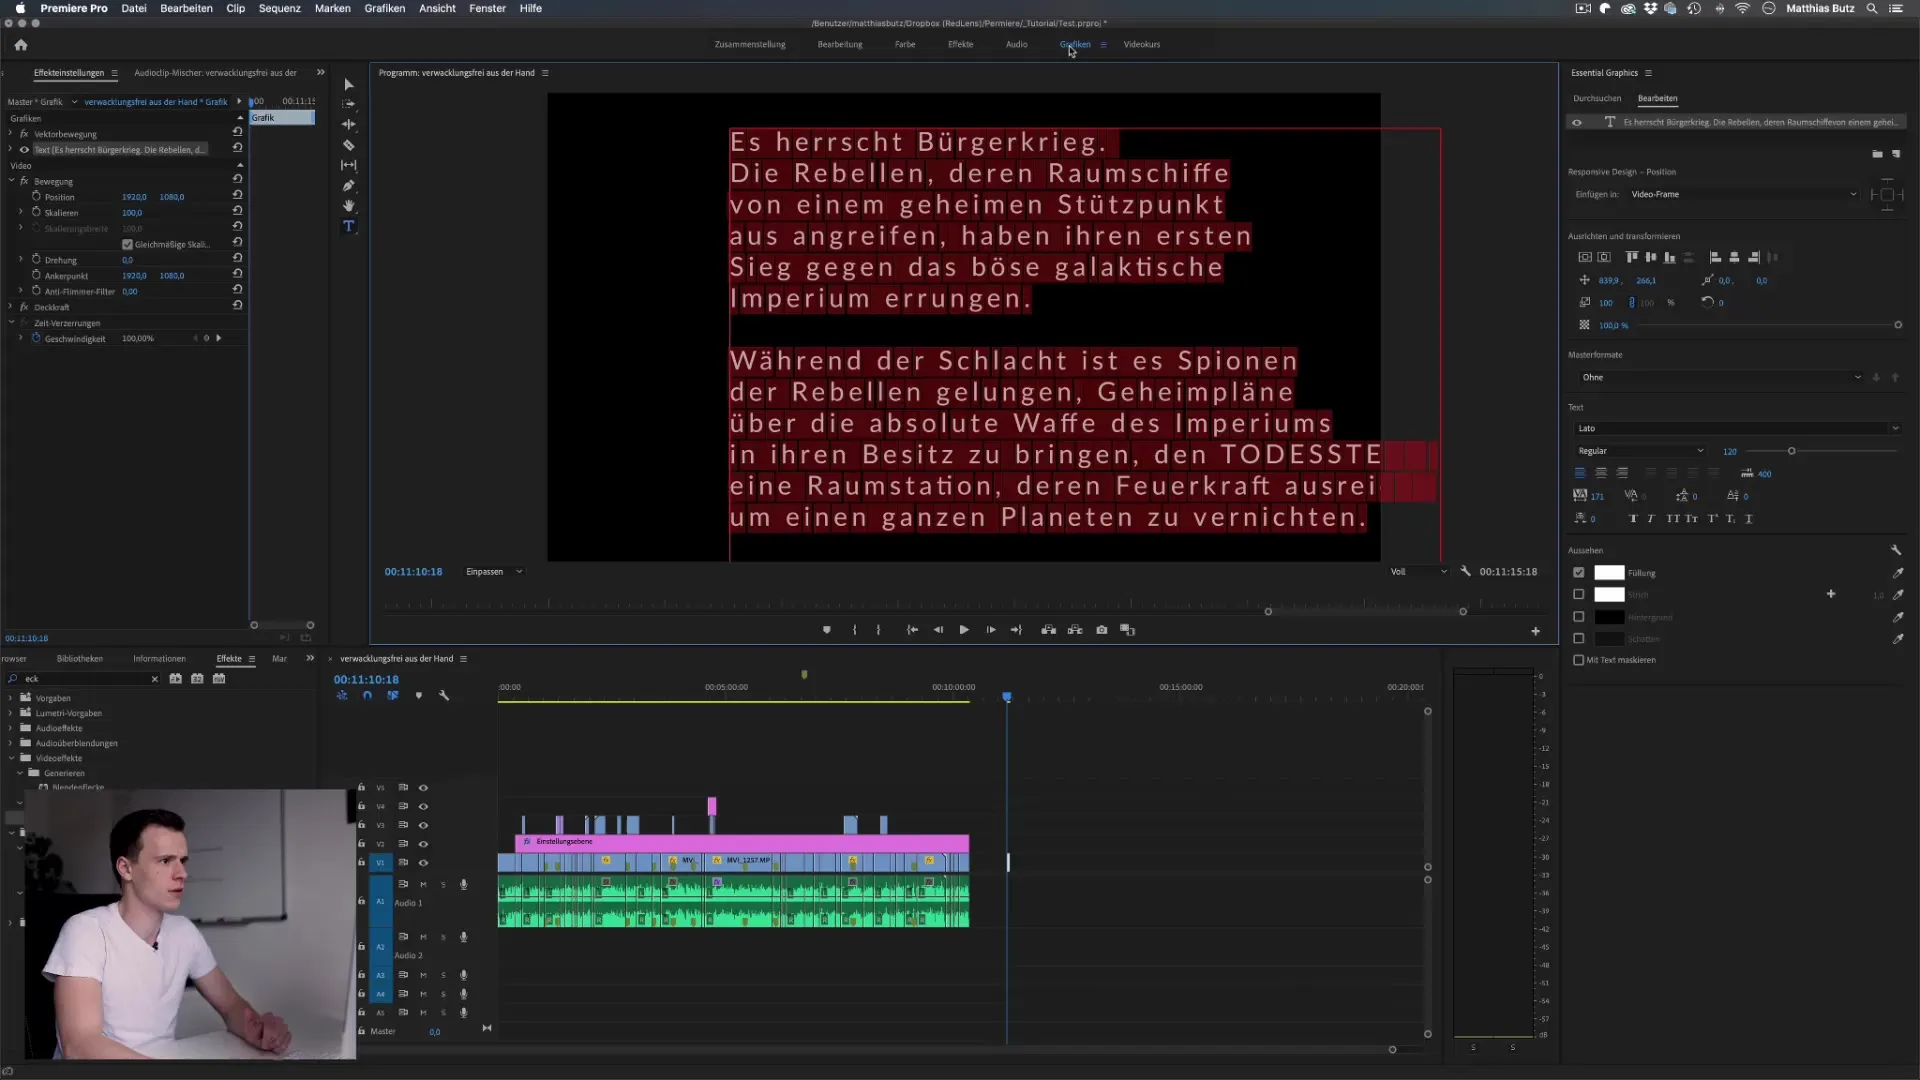
To create credits, you must first create a text field. To do this, select the text tool in Premiere Pro. You can do this by either pressing the "T" key or selecting the text tool from the toolbar. Then click on the area of your timeline with a black background to create the perfect contrast. This creates an appealing look. I will now insert the desired text here.
Step 2: Customize the text
Once you have inserted the text, you can customize it. Select the highlighted text and go to the "Essential Graphics" section to change the font, font size, font color and alignment. Make sure that your text is centered - both horizontally and vertically. This will add to the aesthetics of your credits.
Step 3: Activate scrolling titles
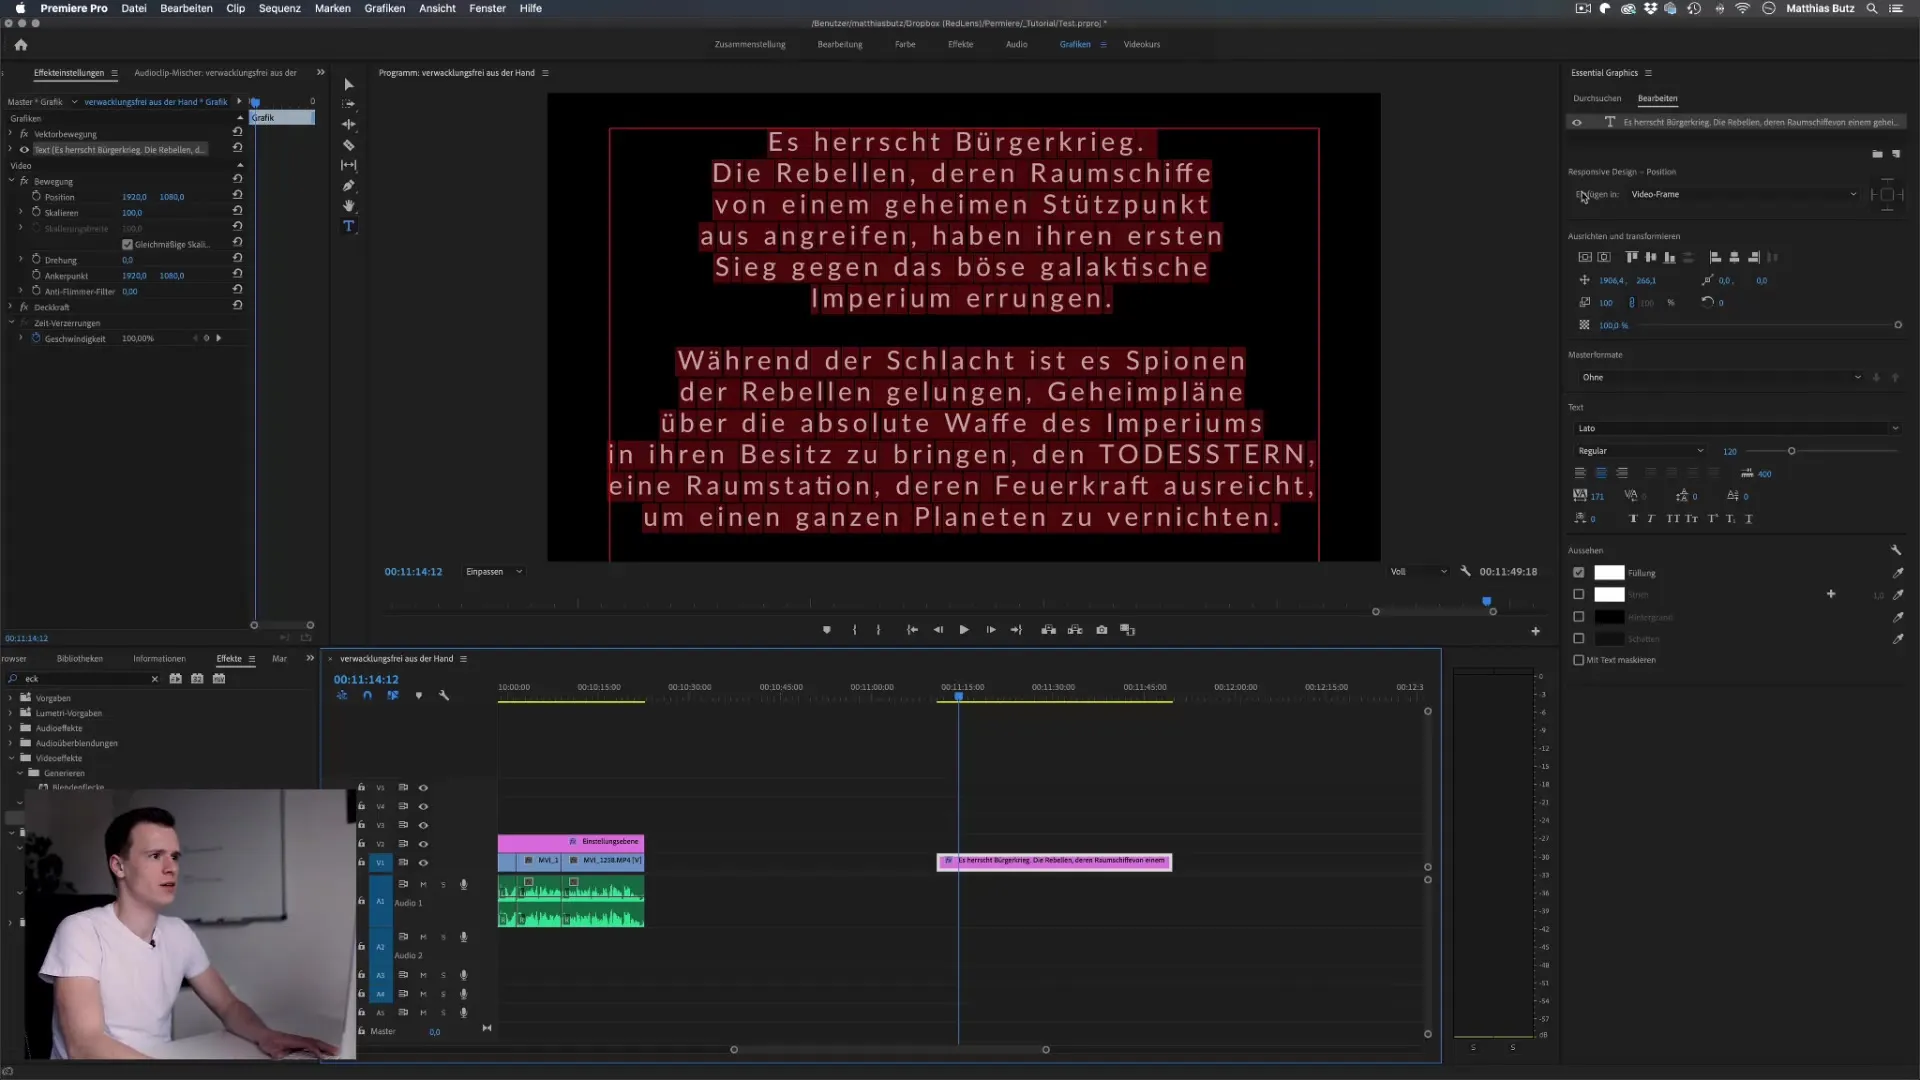
To design the credits, it's a good idea to activate the scrolling title. Simply click in an empty area of your timeline and check the box for the scrolling title. This will give you a smooth animation where the text scrolls from bottom to top. You can also set the delay and acceleration periods to control how long the credits are visible.
Step 4: Optimize speed and duration
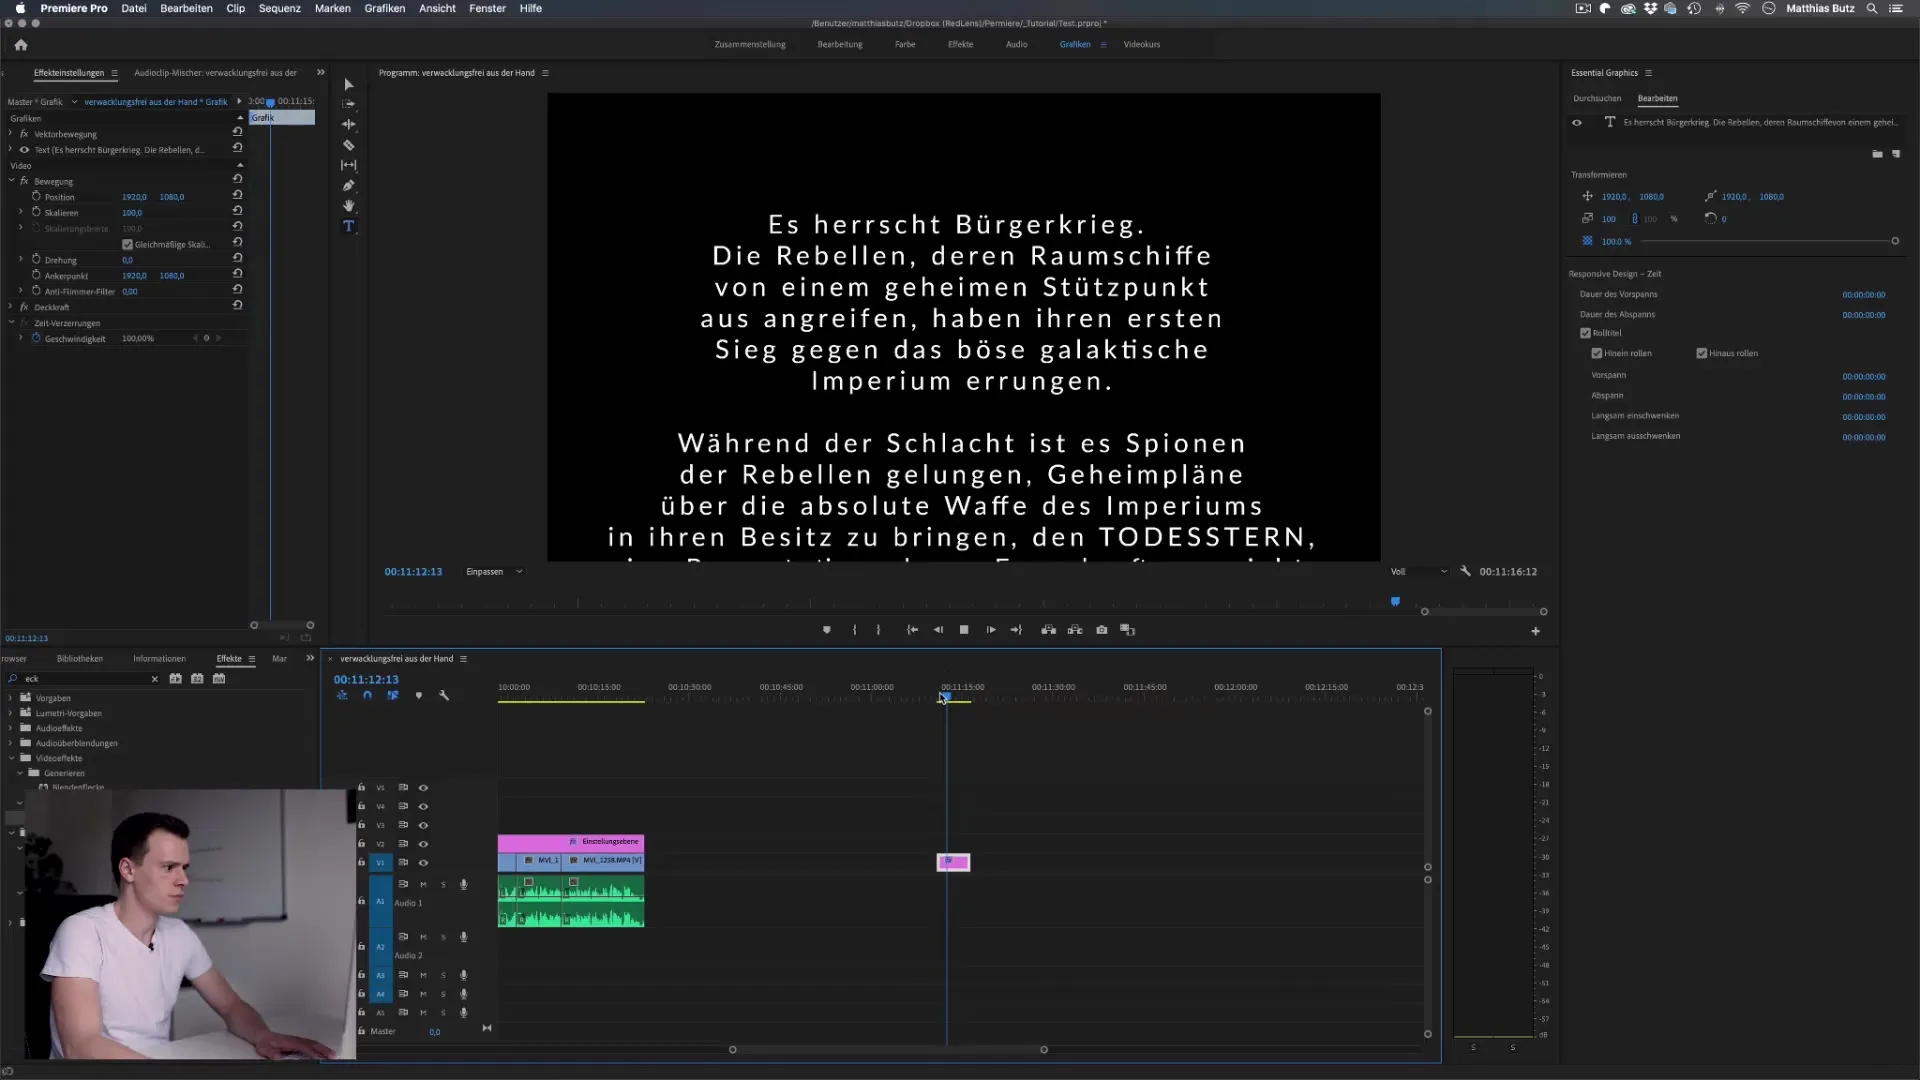
You can adjust the speed and duration of the scrolling title to ensure that the text is easy to read. For example, if you choose a duration of 5 seconds, this might be too fast. Try scrolling your text more slowly and adjust the length accordingly until you find the perfect reading speed.
Step 5: Interleave text
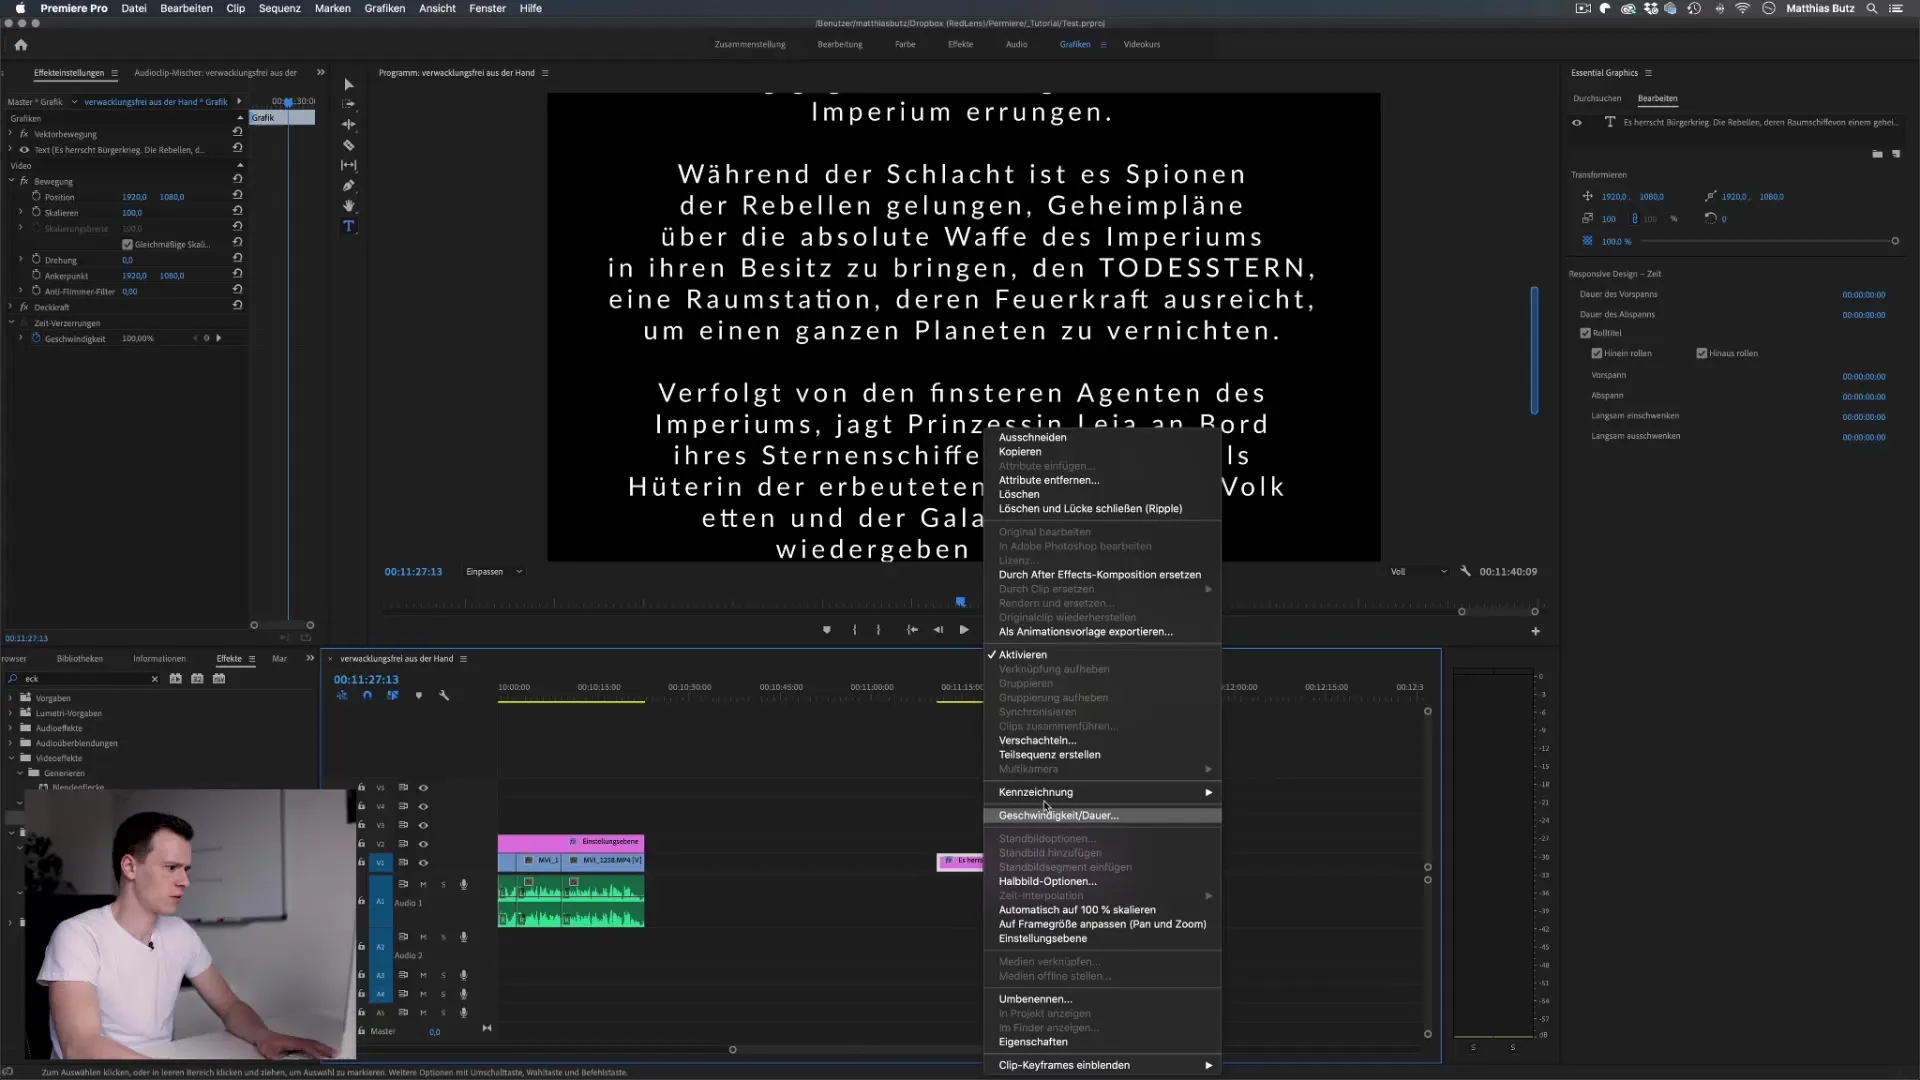
To add more creative effects to your next credits, you can turn the text into a nested clip. Right-click on the text and select "Nest". This will turn the text hint into a new clip to which you can add further effects. This allows for more flexible editing and more design options.
Step 6: Add effect
Now it's time to add visual effects. Drag the "Move vertices" effect onto your nested clip. With this effect, you can move the corner points of the credits and give them a dynamic look. Be creative with tilting or distorting the text to achieve a unique look reminiscent of famous credits like those from Star Wars.
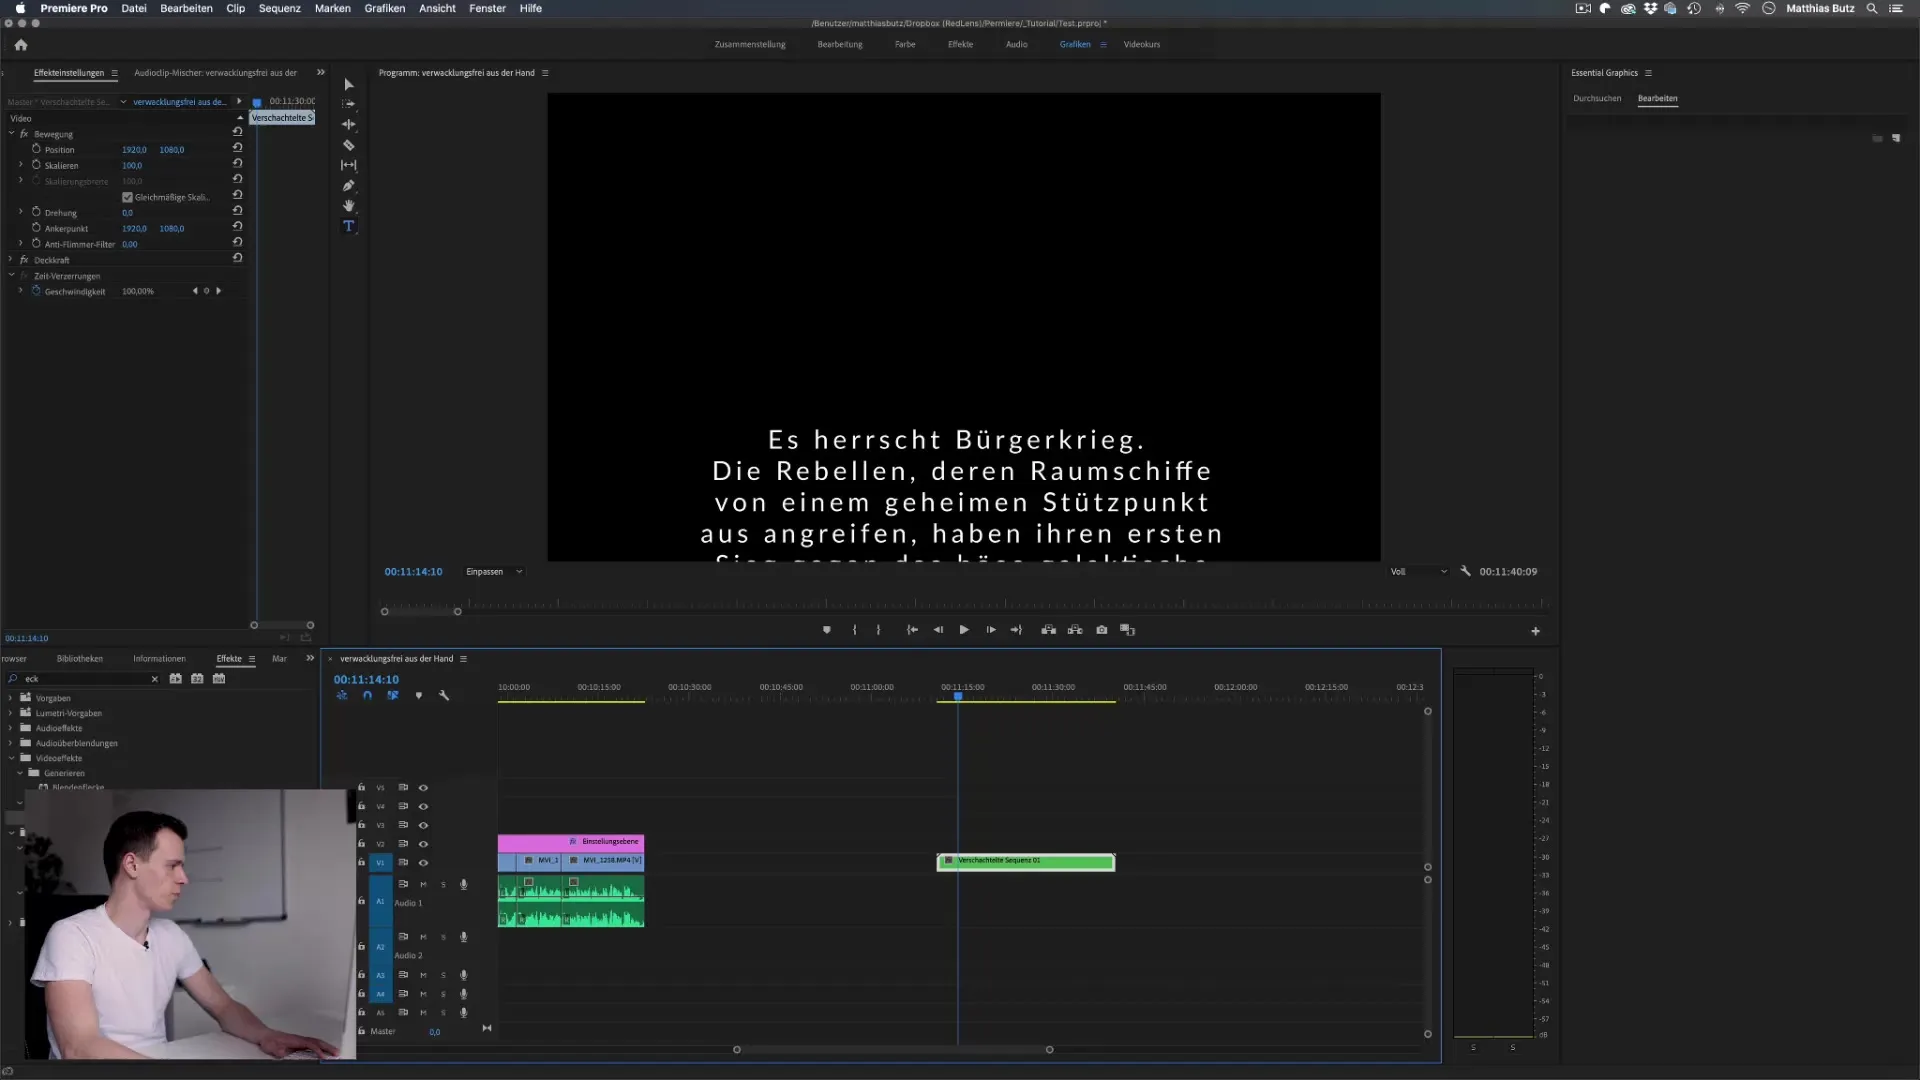
Step 7: Fine tuning
Now comes the detail work where you make sure everything looks perfect. Adjust the key points of the text, experiment with fonts and font sizes and add softer edges if necessary to give the credits a smooth look. Check the preview regularly to see the desired effects and optimize your adjustments.
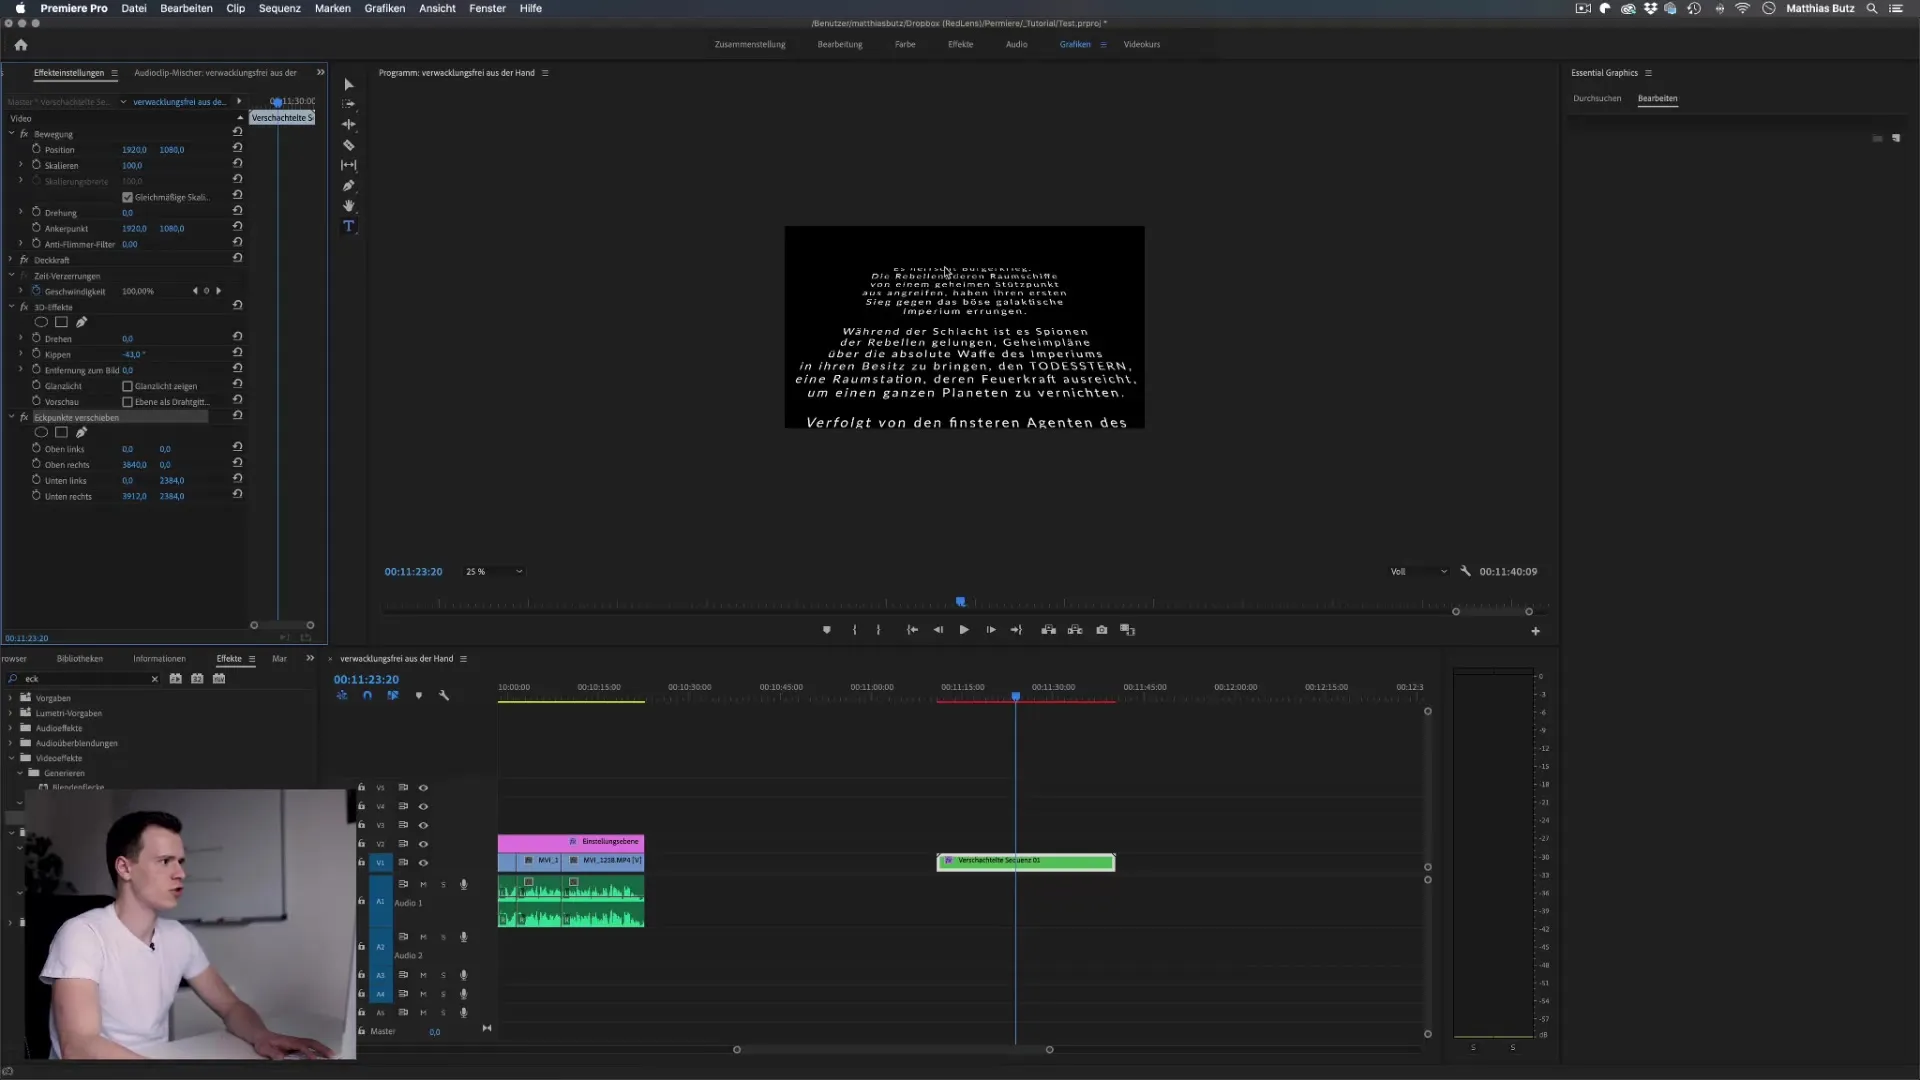
Step 8: Make final adjustments
It's time to draw the final conclusions. Think about whether you want to add more images, animations or backgrounds to make your credits even more appealing. Be creative! And remember that you can adjust the length and speed to your liking.

Summary - Creating credits in Premiere Pro: A detailed guide
In this guide, you've learned how to create engaging credits in Adobe Premiere Pro. You've learned the steps to create and customize a text box, how to enable scrolling titles, set the speed and use creative effects.
Frequently asked questions
How do I create a scroll title in Premiere Pro?You activate the scroll title by clicking on an empty area in the timeline and checking the box for the scroll title.
Can I customize the text in different ways?Yes, you can customize the font, font size, font color and alignment in the Essential Graphics section.
How can I add creative effects to my credits?By converting the text into a nested clip and applying the "Move vertices" effect to it.
How do I make sure the text is readable? Make sure to choose an appropriate speed and duration for the scrolling title so that the text has enough time to be read.


