Do you want to learnhow to effectively edit your videos in Adobe PremierePro CC? In this tutorial, I will take you on a step-by-step journey through the editing process of a video. You will see how I approach it and what techniques I use to make my raw materials appealing. Let’s get started right away!
Key insights
- The importance of synchronizing audio and video.
- Techniques for removing fillers and unwanted elements.
- The use of markers for easy navigation in the editing process.
Step-by-Step Guide
First, the initial step is to gather and prepare the raw material. You should ensure that you have the correct settings; first, check the sequence settings. Go to the settings and make sure your video resolution is set to 4K and the frame rate to 24 frames per second.
Now it’s time to select your main video, the talking-head video. This is the recording where you explain what your video is about. For this, go to your project view, identify the appropriate video, and drag it into the timeline.
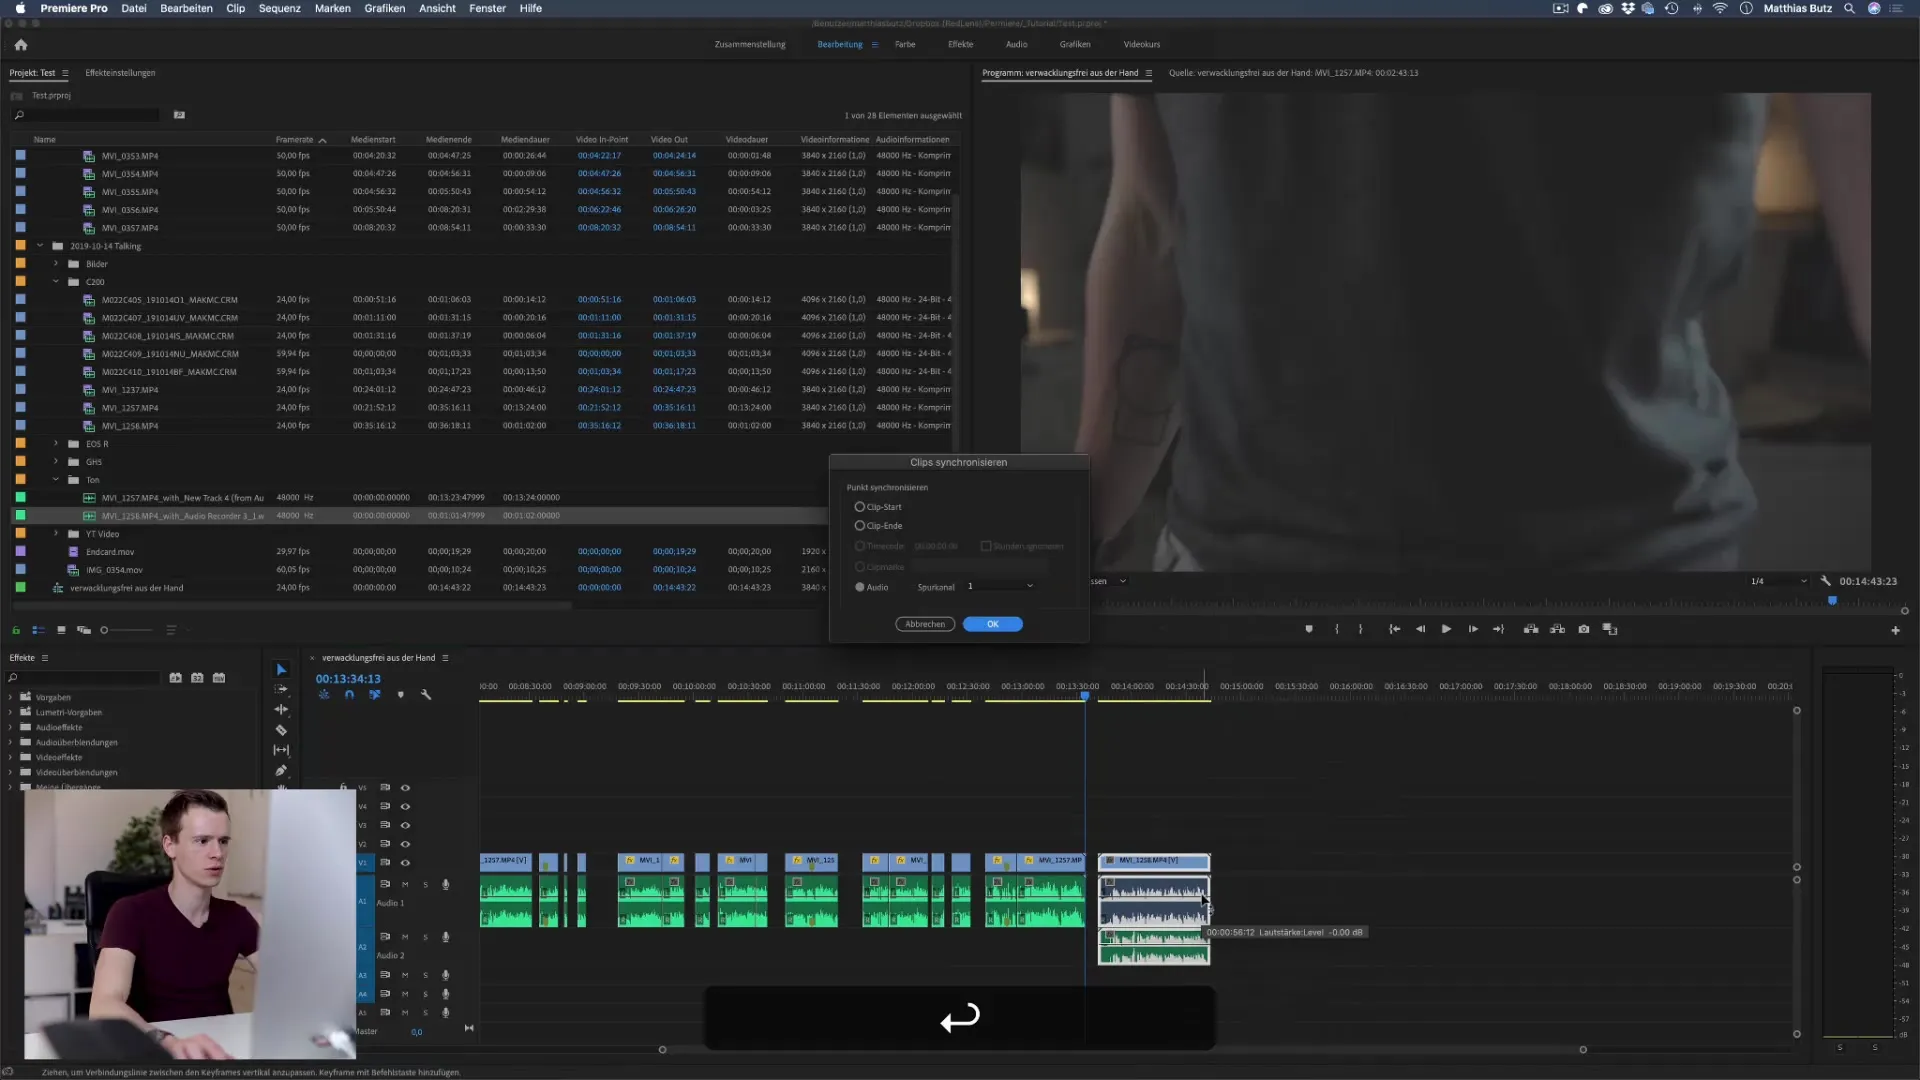
Since the audio recording is also important, you need to ensure the best possible quality by synchronizing the audio recording with the video. To achieve this, select both clips in the timeline, right-click, and choose the “Synchronize” function. Premiere Pro will now automatically try to sync the clips together.
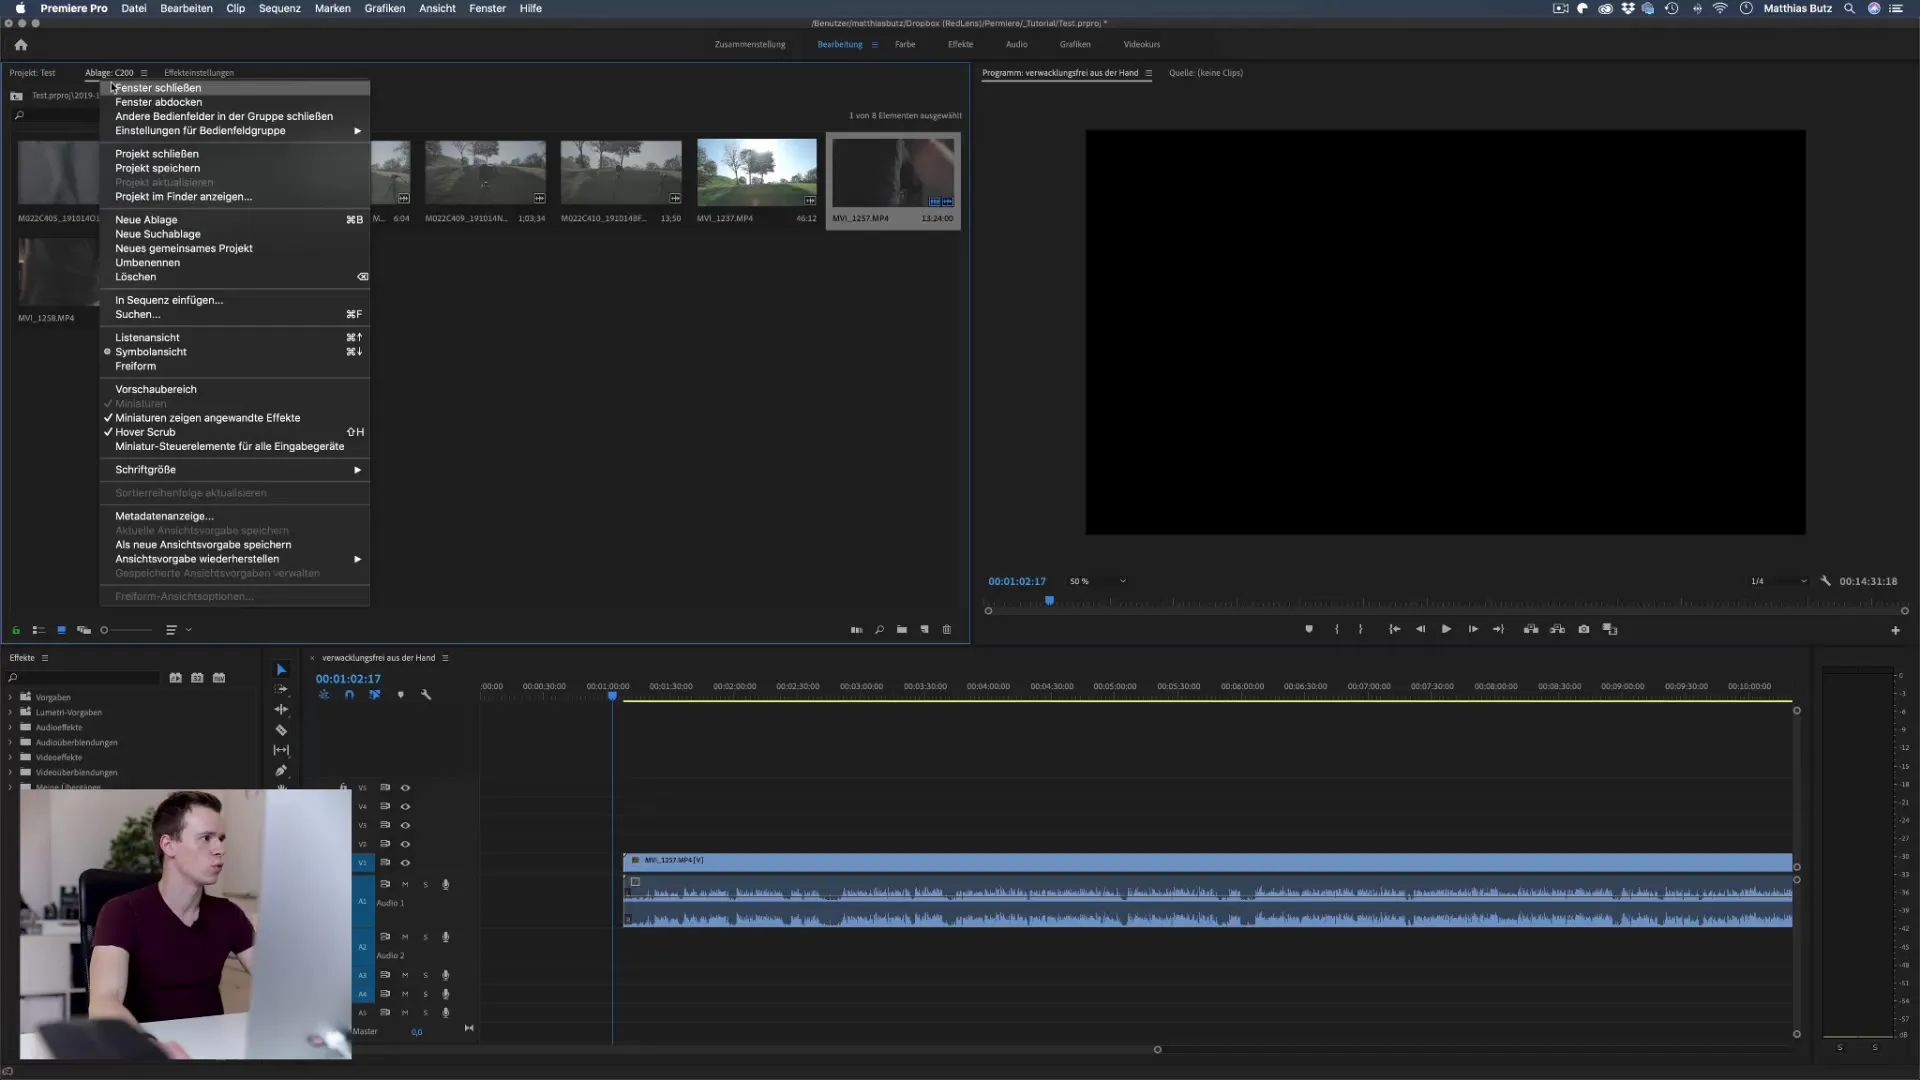
Now that the audio is synchronized, you can start your editing. First, go through the raw material and mark the places where fillers or unwanted parts occur. I recommend watching the video in fast forward during this review so you can quickly identify the fillers.
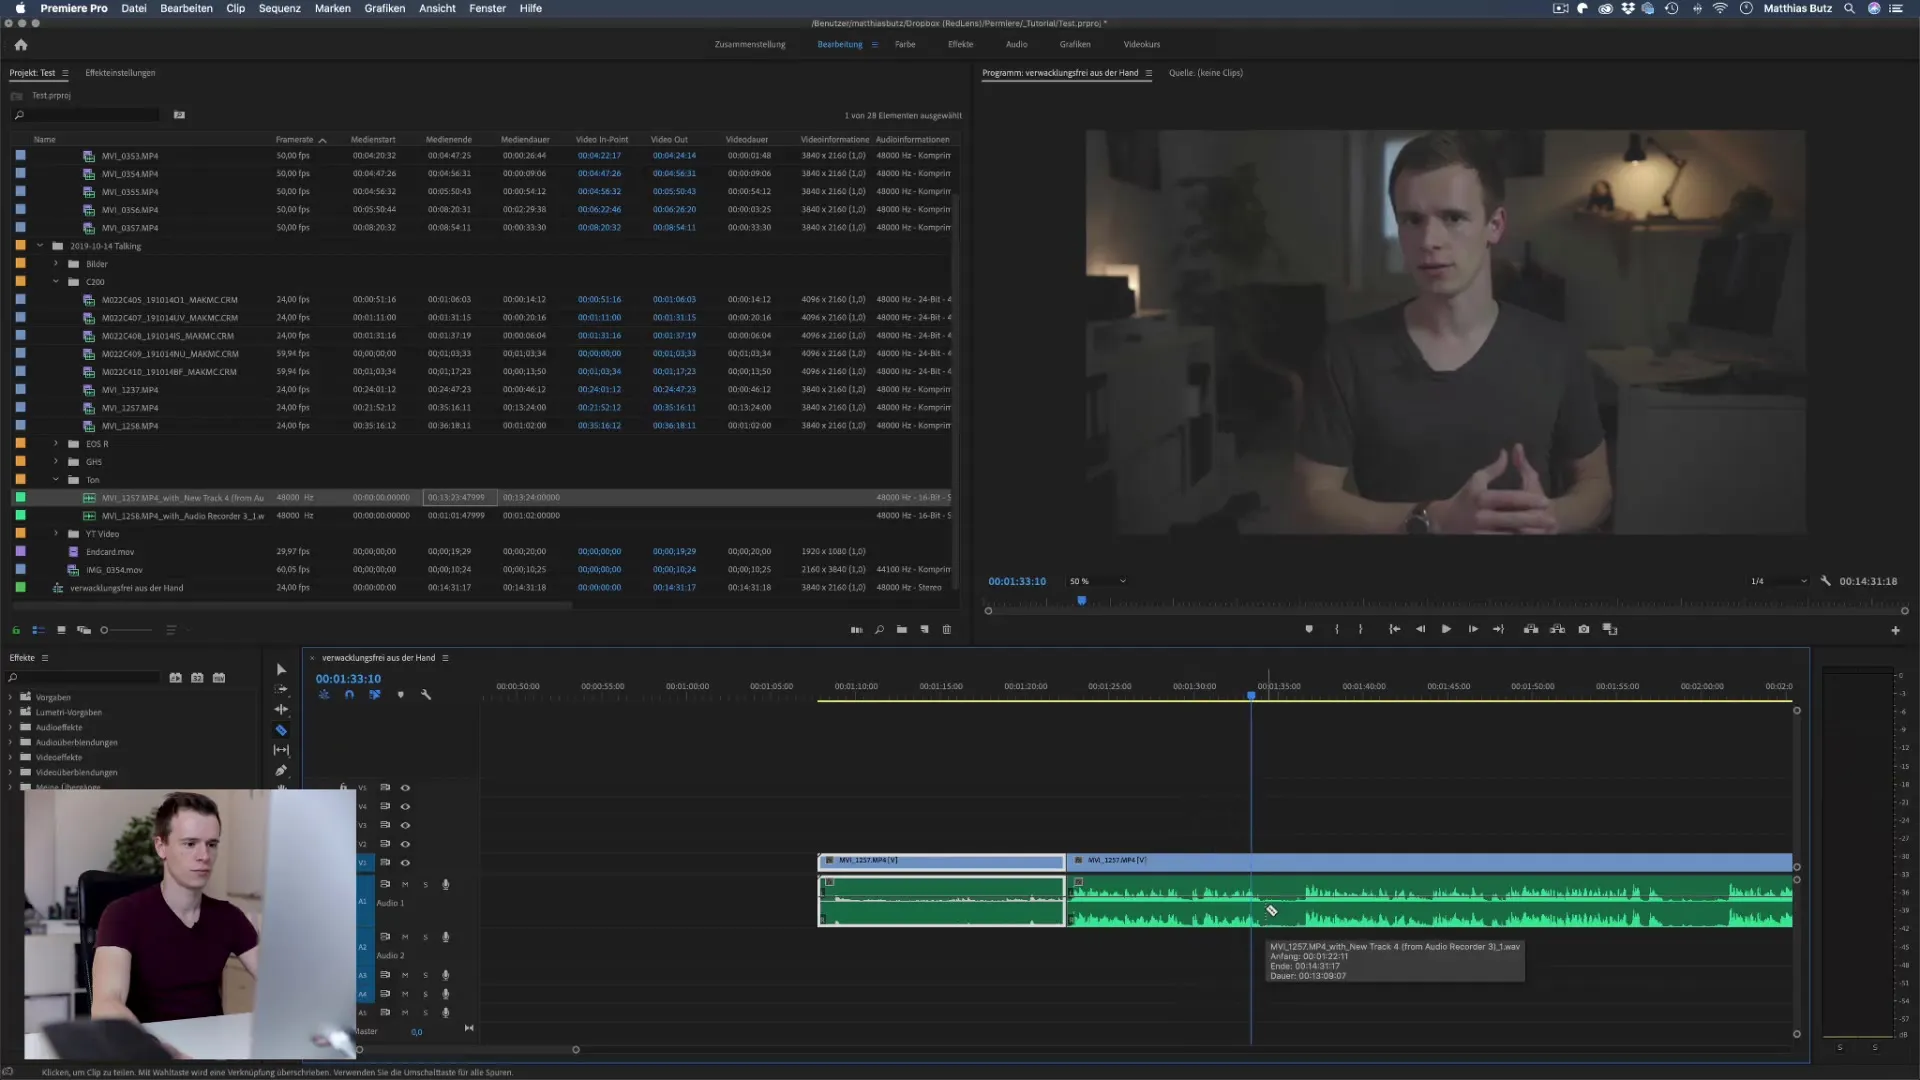
When you find a filler, you can simply cut it out. Select the area with the cut tool and delete the unnecessary part. To make the cut seamless, use the Razor Tool function and ensure that you do not cut in the middle of a word.
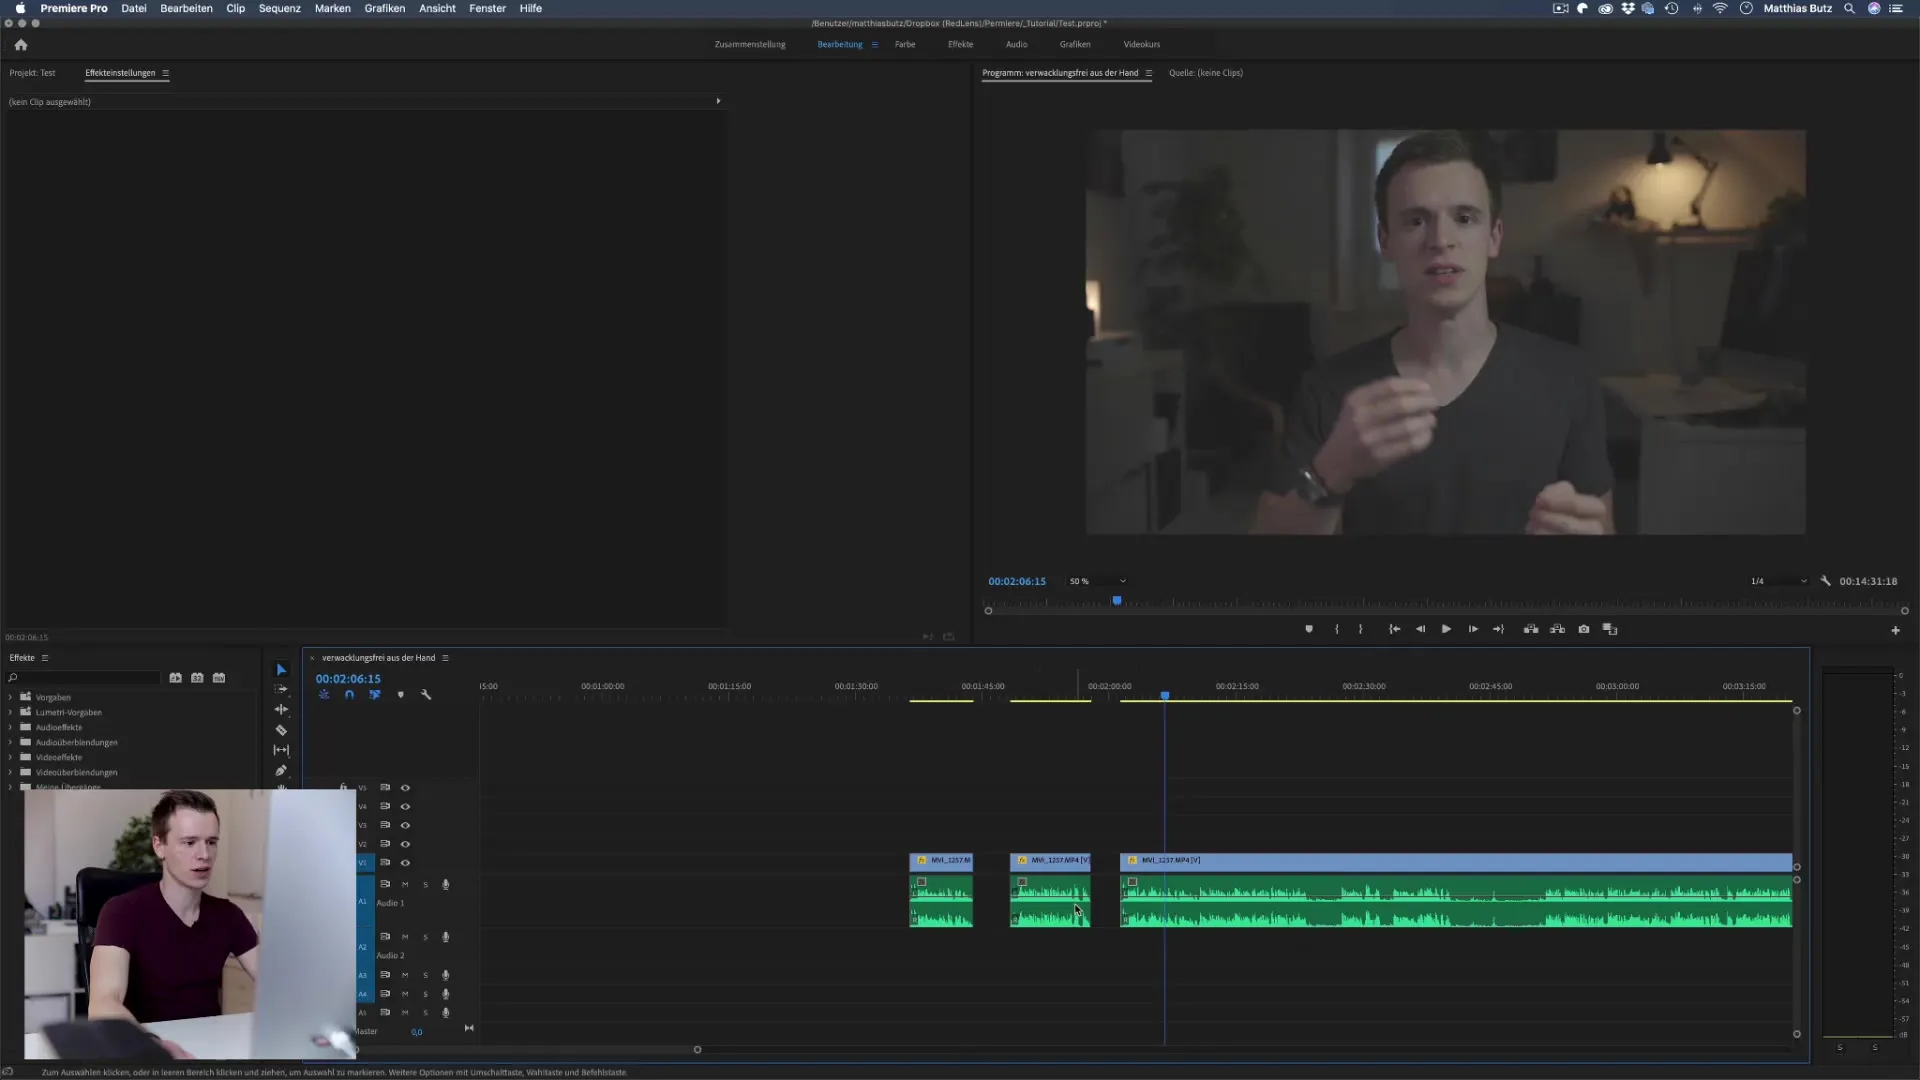
Errors are normal, especially when you record longer sequences. Sometimes the background is not optimal, which can lead to unwanted objects, such as a forgotten shoe, appearing in your video. This is where zooming comes into play: If you jump into your material, you can often make the obvious error unnoticed.
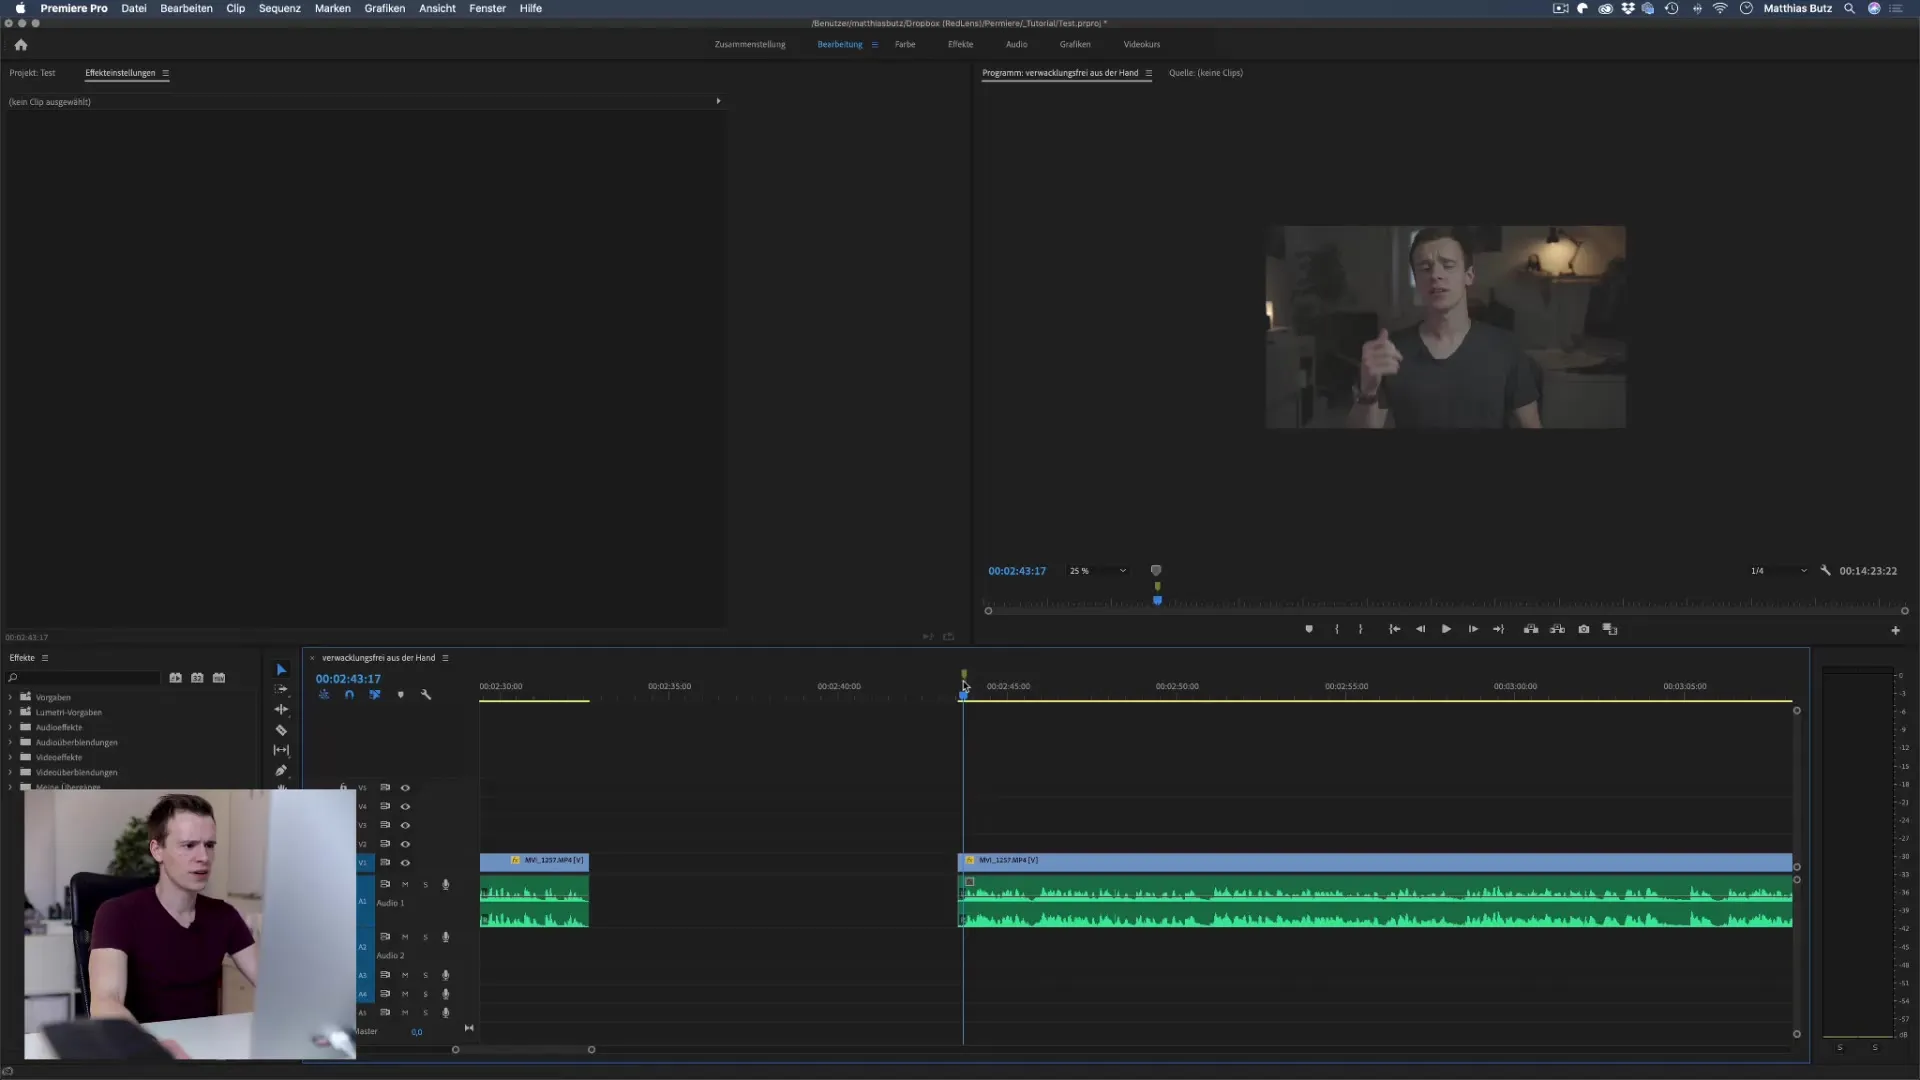
After you have removed all fillers, sort the most important and appropriate parts. Look for the best takes and cut everything else out. It can also be useful to set markers during editing so that you can have an overview at important points later. Press the M key to set markers at important points.
If you cover several topics or tips in your video, it can be helpful to display brief graphics during editing to inform the viewer. Simply show markers at the relevant points that will help you insert the graphics later.
A final but important element in video editingis addressing the timeline. Remove empty spaces in the timeline by selecting the gaps and closing them. Go to “Sequence” and choose “Close Gap.” With this, you now have a complete video without unnecessary pauses.
Now that the initial edit is complete, you can begin post-production. This includes adding graphics, text overlays, and color grading the overall video to make it even more appealing.
Summary – Master Efficient Video Editing in Premiere Pro CC
After following these steps, you are well-equipped to edit your video professionally. It takes practice to refine your techniques, but with each completed project, you will get better. So start being creative and edit your first own video!
FAQ
How do I synchronize audio and video in Premiere Pro?Select both clips in the timeline, right-click, and choose “Synchronize.”
What do I do if I have an error in the video?Use the zoom tool to mask unsightly spots and make the cut seamless.
How do I set markers in the timeline?Press the M key at the desired point to insert a marker.
Can I keep multiple clips together at the same time?Yes, you can select multiple clips and use the right-click “Synchronize” function.
Is zoom cutting a good technique?Yes, zoom cutting can help mask issues as long as you use HD or 4K to maintain quality.
