Adjusting the volume in video productions is often crucial to the quality and viewing experience of a movie. Unbalanced volume levels can frustrate viewers and cause important dialog to be lost. In this tutorial, you'll learn effective ways to adjust volume in Adobe Premiere Pro CC to ensure your audio is both clear and comfortable.
Key takeaways
- Ideally, the volume should be between -15 dB and -6 dB.
- Overdriving the sound will result in poorly audible audio.
- The use of keyframes allows the volume to be finely adjusted.
- The automatic function helps to stabilize the level, but has its limits.
Step-by-step instructions
To adjust the volume in Premiere Pro, follow these steps:
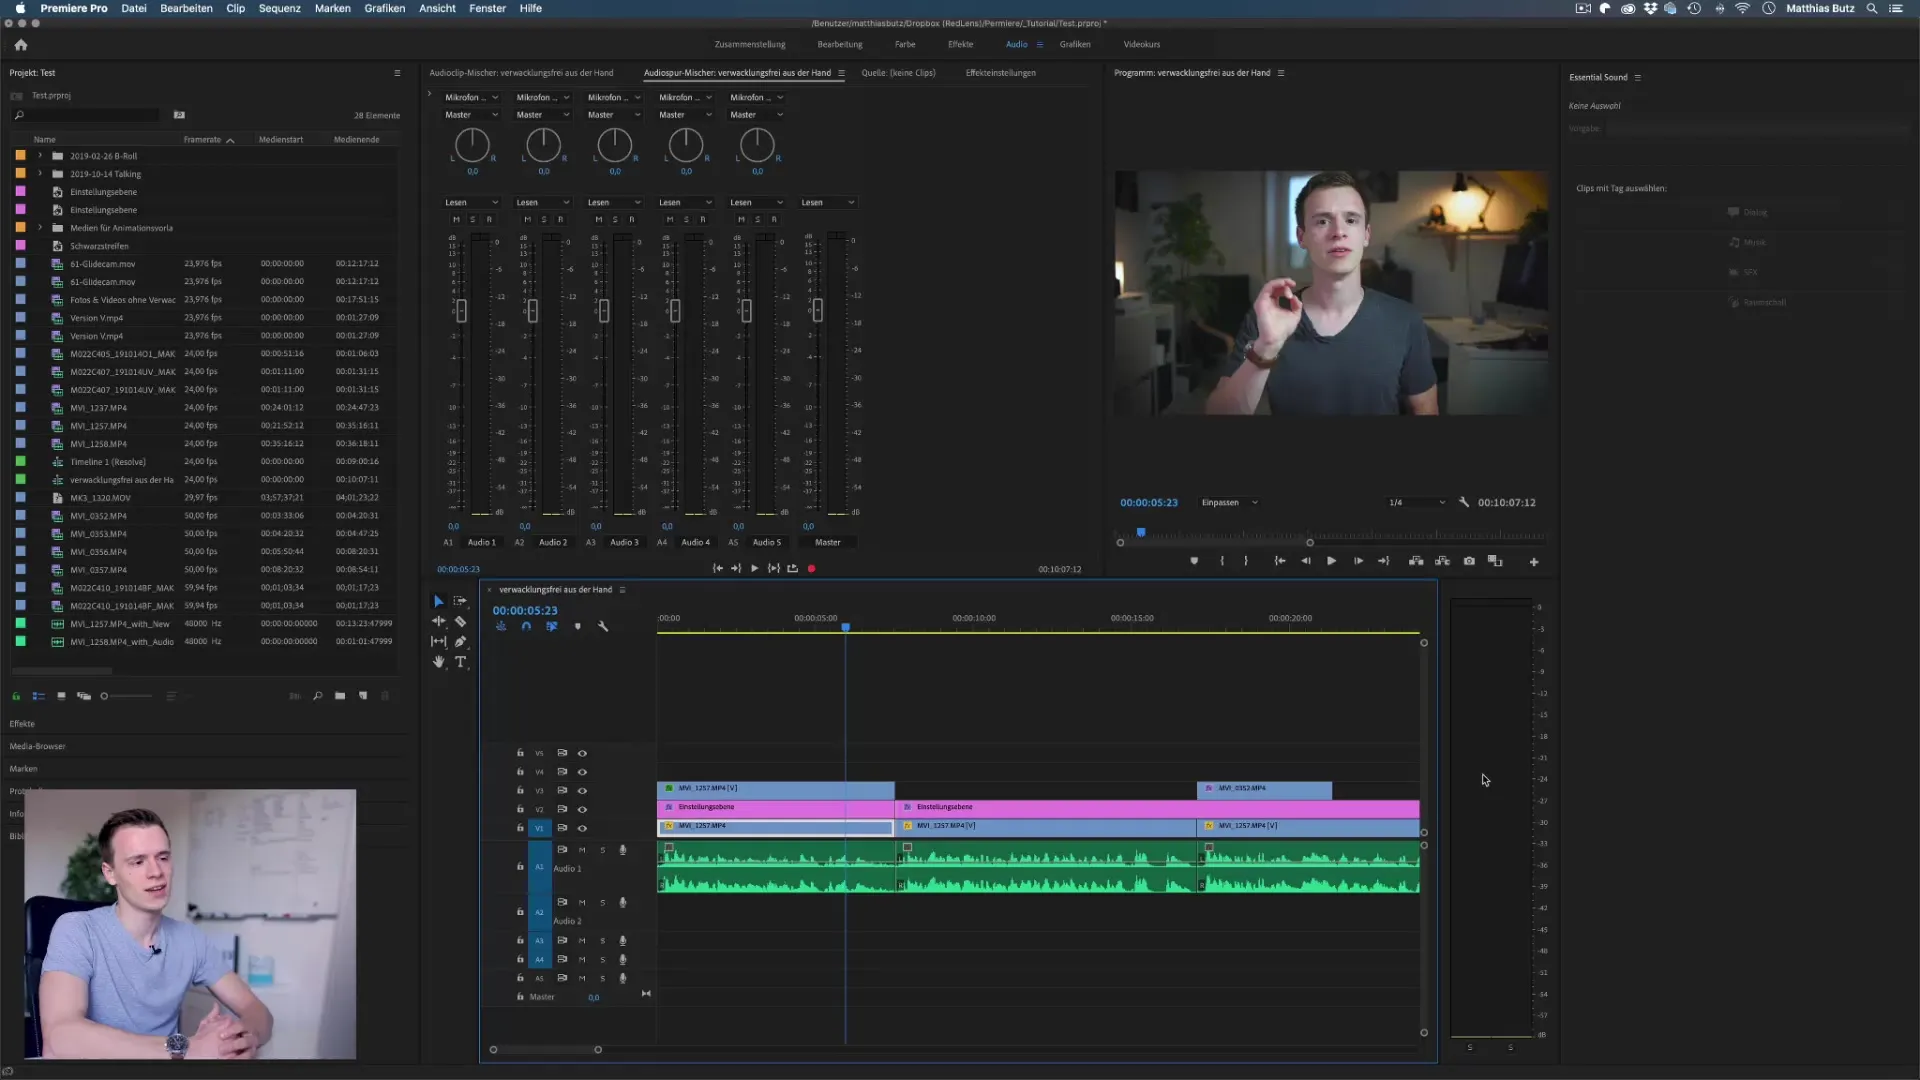
Start by adjusting the level. The level is crucial for the quality of your sound, both when recording and when editing. You can find the tools you need in the Audio tab. To do this, switch to "Audio" at the top of the toolbar. Various tools will appear there to help you adjust the volume.
As soon as you are in the audio tab, you will see the audio meter on the right-hand side. This display gives you immediate information about how loud your sound is. Check the movements in the audio meter during playback. A level that rises above -6 dB is problematic. It should be adjusted to a maximum of -9 dB.

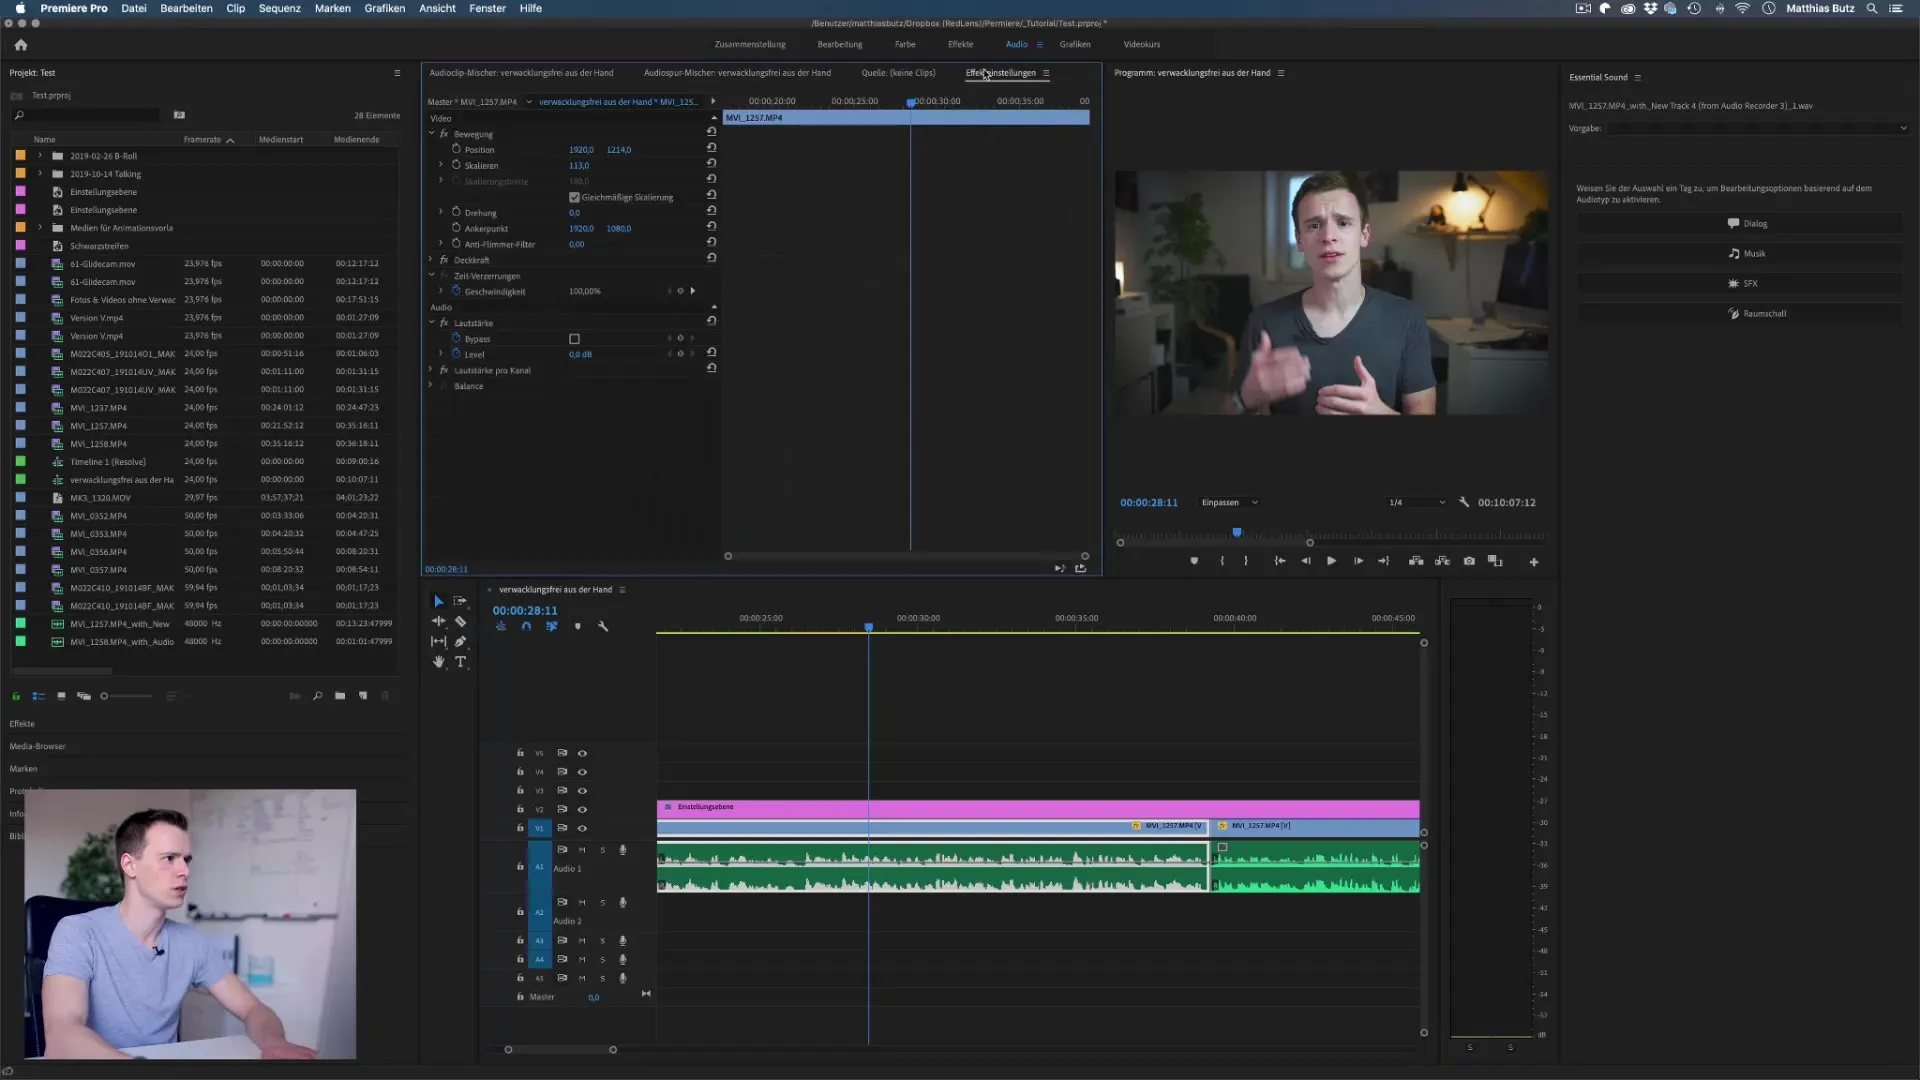
To influence the volume, you must go to the effect settings. You will find these settings under the menu item "Window" in the menu bar. Once there, it is important that you have selected the desired clip. In the effect settings, you can adjust the volume of the clip. Turn the slider upwards to increase the volume. However, make sure that there is no abrupt clipping.

If you set the level too high, you will see that the audio meter goes into the orange and red range, which is considered clipping. This ensures that the sound is muffled and unintelligible - it is important not to exceed these values. Adjust the level so that it is between -15 dB and -6 dB.
Now gradually increase the level and listen to the sound. Make sure that the volume does not go into overdrive. An overdriven range is often compared to a muffled sound, which is unpleasant for the listener. To avoid this, play it safe even with spontaneous recordings and stick to values around and between -10 dB to keep the sound intelligible.
Another step would be keyframes. This function allows you to change the volume at specific points in the clip. Activate the keyframe animation by setting a keyframe where the volume should increase and then another where the volume should decrease again. This is done with a simple click in the audio area of the clip.

When working with different microphones, the level may vary. You may need to adjust the level often, especially if you are recording with different types of microphones. Check the levels regularly to ensure that the audio signal remains constant throughout the clip.
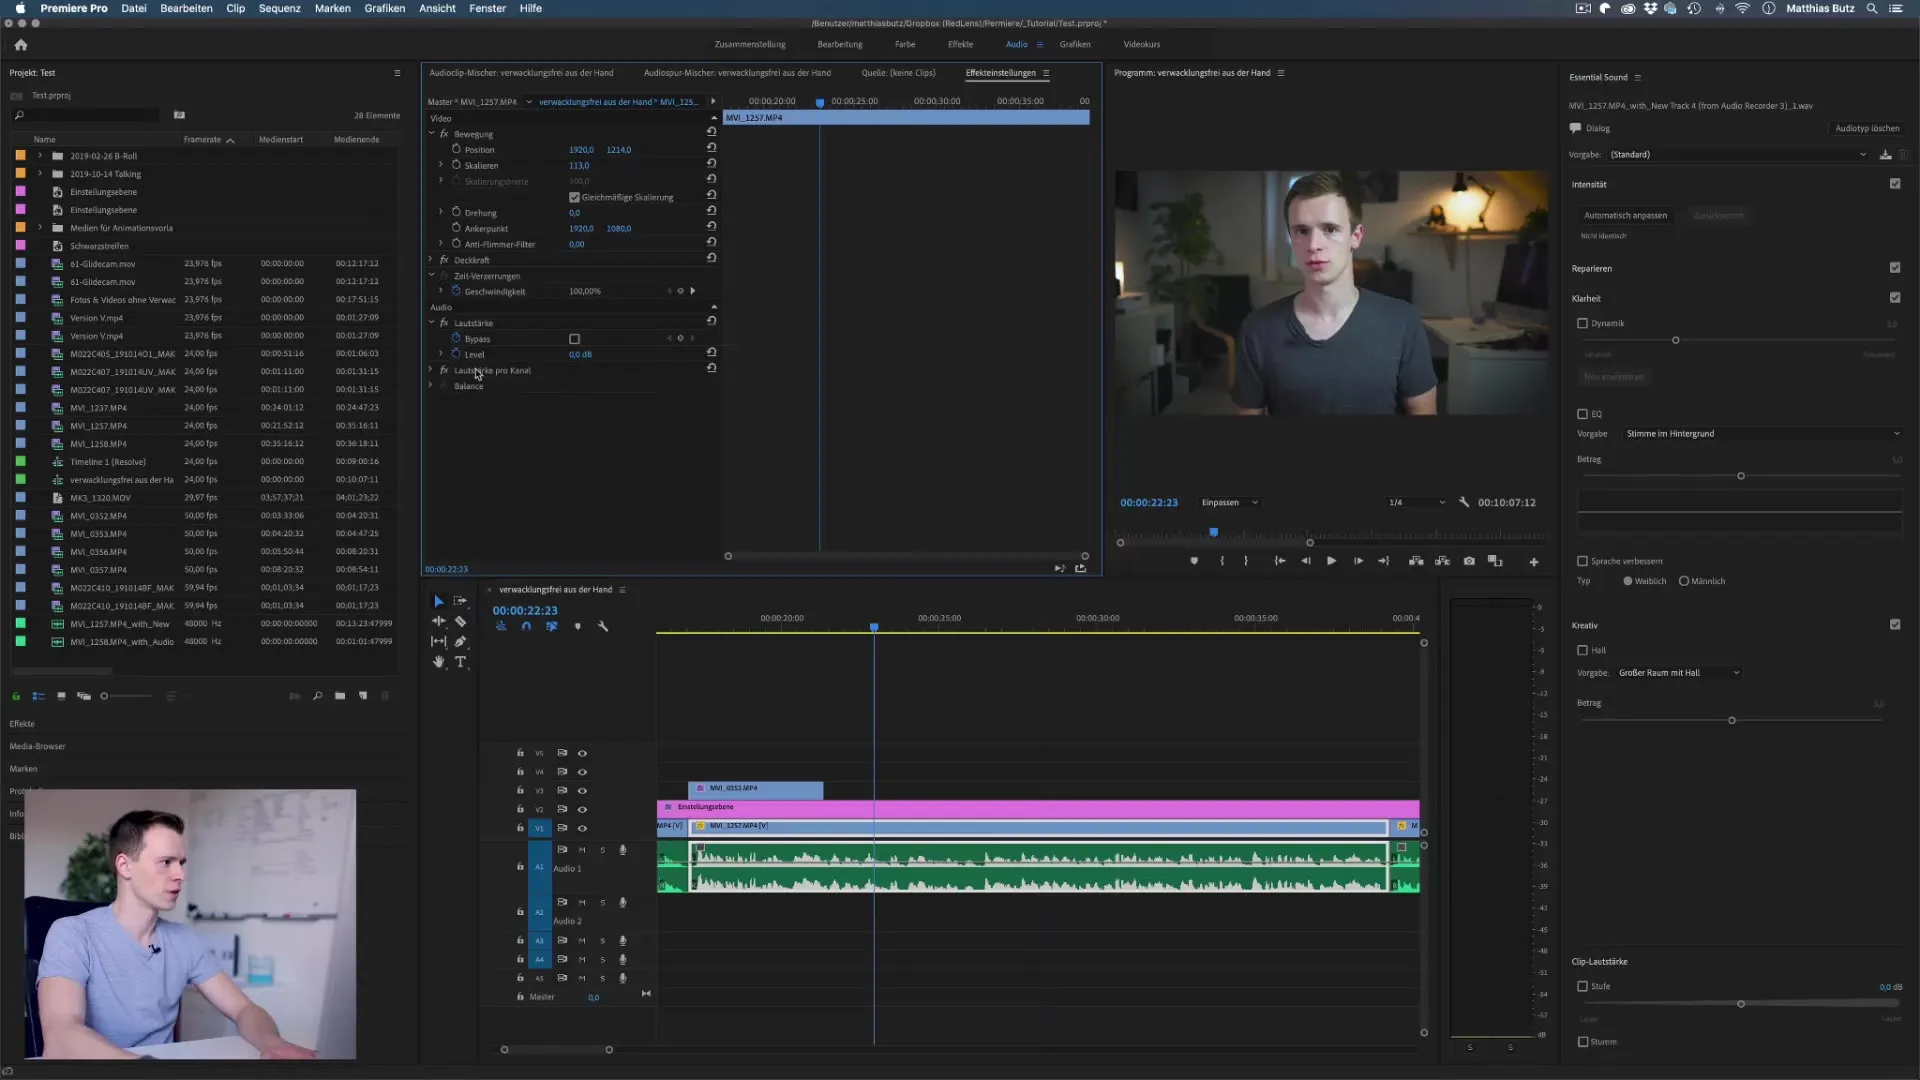
Finally, the automatic function available in the Essential Sound Panel can also be used. This function helps to automatically raise or lower the level to a standardized volume level. Here you can select "adjust automatically" under dialog. Please note, however, that this function does not always work perfectly and sometimes reaches its limits with special background noises.
Make sure that you check the final result when using the automatic function. It can happen that background or ambient noise is also included in the volume adjustments, so test whether the level remains comfortable.
Summary - Adjusting the volume in Premiere Pro
You have now learned how important it is to balance the sound in your videos. The right level ensures that your audience is not distracted by unpleasant audio. Stick to the recommended levels and experiment with keyframes to control the volume in different places. With these tips, nothing stands in the way of excellent audio quality in your projects.
Frequently asked questions
How can I adjust the volume in Premiere Pro?You can adjust the volume in the audio tab by changing the level in the effects settings.
What is the optimum volume level?The optimum level is usually between -15 dB and -6 dB.
What happens if the sound is overdriven? An overdriven sound leads to muffled sounds that are difficult to understand.
Can I change the volume dynamically? yes, you can do this with keyframes in the audio section.
What is the automatic function in Essential Sound?The automatic function adjusts the volume level automatically, but can sometimes be inaccurate.


