You've probably heard of the vignette many times, but did you know how powerful this simple tool can be in Premiere Pro? The last point of the Lumetri panel is often overlooked but offers great possibilities, especially when it comes to bringing focus to the essentials. Let's dive into this feature and discover how you can add visual emphasis with the vignette in Premiere Pro CC.
Key takeaways
- The vignette affects the brightness and focus of the image.
- You can adjust the thickness, roundness and soft edges of the vignette.
- Targeted use can draw the viewer's attention to the main motif.
Step-by-step instructions
1. access to the Lumetri panel
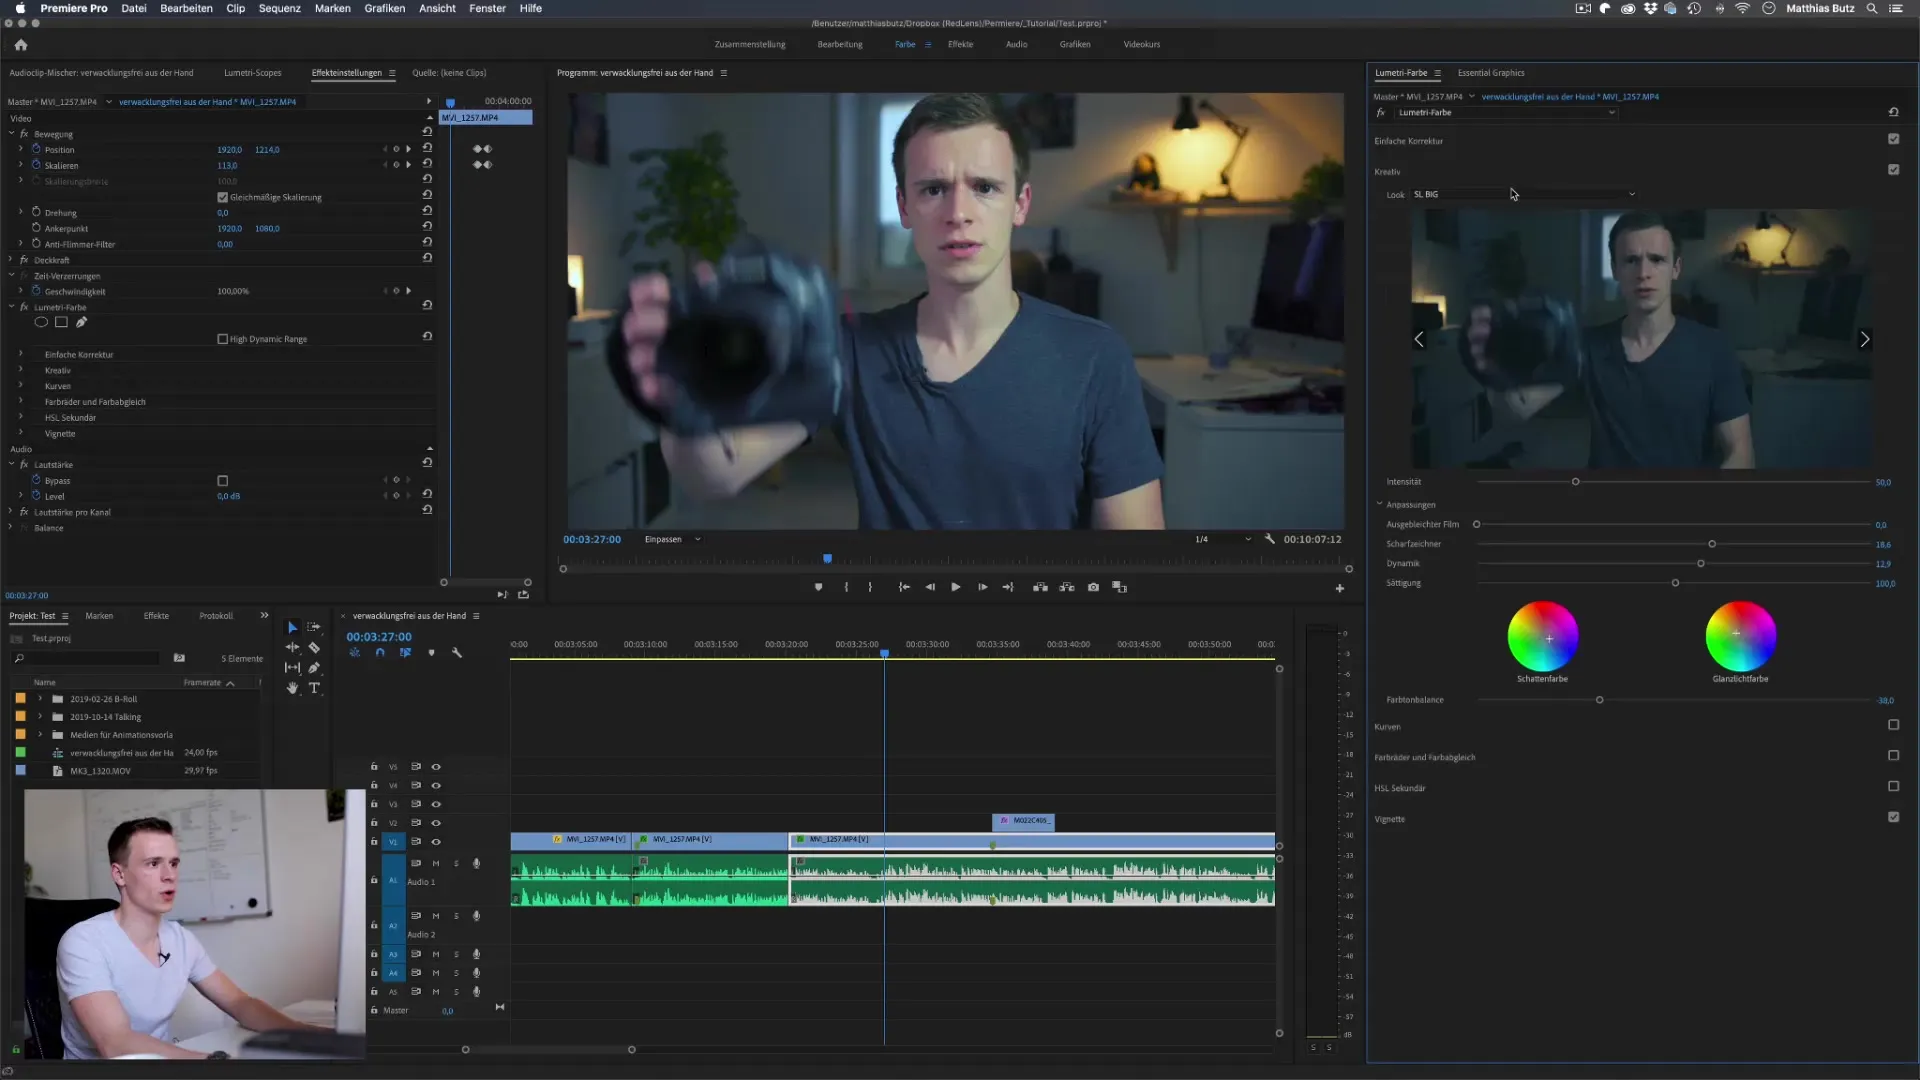
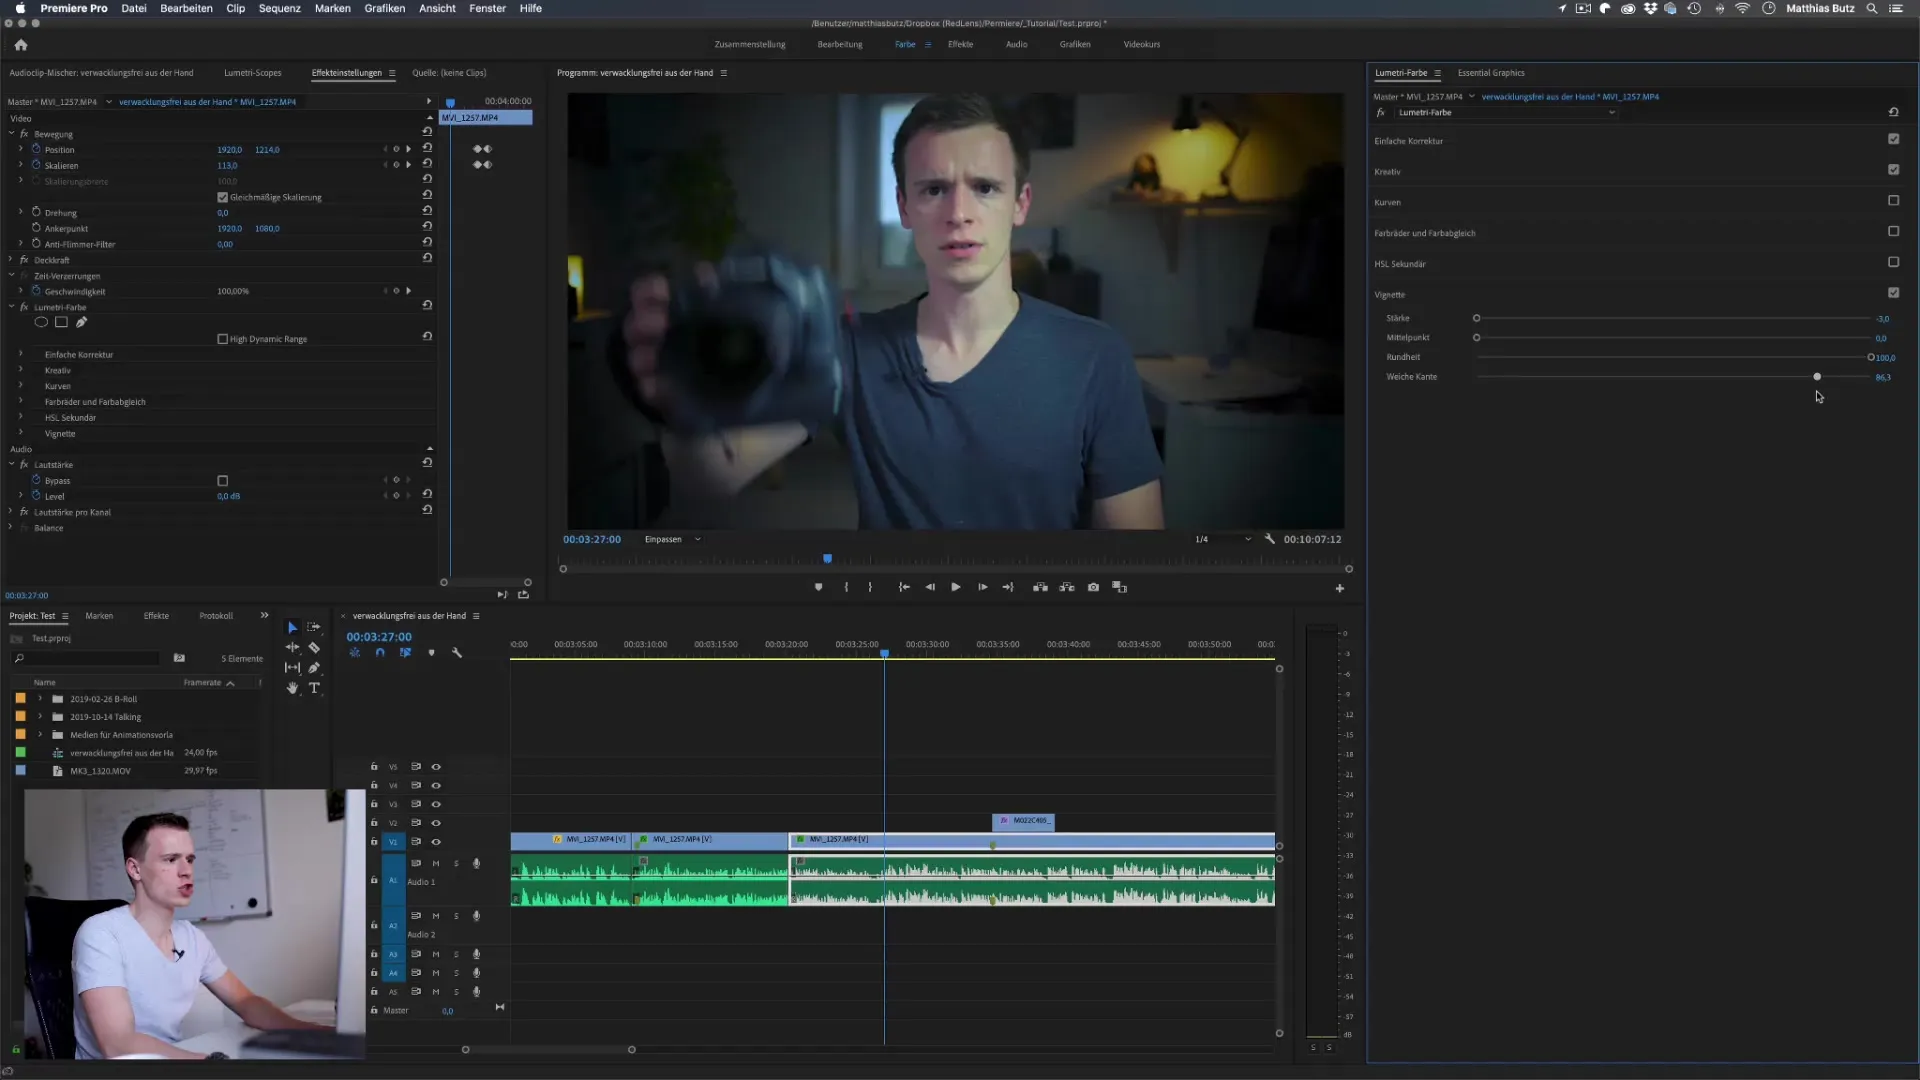
To work with the vignette, open Premiere Pro and load your project. Make sure that the Lumetri color panel is visible. Here you will find the Vignette section, which gives you the opportunity to make your settings.

2. activate the vignette
Activate the vignette by clicking on the corresponding effect. You will immediately notice changes in the appearance of your video. Experiment a little with the effect to get a feel for how it looks.
3. adjust the strength of the vignette
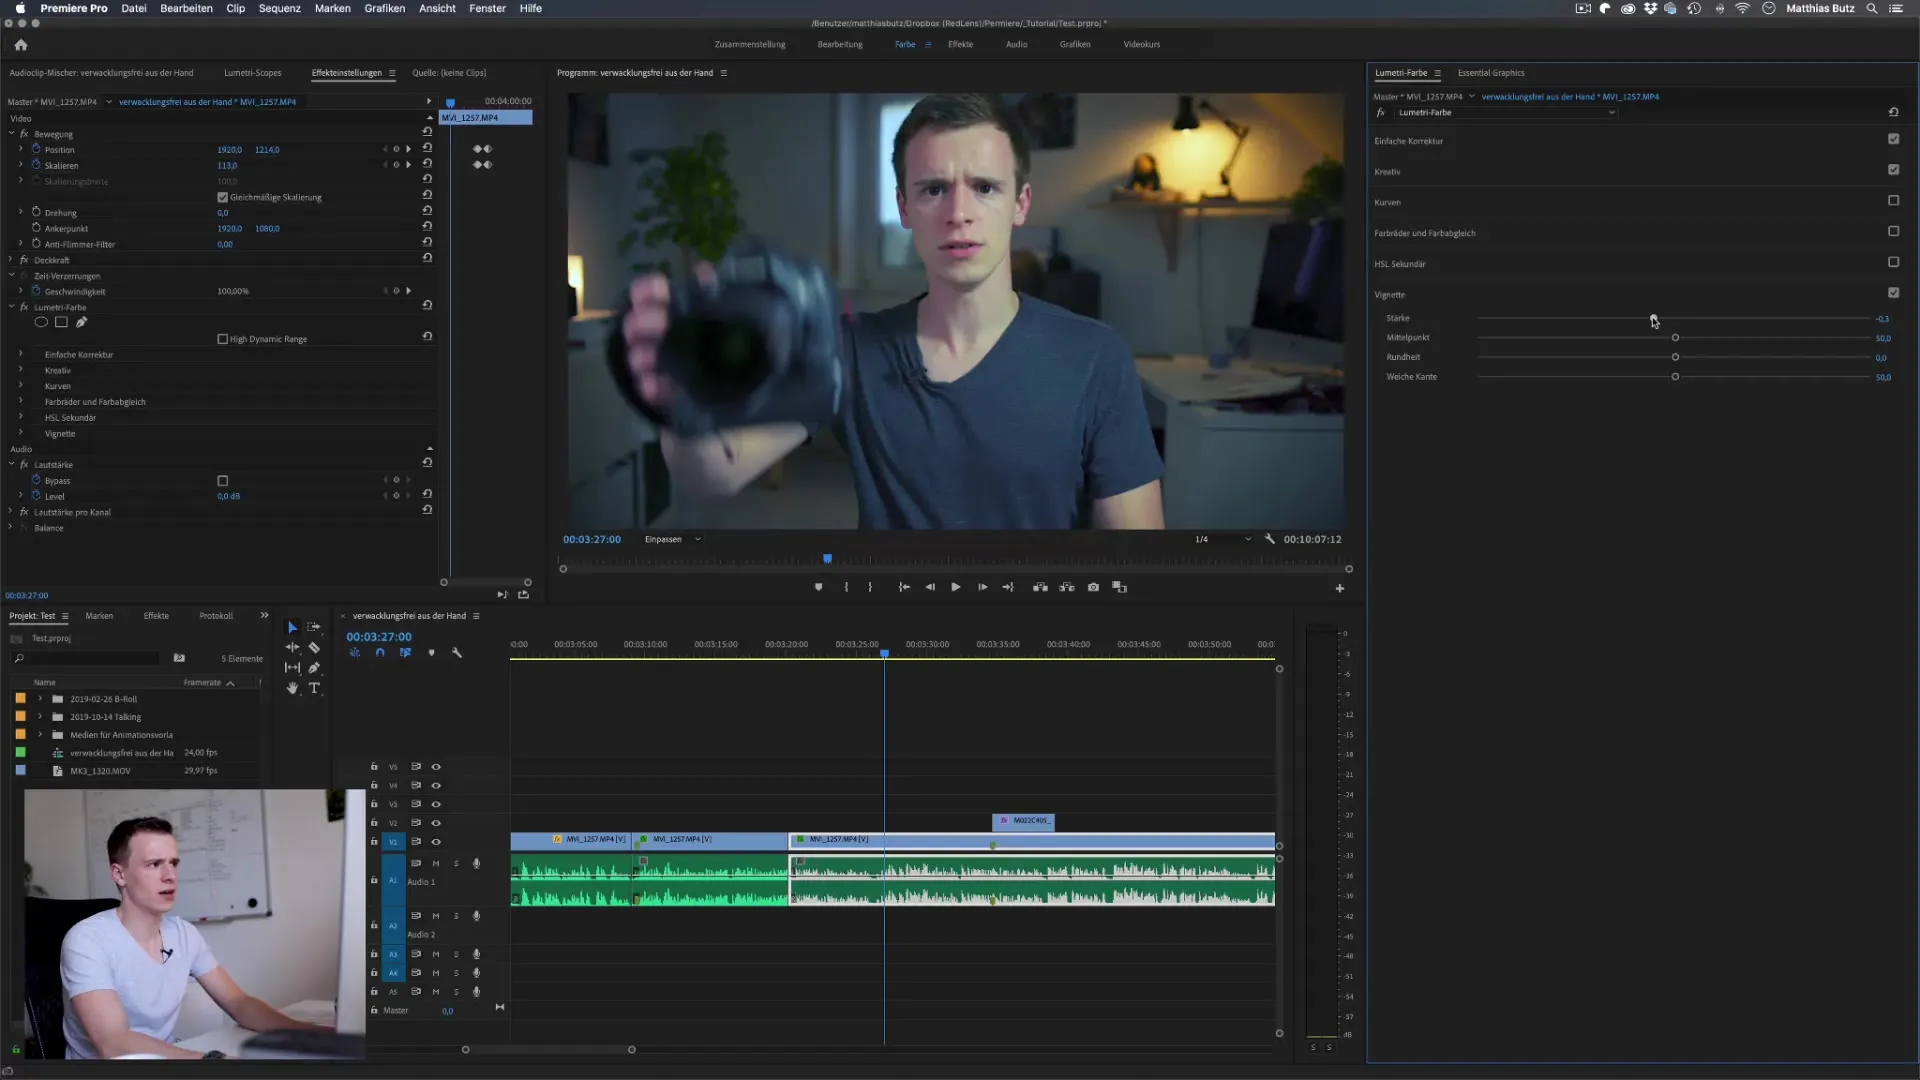
Start with the strength slider. Drag the slider to the left to darken the edges of your image. You'll quickly notice how the focus shifts to the center of the image. Playing with the slider can have a dramatic effect on your clip.
4. pull the vignette in the positive direction
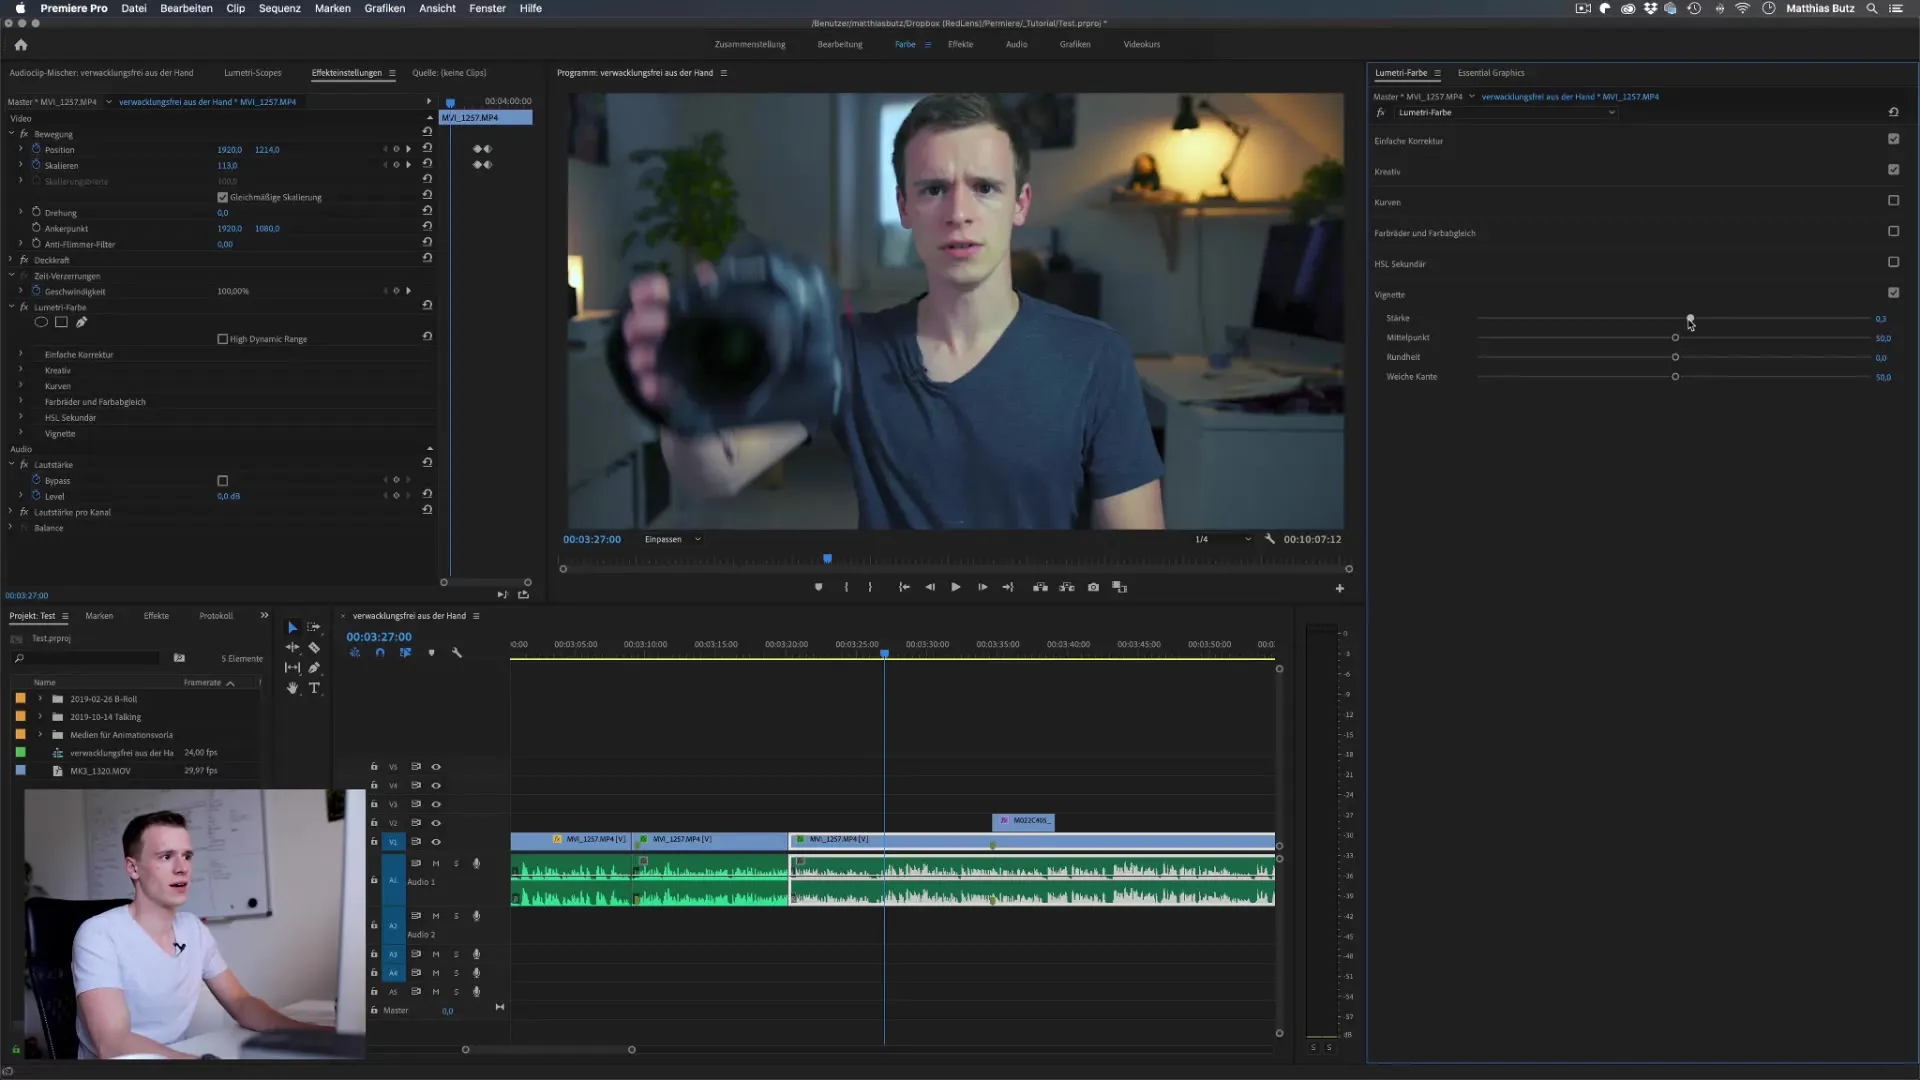
If you want to brighten the edges, drag the strength slider to the right. This will create a bright vignette, which can sometimes make the image less appealing, but depending on the style, can emphasize your intention.
5. move the center of the vignette
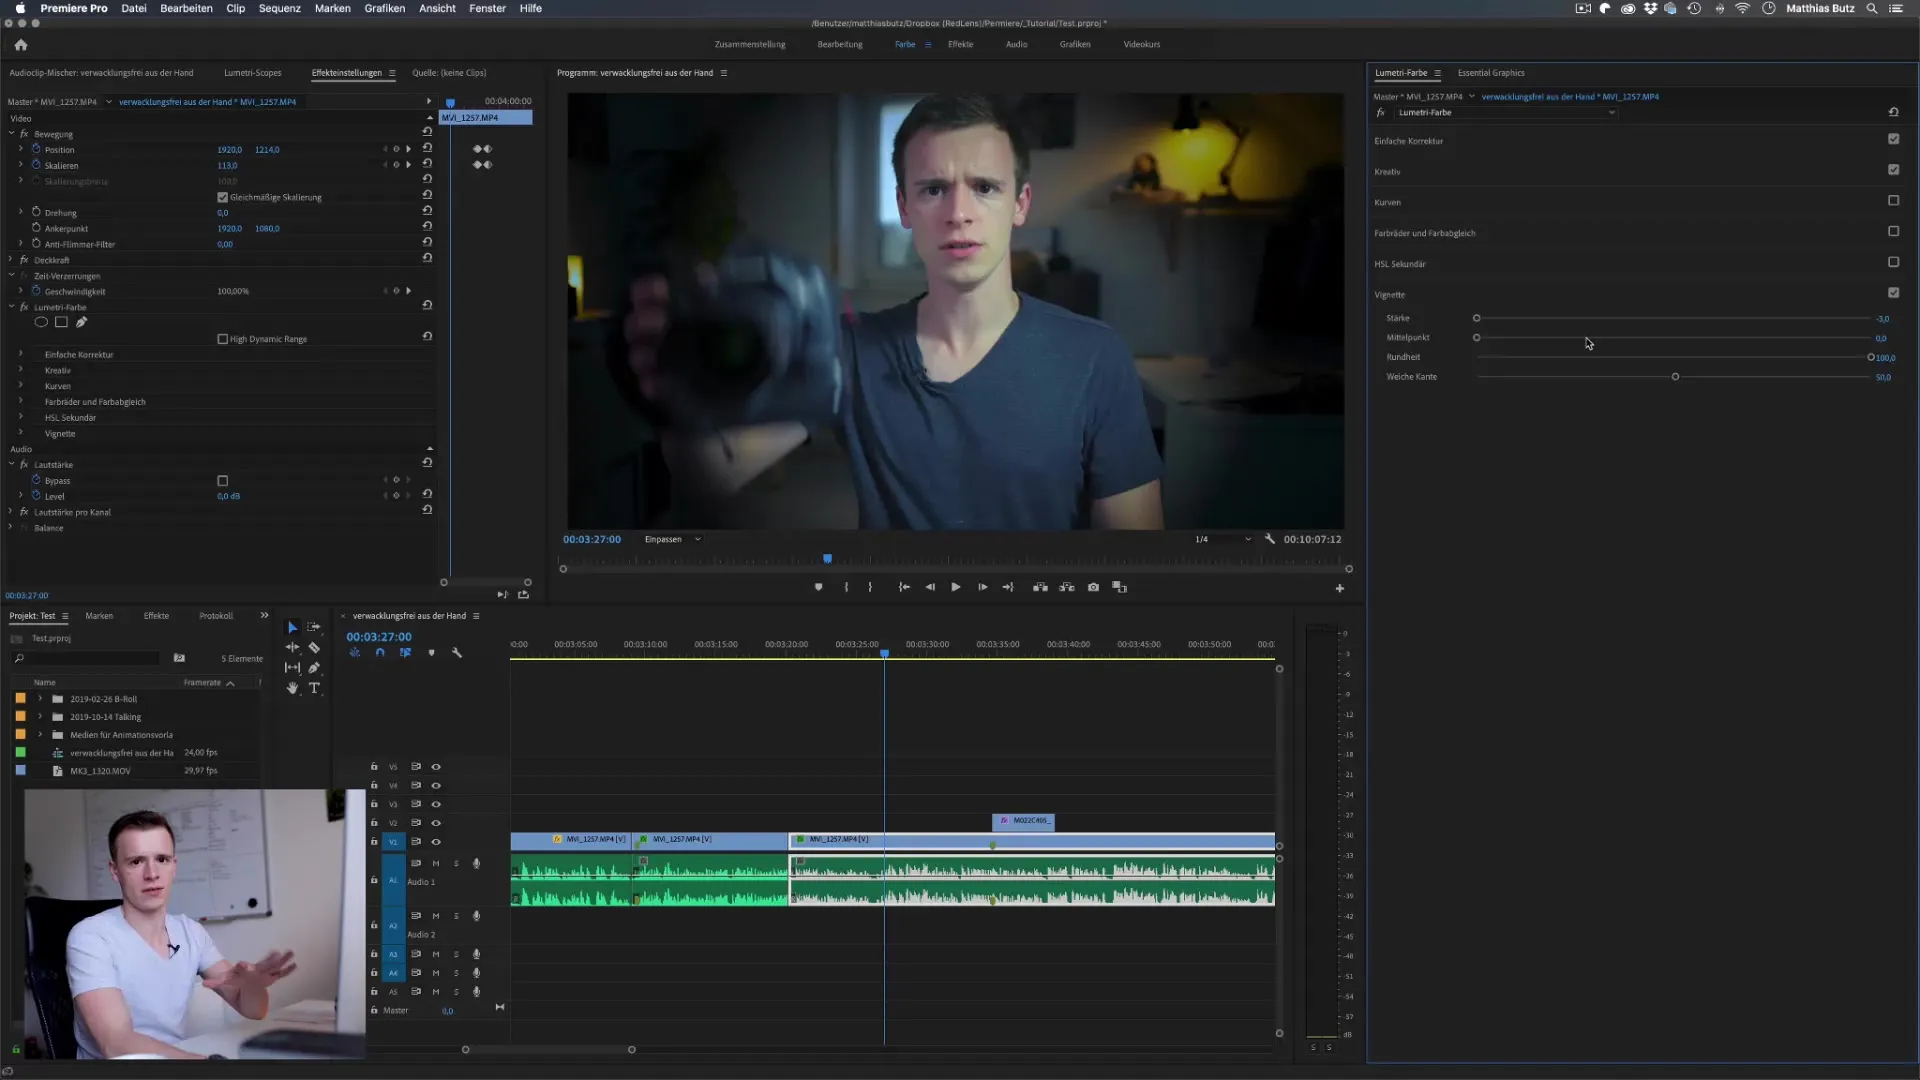
You have the option of changing the position of the vignette. You can do this by adjusting the center of the vignette. This allows you to select the area you want to focus on.

6. change roundness
The roundness of the effect also plays a decisive role. By adjusting the slider, you can change the shape of the vignette from oval to square. This can help to match the effect to your image style.
7 Adjusting the soft edge
An important point is the soft edge of the vignette. This can be set to either very sharp or virtually invisible. This allows you to optimize the transitions between the edges of the vignette and the image.
8. combination of settings
Once you have set the individual parameters, combine them to achieve the perfect look. Often less is more - check your adjustments in the separate preview window.
9. before and after comparison
The best way to check the effectiveness of your settings is to use the before and after comparison. This allows you to see how much the vignette has improved the visual experience of your image.
10. application in context
Now that you're familiar with the technique, move on to applying the vignette throughout your video. You can customize the tutorial style to achieve the desired visual effect in your cinematography.

Summary - Making the most of the vignette in Premiere Pro CC
The vignette is a versatile tool in Premiere Pro that can visually enhance your video projects. With the right adjustments, you can draw the focus to your main subject so that the viewer is not distracted by unimportant image elements.
Frequently asked questions
What is a vignette? A vignette is a visual effect that reduces or increases the brightness of the edges of the image to draw the focus to the main subject.
How do I change the strength of the vignette? You can adjust the strength using the strength slider in the Lumetri panel by dragging it to the left or right.
Can I change the position of the vignette?Currently, the center of the vignette cannot be moved, which is a disadvantage. Possibilities can be created with masks.
Best for what kind of projects?The vignette is useful for a variety of projects, especially portrait and travel films where the focus should be on the main subject.
Do I need to work at high power? Often a lower power looks better, so the effect remains subtle but still enhances the image.


