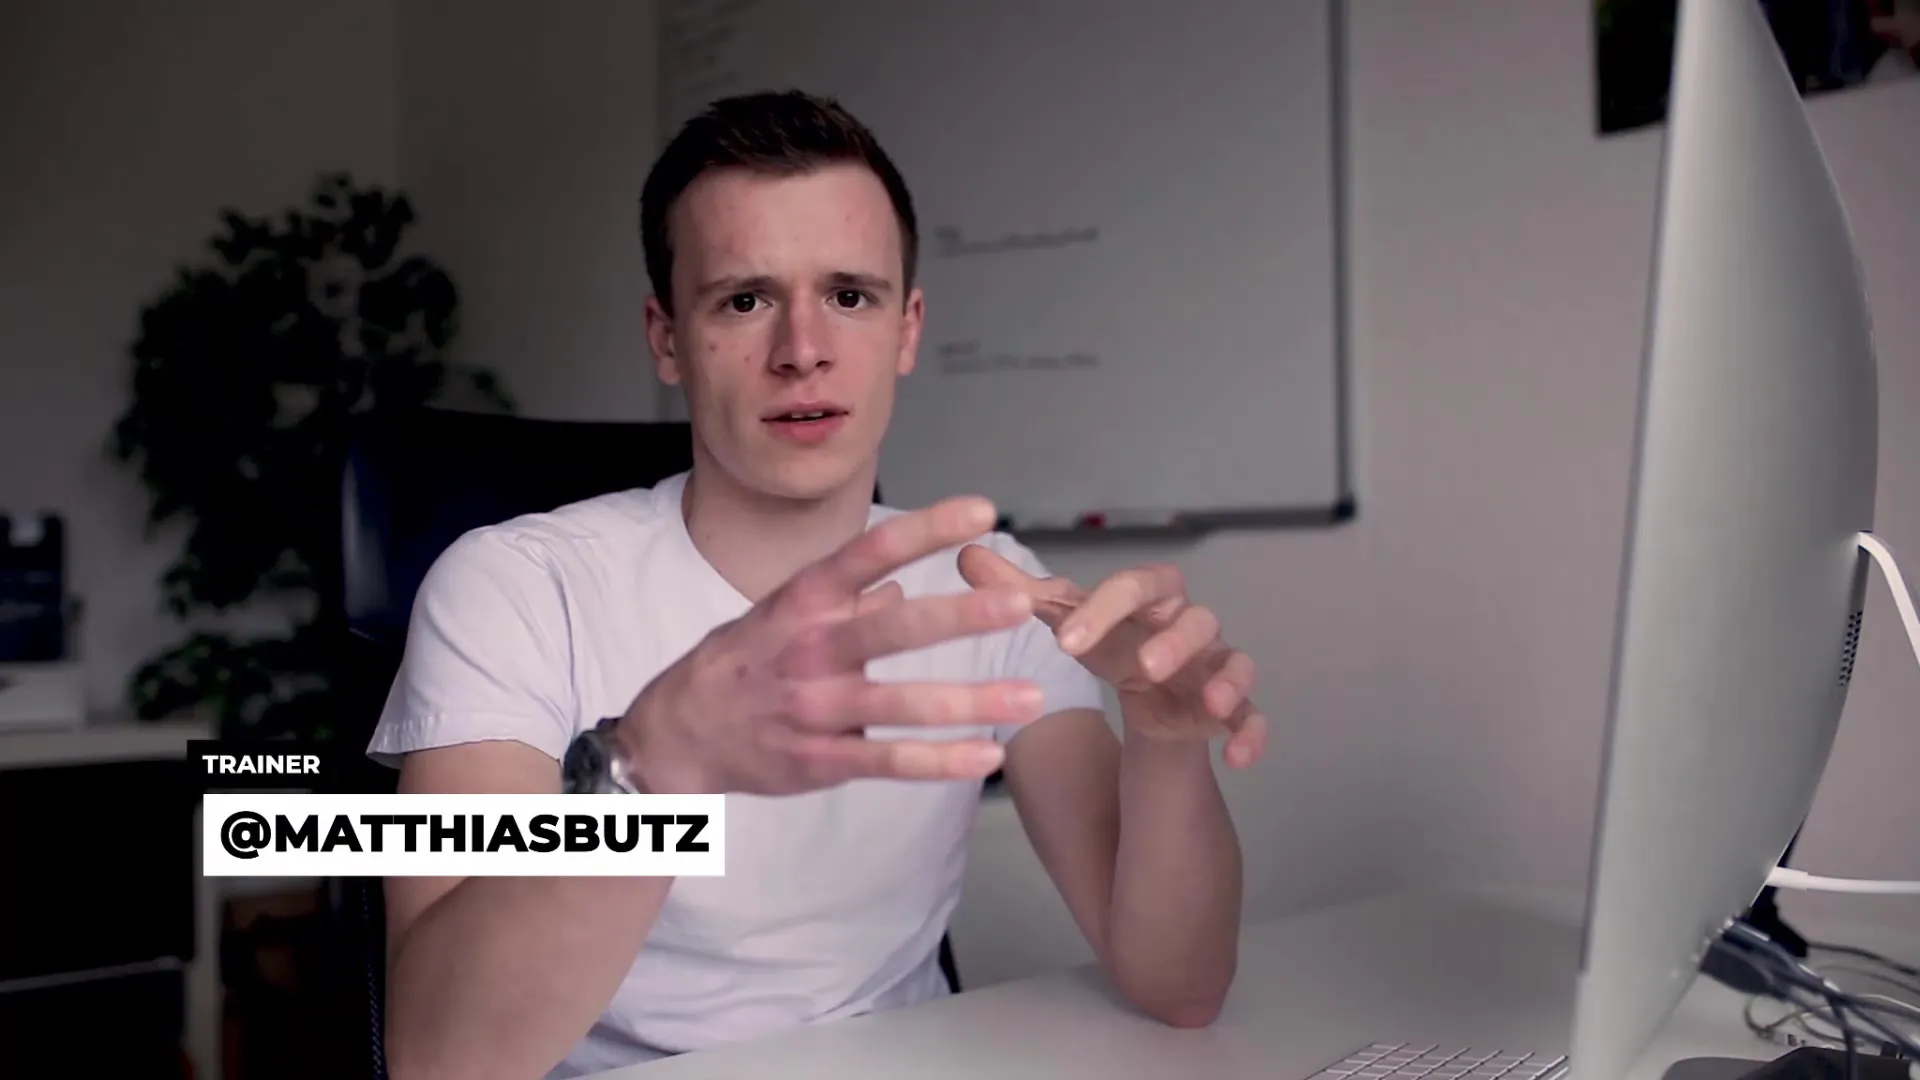
The KenBurnsEffectis a great technique to bring life to static images in your video. This method can help photos not only show up simply, but also appear dynamic and engaging. In this guide, you will learn how to effectively apply the Ken Burns effect with AdobePremiere Pro to make your videos more exciting.
Key Insights
- The Ken Burns effect combines movement and zoom within a static image.
- By adjusting the position and scaling, you can create exciting transitions.
- Photos must have a sufficient resolution to look good when zooming in.
- The use of effects like Gaussian Blur can enhance the background and make the result even more interesting.
Step-by-Step Guide
To apply the Ken Burns effect in your project, follow these steps:
Insert and Scale Photo
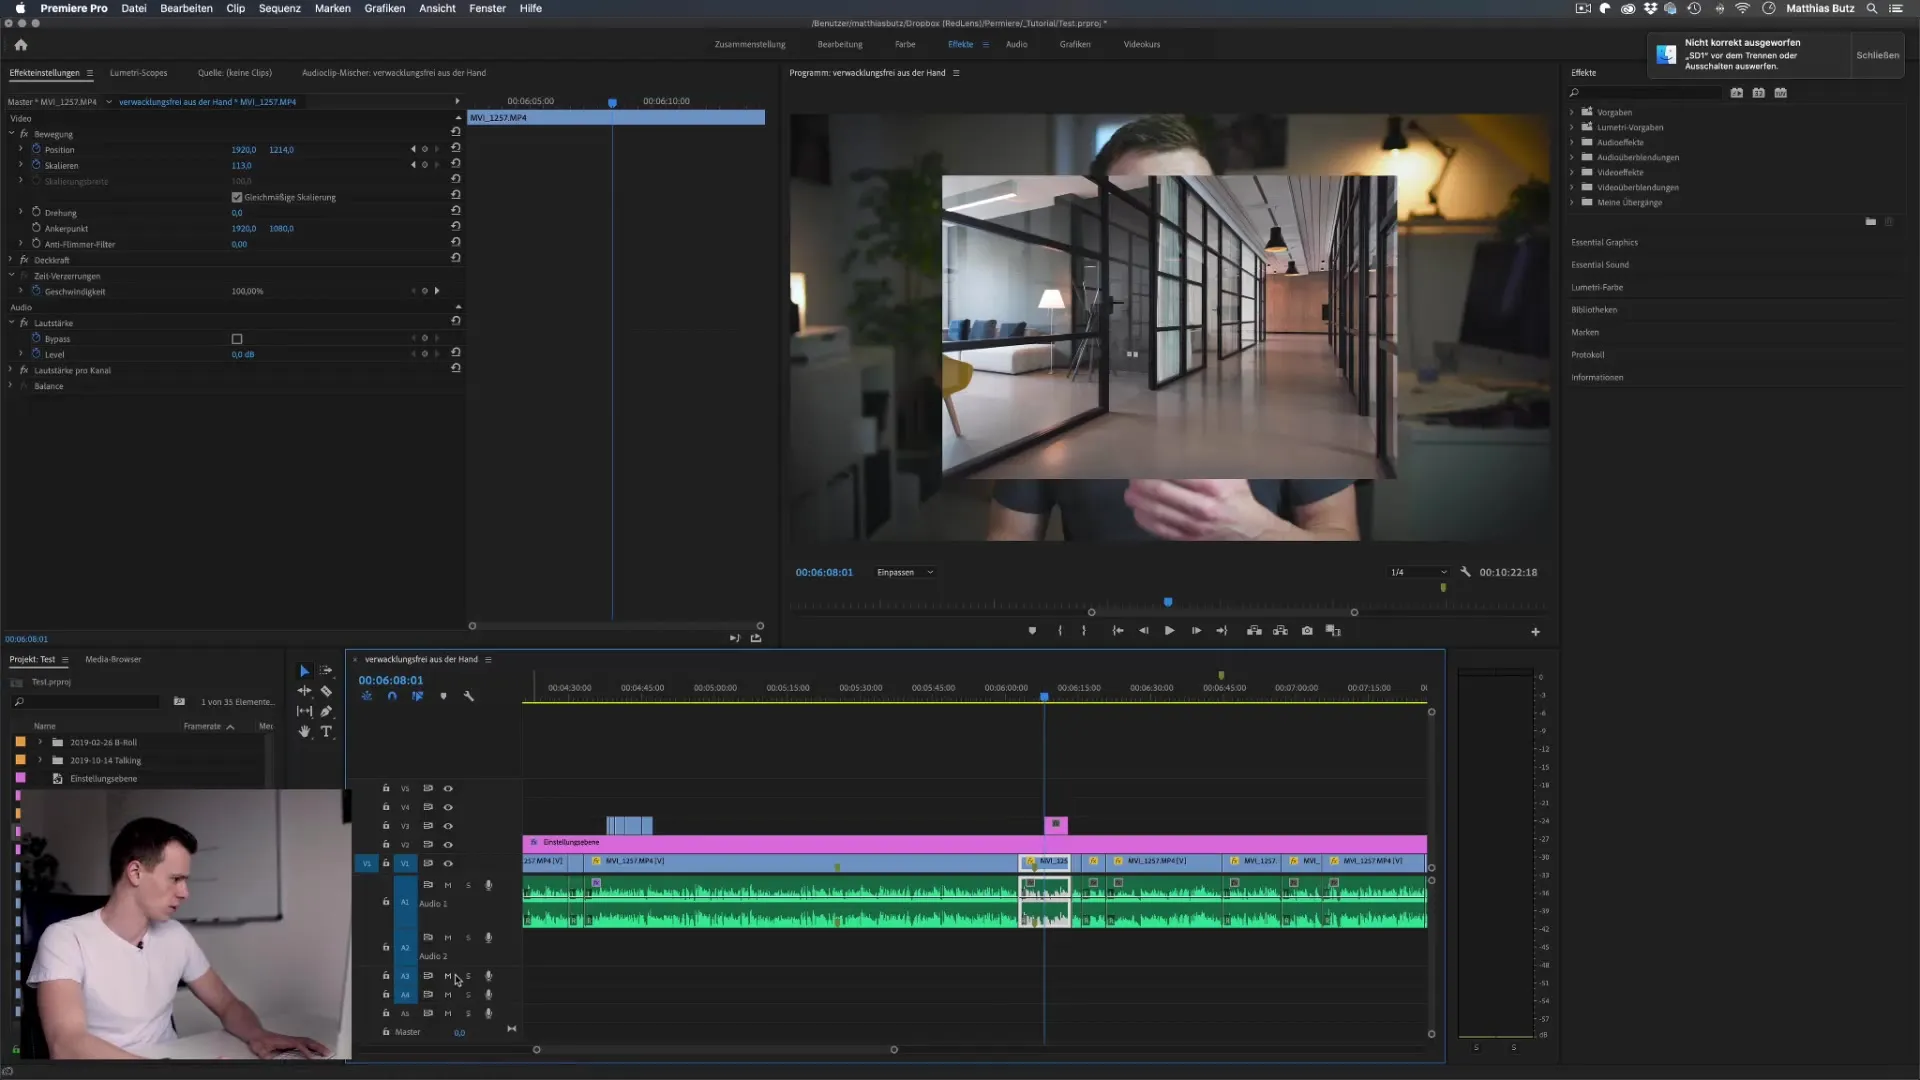
Start by dragging the photo you want to use in your video onto the timeline. Make sure to scale the image to fill the screen.
Activate Movement and Zoom
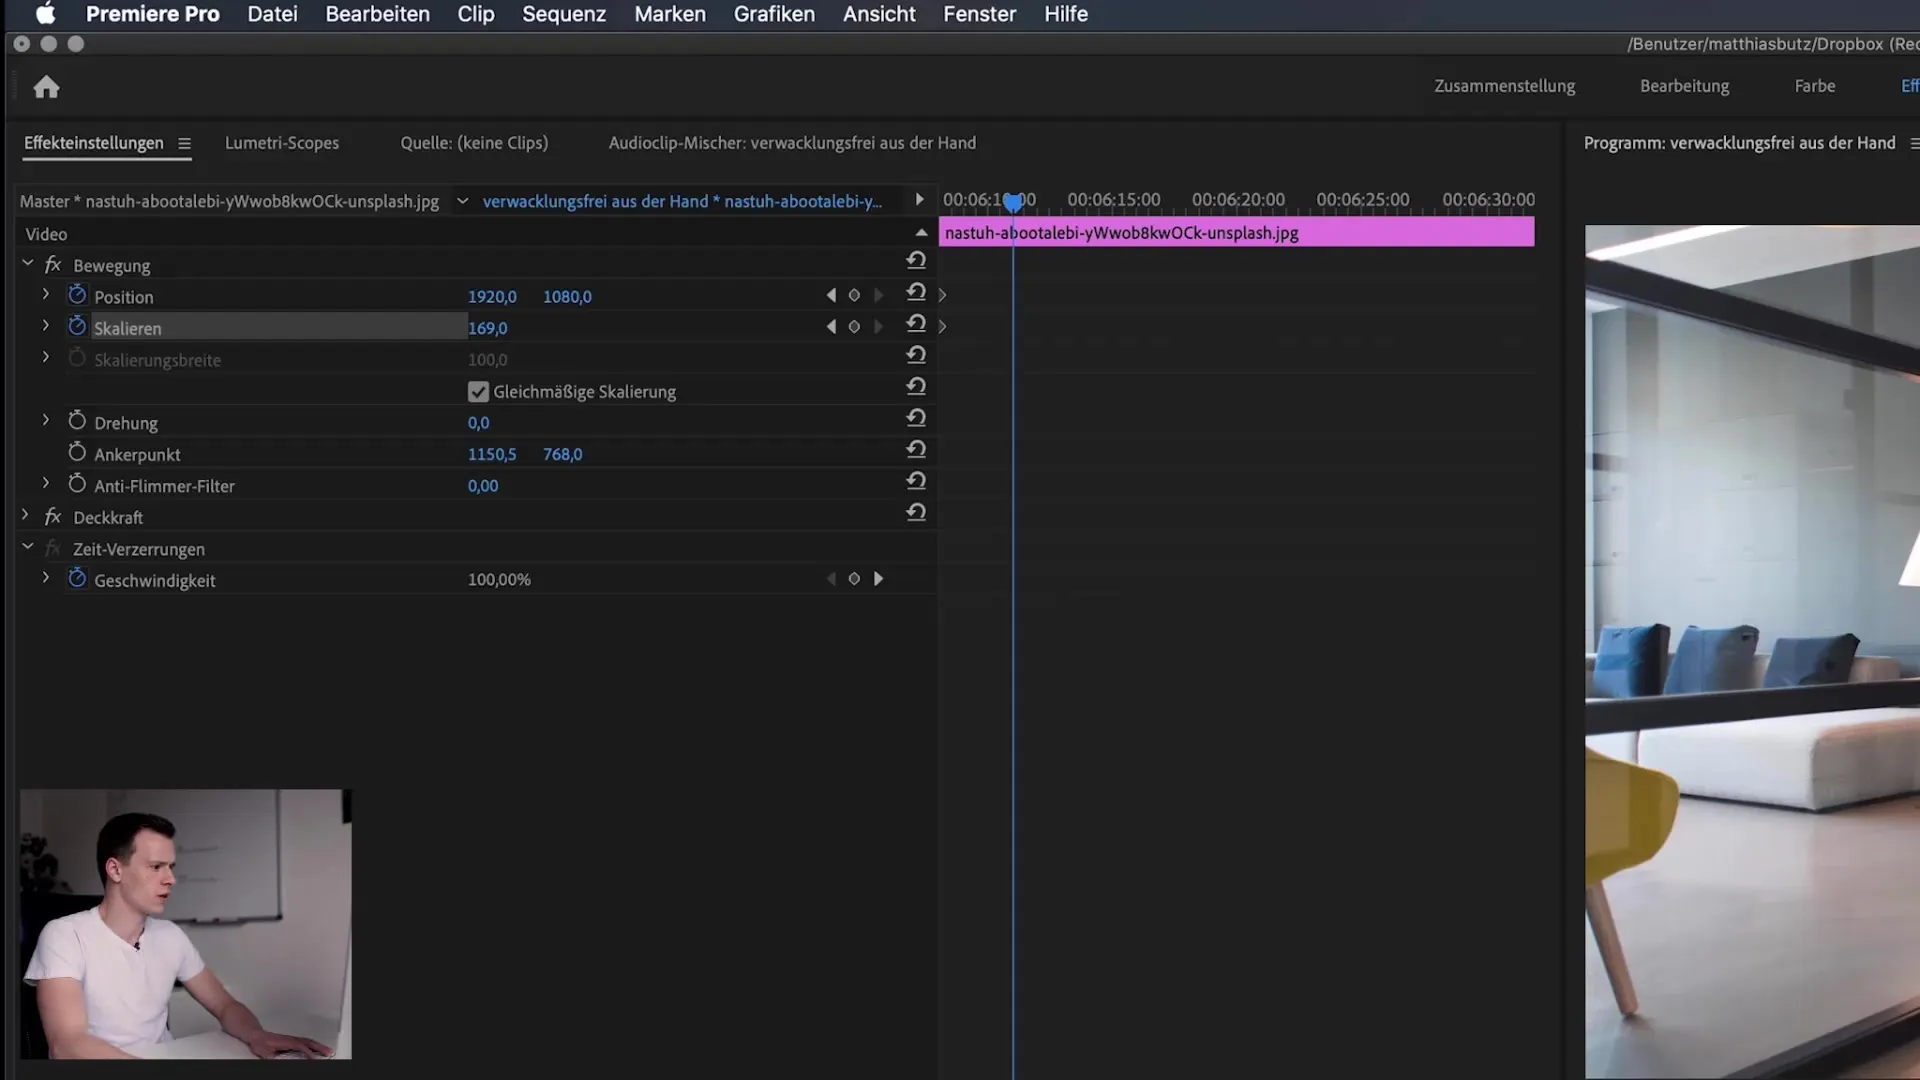
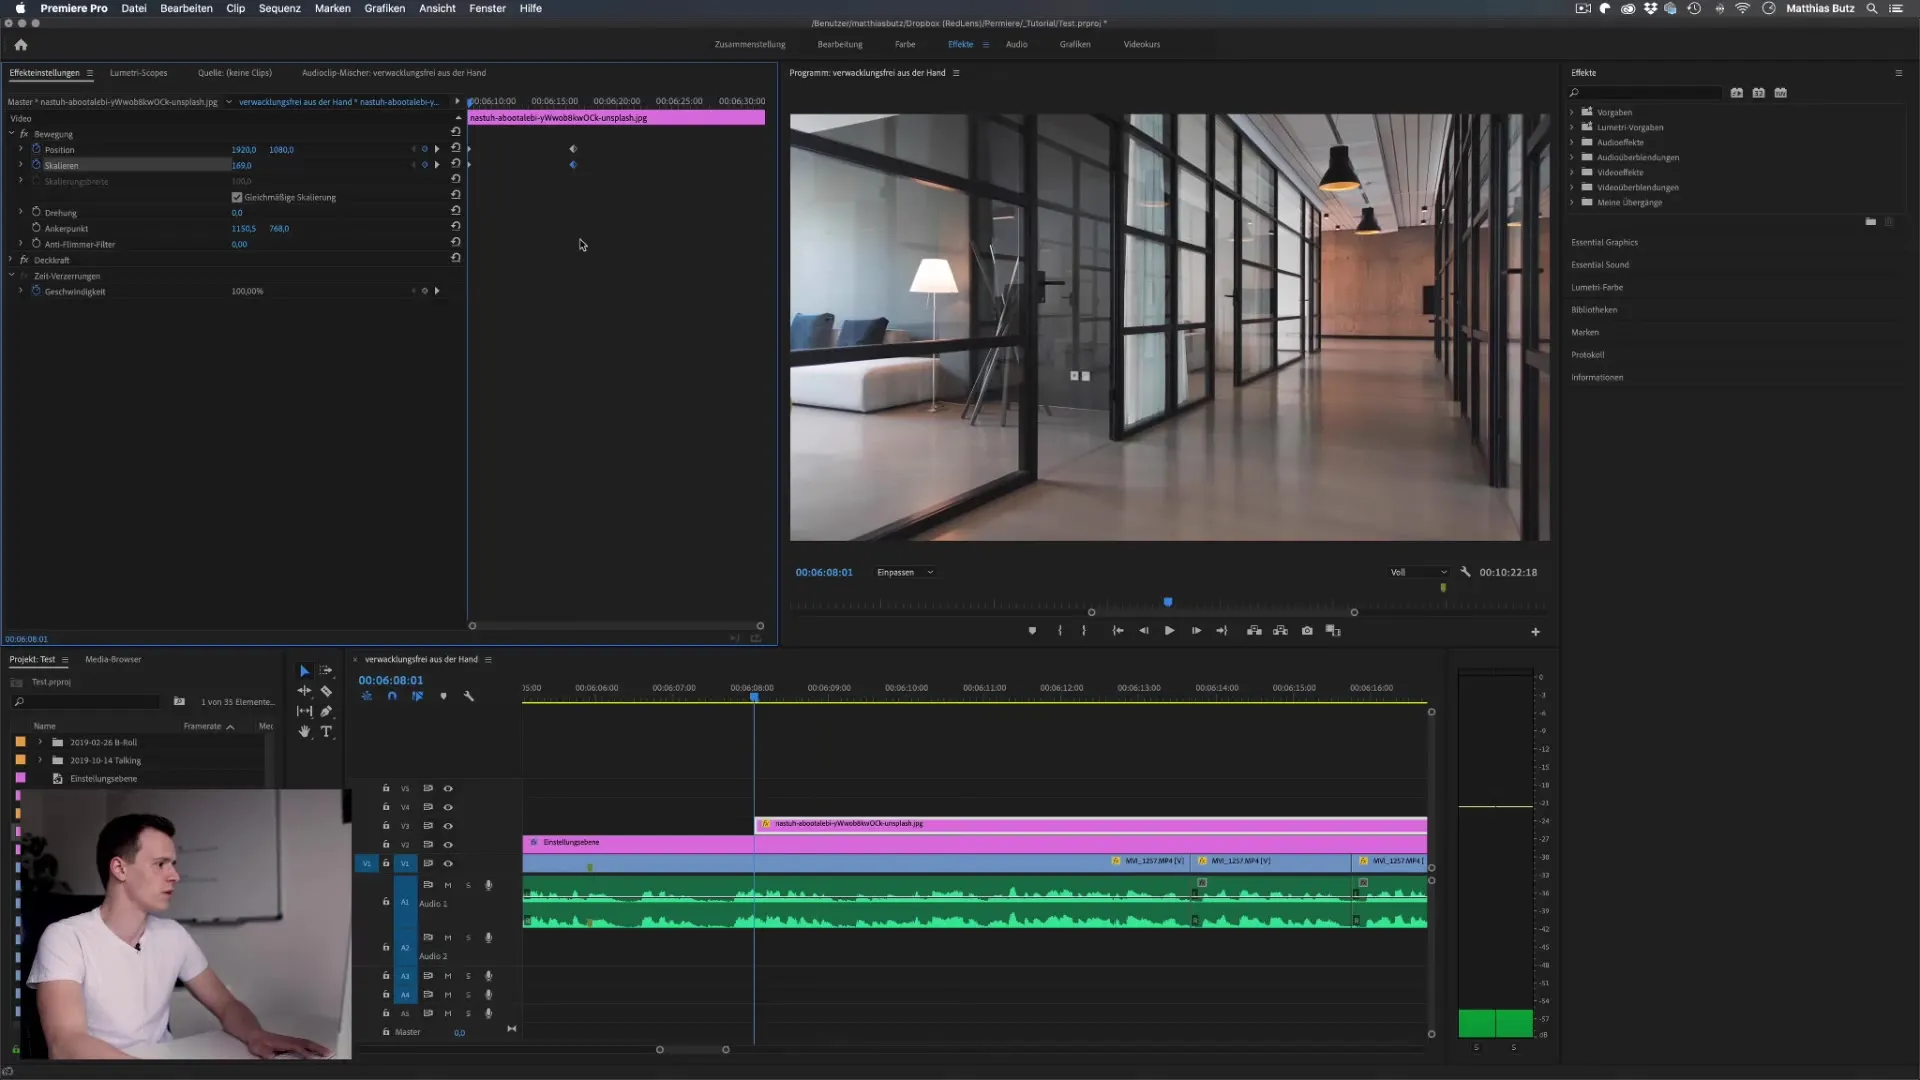
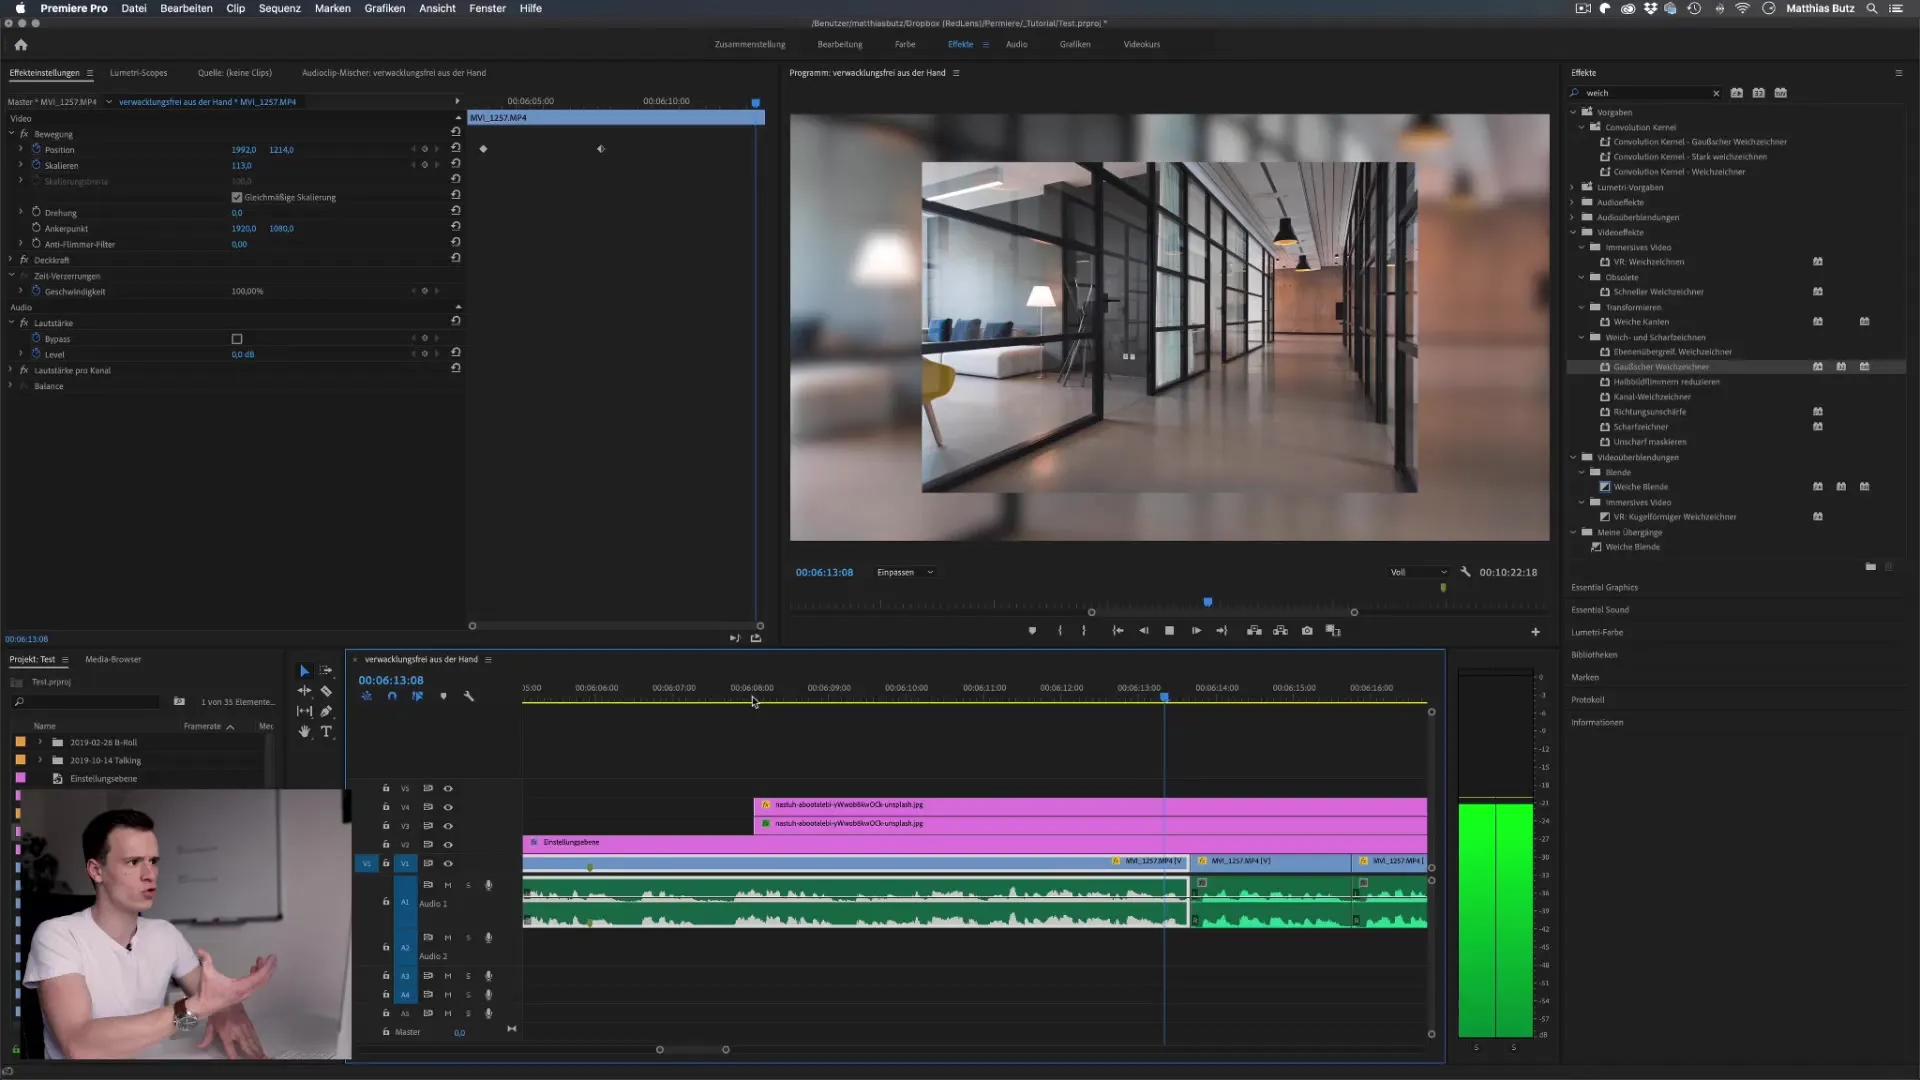
Place the playhead at the beginning of the clip and select the image. Activate the animation for scaling by clicking on the stopwatch symbol next to "Scale" and "Position." This will set a keyframe.
Add Keyframes
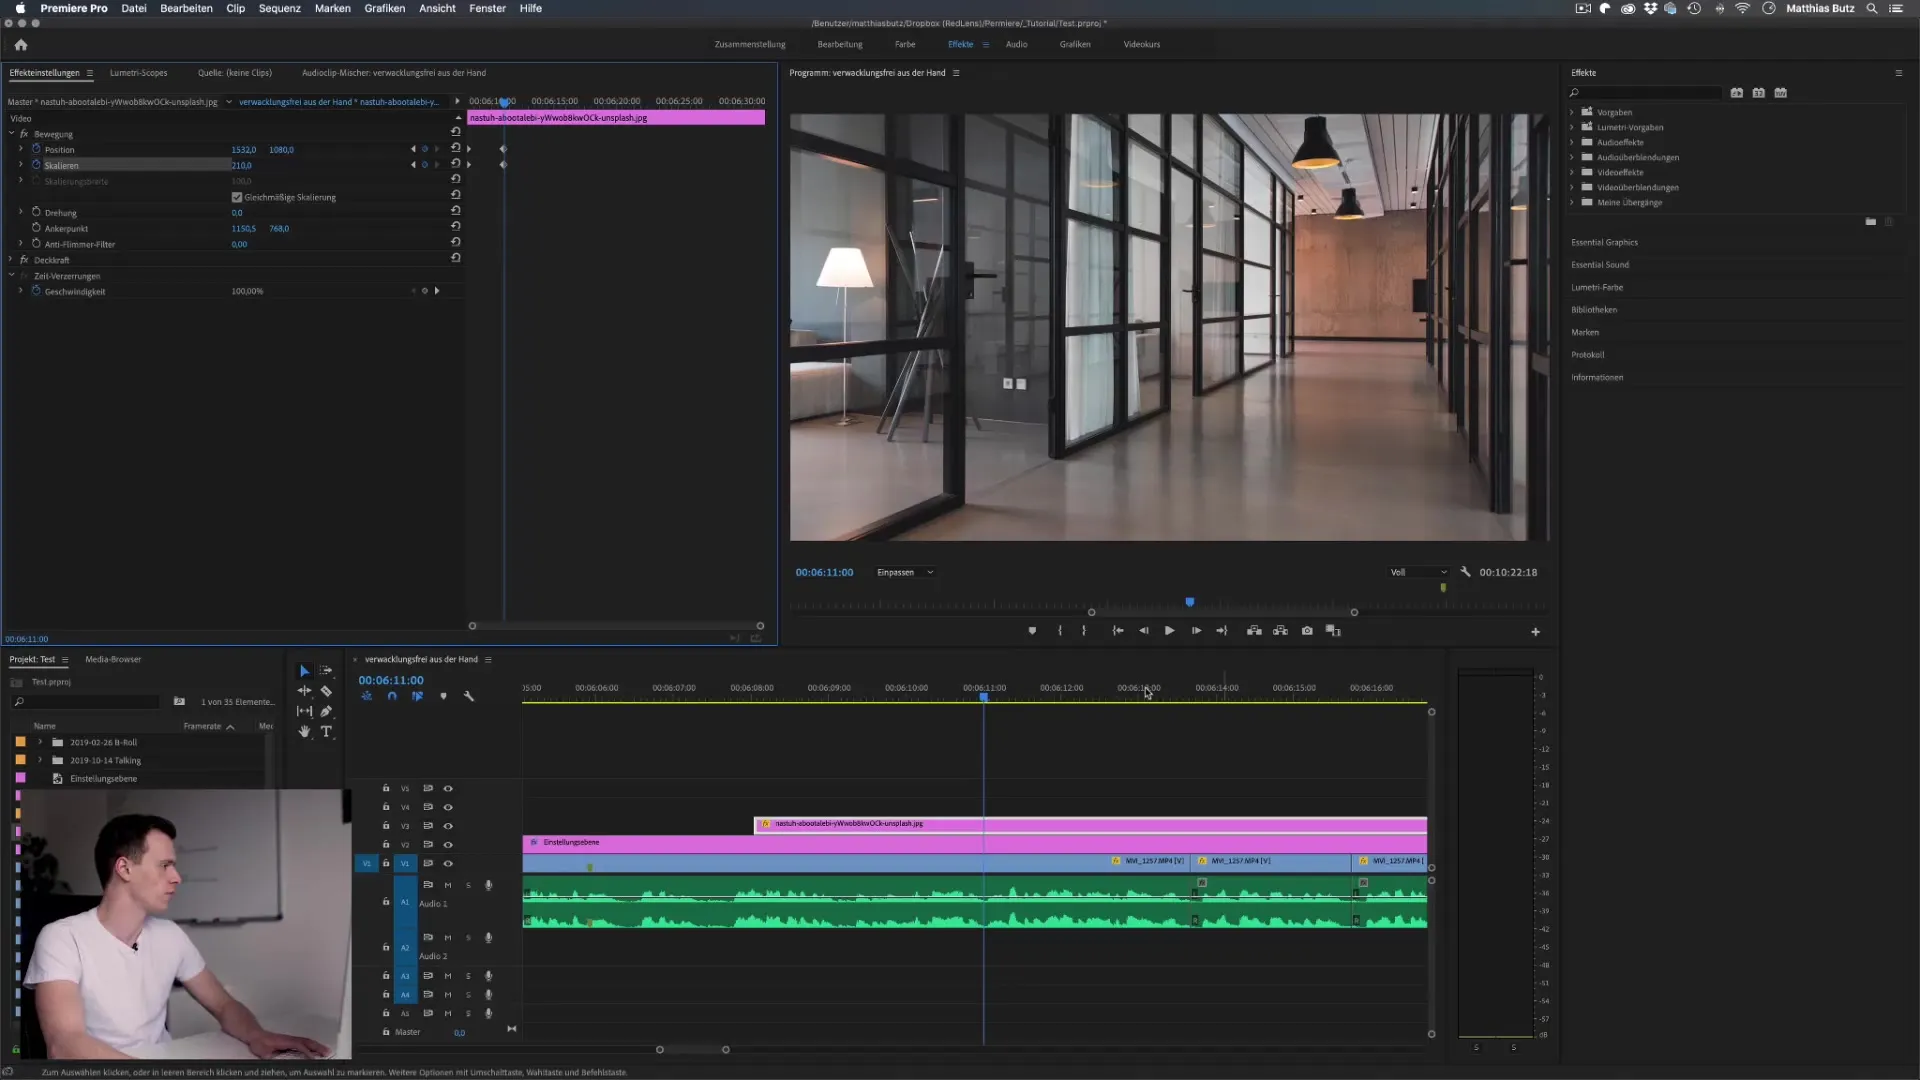
Now move the playhead a few seconds to the right and zoom in on the image. Keep in mind that the image should have a sufficiently high resolution for the zoom – ideally, photos should be in 4K or a similar format.
Adjust Position
To give the image some movement, slightly drag the position of the photo to the right. When you start playback, you should now experience a smooth movement and zoom that adds more dynamism to the image.
Slow Animation
It is advisable to adapt the speed of the animation. Spread the keyframes further apart to make the motion slower and smoother. This helps create a harmonious effect.
Alternatives Without Zoom
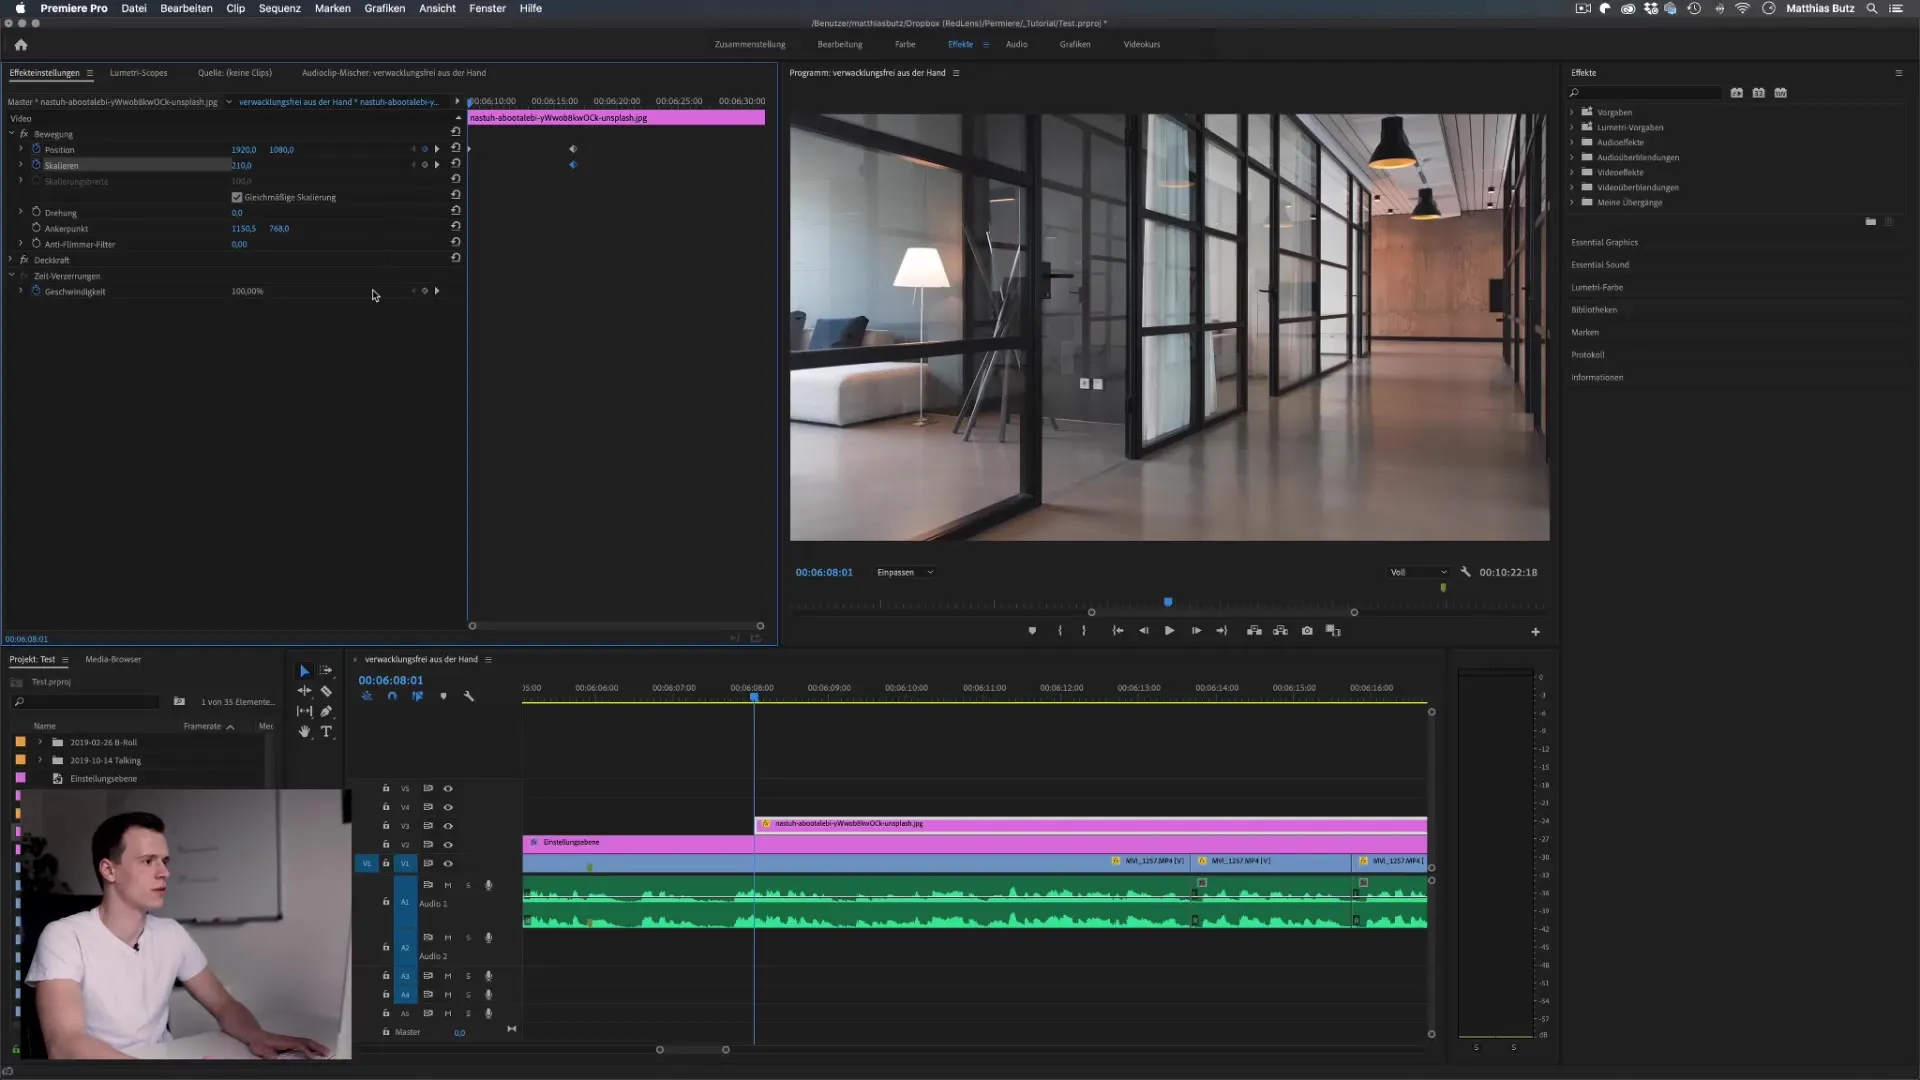
If you want to completely omit the zoom, you can delete the keyframe for scaling and focus solely on position. This will cause the image to "slide" from left to right across the screen.
Use in Videos
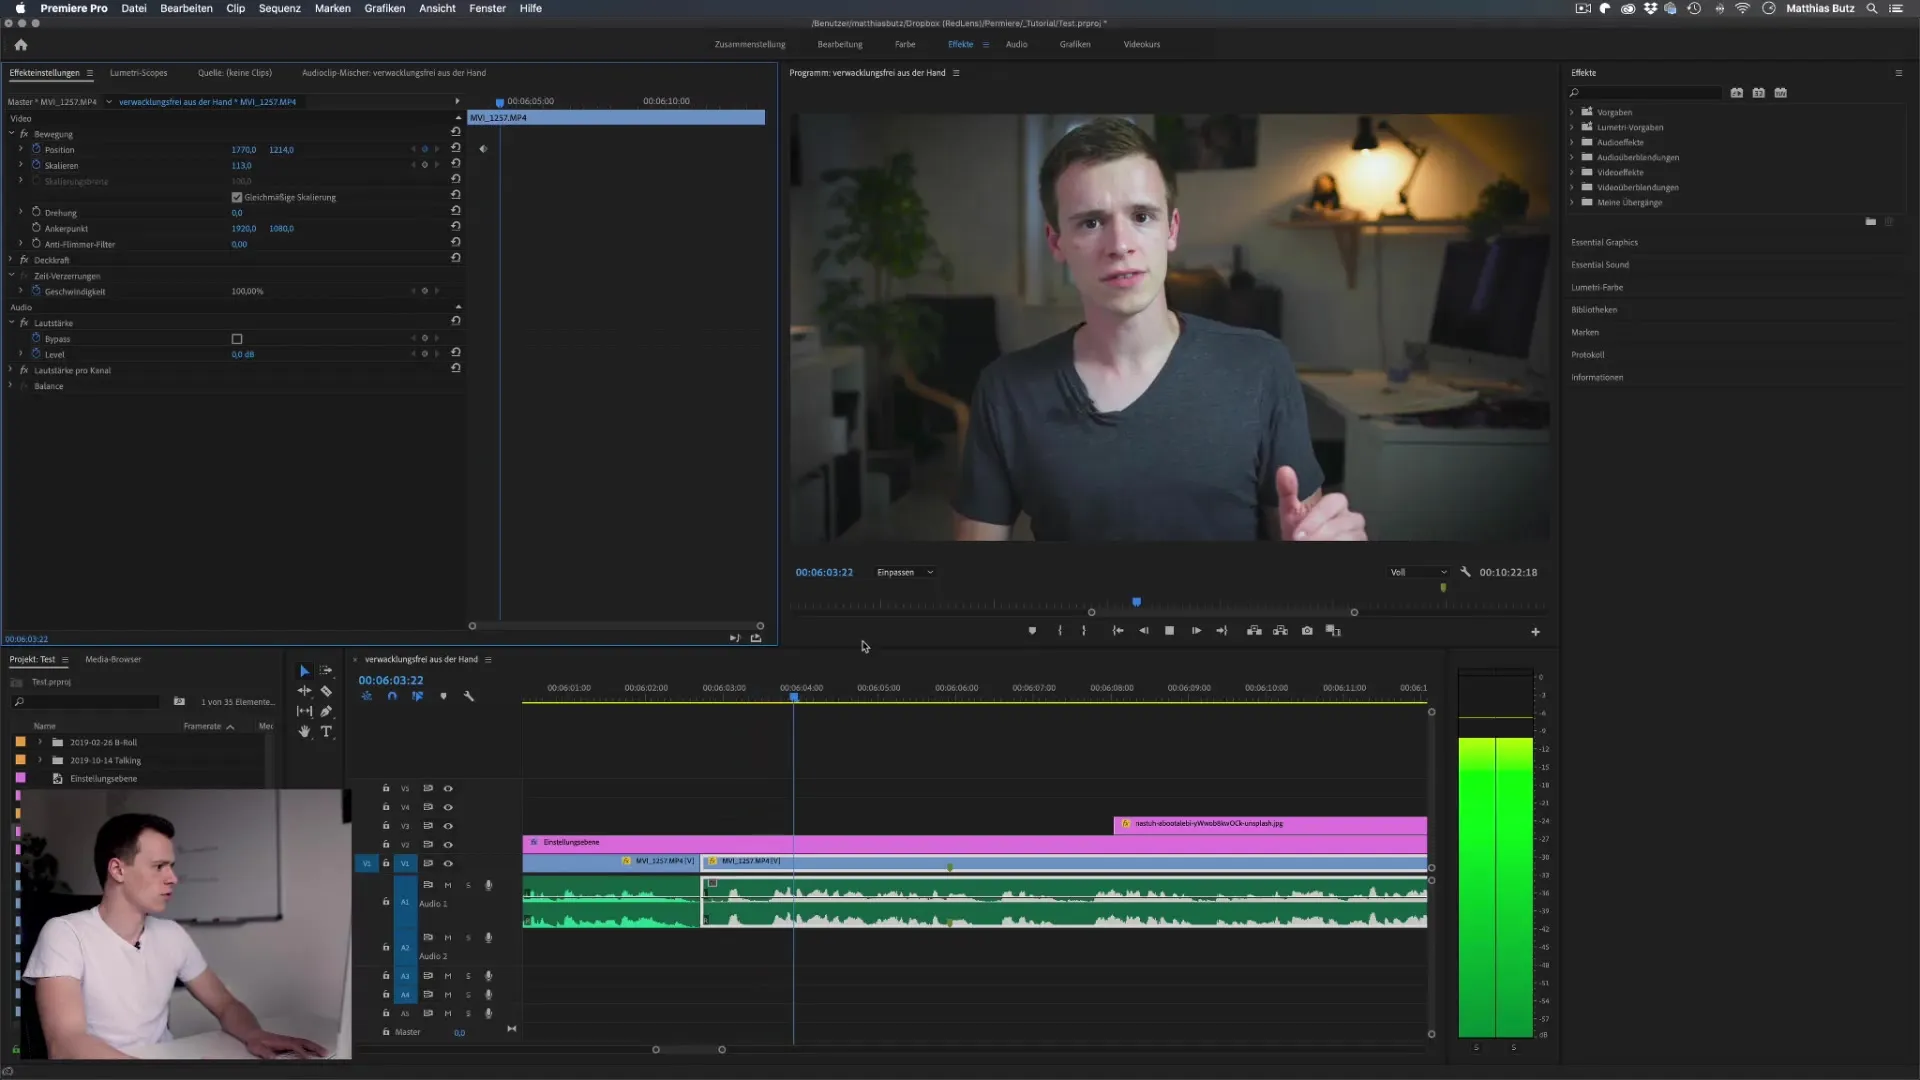
With the Ken Burns effect, you can also add movements in videos. Simply set keyframes for the position to achieve the desired effect. Make sure to keep the movement subtle to make the result appear credible.
Blur Background
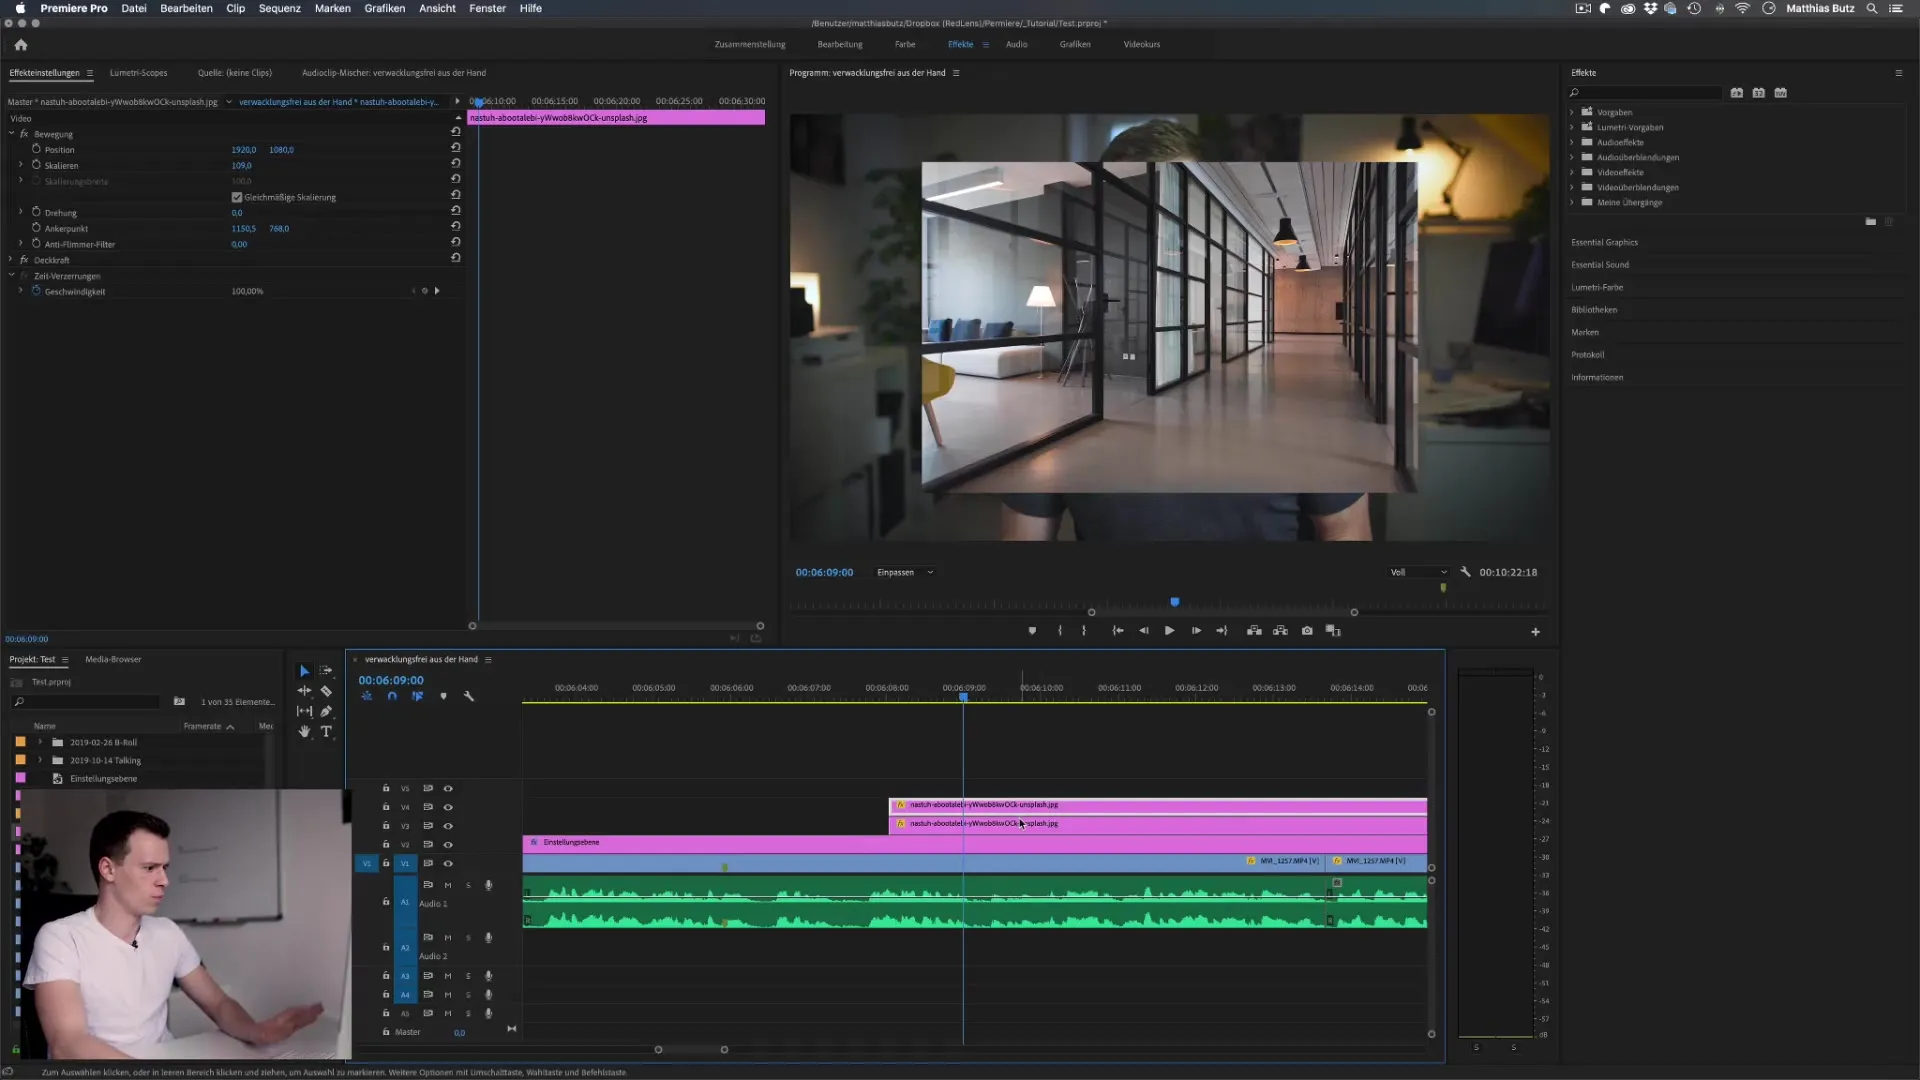
If you make the image highly staged, parts of the image may get cut off. To prevent this, duplicate the image and apply the Gaussian Blur effect to the entire underlying layer.
Move the Zoom
Apply the Ken Burns effect again and zoom into the image. By blurring the background, the focus remains on the main image while still preserving a dynamic look.
Summary – Ken Burns Effect in Premiere Pro: A Comprehensive Guide
In this guide, you have learned how to apply the Ken Burns effect in Adobe PremierePro to give more life to your photos in videos. With the right technique and a little creativity, you can elevate your projects to a new level.
FAQ
How do I activate the Ken Burns effect in Premiere Pro?You activate it by setting keyframes for the position and scaling of an image.
What resolution should the image have?The image should have a sufficiently high resolution; especially 20 megapixels are ideal for HD playback.
Can I use the Ken Burns effect without zooming?Yes, you can deactivate scaling and work only with position.
How long should the animation last?The animation should not be too fast; a smooth transition is more pleasant.
What is Gaussian Blur and how does it help?Gaussian Blur softens the background, allowing the focus to remain on the main subject.


