When exporting a videoin Adobe PremierePro, the export dialog can seem overwhelming, especially for beginners. It offers numerous options that allow you to customize the final result to your liking. In this guide, I will show you how to use the export dialog to efficiently export videos from Premiere Pro.
Main insights
- Choose the right export format and appropriate preset.
- Utilize effects and overlays to customize your video.
- Pay attention to the bitrate settings to optimally control video quality.
- Use the queue feature to export multiple videos at once.
Step-by-step guide
Step 1: Choose project and open export dialog
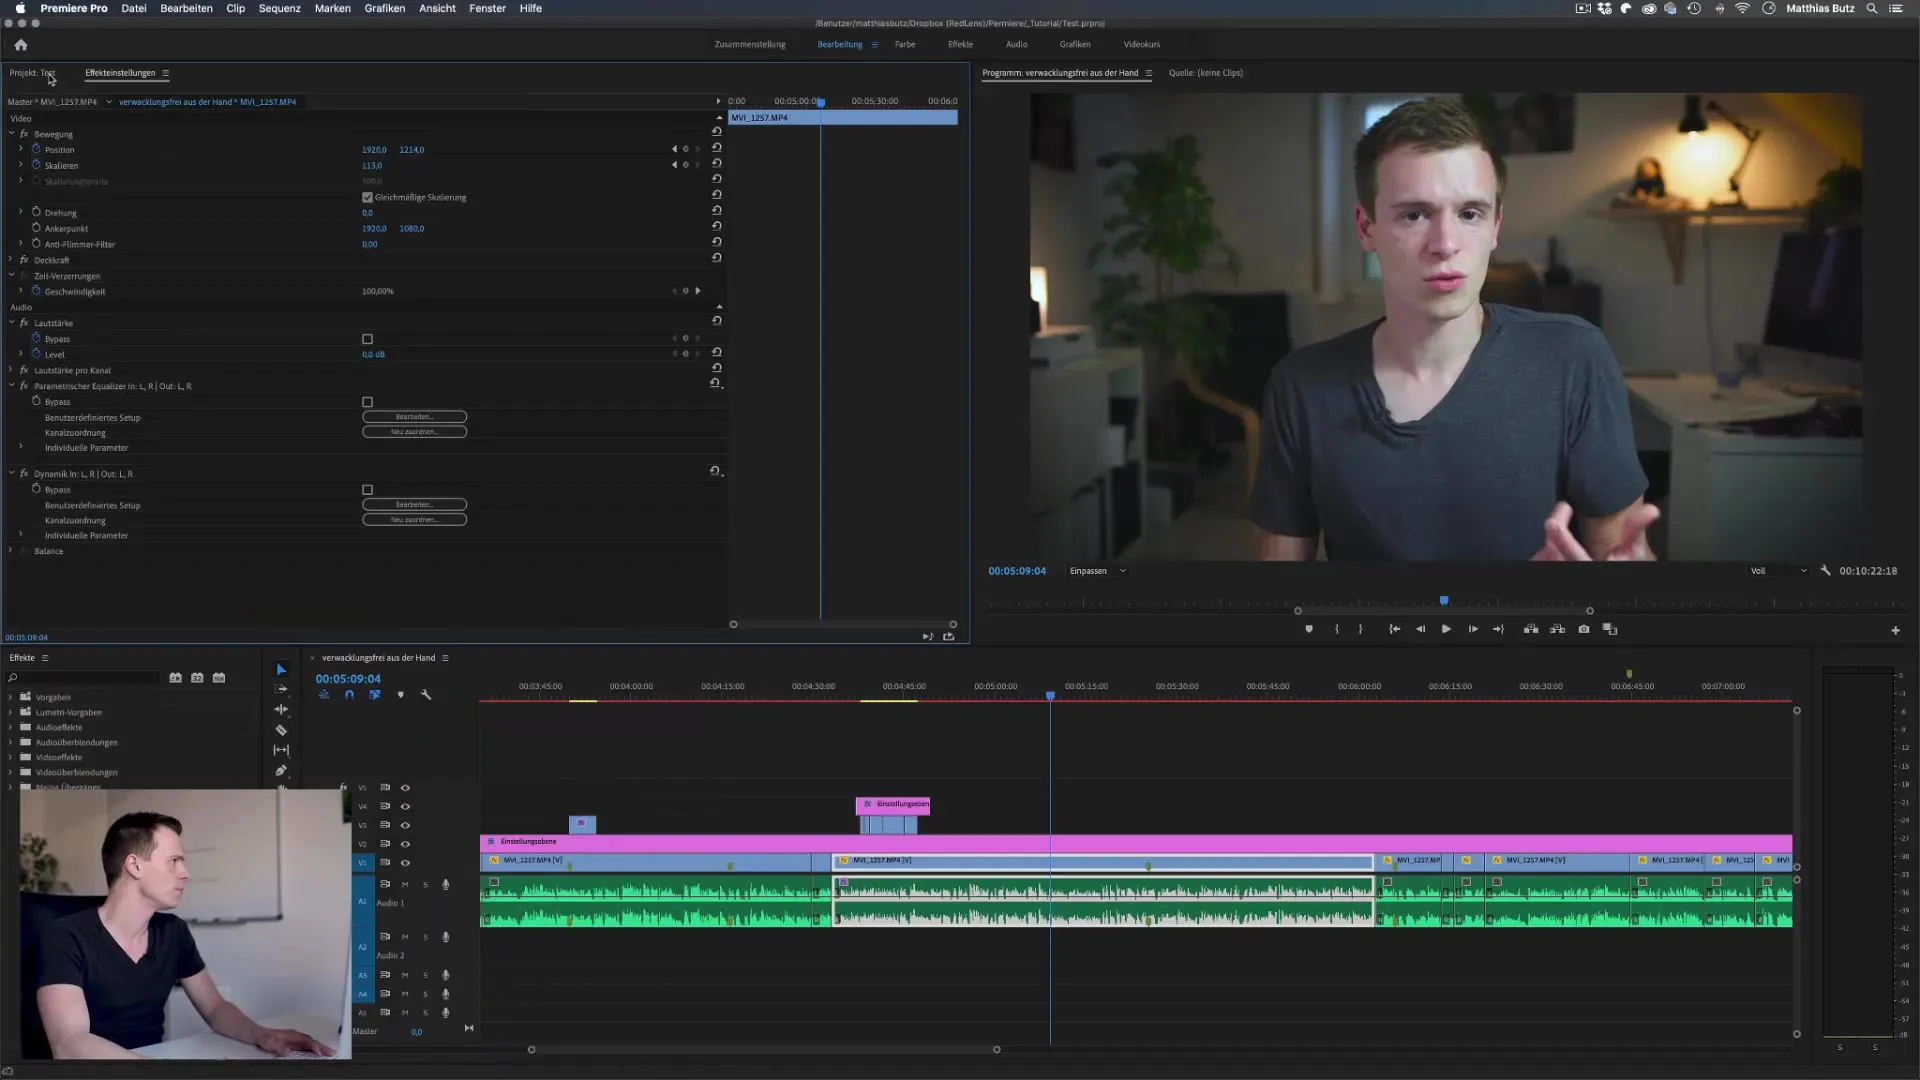
You start by opening the project you want to export. To do this, go to the project overview and find your project file. In this example, the file is called "Shooting Steadily Handheld". Right-click on the project and select the "Export Media" option. This will open the export dialog.
Step 2: Select export format
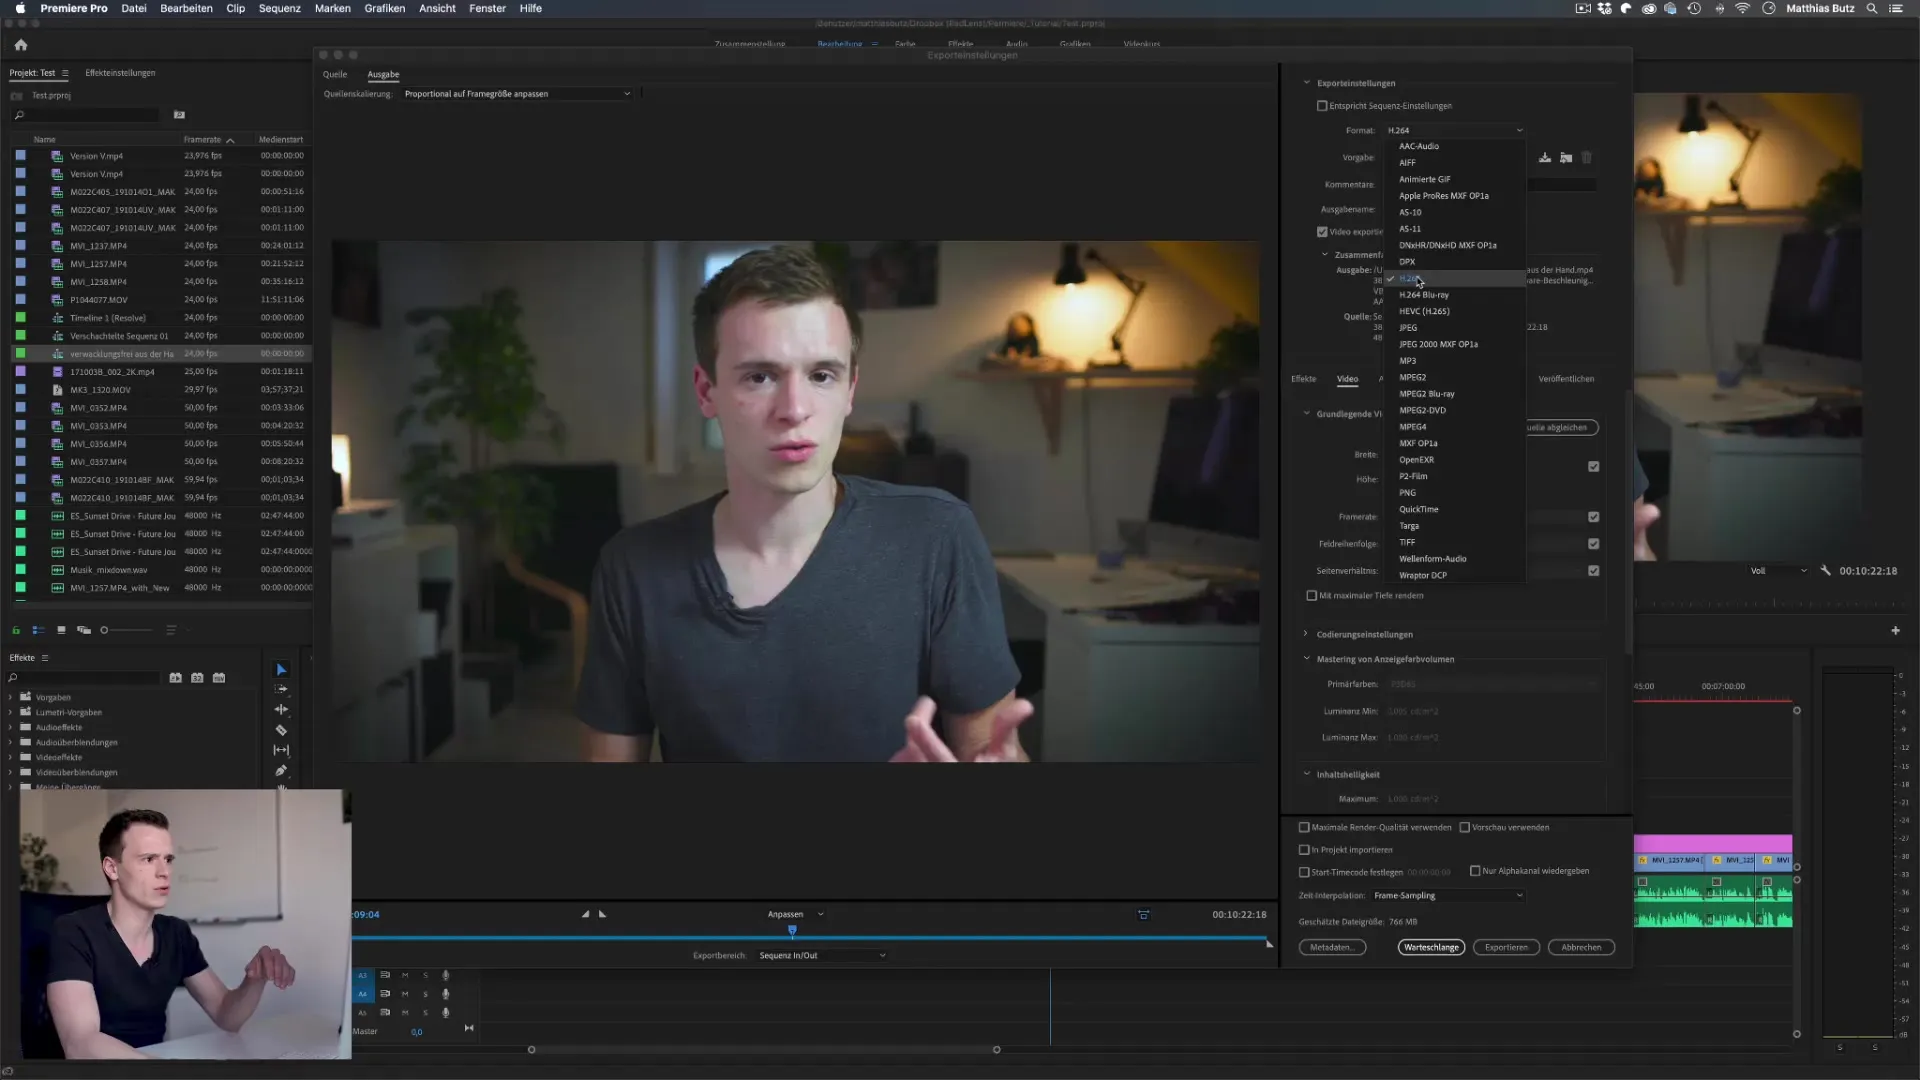
In the export dialog, you can now select the format in which you want to save your video. For most applications, the H.264 format is the most common and works great for platforms like YouTube. If you have specific requirements, you can also choose other formats like MP3, TIFF, or GIF.
Step 3: Select preset
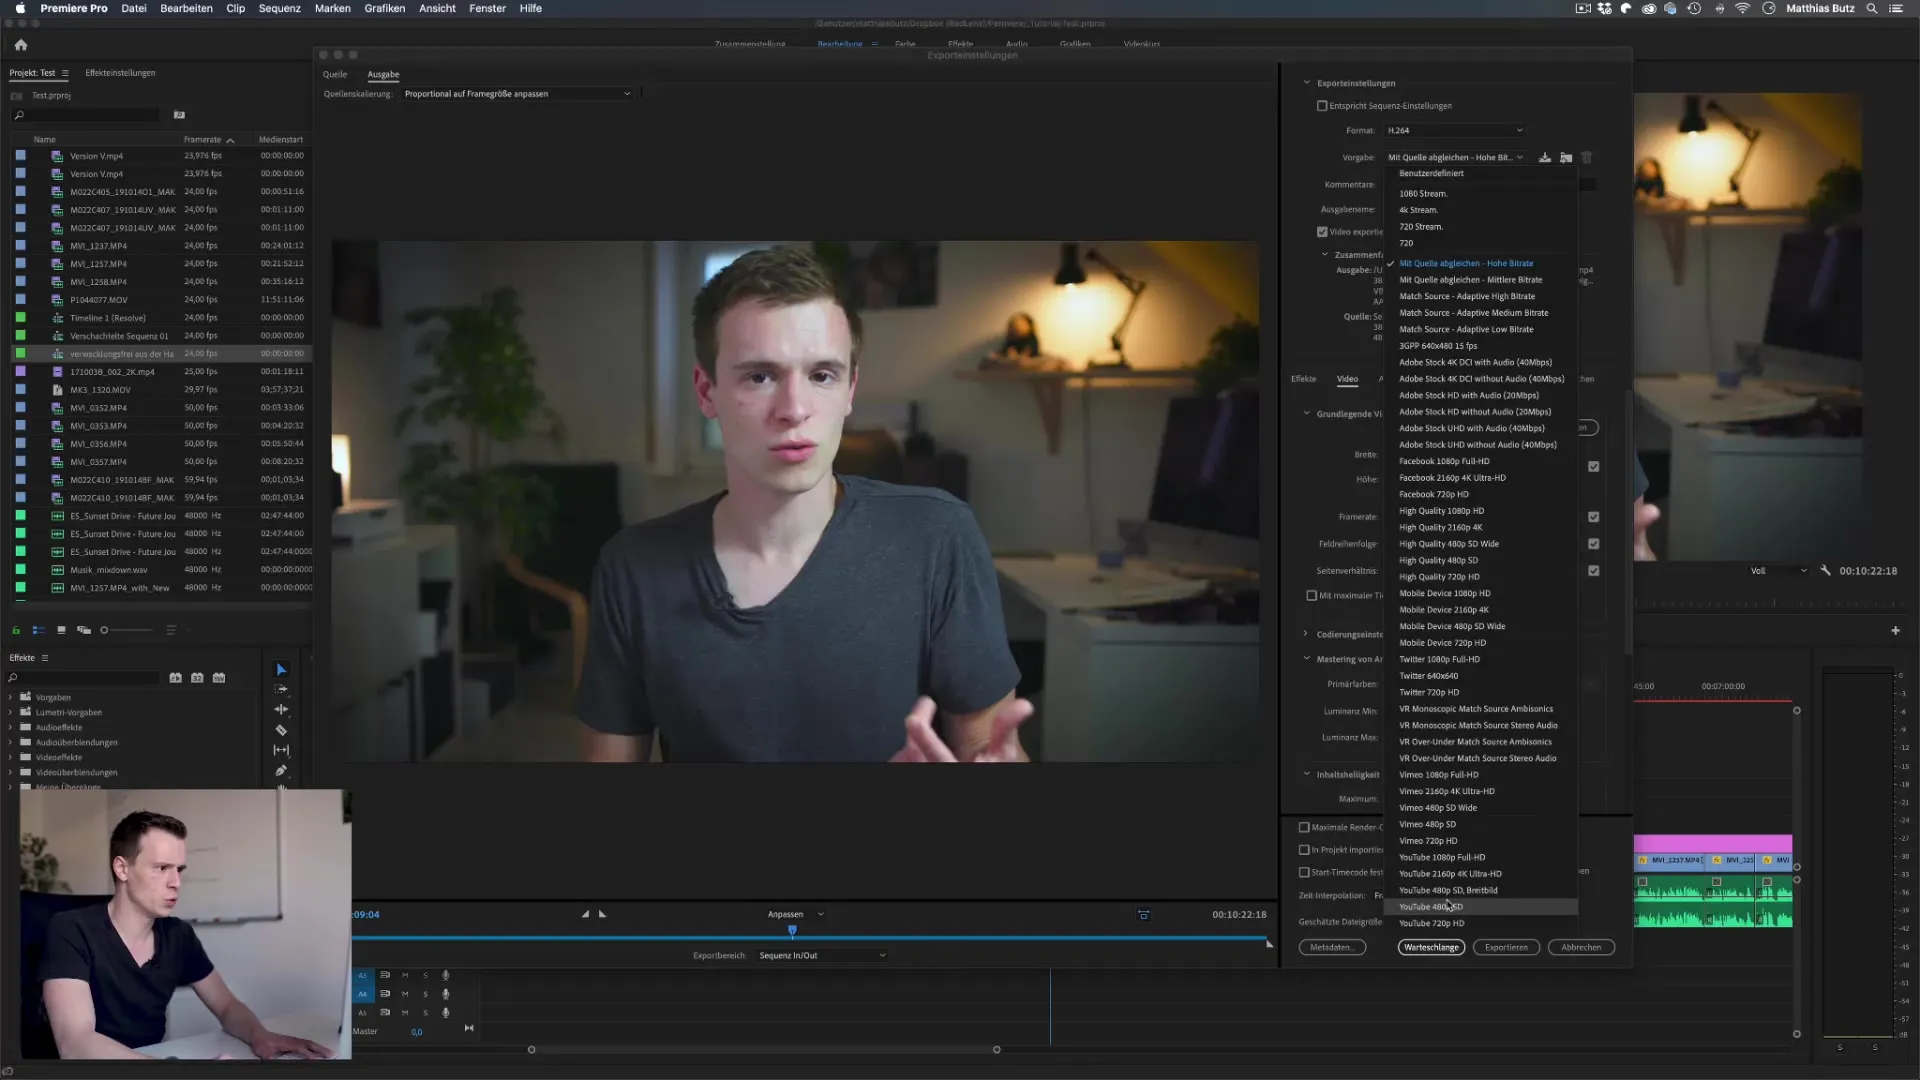
In addition to the format, you also have the option to select a preset. Premiere Pro offers numerous presets, specifically for YouTube, Facebook, or Vimeo. You can simply select the desired preset and adjust it to your needs, such as setting the resolution to 720p or 1080p.
Step 4: Adjust video and audio settings
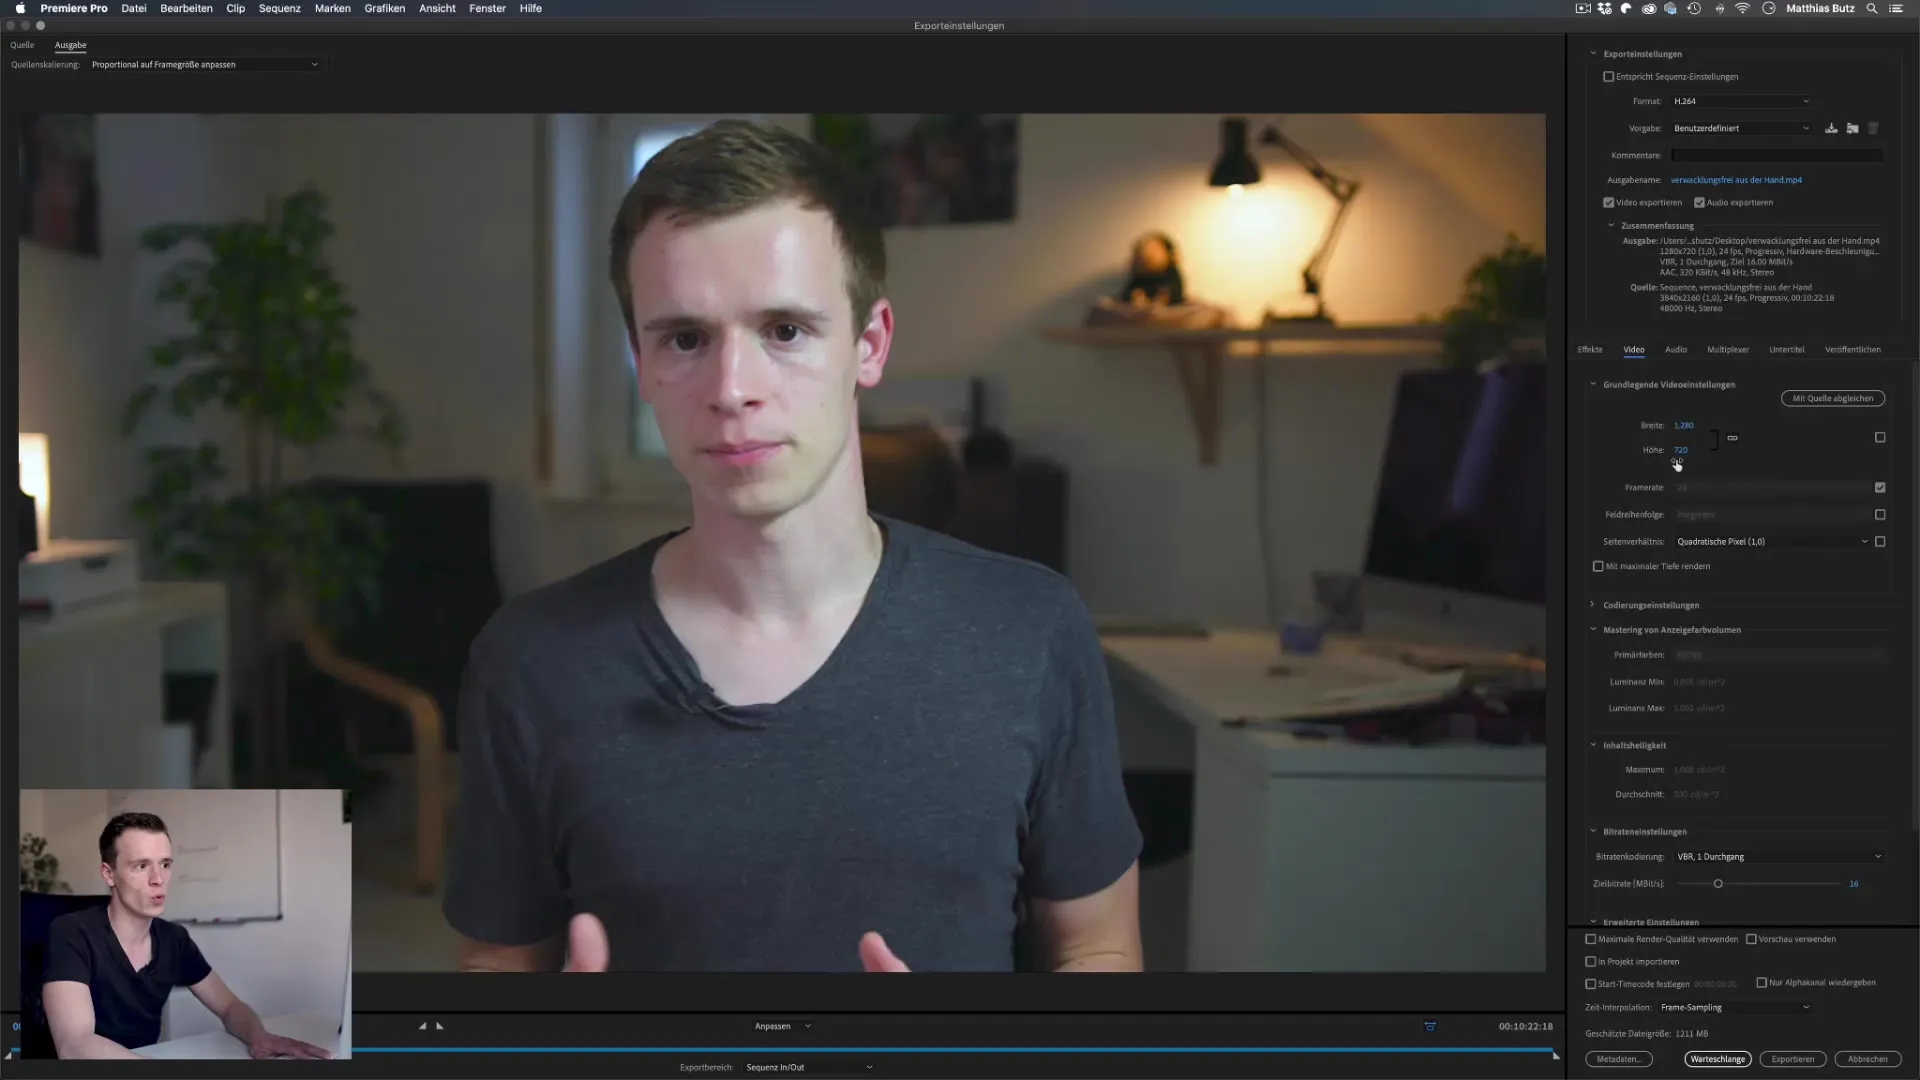
Under the video playback tab, you can make adjustments to the video settings. You can change the frame size and rate by adjusting the values. Ensure that the frame rate matches the source frame rate. Changing the resolution can lead to quality loss; therefore, it is important to choose carefully.
Step 5: Choose bitrate
The bitrate is crucial for the quality of your exported video. You can choose between a constant bitrate (CBR) and a variable bitrate (VBR). CBR ensures consistent quality regardless of the content elements of the video, while VBR reduces the bitrate during low activity and increases it during intense scenes. For most applications, a variable bitrate is recommended.
Step 6: Add effects and overlays
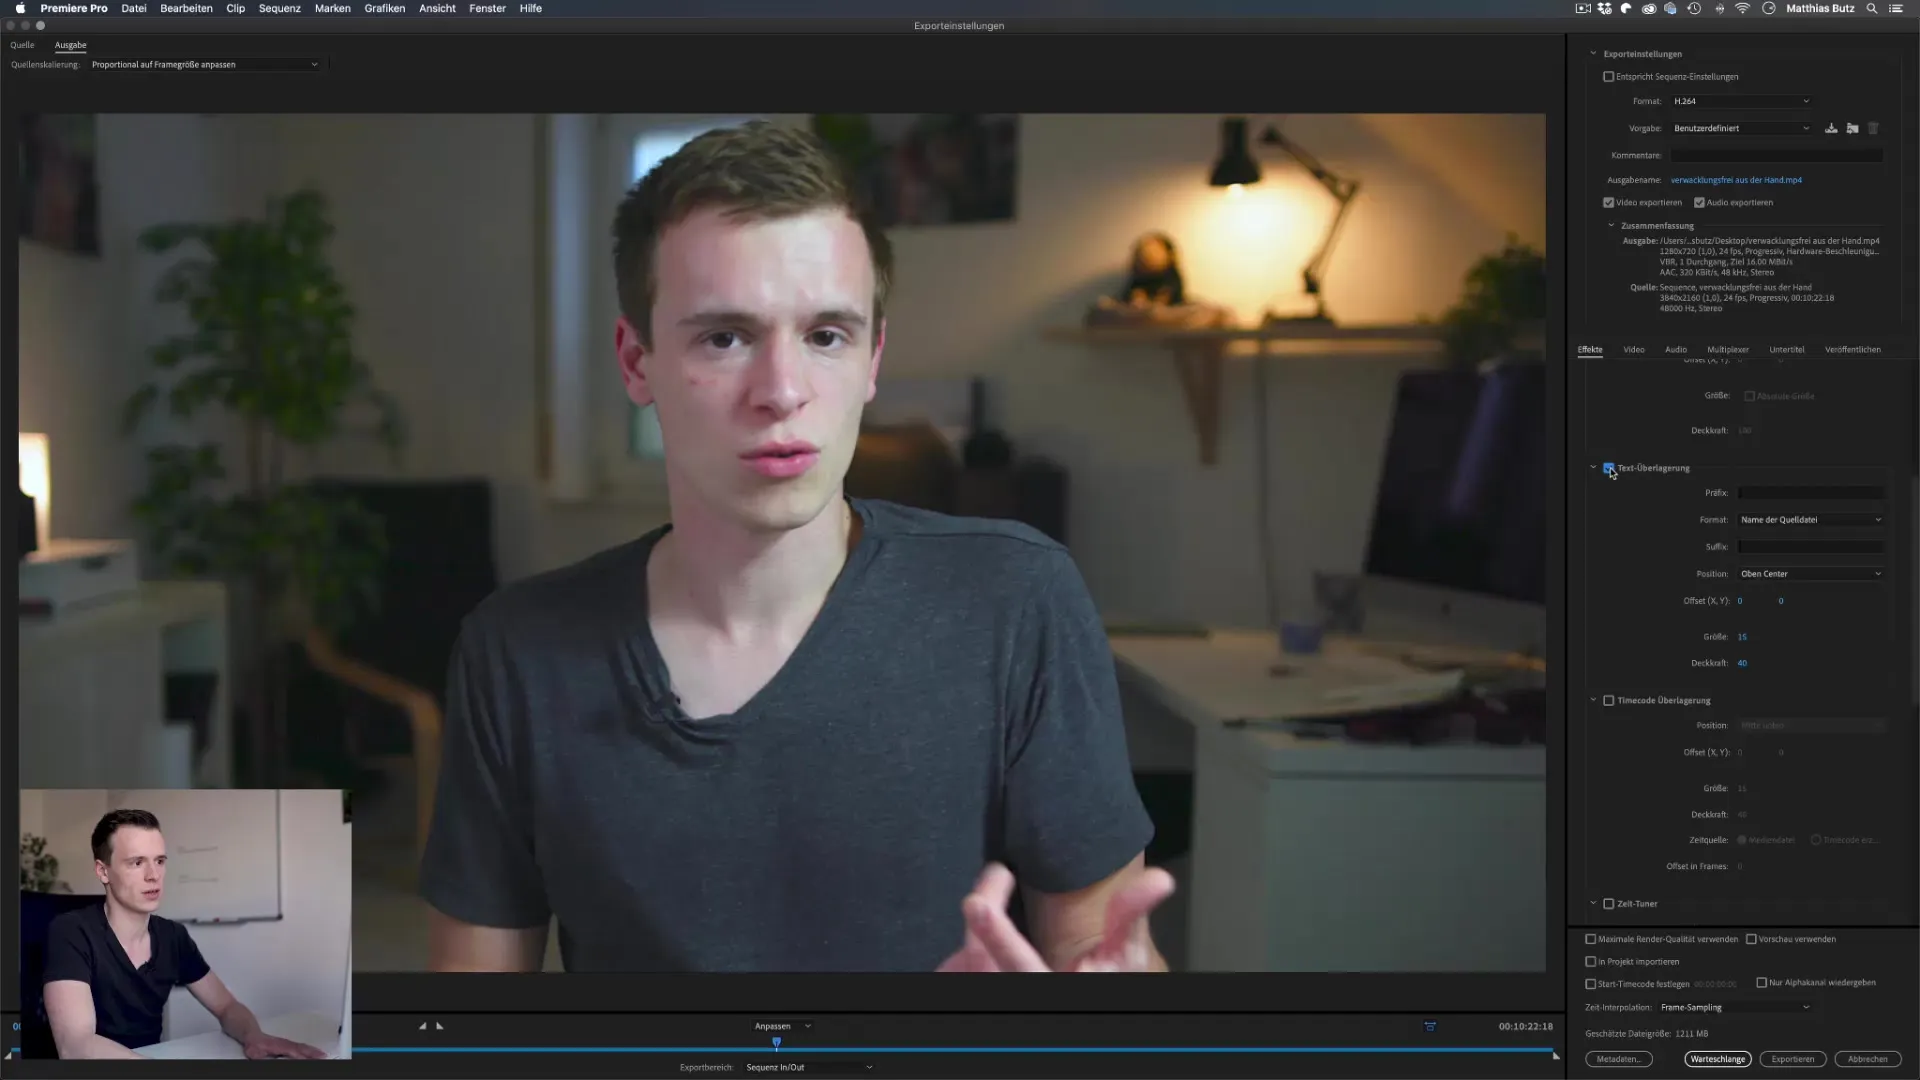
You can also add effects and overlays to your video to make it more interesting. In the export dialog, you can place text overlays like the filename or a watermark on your video. Adding time codes can be helpful to indicate where your video stands in the overall progression.
Step 7: Use subtitle functions
If your video contains subtitles, you have the option to embed them in the video or export them as a separate file. This keeps the subtitle accessible to the viewer without needing to insert it directly into the video.
Step 8: Direct export or queue
You can choose to export your video directly or add it to the Adobe Media Encoder queue. The queue feature is particularly useful if you want to export multiple videos at once. This allows you to continue working in Premiere Pro while the videos are rendered in the background.
Step 9: Publish on platforms
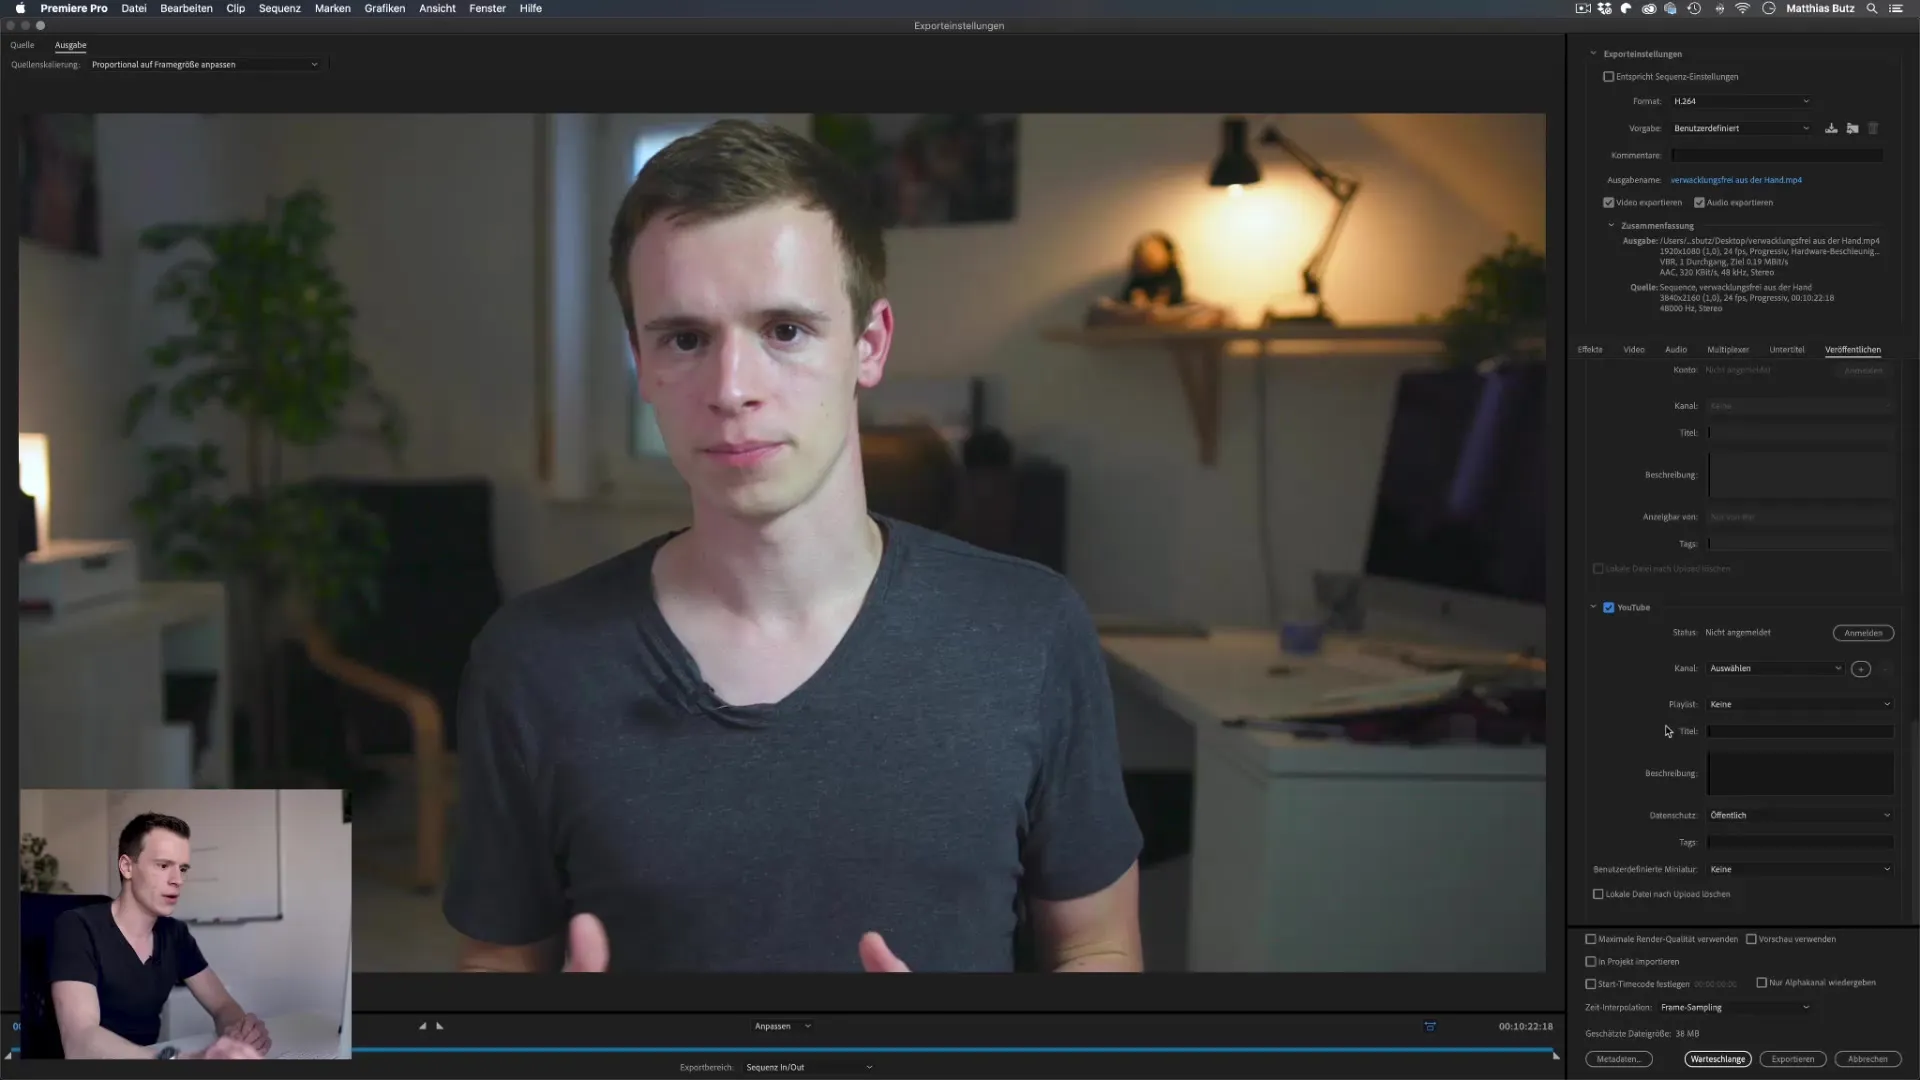
The export dialog offers the possibility to upload your videos directly to platforms like YouTube or Vimeo. You just need to log in once and provide the required details, like title and description. Then simply click "Export," and Premiere will take care of the rest.
Step 10: Activate maximum render quality
If you want to utilize the maximum render quality, check the corresponding box in the export dialog. This is especially important if you are reducing the resolution of your video to ensure that only the best quality is exported from your original material.
Summary – Premiere Pro CC: The export dialog explained step-by-step
With this guide, you can efficiently use the export dialog in Adobe Premiere Pro. From selecting the format to bitrate settings to adding effects – each option plays a role in presenting your video in the best possible way. Experiment a little with the settings yourself to optimize the process.
FAQ
How do I choose the best export format?H.264 is often the best format, especially for online platforms like YouTube.
Can I export multiple videos at once?Yes, you can use the queue feature to export multiple videos in the background.
What bitrate is optimal for my videos?A variable bitrate (VBR) is often recommended, as it adjusts quality based on content.
Do I need to log in to platforms to publish videos there?Yes, you must log in once and provide the required details before exporting.
What are the benefits of maximum render quality?Maximum render quality helps avoid quality loss, especially when downscaling resolutions.
