Editing voice recordings can be the crucial step to take your projects to the next level. Whether for podcasts, videos, or other multimedia projects – how you edit your voice recordings significantly affects the quality and impression your work leaves. In this guide, you will learn how to optimize your voice recordings in Adobe Premiere Pro with simple techniques and make them sound great.
Main Insights
- The equalizer is a fundamental tool for adjusting frequencies.
- Dynamic processing helps balance loud and quiet spots.
- The right balance in editing provides an authentic sound experience.
Step-by-Step Guide
Step 1: Preparing the Audio Recording
Before we start editing, make sure you have made the best possible audio recording. A clear and distinct voice recording is the foundation for any subsequent editing. It's essential to use a good microphone and keep the environment as soundproof as possible.
Step 2: Applying the Equalizer
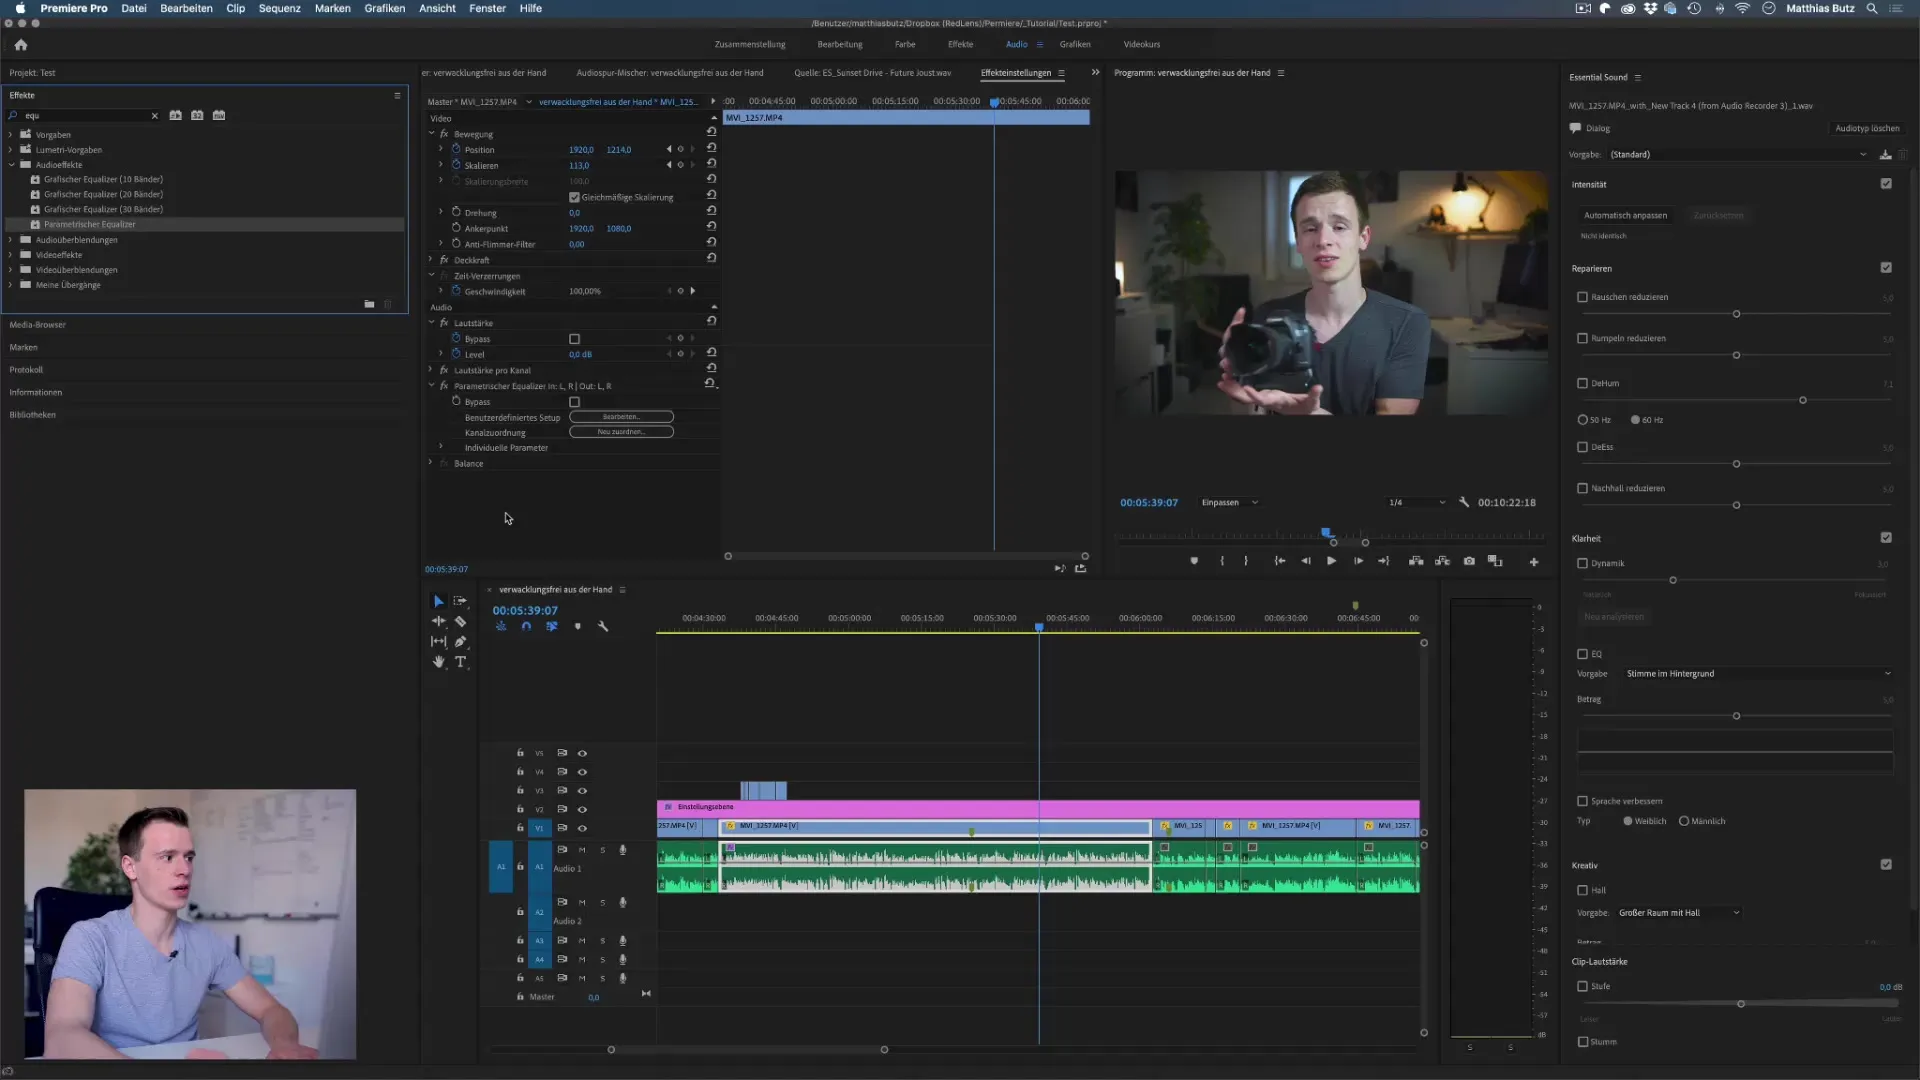
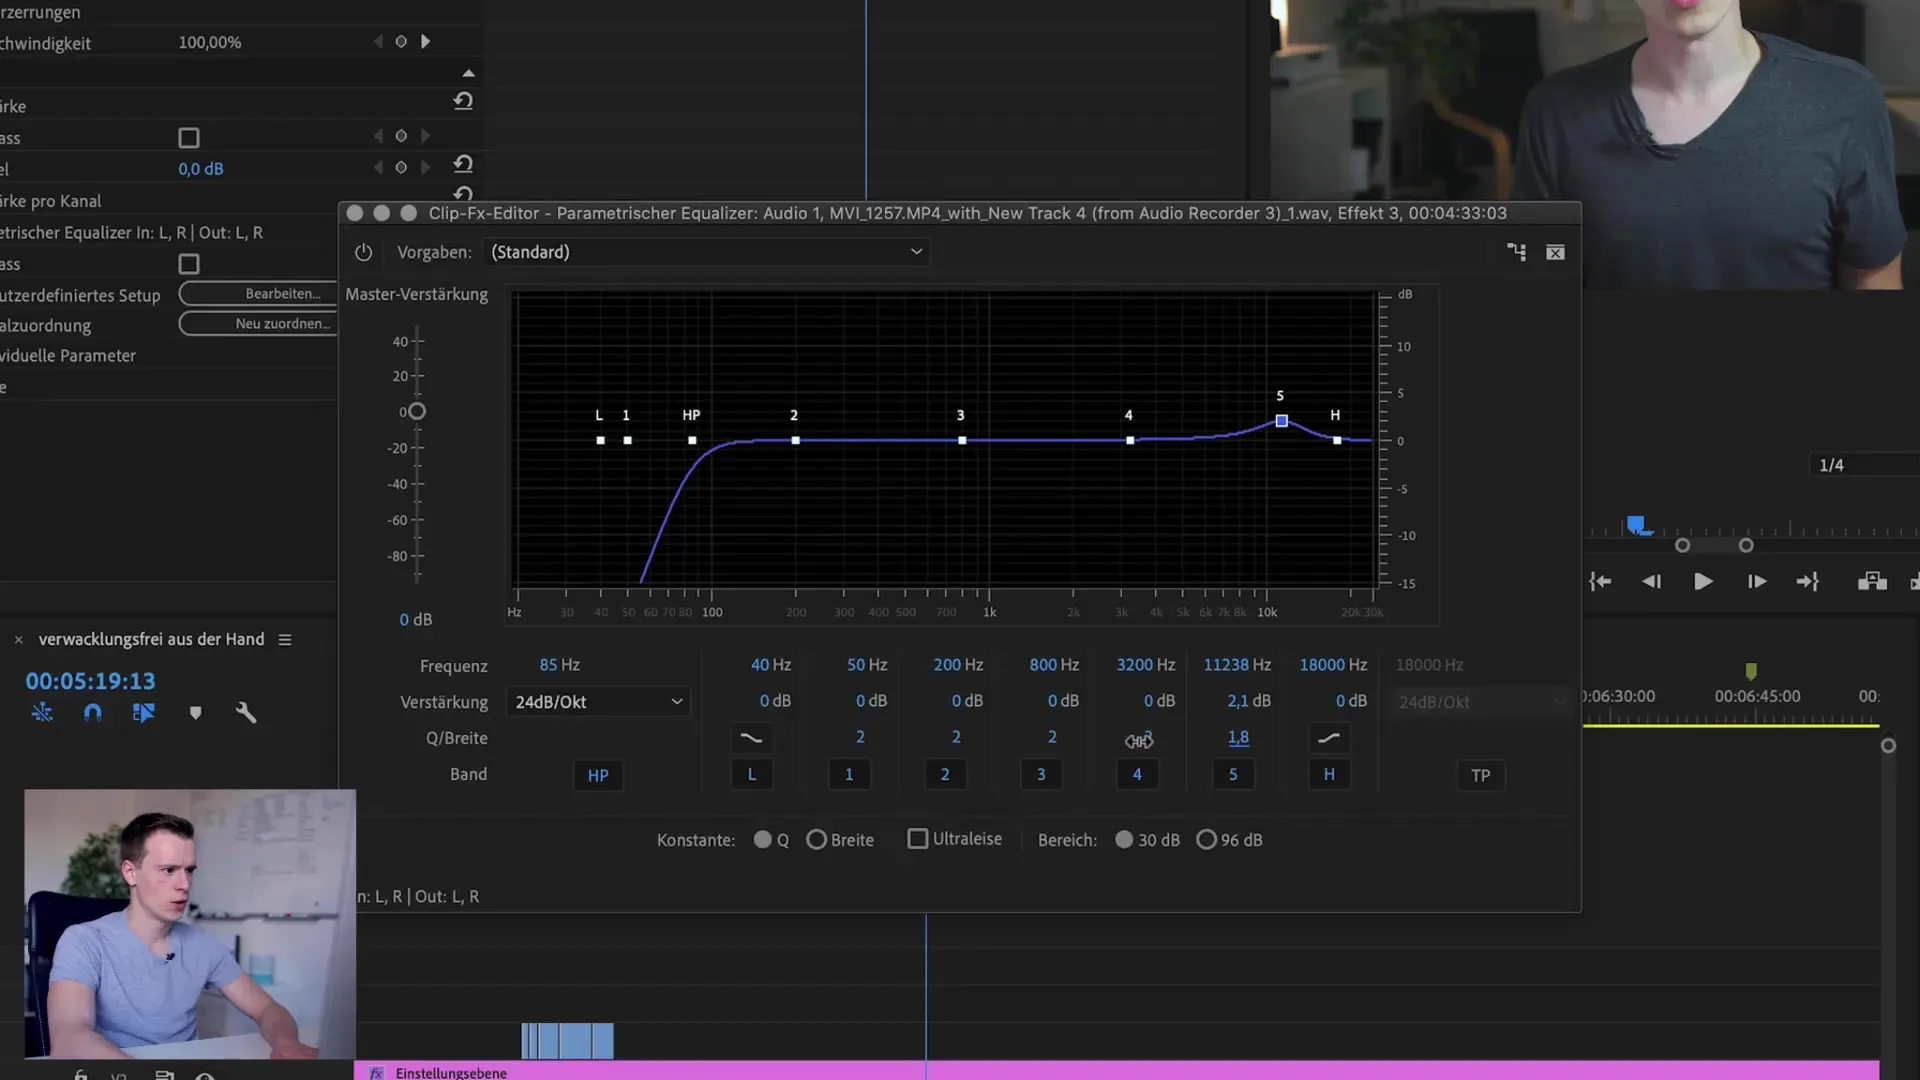
The equalizer is a powerful tool for editing audio material. To give your voice the finishing touch, you can enable the equalizer and play around with the frequencies. Start by slightly lowering the lower frequencies and boosting the higher frequencies until you achieve the desired result. A good starting position is to lower the low-end range by -3 dB and slightly raise the high-end.
Step 3: Optimizing Frequency Ranges
After adjusting the equalizer, it's important to further edit the frequency ranges. Be sure to identify frequencies that might be disrupted by noise or other background sounds and lower them specifically. You can also experiment with high-pass and low-pass filters to improve the clarity of your voice recording.
Step 4: Applying Dynamic Processing
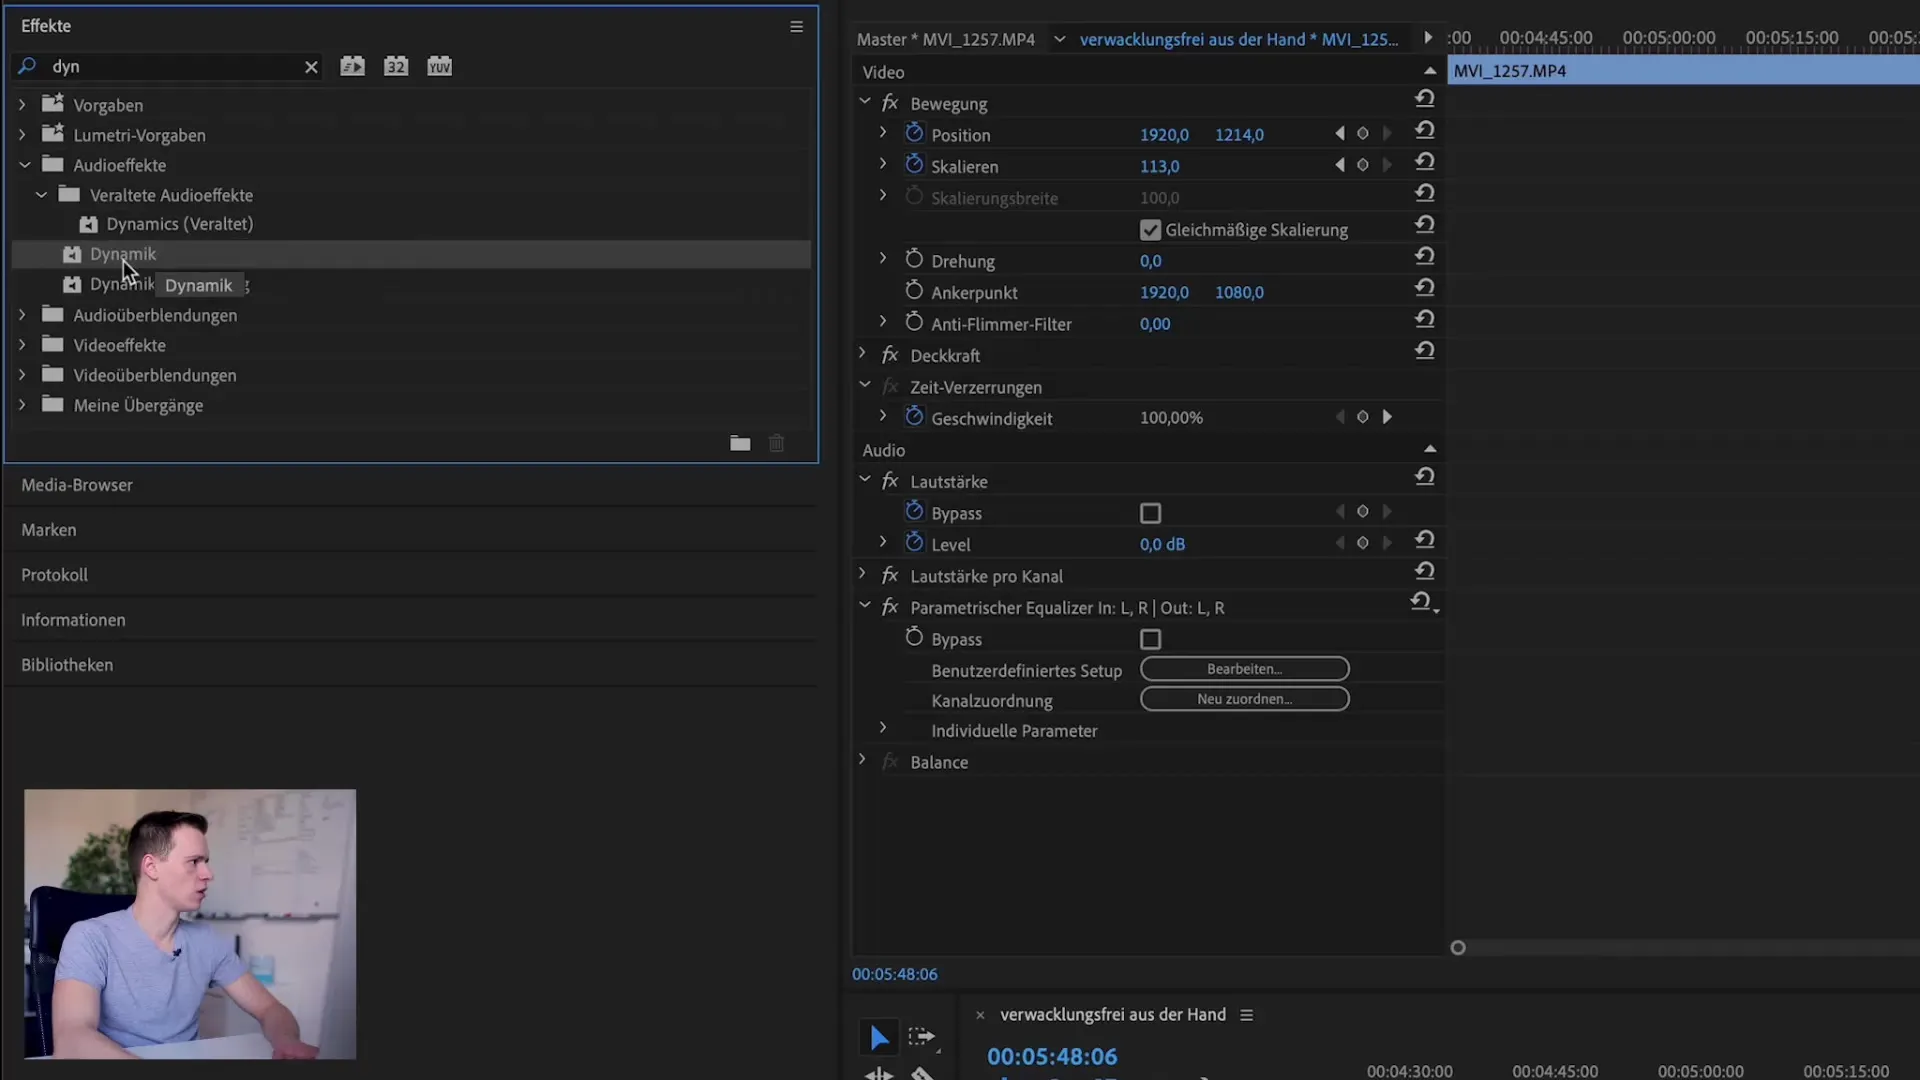
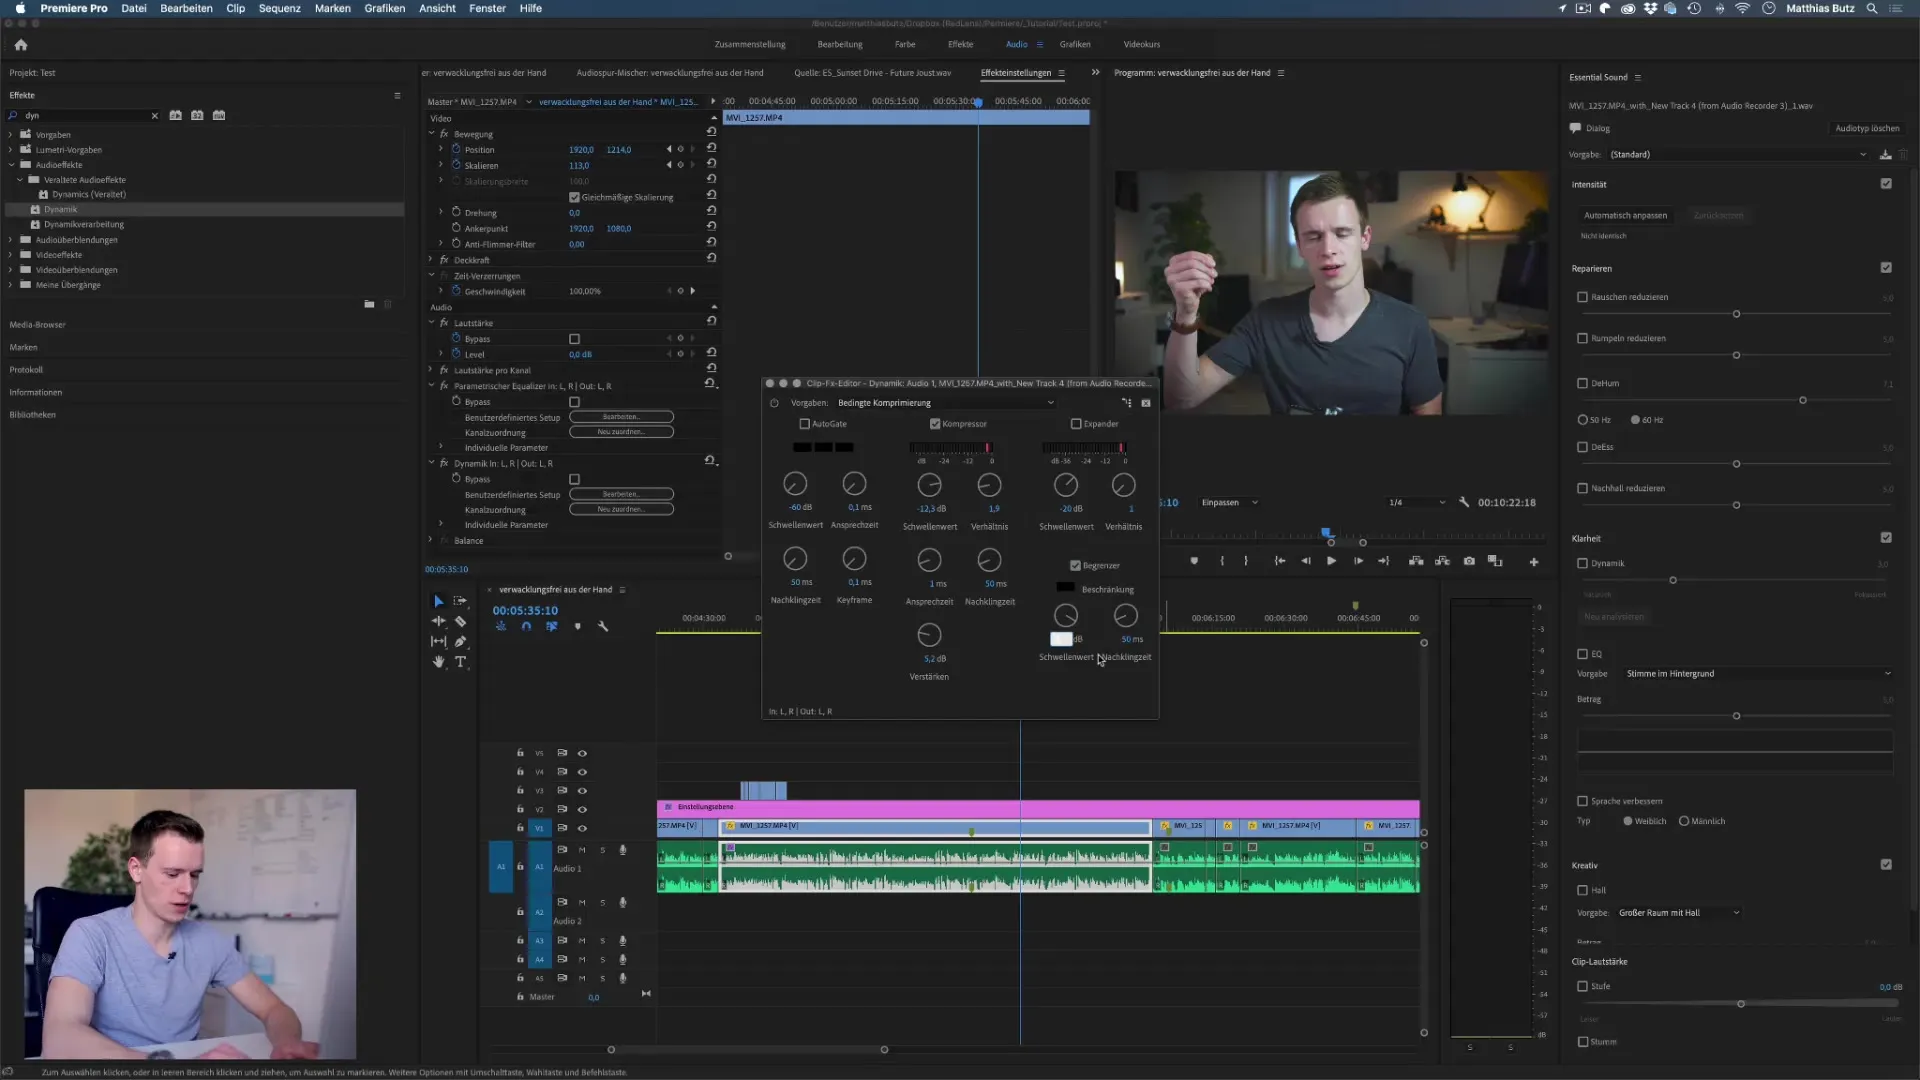
To create a harmonious balance between too loud and too quiet sections of your voice recording, dynamic processing is essential. Use the conditional compression feature to balance the volume differences in your recordings. Ensure that the loudest parts do not exceed -3 dB and adjust the parameters accordingly.
Step 5: Using a Limiter
To avoid unwanted peaks in your voice recording, apply a limiter. This ensures that no audio peaks exceed the set value, improving the overall quality of your recording. Typically, set the limiter to -3 dB to create a safe buffer zone.
Step 6: Final Review and Fine-Tuning
Now listen to your edited voice recording compared to the original recording. Pay attention to whether the sound is clear, pleasant, and balanced. If necessary, make final adjustments to ensure everything sounds as you wish. Often, less is more, so be cautious not to change the settings too much.
Summary – Perfecting Voice Recordings with Premiere Pro CC
Editing voice recordings in Adobe Premiere Pro CC requires a certain level of technique and feel for the sounds. With the steps you have learned, you can effectively enhance your recordings by using the equalizer, dynamic processing, and limiters. Be sure to prioritize natural sounds and experiment to achieve the perfect sound.
Frequently Asked Questions
What is the first step in editing voice recordings?The first step is to ensure that you have made a good audio recording.
How do I use the equalizer effectively?Activate the equalizer and boost the highs while lowering the low frequencies to achieve clarity.
What do high-pass and low-pass filters do?High-pass filters cut off low frequencies, while low-pass filters minimize high frequencies to remove certain background noises.
What is dynamic processing?Dynamic processing helps to balance volume differences in your recording to achieve a more even sound quality.
Why is a limiter important?A limiter prevents audio peaks from exceeding a set value, which protects the overall sound quality.
