The possibilities that Adobe Premiere Pro CC offers for editing videos are almost limitless. It gets particularly exciting when you can combine effect settings with keyframes. This gives you control over animations in your projects, making your videos more interesting and dynamic. Whether you simply want to scale or create complex animations, using keyframes is the key. Let's dive into the world of effects and animations.
Key takeaways
- Effects settings are crucial to visually enhance your videos.
- Keyframes allow you to animate effects over time.
- With the right use of anchor points and rotations, you can achieve impressive effects.
Step-by-step guide
Step 1: Open effect settings
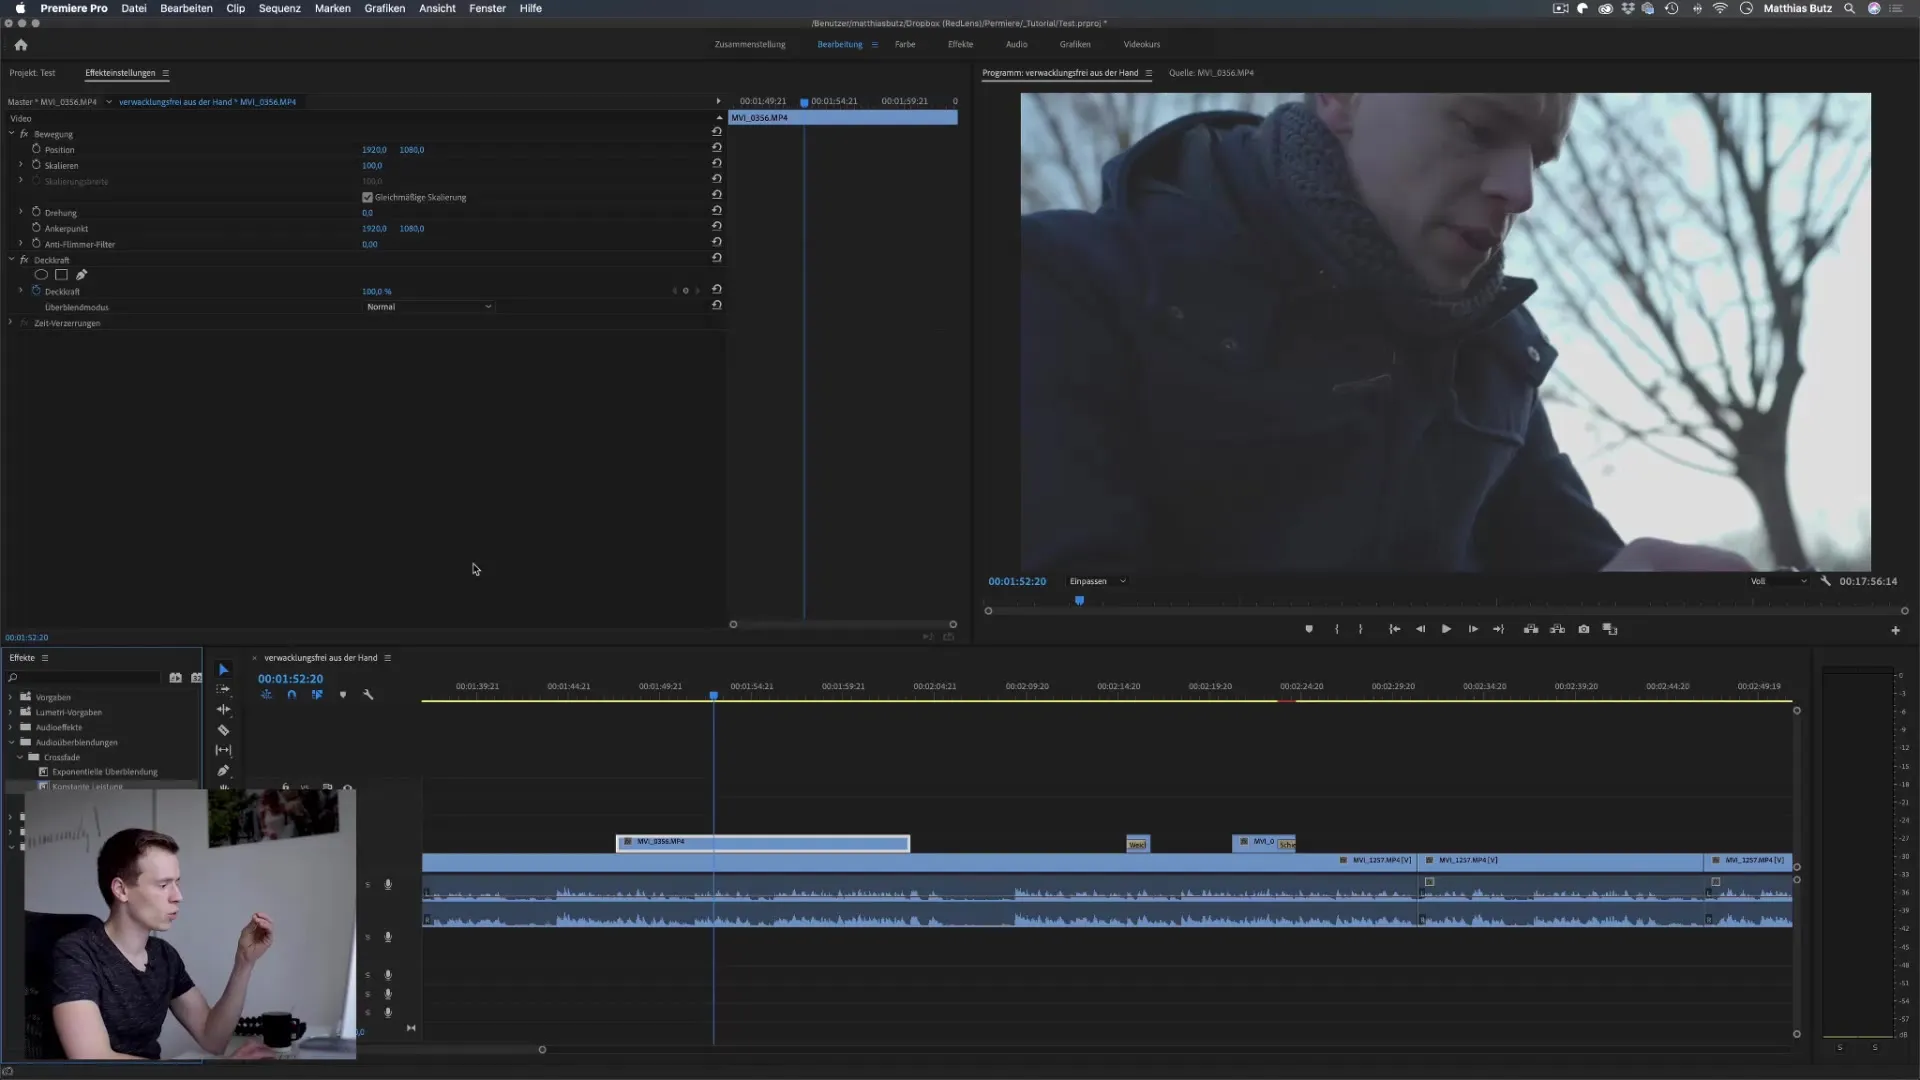
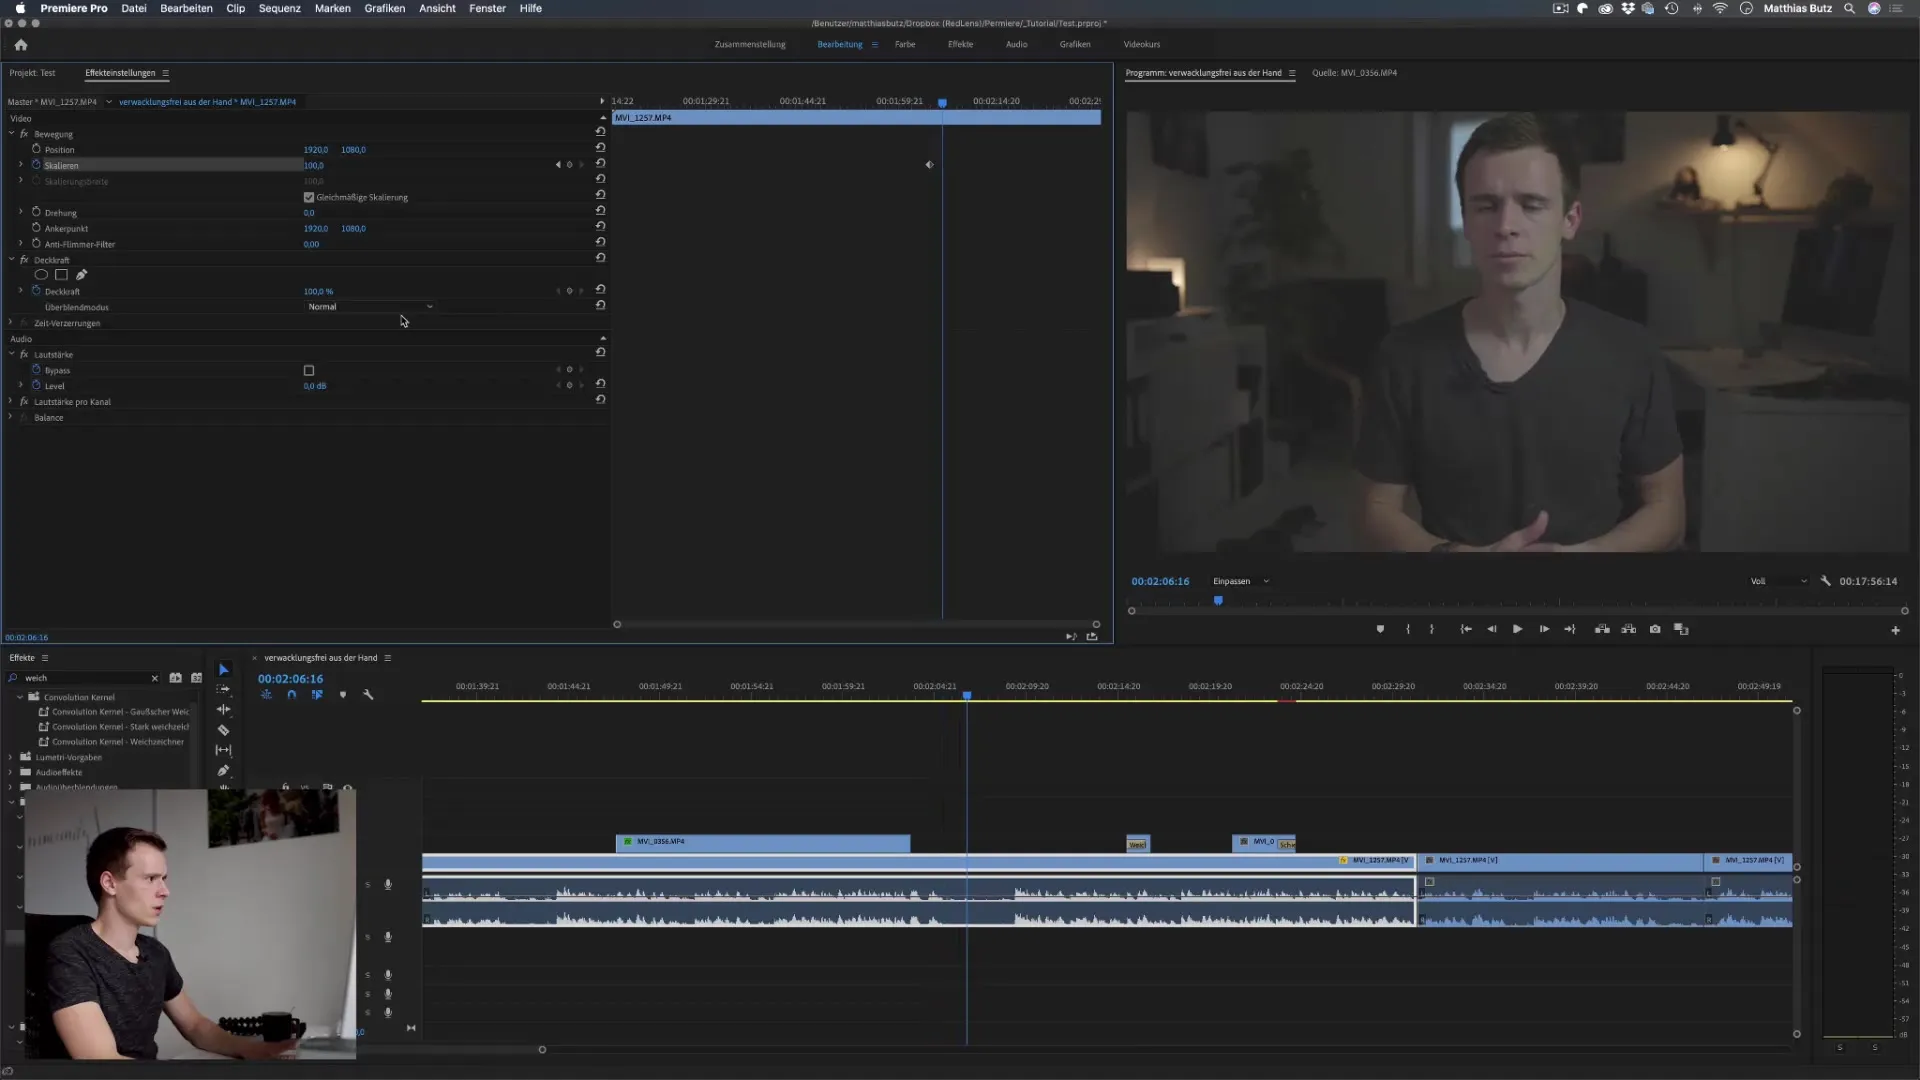
To get started with the effects settings, open the corresponding window in Adobe Premiere Pro CC. This is the central area where you can make all adjustments. This gives you control over the scaling, position, rotation and opacity of your clips.

Step 2: Adjust scaling and position
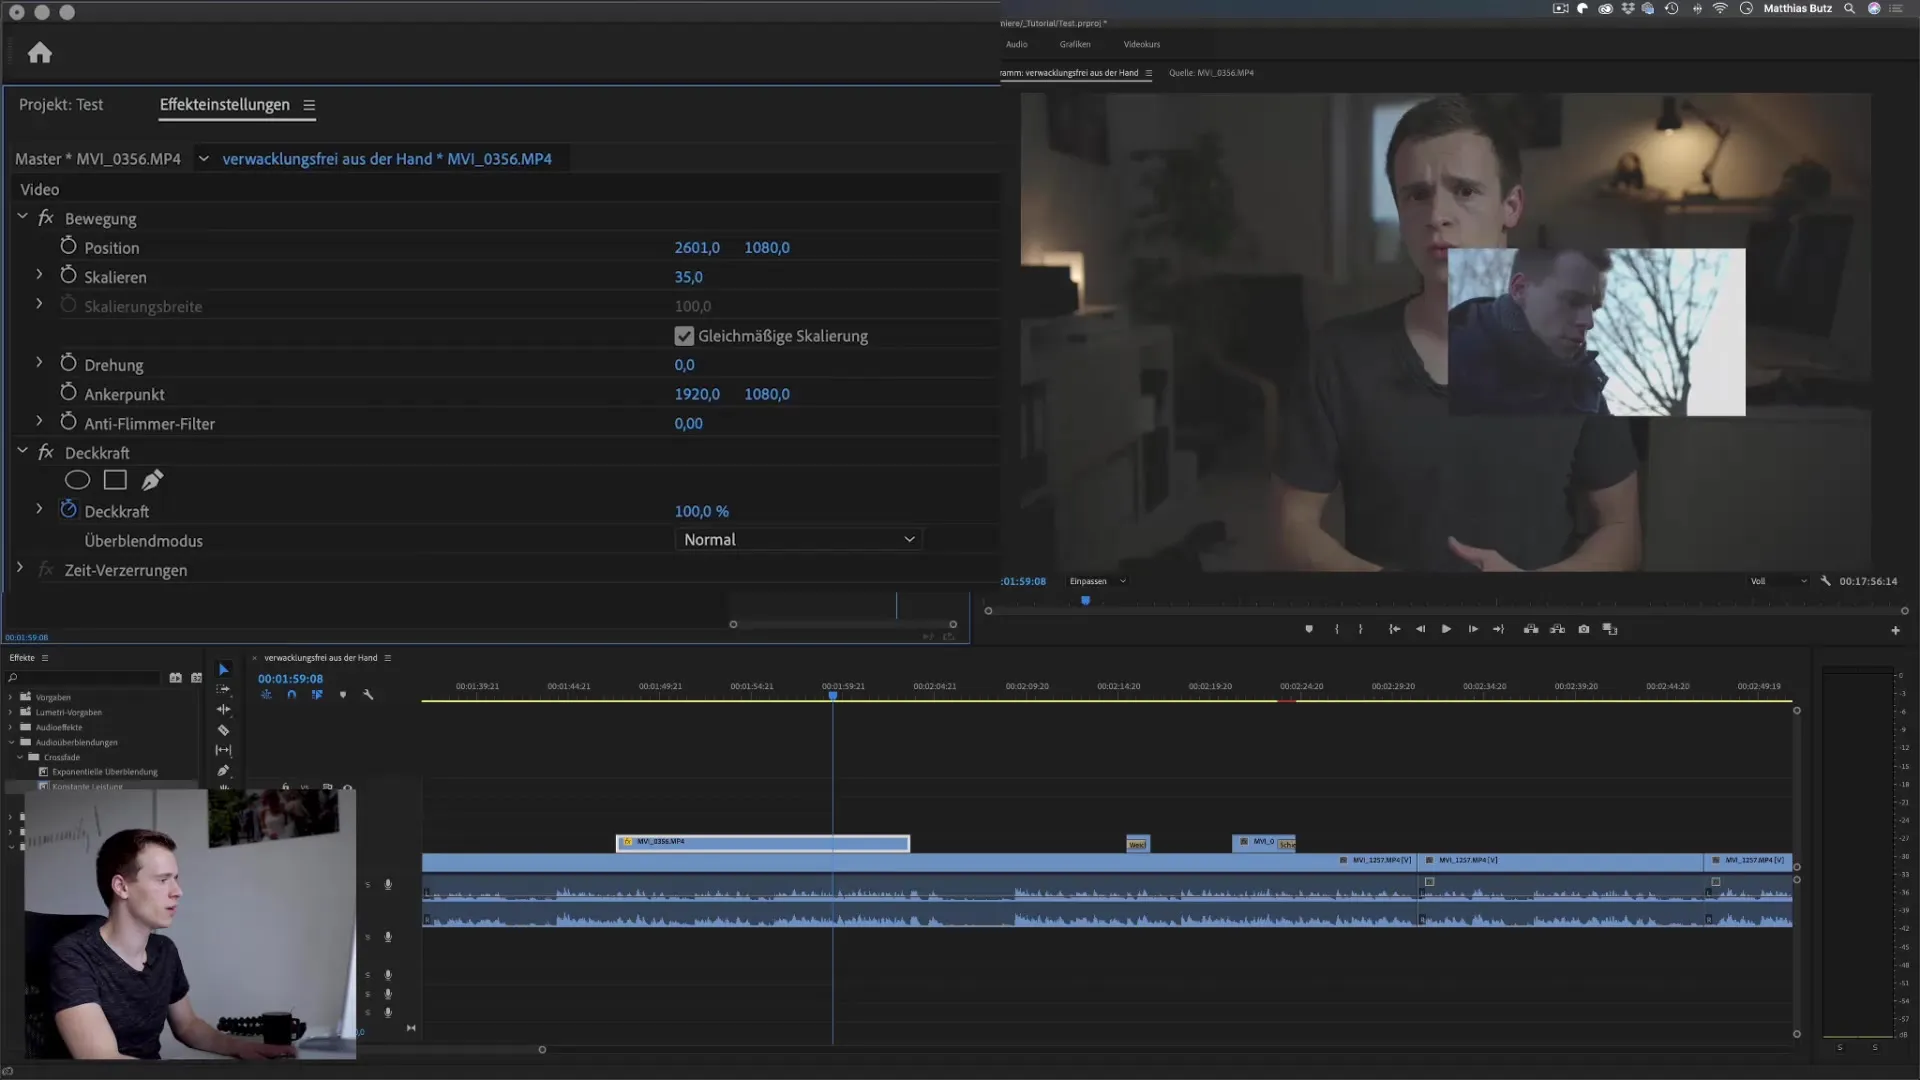
Scale your video to make it smaller or larger. This adjustment is crucial to achieve visual effects. For example, you can move your video to the bottom right to emphasize a specific image in the frame. Make sure that the scaling and position are always aligned with the specified anchor point.
Step 3: Understanding and setting the anchor point
The anchor point is the central point from which your adjustments for scaling and rotation take place. By default, this anchor point is located in the center of the clip. To achieve special effects, you can also set it at a different point. Moving the anchor point affects the entire positioning and rotation movement of the video.
Step 4: Add rotation
To add dynamics to your video, play with the rotation. To do this, set a number of degrees to rotate the video by the desired value. If you have moved the anchor point, you will see that the rotation adjusts based on this new point. A value of 0�� represents the starting position, while positive or negative values rotate the video accordingly.
Step 5: Setting the opacity
Now it's time to set the opacity of your clip. This function allows you to make the video transparent. You can create creative transitions with values from 0% to 100%. For example, set the opacity to 50% to achieve a smooth fade effect. You can even experiment with intermediate values to achieve unique results.
Step 6: Add effects
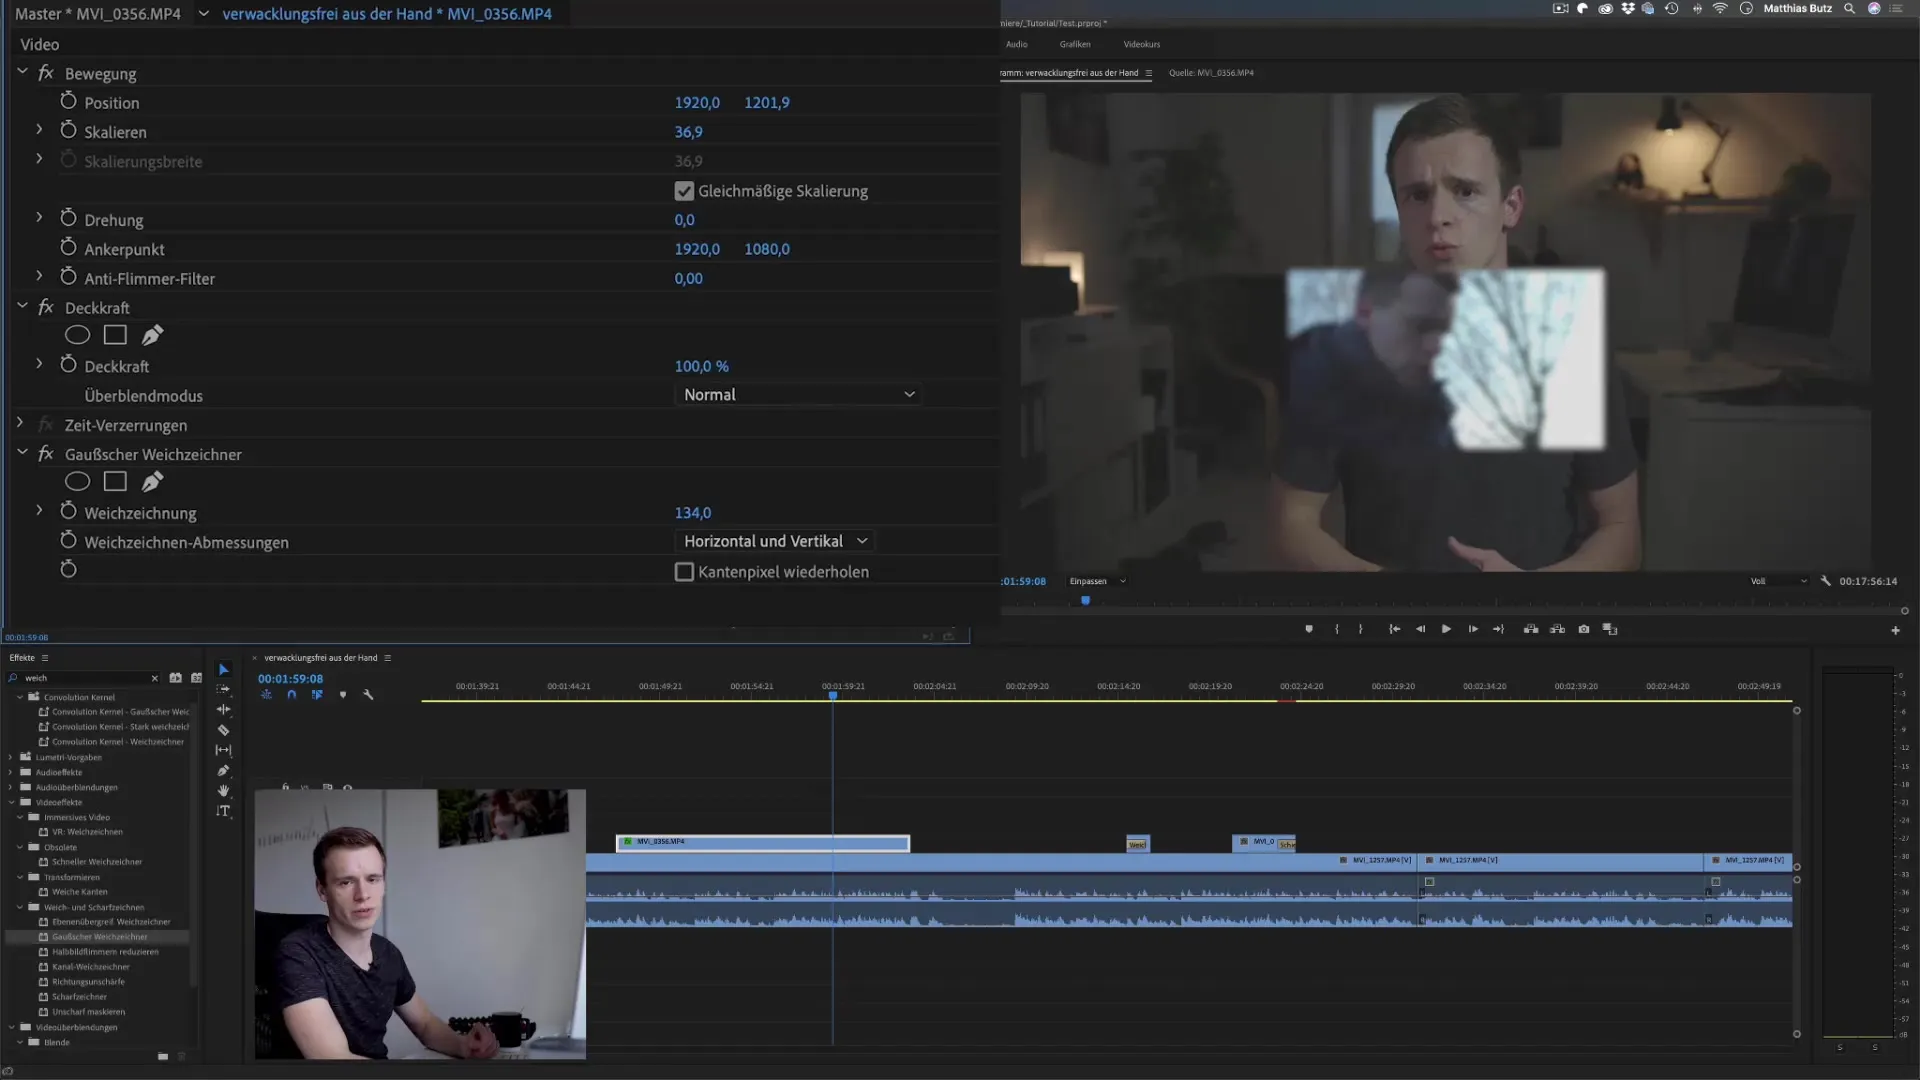
Now it gets exciting: you can add various effects, such as the Gaussian blur. This is just one example among many. You can simply drag the desired effects into the effect settings and adjust them there. Each effect can be applied multiple times, so you can combine different layers and styles to create your own look.
Step 7: Activate keyframes
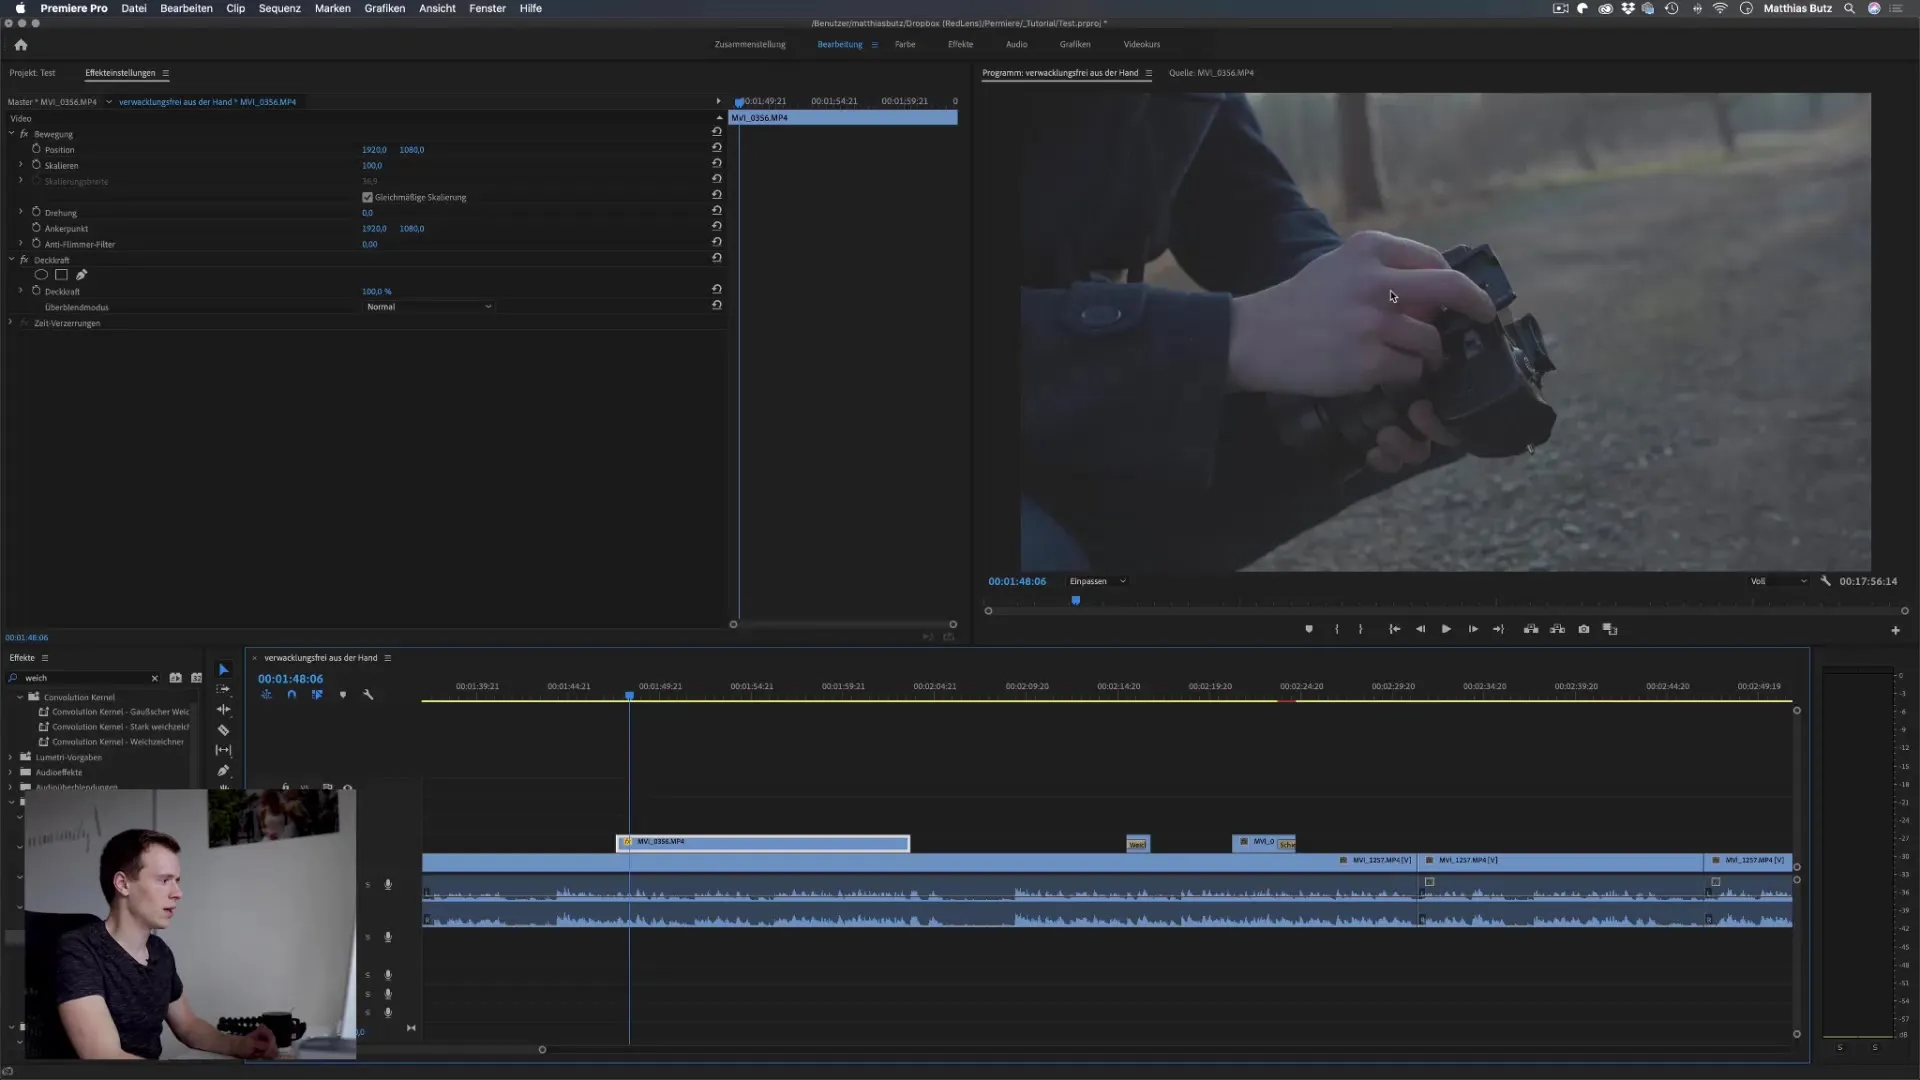
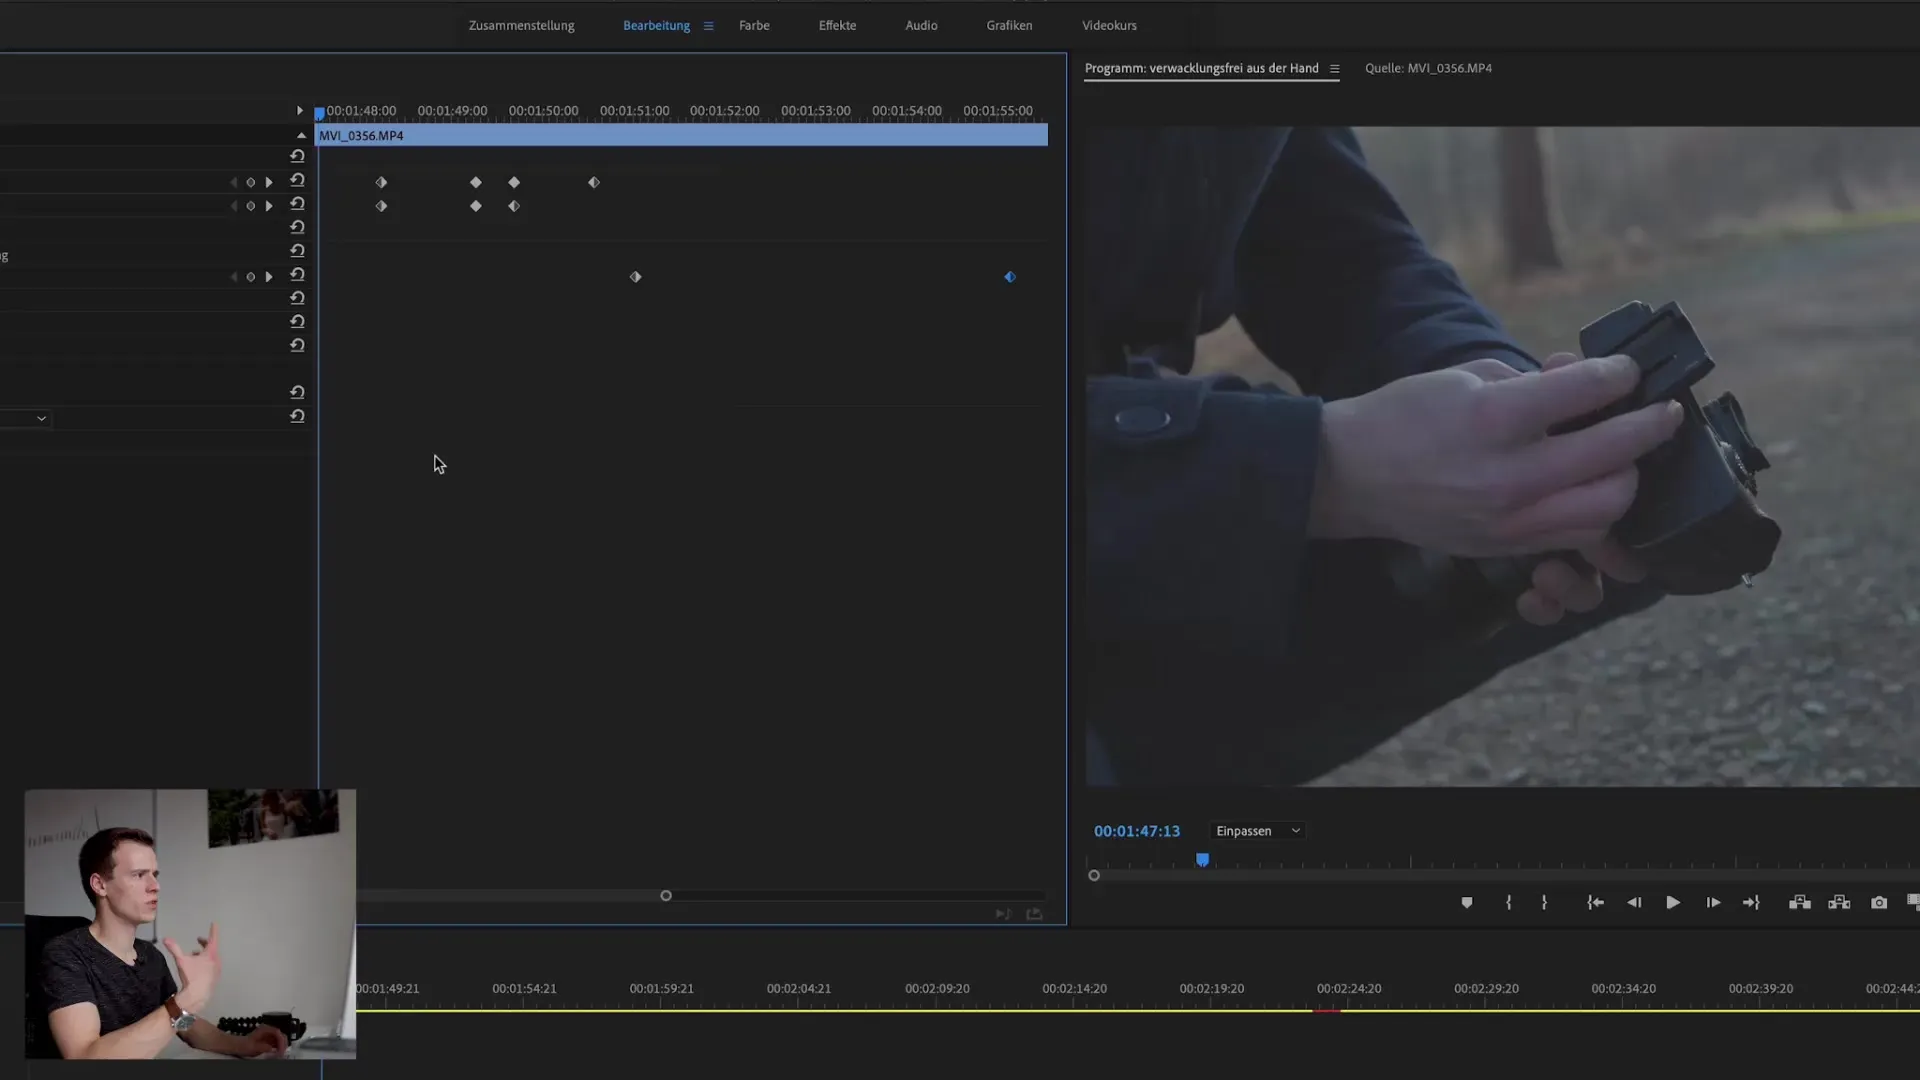
To create animations, activate keyframes. With keyframes, you can define how the effects change over time. Set a keyframe for your starting point, for example for the position or scaling. Then define another keyframe for the end point where you want the animation to change. Premiere Pro automatically calculates the transitions between the points.
Step 8: Refine animation effects
Adjust the position and duration of your animation by moving the keyframes. To achieve a smoother motion, you can move the keyframes further apart so that the effect runs over a longer period of time. Refine each animation to achieve the desired visual effect.
Step 9: Combine multiple animations
The creative use of keyframes goes far beyond simple movements. You can combine multiple effects at the same time by inserting multiple keyframes for different attributes. For example, combine scaling with rotation and opacity variation in one piece. This makes your animations more varied and interesting.
Step 10: Save and export effects
Once you are happy with your animations, check your entire timeline and export. Choose the best settings for the output format, depending on where you ultimately want your videos to be displayed.

Summary - Effects settings and keyframes in Adobe Premiere Pro CC
In this guide, you have learned how crucial the use of effects settings and keyframes is. You've learned the basic steps for adjusting effects, setting up anchor points, adjusting rotations and applying transparencies. Use these techniques to bring your videos to life and animate them creatively.
Frequently asked questions
What are keyframes?Keyframes are specific points in the timeline of a clip that define a change in an effect or property.
How do I activate the stopwatch for keyframes? Click on the stopwatch next to the effect whose animation you want to activate to add keyframes.
Can I apply multiple effects at the same time?Yes, you can apply multiple effects to a clip and customize each effect individually.
What is the anchor point?The anchor point is the central control point of a clip from which scaling and rotation are performed.
How do I export my video?Go to "File" > "Export" > "Media" to export your project in the desired format.


