In the world of video editing, the ability to control colors precisely and create styles is crucial for the success of your project. The curves tool is a fundamental tool in Adobe Premiere Pro that helps you effectively adjust image brightness and color. In this tutorial, I will show you how to use the curves tool to make your videos shine and highlight your individual style.
Key Insights
- The curves tool allows for precise adjustments to brightness and contrast.
- You can customize color channels individually to creatively influence color looks.
- Understanding complementary colors helps in creating harmonious color palettes.
Step-by-Step Guide
Introduction to the Curves Tool
The curves tool in Premiere Pro is an extremely precise tool used in many image editing programs. It allows you to influence the brightness and contrast of your image. With the curves tool, you can adjust the dark and light areas separately to achieve a balanced result.
Basics of Usage
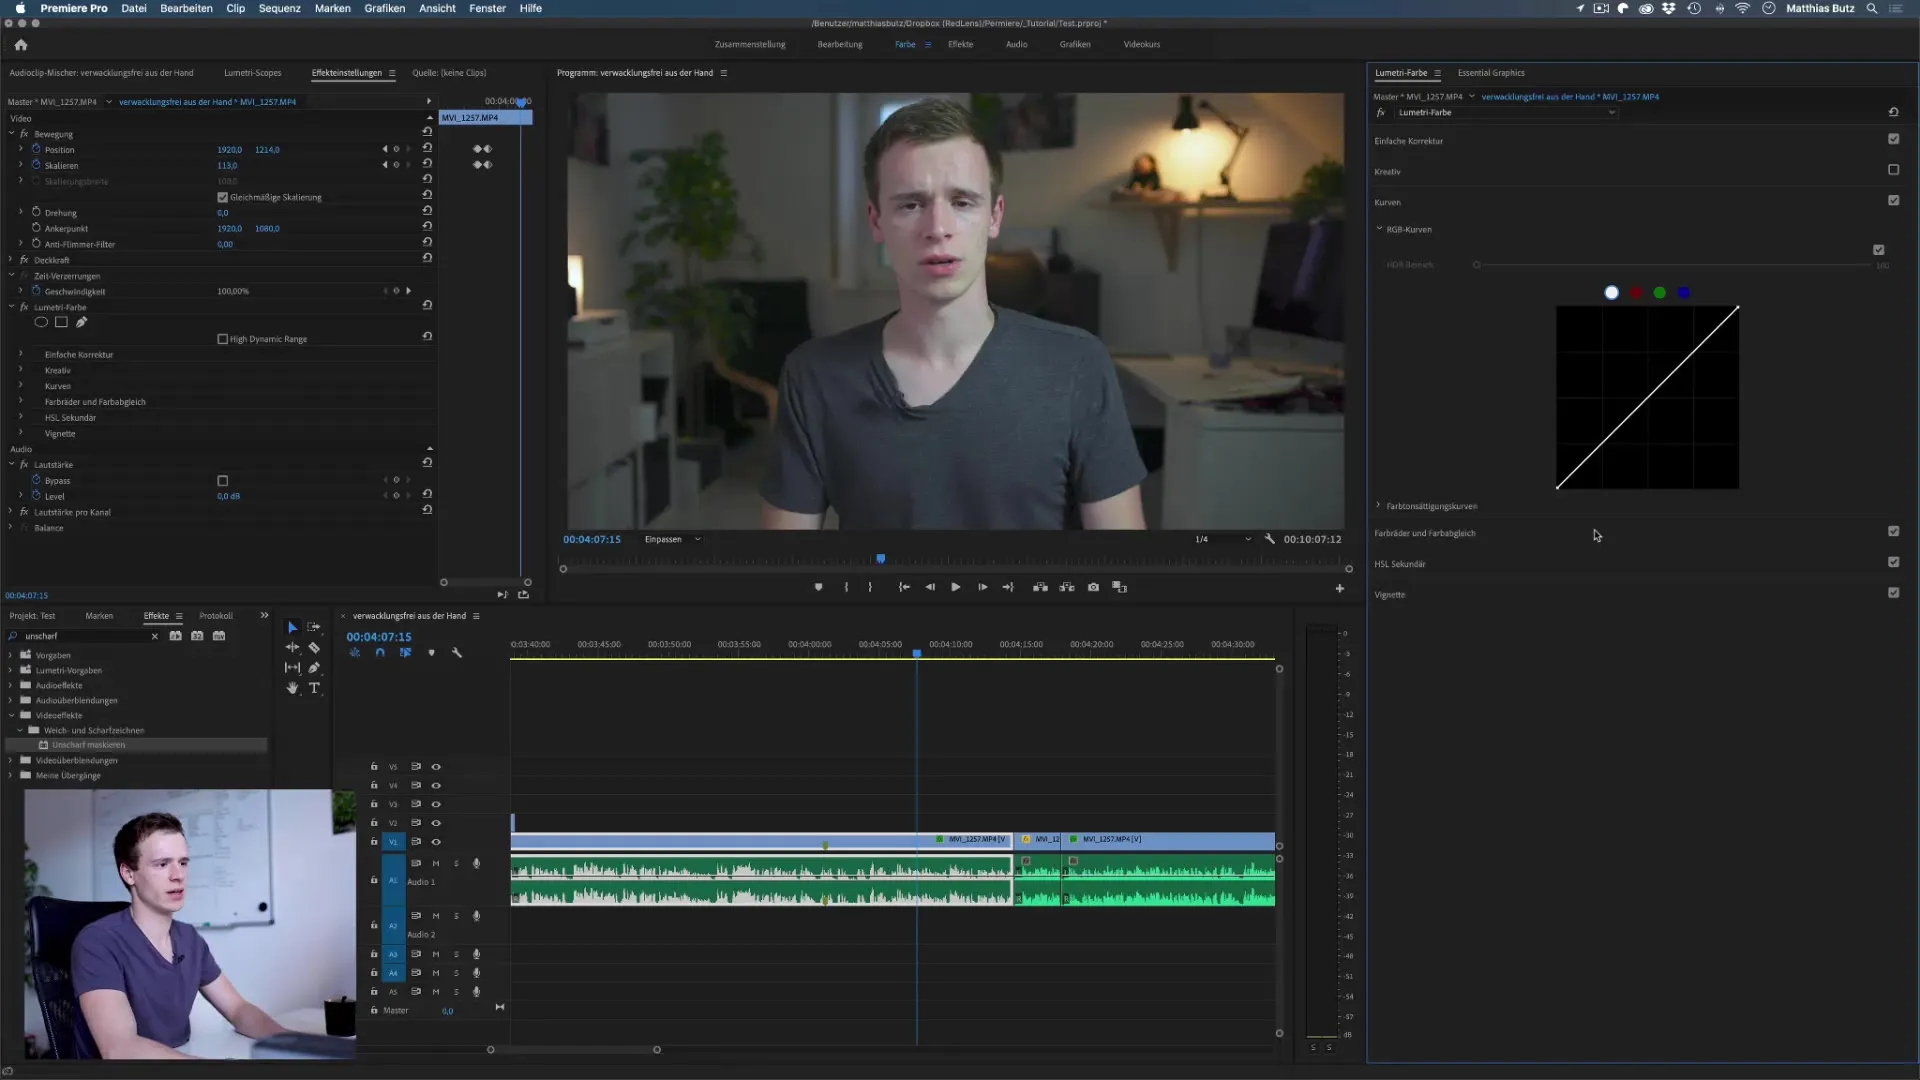
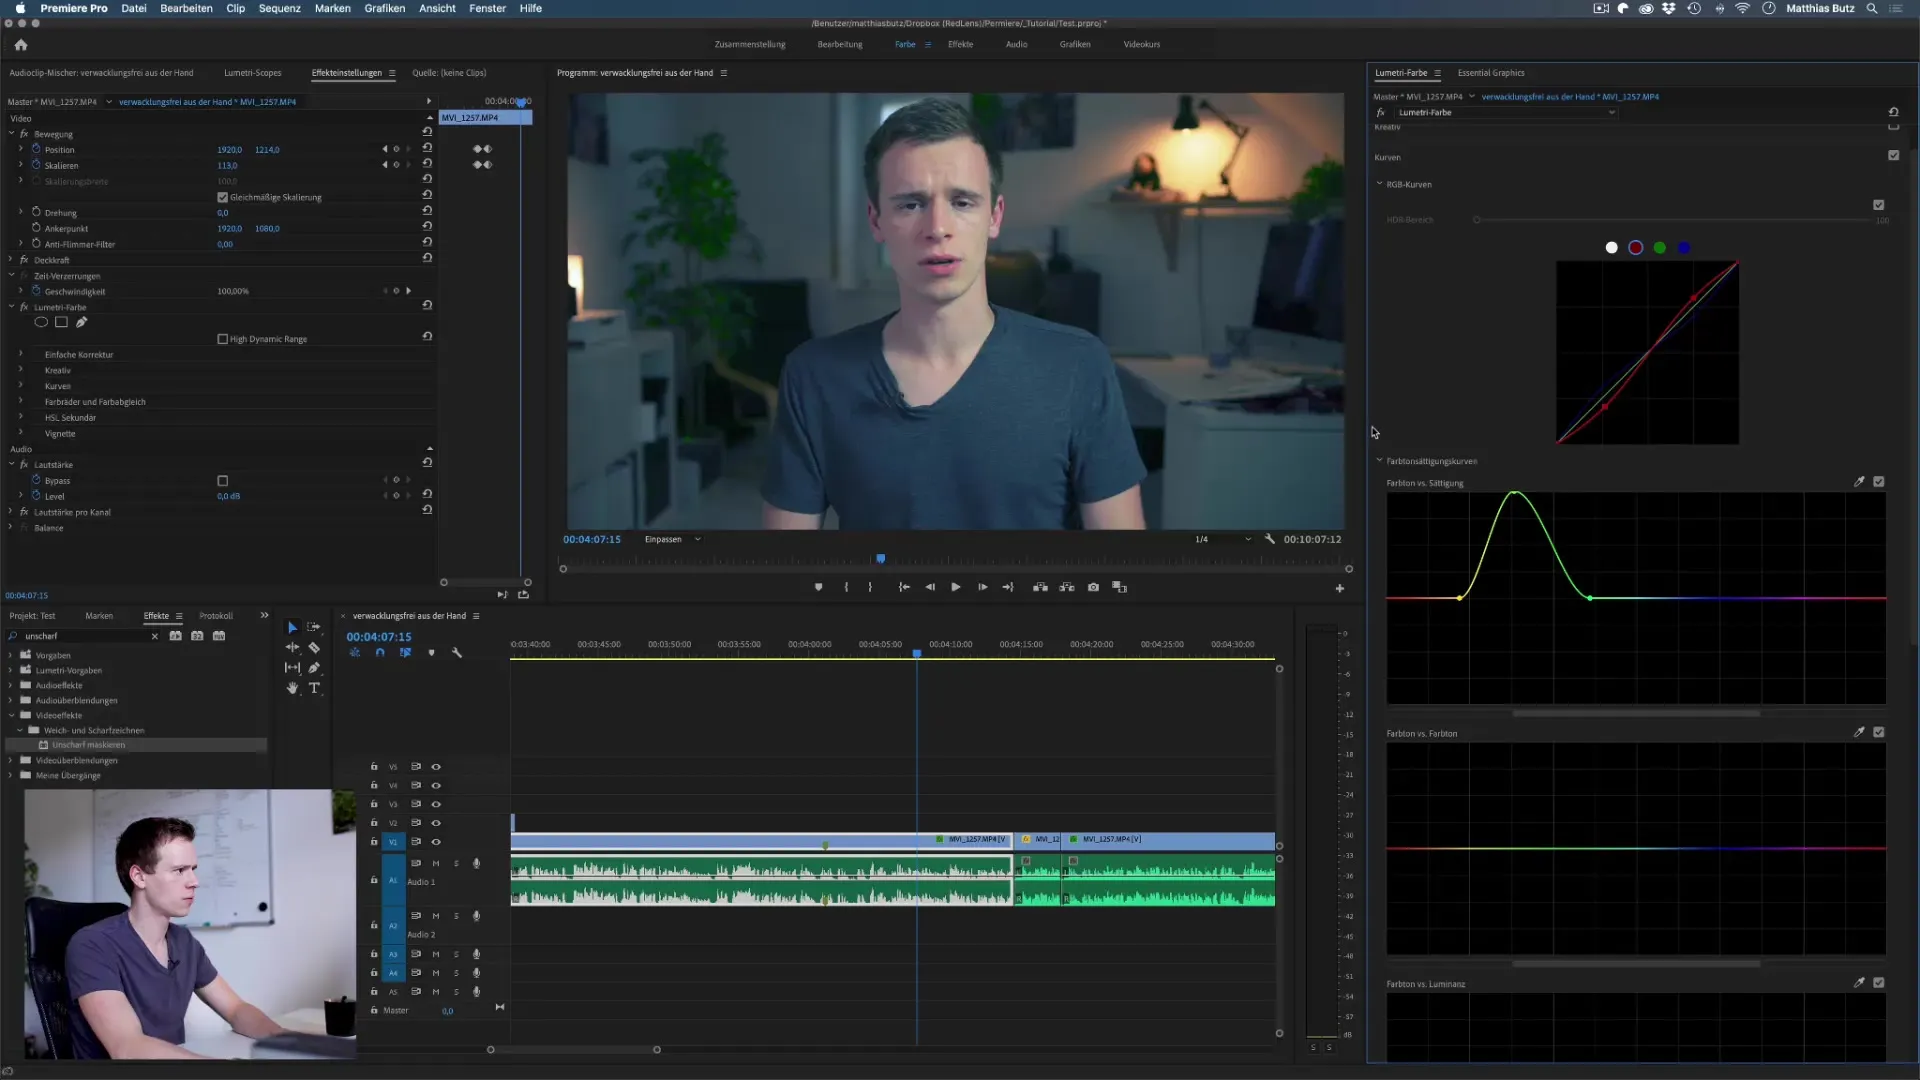
When you open the curves tool for the first time, you will see a simple coordinate system. The horizontal axis represents the input values or original brightness levels, while the vertical axis represents the output values. A point in the lower left corner stands for the dark areas of the image, and a point in the upper right corner stands for the light areas of the image.
To adjust the dark areas, simply click on the curve and drag it up or down. For example, if you pull a point in the dark areas upward, you lighten those areas while keeping the opposite in the light areas.
Increase Contrast with S-Curve
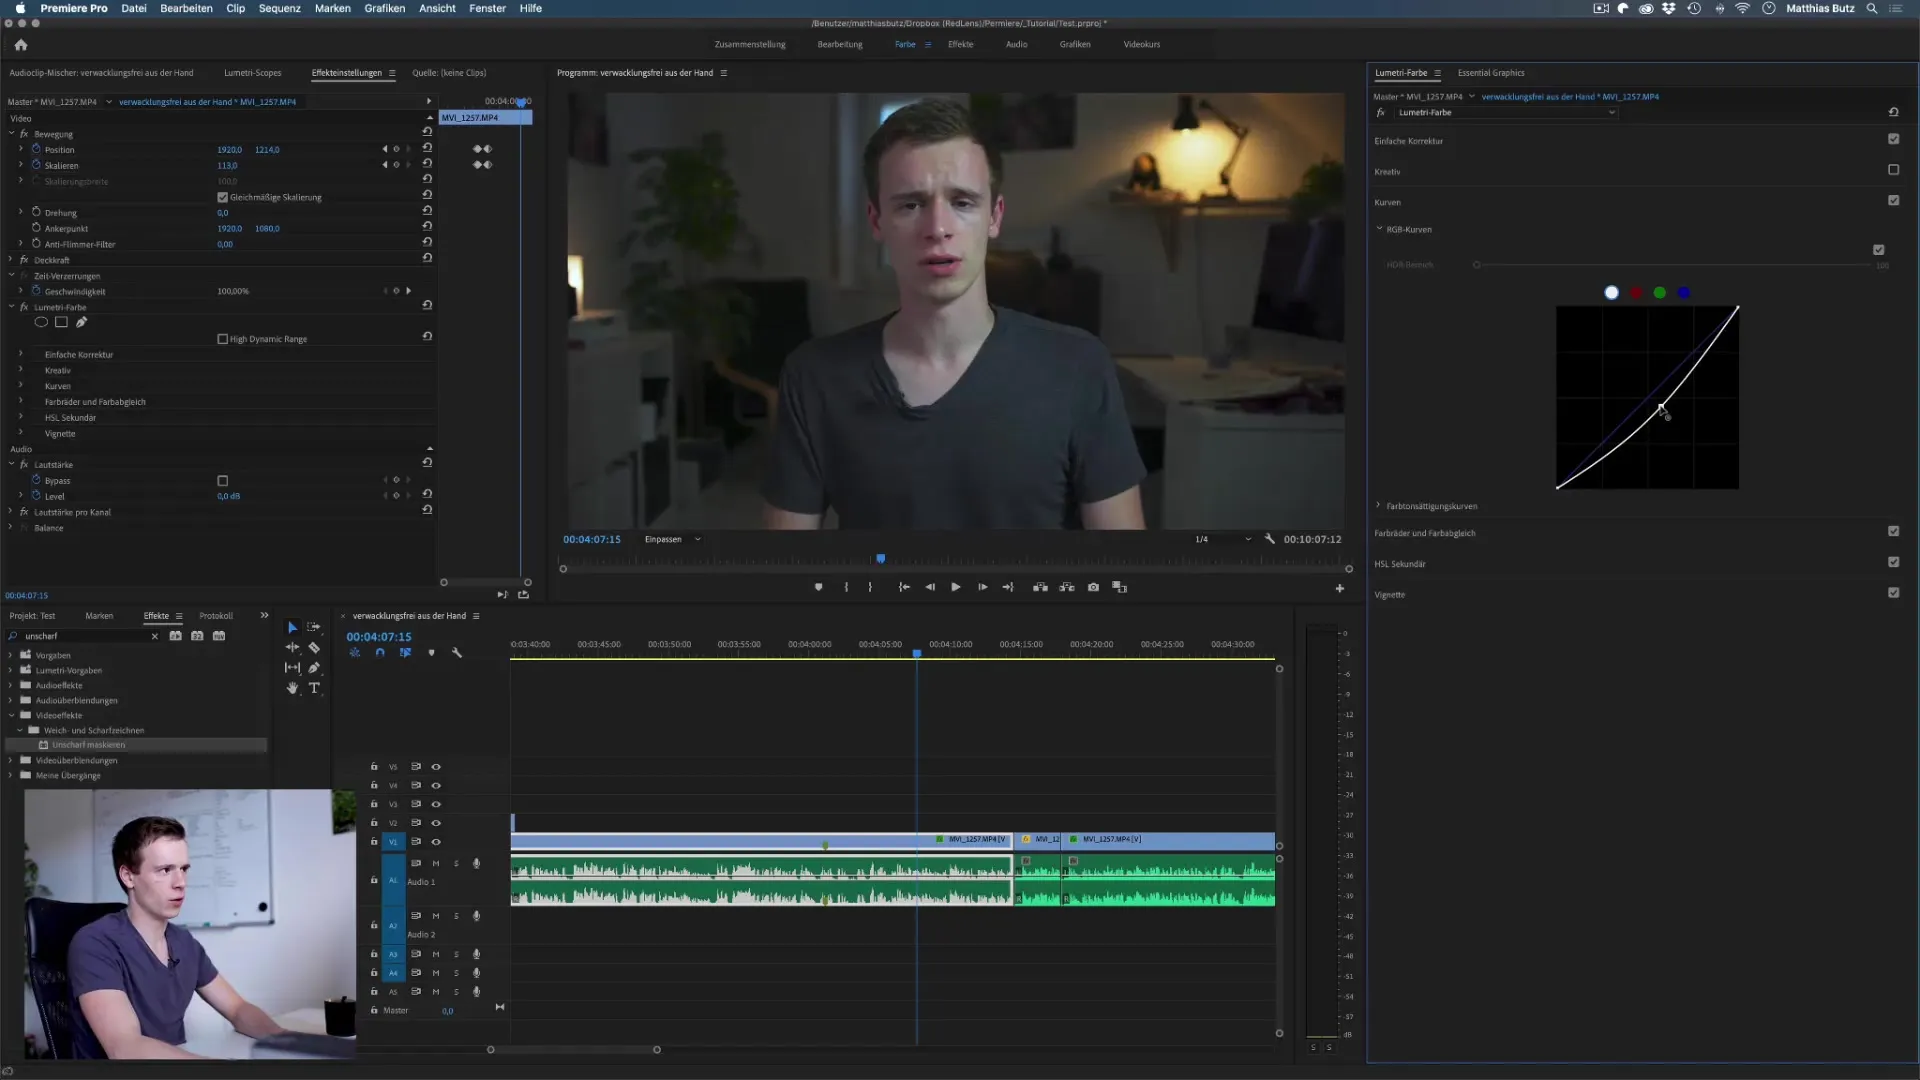
To enhance the contrast of your image, you can create a typical S-curve. This means you pull the dark areas down further and push the light areas up. Such a curve increases the difference between light and shadow and results in a visually more appealing image.
Make Brightness Adjustments
If you want to adjust the overall brightness of a video, you can move the center point of the curves tool. Drag this point up to lighten the entire video, or down to darken it. Be careful—too extreme adjustments can over-process the image and make it look unnatural.
Color Adjustments with Color Channels
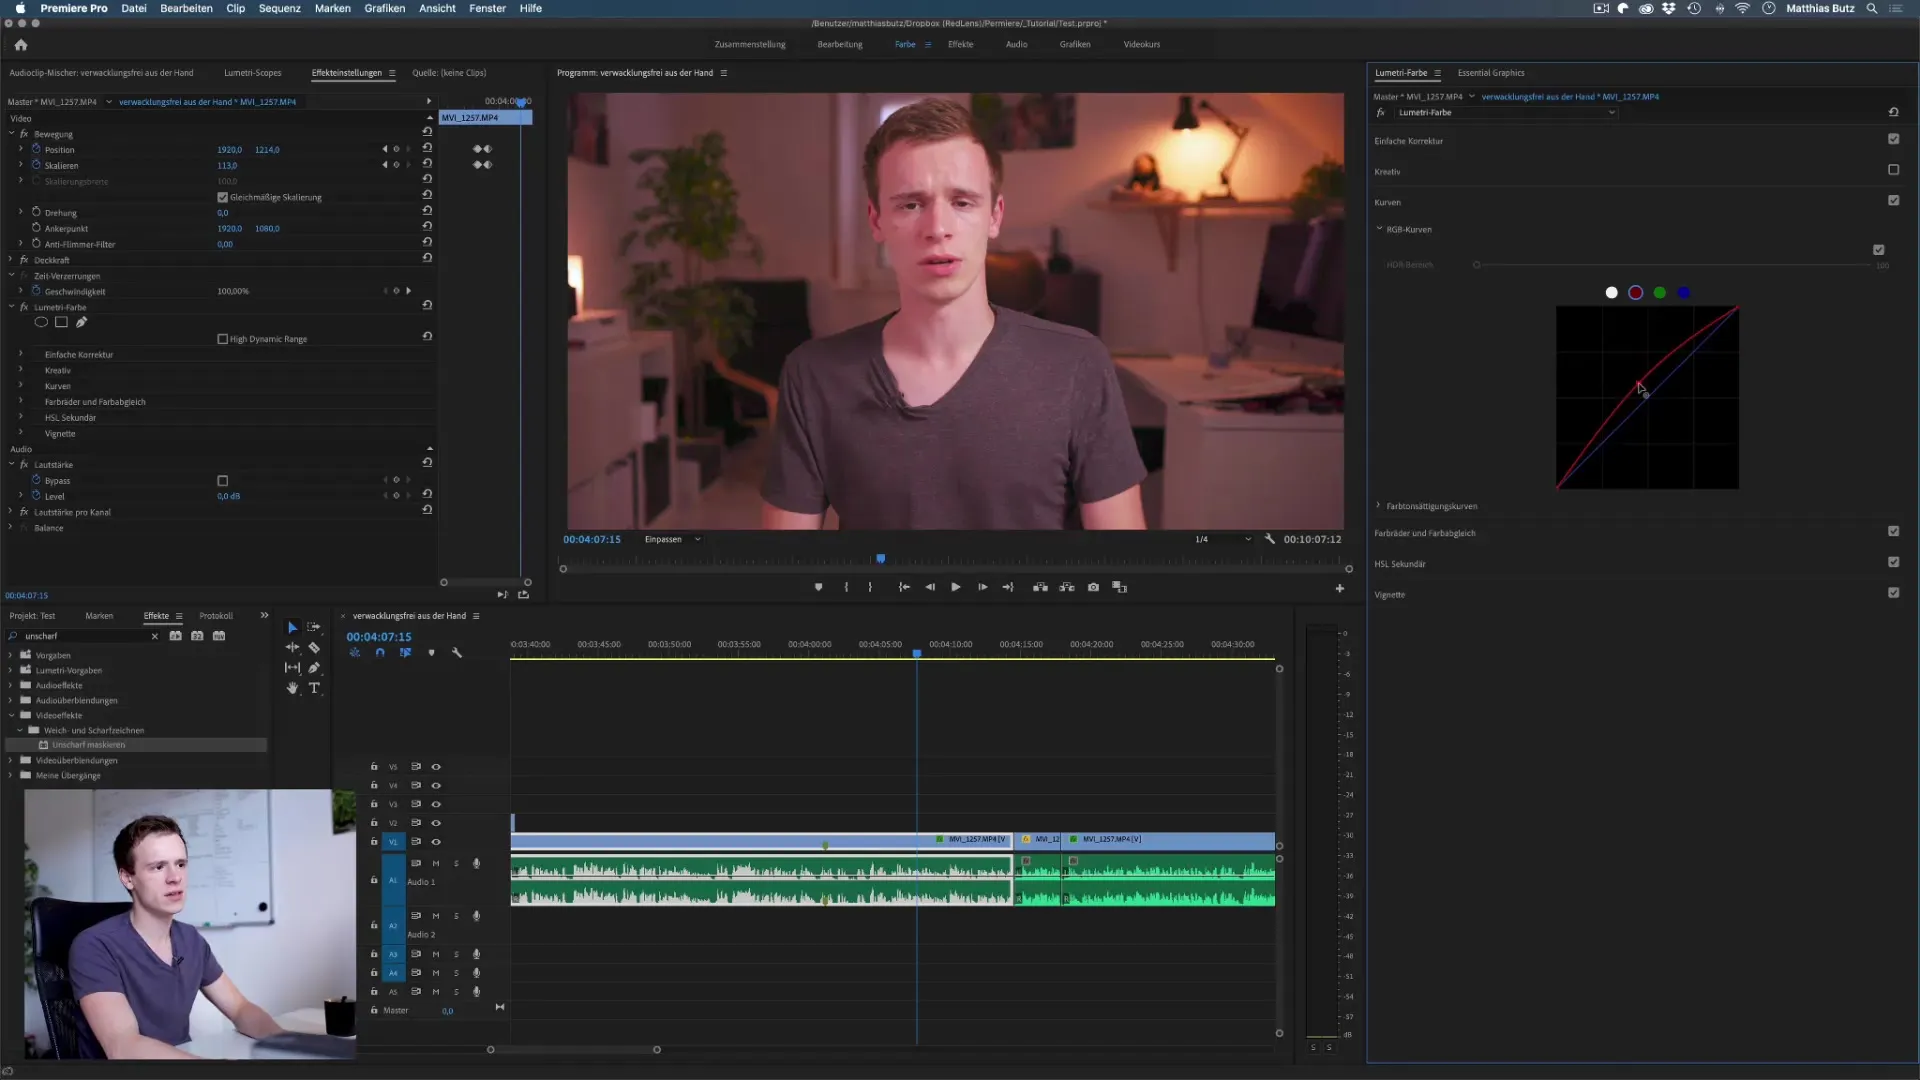
Another powerful feature of the curves tool is the ability to edit color channels individually. Here you can choose between Red, Green, and Blue. Drag the point in the Red channel up to add more red, or down to create more cyan. This is especially useful for achieving creative color looks.
Working with Complementary Colors
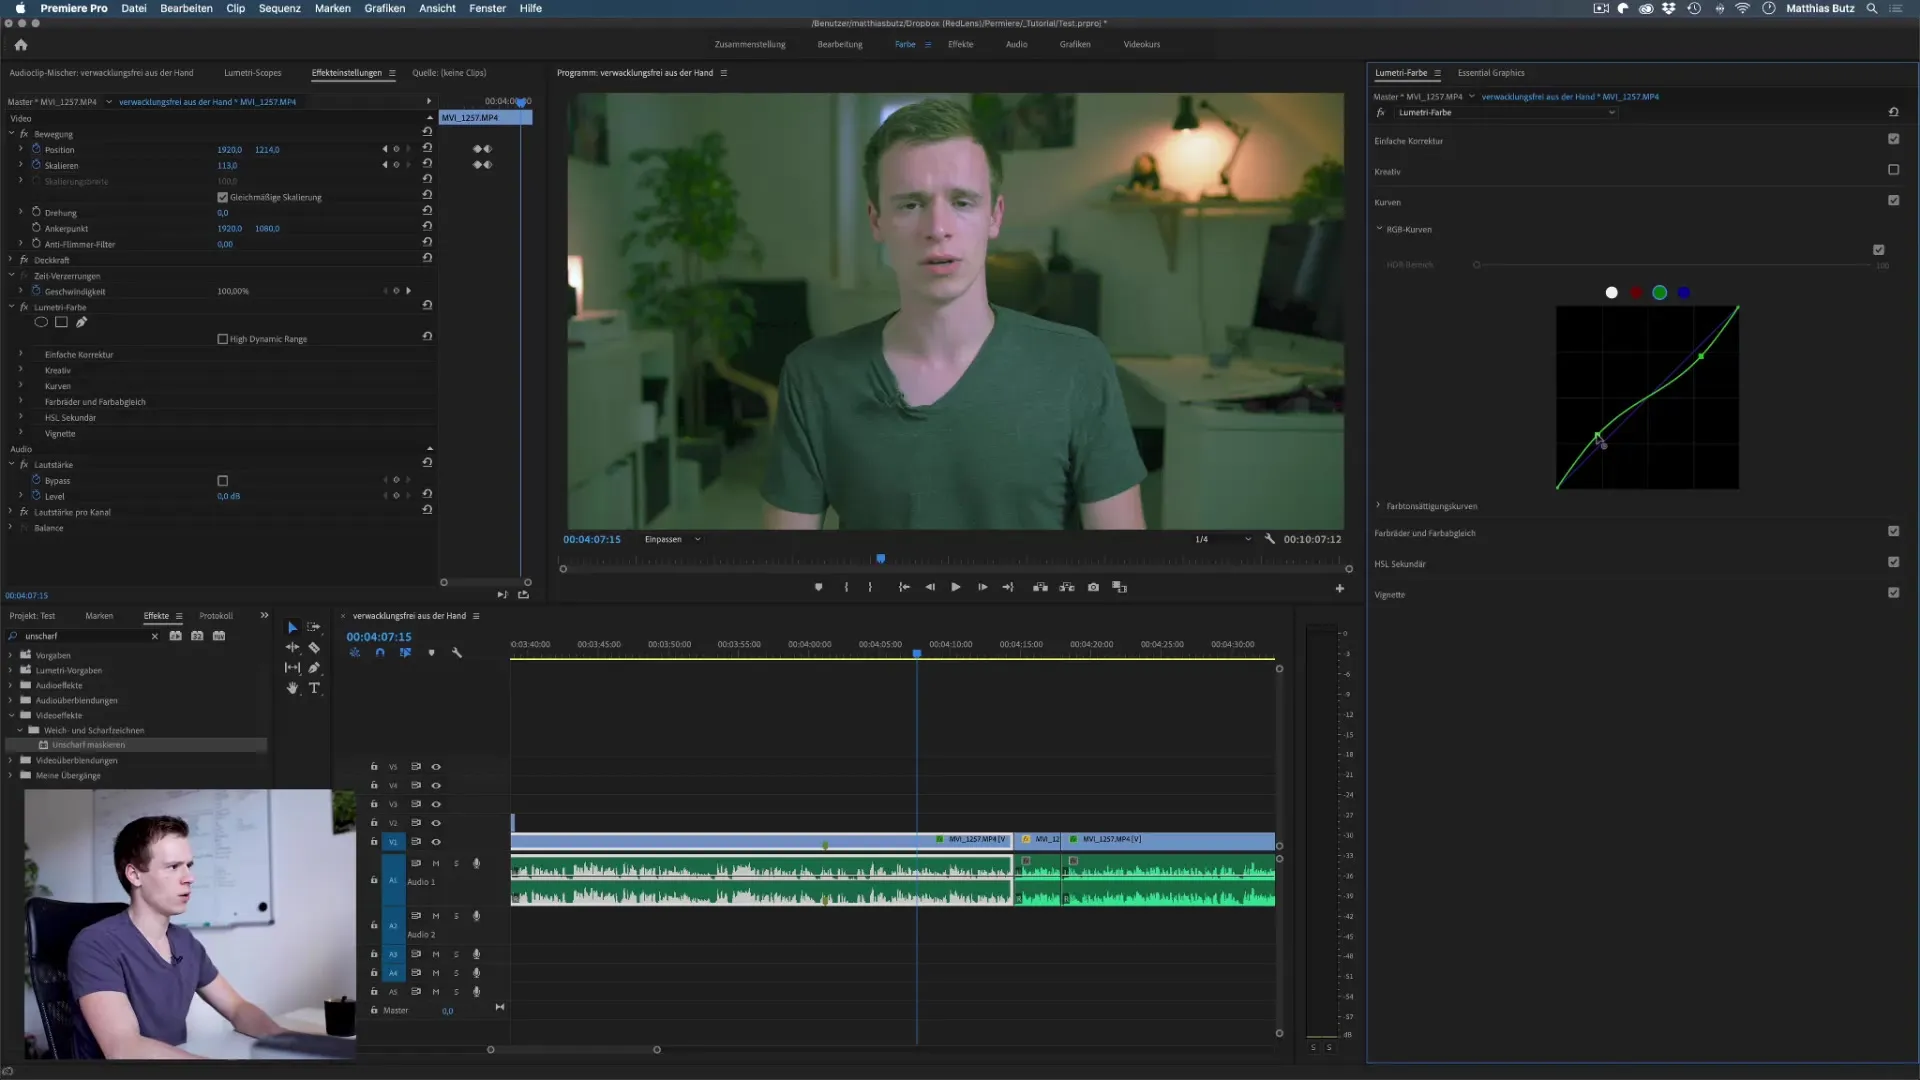
Understanding complementary colors will help you achieve harmonious color ratios. For example, when you add more green, you can simultaneously reduce the magenta colors to achieve a more balanced look. Experiment with these combinations to reflect different emotions and moods in your video.
Advanced Applications of the Curves Tool
Once you have mastered the basics, you can start experimenting with it. Try out how different adjustments in specific brightness ranges change the image look. You can also try lifting the curve in dark areas to reveal subtle colors that would ordinarily be lost.
Hue, Saturation, and Luminance Adjustments
In addition to the curves tool, you can also use hue and saturation curves. These allow you to increase or decrease the saturation of individual colors or brightness ranges. If you want to either highlight or reduce a certain hue, you will have great control over the final look of your videos.
Summary – Curves in Premiere Pro: Efficient Color Correction and Style Adjustment
You have now learned how to make color and brightness adjustments with the curves tool in Premiere Pro. From basic adjustments to sophisticated color controls — the possibilities are virtually endless. Take the time to experiment with these tools and discover how they can elevate your videos to the next level.
Frequently Asked Questions
What is a curves tool?A curves tool is a tool for color and brightness adjustment used in video editing.
How do I increase contrast in Premiere Pro?To increase contrast, create an S-curve by lowering the dark areas and raising the light areas.
Can I adjust colors individually?Yes, you can specifically adjust the individual color channels (Red, Green, Blue) in the curves tool.
What are complementary colors?Complementary colors are colors that are directly opposite each other on the color wheel and together create a harmonious image.
How can I perform color and saturation changes?Additionally, use hue and saturation curves to make targeted adjustments to colors and their saturation.


