Color Grading can significantly influence the visual style of a video and elevate it to a whole new level. In this tutorial, you will learn how to qualitatively enhance your B-Roll using the right techniques. You will focus less on technical jargon and more on creative decisions that make your footage shine.
Key Insights
- The correct application of LUTs is crucial for color grading.
- Contrast and brightness are key variables that should be optimized for an appealing result.
- Experiment with hues and complementary colors to create interesting visual effects.
- Use curves to apply targeted color changes.
Step-by-Step Guide
1. Getting Started with Preparing the B-Roll
Before you begin color grading, you must ensure that your B-Roll material is properly prepared. Let’s tackle the first level of grading. You will start with the Kenlock V1, which is commonly used for many cameras. First, check whether the material is in log format:
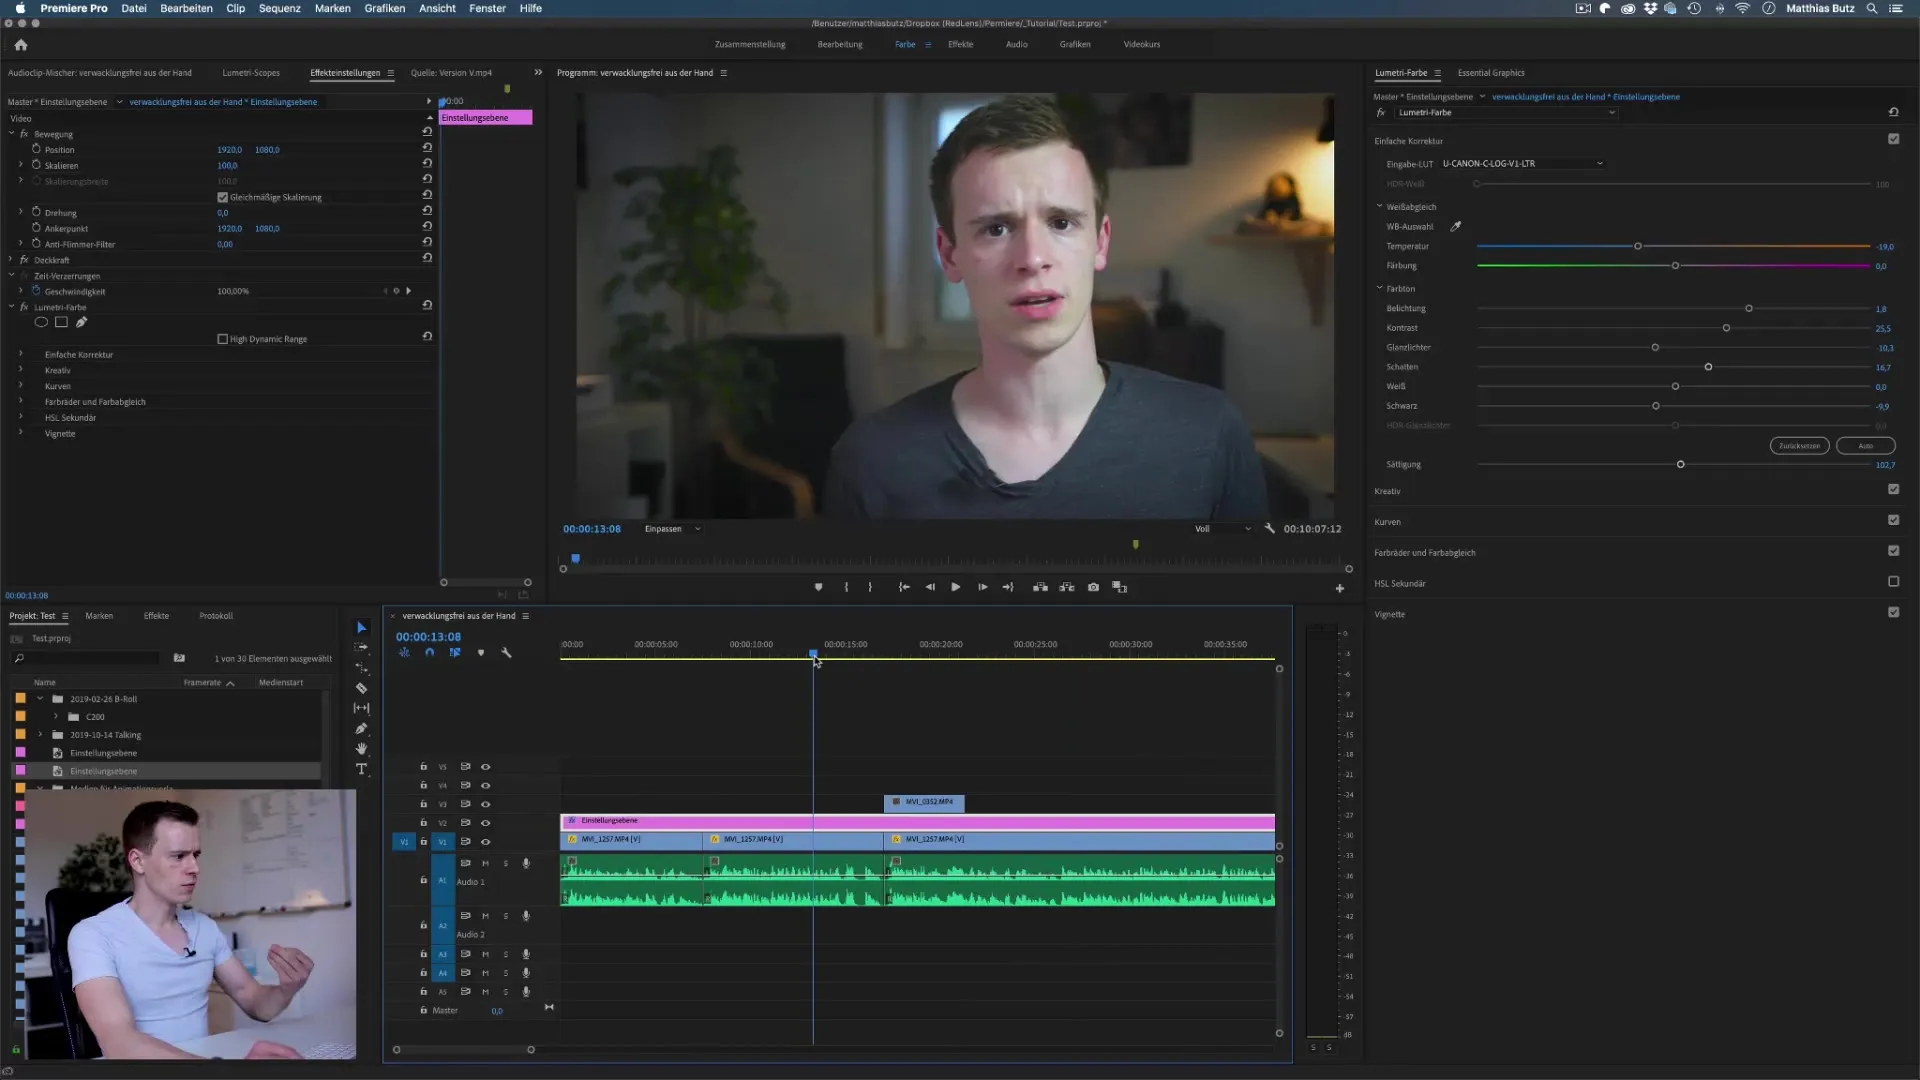
2. Applying Grading to Log-Based Material
The next step is to apply grading to all videos that are in log format. Be careful not to apply LUTs to material that was not recorded in log, as this could lead to undesirable effects. Use Lumetri Color and transfer the settings:
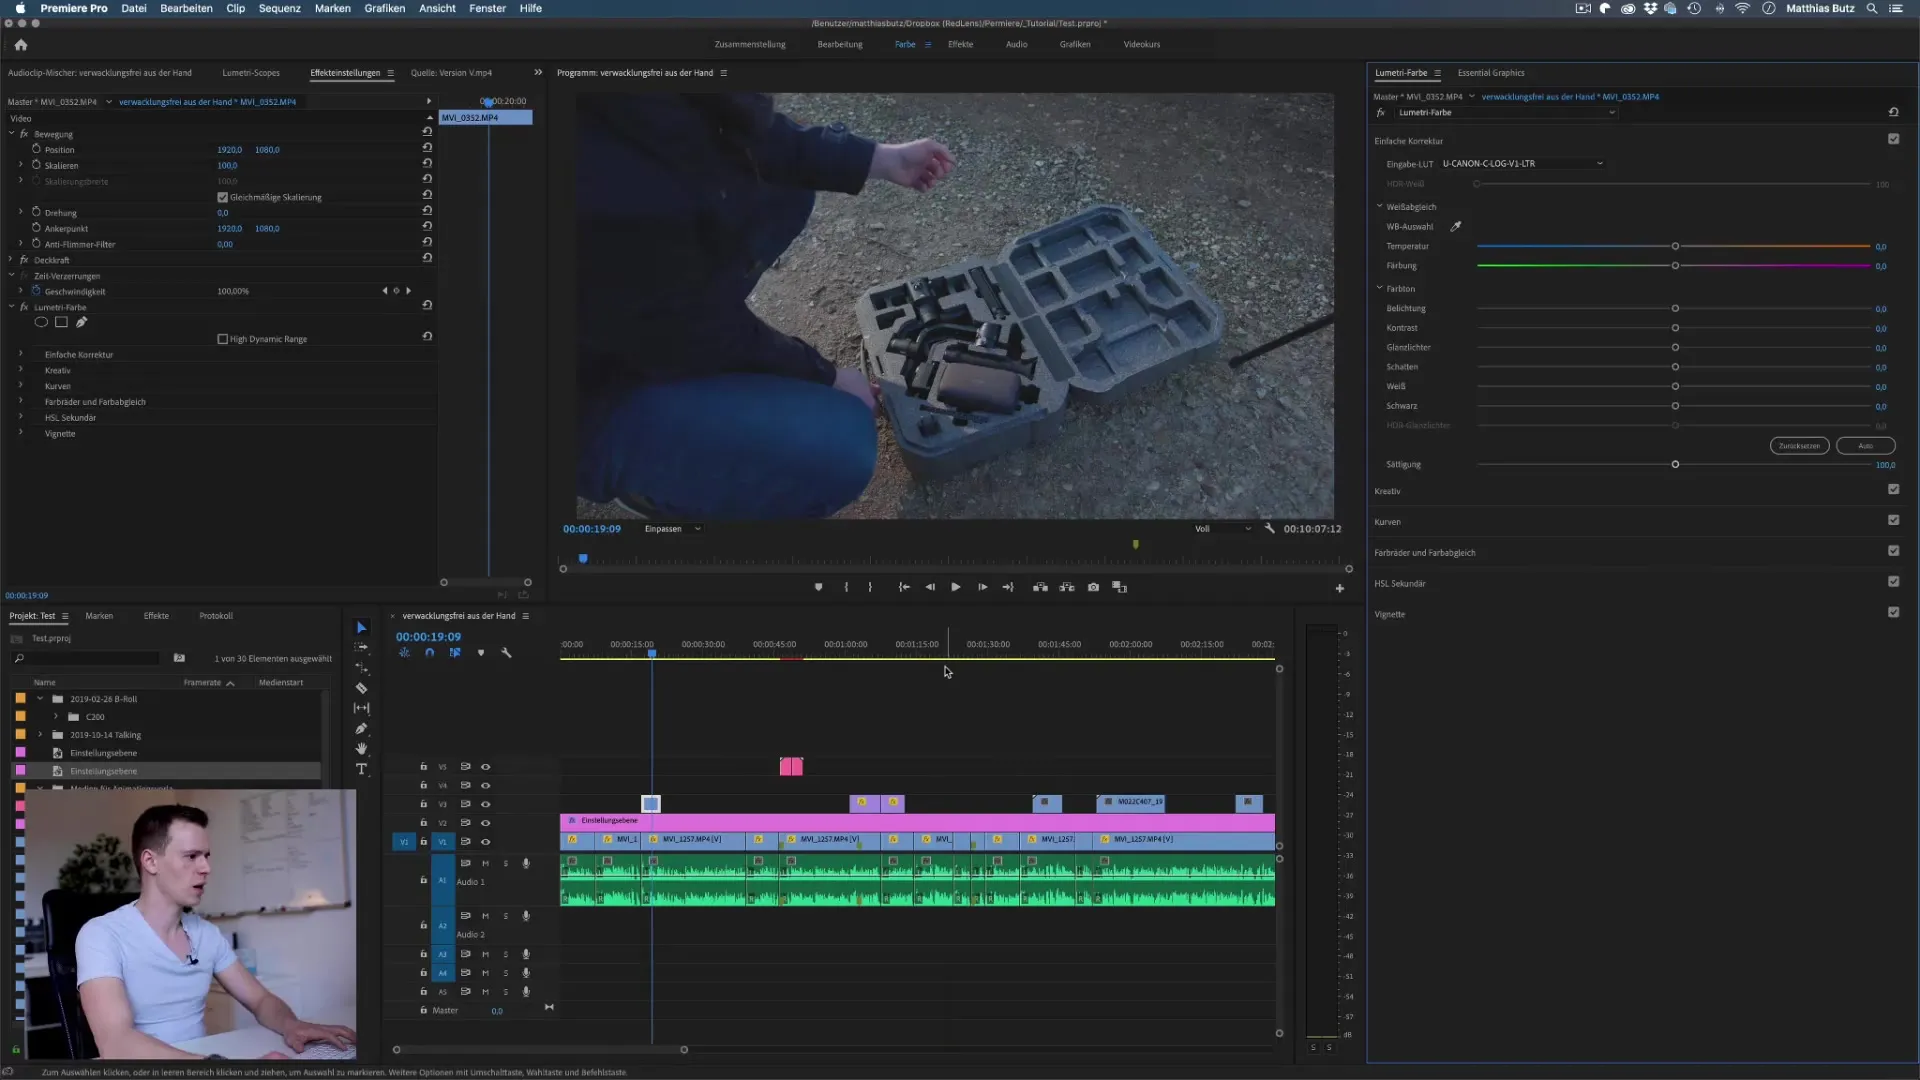
3. Performing Color Correction
Before starting the actual color grading, a color correction should be performed. Here, you will first place a stronger focus on contrast and exposure. It can be helpful to enable the scopes to minimize issues caused by overexposure.
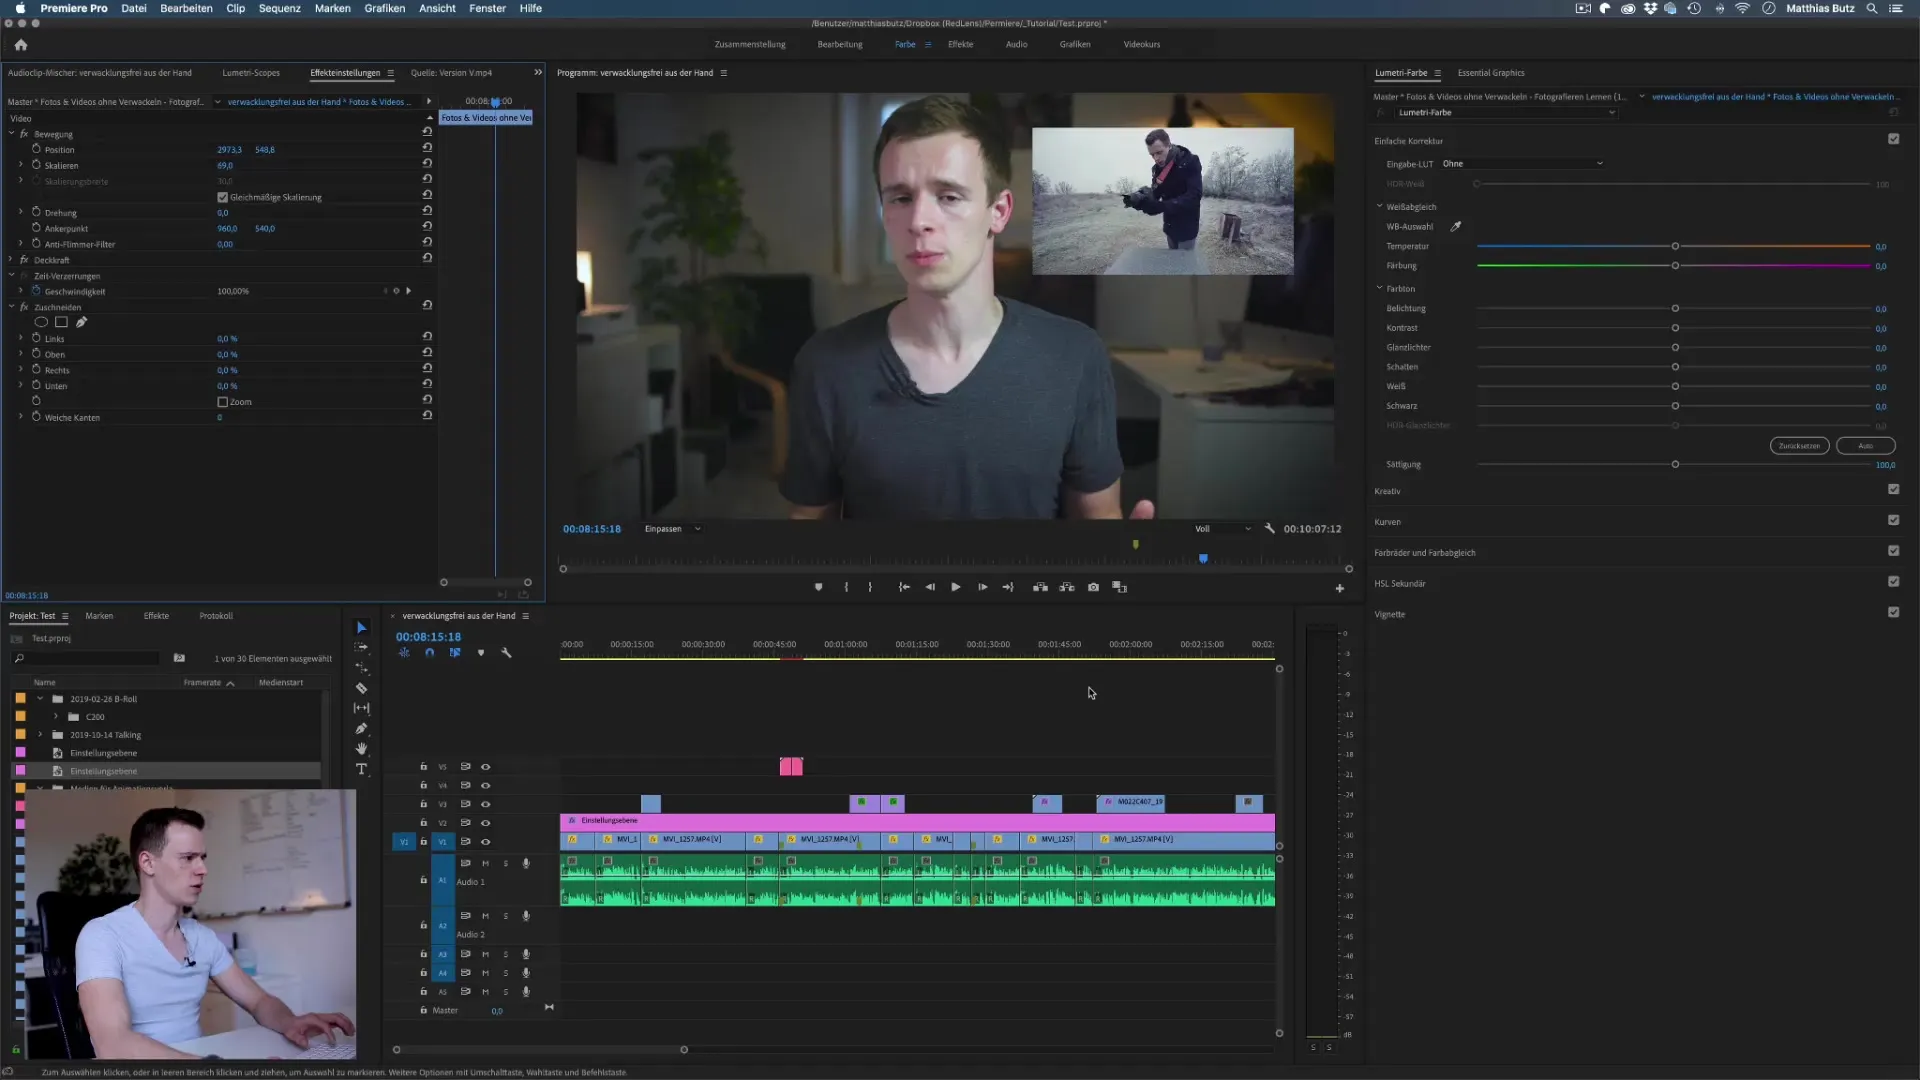
4. Enhancing the Look
Now is the perfect time to shape the look. The look is extremely important, especially when there are no faces visible in the B-Roll. Experiment with different color looks and enhance contrasts to create visual interest.
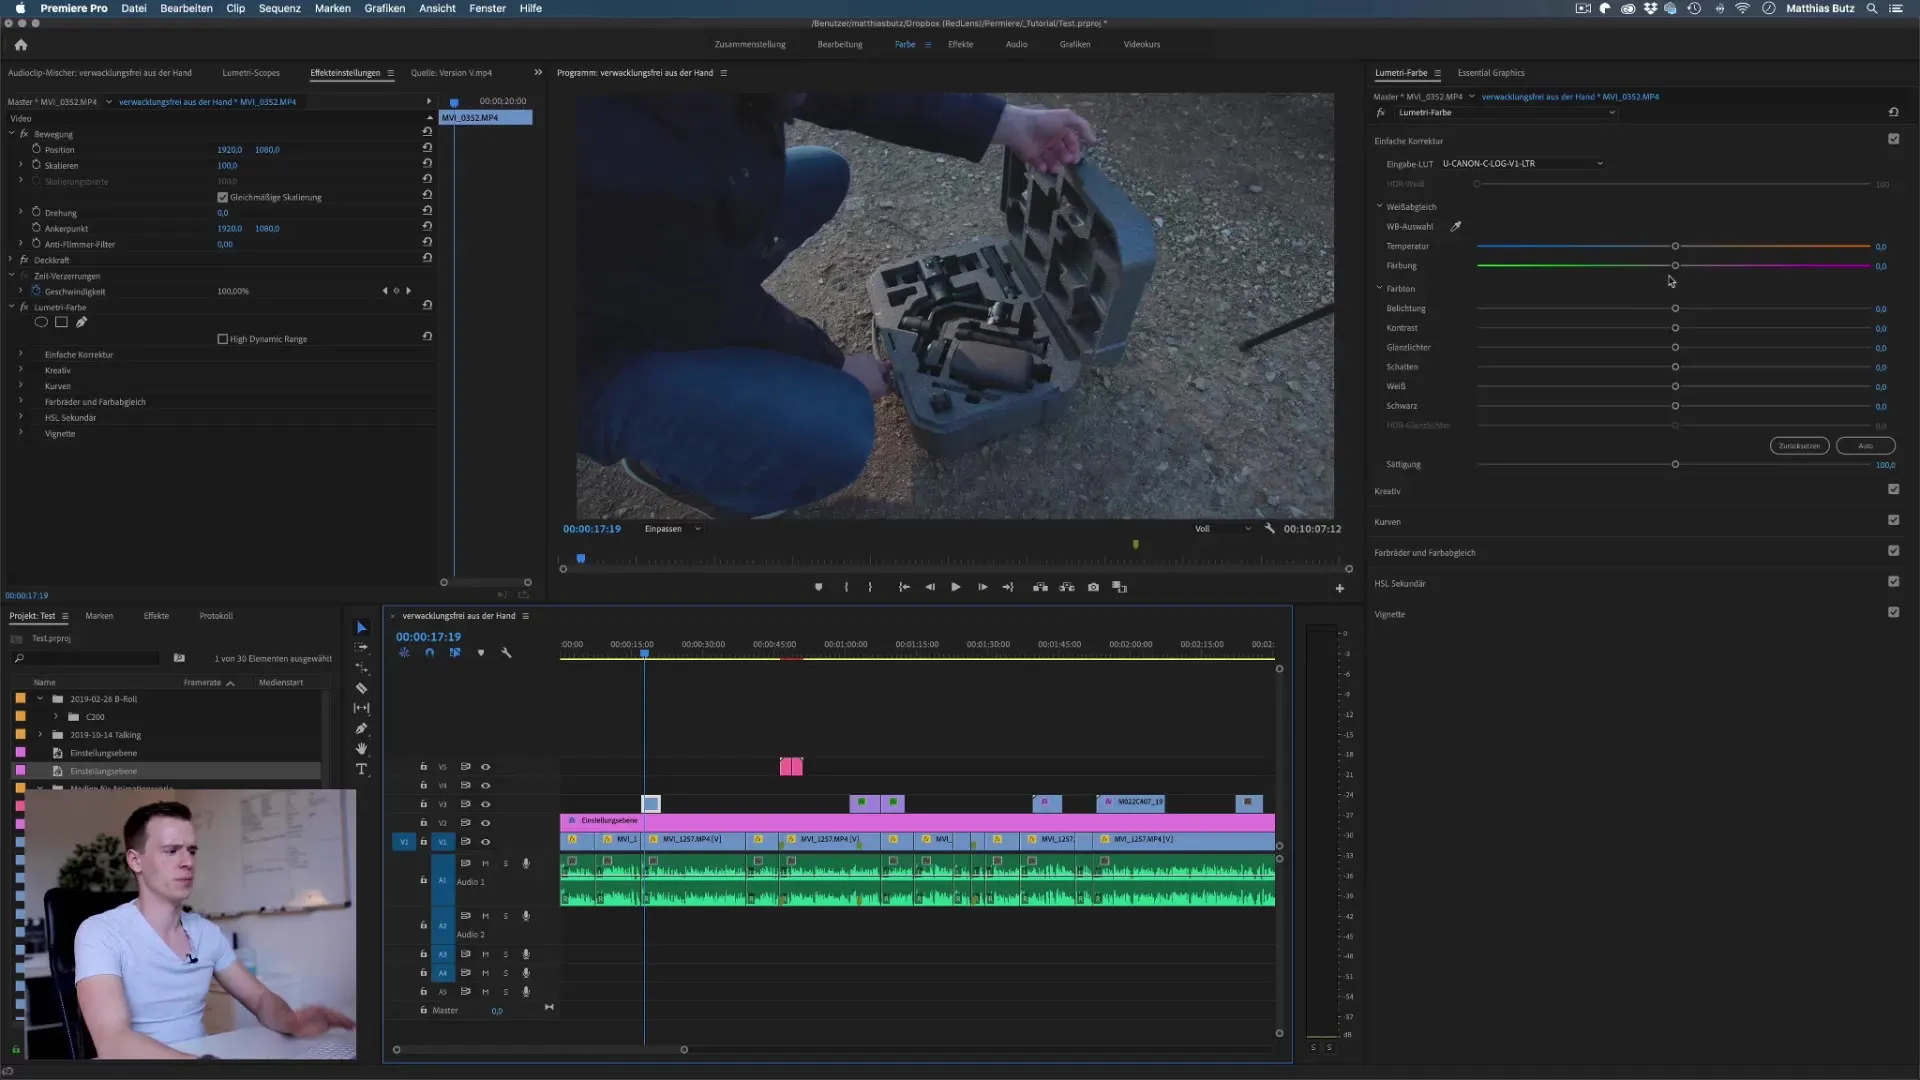
5. Using LUTs
As you go through your options, you should consider using a LUT. Experimenting with different LUTs, such as those from Peter McCin, can provide inspiration or help you find your desired look.
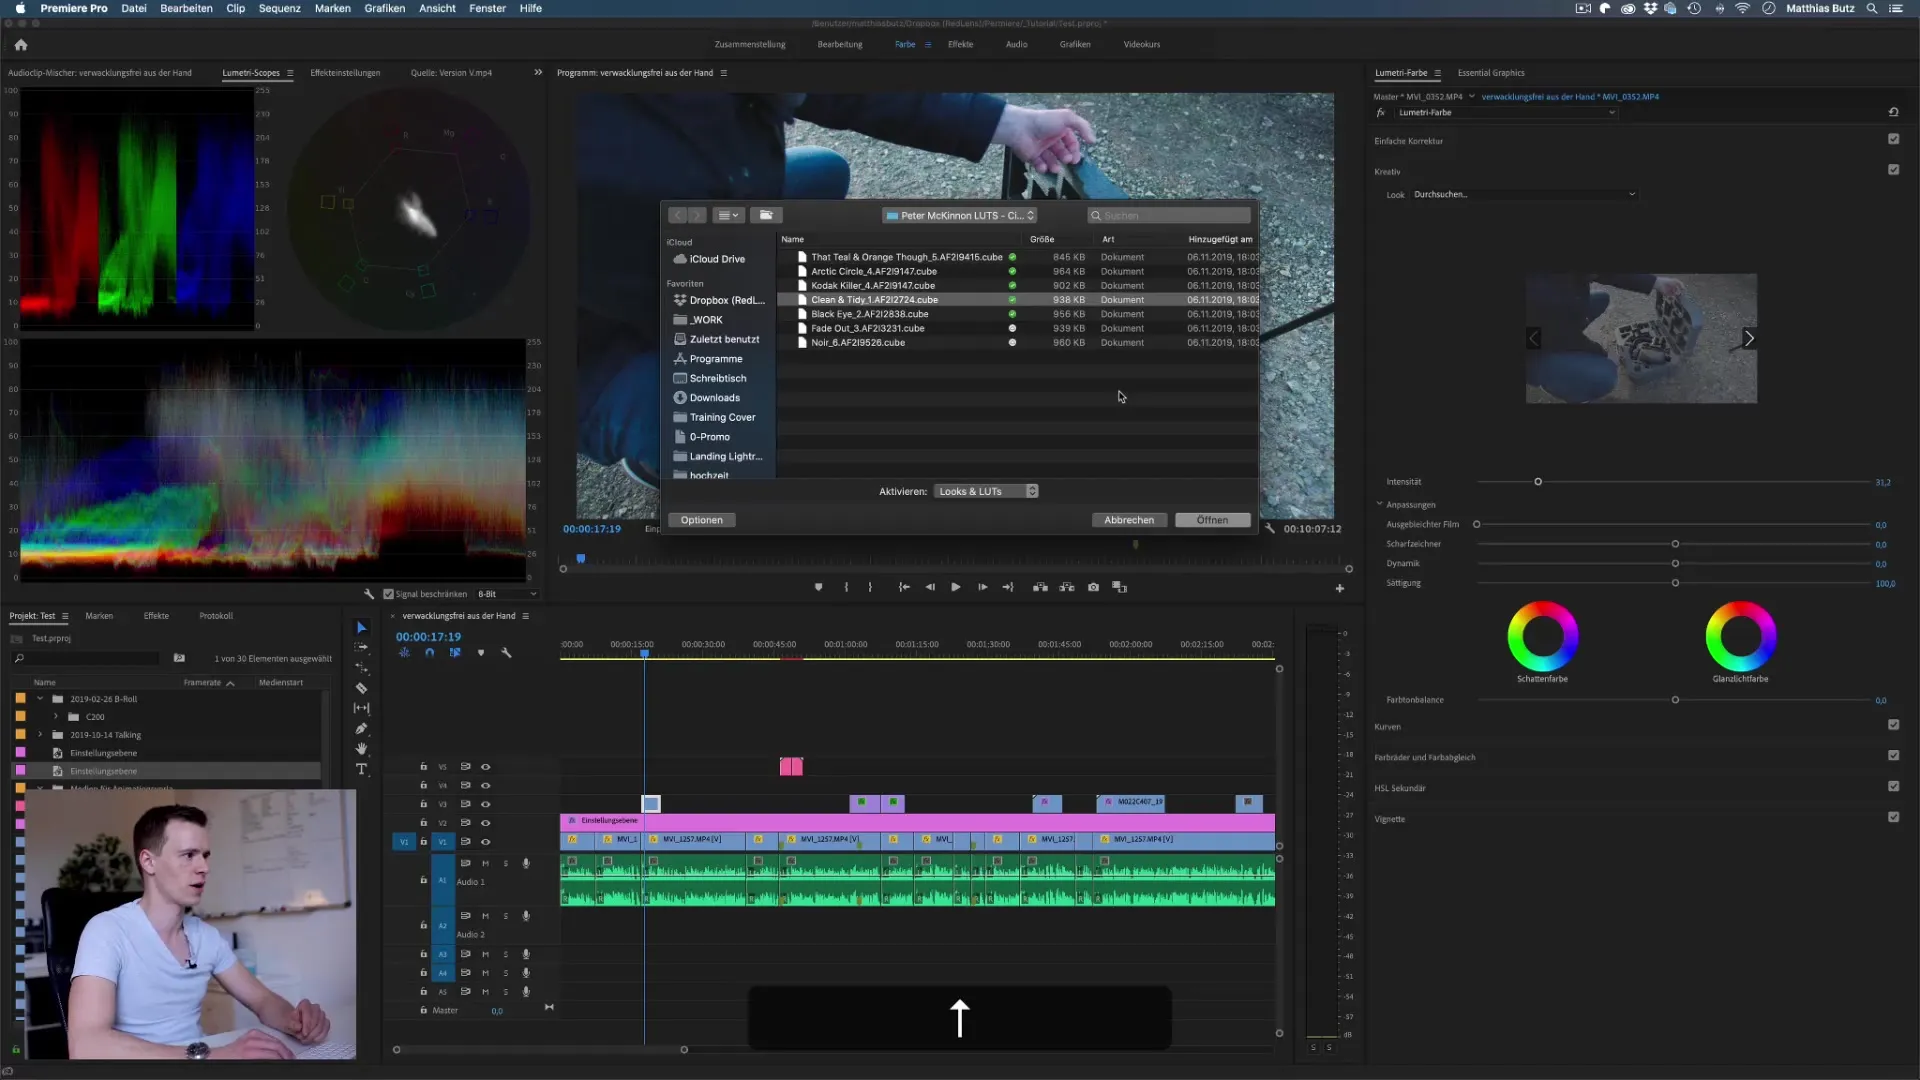
6. Manual Fine-Tuning of Colors
After applying the LUTs, you can manually adjust the various color parameters to achieve a balanced overall image. Be sure to work with complementary colors so that the color look doesn't get muddled. This way, you create interesting accents.
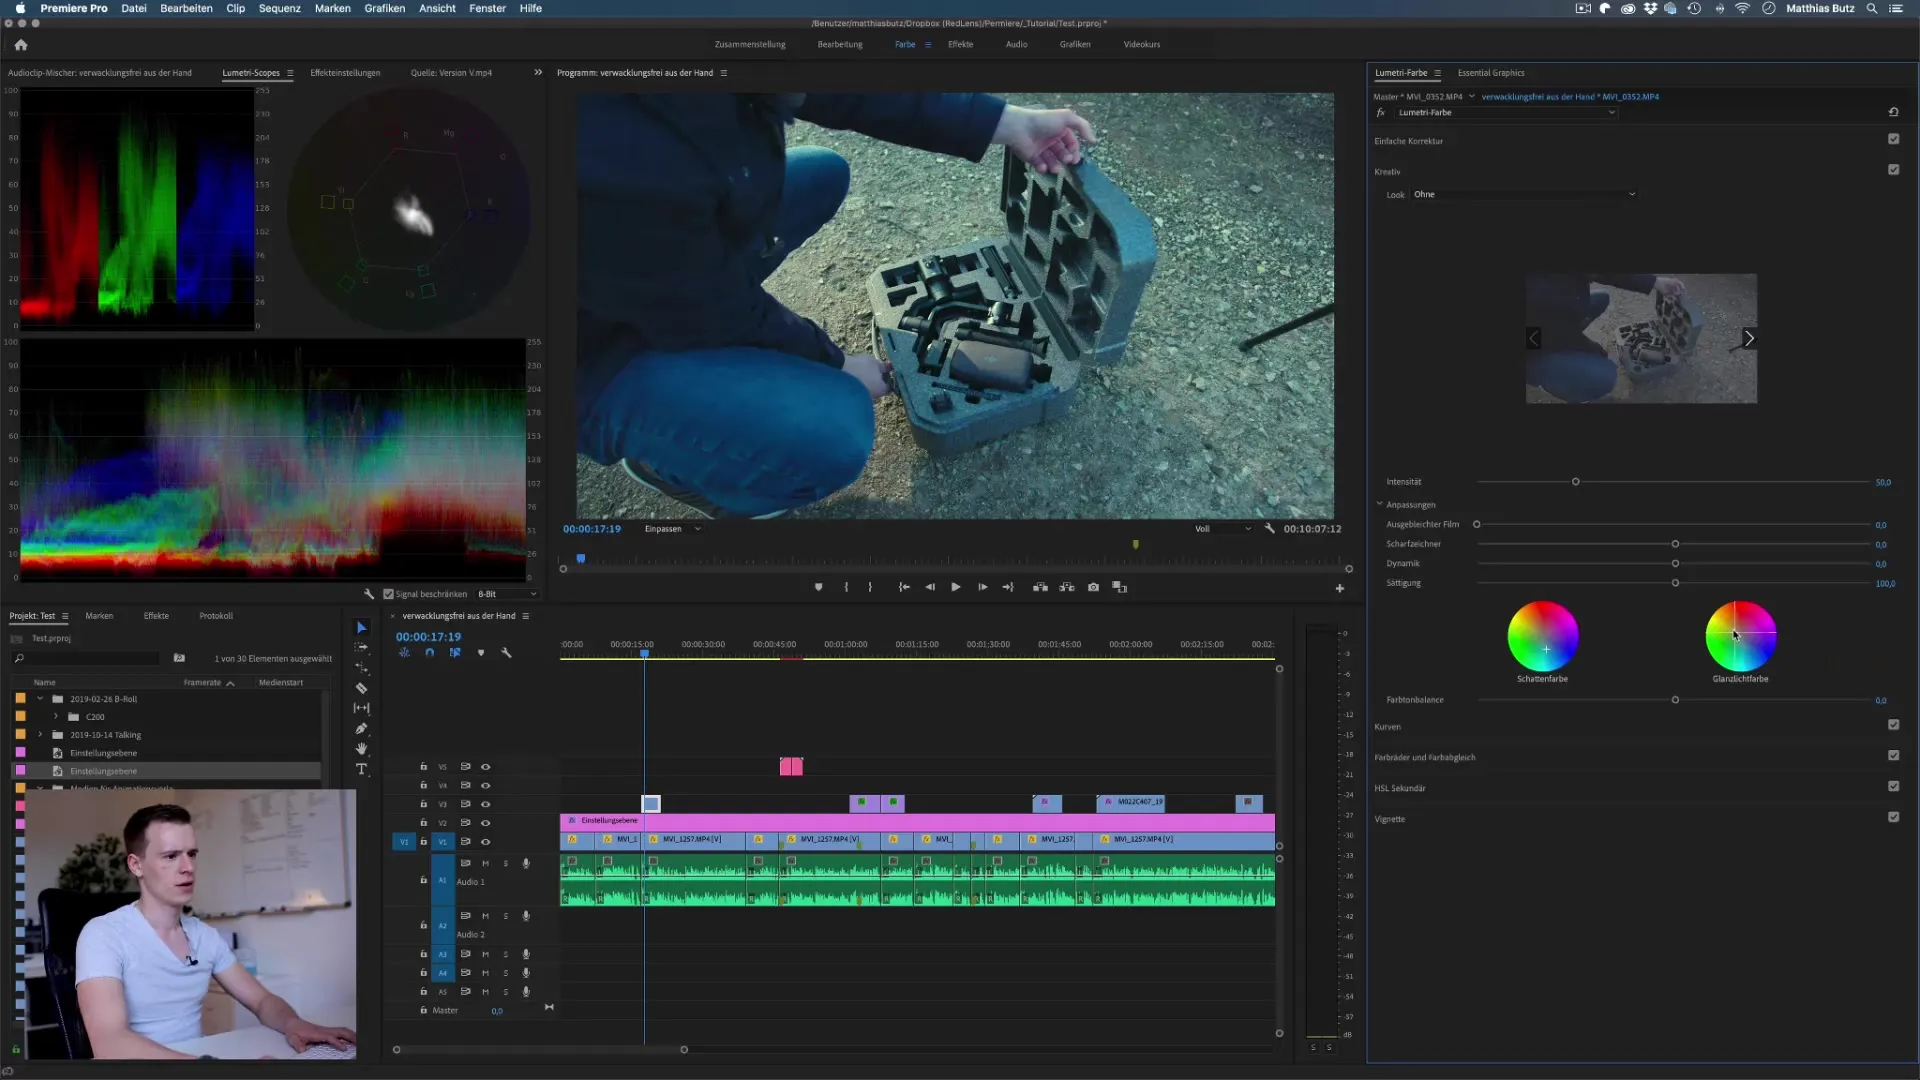
7. Using Curves
With curves, you can control effects much more easily. Play with the colors here to achieve the look faster, and use the curves to adjust brightness and contrast accurately.
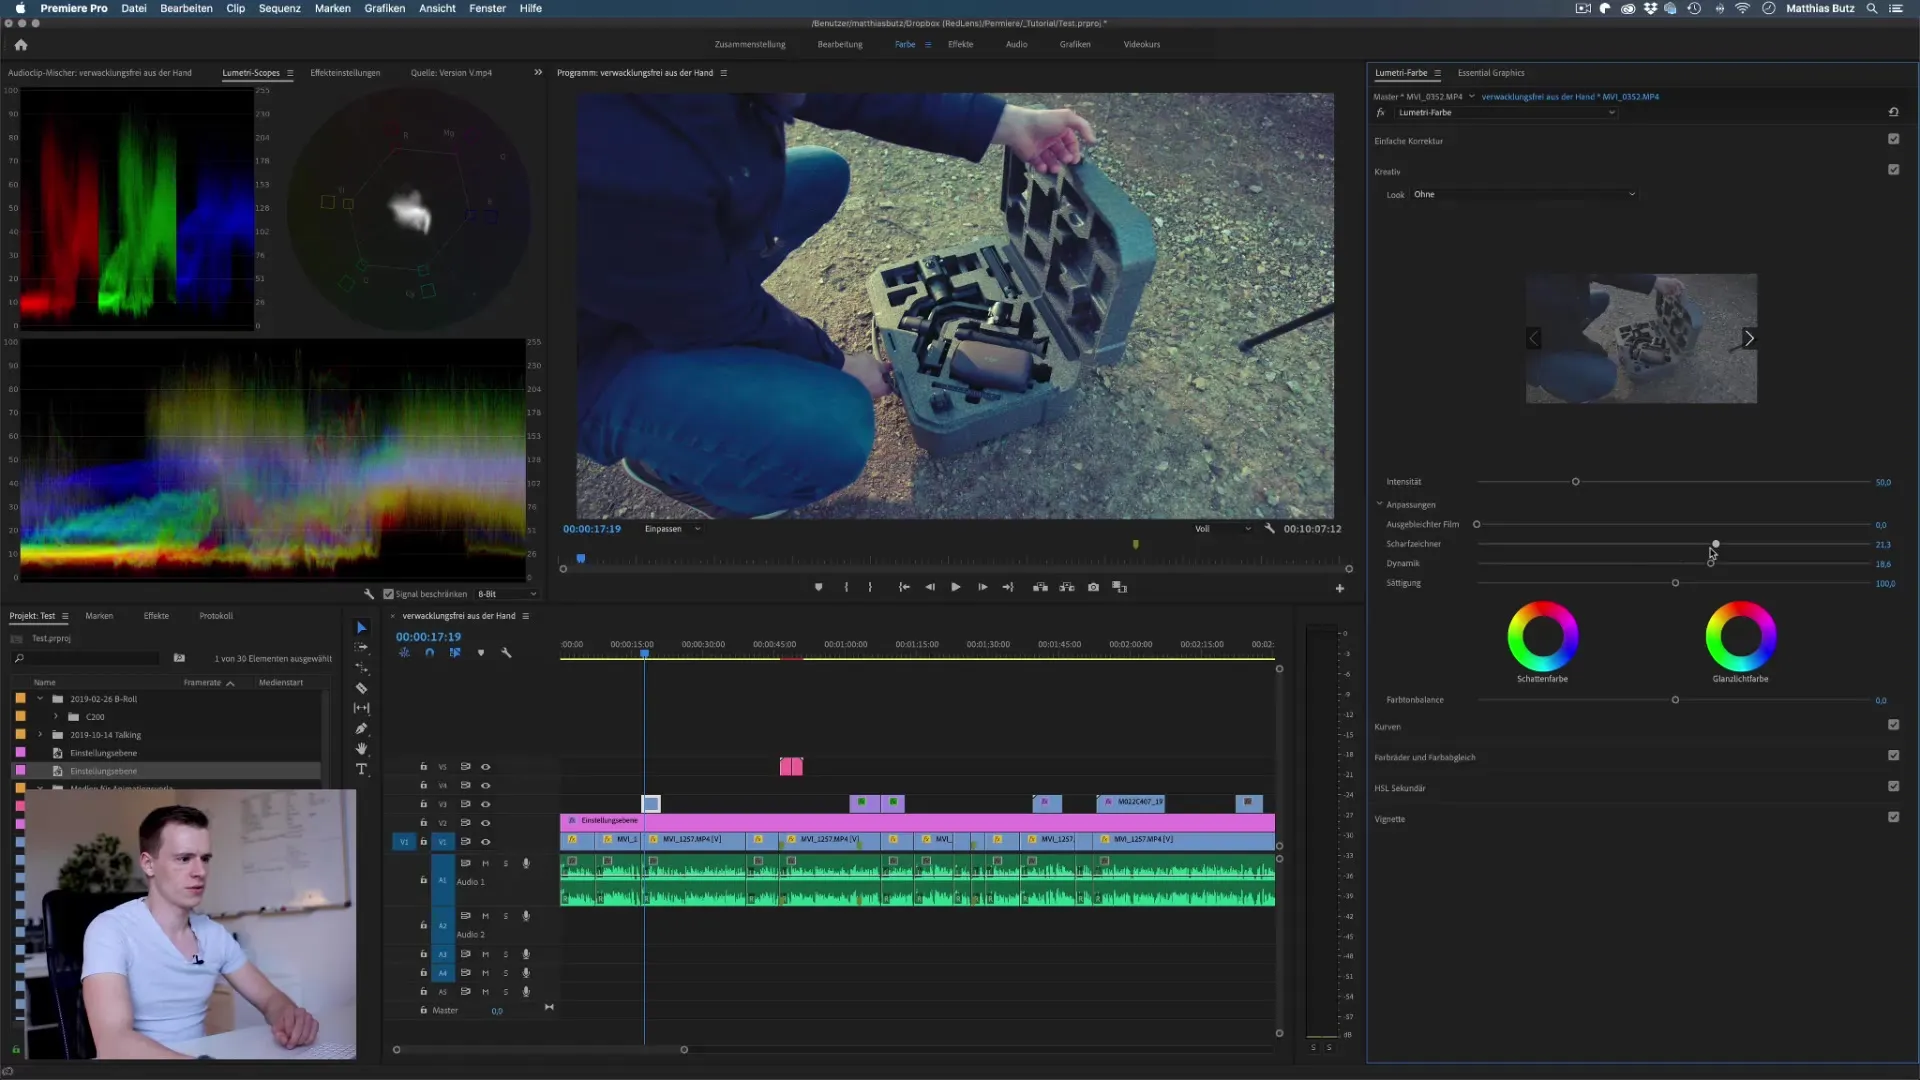
8. Sharpening and Post-Processing
Finally, it comes to sharpening your shots as well as adding a vignette. These steps help not only to focus on the right part of the displayed image but can also complete the overall image look.
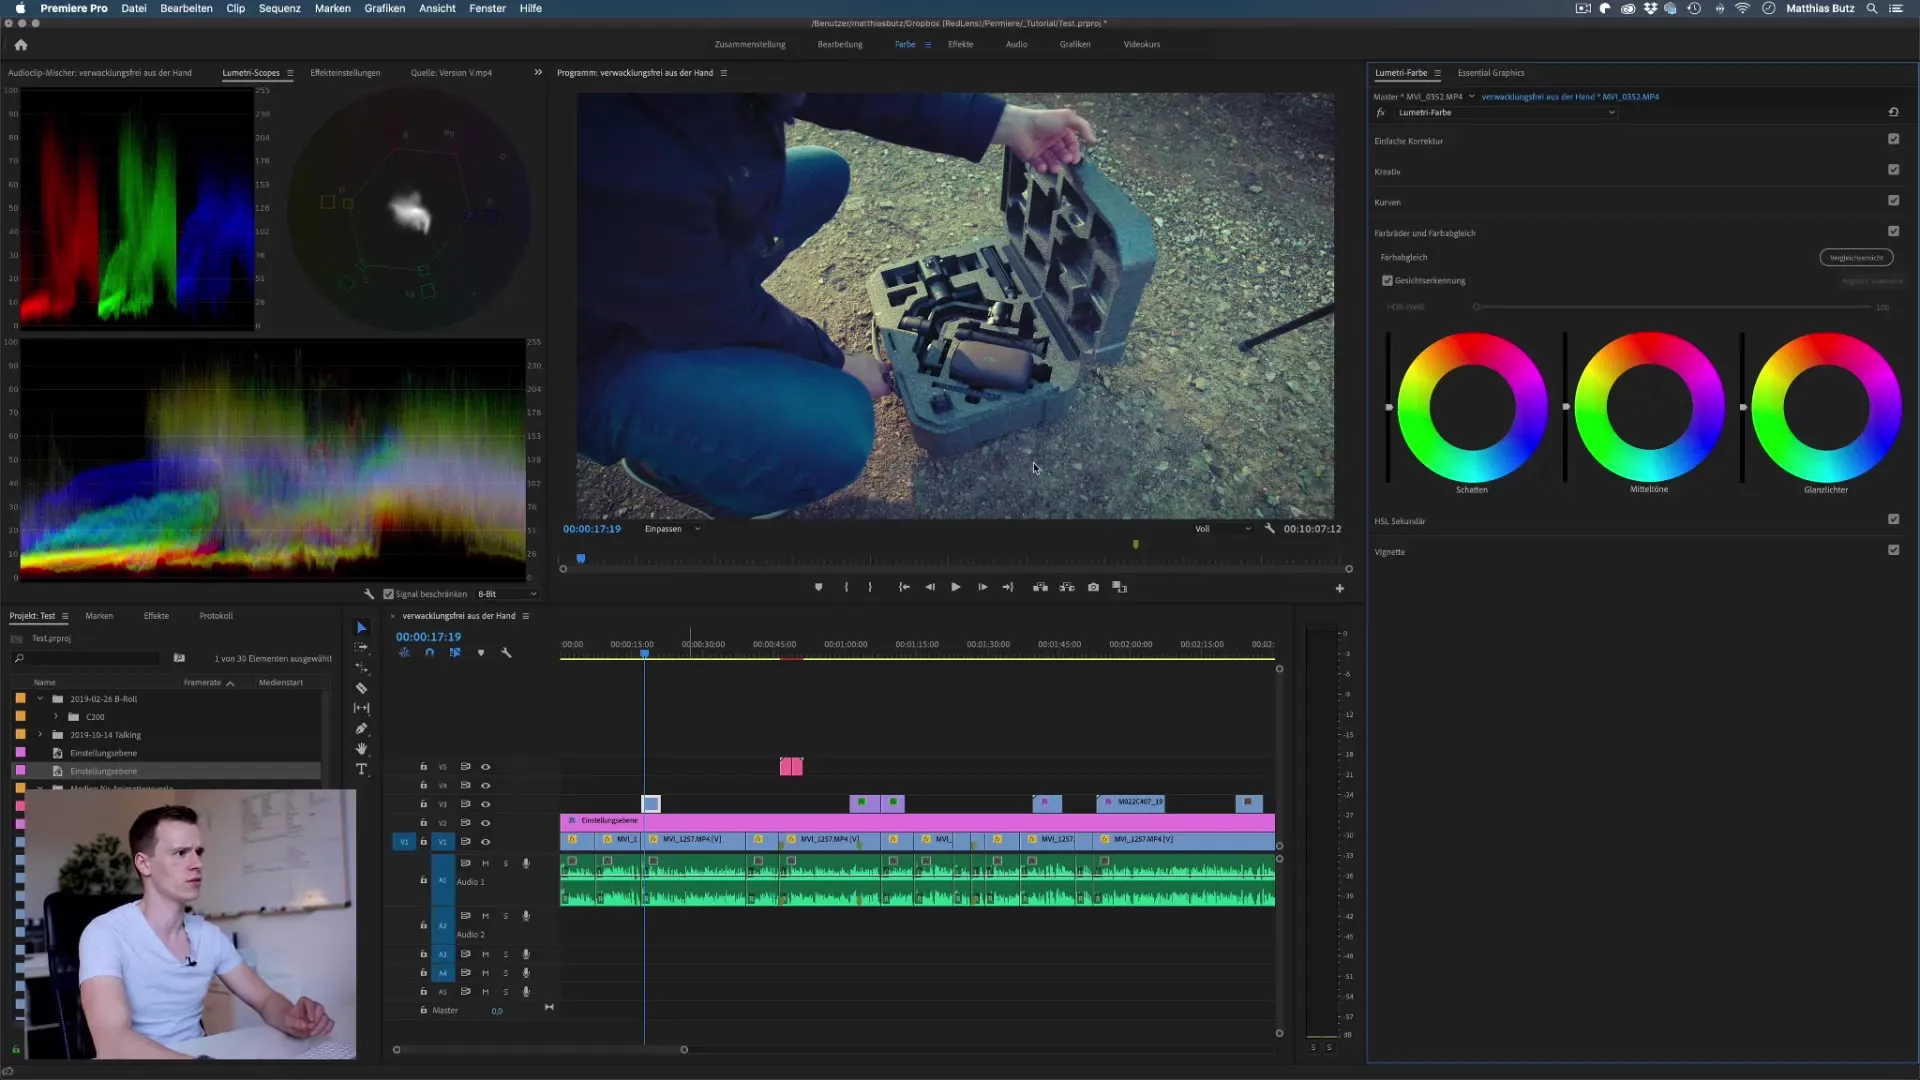
9. Adjusting the Look for Different Clips
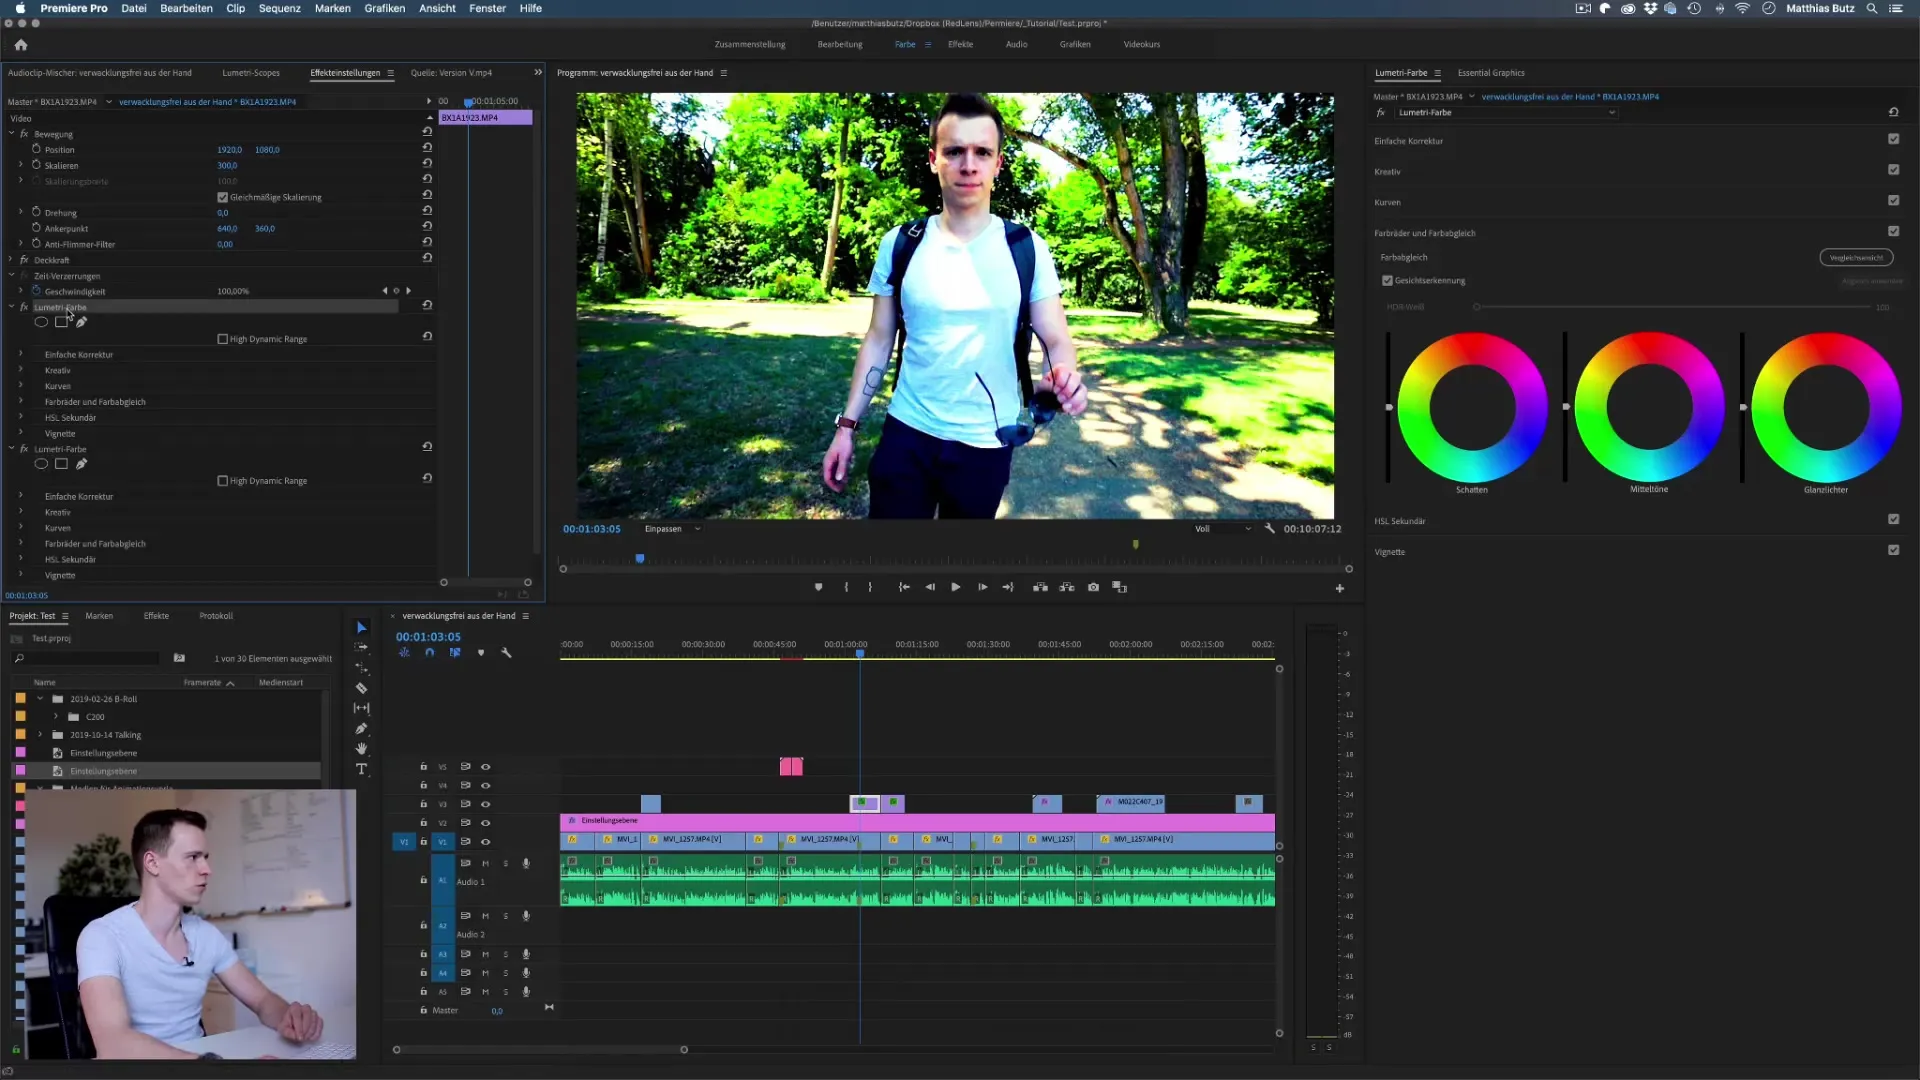
Once you have created a color template, it is important to apply it to other clips. However, make sure that the look remains consistent across all clips and be sure to make any necessary adjustments to avoid color errors and inconsistencies.
10. Conclusion and Feedback
Finally, after completing the entire color grading process, you should compare the graded video with the original and corrected material to visually assess the differences.

Summary - Color Grading for B-Roll: Effective Steps in Premiere Pro
In this tutorial, you have learned how to enhance your B-Roll through targeted color grading techniques. It is important to try out different techniques and develop your own style. Use the steps and screenshots presented as a guide while you continually develop your creative skills.
Frequently Asked Questions
How can I ensure that my color grading remains consistent?Set the settings for the LUTs and other color parameters to similar material and regularly check between clips.
What role do LUTs play in color grading?LUTs help to quickly achieve a specific look but may need to be adjusted depending on the material to get the desired result.
How often should I use the scopes?It is advisable to enable the scopes regularly, especially during color correction, to ensure that the material is correctly exposed.
What type of material is best for color grading?Material that is released in log format or as RAW offers the best possibilities for color grading, as it contains more details in the shadows and highlights.


