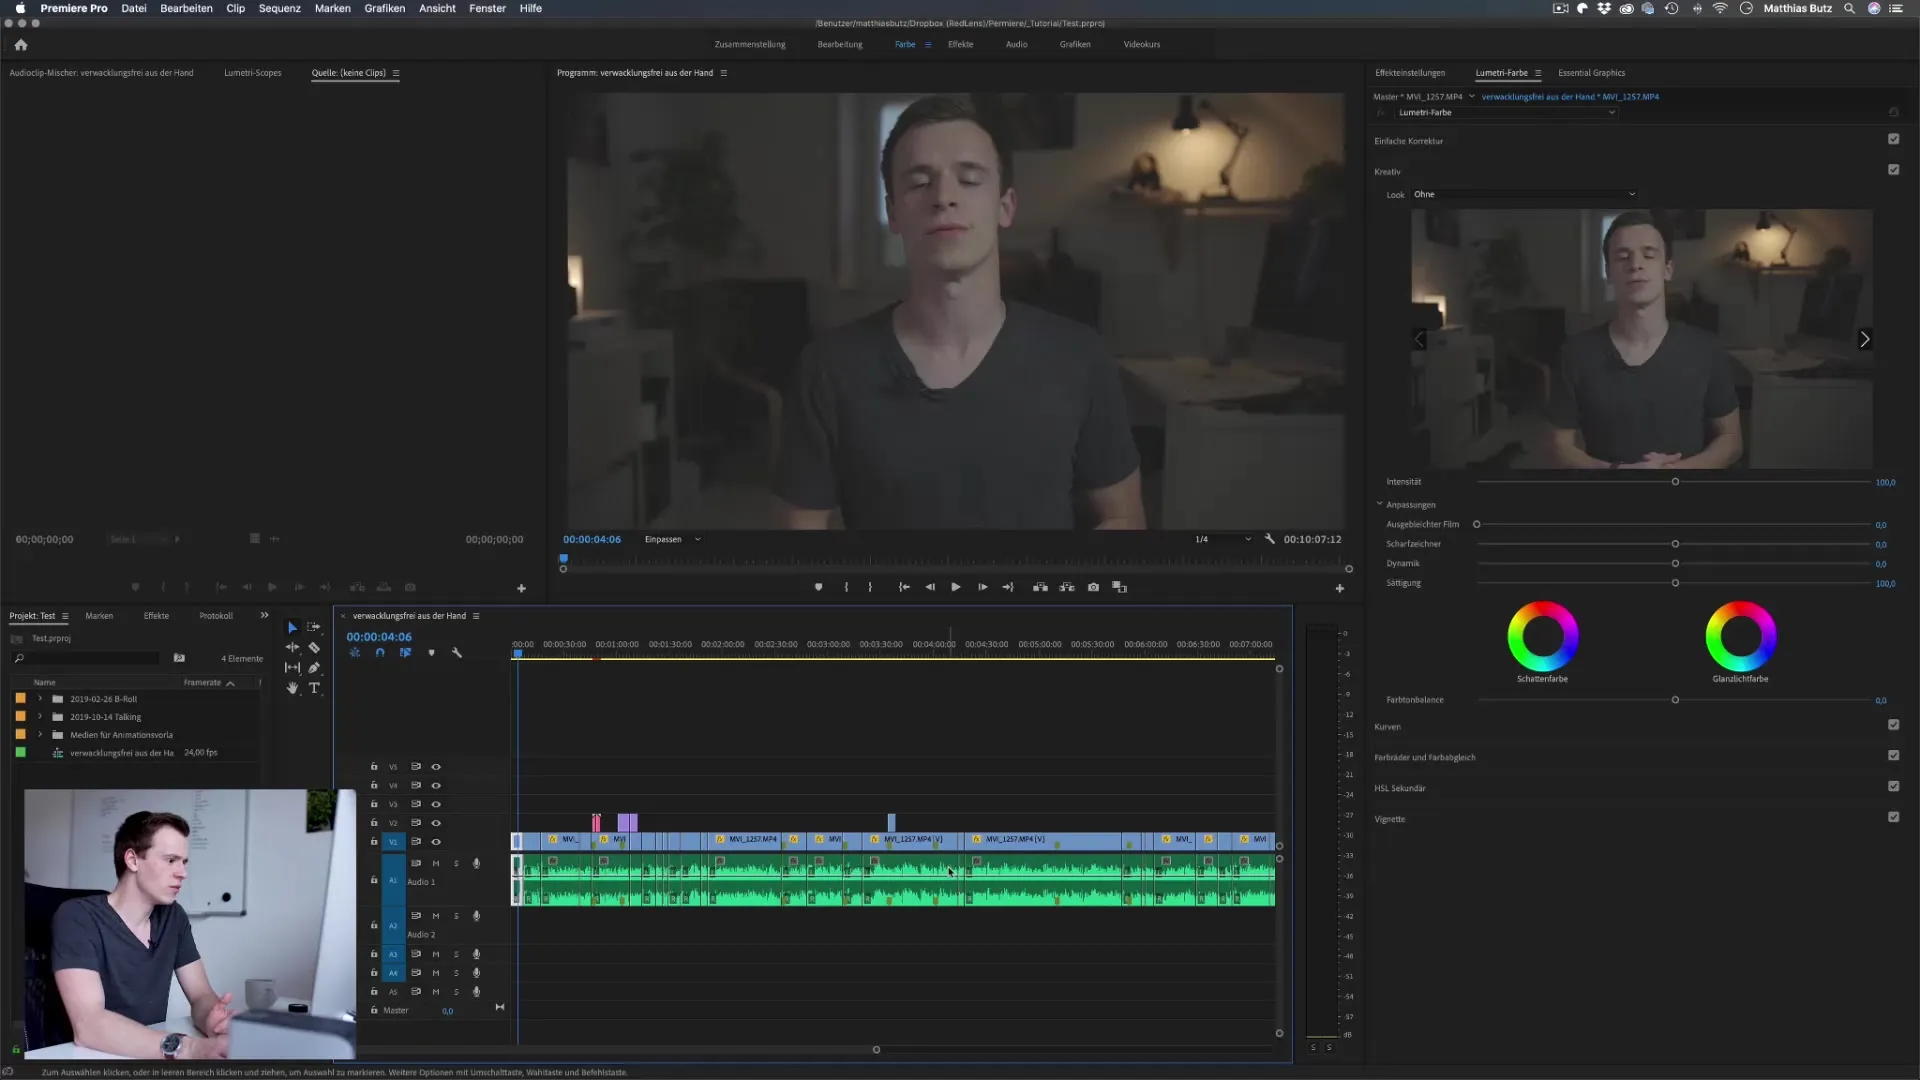
Colors make the picture. They influence emotions, atmospheres, and the overall impact of a video. In this tutorial, I will show you how to work effectively with LumetriColorin Premiere Pro CC to create professional-looking videos. We will discuss the basicsof color gradingand I will provide you with tips on how to implement color adjustments optimally.
Key Insights
- Lumetri Color offers various tools for color correction and color grading.
- A simple correction is the first step to creating a consistent color palette.
- Consider what color spectrum you are working in to achieve a harmonious overall image.
- Use the scopes to better control the color adjustments and get an accurate picture.
Step-by-Step Guide
Step 1: Switch to the Color Area
To start with color grading, click on the "Color" area in the top menu bar of Premiere Pro. Once you click, the interface of your program will change. This gives you better access to the tools you need for color correction.

Step 2: Select and Edit Clip
Move the cursor over a clip on the timeline. The clip will be automatically selected so you can focus on it. Note that color correction is initially done per clip. This means that any changes you make will only affect the selected clip and not the other clips on the timeline.

Step 3: Make Simple Correction
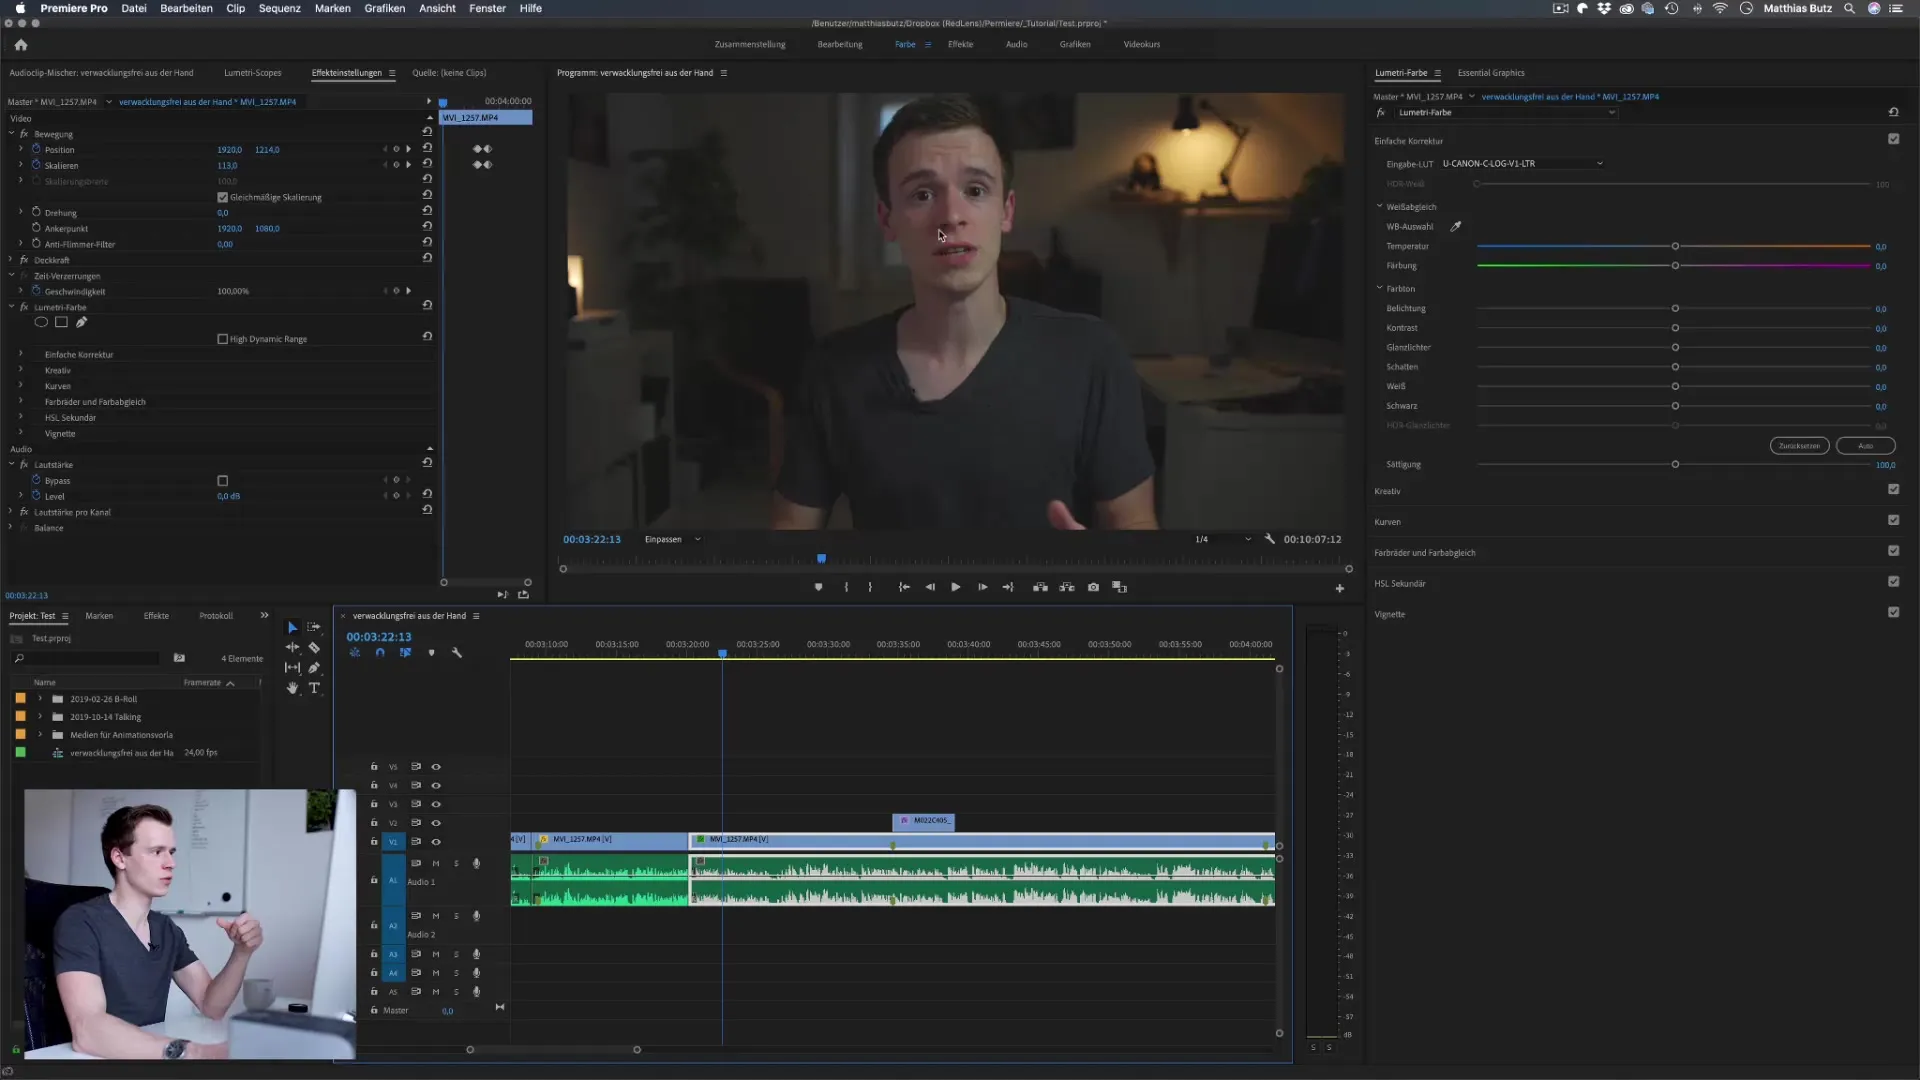
I recommend starting with the "simple correction." This feature is particularly useful if you have used a log profile, which often provides a flat look. First, download the appropriate LUTs (Look-Up Tables) that are suitable for your camera. These LUTs will help you contrast the video material and enhance the colors.

Step 4: Adjust Color Balance
You may notice that the color of your clip is not optimal. Especially with overly warm shots, you can adjust the color temperature in the Lumetri color area. Using the temperature and tint sliders, you can make the necessary adjustments to achieve a cooler, more realistic image.

Step 5: Adjust Exposure and Contrast
Now you have the opportunity to regulate the exposure. With this slider, you can brighten or darken the entire image uniformly. Next to it, you will find the contrast slider, which ensures that the dark areas of the image gain depth and that the bright areas stand out more clearly.
Step 6: Fine-Tune the Tonal Values
Here you can adjust the sliders for highlights, shadows, blacks, and whites. As you set the highlights slider, you can influence the brighter areas of the image to bring more dynamism to your video. For the shadows, you have the option to brighten the darker areas of the image, improving the overall contrast.

Step 7: Saturate Colors
The final step in the simple correction is saturation. You can increase the saturation to give the colors more vibrancy, or decrease it if you are aiming for a stylized black-and-white look. These adjustments are self-explanatory and very effective in presenting your video.
Step 8: Use of Scopes
Another important tool in color grading is scopes. Scopes provide you with a visual analysis of your image and help you understand how the colors compare to the optimal values. Sometimes it can be surprising how much the colors deviate from the ideal.

Summary – Lumetri Color in Premiere Pro CC: Basics of Color Grading
Throughout this guide, you have learned how important proper color adjustment is for videos. By working with the basic settings in Lumetri Color, you can effectively adjust your clips so that they match harmoniously and achieve a professional appearance.
FAQ
How can I apply a LUT?You can apply a LUT by importing it in the Lumetri color area and applying it to your clip.
What can I do if my colors are not displaying correctly?Check the calibration of your monitor and use scopes to analyze your colors.
Where can I find good LUTs?Free LUTs are available online, many websites offer collections for different cameras.
What is the difference between color correction and color grading?Color correction is adjusting the colors to achieve a uniform look, while color grading brings creativity and creates specific looks.
How often should I use auto functions?Auto functions can be helpful, but they do not always deliver optimal results. Don't rely solely on them.


