The color management in Adobe Premiere Pro CC 2020 is crucial to achieving the full quality and the desired visual effects of your projects. Particularly, with the new features like the REC 2100 PQ color workspace, you can achieve more precise control over your color palette. In the following text, you will learn how to effectively utilize these functions and make the appropriate settings in Premiere Pro.
Key Insights
- With the REC 2100 PQ color workspace, you can achieve a wider color palette.
- The right hardware requirements, such as specialized graphics cards and monitors, are crucial.
- Automatic color space settings simplify the workflow.
- Export options in various codecs and color spaces allow for targeted customization according to your needs.
Step-by-Step Guide
Step 1: Select Color Workspace
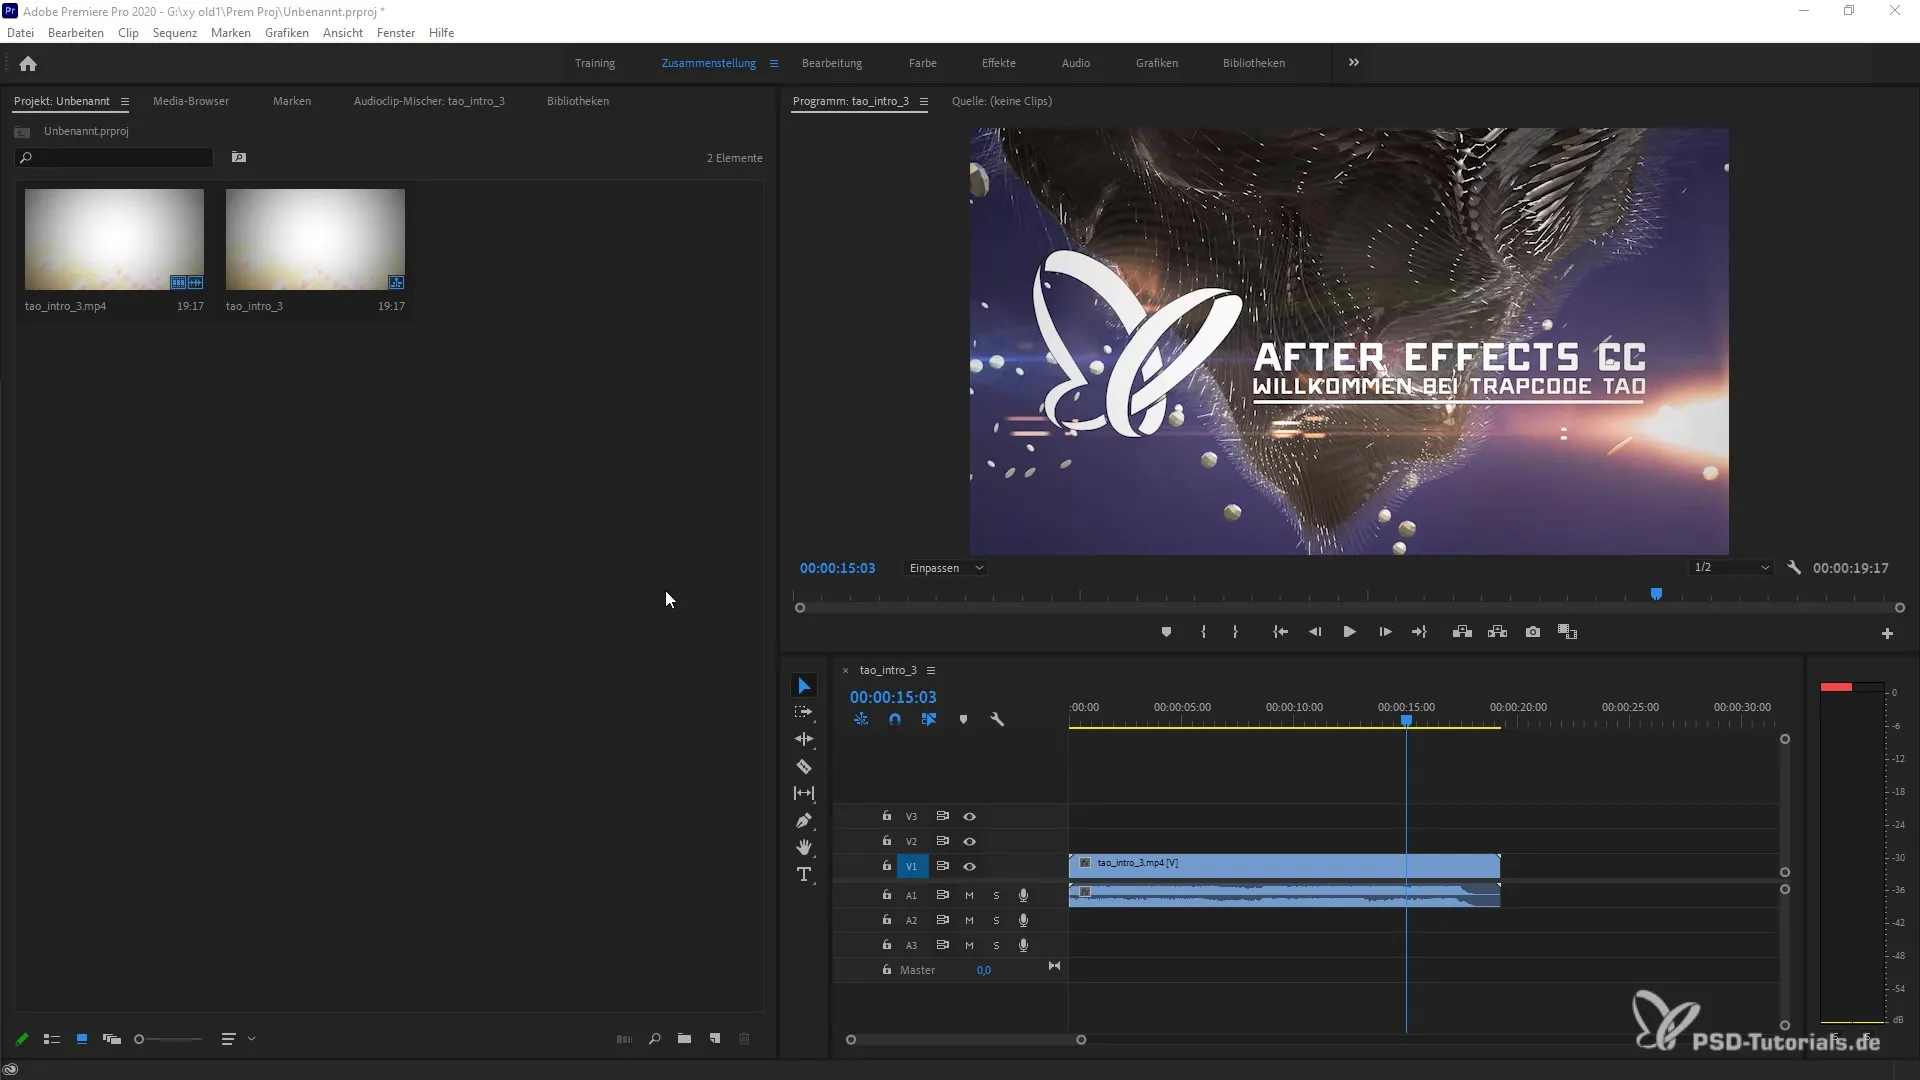
To work with the REC 2100 PQ color workspace, you first need to make the color space settings. Go to the graphics and select the desired color space using the Lumetri Scopes. Here you can choose the 2100 PQ color space to gain access to the advanced color management features.
Step 2: Import Your Material
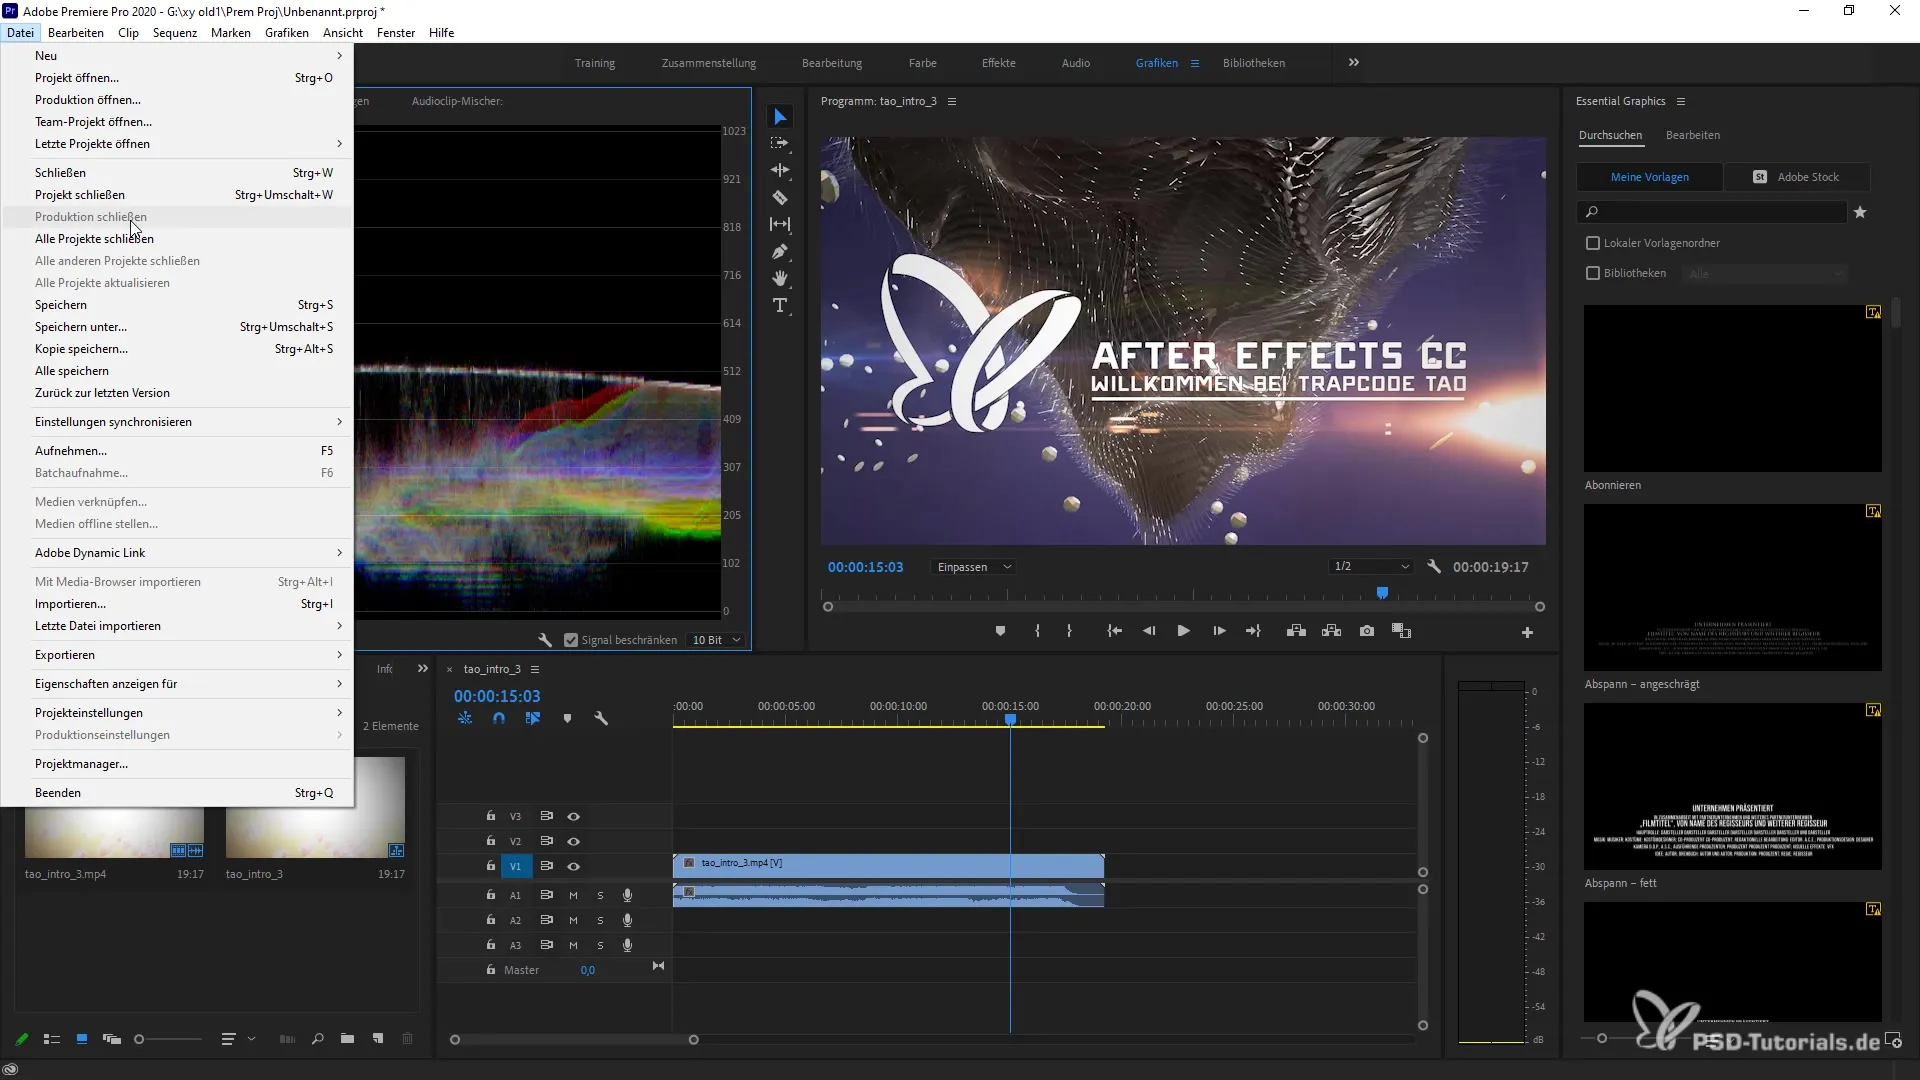
Once you have correctly set the color space, the next step is to import your material. Go to "File" and select "Import." Pick out the files and ensure they are processed in the correct color space. This ensures that everything works smoothly.
Step 3: Adjust Sequence Settings
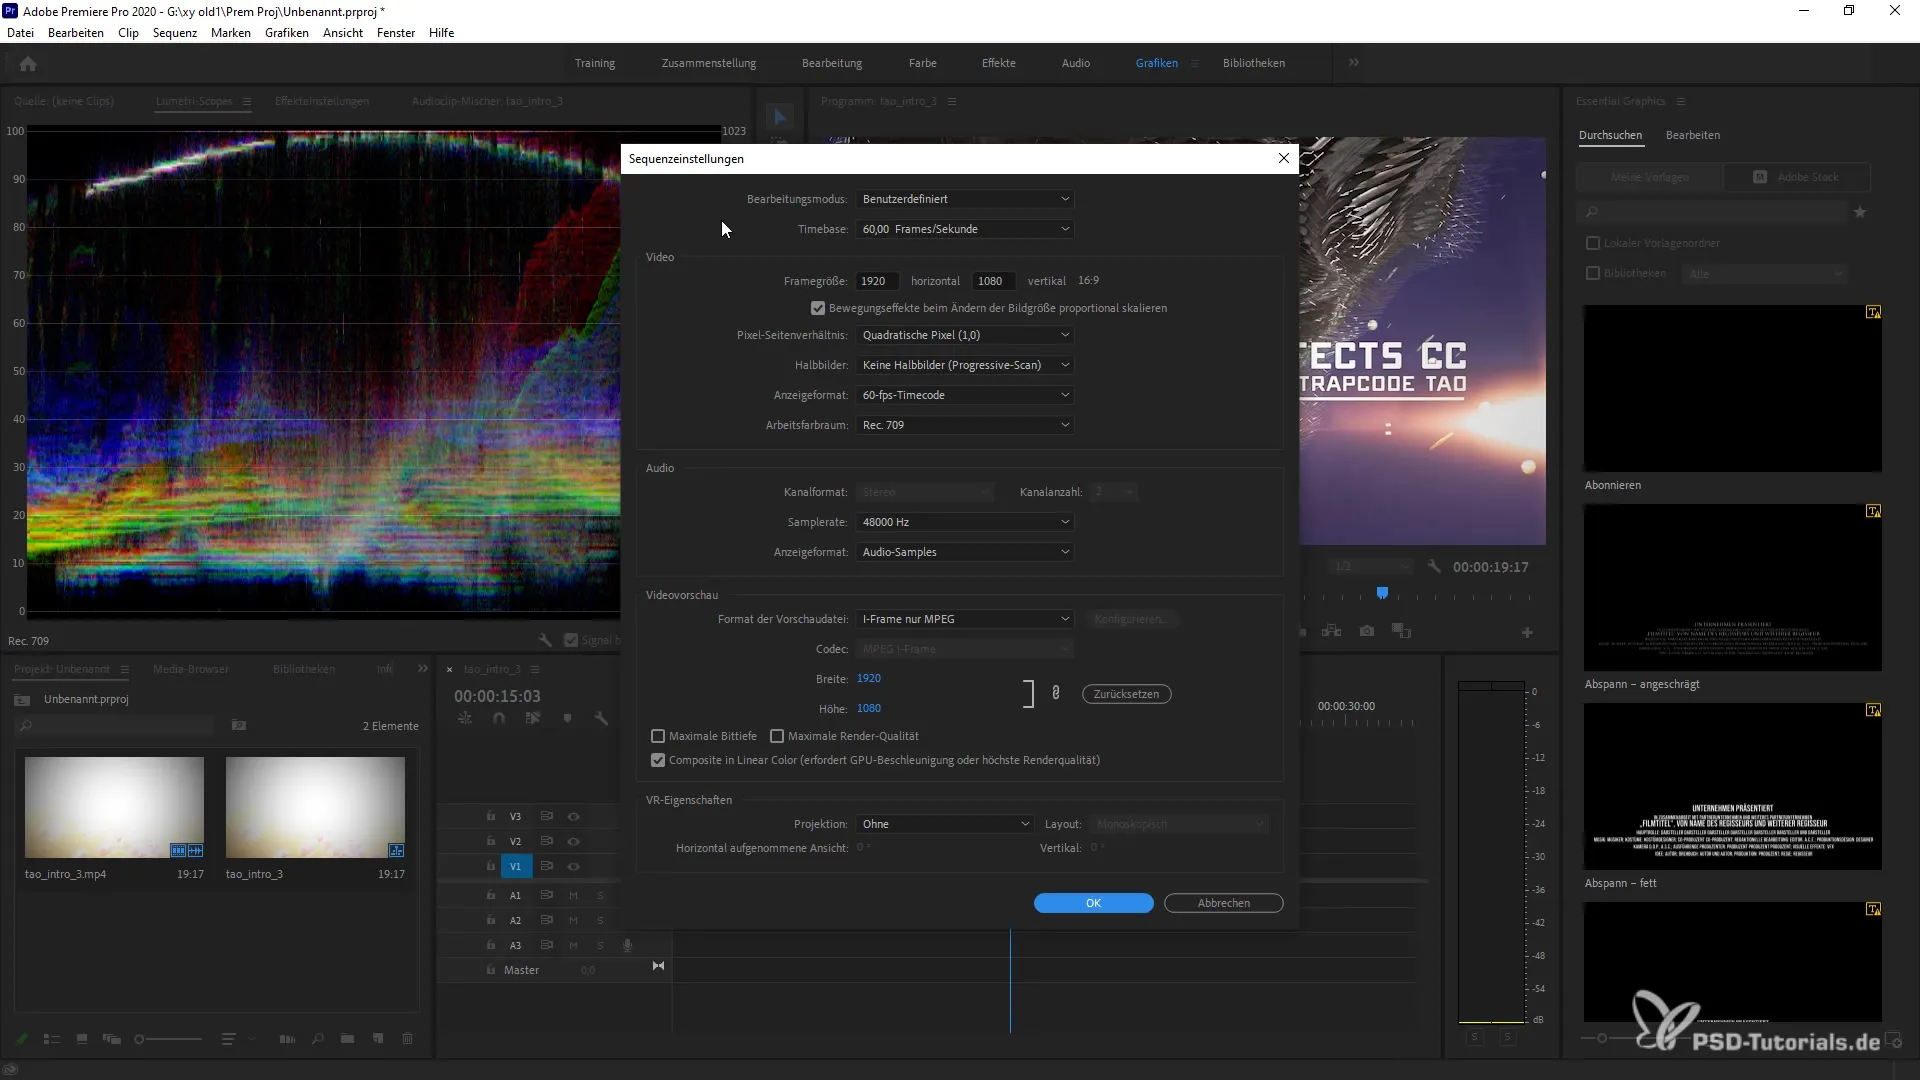
Under the menu item Sequence, you can select the sequence settings that directly affect your material. Be sure to set the correct working color space. This is important to ensure that everything is displayed according to your specifications.
Step 4: Enable Automatic Color Space Recognition
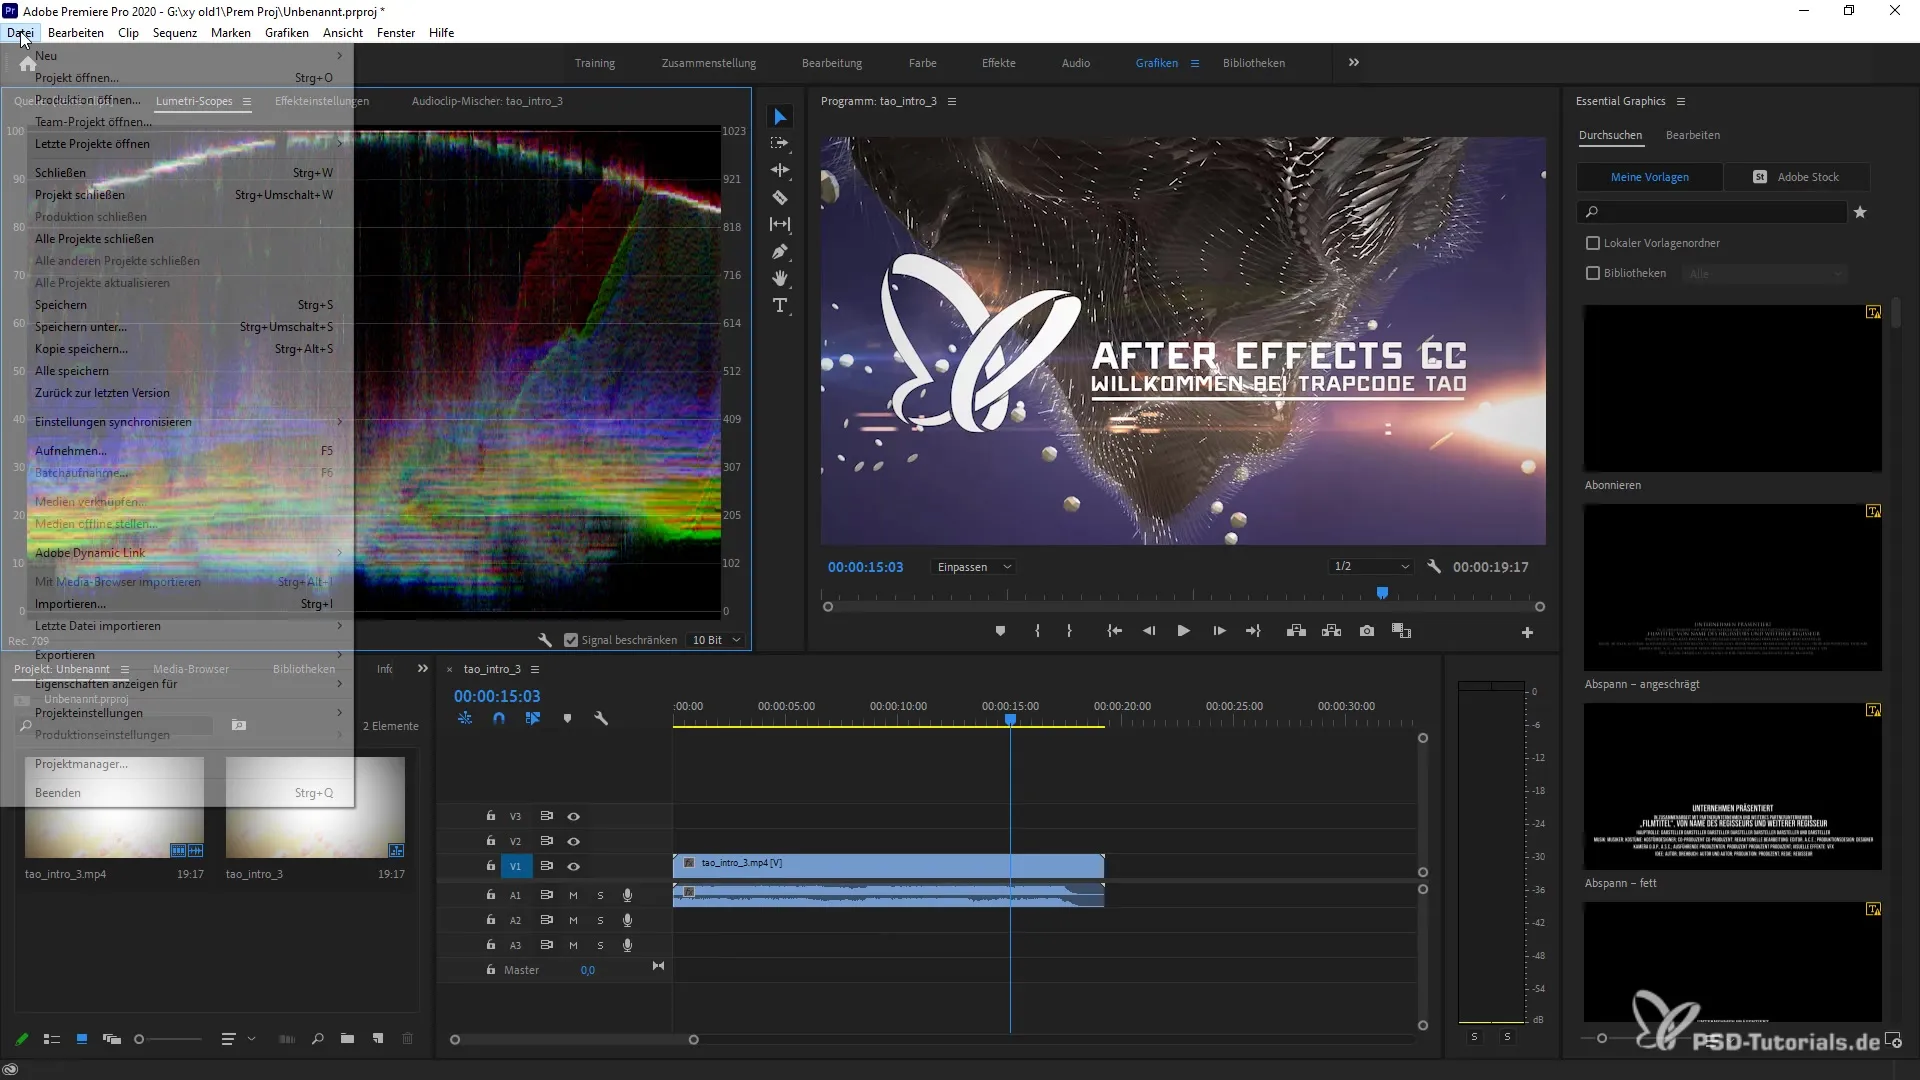
If you want to enable automatic recognition of the color space, go to the import settings and activate the corresponding option. This way, the color space does not need to be manually selected for each import, significantly simplifying the workflow.
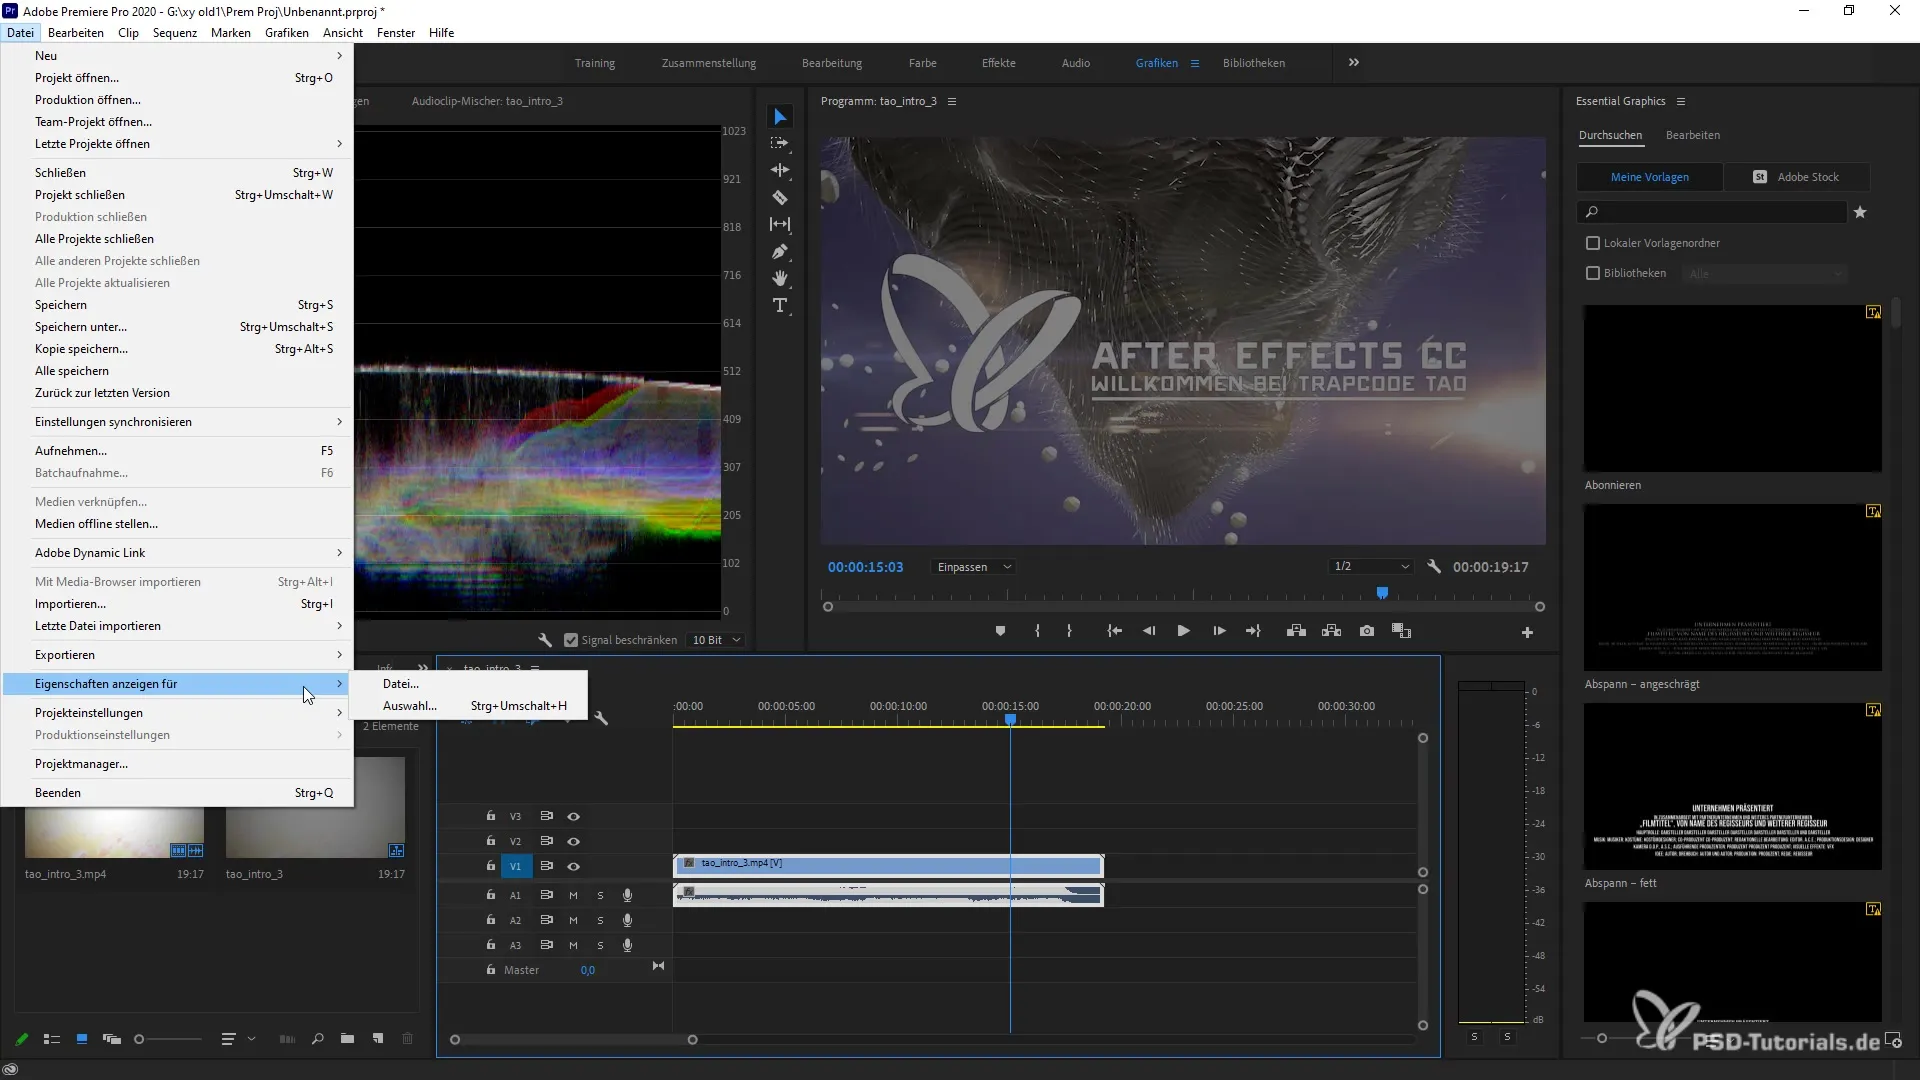
Step 5: Export Clip
To check if your settings are correct, you should export the clip. You can use the keyboard shortcut (Command key on Apple or Ctrl on Windows). Go to "Export" and select "Media." Here you can set the format and color space for export.
Step 6: Set Export Options
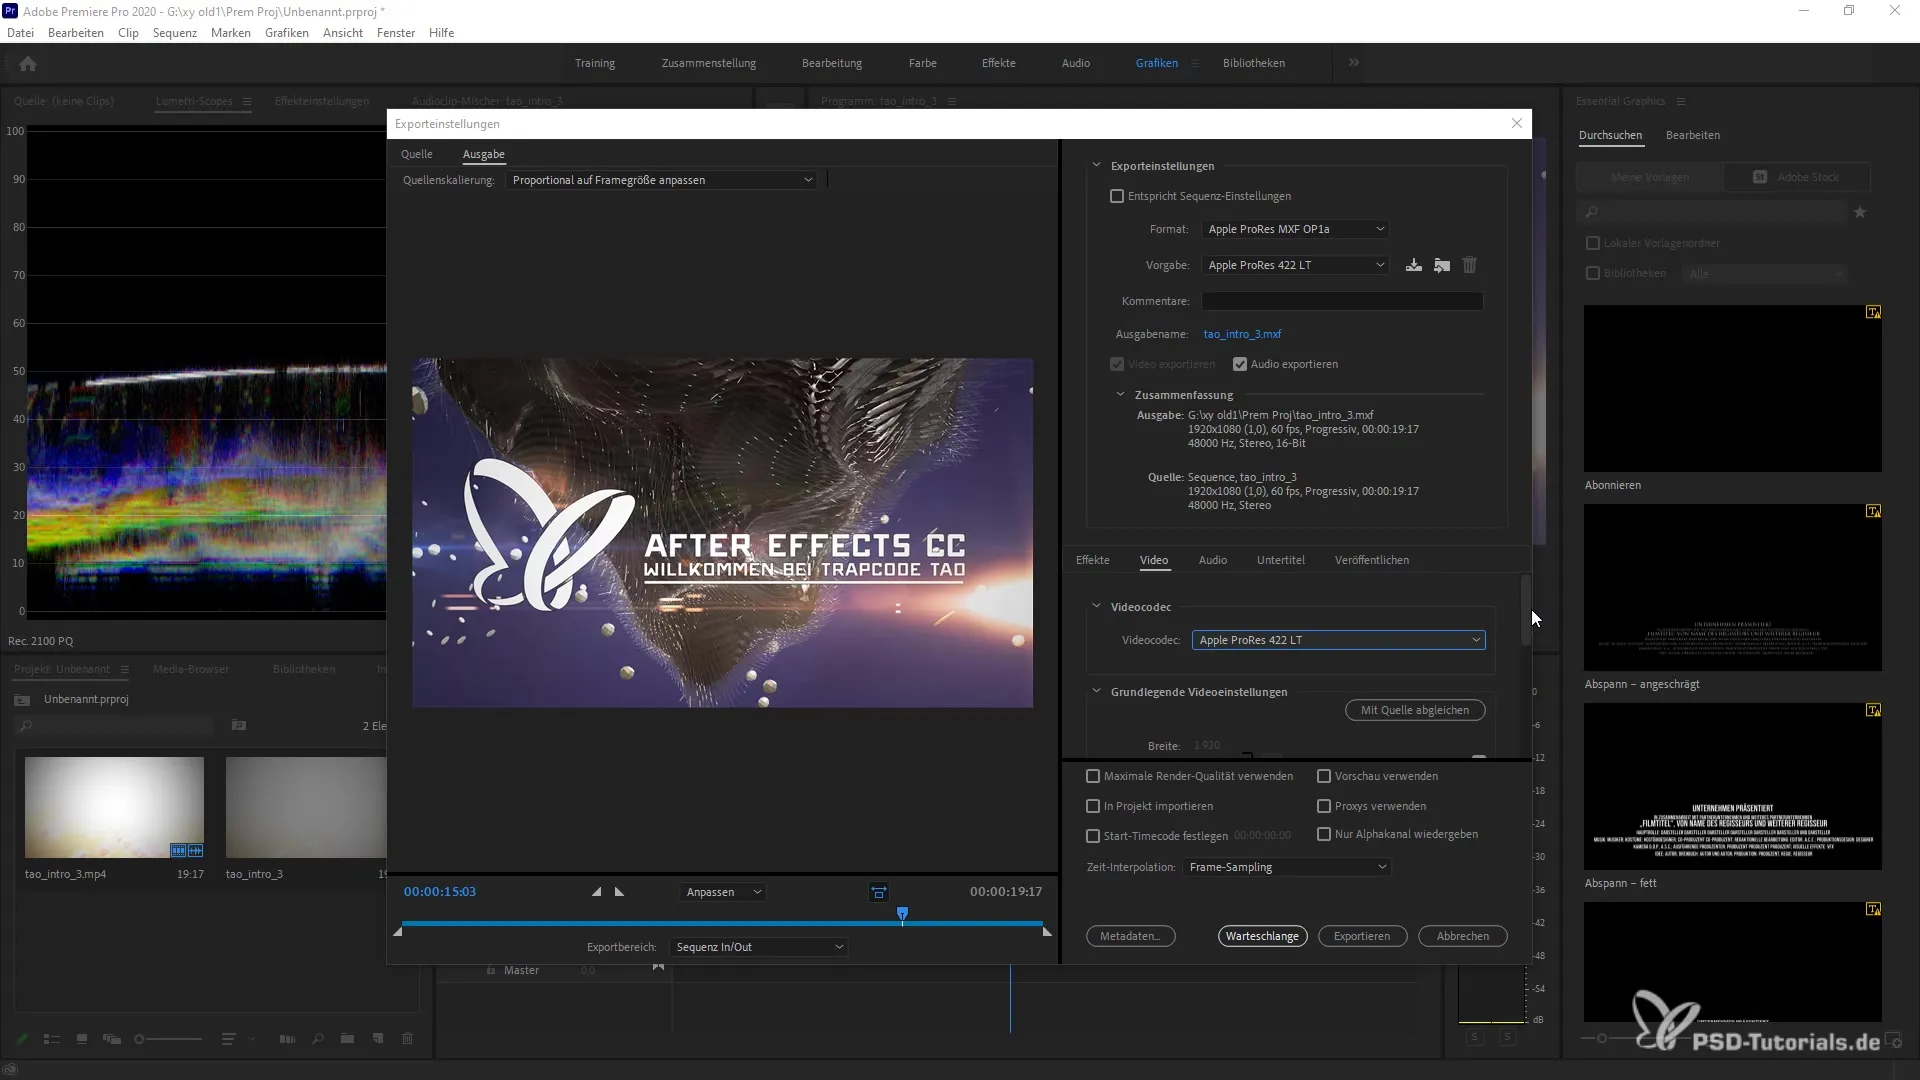
Select either QuickTime or Apple ProRes as the export format. Be sure to set the correct codec and quality levels to ensure that your material is output in the desired quality. You can also select 10 Bit or 16 Bit per channel, depending on what works best for your projects.
Step 7: Gather Feedback
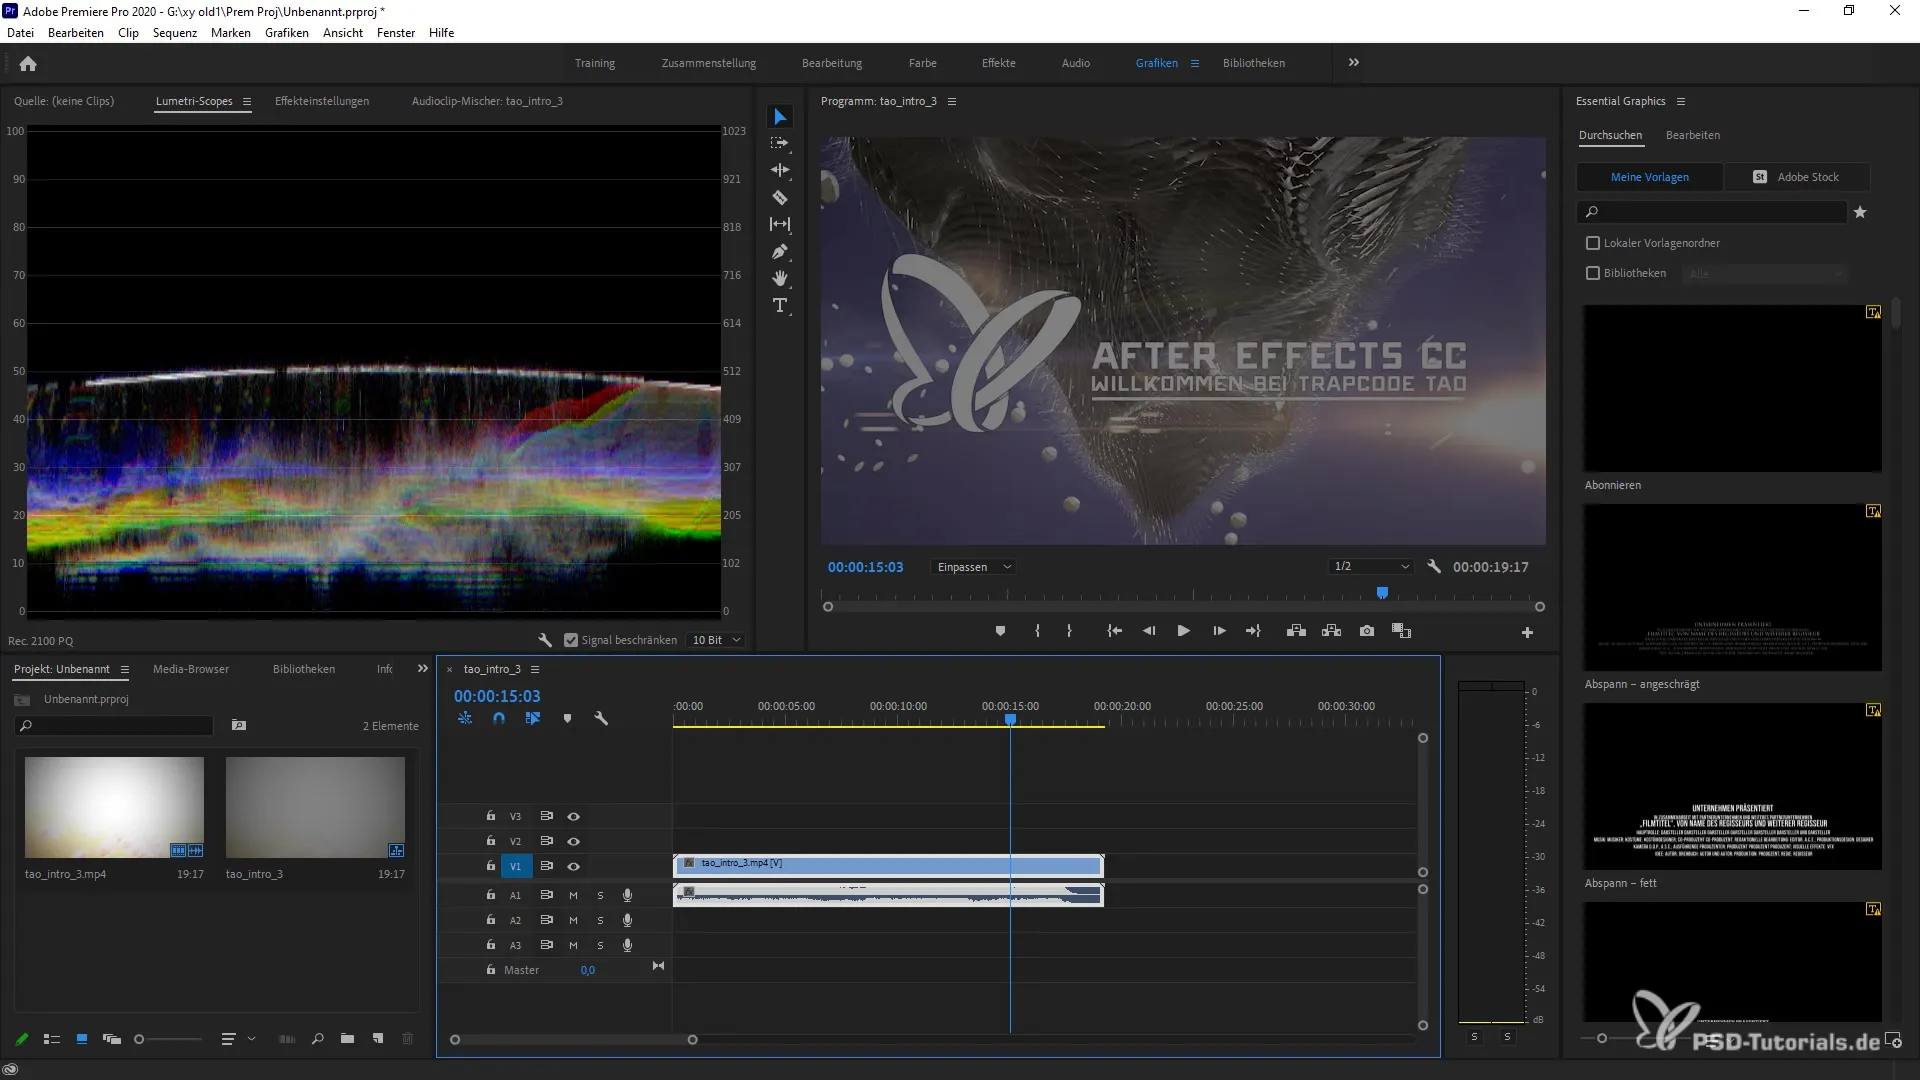
After executing the export, you will receive immediate feedback that helps you make any necessary adjustments. Review the material to ensure everything is displayed as you planned.
Summary – Shaping Color Management in Premiere Pro CC 2020
With the right settings in color management and the new REC 2100 PQ color workspace, you can significantly enhance the quality of your projects. Follow the described steps to optimize your workflows and gain full control over the color design of your content.
Frequently Asked Questions
What hardware is necessary for working with REC 2100 PQ?You need specialized graphics cards and monitors that support the advanced color varieties.
How can I quickly change the settings?Go to the sequence settings and adjust the working color space.
Can I let color spaces be selected automatically?Yes, in the import settings, you can enable automatic color space recognition.
How do I export my clips with the desired settings?Use the export menu and select the appropriate format as well as the desired quality levels.
How can I ensure that my material is correctly displayed?By exporting and visually inspecting, you can verify the quality and settings.


