If you're working in the world of video marketing or content creation, you know how important it is to adapt content for different platforms and formats. Adobe Premiere Pro CC 2020 offers a time-saving solution with the new feature "Auto Reframe" to automatically adjust the aspect ratio of your videos. This tool uses intelligent algorithms to automatically recognize key elements in your clips and ensures they stay in focus, regardless of the format you are working in.
Main Insights
- Auto Reframe helps to automatically adjust the aspect ratio of your videos.
- The feature is easy to use and saves time through automation.
- The algorithm recognizes objects in the frame and ensures they are optimally positioned.
- The feature supports multiple aspect ratios, including square and vertical formats.
Step-by-Step Guide
1. Introduction to Auto Reframe
Before you start working with Auto Reframe, ensure that you have Premiere Pro CC 2020 open. This feature is especially useful when you want to create content for various social media or platforms. You now have the option to easily change the aspect ratio of your clip or entire composition.

2. Accessing the Effects Panel
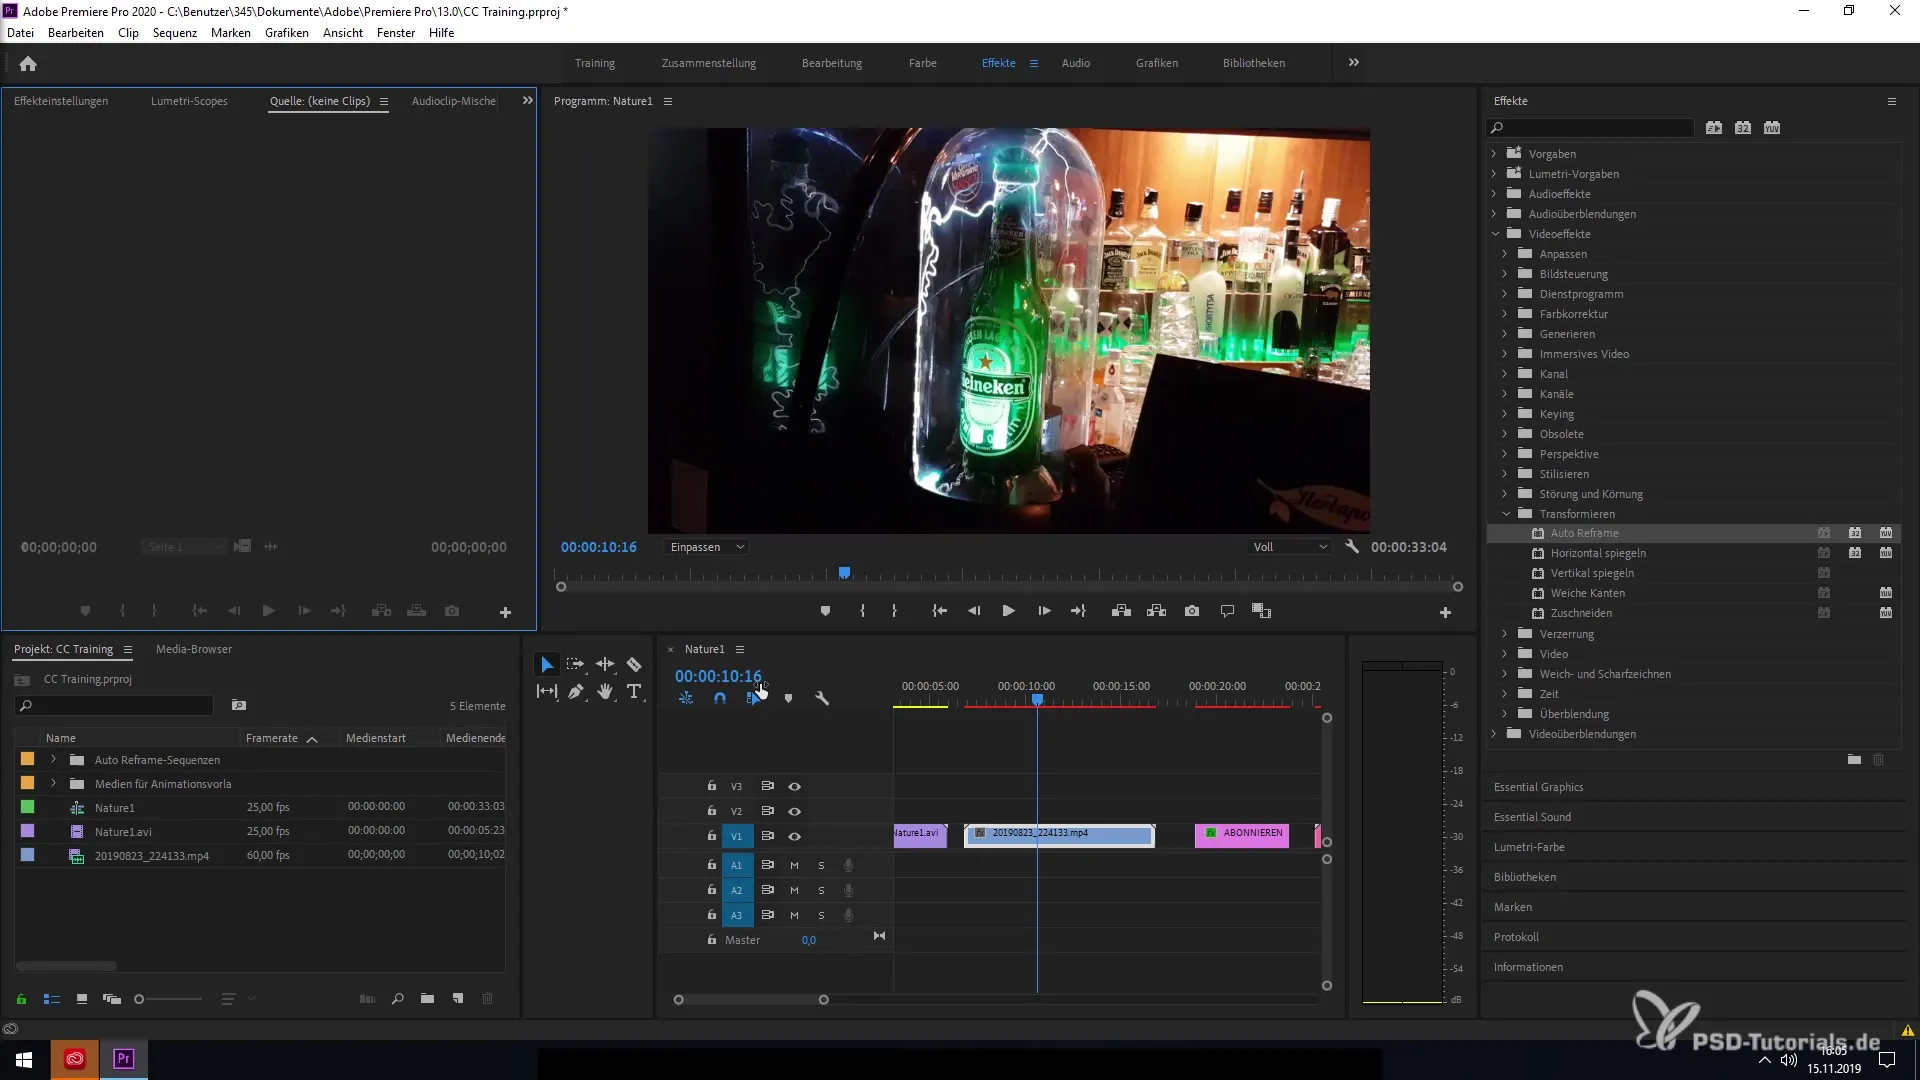
Navigate to your effects panel. Here you will find the option "Auto Reframe" under video effects. This is the first step to apply the tool to your clip.
3. Selecting Clip and Applying Effects
Select the clip you want to edit. Then click on the Auto Reframe feature, which allows you to change the aspect ratio of the selected clip. Note that this does not work on compositions that have a fixed aspect ratio, such as 1080p.
4. Choosing a Format for Auto Reframe
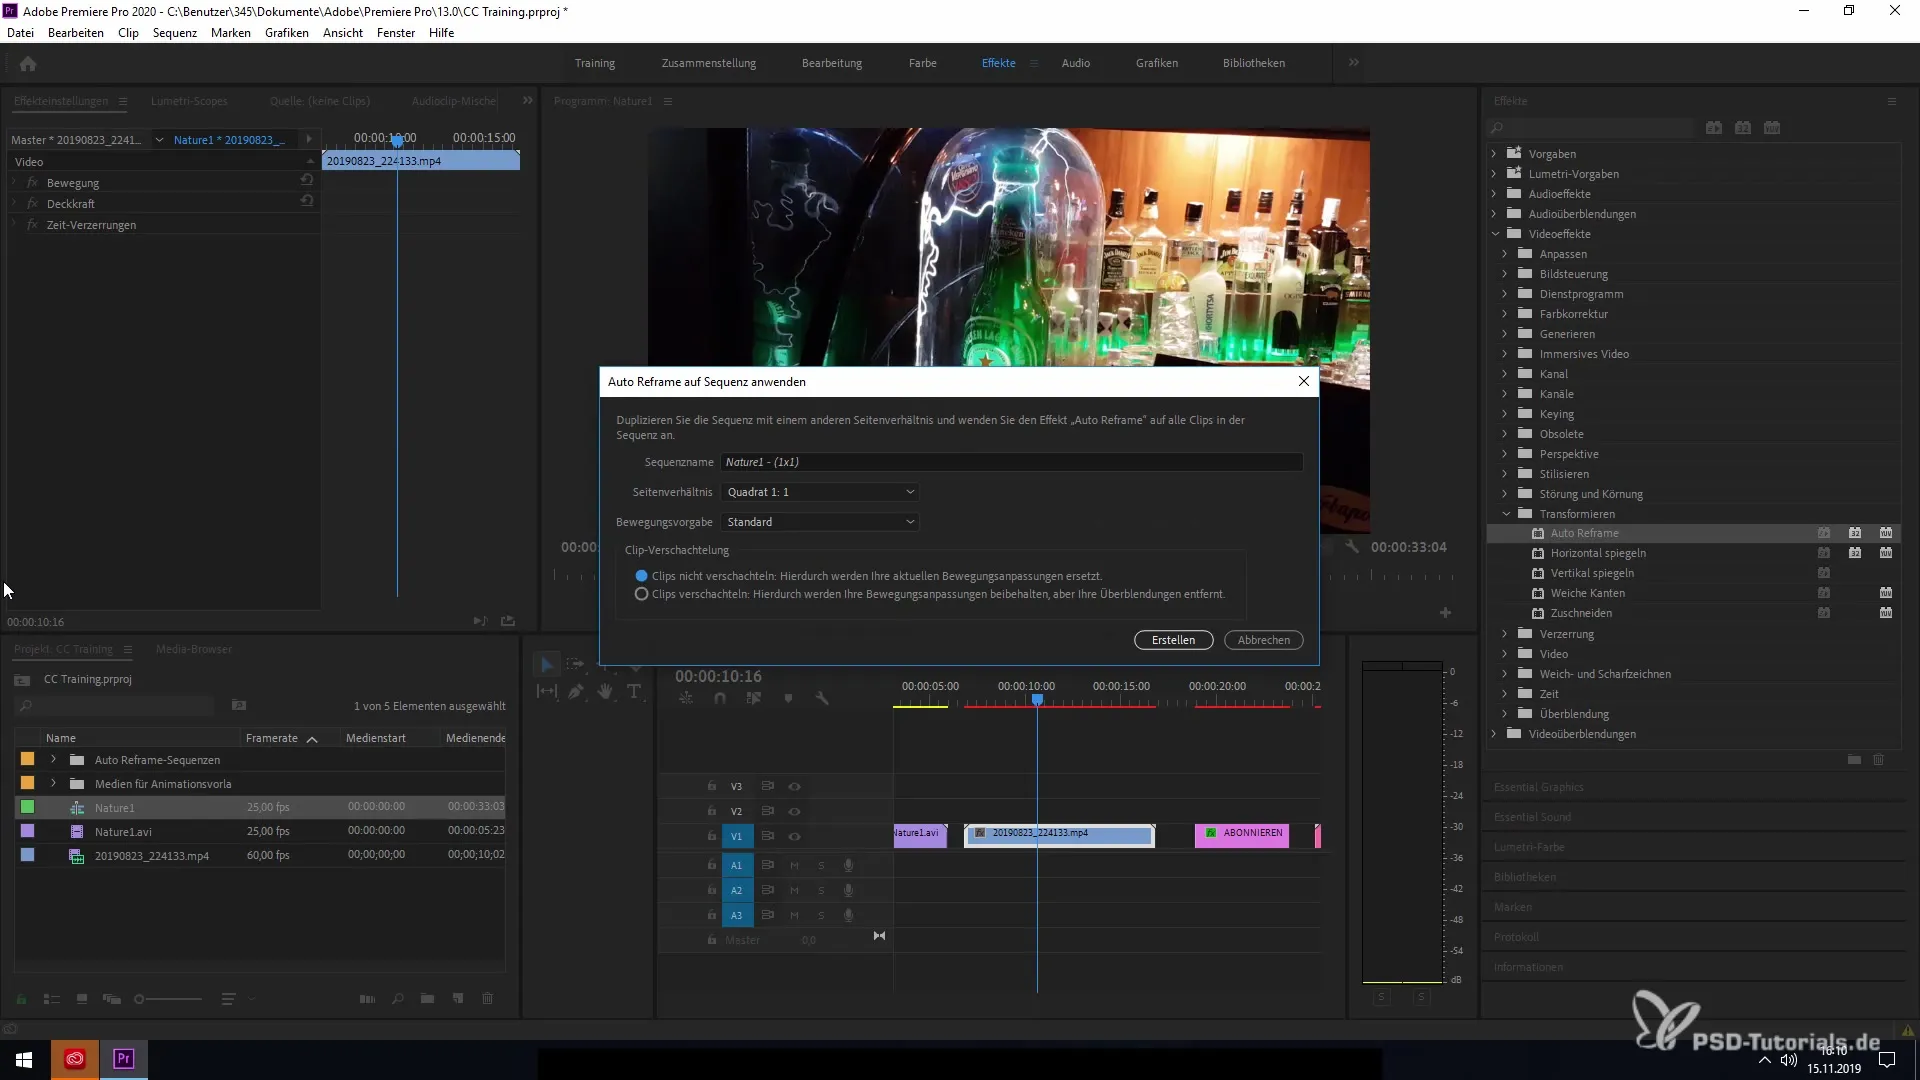
Once you have selected the Auto Reframe feature, you need to decide on a desired aspect ratio. You can choose between various options such as square, vertical, or the common formats like 16:9 and 9:16.

5. Naming the Sequence and Setting Preferences
Give the new sequence a name that makes it easy for you to recognize. The function allows the sequence name to be automatically adopted. Now you can also choose the desired motion setting, which will affect the analysis of the clip.
6. Choosing Motion Settings
Select between slow, standard, or fast motions. These options provide you with different modes for analyzing the clip, depending on the camera's stability and the type of scenes captured.
7. Creating the New Sequence
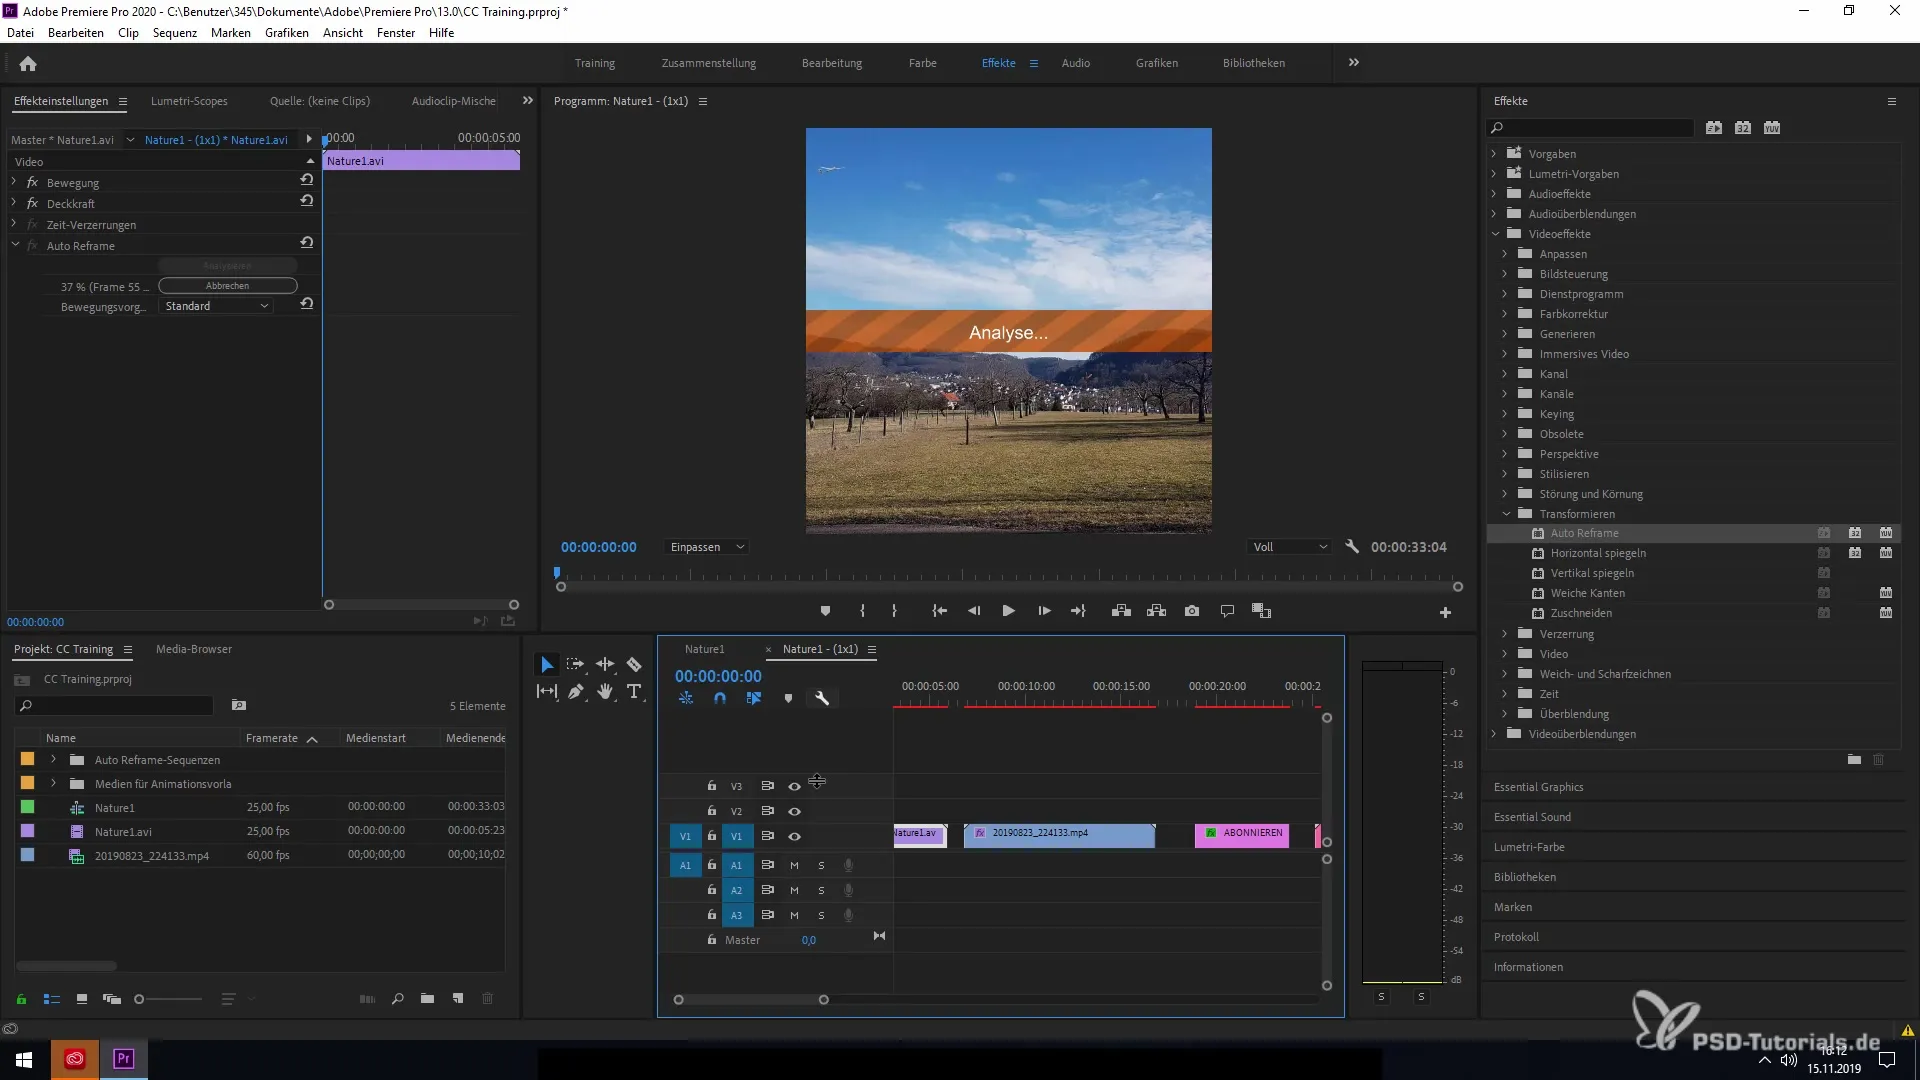
Click "Create" to start the Auto Reframe process. The program will now analyze the clip and adjust the image according to your specifications. The software uses advanced algorithms to recognize the central object in the image and re-frame it in the new format.

8. Reviewing the Results
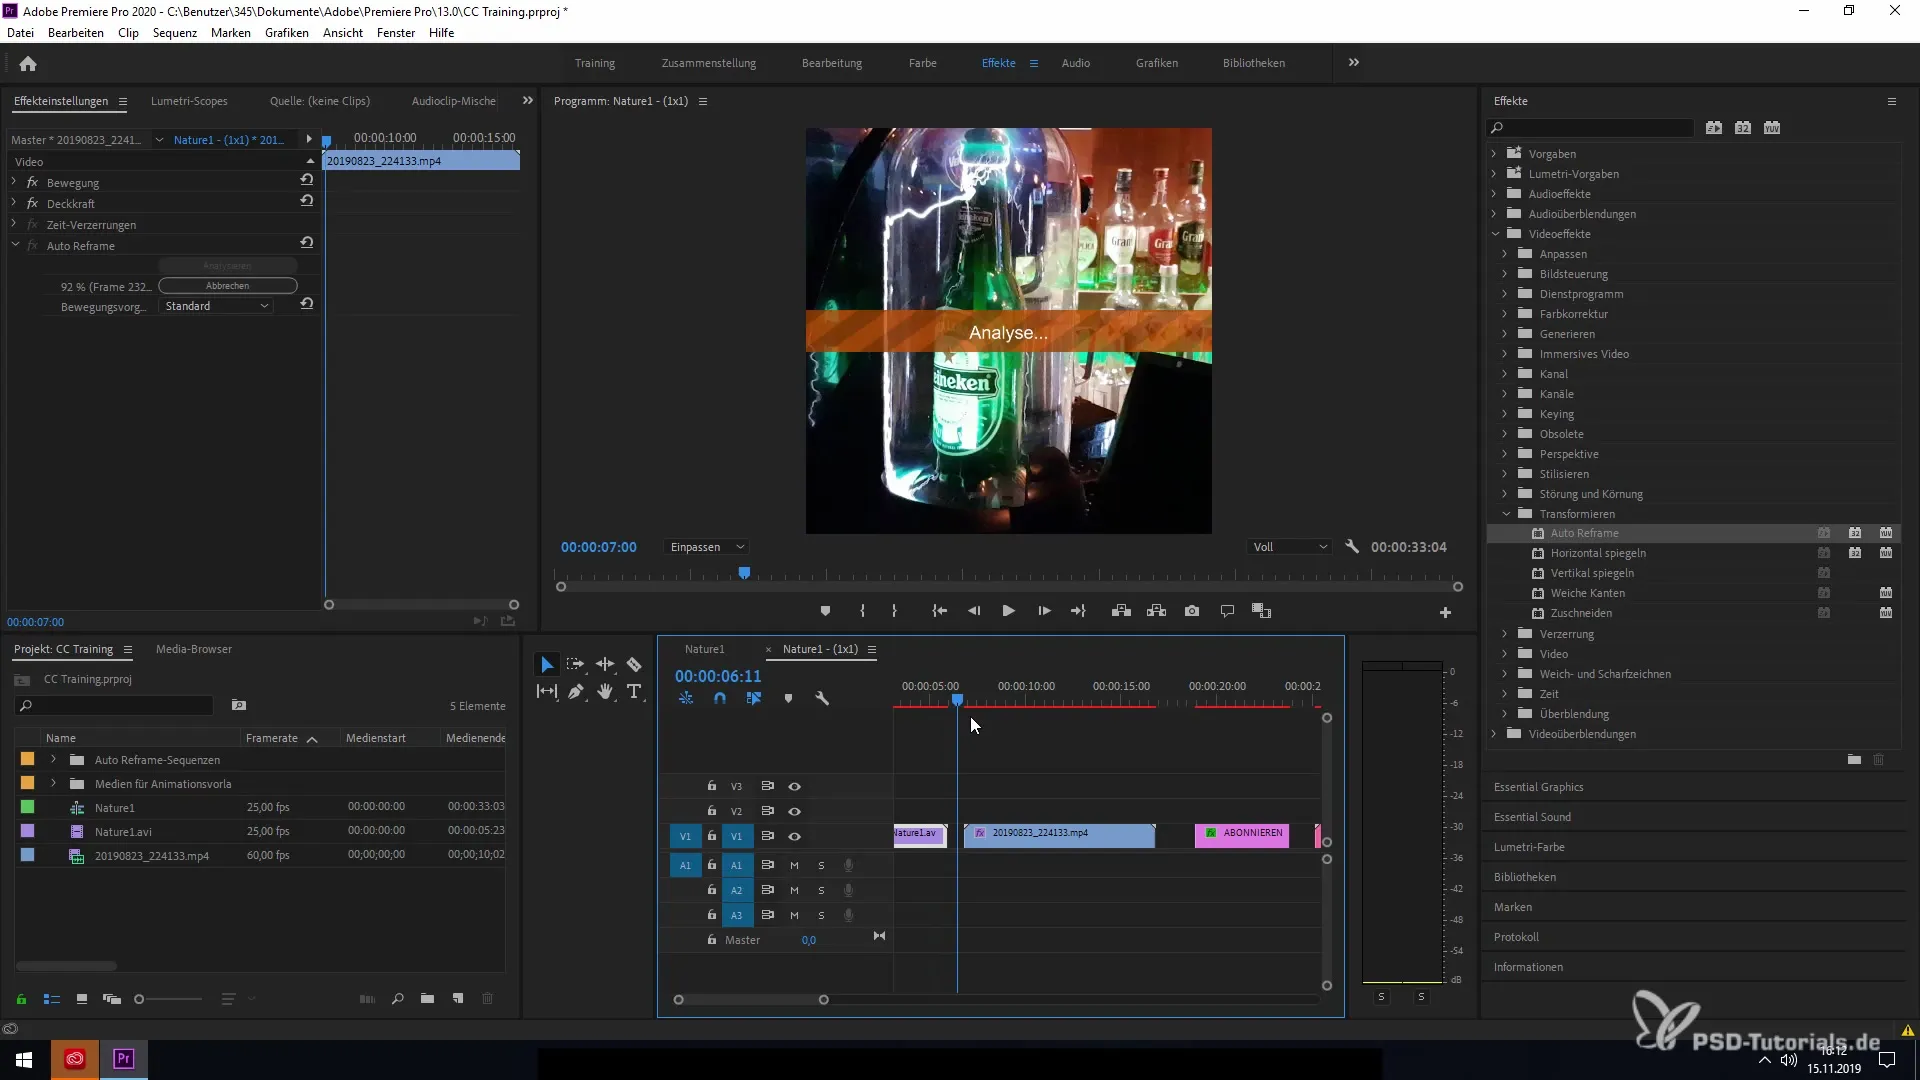
Once the analysis is complete, you'll see how the central object is now positioned in the center of the image. This adjustment makes it easy to use your video across different platforms without losing valuable content.

Summary - Effectively Use Auto Reframe in Premiere Pro CC 2020
The Auto Reframe feature in Adobe Premiere Pro CC 2020 is a powerful tool that revolutionizes the adaptation of your videos to different formats. With just a few steps, you can quickly optimize your clips and ensure that essential content always stays in the frame.


