The freeform view in Adobe Premiere Pro CC 2019 revolutionizes the way you approach projects. With this new feature, you have the ability to organize your clips efficiently, brainstorm creatively, and make visual decision-making easier. In this guide, we delve into the various options that the freeform view offers you and show you how to make the most of it.
Main insights
- The freeform view allows for a flexible arrangement of your clips.
- You can display colors and metadata directly to improve clarity.
- The feature is excellent for sorting and comparing clips.
Step-by-step guide
Step 1: Accessing the freeform view
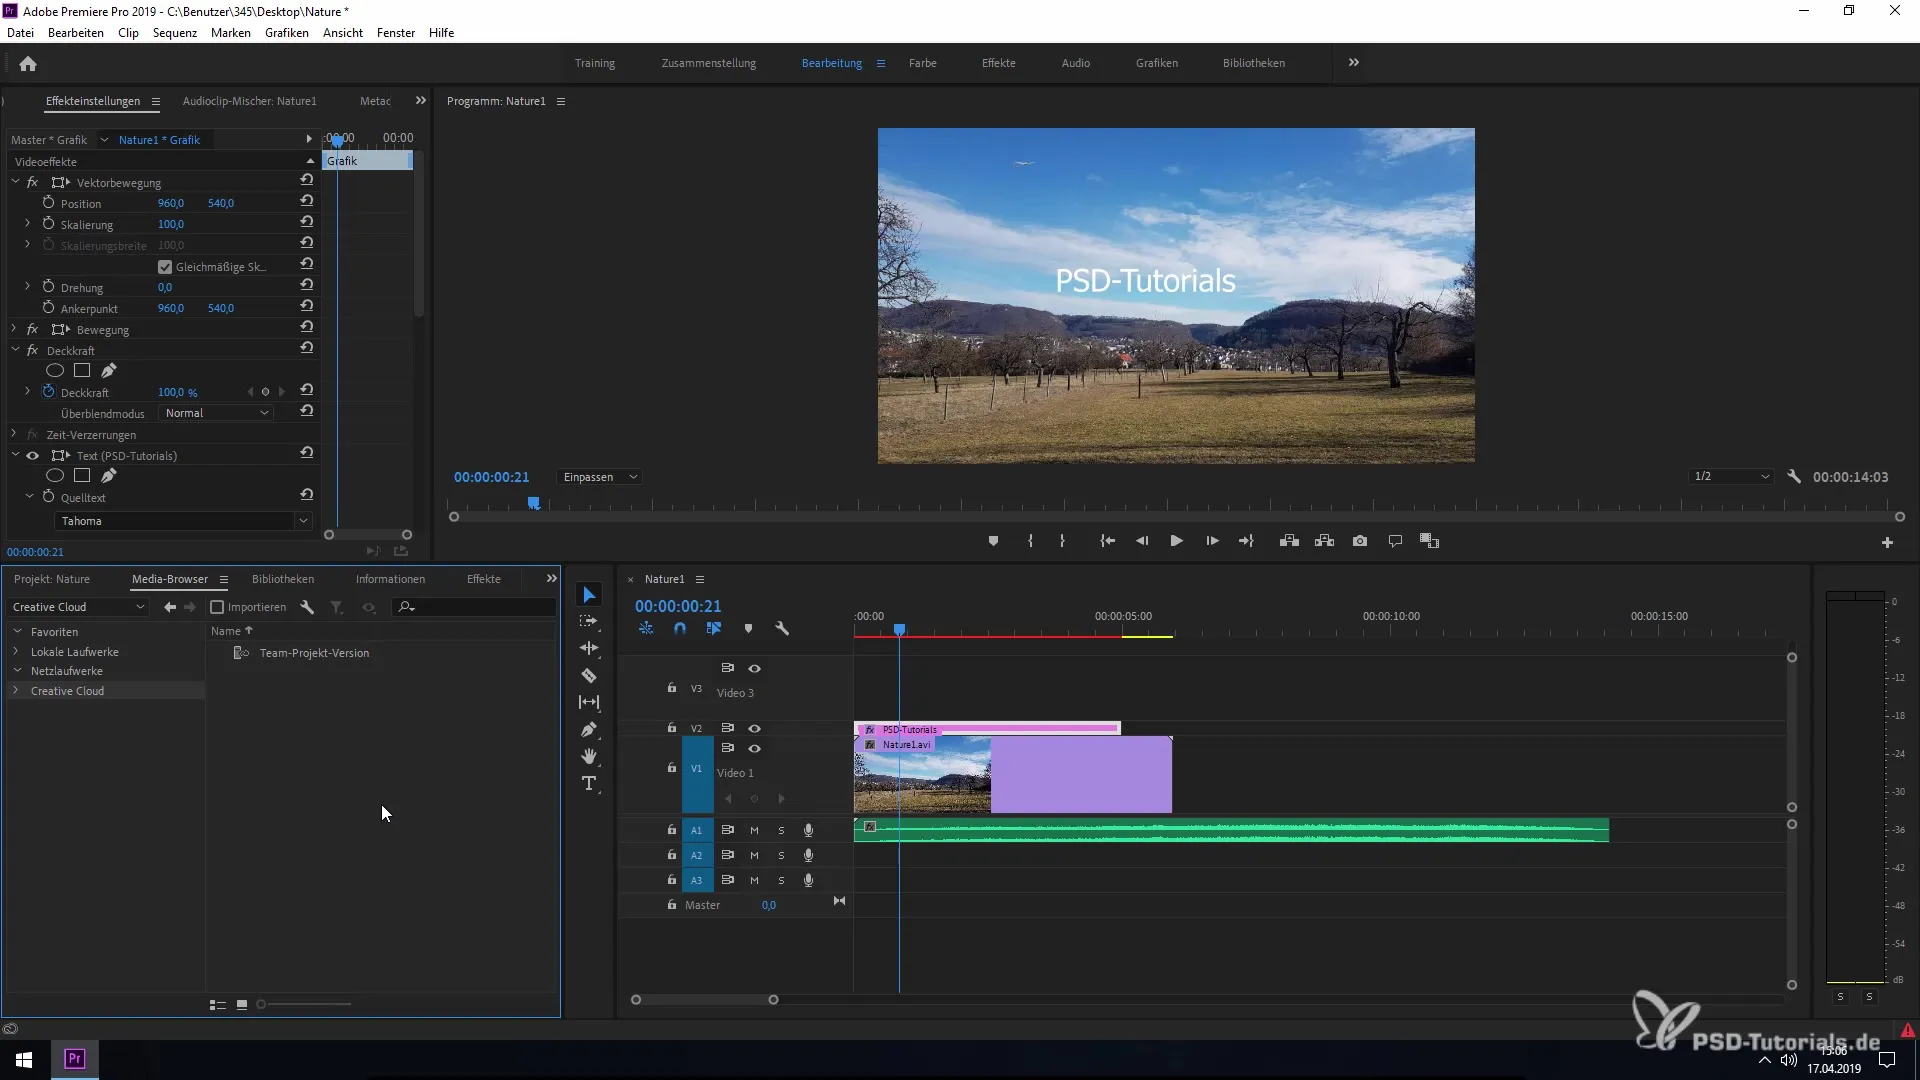
To activate the freeform view, click on the icon for the freeform view in the project window. You will notice that you now have a different layout space for your clips, giving you more creative freedom.
Step 2: Enlarging the freeform view window
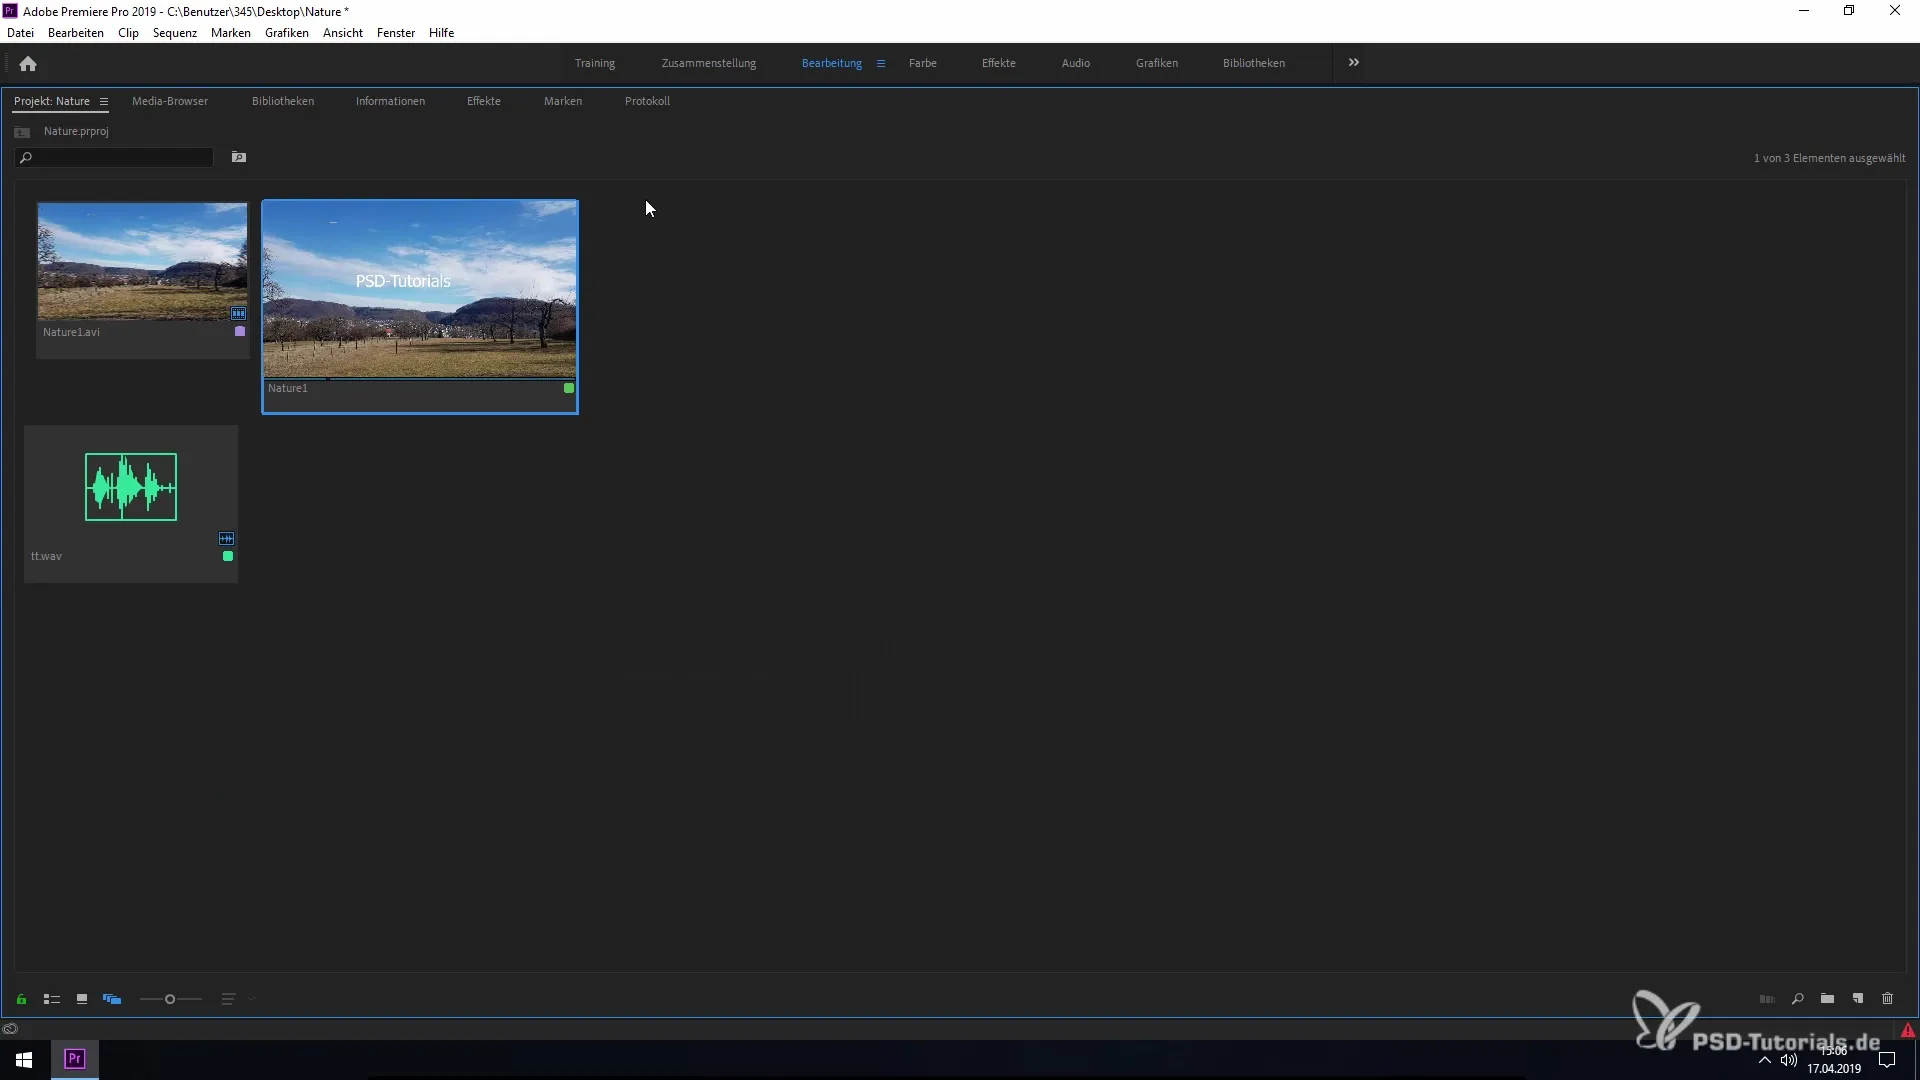
For a more detailed view of your clips, you can simply double-click on the freeform view window. This will expand the window, and you will have a better view of your media.
Step 3: Adjusting clip sizes
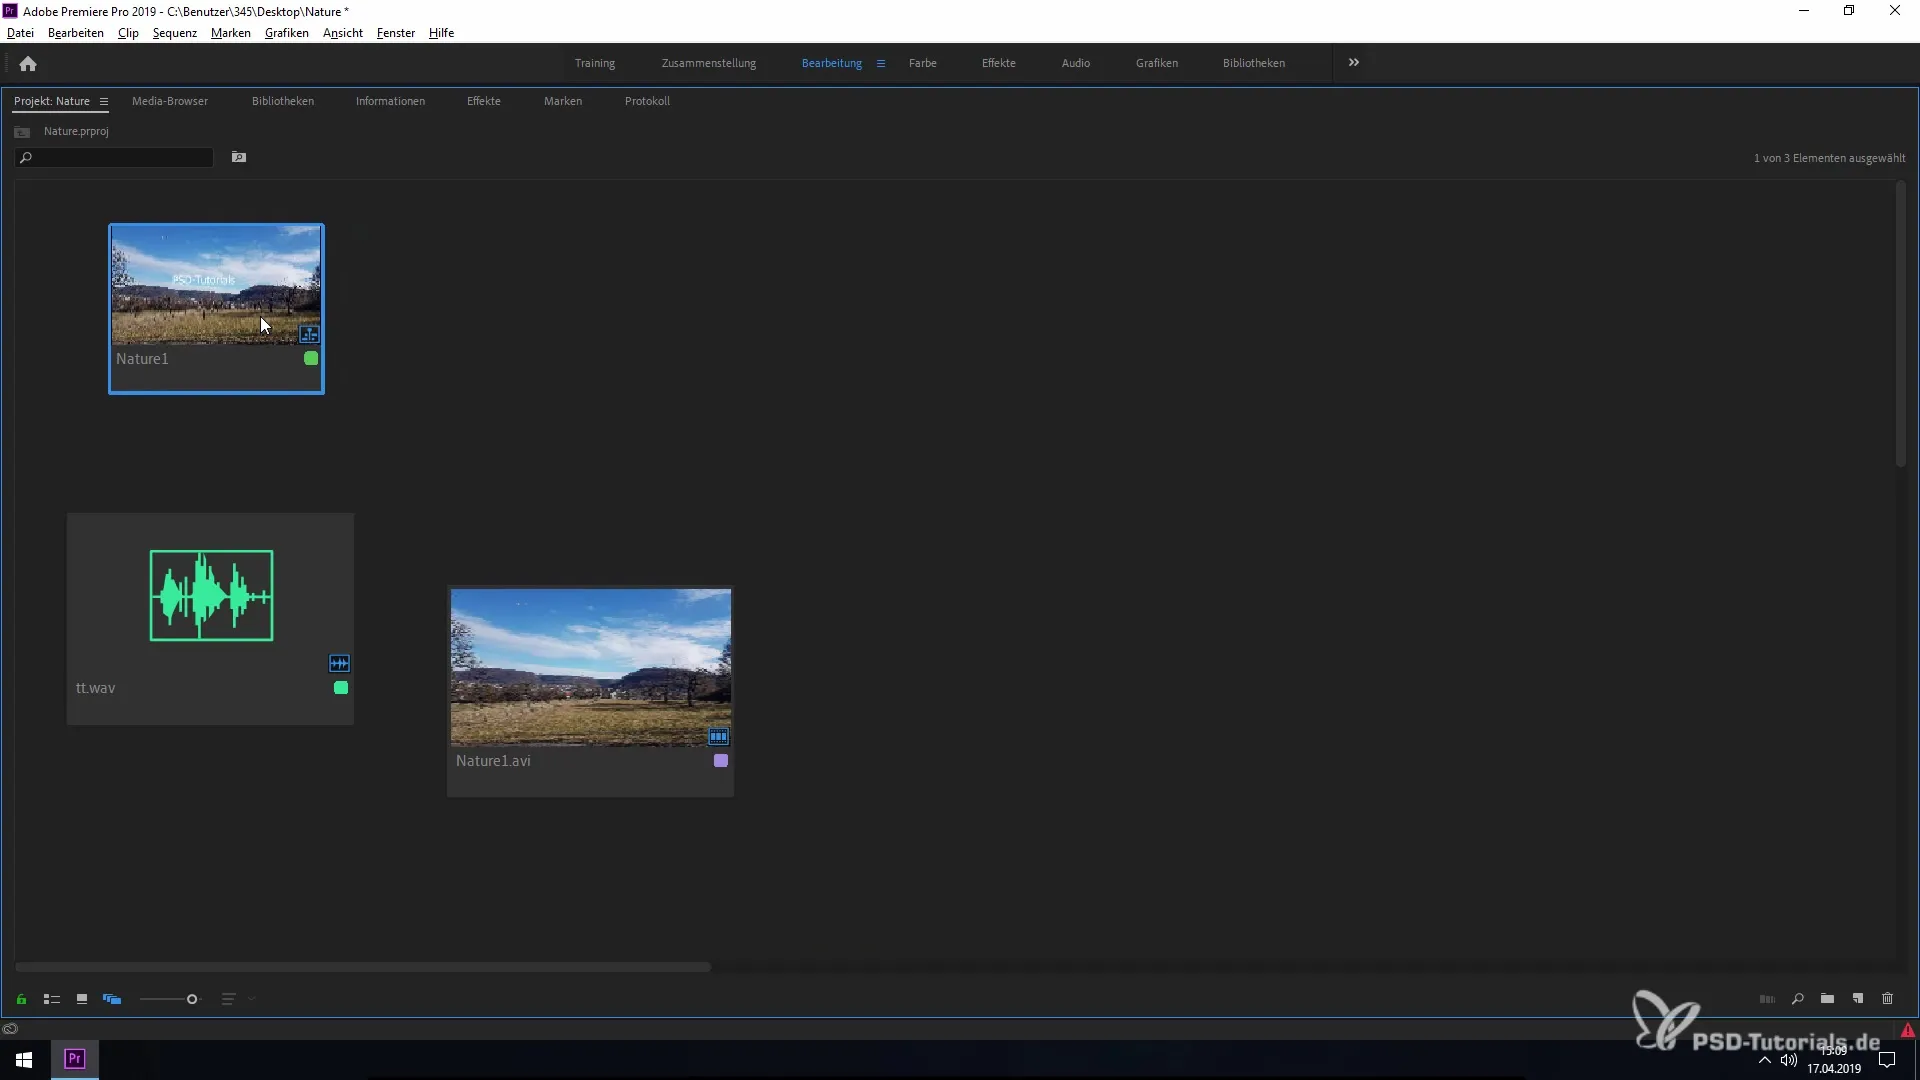
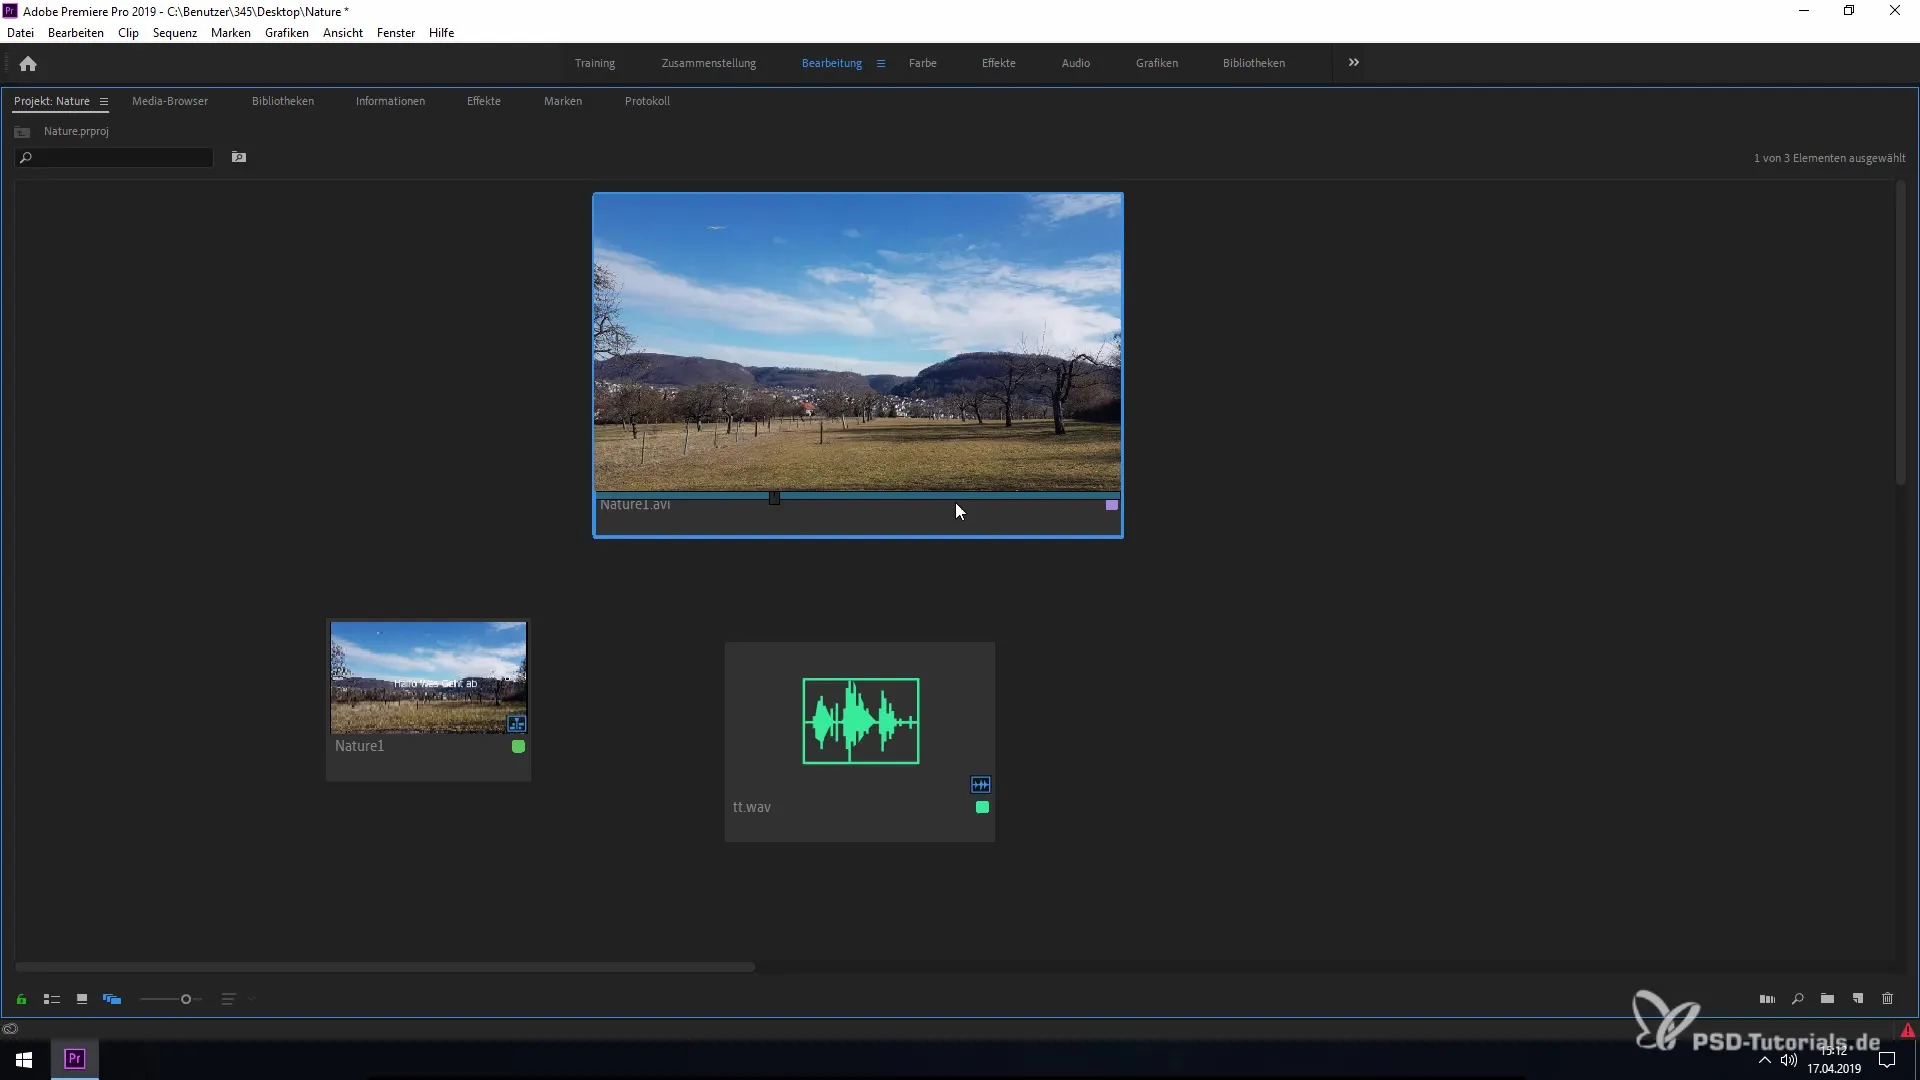
Another advantage of the freeform view is the ability to adjust the size of your clips. To do this, right-click on a clip and select the desired clip size. This allows you to decide how important a clip is and whether you want it displayed large or small.
Step 4: Using the snapping feature
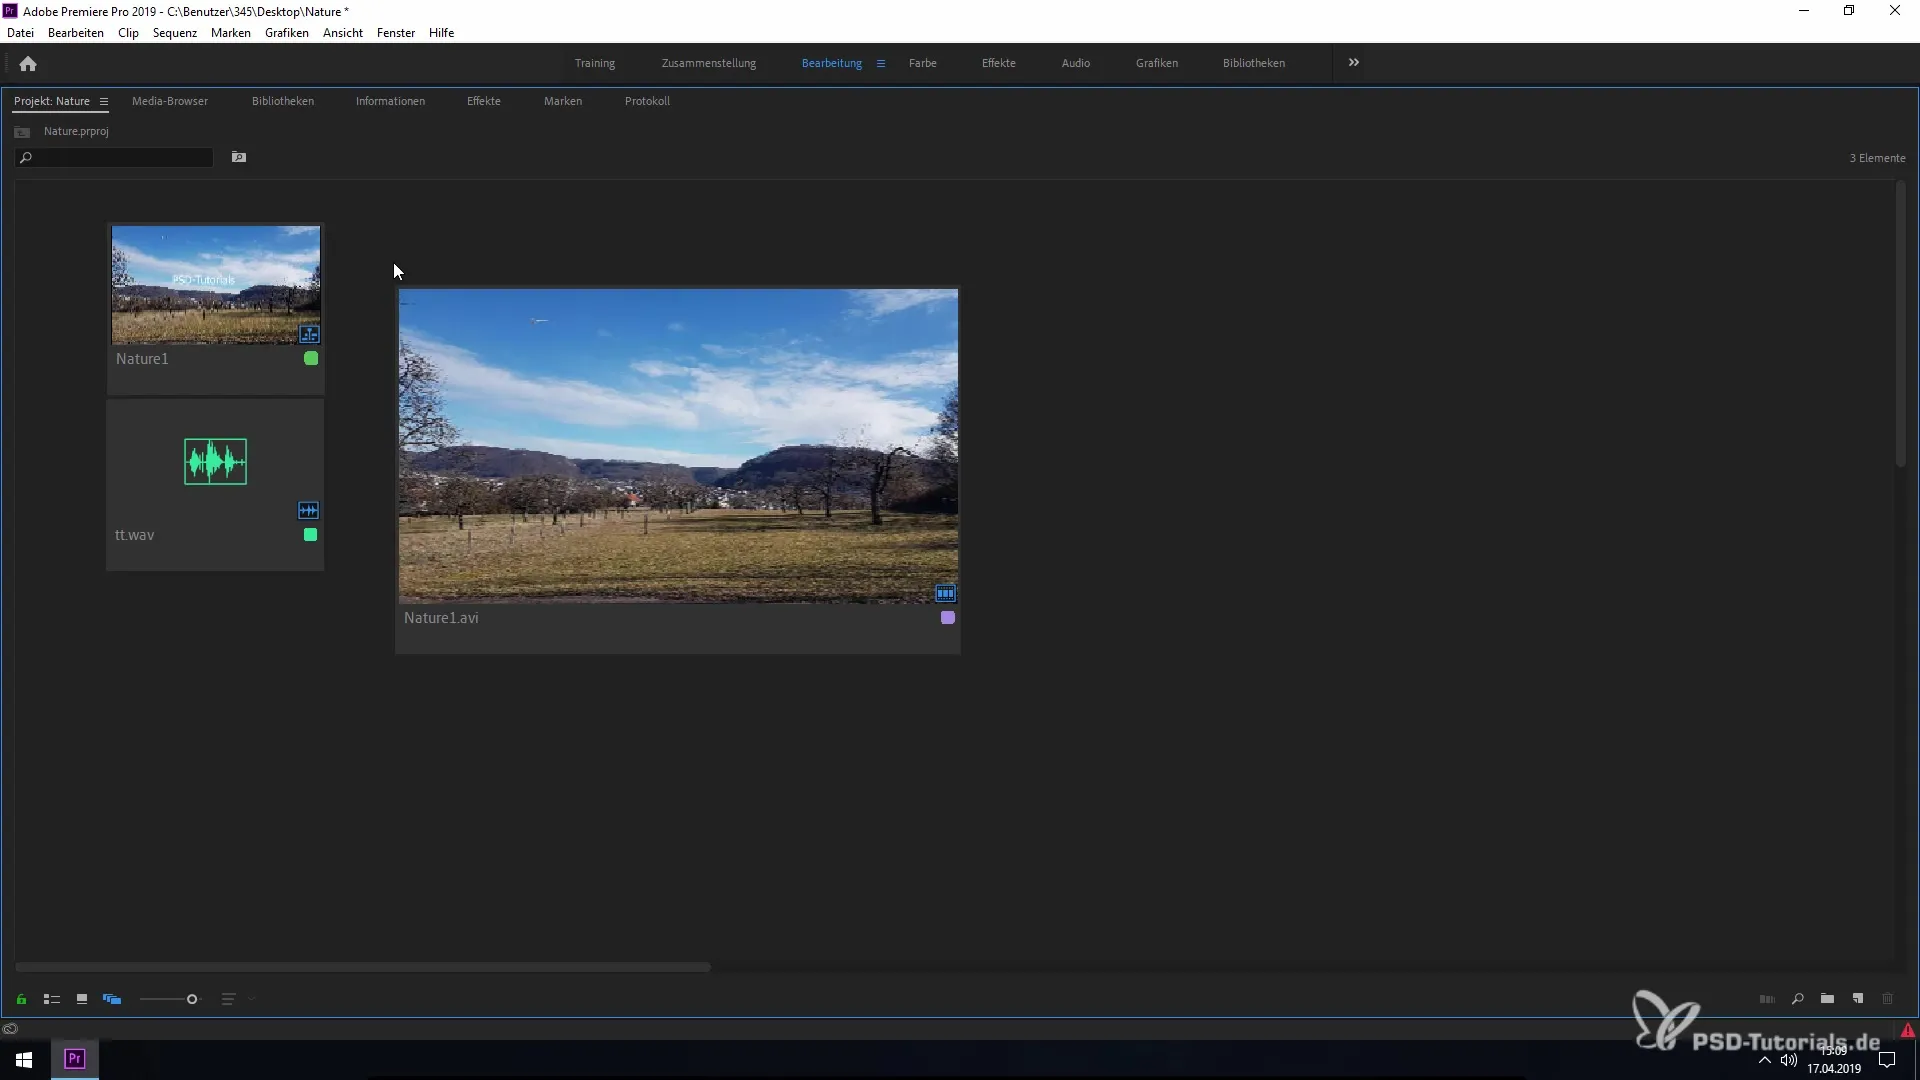
To better organize your clips, you can hold down the Alt key while dragging the clips together. This snapping function ensures that your clips always remain neat and tidy.
Step 5: Aligning clips to the grid
If you want to arrange your clips neatly, you can enable the grid alignment feature. Simply click on the clips and select "Align to Grid" from the menu. This helps you create a clear structure.
Step 6: Displaying colors and metadata
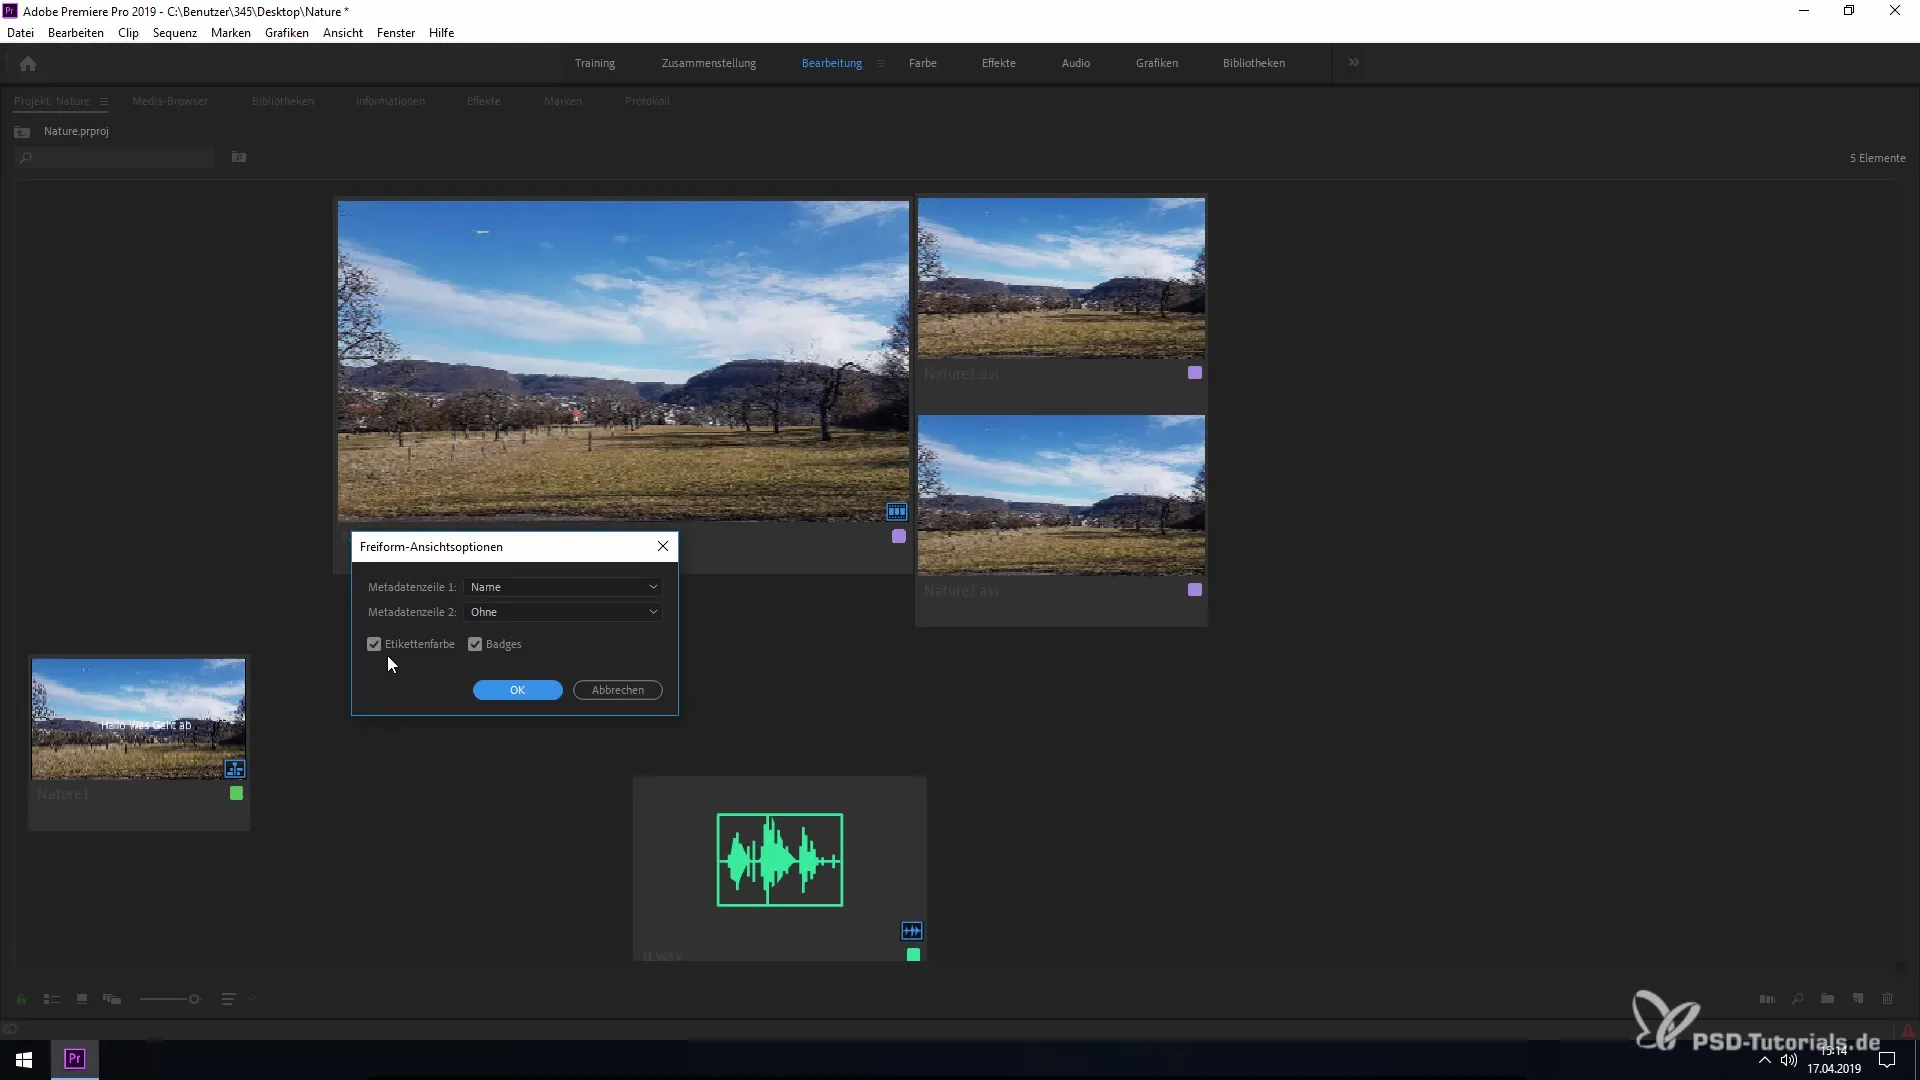
To further improve clarity, you can also enable colors and metadata for your clips in the freeform view options. To do this, click on the hamburger menu and then on "Freeform Configuration Options." This way, you can see important information like the frame rate at a glance.
Step 7: Comparing and copying clips
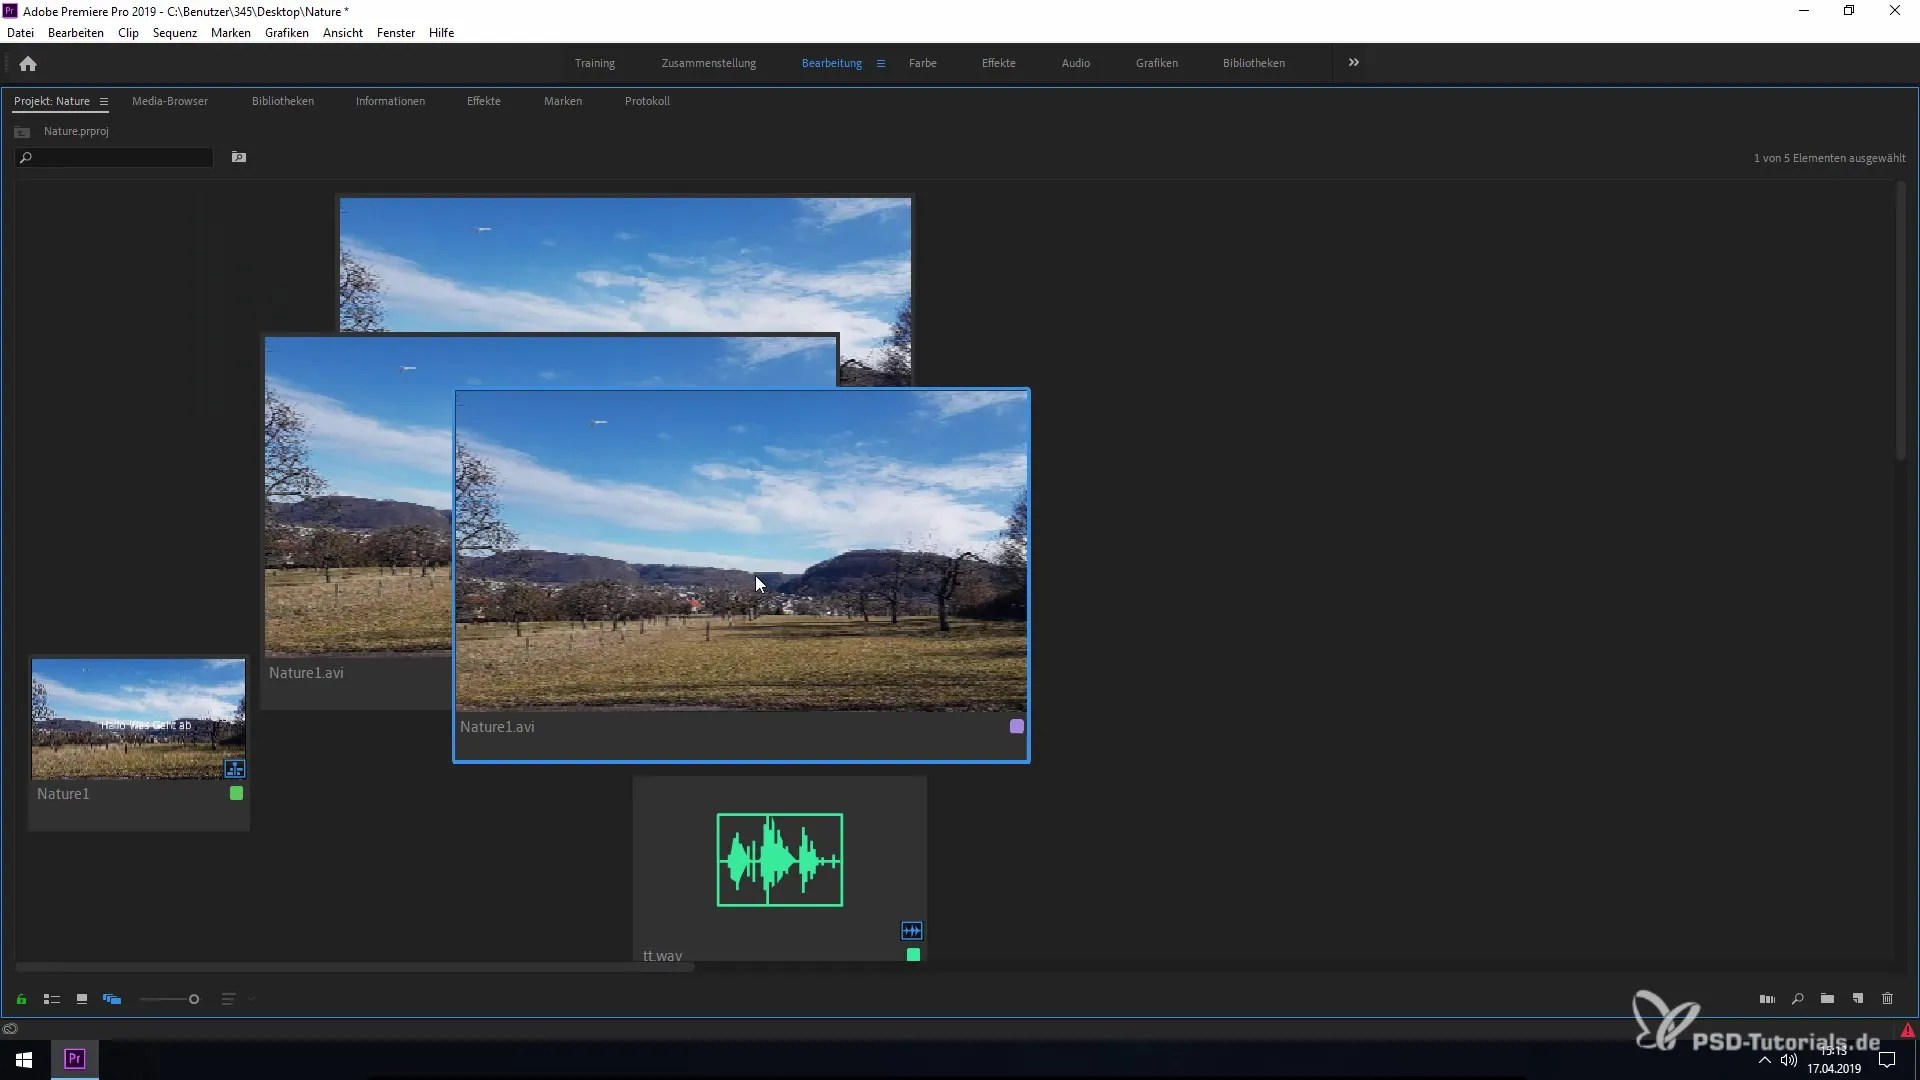
A useful feature is copying and comparing clips. Hold down the CTRL key to copy clips. This allows you to place multiple versions of a clip side by side and compare different scenes.
Step 8: Organizing and feeding projects
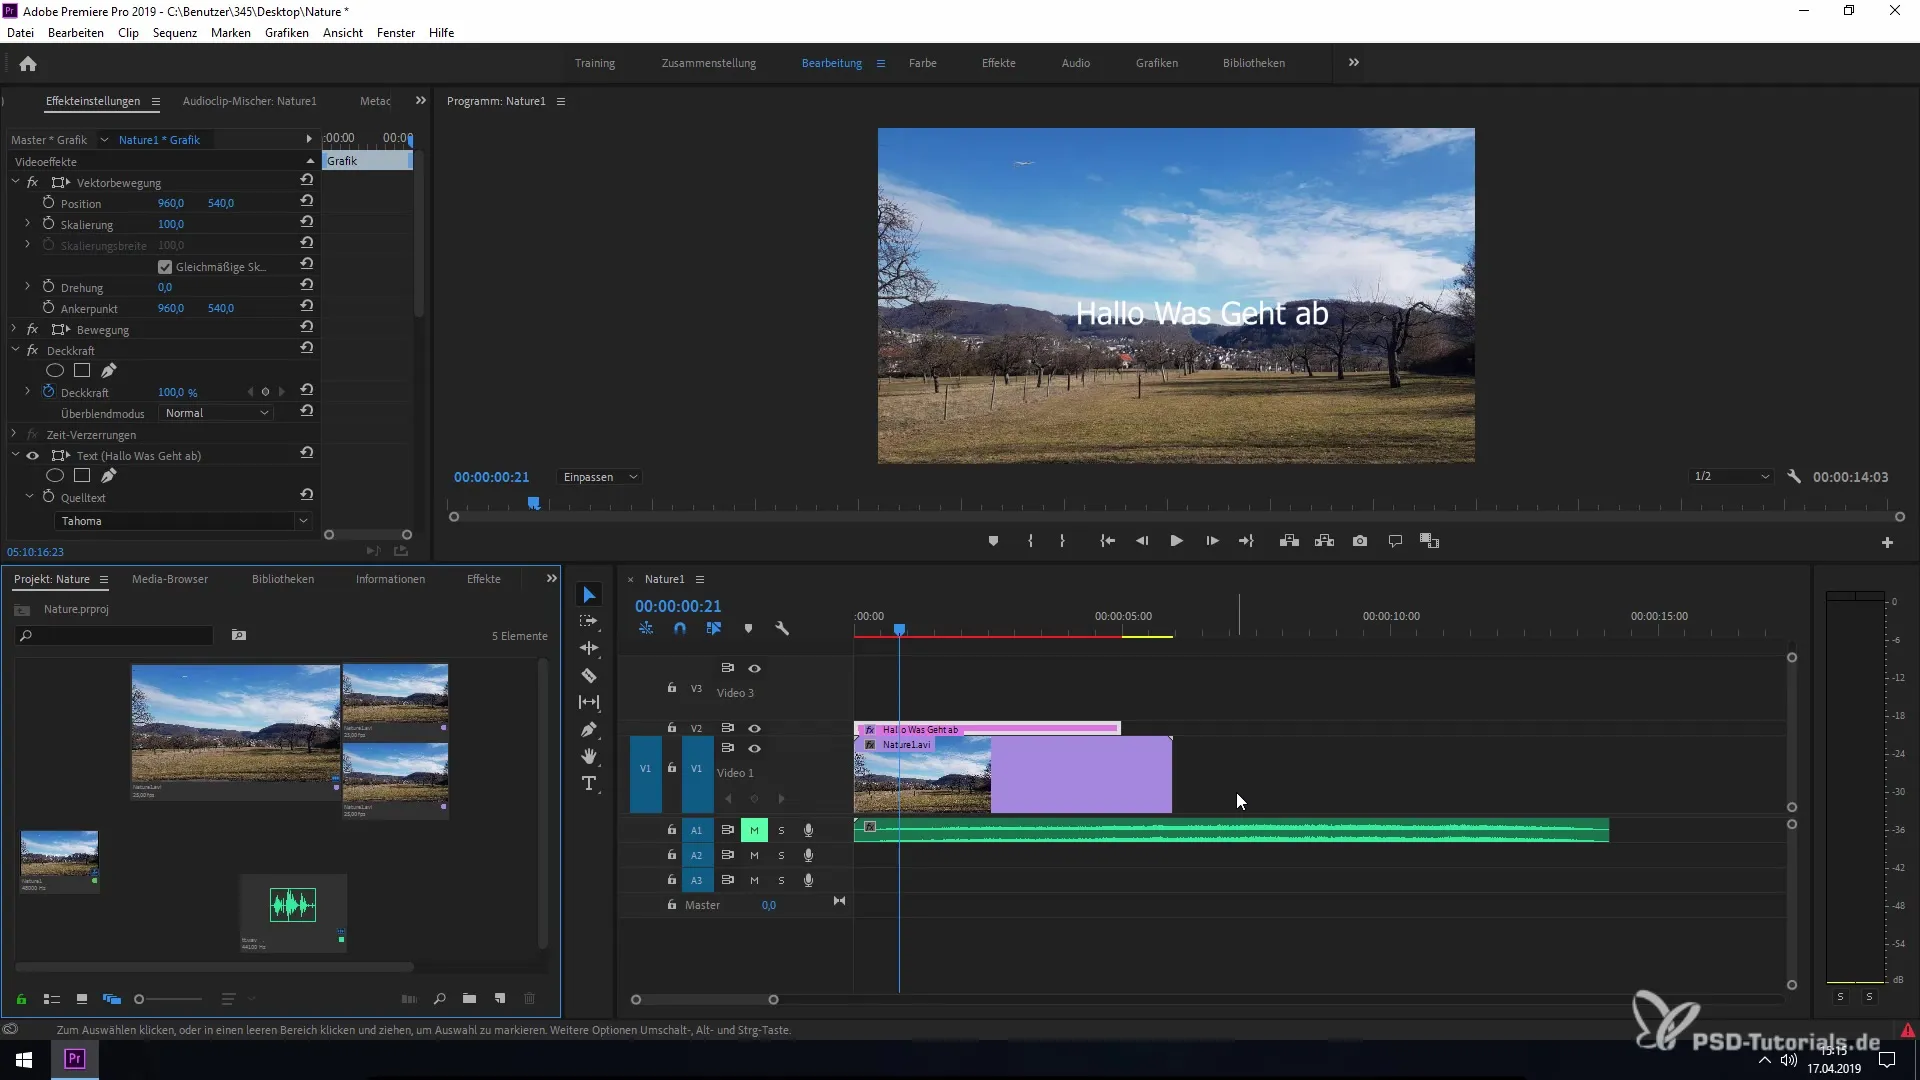
With the freeform view, you can now arrange your clips in a logical order. Once everything is prepared, drag the clips into the project window and start editing. Here, clarity ensures you can work more efficiently.
Summary – Freeform view in Premiere Pro CC 2019
The freeform view in Premiere Pro is a powerful tool that helps you organize your projects and edit more efficiently. By adjusting the clip sizes, arranging in a grid, and displaying metadata, you make creative work simpler and more accessible. Experiment with the features and discover how you can further optimize your projects.
Frequently asked questions
How do I activate the freeform view in Premiere Pro CC 2019?You can activate the freeform view by clicking on the corresponding icon in the project window.
Can I adjust the clip sizes?Yes, by right-clicking on the clip, you can set the size according to your needs.
What does snapping mean in Premiere Pro?Snapping allows you to align clips precisely next to each other by holding down the Alt key.
Can I compare clips?Yes, by holding down the CTRL key, you can copy clips and compare them side by side.
How do I enable metadata display in the freeform view?To do this, go to the hamburger menu and select the freeform view options to make important information visible.

