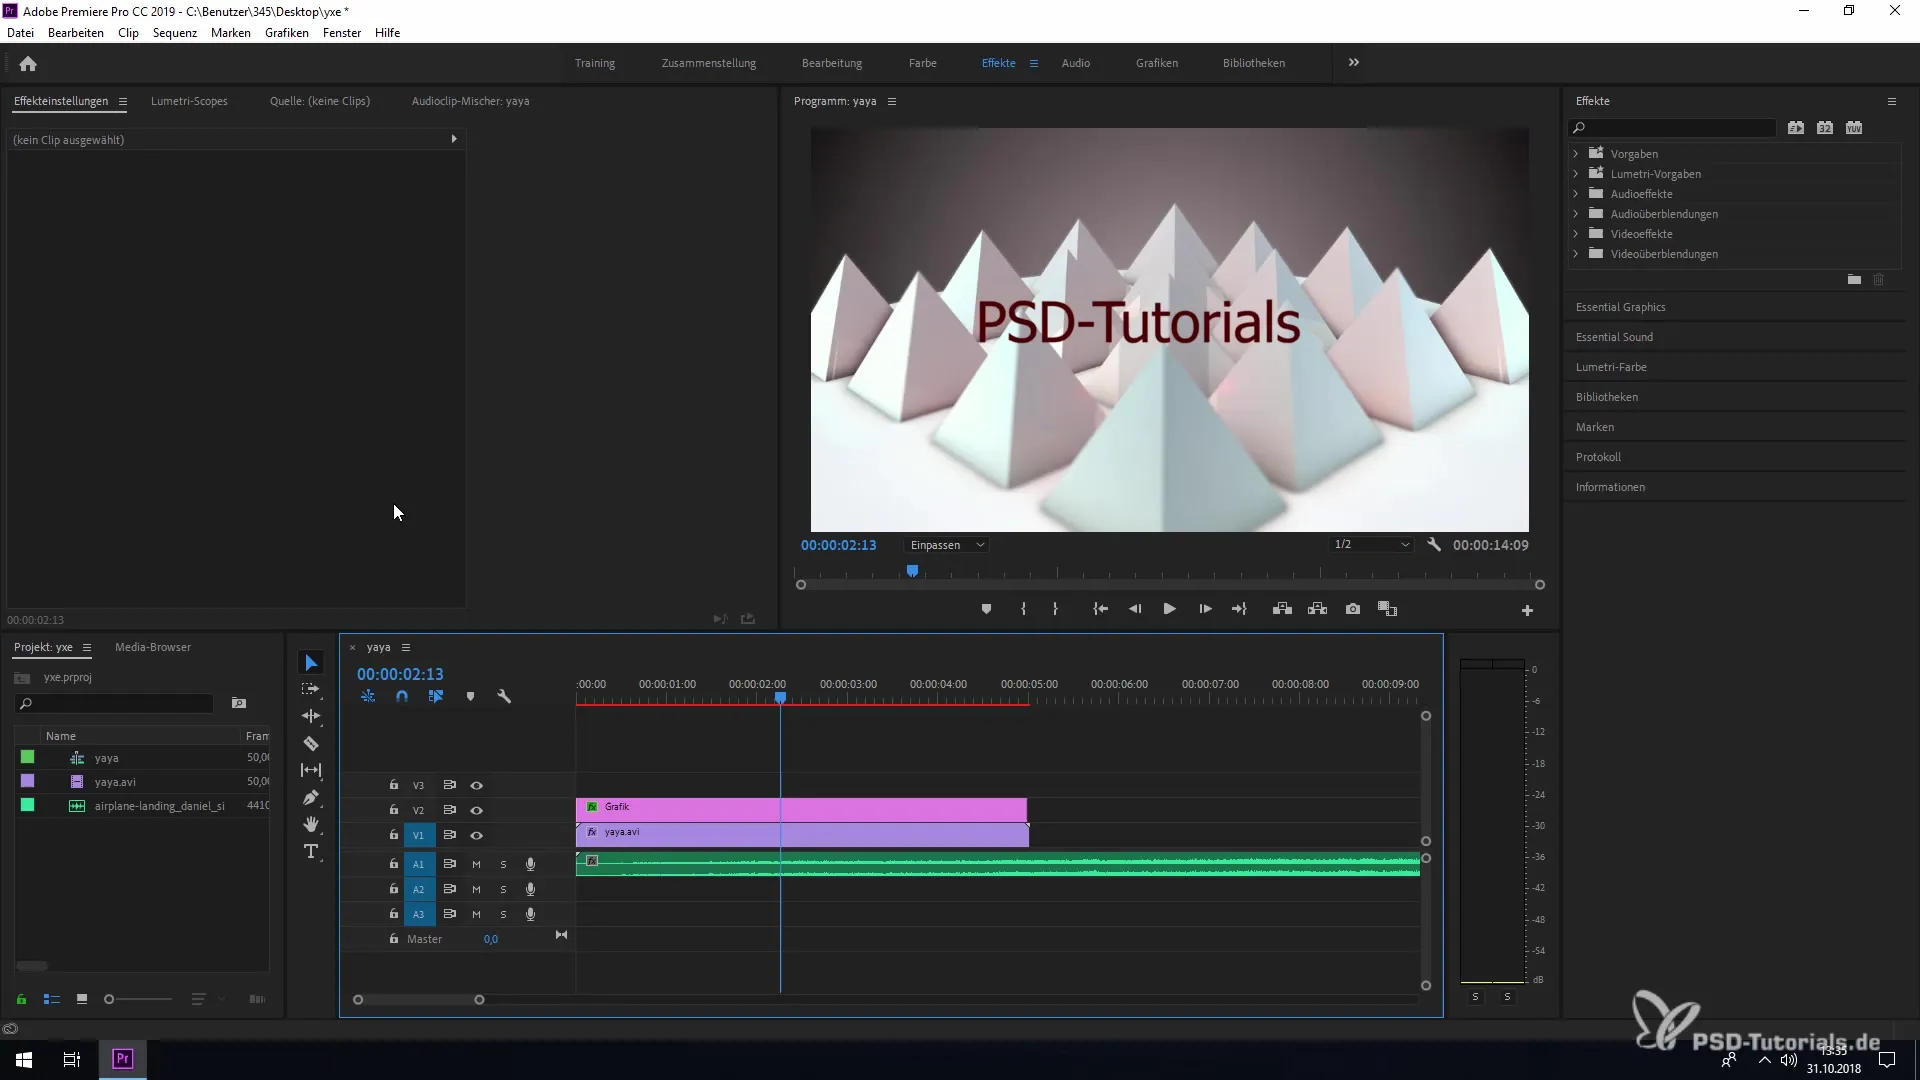
Vector graphics offer a variety of advantages, especially in film and video production. In Premiere Pro CC 2019, you can now use and work with texts and graphics as vectors, which significantly enhances your final product. With the introduction of vector motion, you experience a new dimension of visual quality that helps you achieve sharper and more professional results. Here you will learn step by step how to utilize the new features.
Key Insights
- Vector graphics avoid pixelation and provide better image clarity.
- The new vector motion allows precise adjustments to position, scaling, and rotation.
- You have the ability to set anchor points to make your graphic dynamic.
Step-by-step guide
Step 1: Insert vector graphic
First, you need to import a vector graphic into your project. You can do this by simply dragging and dropping the file into your project window. Make sure that the format you choose is supported by Premiere Pro. Once the file is imported, drag it onto the timeline.

Step 2: Apply the vector motion effect
To take advantage of vector motion, select the inserted graphic in the timeline. Then go to the effects window and look for the “Vector Motion” section. You will see a new set of controls available for you to adjust your graphic.
Step 3: Set position
Now you can adjust the position of your graphic. Click on the dropdown menu of vector motion and set the desired positioning values. This allows you to move the graphic horizontally and vertically without compromising image quality.
Step 4: Adjust scaling
A major advantage of vector motion is the ability to scale. You can change the size of your graphic without losing sharpness. Use the controls to either maintain uniform scaling or to adjust width and height separately.
Step 5: Add rotation
If you want your graphic to rotate, you can also use the rotation function of vector motion. This allows you to add sophisticated animations directly into your project without compromising the quality of your graphics.
Step 6: Set anchor points
One of the most advanced features of vector motion is the ability to set anchor points. These points are independent of the position coordinates and allow for detailed adjustments. This gives you the freedom to personalize the movements of your graphic and create more creative projects.
Step 7: Review animation
After making all adjustments, you should play back your project to check if everything works as desired. Ensure that the graphics are still displayed sharp and precise.
Summary - Guide to editing and converting vector graphics in Premiere Pro CC 2019
You have now learned the basics of editing and converting vector graphics in Premiere Pro CC 2019. These new possibilities allow you to create impressive and high-quality videos. Use vector motion to unlock the full potential of your graphics and elevate your projects to the next level.
Frequently Asked Questions
How do I insert a vector graphic into my project?Drag & Drop the vector graphic into the project window and drag it onto the timeline.
What is vector motion?Vector motion is a new feature in Premiere Pro that allows you to animate vector graphics without sacrificing quality.
How can I change the position of a graphic?Select the graphic, go to the vector motion controls, and adjust the position in the dropdown menu.
What can I do with scaling?Scaling allows you to change the size of your graphic without losing sharpness.
How do I set anchor points in Premiere Pro?Anchor points can be set in the vector motion controls and provide you with extensive customization options.


