You are in the world of Adobe Premiere Pro CC 2014 and would like to have the latest options for designing texts? The integration of Adobe Typekit gives you access to a wide variety of high-quality fonts that you can directly use during your editing. In this guide, I will show you step by step how to use Typekit fonts in Premiere Pro CC 2014.
Main insights
- The Typekit integration allows you to use a variety of fonts within Premiere Pro CC 2014.
- You can access free and paid fonts and insert them directly into your project.
- Managing your fonts is simple and user-friendly.
Step-by-Step Guide
First of all, you should ensure that you have Adobe Premiere Pro CC 2014 open. Typekit support is integrated from this version onwards, allowing you easy access to different fonts.
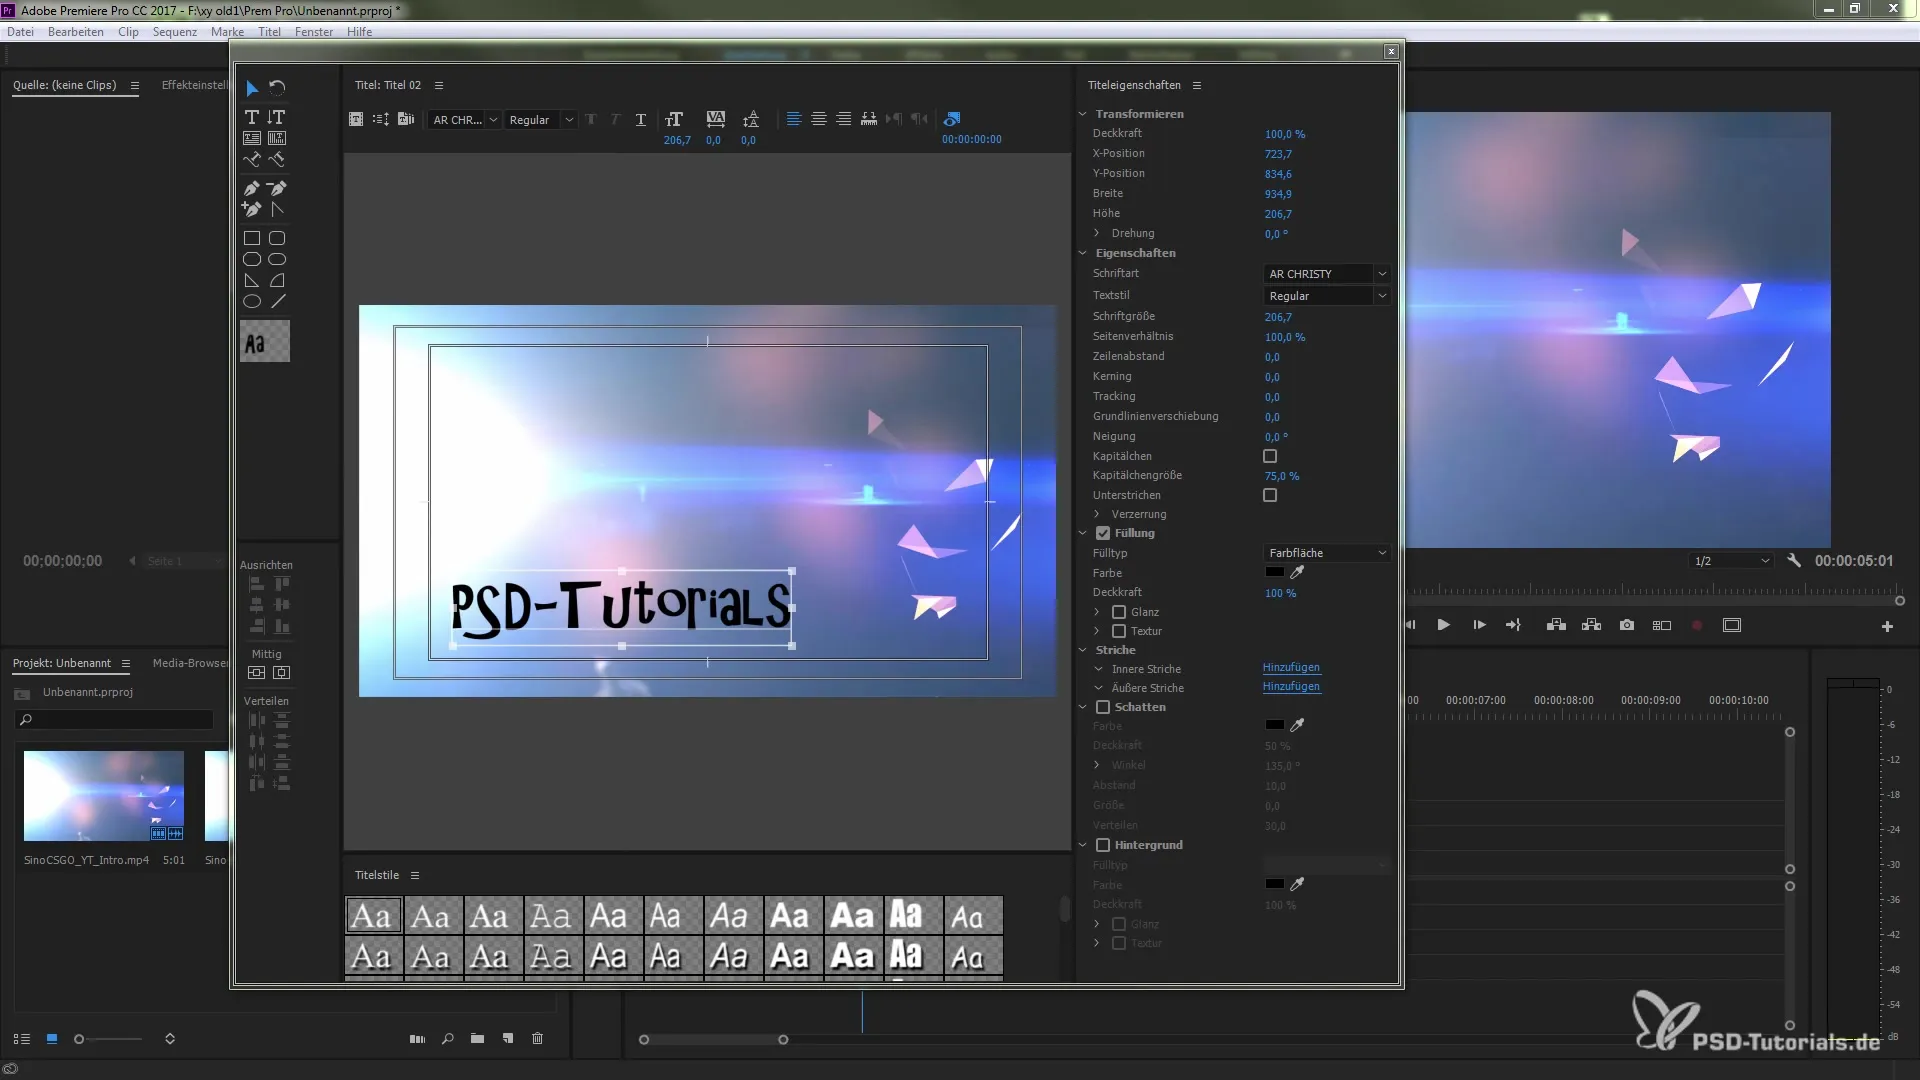
Do you want to create a title? To do this, go to the settings and select the option “New Object”. Here you can create the title and confirm it with “OK”. You now have the option to enter text, for example, “PSC Tutorials”.
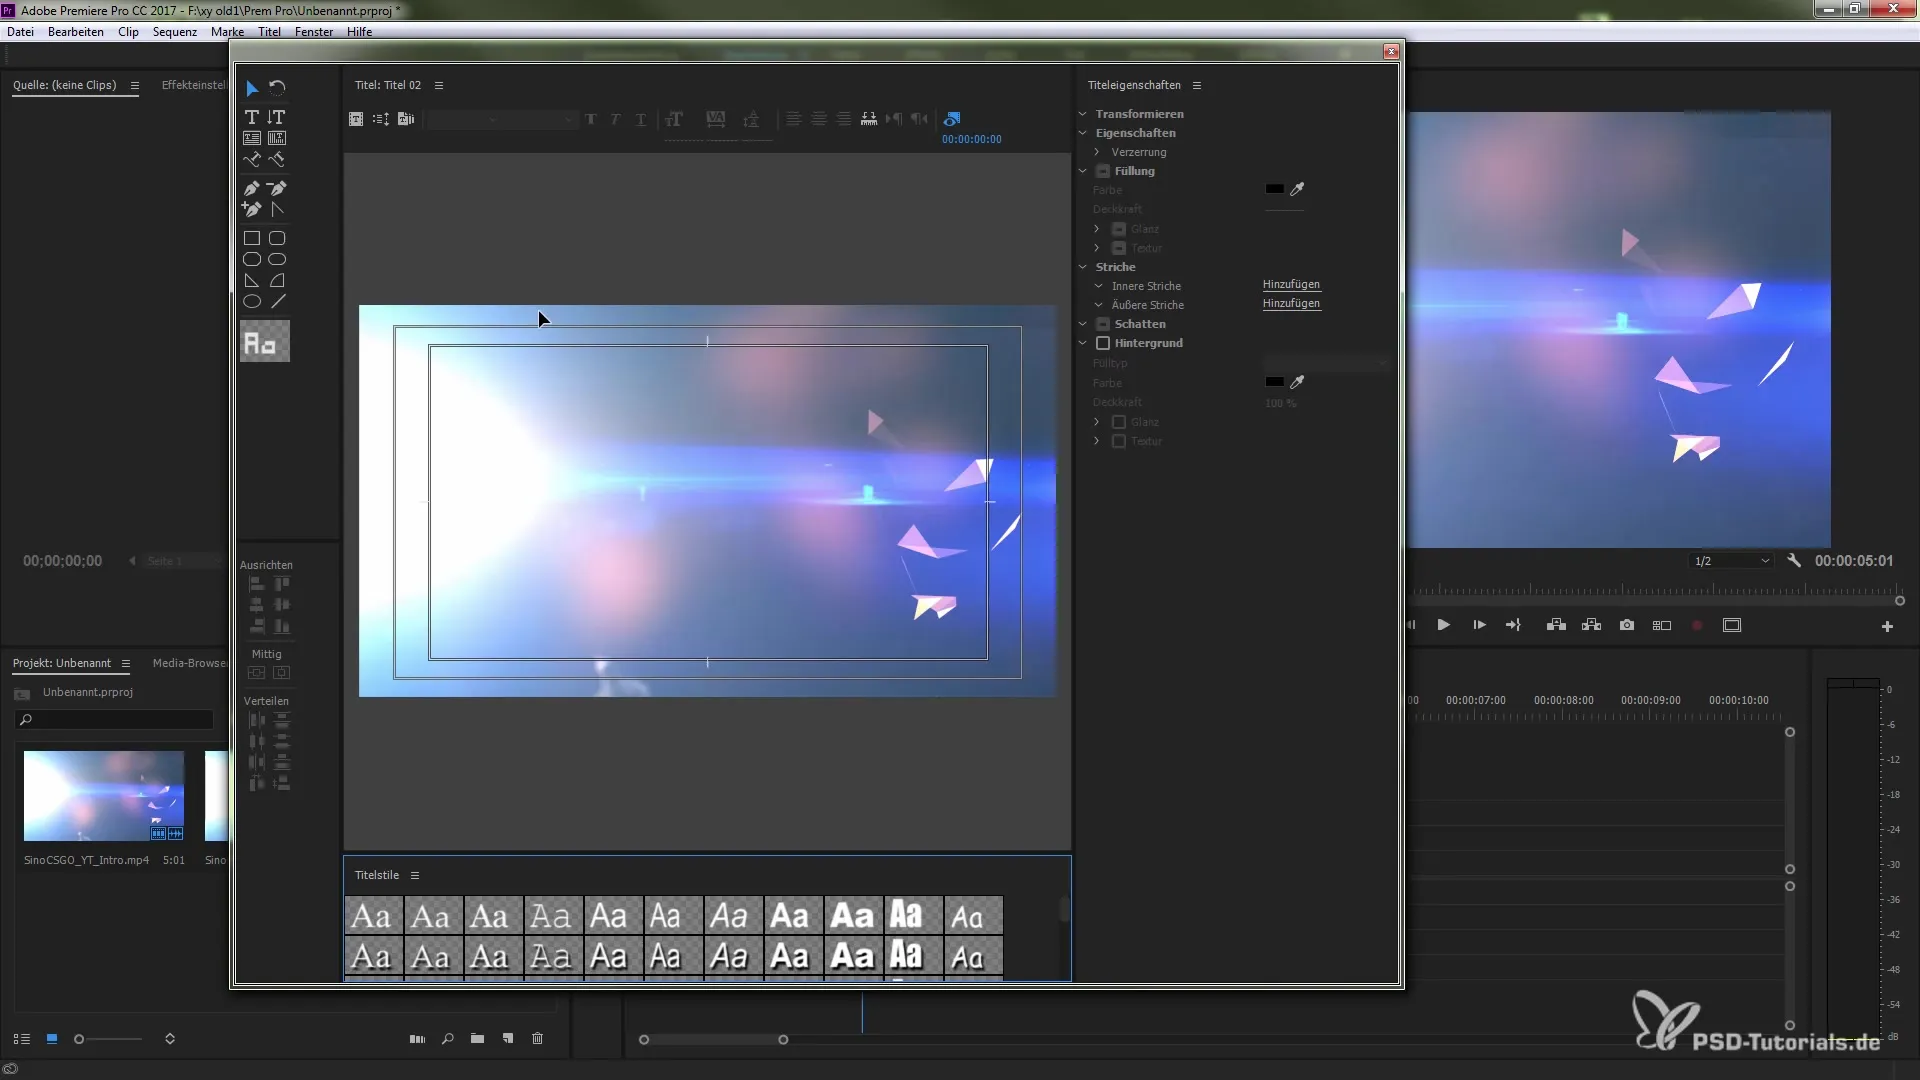
To edit the text, you can hold the Shift and Ctrl keys (or alternatively the Alt key) to adjust the font size. There are also options to make the text more readable. You can achieve this by adjusting the font, which you may not have had available before.
Now I want to show you how to add fonts from Typekit. To do this, simply click on “Window” and then on “Titles”. Here, you select the option “Add Fonts from Typekit”. A new window will open in your browser, where you can browse the available fonts.
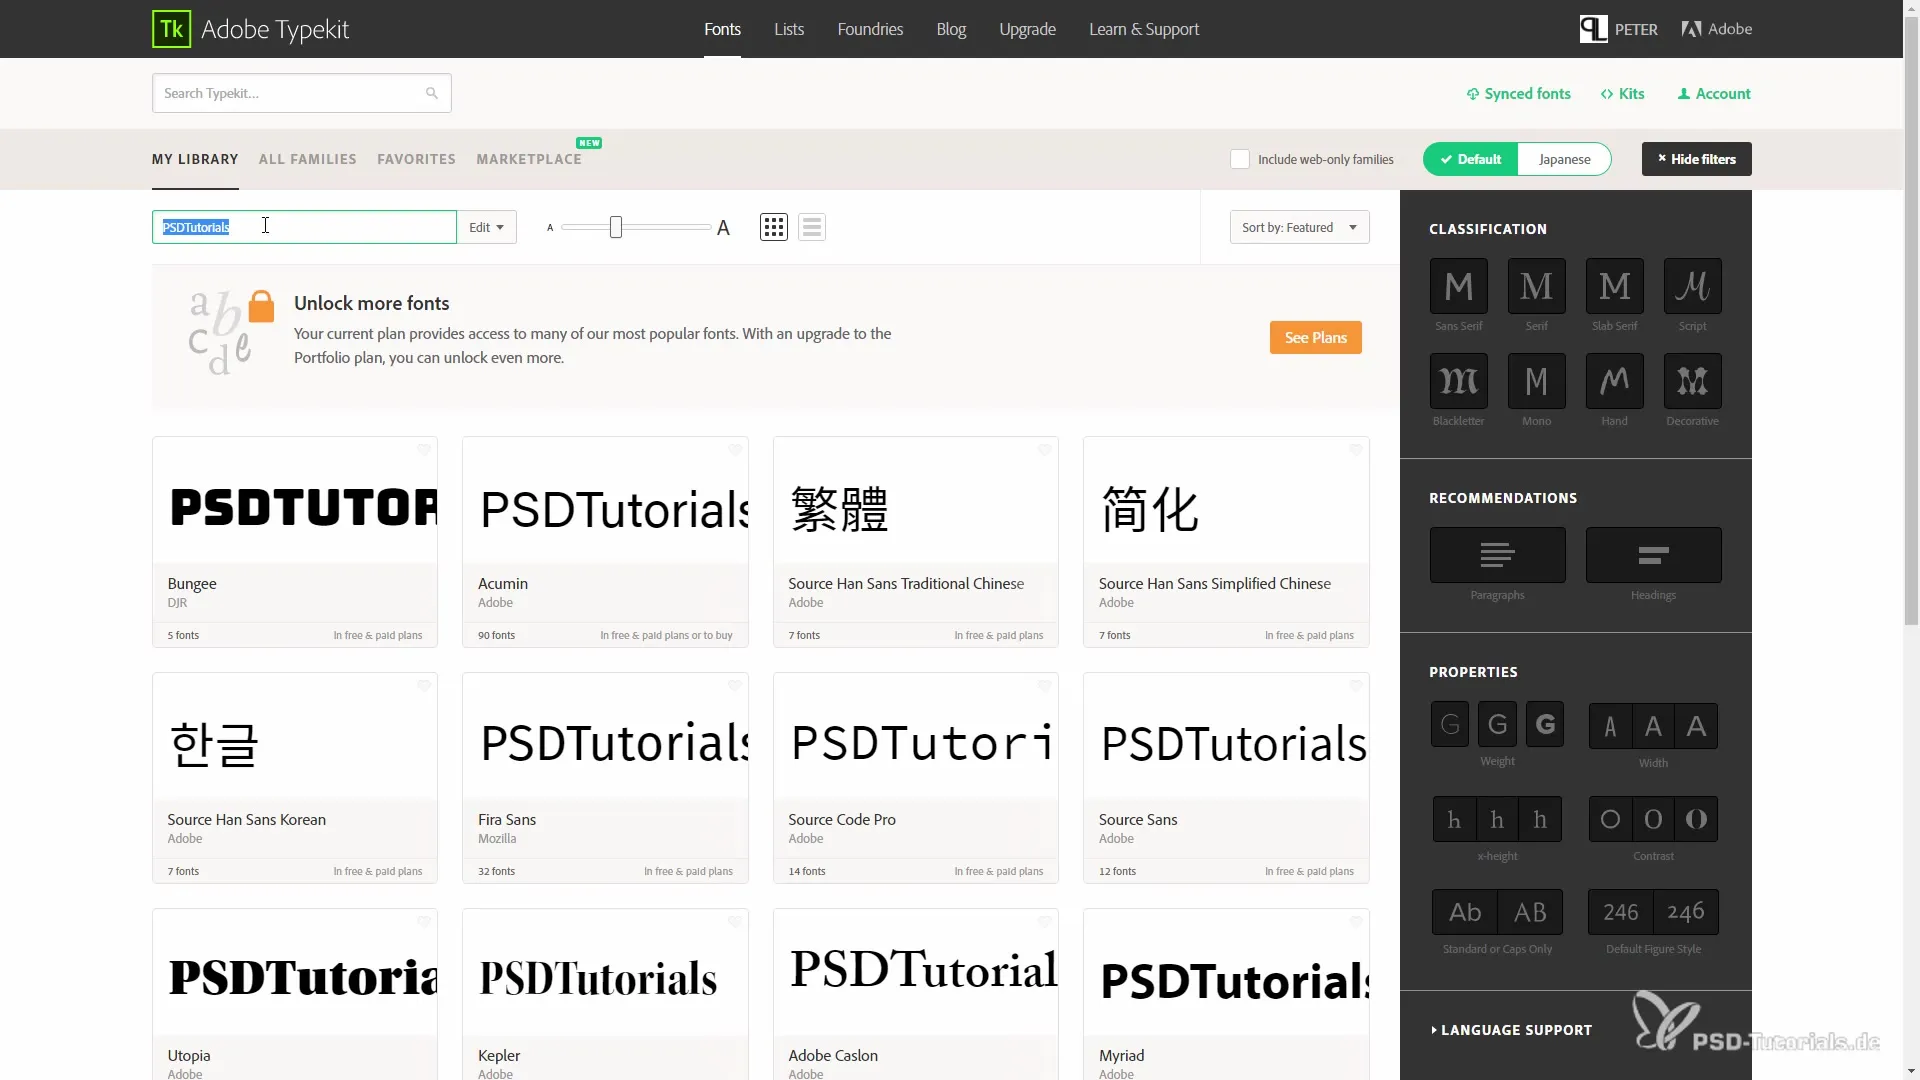
The Typekit offers you different categories of fonts. You have the option to filter the fonts by popularity or recommendations, and even make input settings. You can always preview the font by typing “PSC Tutorials” in the preview field. Here you can also enlarge or shrink the font.
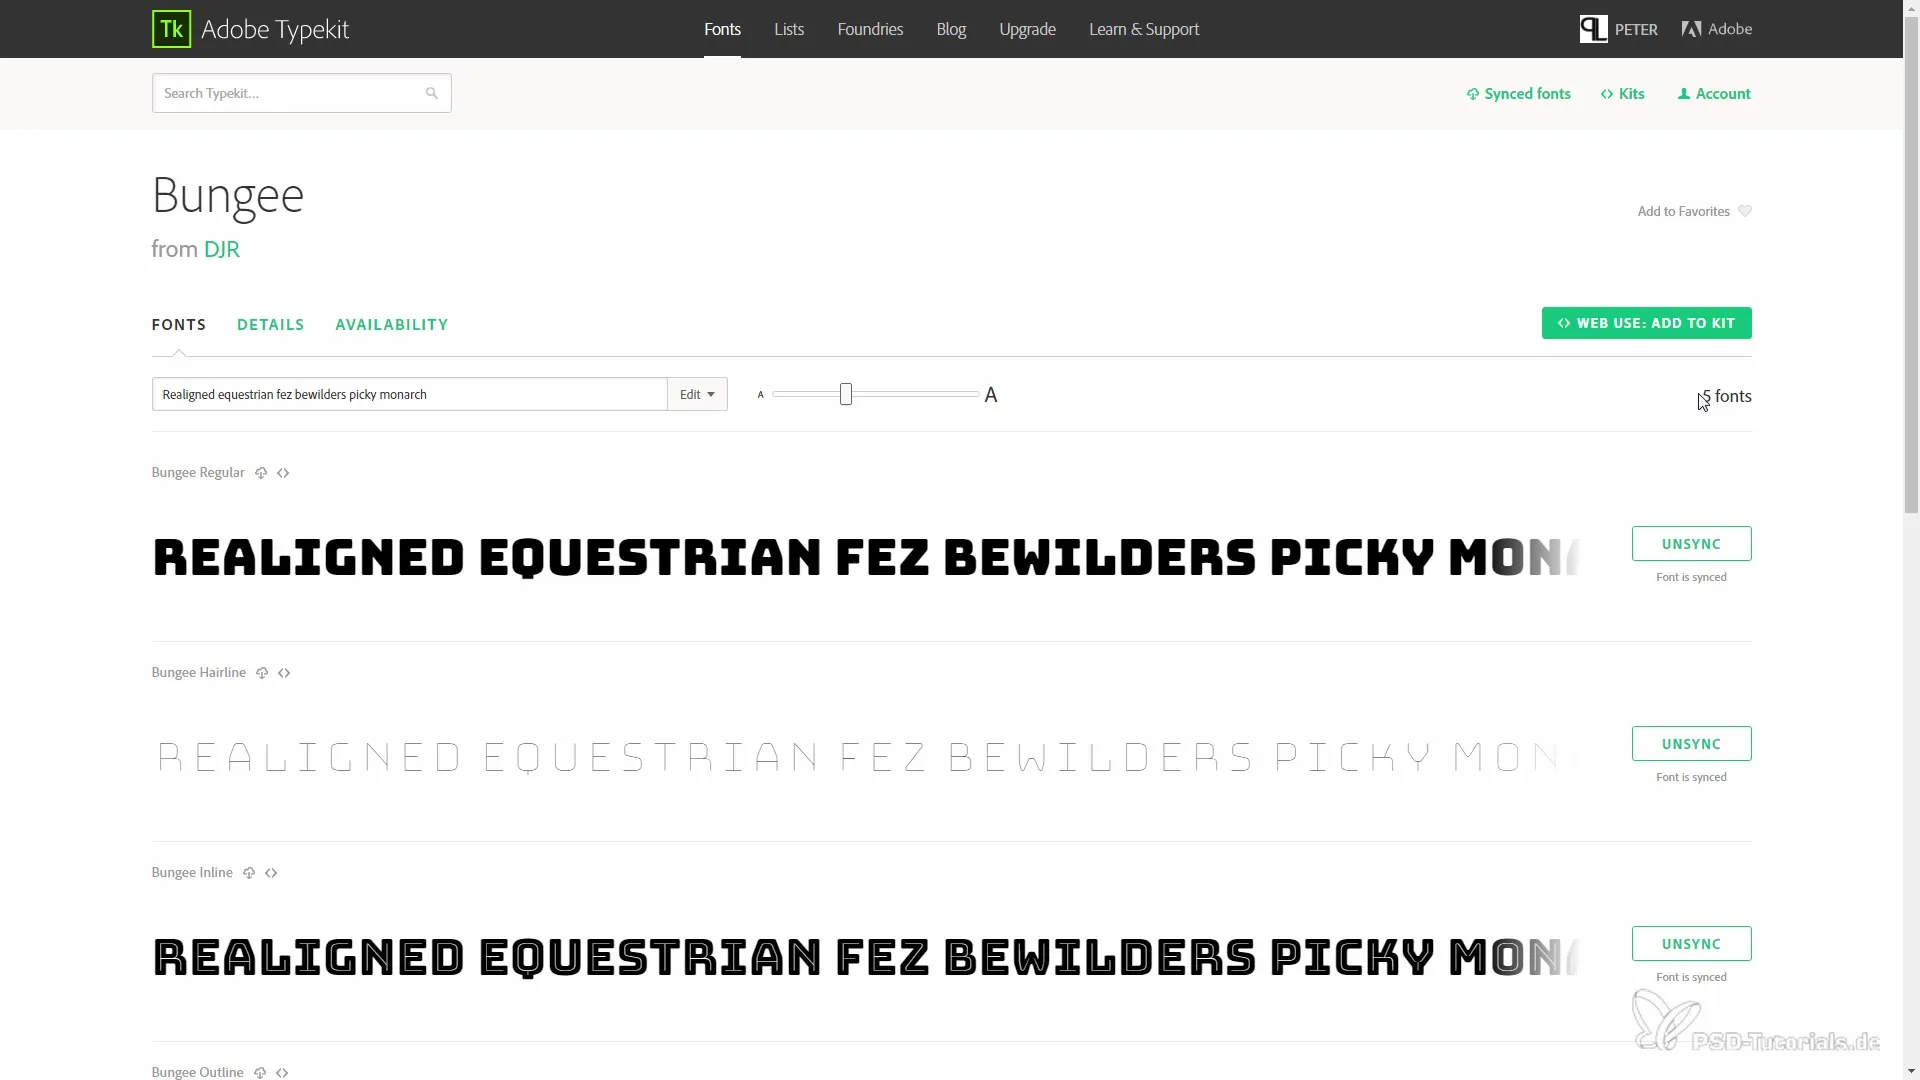
Did you find a font you like? Just click on it and on “Sync” to integrate it directly into your project. Don’t forget to check whether the font is available under your subscription plan. You need the font styles that are accessible to you.
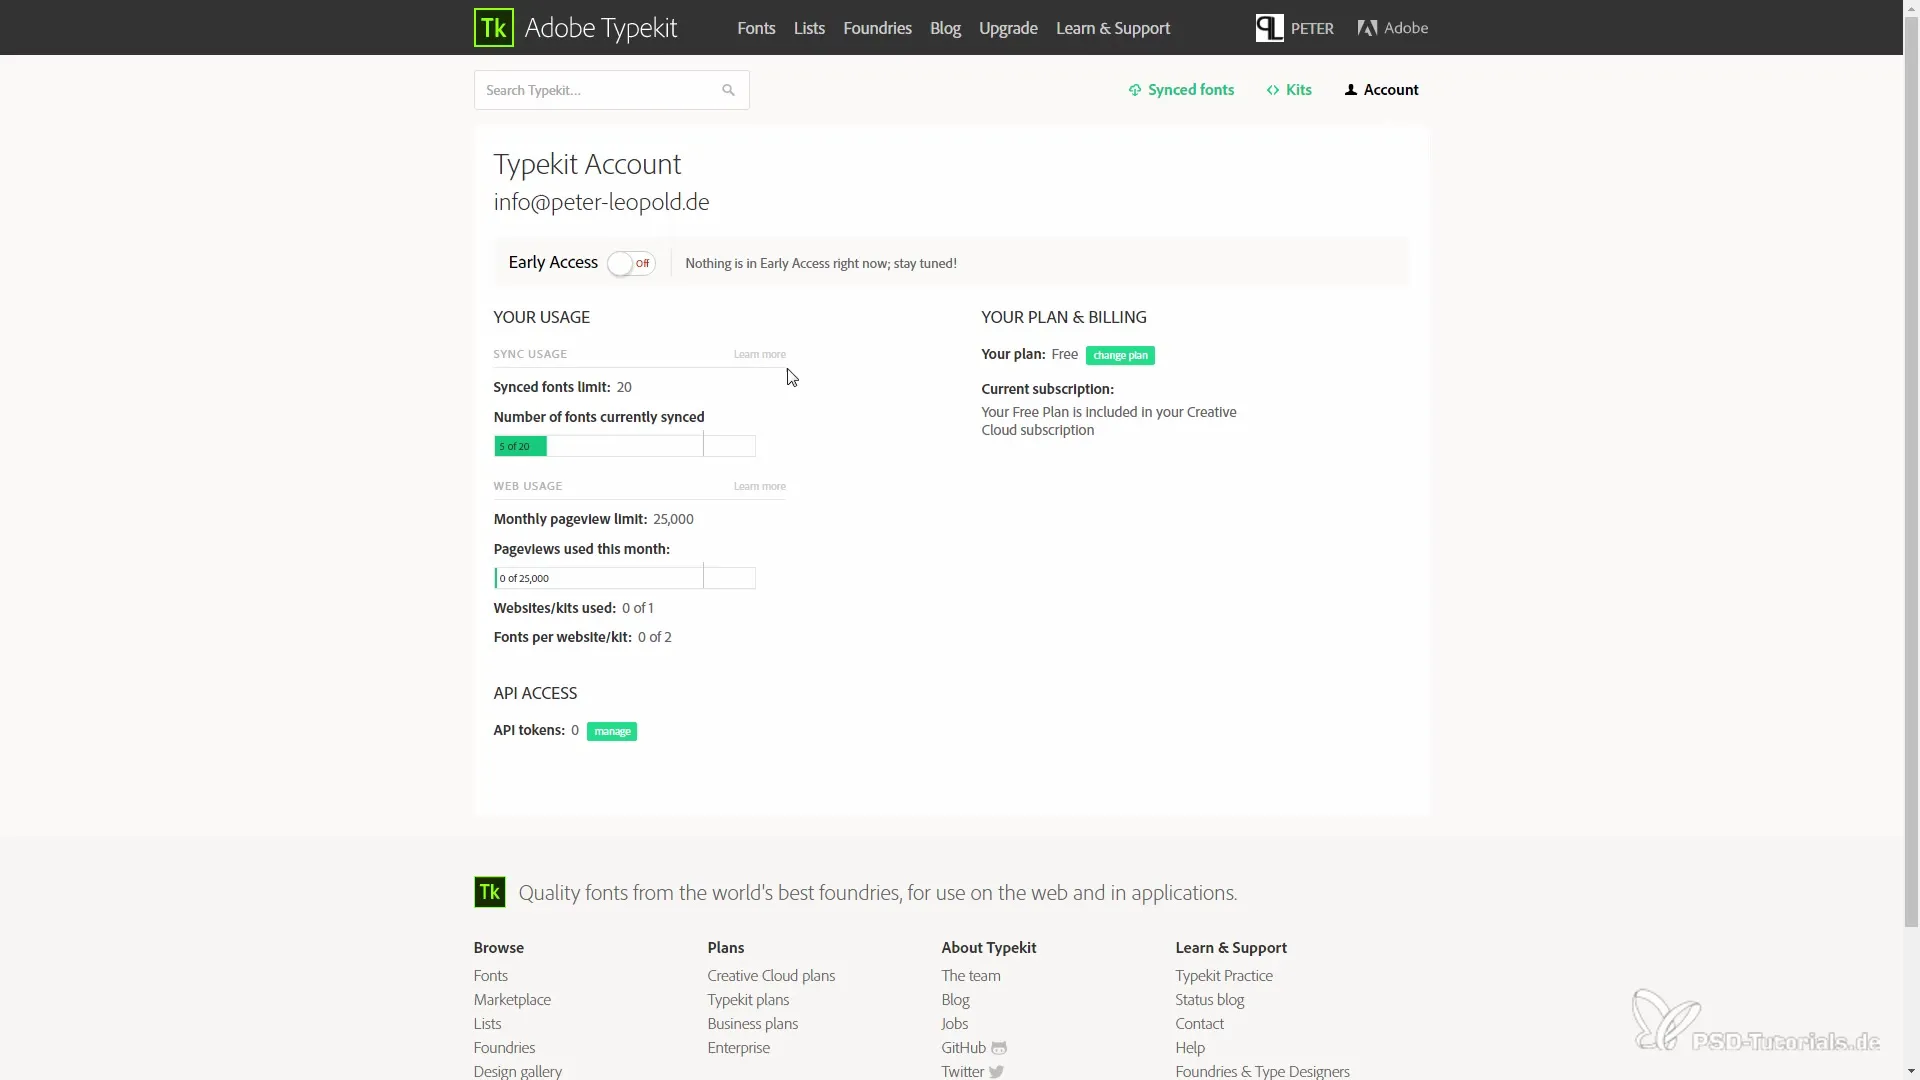
Your Typekit account has a limit on the number of fonts you can sync. For this plan, for example, you have the option to sync up to 20 fonts. You should regularly check which fonts you already have to ensure that you do not exceed your limit.
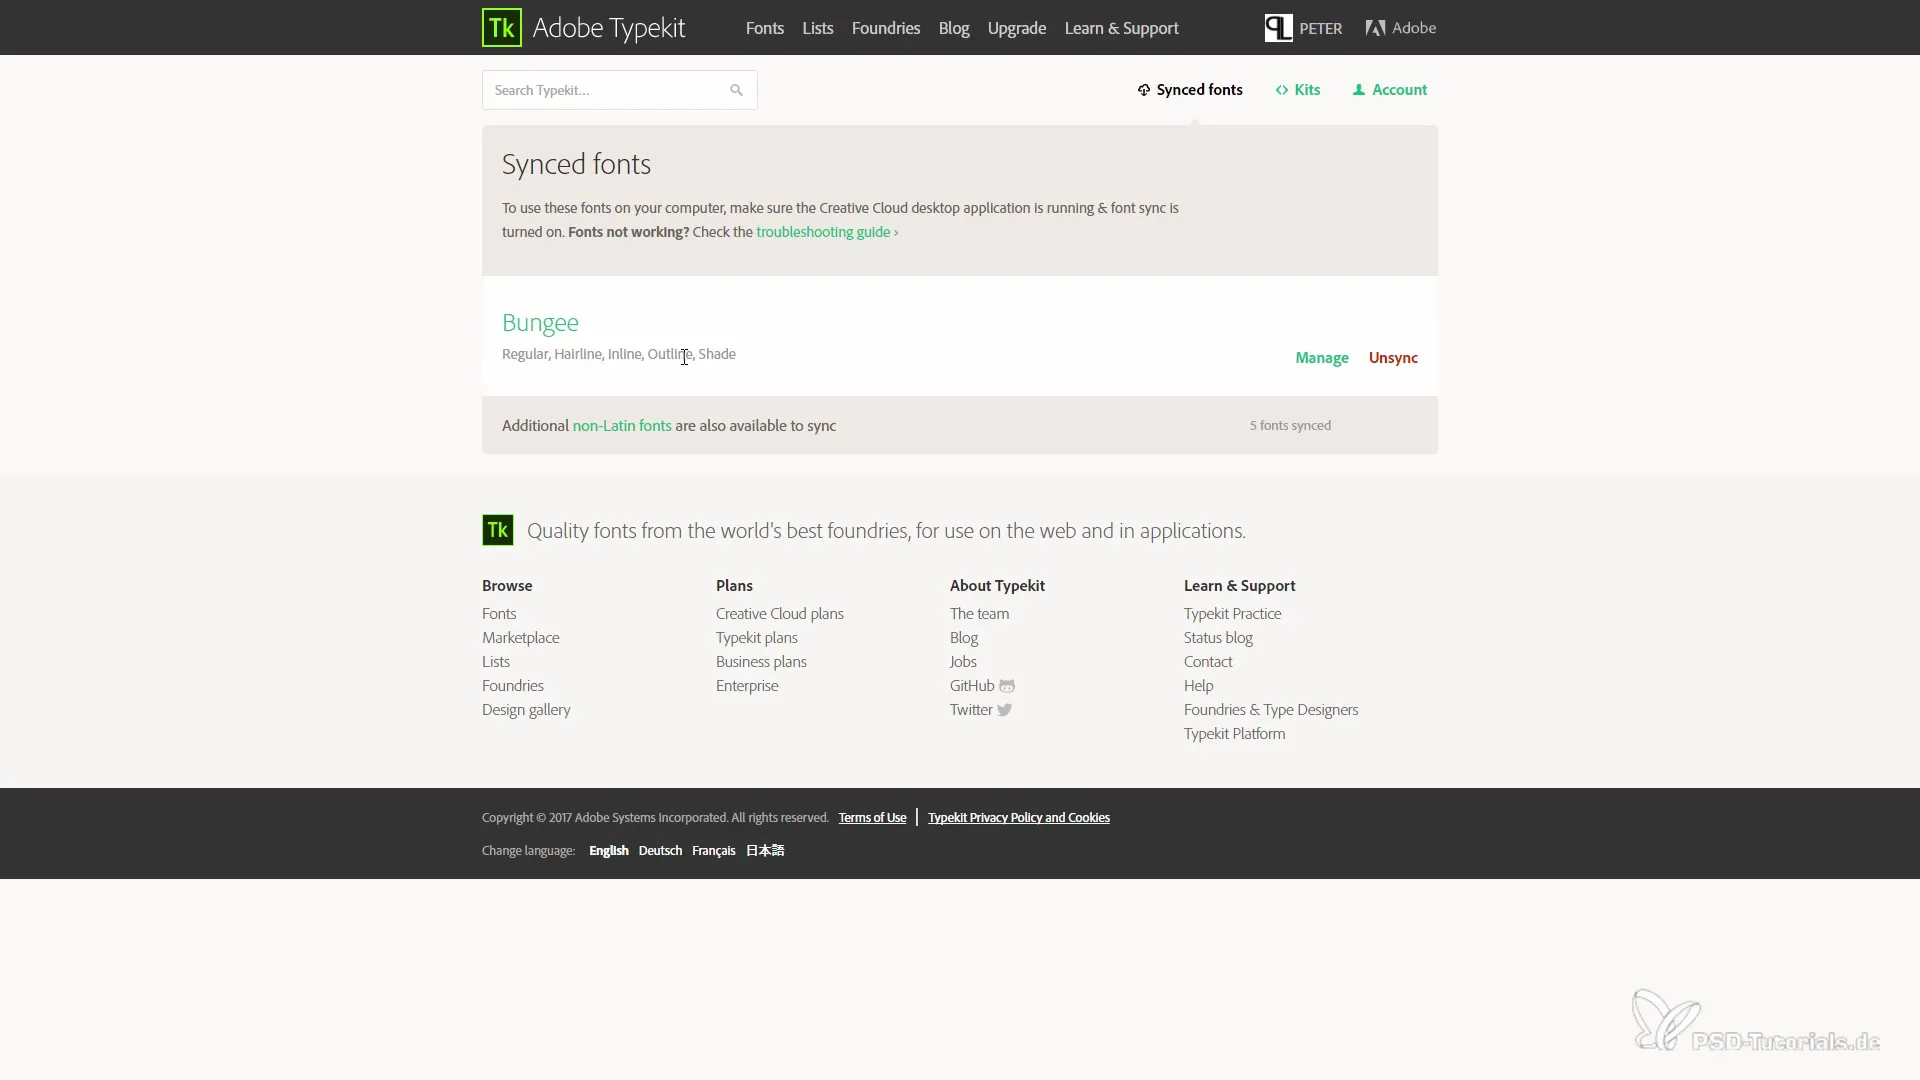
If you no longer need certain fonts, you can easily unsync them. Just click on “Unsync” – and the fonts will disappear from your overview.
Once you have activated the desired font, return to your font settings in Premiere Pro and enter the name of the font to select it. That’s it – you can now work with your new font that you can legally use.
Summary – Integration of Adobe Typekit in Premiere Pro CC 2014
The integration of Typekit in Adobe Premiere Pro CC 2014 opens up numerous possibilities for designing your projects with high-quality fonts. Do you want fresh and engaging texts in your videos? Use the steps described here to express your creativity.
Frequently Asked Questions
How do I find Typekit in Premiere Pro?You can find Typekit under “Window” and then “Titles”, where you can click on “Add Fonts from Typekit”.
Can I use any font from Typekit?Not all fonts are always free. Make sure they fit your plan.
How many fonts can I sync at the same time?You can sync up to 20 fonts at the same time, depending on your plan.
How do I unsync a font?Just click on “Unsync” in your Typekit account.
What happens to a font when I unsync it?It will be removed from your font list and will no longer be available.


