There is nothing more frustrating than seeing hard cuts in an interview that disrupt the flow of conversation. A seamless cut between the individual dialogue clips can give your video a professionalism that stands out from others. With the new tools in Premiere Pro CC 2015, you can master this challenge. In this guide, you will learn how to achieve seamless transitions in your footage by utilizing face-tracking and morphing techniques.
Key Insights
- Premiere Pro CC 2015 provides the effective morph cut tool for seamless transitions.
- Face-tracking helps find matches between cuts.
- The transition time can be adjusted individually to achieve the best results.
Step-by-Step Guide
Step 1: Import and Prepare the Video
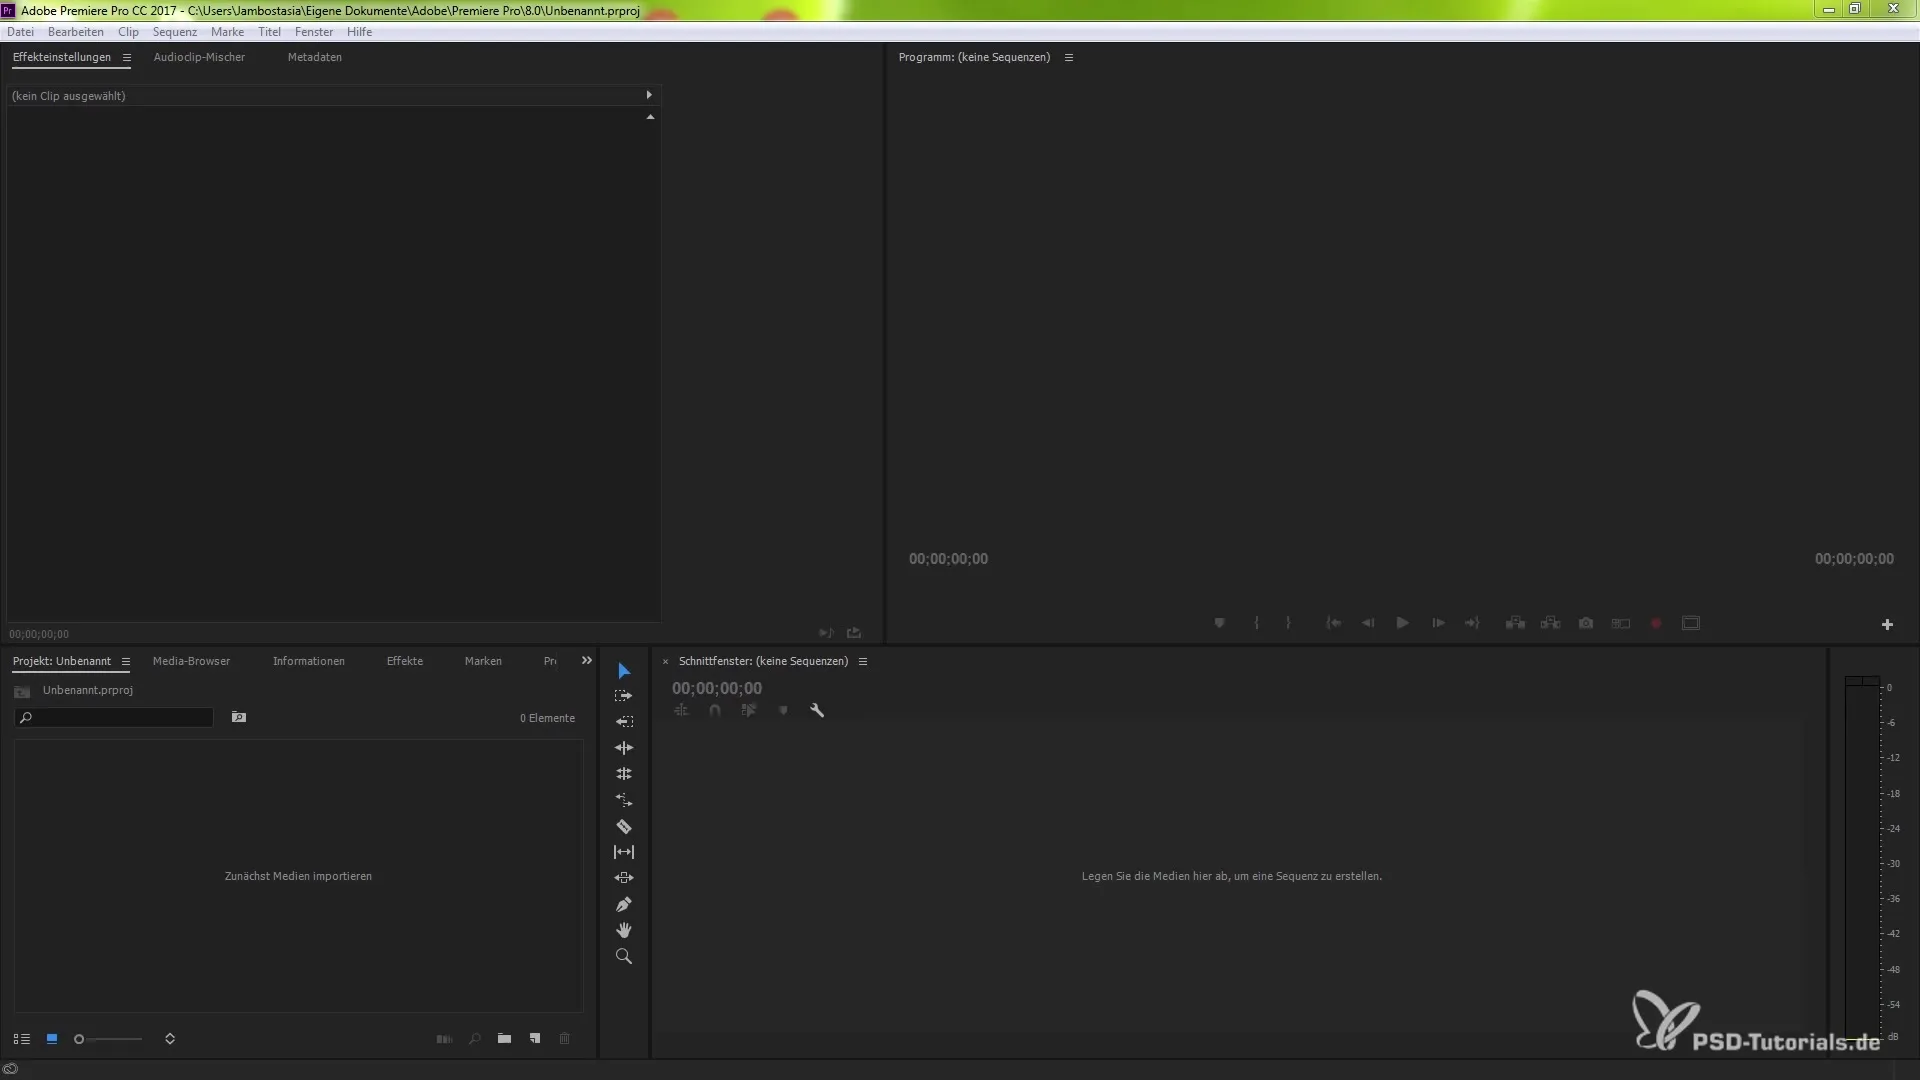
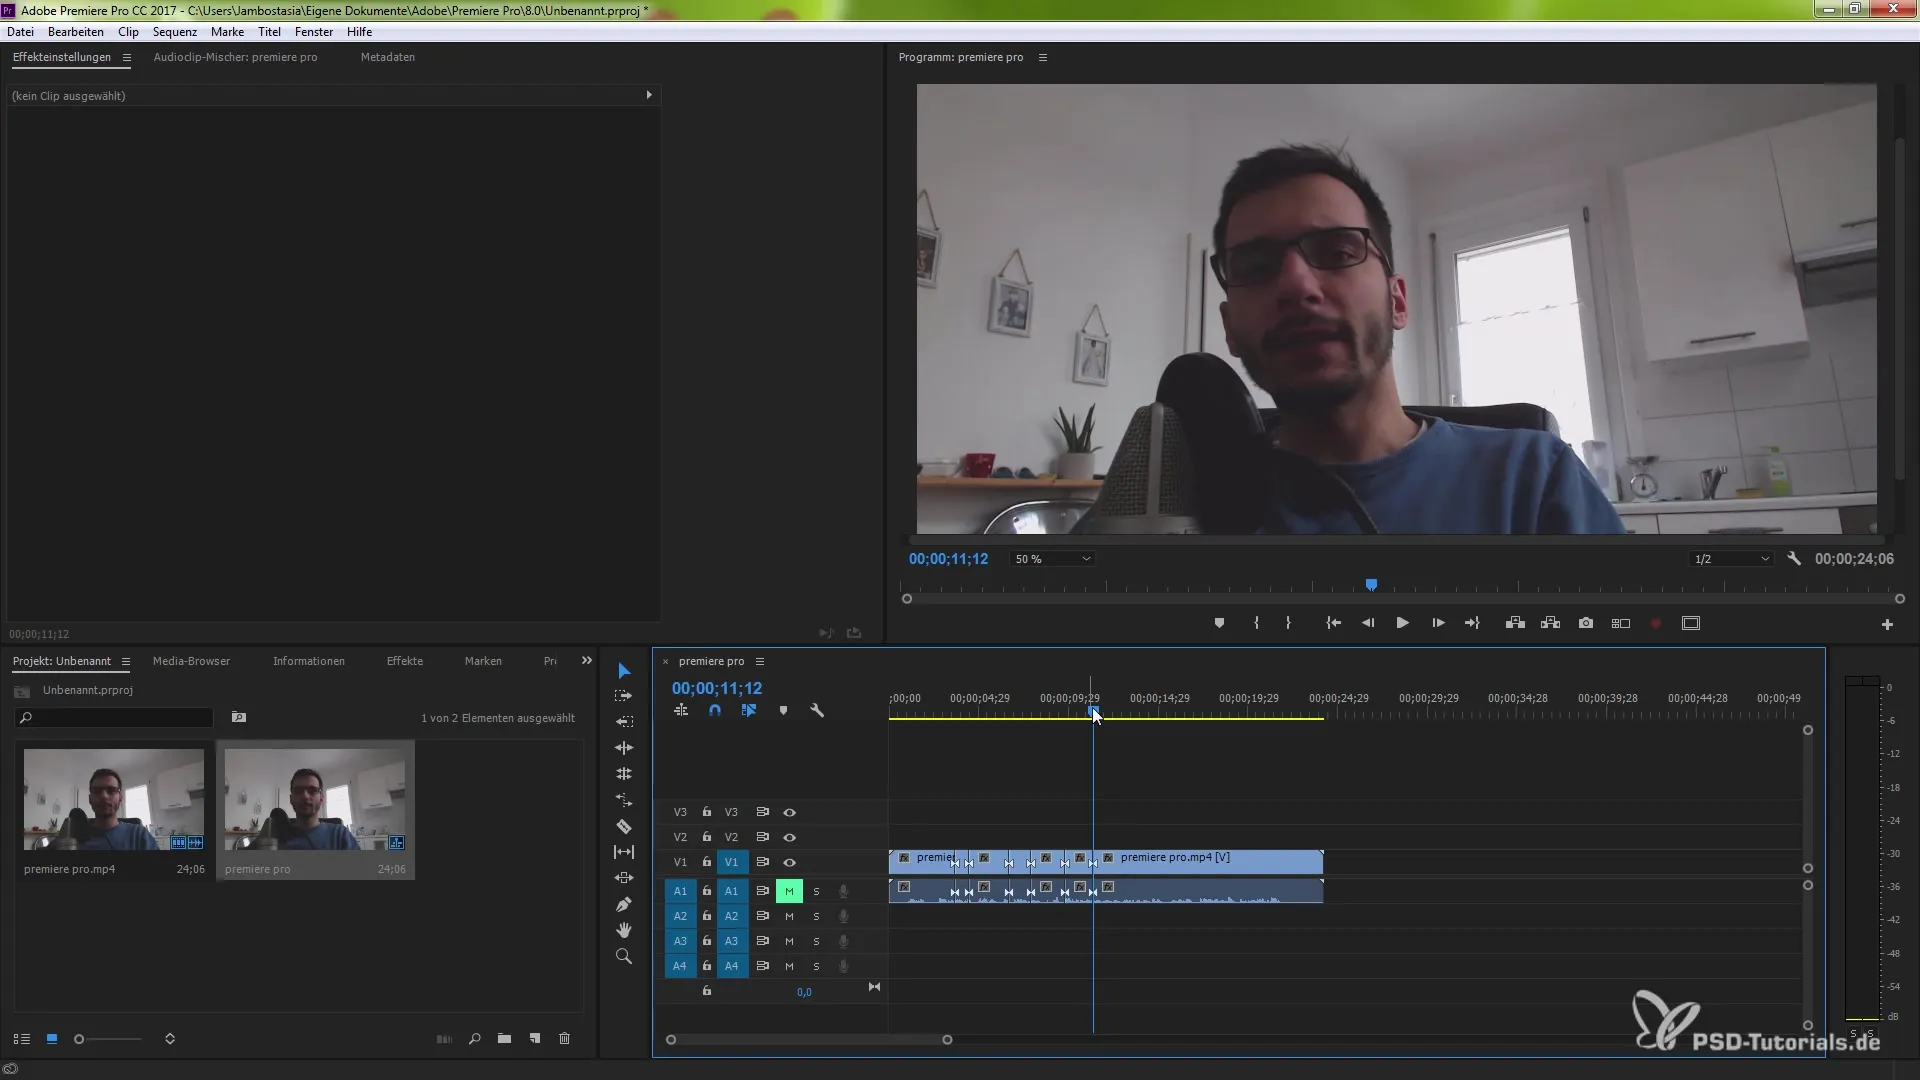
Before you can use the new features, make sure that your video recording is loaded into your project. Drag and drop the interview recording into your edit window. Ensure that the audio track is muted so you can fully focus on the visual representation.

Step 2: Make Cuts
Now, make some cuts at the points where you want to insert the transitions. Use the keyboard shortcut Ctrl (or Command) + K. Be sure to cut the edges of your clips clearly defined. This gives you the necessary structure to place the seamless transitions correctly.

Step 3: Select the Morph Cut Tool
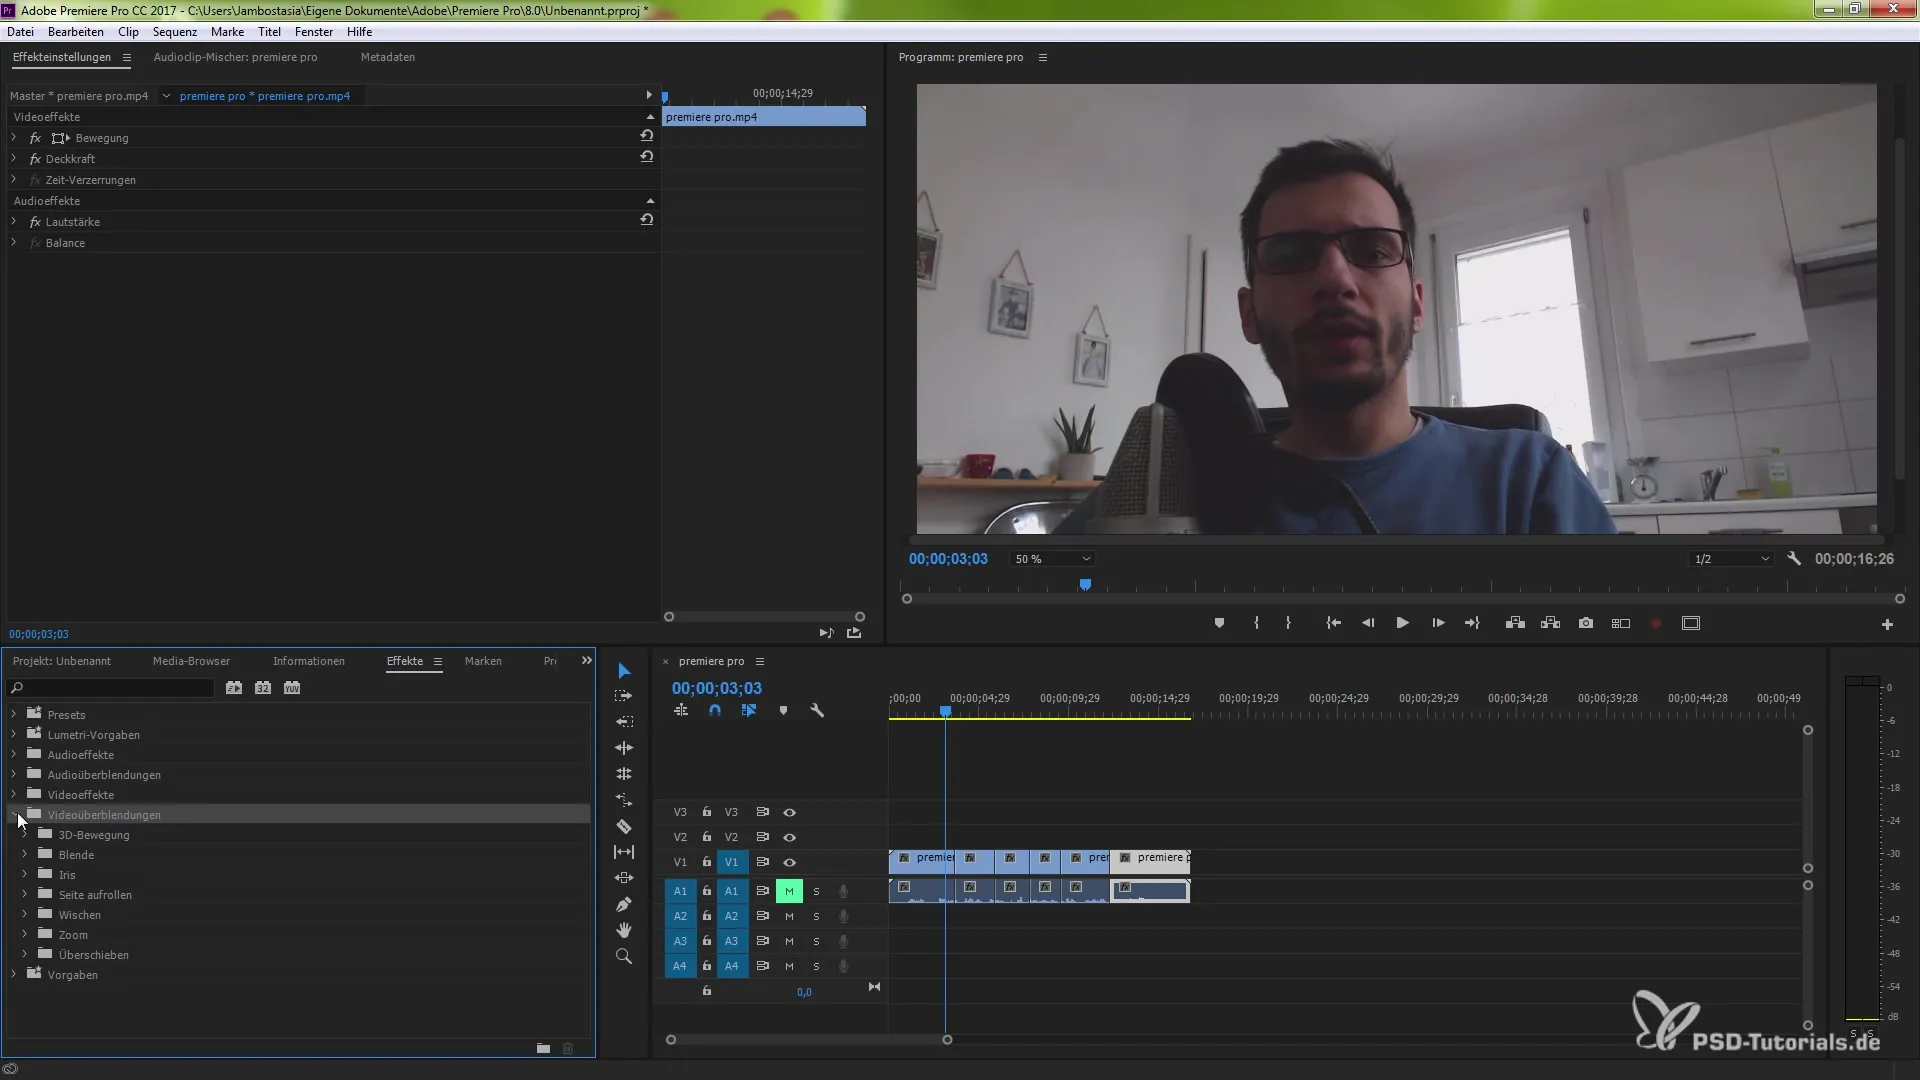
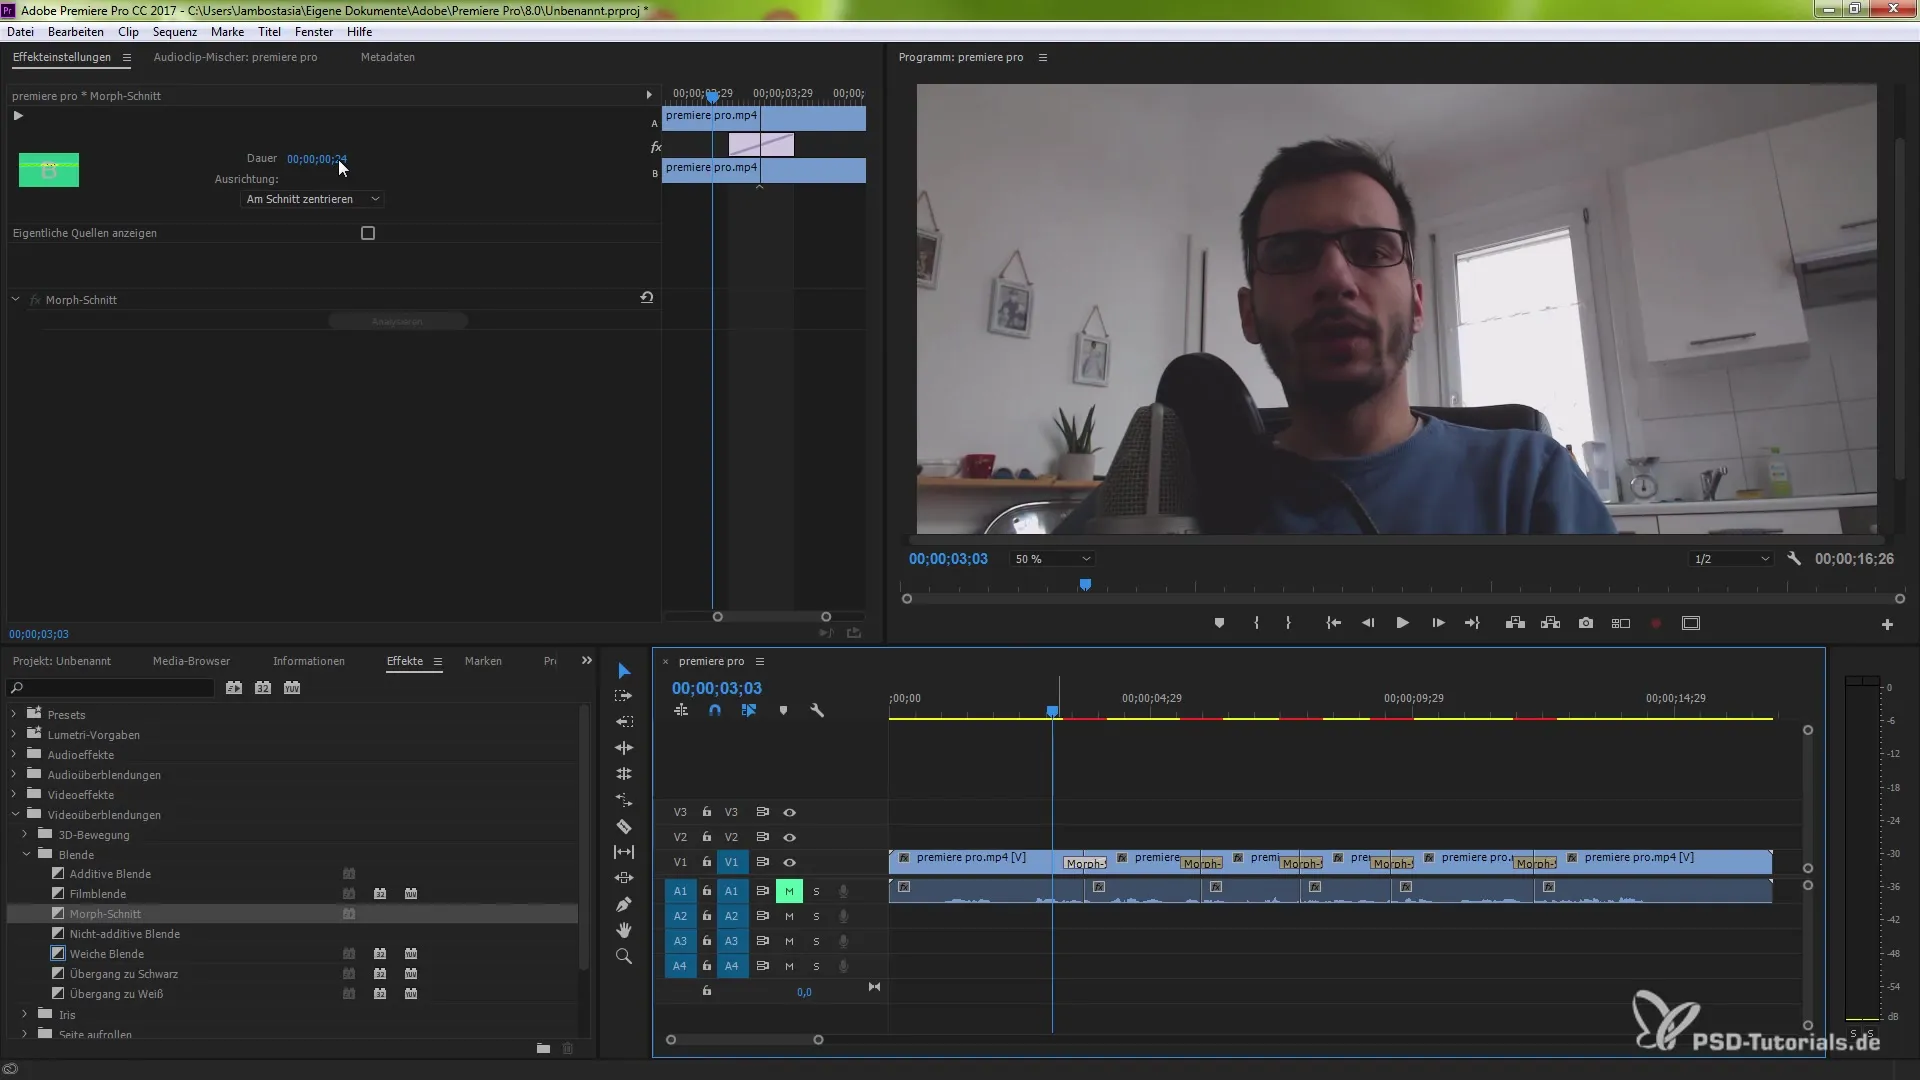
Go to the video transitions in your effects panel. Click on "Dissolve" to open the subcategory. There you will find the morph cut tool. Drag this tool between the sequences you just edited. It will achieve the desired effect and be displayed on the timeline.

Step 4: Adjust Duration and Alignment of the Morph Cut
After placing the morph cut tool, you can adjust the duration of the transition. Go to the effects settings and change the duration according to your preferences, for example to 0.14 seconds. The longer the transition, the smoother the result will be. The alignment of the transition (start at the cut, end at the cut, or custom) can also be set here.

Step 5: Start Analysis
A crucial step is the analysis that runs sporadically in the background. Premiere Pro uses face tracking to make automated adjustments and compare movements between cuts. This allows for a smooth transition. Your video will now be analyzed intensively.
Step 6: Review Results
Take a look at your result after the analysis is complete. You should notice a seamless transition between the cuts. Make sure that there are no sudden movements or jumps. If you still notice undesirable effects, you can always revert to the previous setting and make adjustments.
Step 7: Fine-Tuning the Transitions
If you are not 100% satisfied with the first result, you have the option to further improve the transitions. Repeat the process and adjust the duration to achieve the best possible result. Giving the transition time helps make the morphing more effective and harmonious.
Summary – Seamless Transitions with Premiere Pro CC 2015
The ability to create seamless transitions in interview recordings revolutionizes your video editing. By combining face tracking and the morph cut tool in Premiere Pro CC 2015, you achieve a professional result that will impress your audience. Play around with the settings and adjust them to achieve the perfect edit for your projects.
Frequently Asked Questions
How do I add the morph cut tool?Open the effects area under video transitions and drag the morph cut tool between the clips.
Can I adjust the duration of the transition?Yes, the duration can be individually set in the effects settings.
What is face tracking?Face tracking is a technique that analyzes facial movements to make transitions between cuts smoother.
Does the morph cut also work with other footage?Yes, the morph cut tool can generally be applied in various film recordings.
How can I check the result?Play the video after analysis to see how the transitions work.


