The synchronization of audio and video tracks can be a tedious and time-consuming task, especially when you are working with different recordings and sounds. The new feature in Premiere Pro CC 7.0 allows you to automatically synchronize clips using audio waveforms. This guide shows you how you can effectively use this innovative technique to optimize your workflows and save valuable time.
Key insights
- Premiere Pro analyzes audio waveforms to automatically synchronize clips.
- Both the traditional method and the new audio waveform method are presented.
- Users can easily remove noise audio and replace it with high-quality recordings.
Step-by-step guide
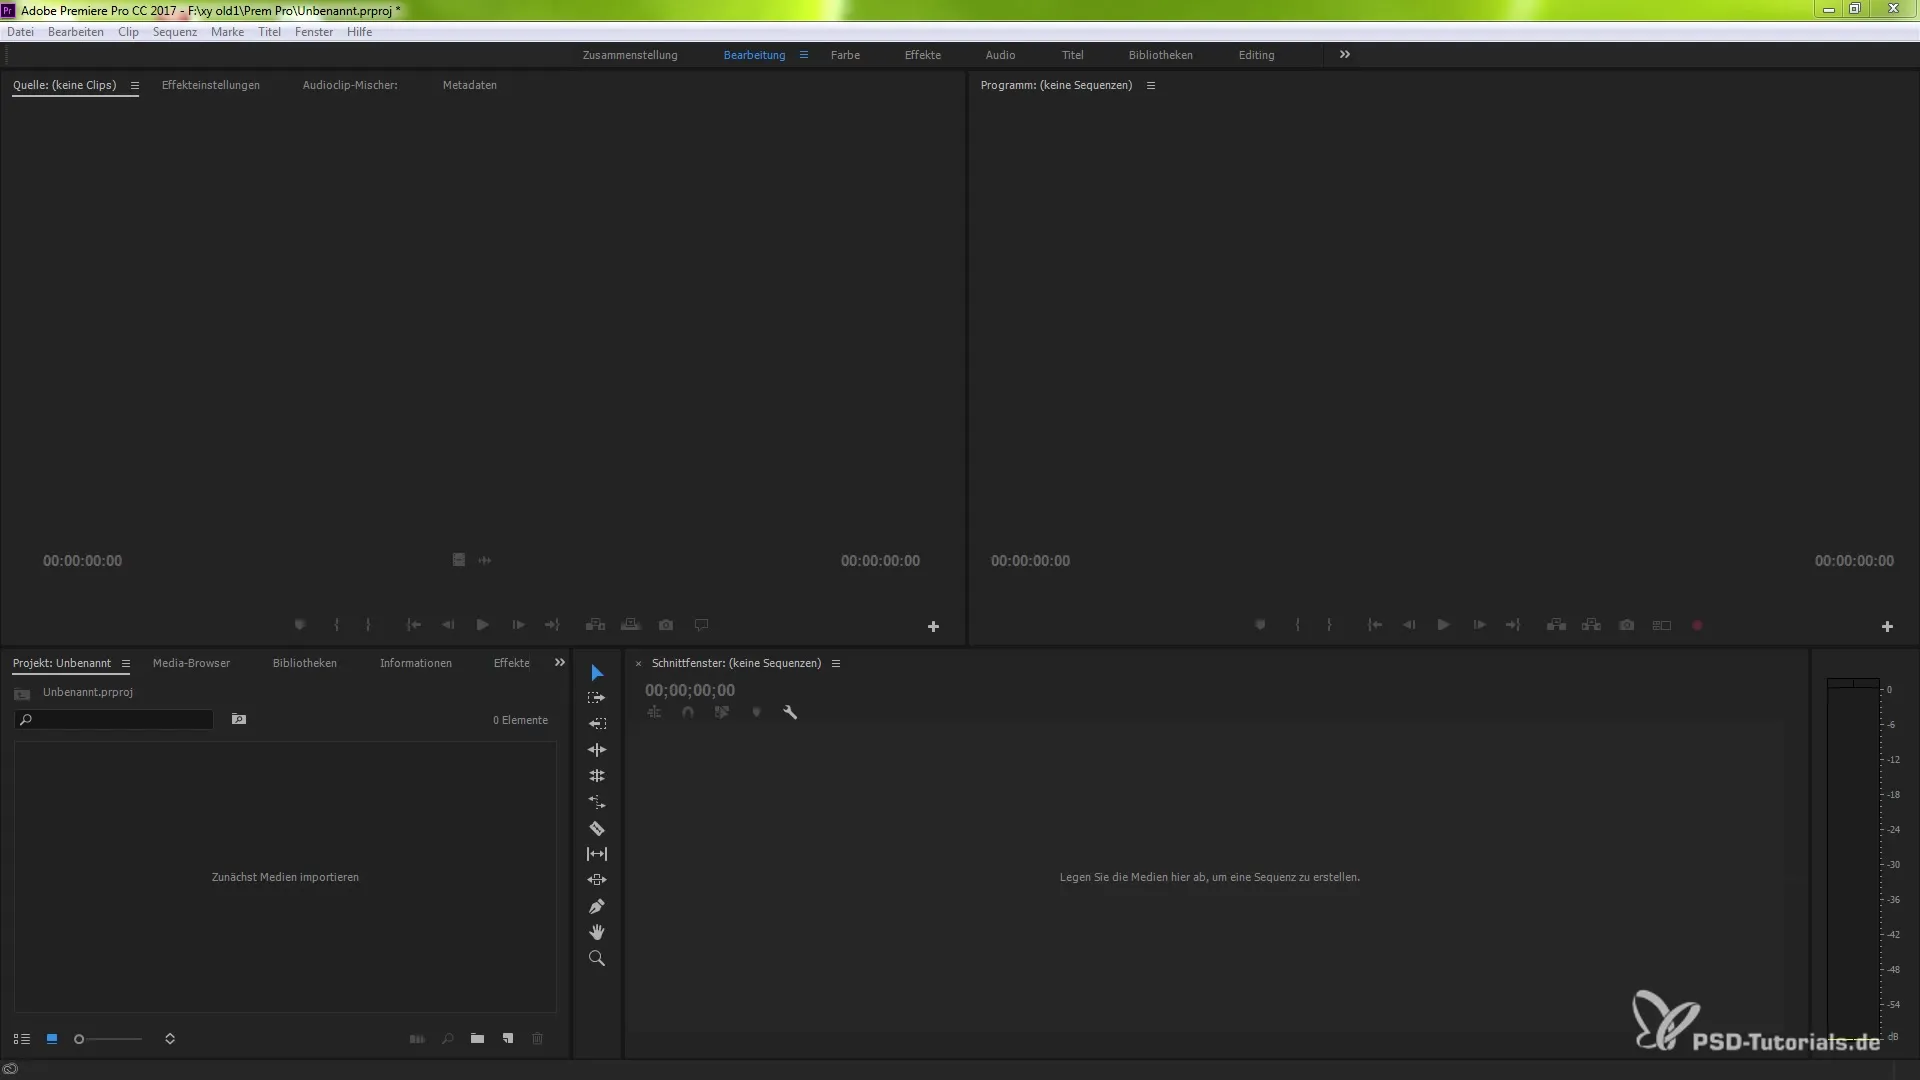
First, you load your audio file and the video file into the project window of Premiere Pro. An example of such a file could be a recently recorded clip that contains noise. To demonstrate this, you drag an MP4 video file and a WAV file into your project window. Make sure that the WAV file contains the clean audio recording from the sound engineer.
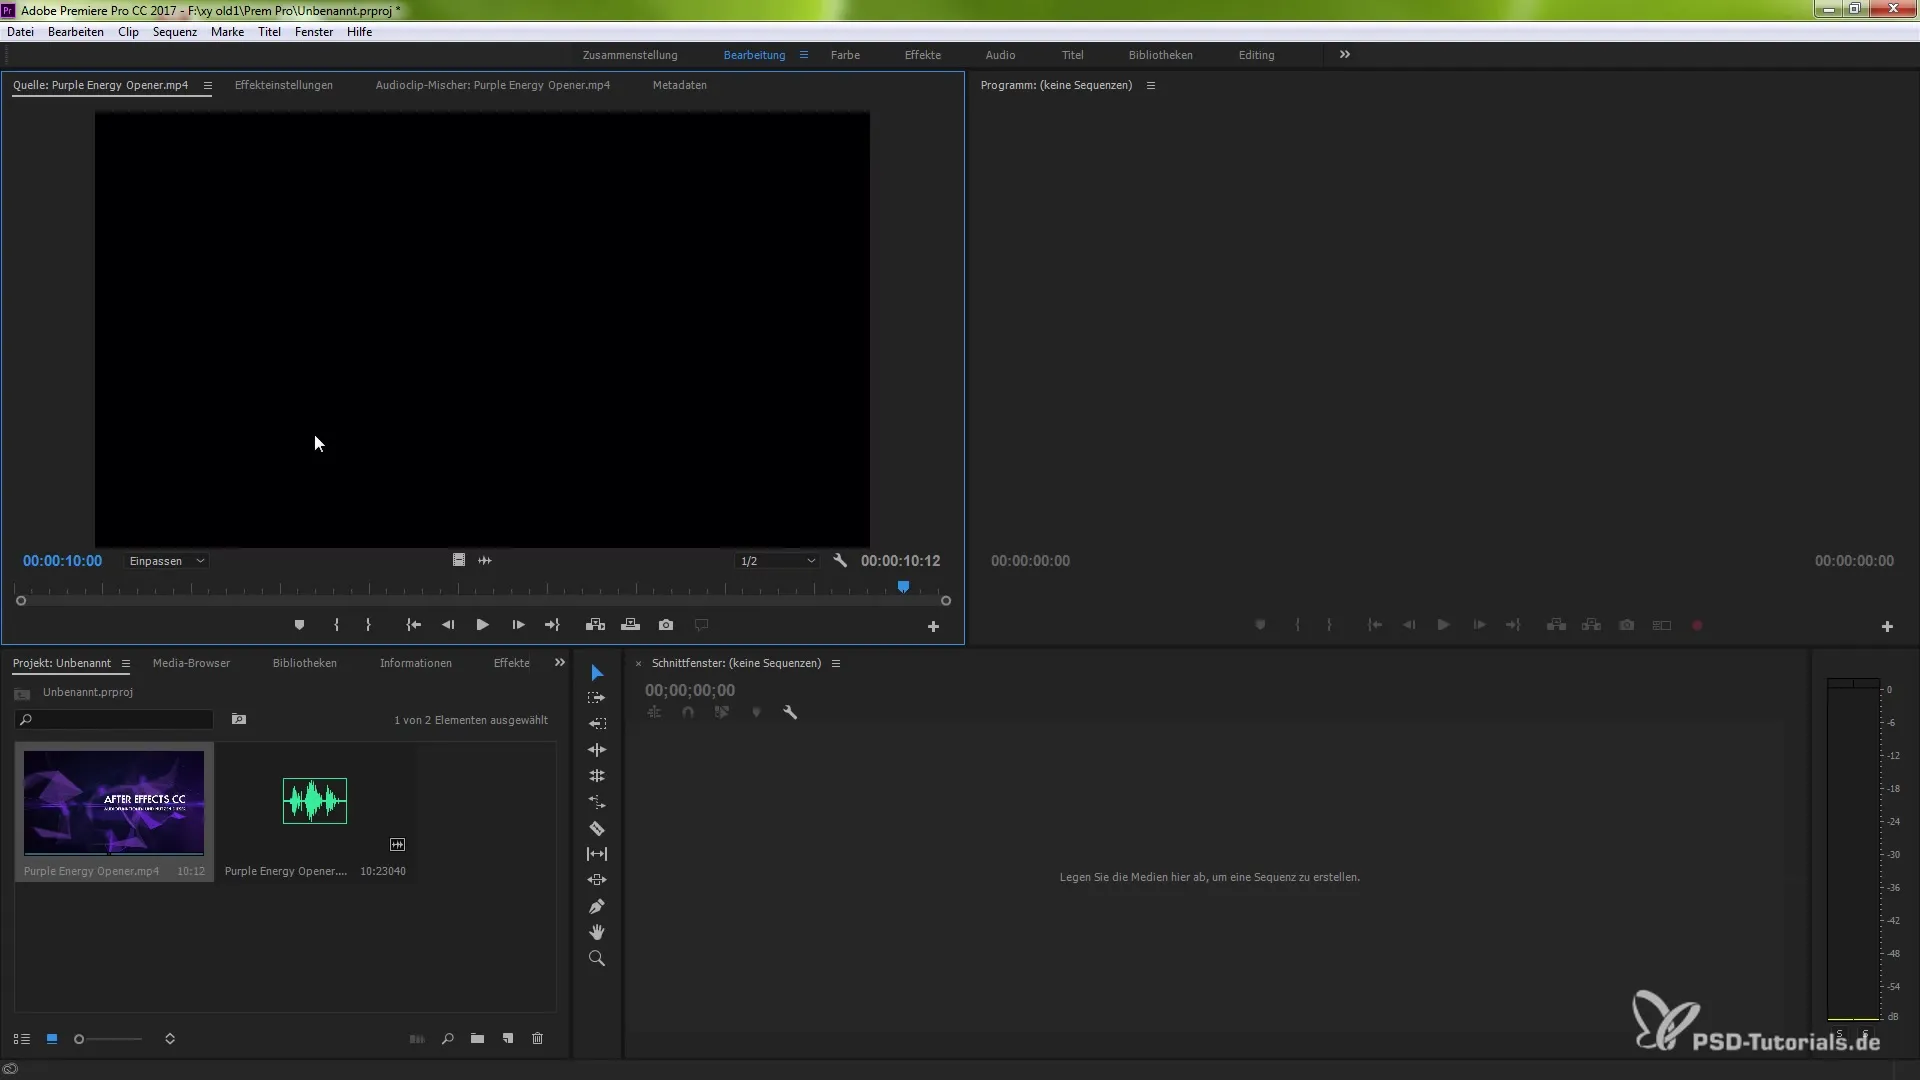
In the next step, double-click on the WAV file to open it in the source monitor. Here you can play it back to check the audio quality. You will hear that the WAV file contains noise, which is due to the recording conditions.
Now it's time to merge the two clips. Right-click on both clips to open a context menu. Here, select the option "Merge Clip."
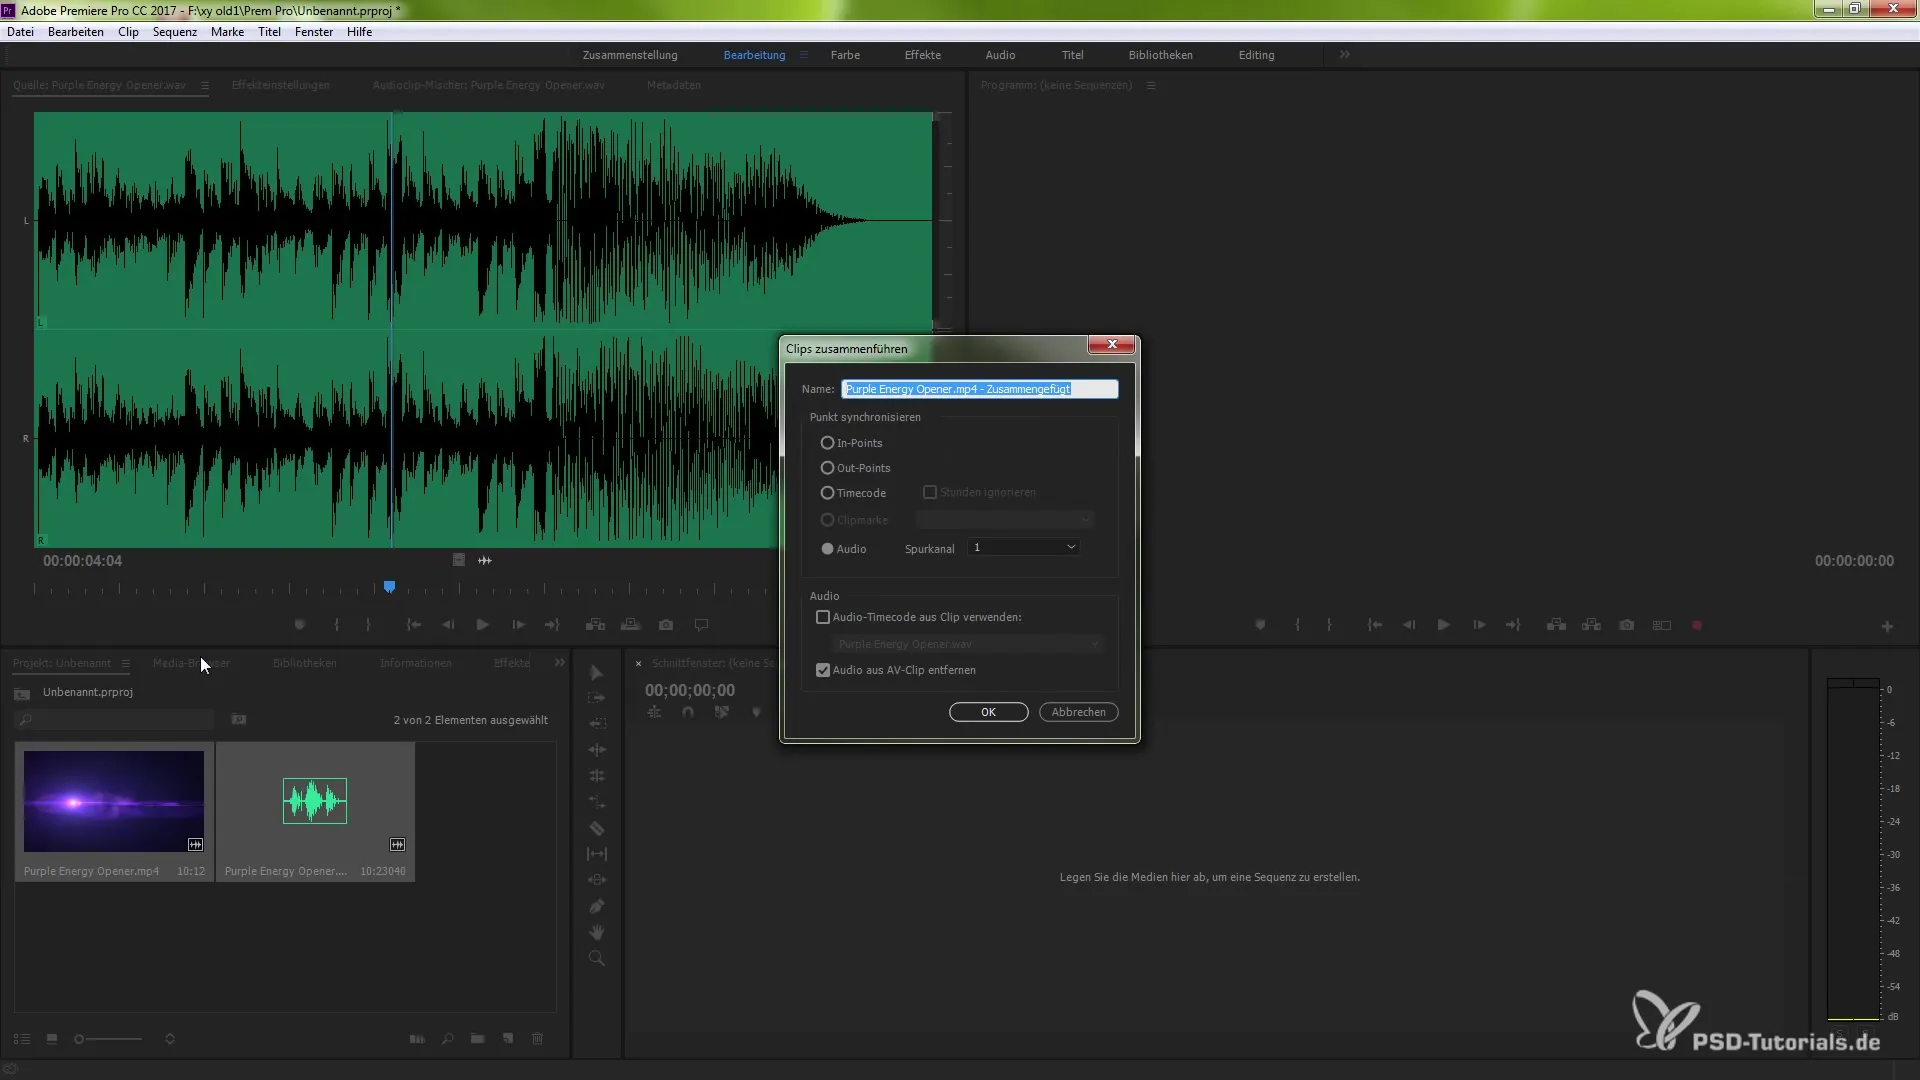
In the window that appears, you have several options to choose from. Opt for the audio waveform method, as it represents the most efficient and fastest solution. You also have the option to detach audio from the video to enhance the quality of your final production.
Confirm your selection with "OK." Premiere Pro will now analyze both files and create a new clip that performs the synchronization. This clip will now have two mono tracks generated from the original stereo track.
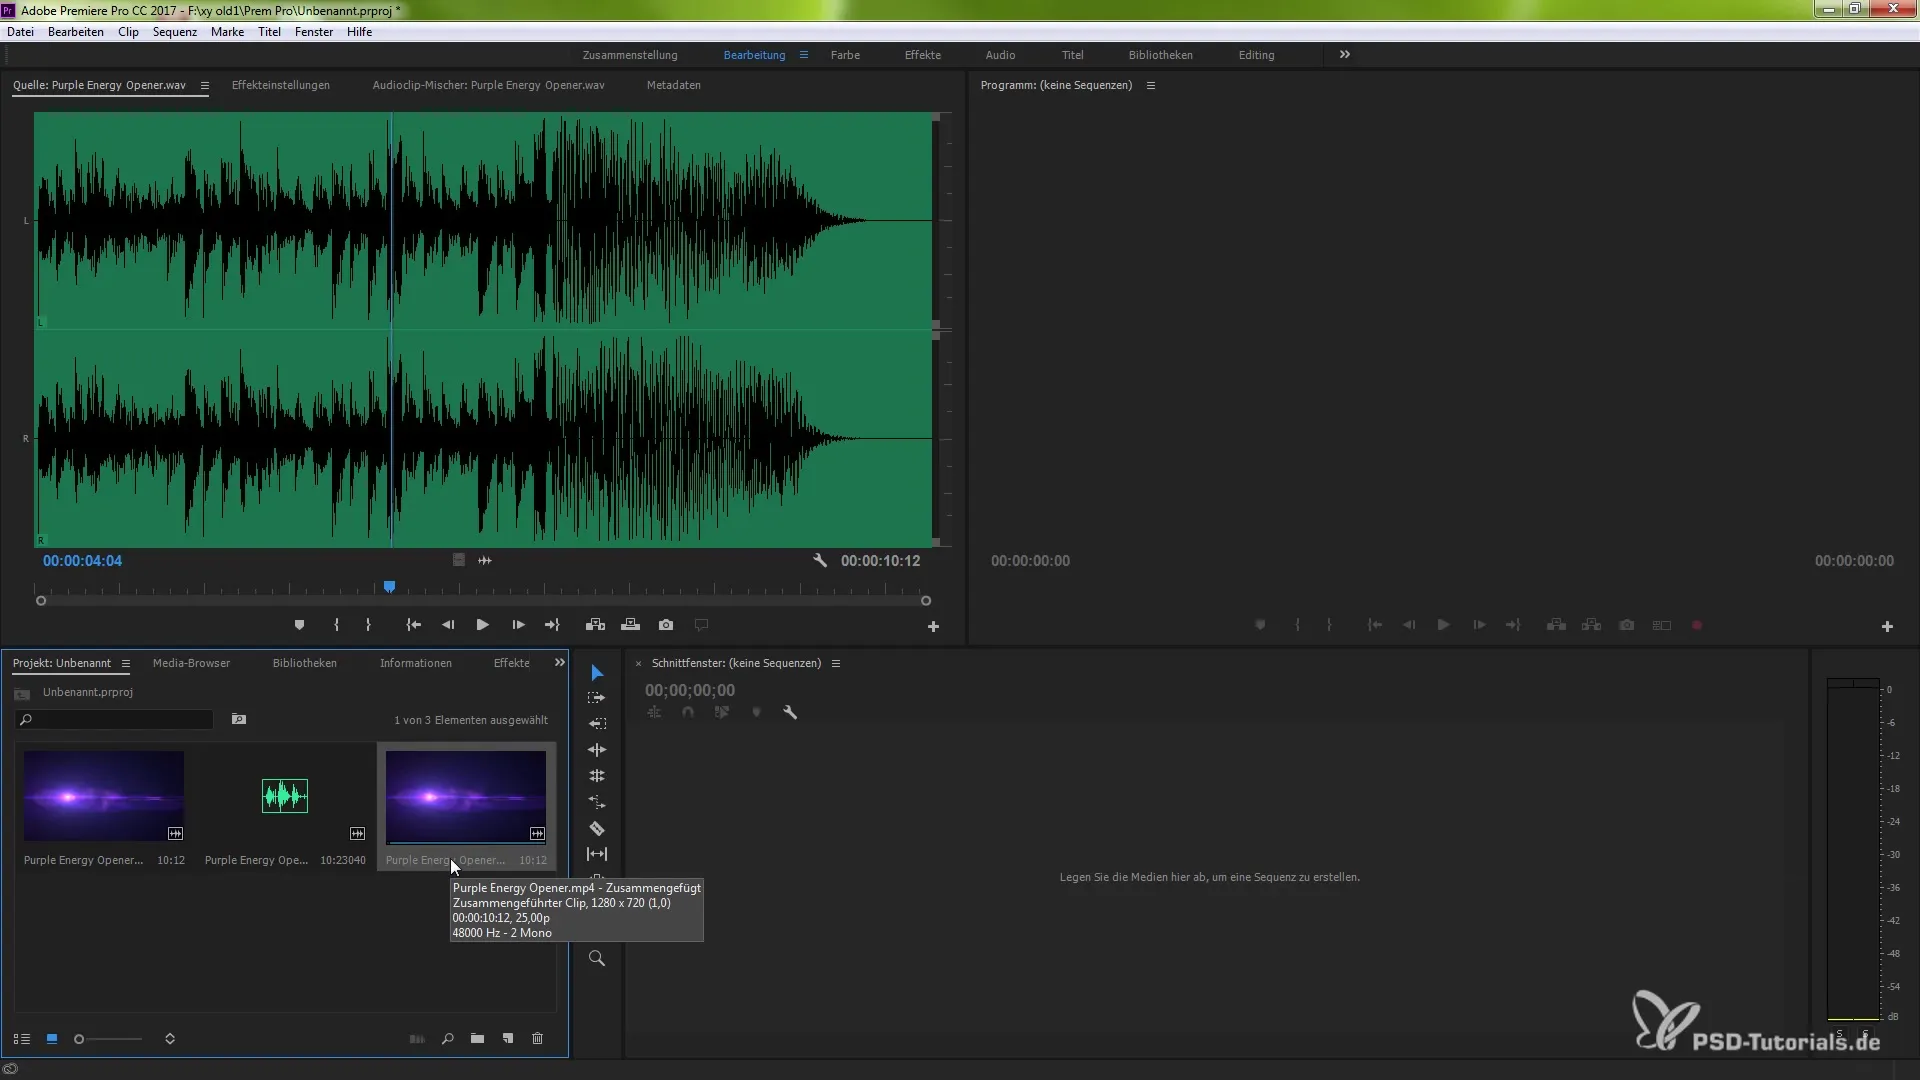
Drag this new clip into the timeline. You can expand the tracks to see how the mono tracks are split. These segments are now linked without being re-rendered.
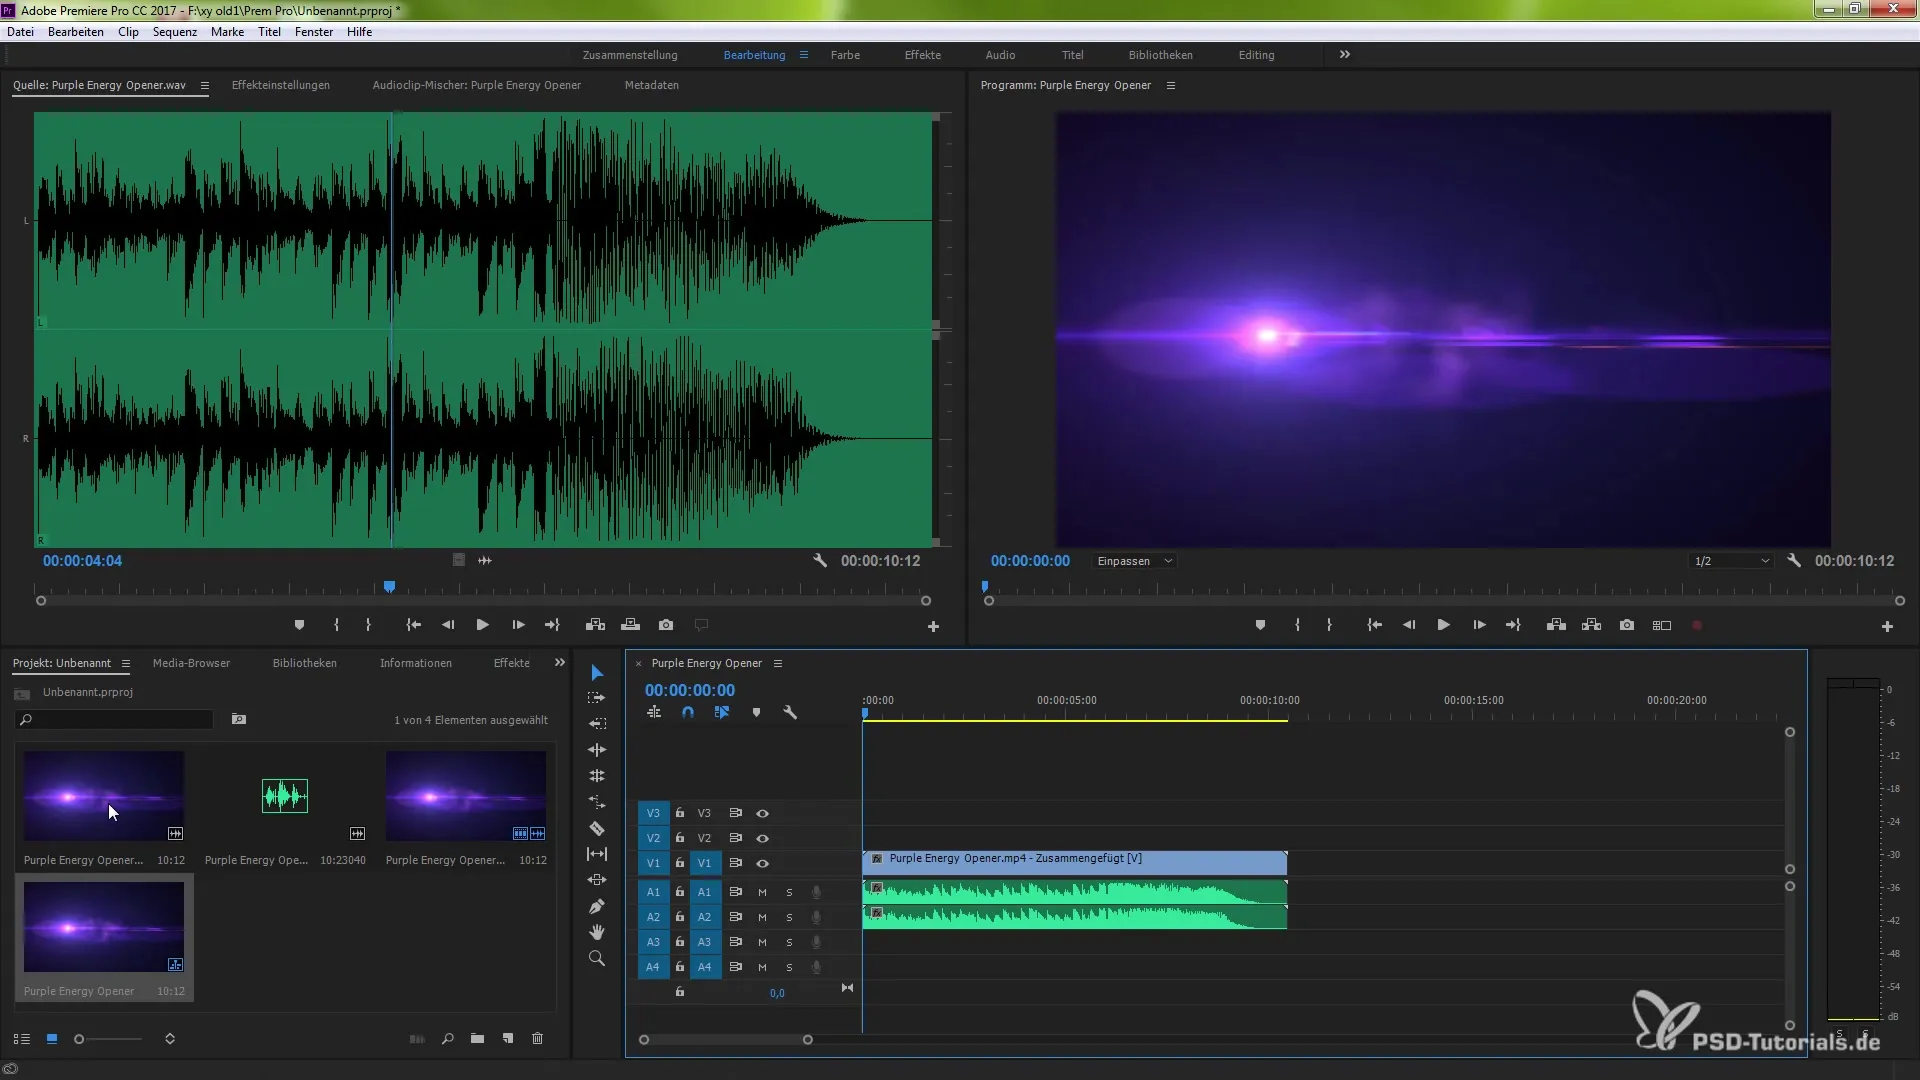
If you want more precise control over the synchronization process, you can also hold down the Alt key and left-click on the desired audio track to select it separately. You can repeat this and apply the same method to the video recording.
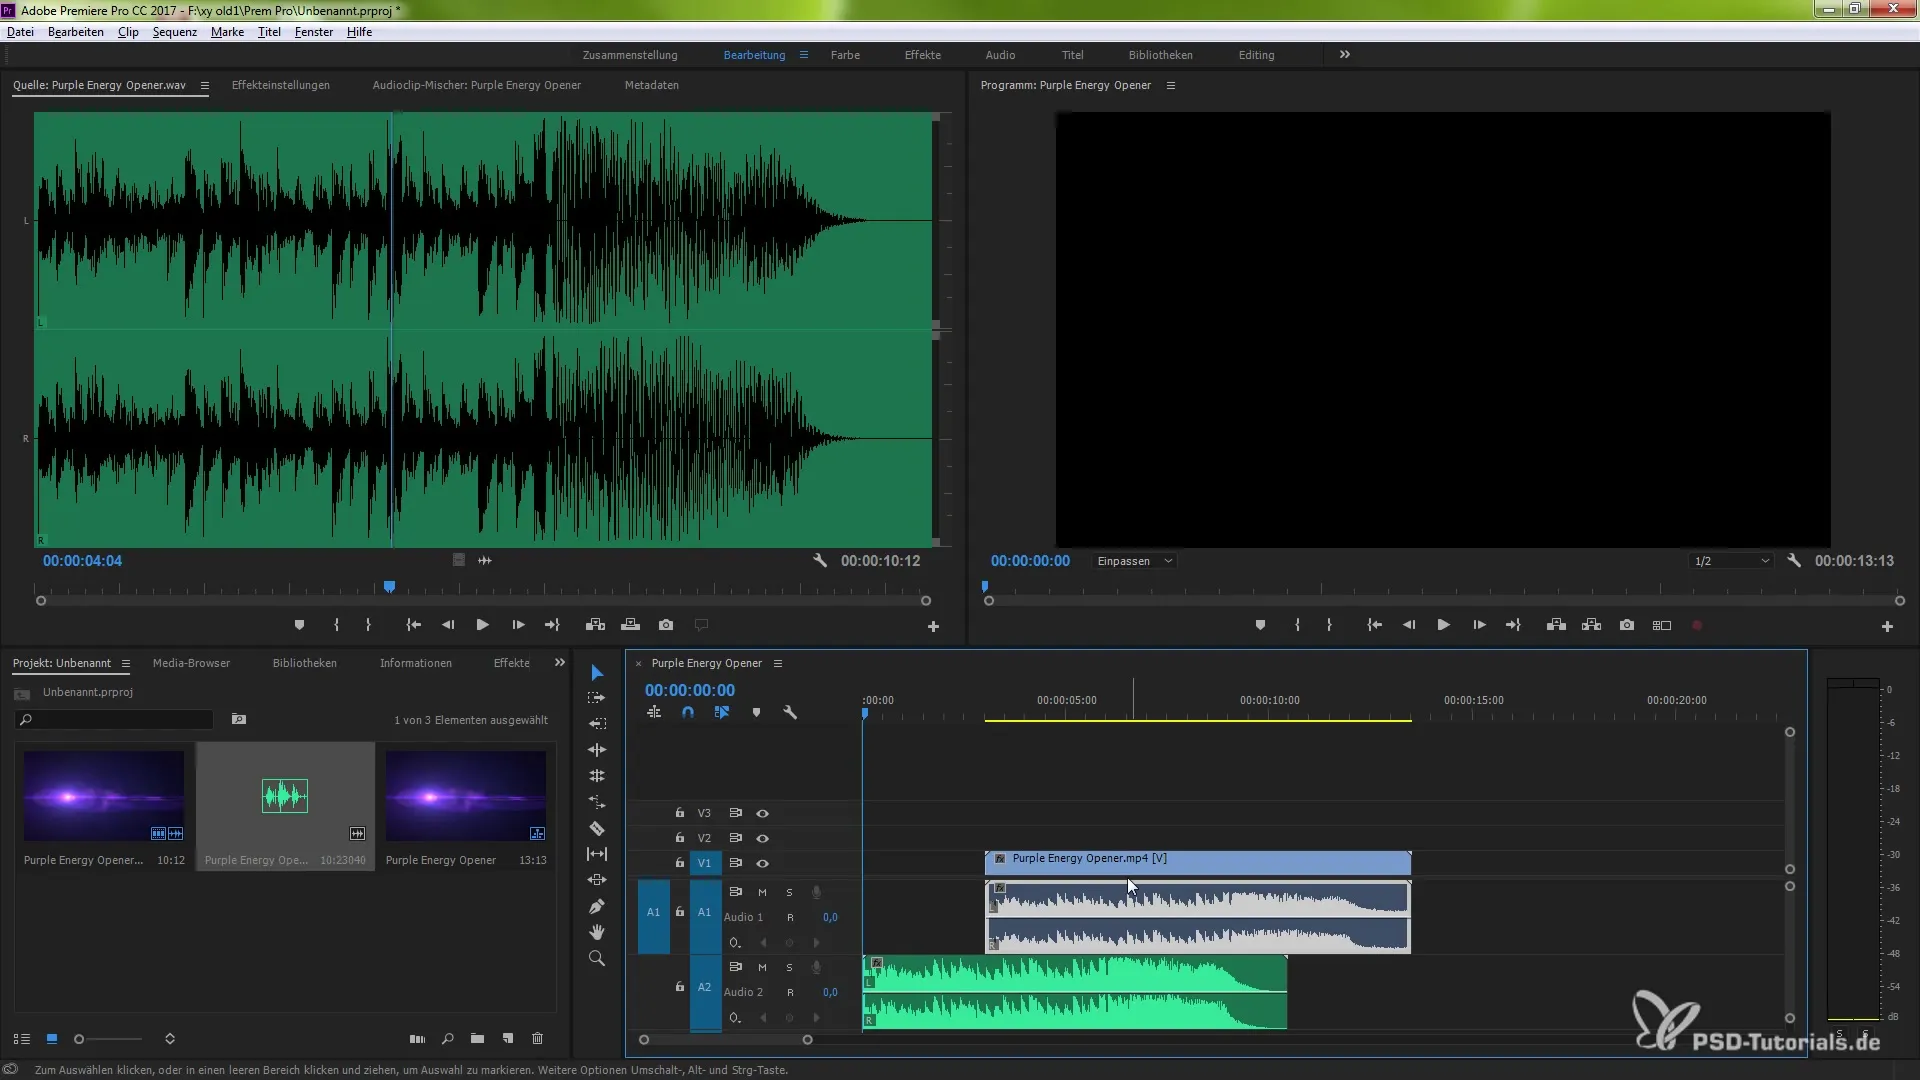
Then right-click on the selected clips and choose "Synchronize." Here, you should also select the option "Audio." Confirm with "OK," and Premiere Pro will perform the analyses and synchronize the clips.
With this method, you have the option to disable the noisy audio and keep only the high-quality track. Creating synchronization between the clips is done quickly and efficiently – a great solution for any editor's workflow!
With these techniques, you can improve the audio quality of your projects faster and easier, significantly reducing editing time.
Summary – Automatic Synchronization of Clips in Premiere Pro
By using the new features in Premiere Pro CC 7.0, you can now utilize audio waveforms to automatically synchronize clips. These methods allow you to distinguish high-quality recordings from noisy ones, greatly enhancing the audio quality of your projects.
Frequently Asked Questions
What is the main goal of audio waveform synchronization?The main goal is to automatically synchronize the audio and video recording, thus reducing editing time.
How many clips can be synchronized?You can synchronize multiple clips as long as they contain the corresponding audio waveforms.
Does the method always work perfectly?Although it often works well, there is no guarantee that the synchronization will always be precise.
Do I need to set in and out points manually?No, the new method does not require manual in and out points as it is automated.
Are there alternatives to audio waveform synchronization?Yes, the traditional method using in and out points is still available.


