Adobe Premiere Pro CC 7.0 offers powerful features for managing your projects and settings, especially through the integration with Creative Cloud. This guide takes you through the process of saving and synchronizing your projects and your individual settings so you can work seamlessly from anywhere and on any device.
Key Insights
- The Creative Cloud allows you to synchronize your settings and windows across different devices.
- You can switch between different workspaces at any time and customize your configurations.
- Deleting settings and managing synchronizations is easy and user-friendly.
Step-by-Step Guide
1. Accessing Creative Cloud
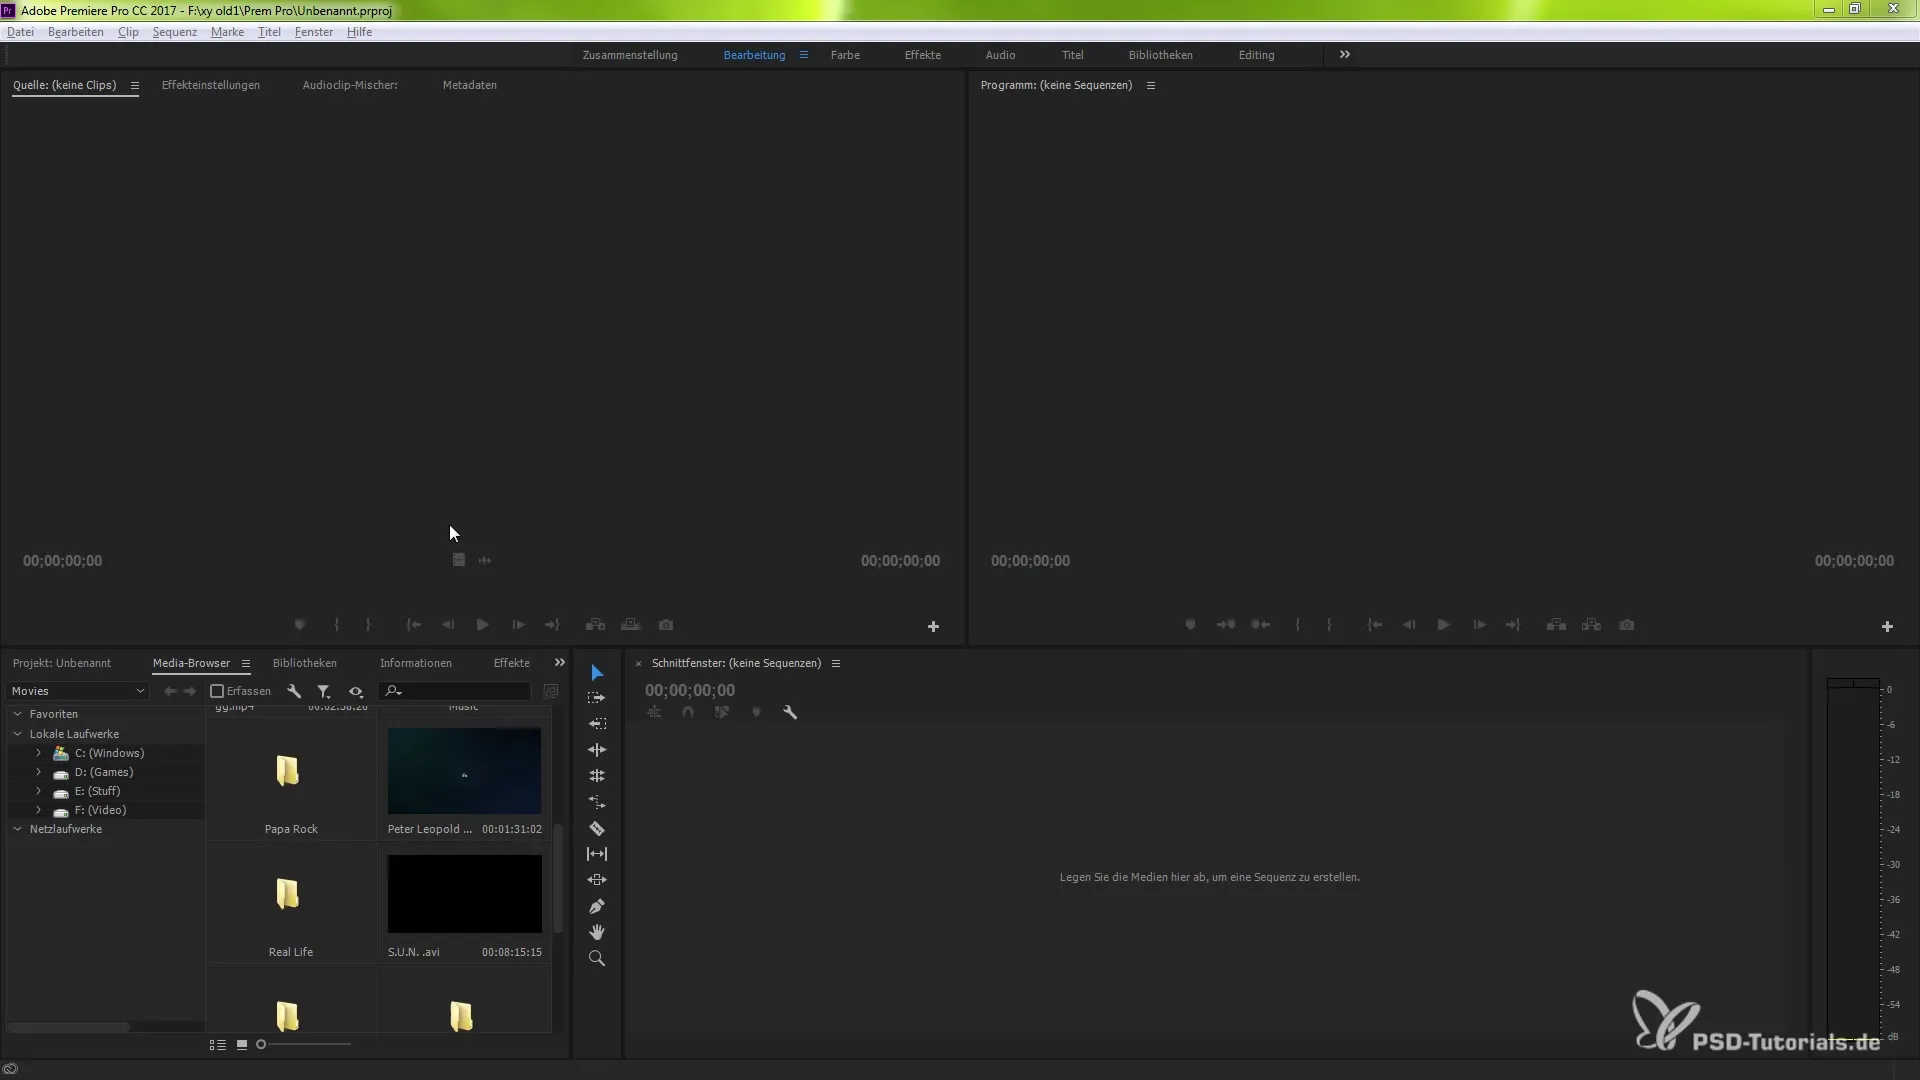
First, you need to ensure that you are logged into your Adobe ID in Premiere Pro. You can find the corresponding icon at the bottom left of the user interface.

Clicking on it will open the Synchronization options, granting you access to your saved data in the cloud.
2. Starting Synchronization
After you have clicked the synchronization icon, you can start your current synchronization with a single click. This allows you to securely store all of your projects, settings, and assets in the cloud.
3. Restoring Synchronization
If you are working at another location, you can easily download the last saved synchronization. Click the appropriate option to restore your settings on the new computer.
4. Importing Settings from Other Accounts
If you work with multiple teams or on different projects, you can also import settings from other Adobe IDs. This could be useful for having specific configurations for certain projects.
5. Deleting Settings
Sometimes you might want to reset or delete your individual settings, especially if you are working on someone else's workstation. There is a simple option to discard all your currently made settings.
6. Managing Synchronization
There is also a function to manage the synchronization settings. Here you can set and manage the time intervals for automatic synchronization and when your data should be transferred to the cloud.
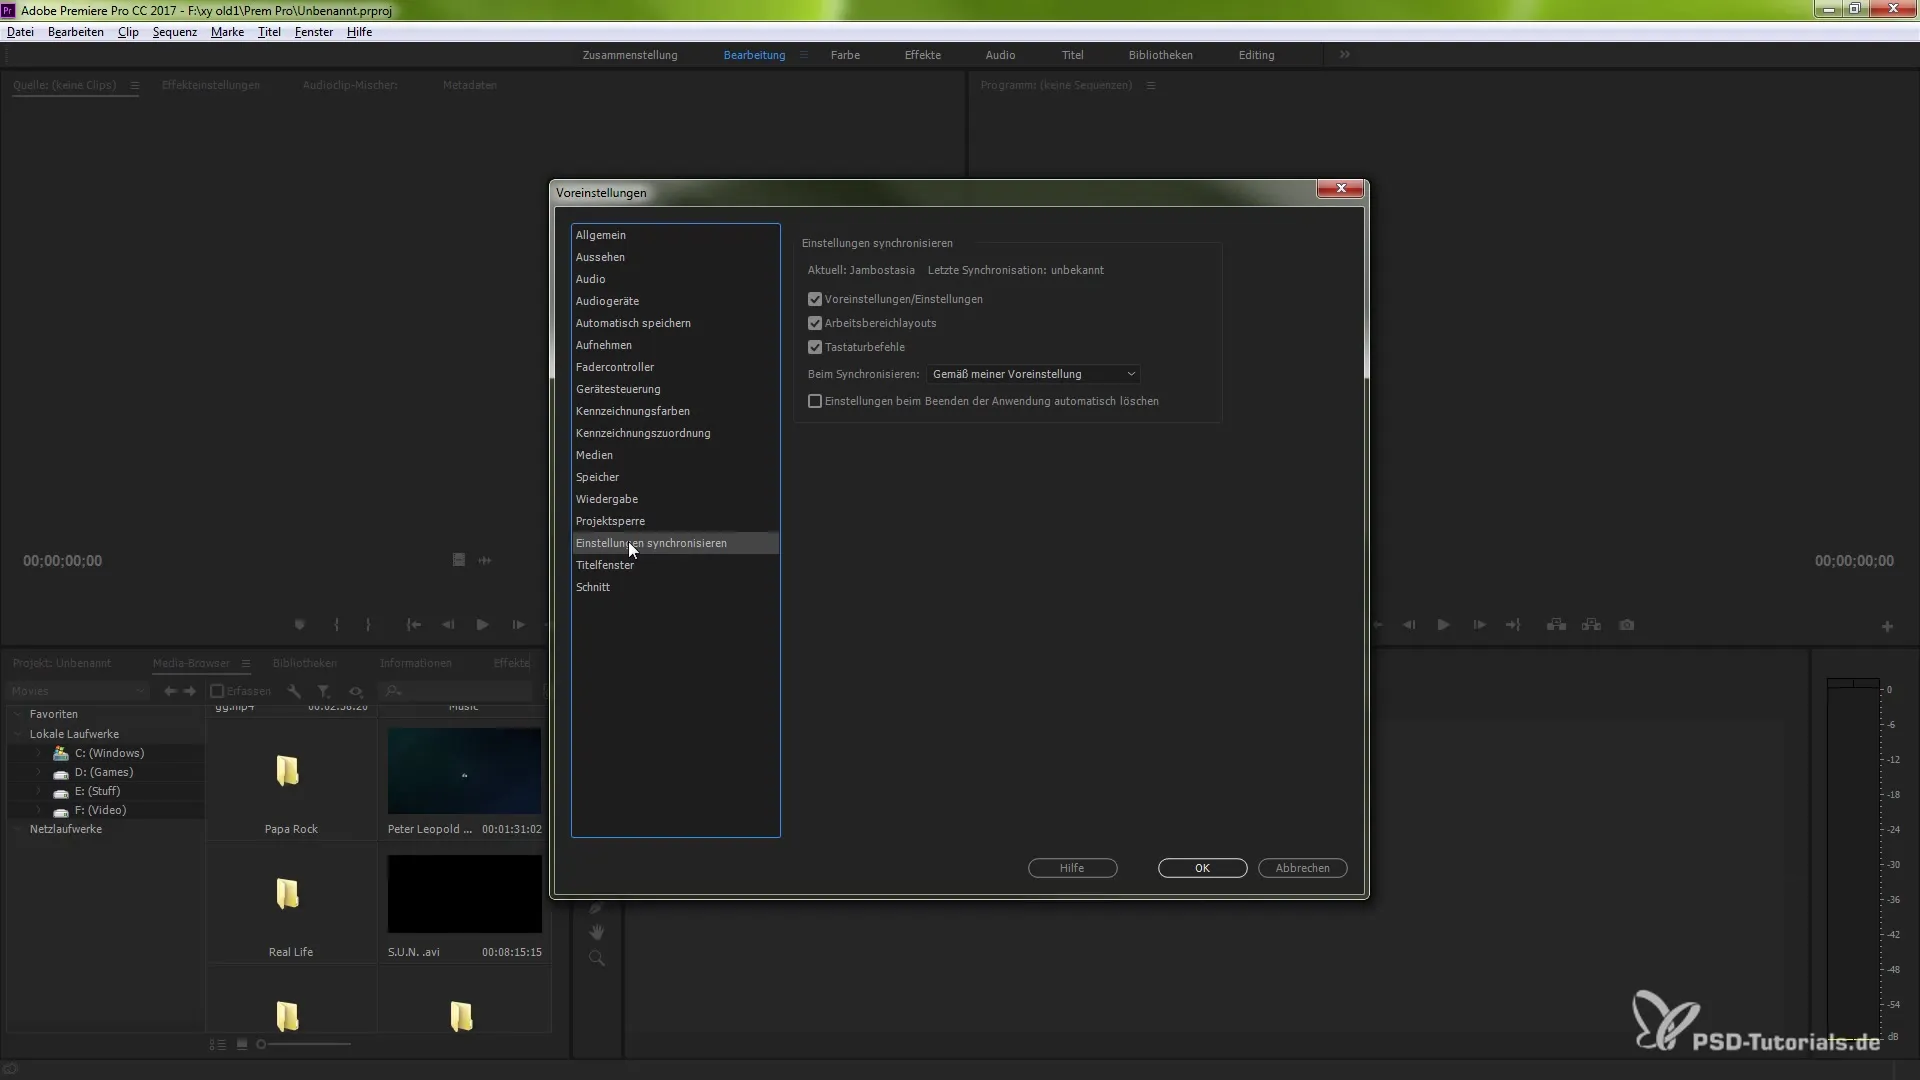
7. Adjusting Presets
In the preferences, you will find further options to customize your settings. For example, you can synchronize specific layouts and keyboard shortcuts that you are familiar with.

8. Automatic Deletion on Exit
A very useful feature is the ability to automatically reset the settings when closing the application. This reverts your layout to the factory state the next time you open Premiere Pro.
Summary - Guide to Synchronizing Settings in Adobe Premiere Pro CC 7.0 with Creative Cloud
Synchronizing your projects and settings in Adobe Premiere Pro CC 7.0 via Creative Cloud gives you the flexibility to work from different locations and on different devices. With these features, you can work more efficiently, manage your configurations effortlessly, and ensure that you are always in your familiar working environment.
Frequently Asked Questions
How do I start synchronization in Adobe Premiere Pro CC?Click on the synchronization icon at the bottom left of the user interface and select the current synchronization.
Can I download my settings from another computer?Yes, you can download your last saved synchronization at any time and restore your settings.
How do I delete my synchronized settings?You can click on the "Delete Settings" option to reset your individual settings.
Can I work with multiple Adobe IDs?Yes, you can import settings from other accounts to use different configurations for team projects.
How can I manage the synchronization intervals?Go to the synchronization settings and specify how often the data should be automatically synchronized.


