Are you facing the challenge of elevating your project in Adobe Premiere Pro CC 2018? You have the opportunity to enhance your texts and shapes with attractive gradients that add extra character to your video. In this tutorial, you will learn step by step how to effectively use the new gradient options in Premiere Pro CC 2018 to achieve impressive results.
Key Takeaways
- Texts and shapes can now be filled with gradients in Premiere Pro CC 2018.
- There are both linear and radial gradient options.
- The adjustment of gradient properties takes place directly in the Essential Graphics panel.
Step-by-Step Guide
To utilize the new gradient options in Adobe Premiere Pro CC 2018, follow these steps:
Access the Essential Graphics Panel
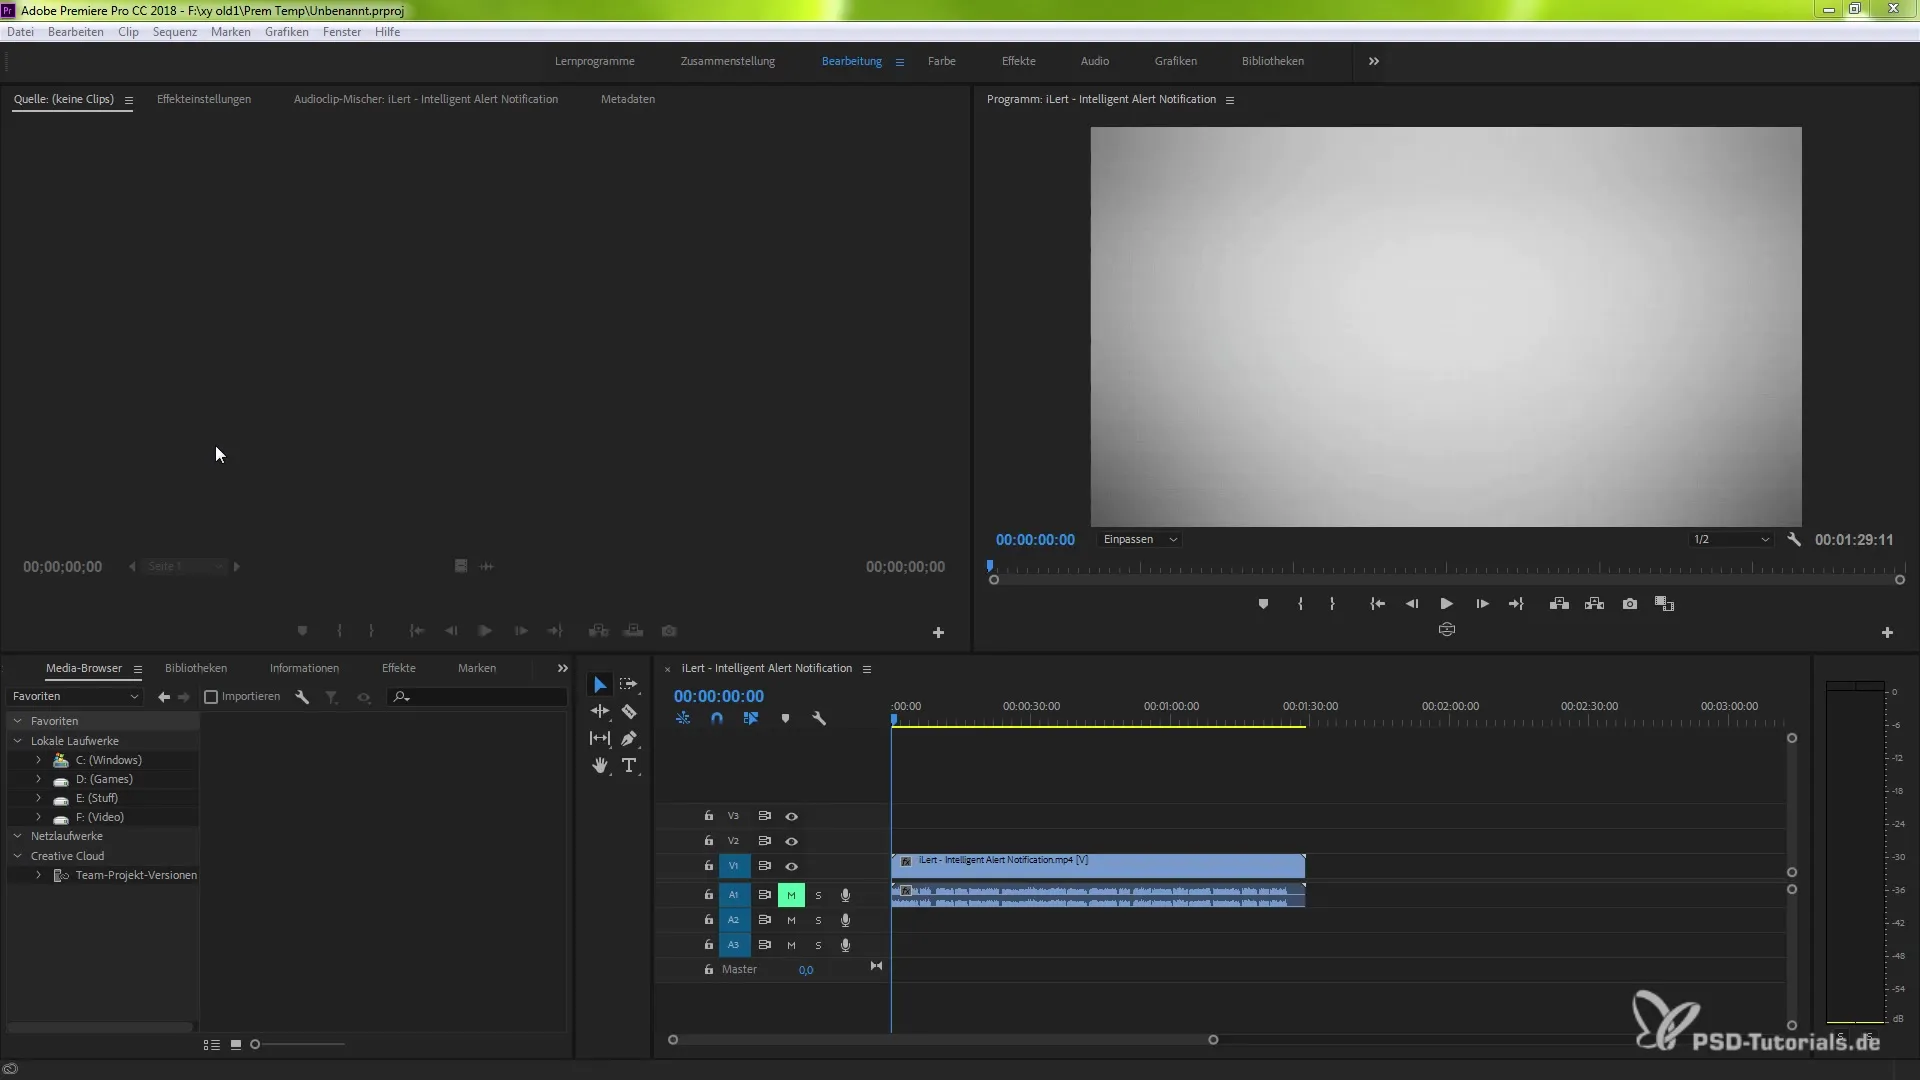
First, you need to open the Essential Graphics panel. Go to "Effects" and then look for the Essential Graphics menu. Here you will find the hamburger menu that you can click on. Select the customization options that will help you work better with the graphics.
Create a New Layer
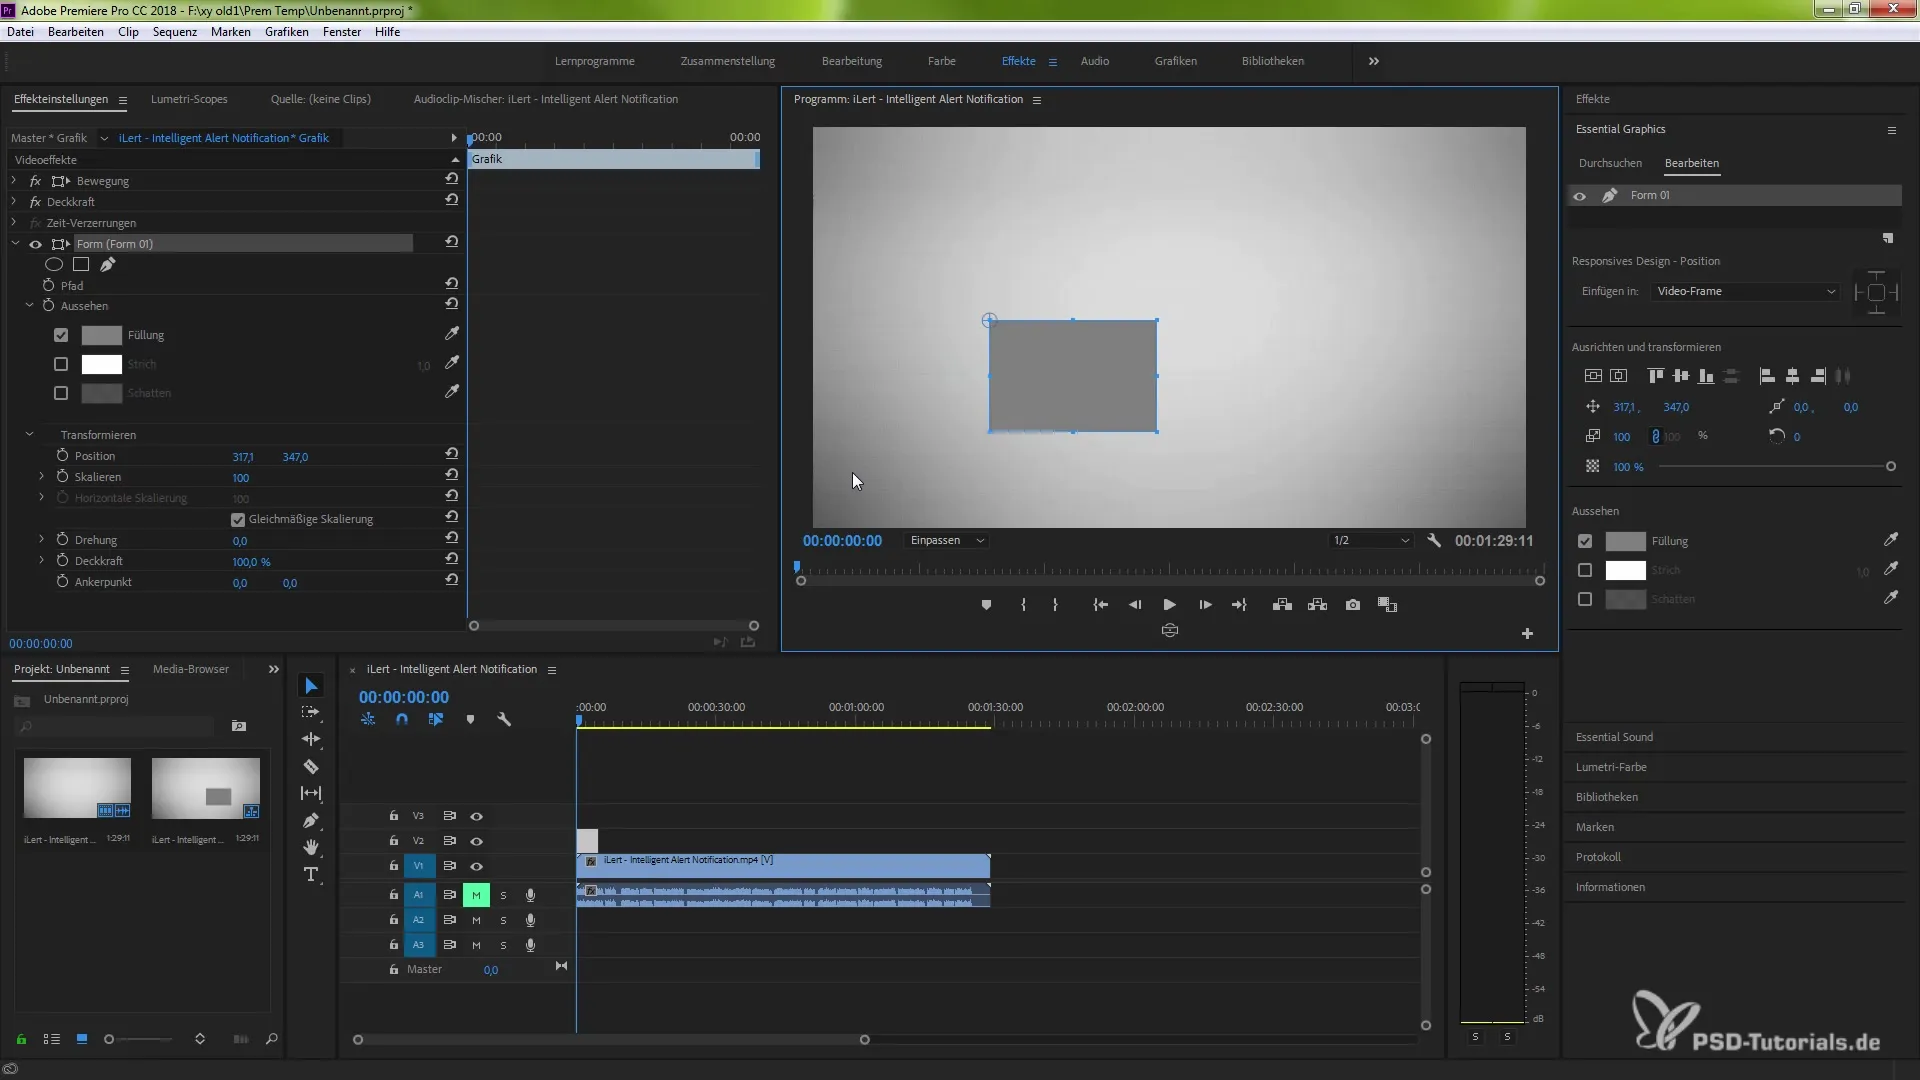
Now it’s time to create a new graphic layer. Switch to "Edit" mode and click the button to place a new layer. In this example, we will place a rectangle. You will then see in the timeline that your rectangle is now laid over a portion of the video as a foreground layer. You can extend this layer as needed to achieve the desired effect.
Adjust Colors and Fills
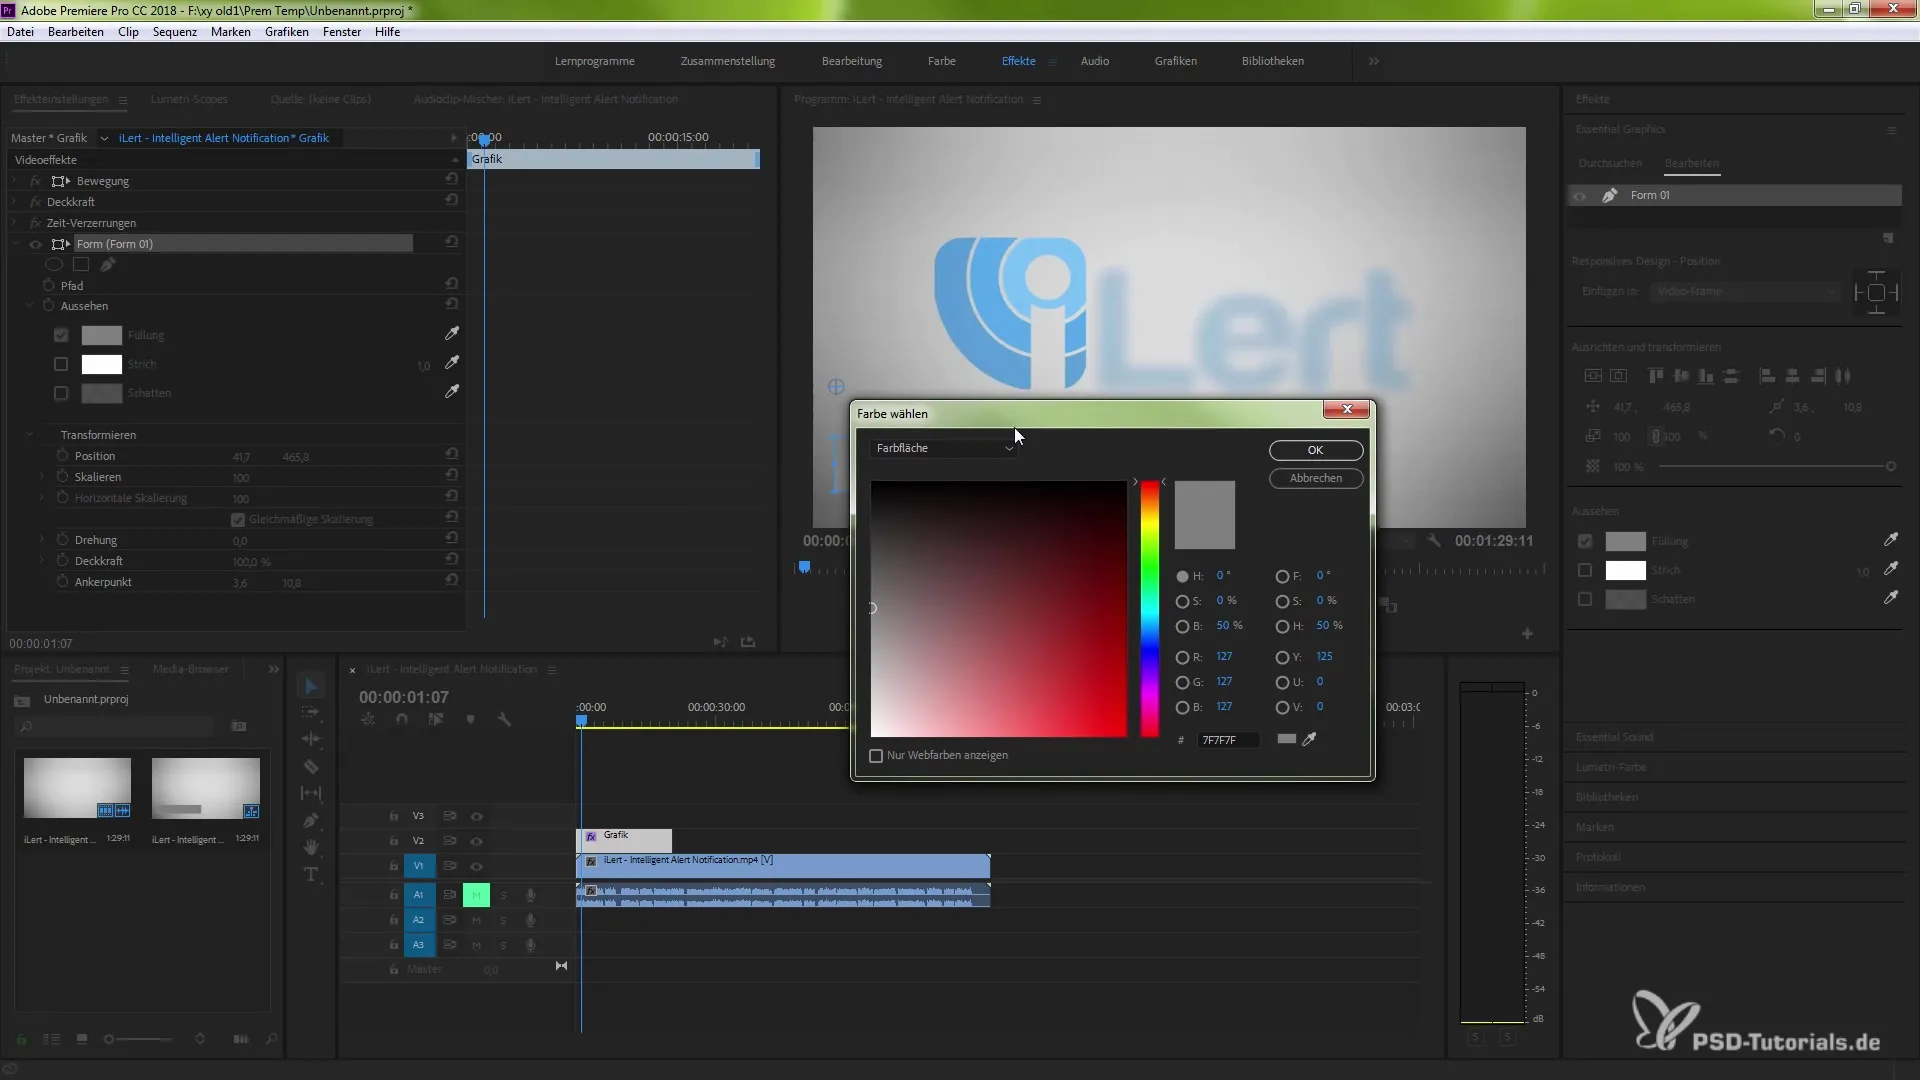
To set the gradient, click on the fill of the layer. You will see a selection where you can choose a custom fill. Click the dropdown menu to select the linear gradient. When you do this, the linear gradient will be applied directly to your shape.
Working with Handles
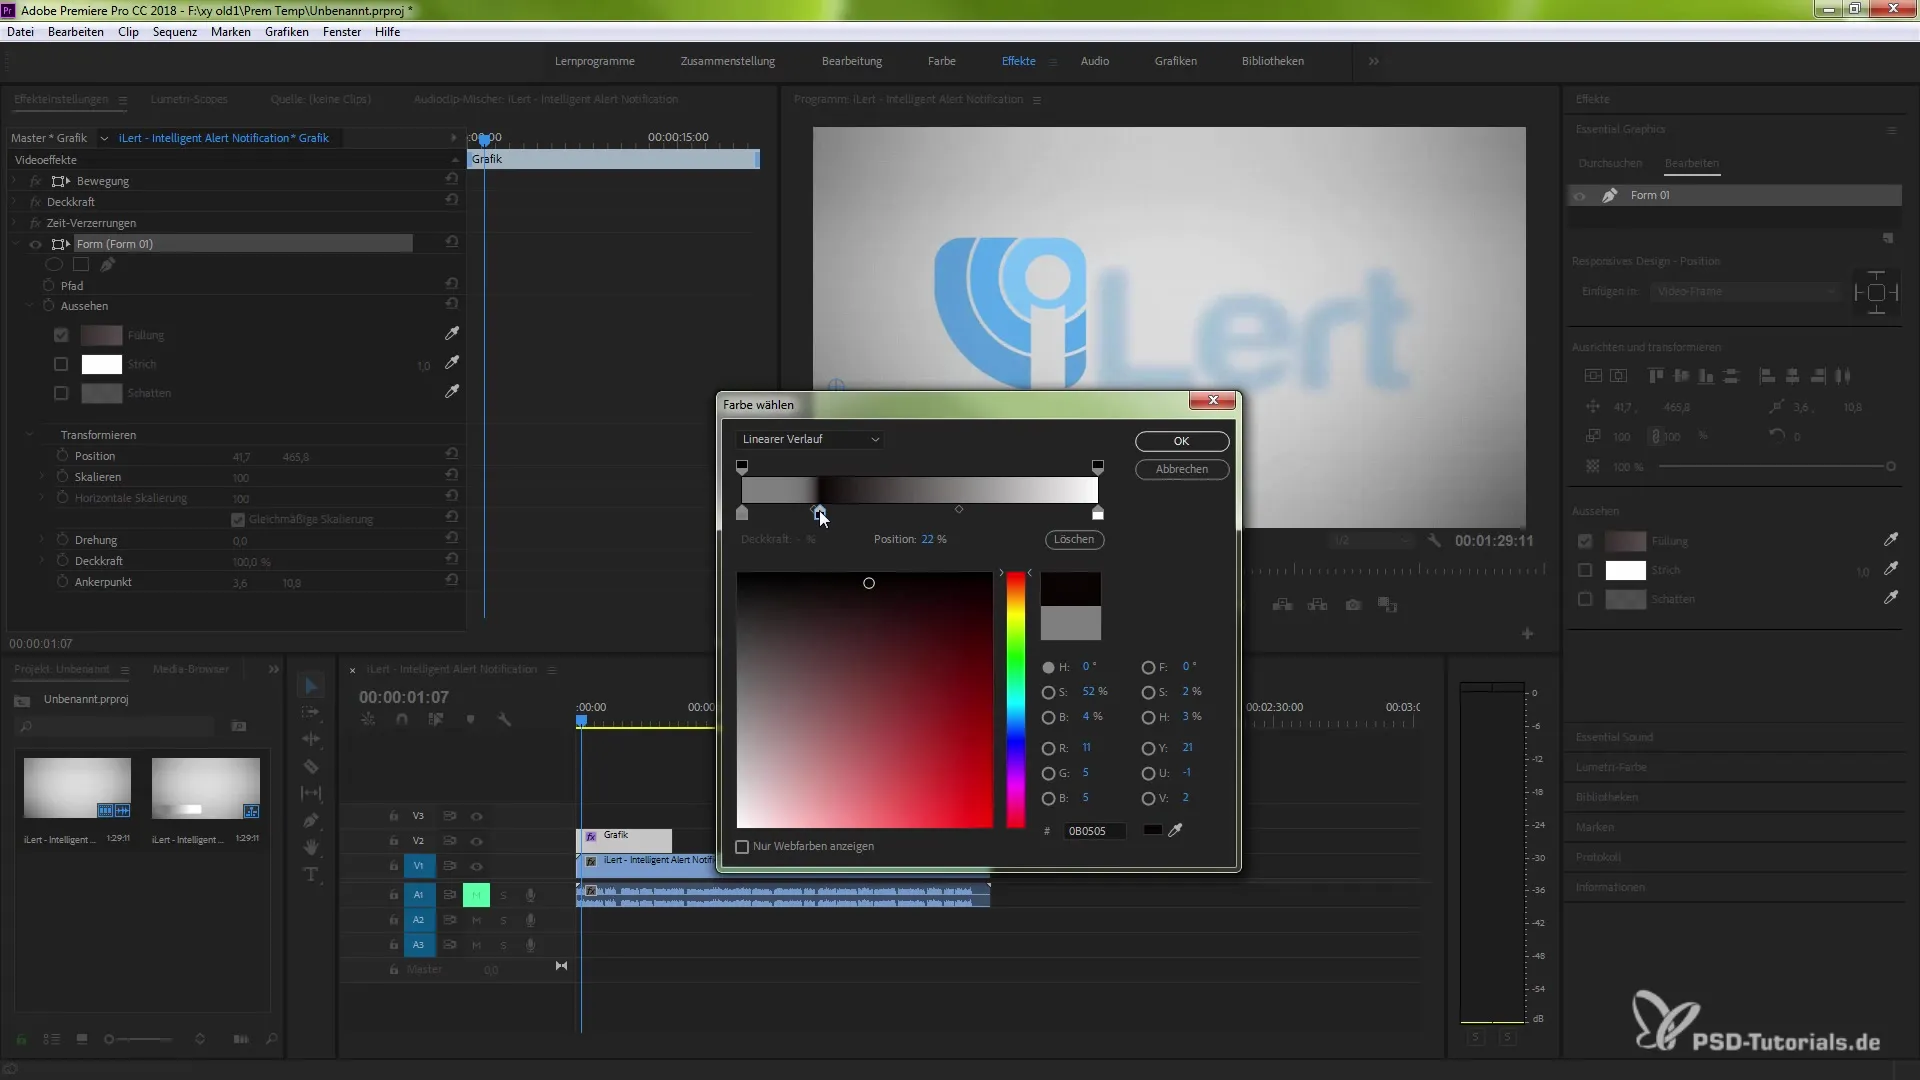
Now you can make adjustments to the gradient using the handles in the program editor. Hold down the CTRL key and drag the mouse button to create the gradient's center. This allows you to work more precisely and adjust the gradient to your liking.
Color Selection and Fine Tuning
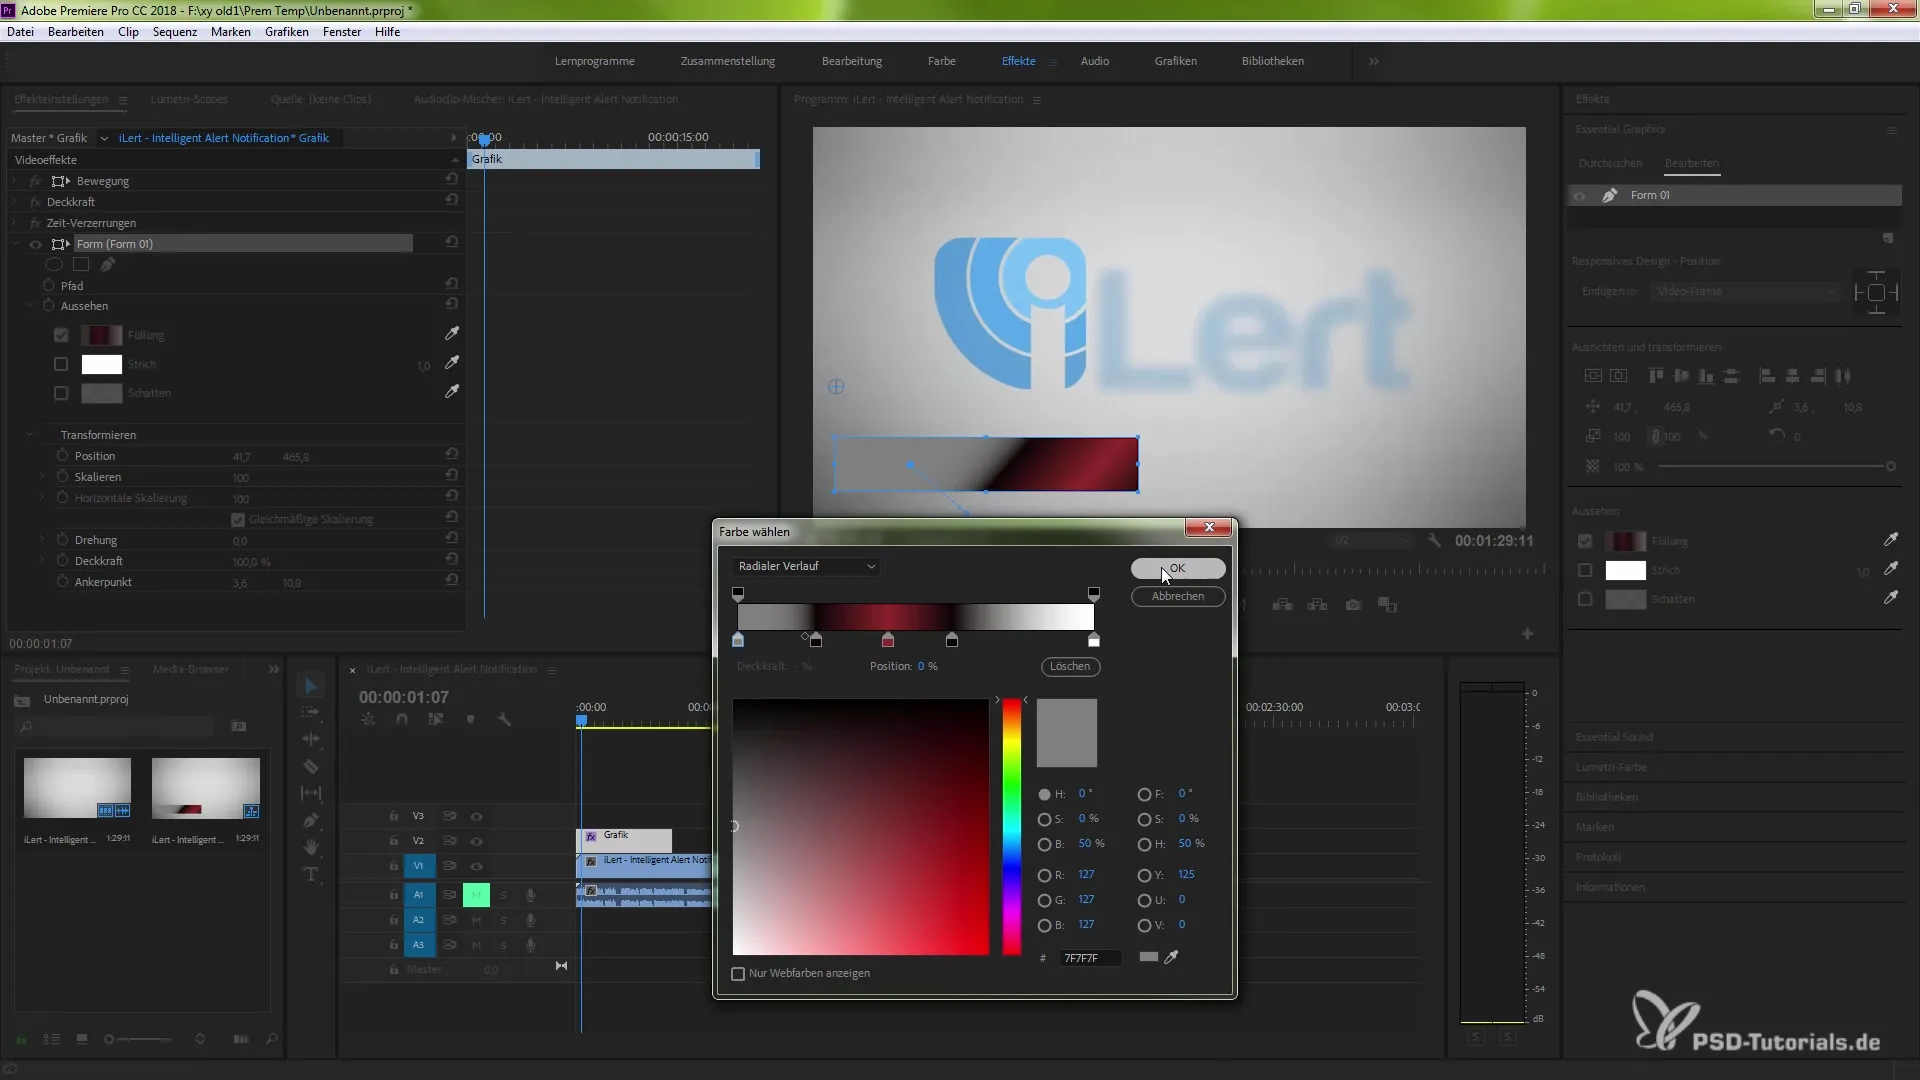
One of the strengths of Premiere Pro is the ability to change the color points. Simply double-click on the color point to move it. Choose a more vibrant color for your design to create a stronger contrast. By creating multiple color points, you can design unique graphics that stand out in your project.
Add Radial Gradient
To use a radial gradient, select the appropriate option and click on the layer. The radial gradient is applied like a donut, which you can move and adjust. This allows you to create different designs that give your project a unique touch.
Conclusion
With these steps, you have now learned how to adjust shapes in Adobe Premiere Pro CC 2018 using linear or radial gradients. You can unleash your creativity and work even more intuitively. Good luck with your projects!
Summary – Gradients for Shapes and Text Layers in Premiere Pro CC 2018
In this tutorial, you learned how to apply gradients to texts and shapes in Adobe Premiere Pro CC 2018. Using linear and radial gradients allows you to create graphic designs that stand out and are visually appealing.
Frequently Asked Questions
What are the new gradient options in Premiere Pro CC 2018?The new gradient options allow filling texts and shapes with linear or radial gradients.
How can I access the Essential Graphics panel?Go to "Effects" and open the Essential Graphics menu via the hamburger menu.
Can I adjust color points in the gradient?Yes, you can adjust color points by double-clicking and create multiple averages.
Are there different types of gradients?Yes, there are linear and radial gradients, each creating different visual effects.
How can I change the size of the gradient layer?You can stretch and adjust the gradient layer in the timeline as needed.


