You have certainly experienced it: An exciting video, but the music drowns out the voice. The new automatic Ducking in Adobe Premiere Pro CC 2018 provides the solution! Do you want to learn how to effectively adjust your audio tracks so that the speech always remains clear and understandable? In this tutorial, you will learn everything important about the new feature and how to use it.
Key insights
- Automatic Ducking ensures that the music volume is automatically lowered when speech is present.
- Setting it up requires selecting the audio sources (speech and music).
- Premiere Pro automatically creates envelopes and keyframes to make the adjustments.
- Adjustments of volume and sensitivity are easy to make.
Step-by-Step Guide
First, you need to ensure that you have Adobe Premiere Pro CC 2018 installed on your computer. Open the software and load your project or create a new one.

Step 1: Prepare Clips and Audio Tracks
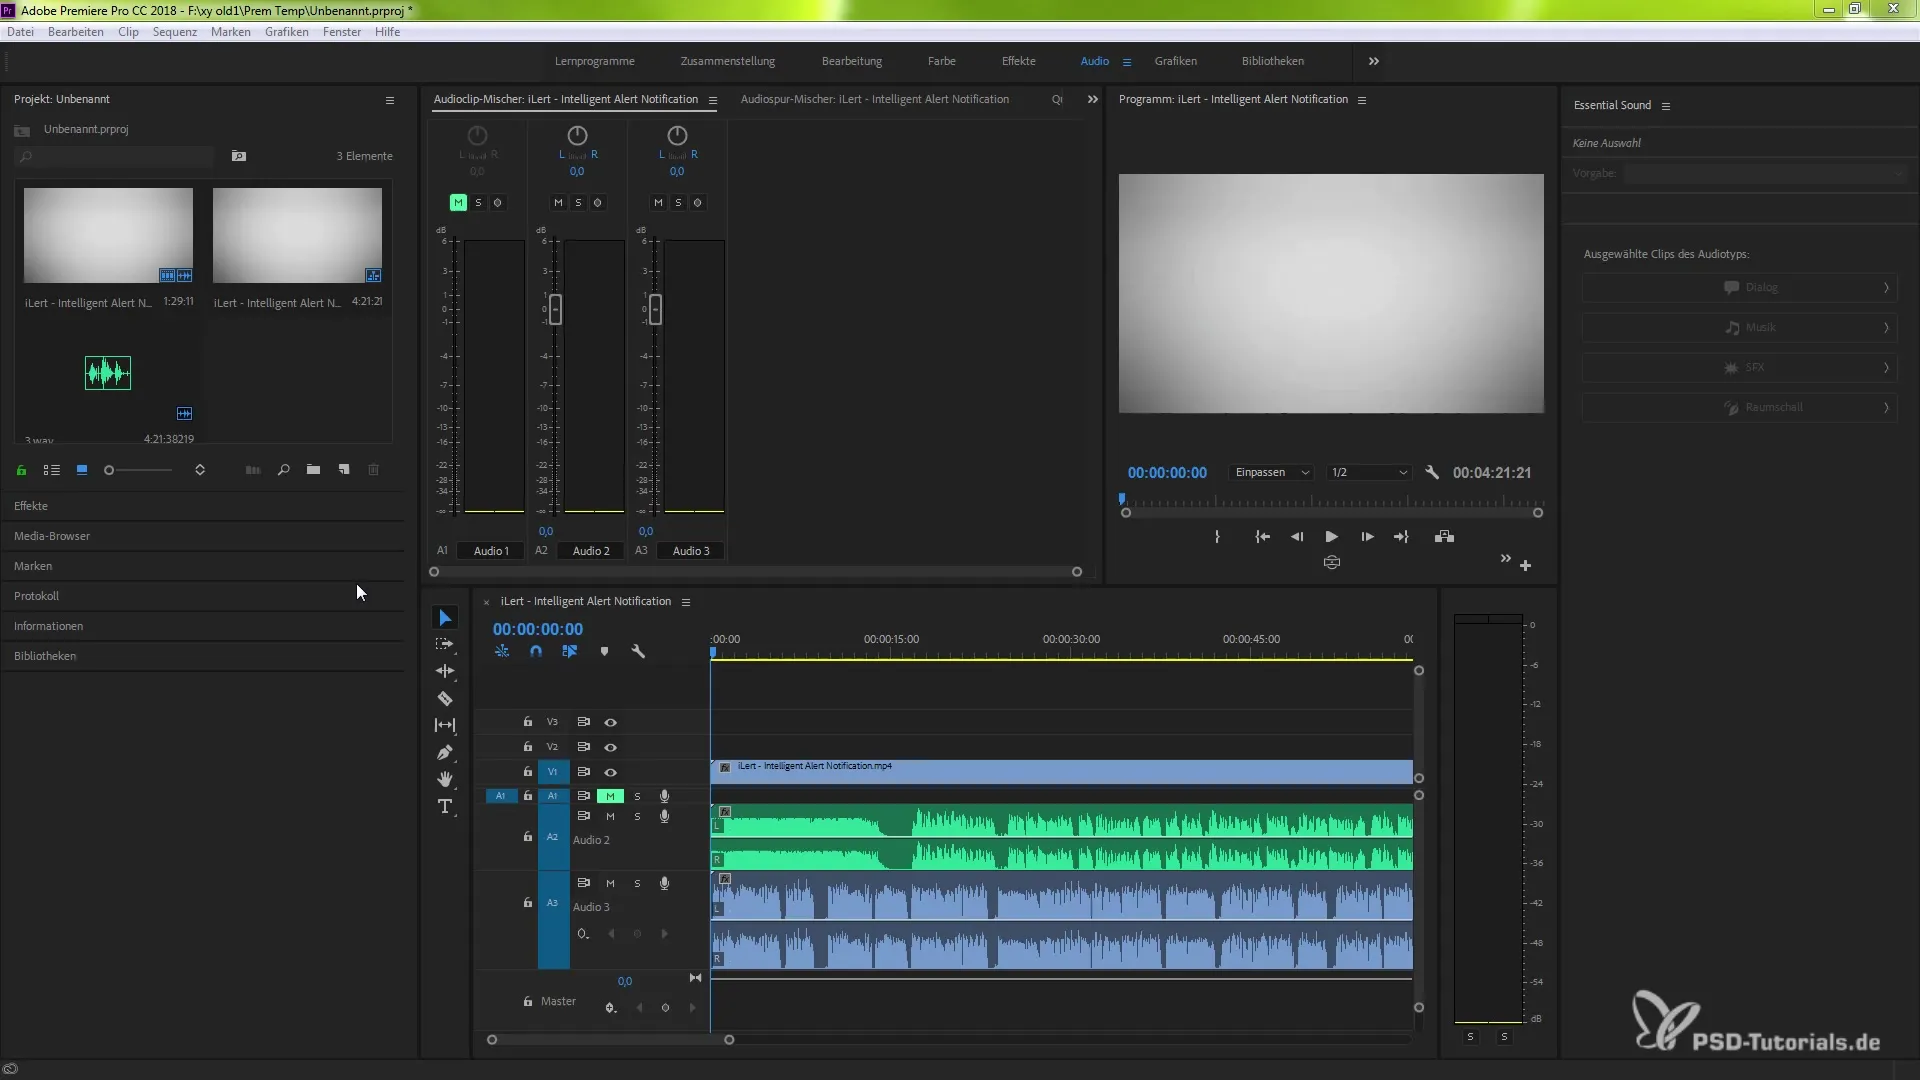
Make sure you have two audio tracks: one for the speech and one for the music. If you only have one clip, you should split it accordingly so that the speech recording is clearly separated from the musical background.
Step 2: Define Audio Types
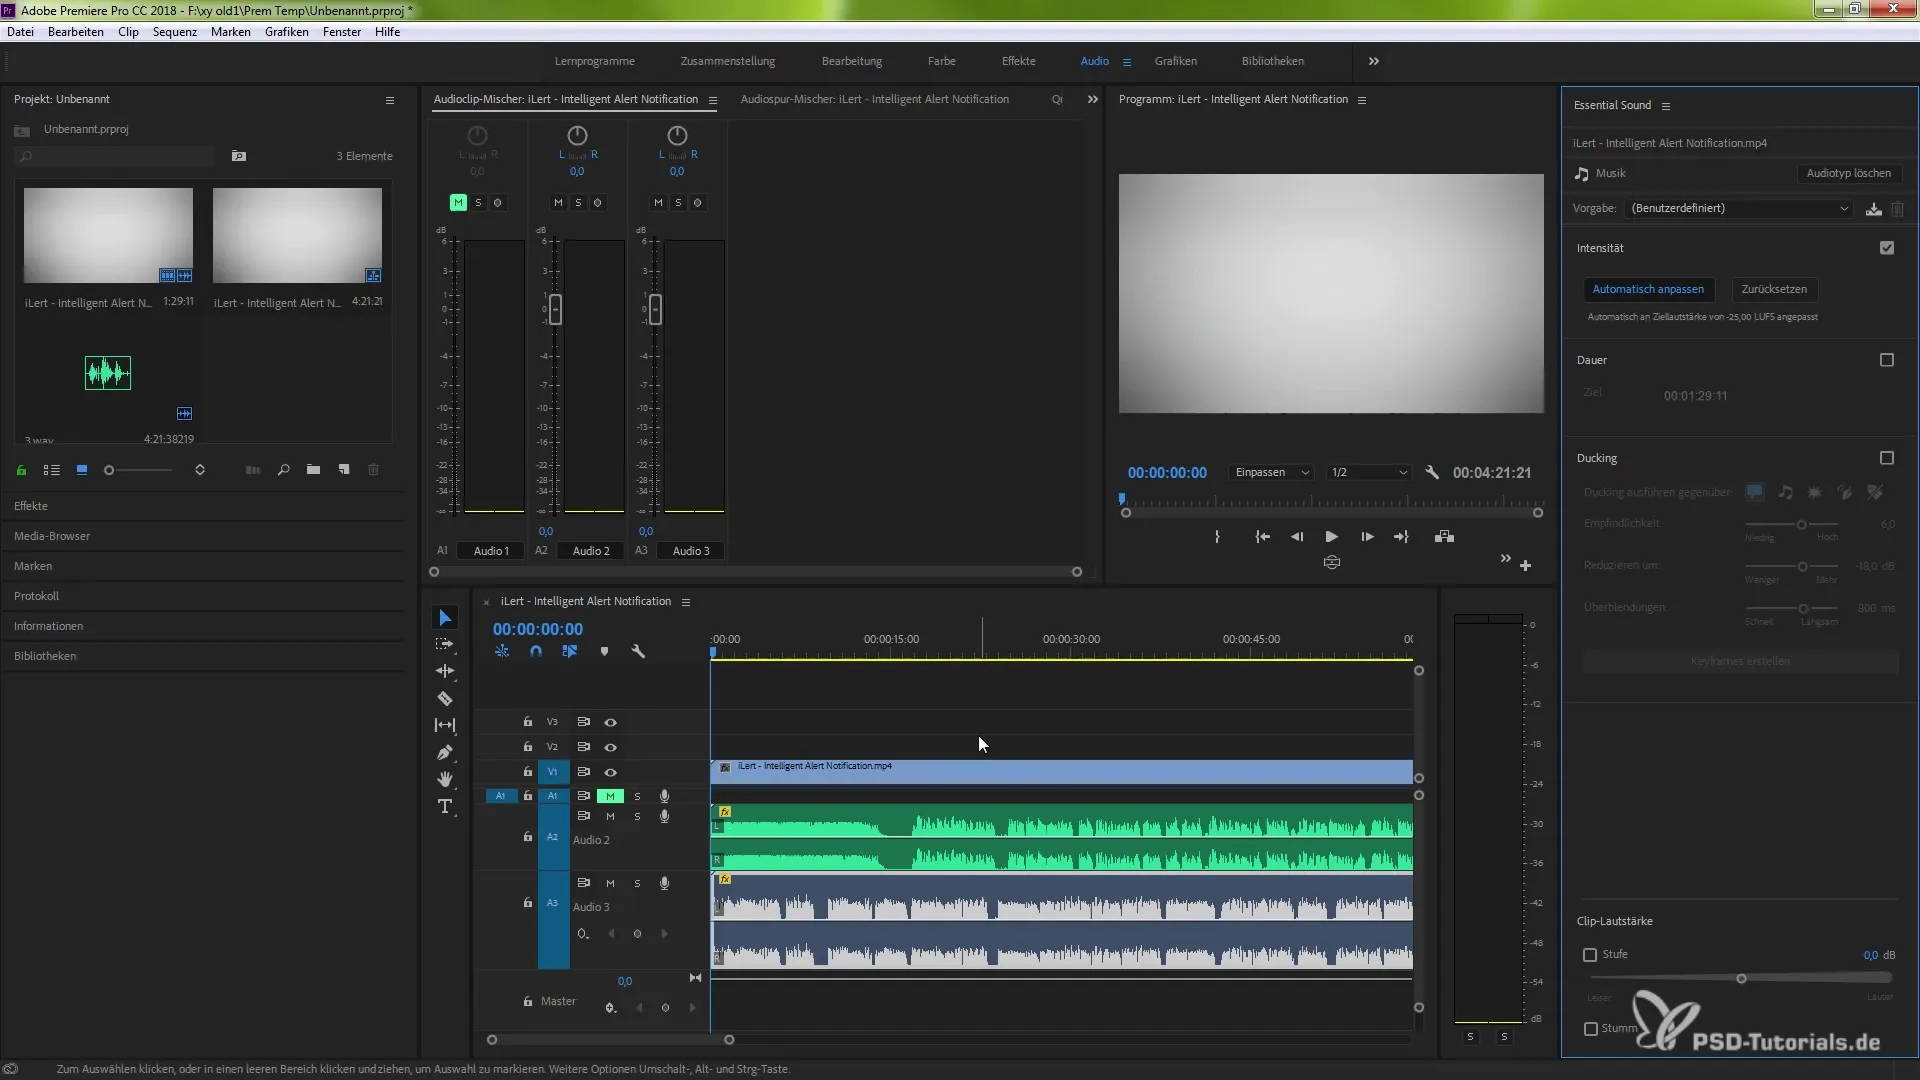
Now select the audio track for the speech and activate the corresponding dialog type. Repeat this step for the music track by defining the music as such. This is crucial so that Premiere Pro can understand how to handle the different audio materials.
Step 3: Activate Automatic Adjusting
Before you apply automatic Ducking, activate the “Automatic Adjusting” feature. This ensures that the two audio tracks do not collide. Premiere Pro is now preparing everything to adjust the audio levels in real-time.

Step 4: Apply Ducking Function
Now click on the audio file to access the Ducking function. You will see various options available to configure the automatic Ducking.
Step 5: Adjust Ducking Settings
Select the option “Ducking relative to Dialogue”. This is the correct setting for your project, as it takes into account the relationship between speech and music.
Step 6: Create Keyframes
After selecting the Ducking function, click on “Create Keyframes”. Premiere Pro will now automatically generate the envelope that indicates when the music should be lowered when speech occurs. You can visibly track the waveform and see how the music is adjusted to the respective speech level.
Step 7: Make Adjustments
You now have the option to manually adjust the generated keyframes by moving the individual points on the envelope or changing the sensitivity of the Ducking settings. If you want a higher sensitivity, you can easily do this.
Step 8: Check Results
Listen to the changes to ensure that the speech is clear and audible, and the music remains pleasant in the background. If necessary, you can make further adjustments to find the perfect mix. The functions of Premiere Pro take a lot of work off your hands by taking care of the audio-technical configuration for you.
Step 9: Save Project
Don’t forget to save your project after making the desired adjustments. This ensures that all your settings and changes are retained.
Summary - Automatic Ducking in Premiere Pro CC 2018
The automatic Ducking feature in Adobe Premiere Pro CC 2018 is a valuable tool for improving the audio quality of your videos. It allows you to automatically adjust the music without needing to make manual interventions. By following the steps outlined above, you can leverage this significant time savings and achieve professional results.
Frequently Asked Questions
How does automatic Ducking work in Premiere Pro?Automatic Ducking automatically lowers the music volume when speech sounds are detected.
Can I adjust the effectiveness strength of the Ducking?Yes, you can adjust the sensitivity and volume of the Ducking adjustments.
Do I need a specific setup for the audio sources?Yes, it is required to use separate audio tracks for speech and music.
Does Ducking also work for other audio types?Yes, you can also apply Ducking settings for SFX or other AUDIO TYPES.
Is the adjustment made in real-time?Yes, Premiere Pro adjusts the volume in real-time while the clip is playing.


