If you are filming with multiple cameras, you have surely experienced how time-consuming it is to find the right material for your editing work. The automatic Synchronizing feature for multiple camera angles in Premiere Pro CC 7.0 significantly simplifies this process. In this guide, I will explain step by step how you can use this new feature to cut seamlessly between different shots and make the most of your video material.
Key Insights
- Premiere Pro CC 7.0 allows for the automatic synchronization of multiple camera angles.
- You can group clips in a multicamera source sequence and switch between them effortlessly.
- Audio and timecode options assist you in synchronization.
Step-by-Step Guide
First, you should prepare your clips recorded from different camera angles in a folder. This step is crucial to keep track and facilitate automatic synchronization.
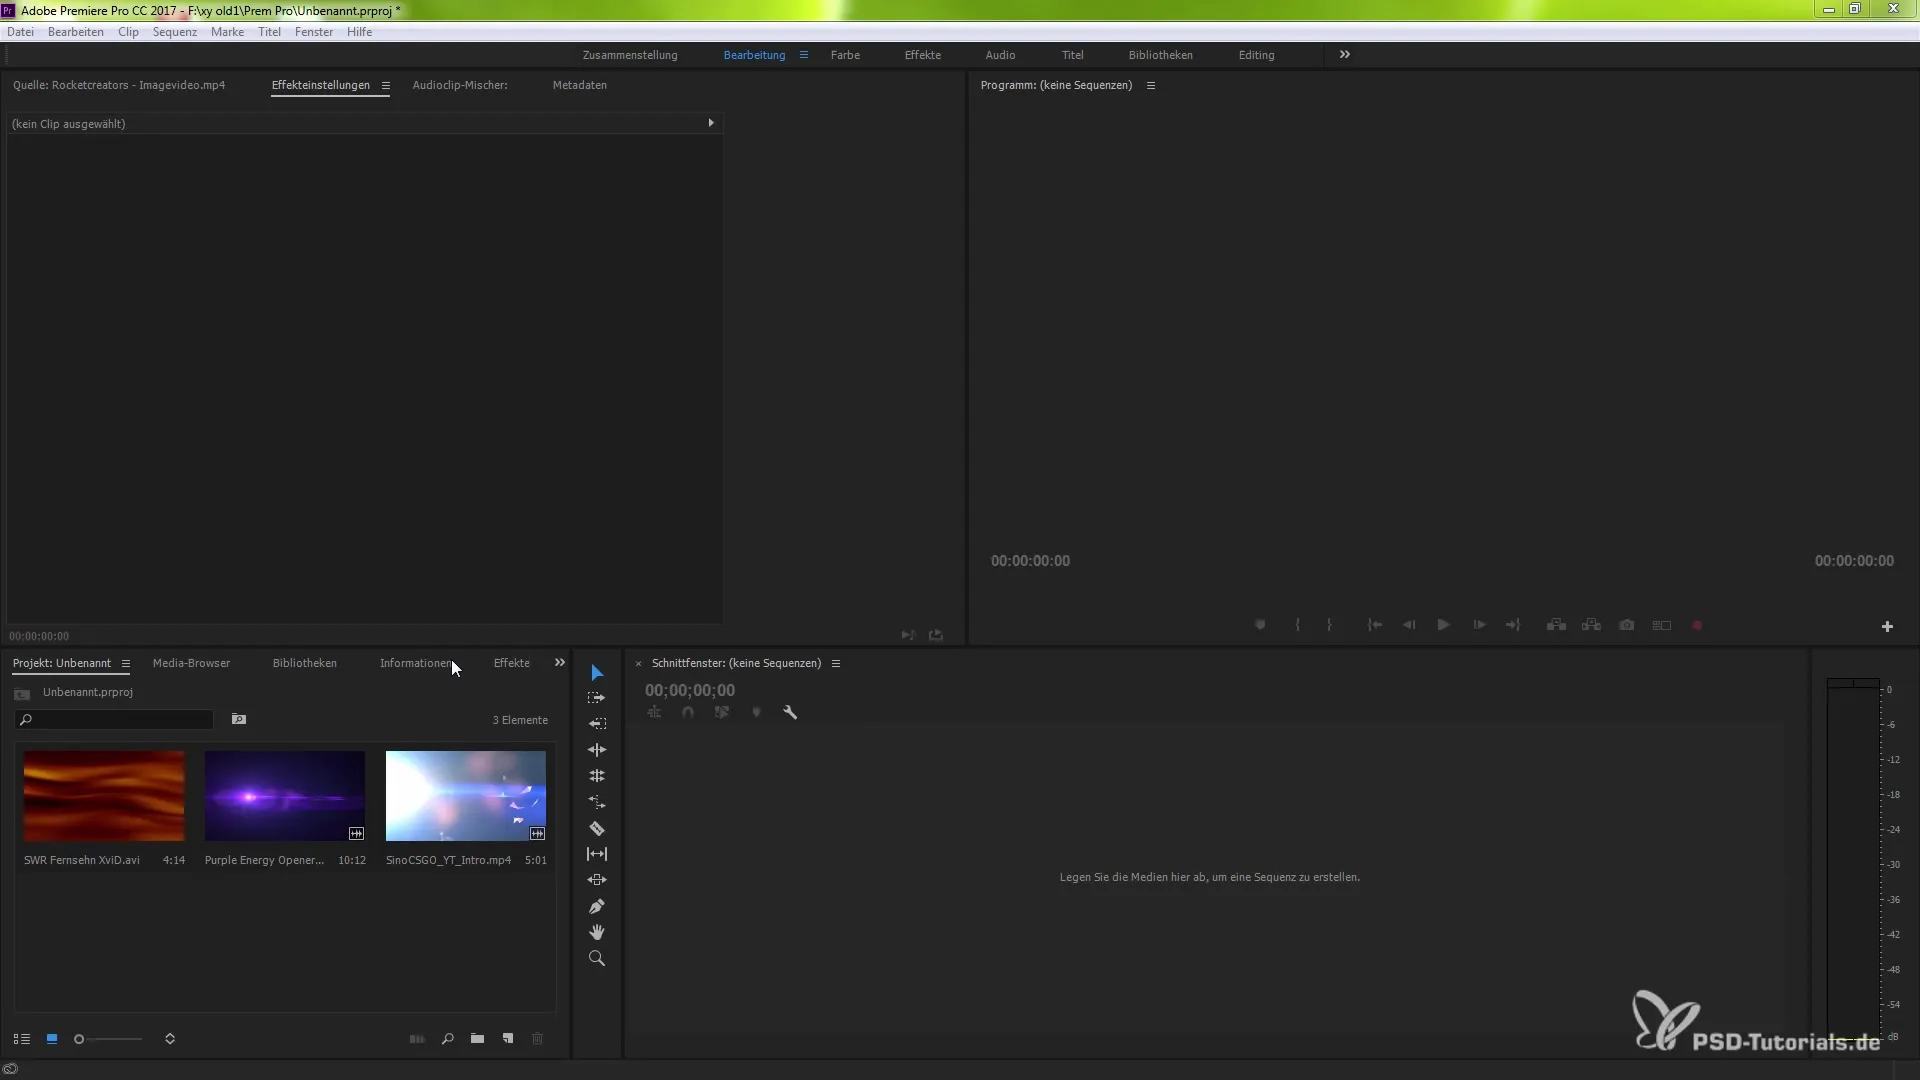
Create New Folder
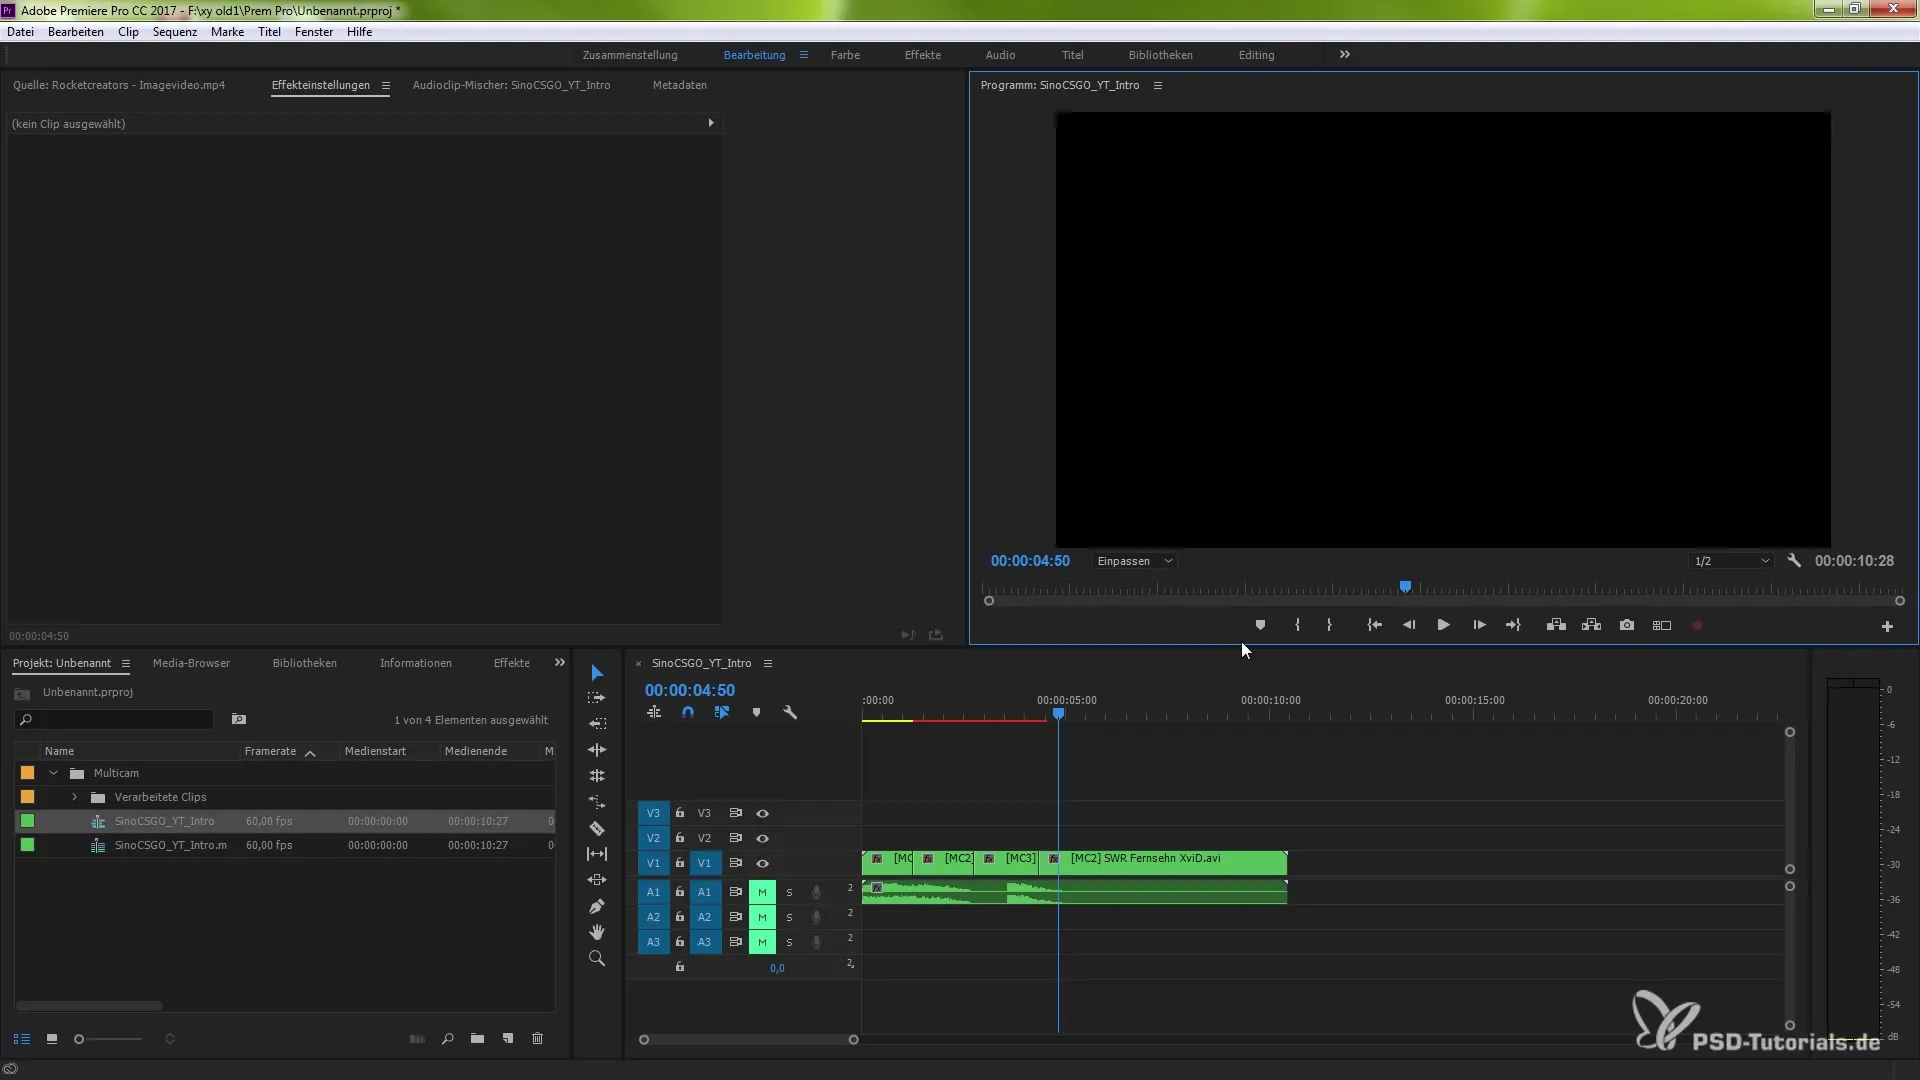
To organize the clips, create a new folder named “Multicam,” for example. You can achieve this by holding down the Shift key while selecting the clips with the left mouse button. Then simply drag them into the newly created folder.
Create Multicamera Source Sequence
Once the clips are in the folder, select all clips and right-click. Choose the option to create a multicamera source sequence. A new window will open where you can set the synchronization options.
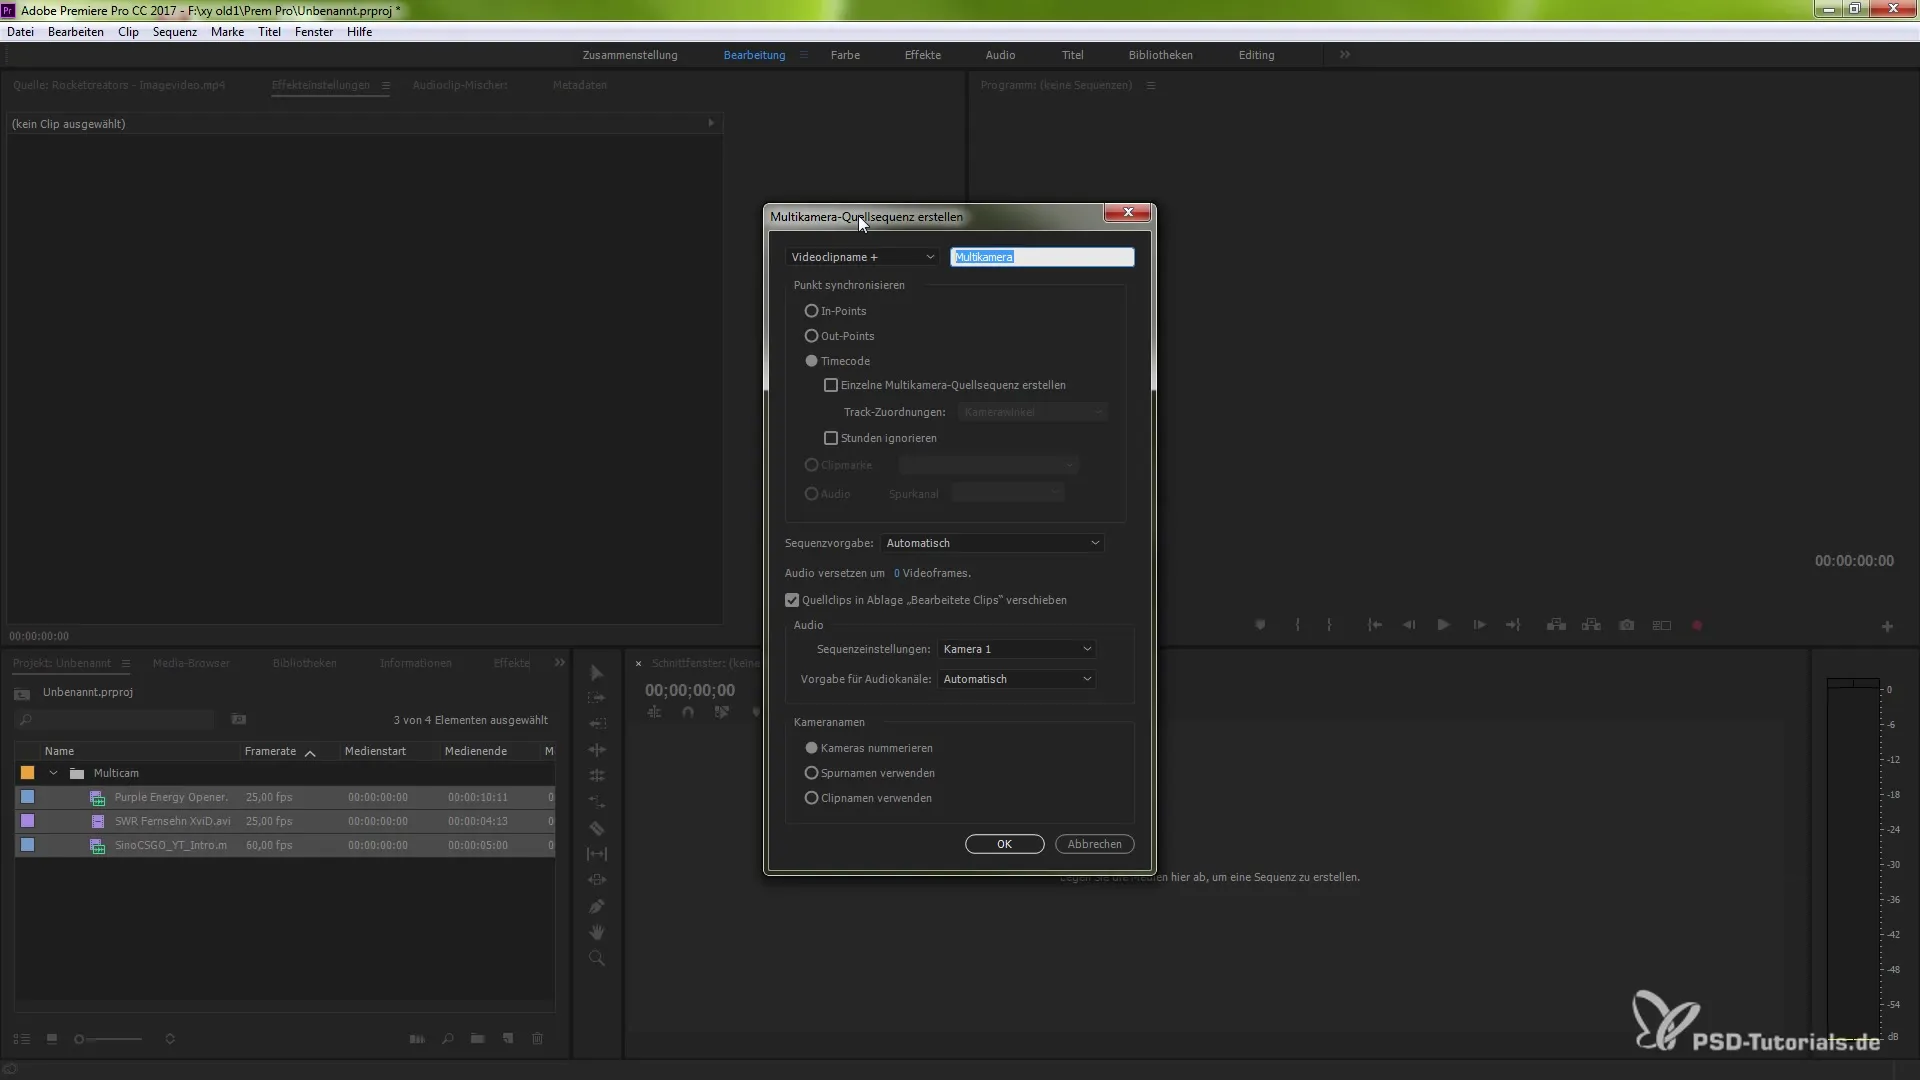
Sort and Synchronize Clips
In this window, you have various sorting options. For example, you can sort by видеоклипами (video clips) or by audio clips. To synchronize the clips, you should select the audio analysis options so that Premiere Pro groups the clips based on distinctive sounds, such as the slamming of a door post or similar sounds.
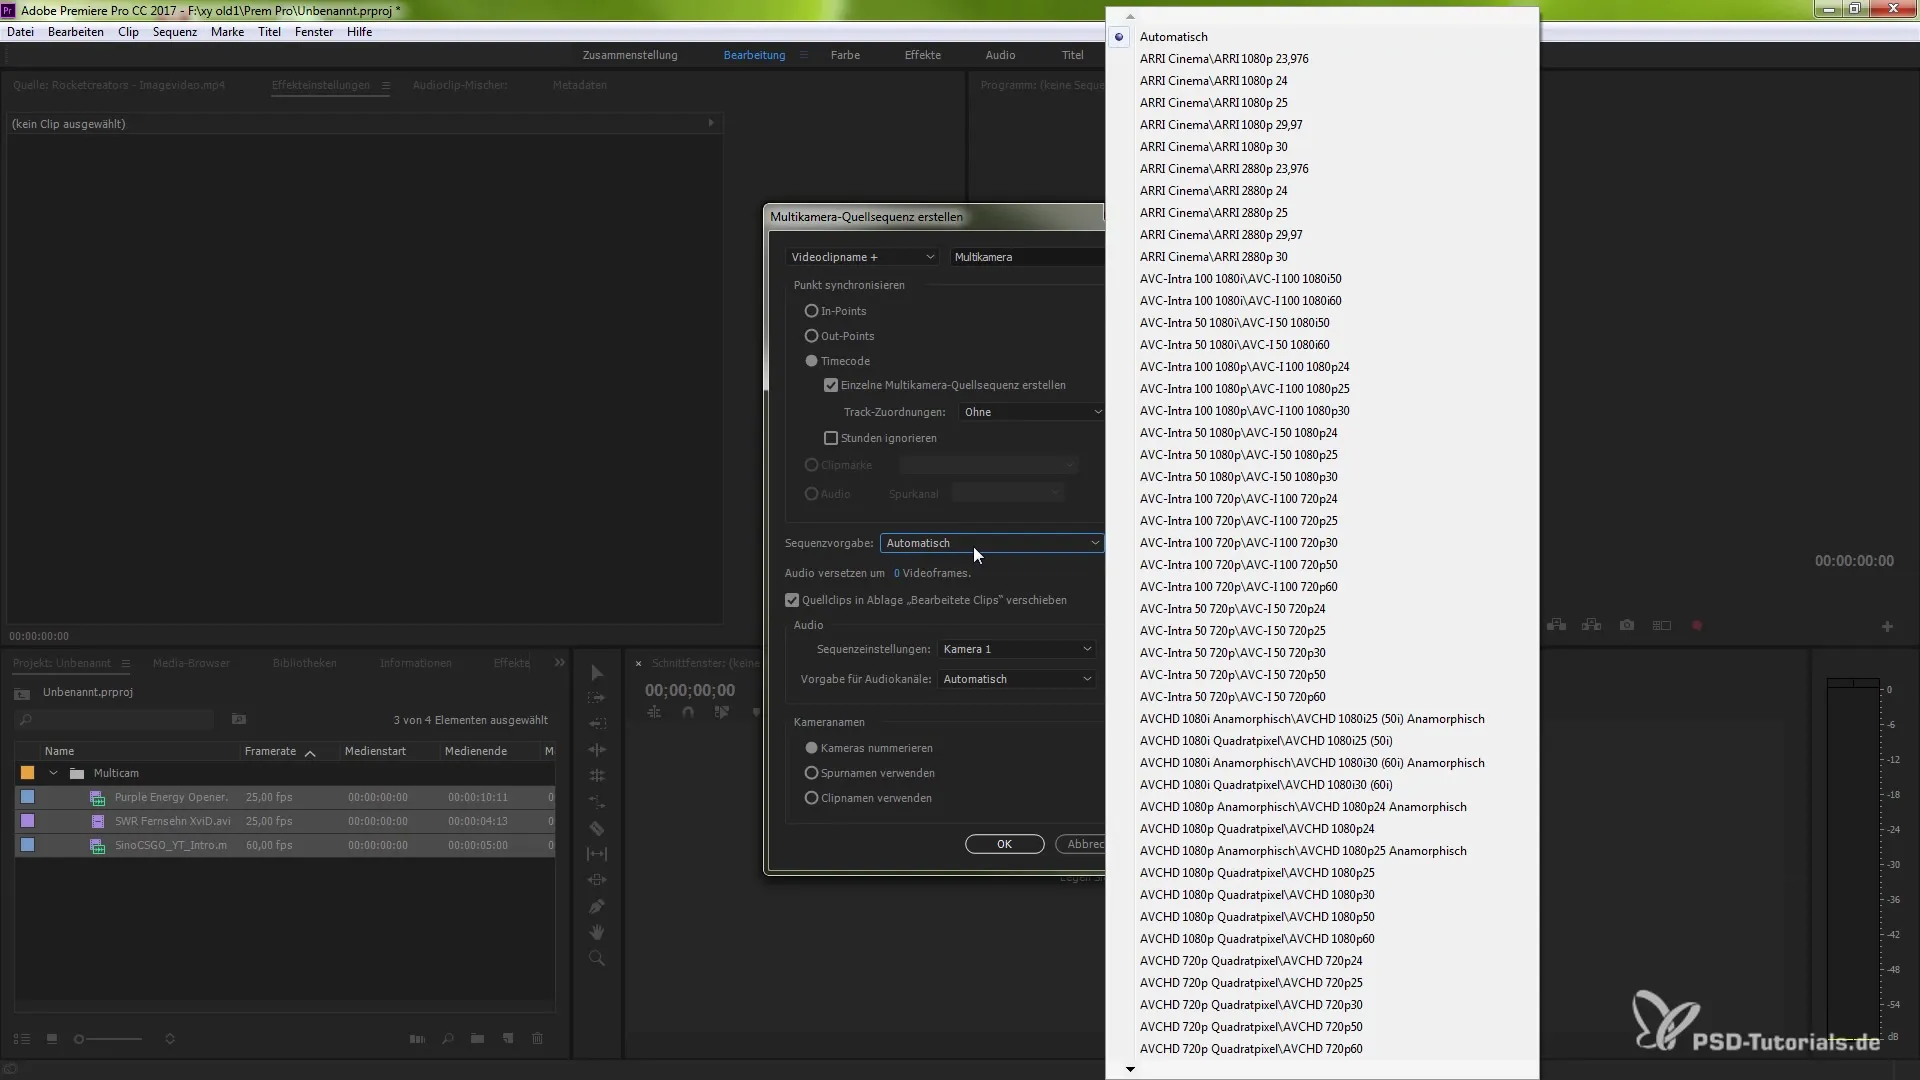
Select Sequence Settings
After you have chosen the synchronization method, you can select the sequence settings. Here you specify which settings should be used for the multicamera source sequence. Make sure to select the correct audio settings so that everything runs smoothly.
Activate Multicam View
Now, go to the button editors and enable the multicamera view. Drag the elements into the editing window so that you can switch between the different camera shots while editing.
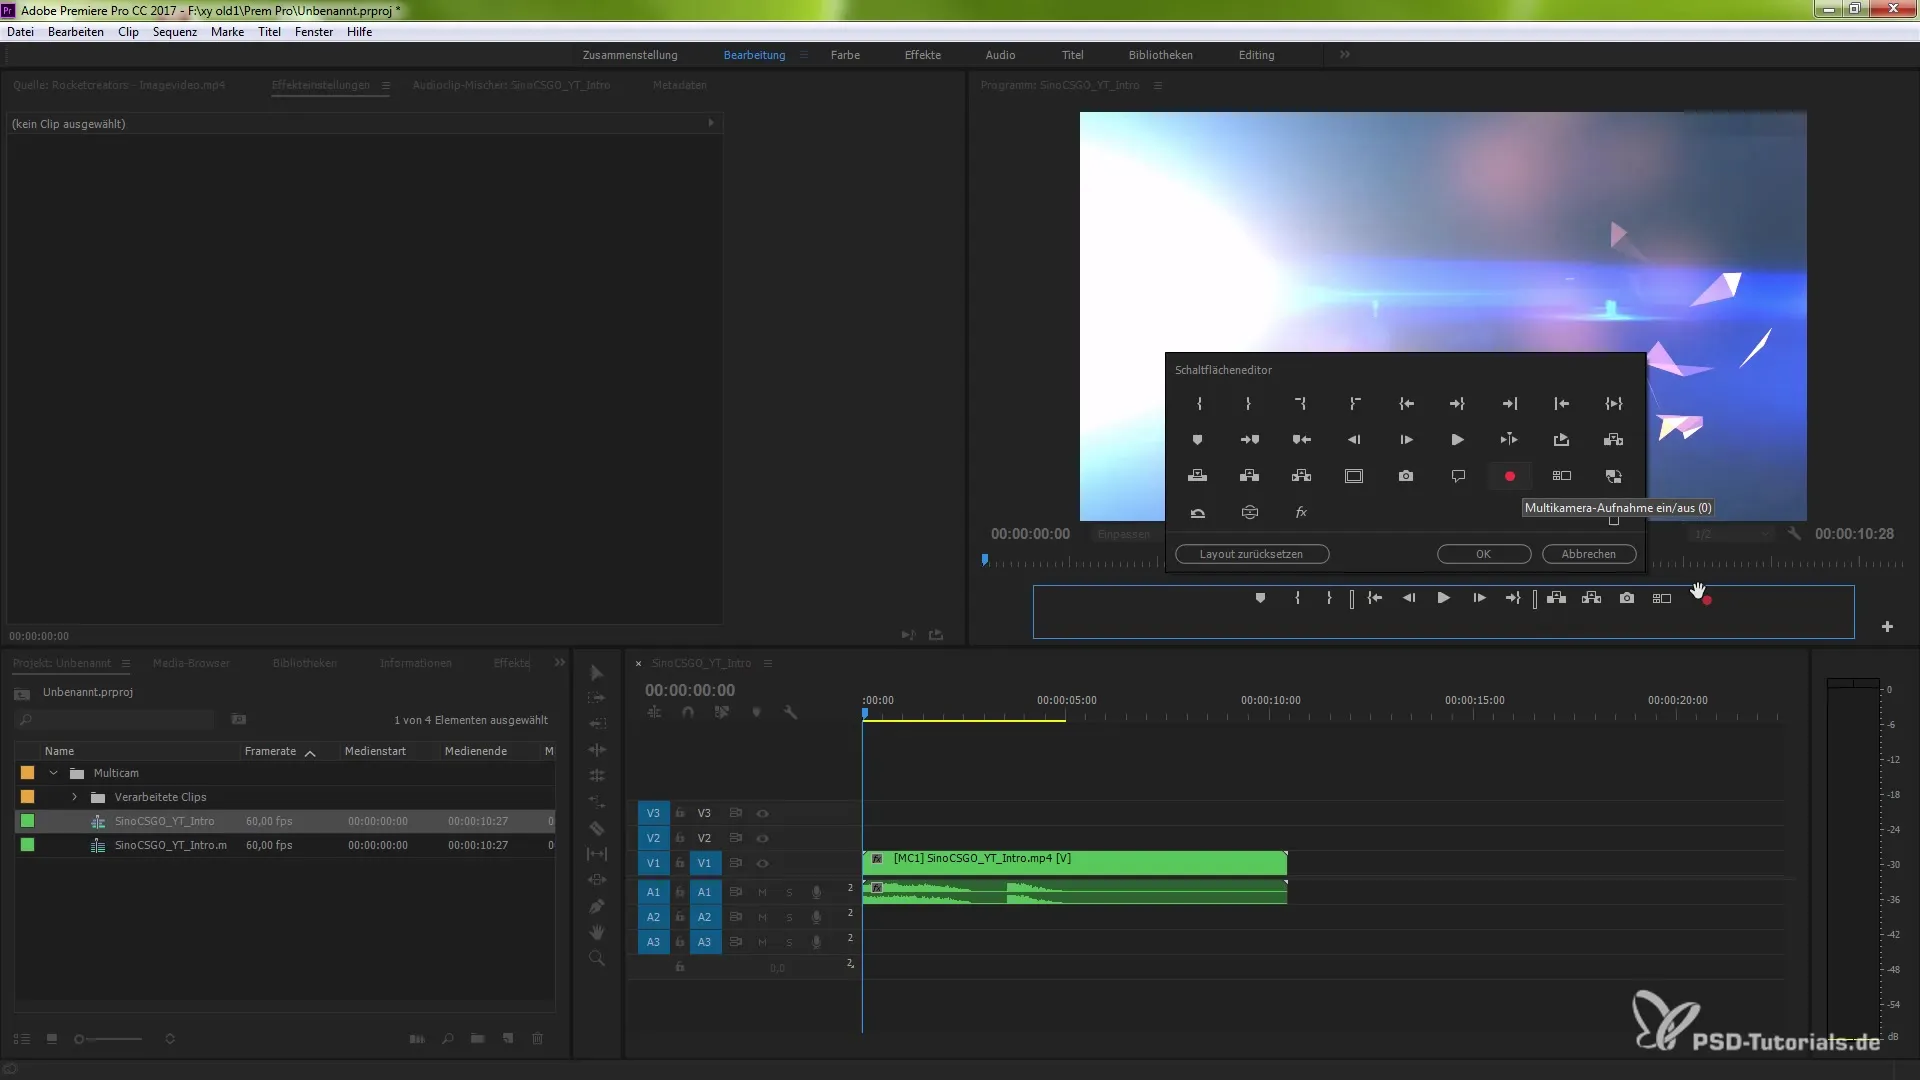
Trim and Edit Clips Live
You can now activate the multicamera view and set cut points during the playback of the sequence. Set cut points where it fits best, without actually using a blade. This makes it easy to make dynamic cuts in real-time.
Summary – Automatic Synchronization of Multiple Camera Angles in Premiere Pro CC 7.0
In this guide, you have learned how to automatically synchronize multiple camera angles in Premiere Pro CC 7.0. The steps include creating a folder, creating a multicamera source sequence, selecting the right sequence settings, and live-editing your recordings. With these features, you can work efficiently and creatively.
Frequently Asked Questions
What do I need to synchronize multiple camera angles?You need several clips from different cameras that you want to edit in Premiere Pro CC 7.0.
How can I ensure that the clips are synchronized correctly?The key lies in the correctly chosen synchronization option, based on audio or timecode.
Can I set cut points during playback?Yes, by activating the multicamera recording, you can set cut points during playback.


