In Adobe Premiere Pro CC 2018, there is now a useful feature that significantly simplifies your work with sequence markers. The copying and pasting of sequence markers makes it possible to easily duplicate markers and use them in various clips. In this guide, I will explain how to create sequence markers and what steps you need to follow to copy and paste them. Get ready for a more productive video editing experience!
Main Insights
- The new feature in Premiere Pro CC 2018 allows for copying and pasting of sequence markers.
- You can create global sequence markers and set their priority.
- The operation is intuitive and significantly improves your workflow.
Step-by-Step Guide
To use sequence markers in Adobe Premiere Pro CC 2018, follow these steps:
1. Create Sequence Markers
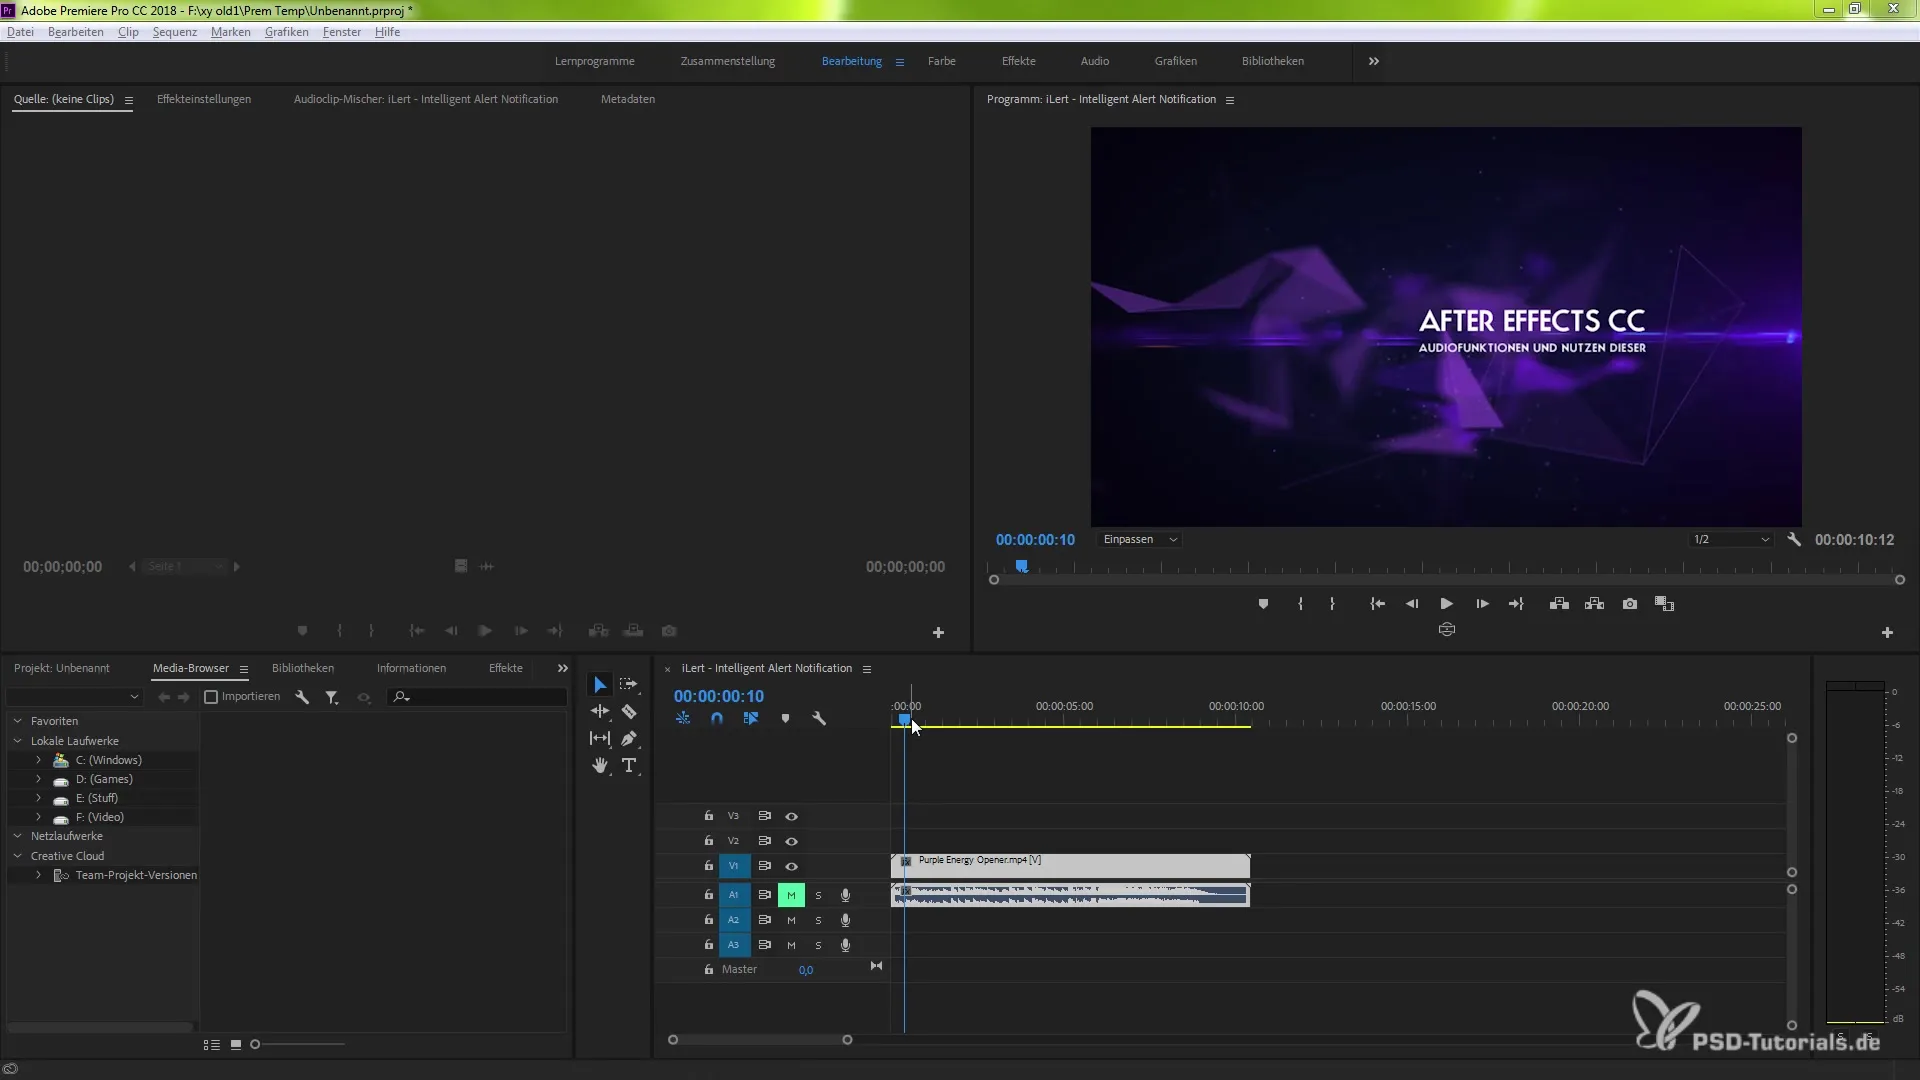
To set a sequence marker, first select a range of your clip. Then press the “M key”. This will place a sequence marker at the desired location. This marker remains firmly anchored in the clip and cannot be moved.
2. Create Global Sequence Markers
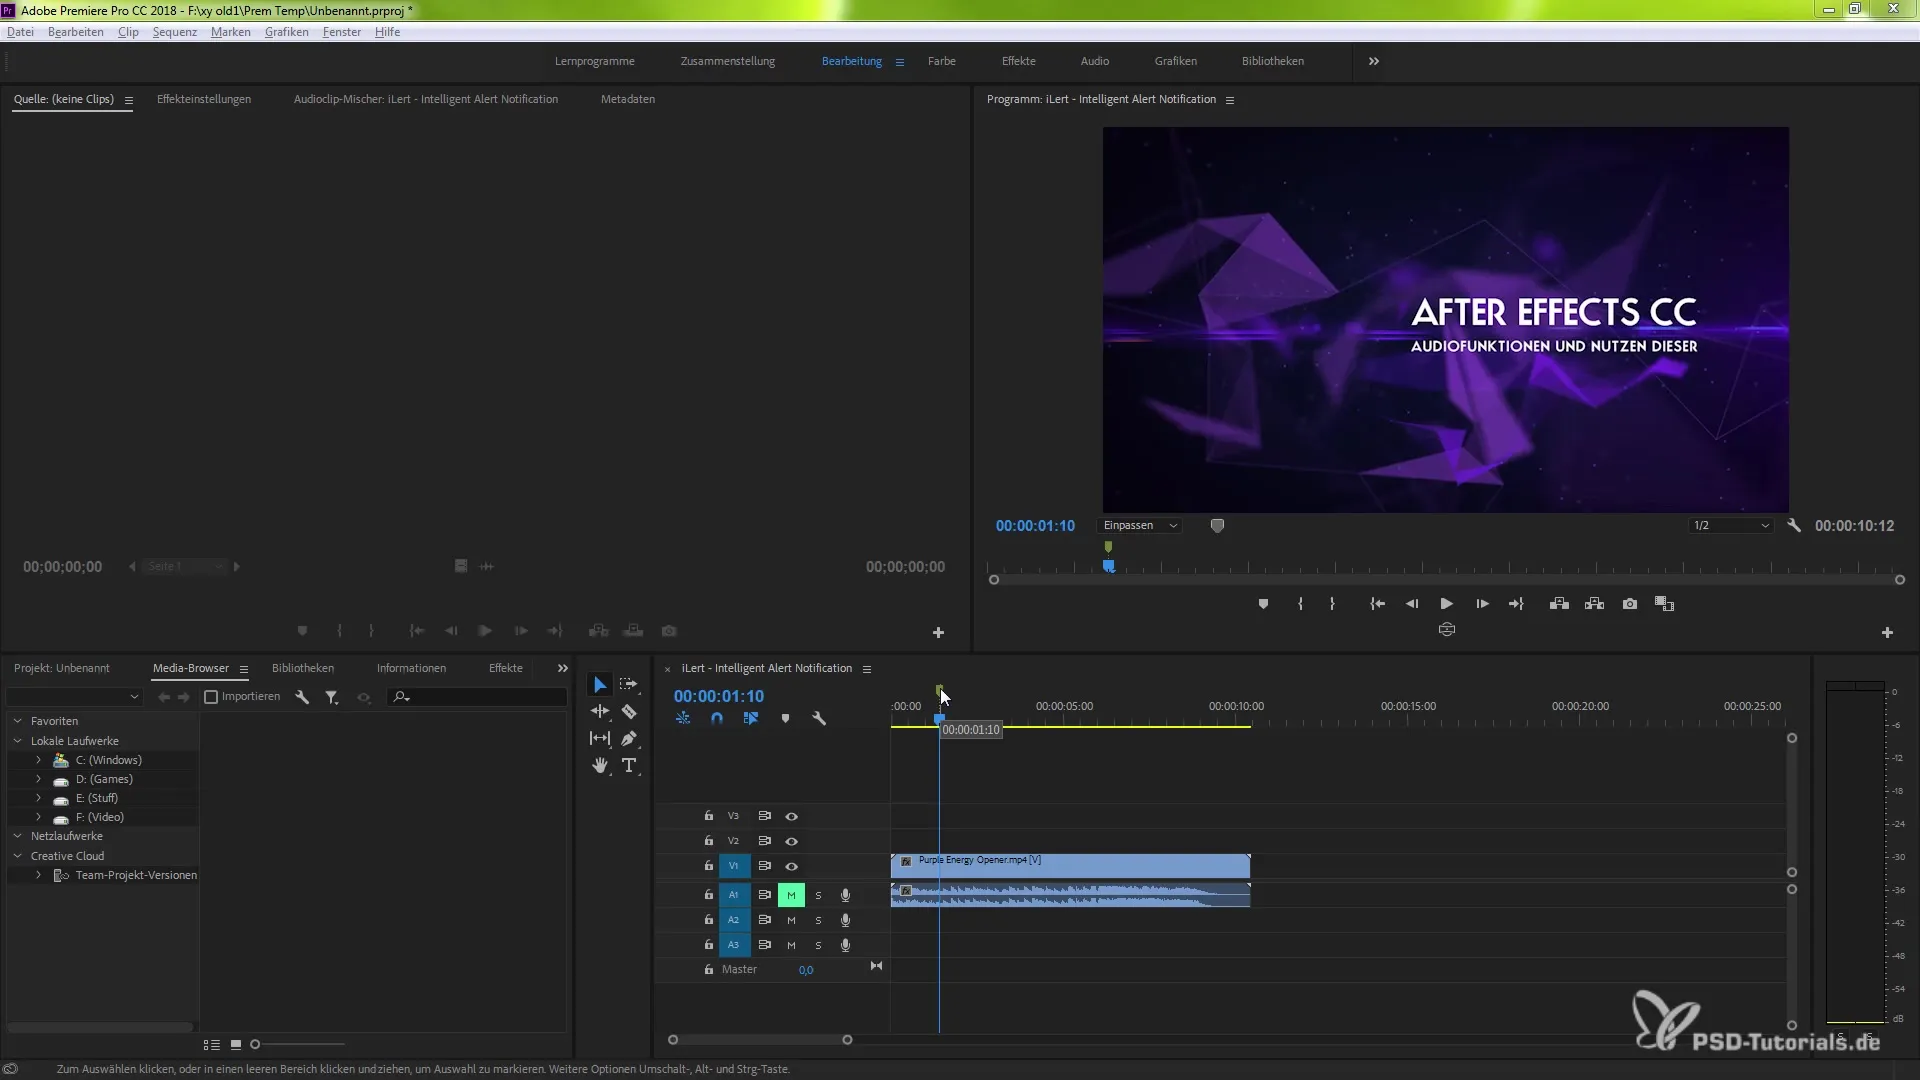
If you want to set a global sequence marker, click anywhere in the timeline window and press the “M key” again. This gives you the option to use markers for larger edits that are not tied to a specific clip.
3. Customize Sequence Markers
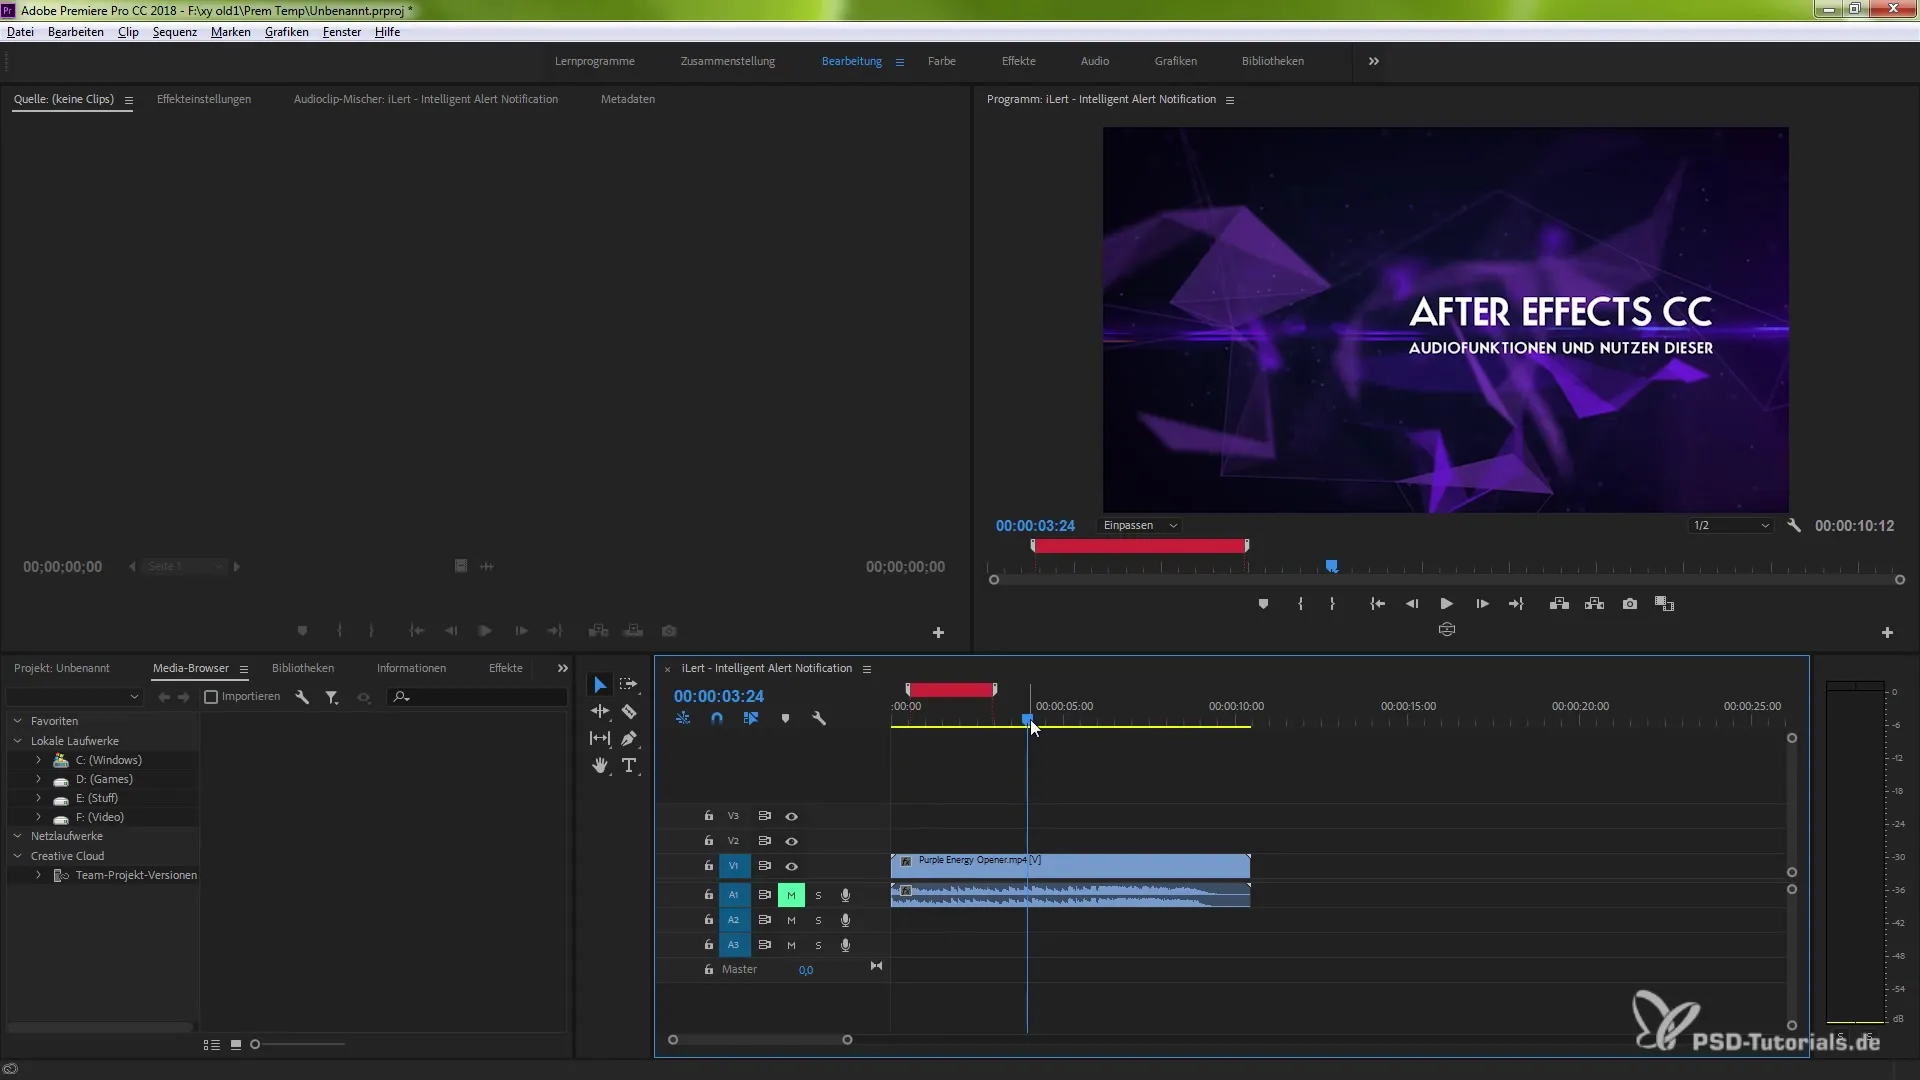
Now you can customize your sequence markers individually. Click on the set sequence marker and change the color or length to suit your preferences. Confirm your changes with "OK".
4. Create Multiple Sequence Markers
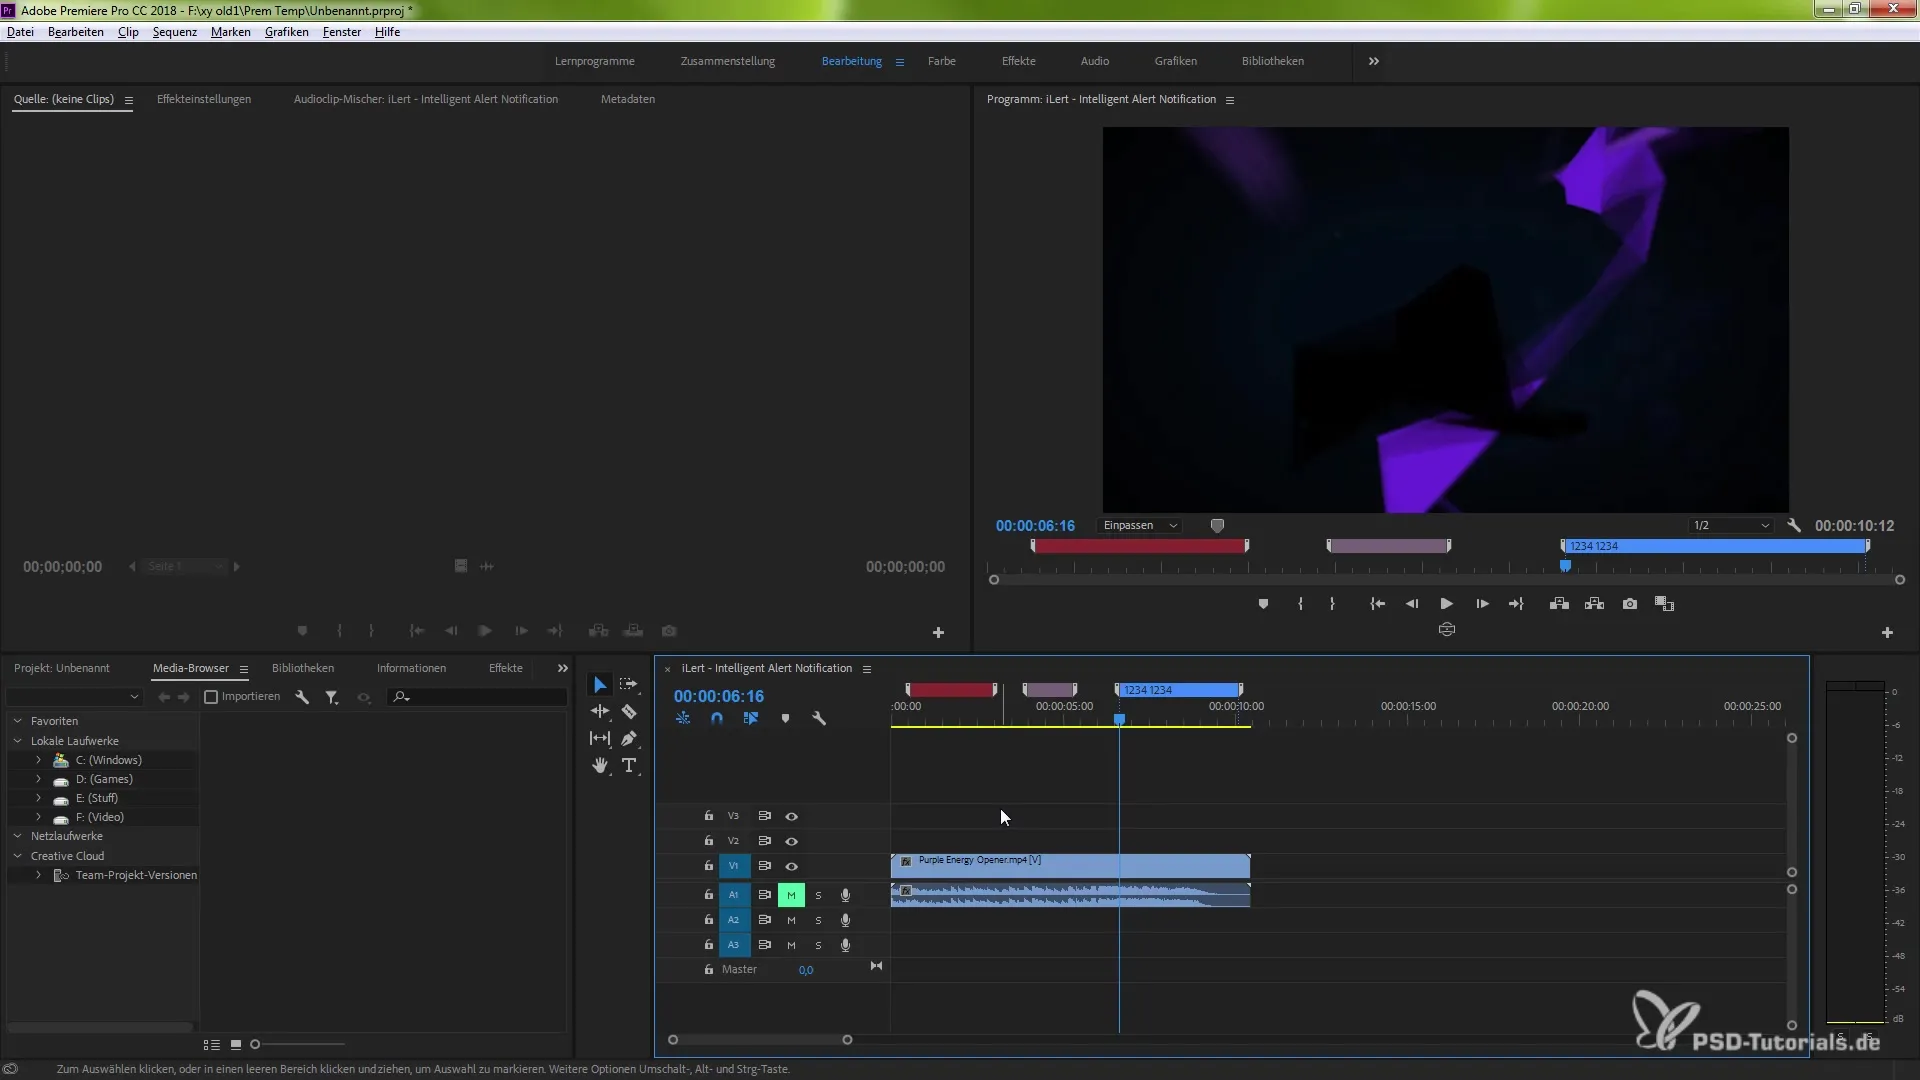
Create multiple sequence markers by placing markers at different points in the clip. These can be labeled with comments and prioritized differently. Go through the clip and add them as you see fit.
5. Copy Clip Without Sequence Markers
Now you will want to copy a clip. If you simply press Ctrl (or Cmd) and C without selecting a marking option, the sequence markers will not be copied over to the new clip.
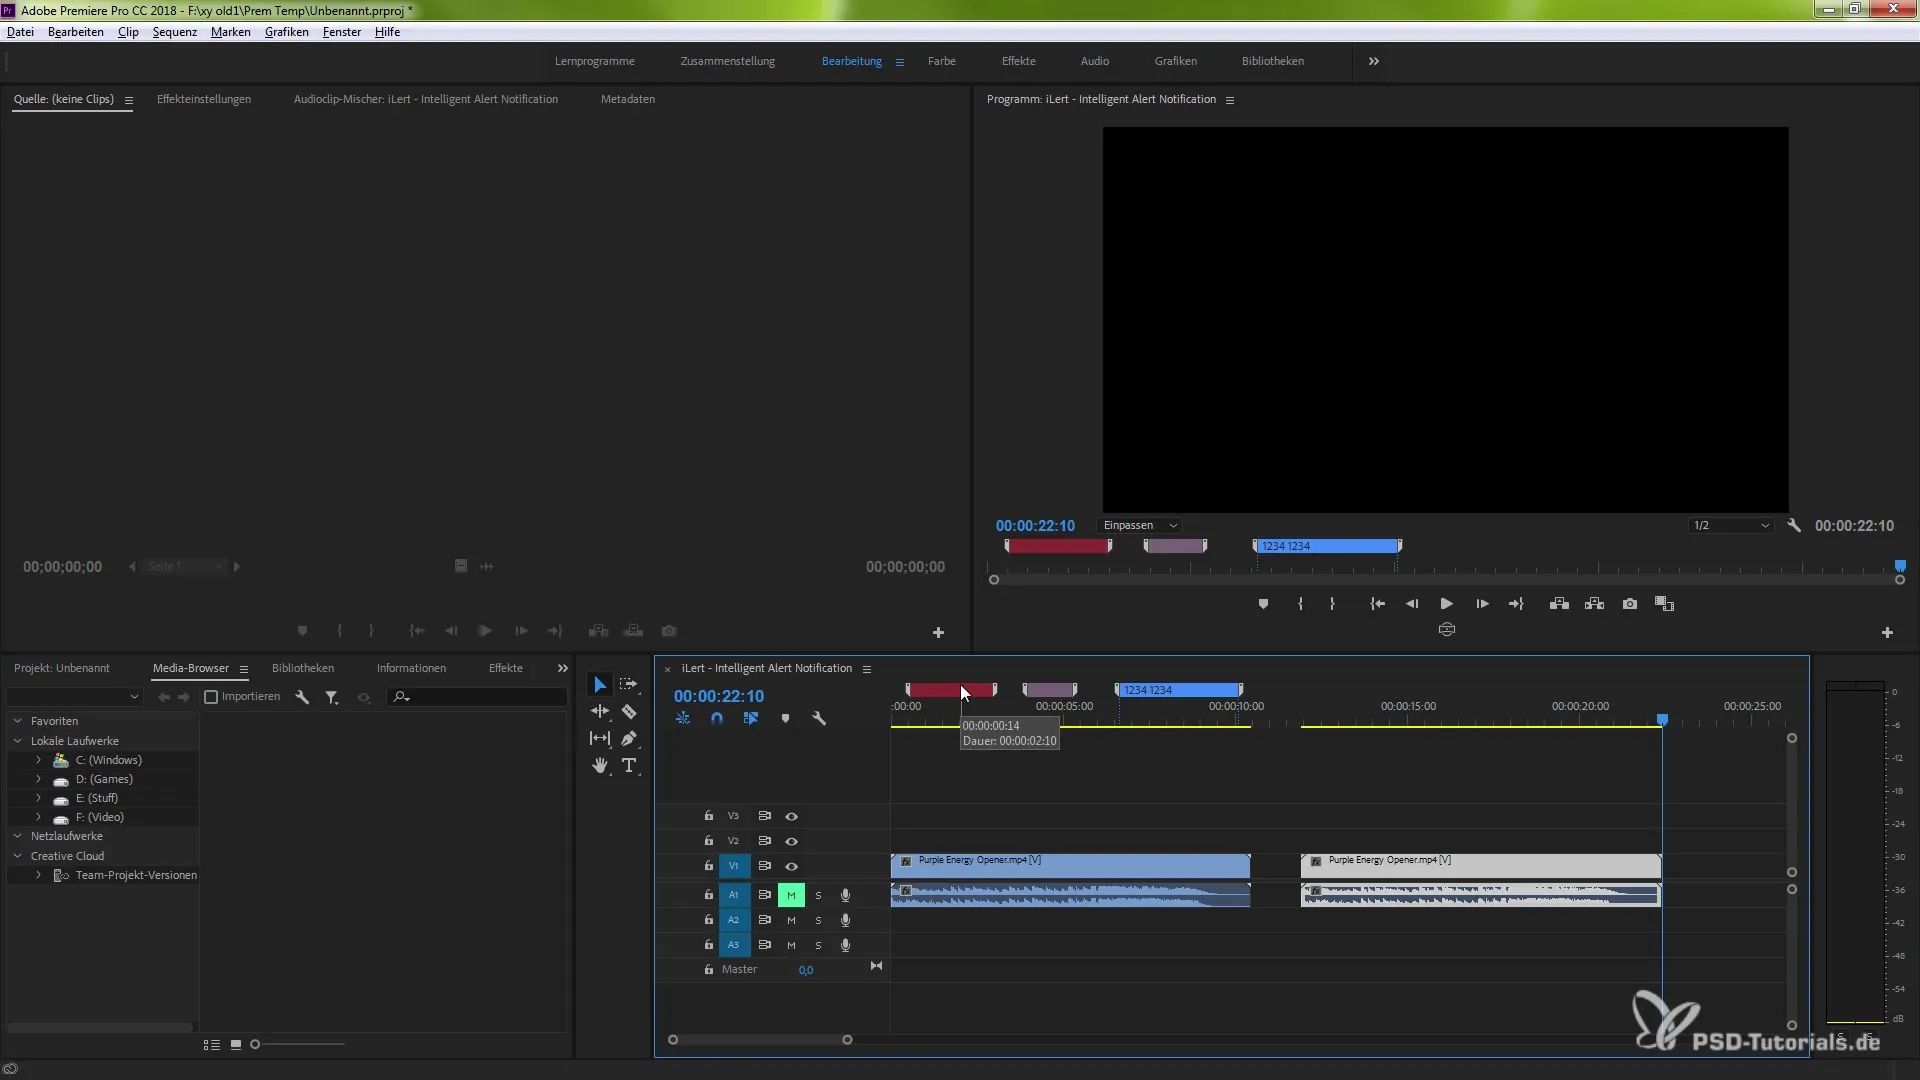
6. Use the New Feature
To copy sequence markers, go to the menu and select “Markers” and then choose “Copy and Paste”. This allows you to manage multiple sequence markers at once.
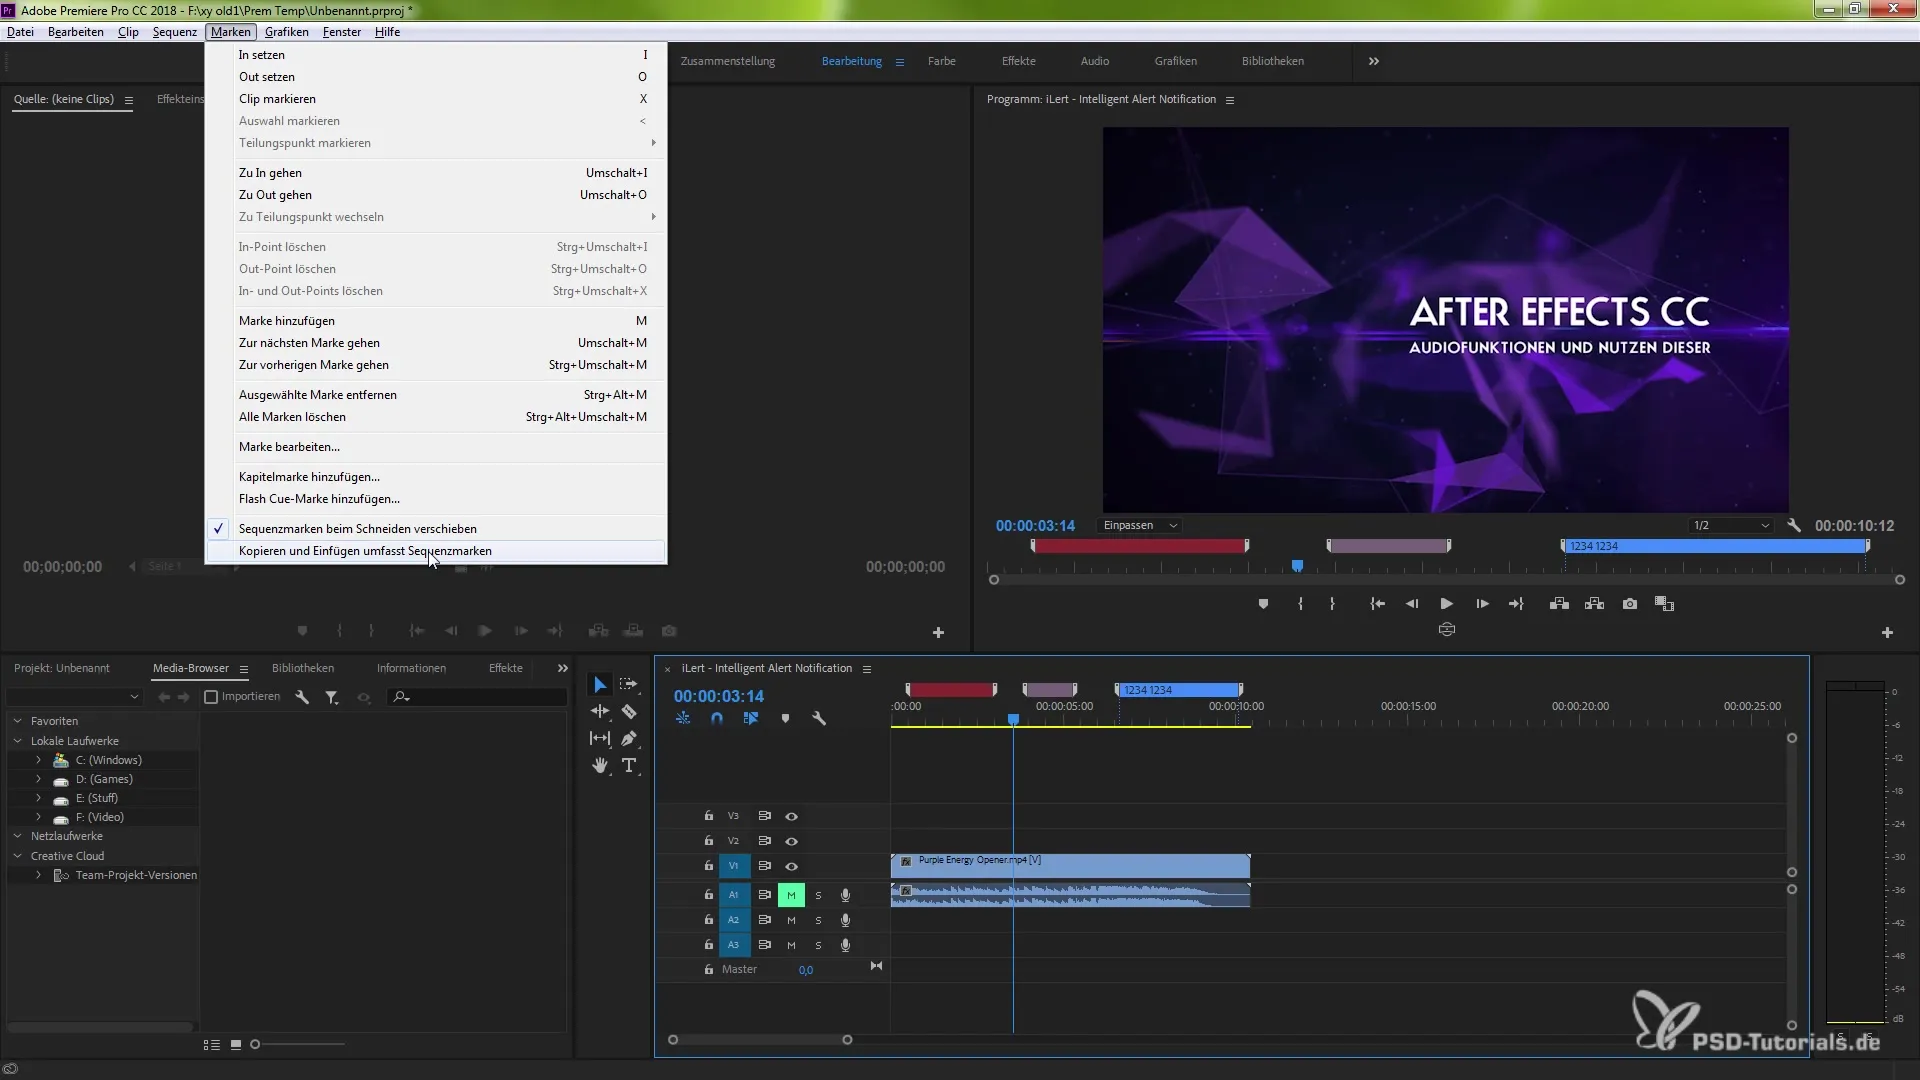
7. Paste Clip with Sequence Markers
Now select the clip you copied and paste it using Ctrl (or Cmd) and V. You will see that the sequence markers have now been actively transferred.
8. Work Flexibly
One of the great features of this new function is that you can adjust your composition at any time. You can disable pasting sequence markers again to restore the old state.
Summary – The Complete Guide to Copying and Pasting Sequence Markers in Adobe Premiere Pro CC 2018
In conclusion, copying and pasting sequence markers in Adobe Premiere Pro CC 2018 is a valuable addition that optimizes your workflow. This feature allows you to work more efficiently and better organize your projects. Now you have the necessary knowledge to intelligently integrate sequence markers into your project. I wish you great success in video editing!
Frequently Asked Questions
How do I create a sequence marker in Premiere Pro CC 2018?You create a sequence marker by selecting a range of your clip and pressing the “M key”.
Can I create multiple sequence markers at once?Yes, you can place multiple sequence markers at different points in the clip and customize them individually.
How do I copy a clip including sequence markers?Use the functionality under “Markers” and select “Copy and Paste” to transfer sequence markers in the clip.
What happens if I don't select a marker when copying?If you copy a clip without using the marking option, the sequence markers will not be copied over to the new clip.
Can I edit the sequence markers later?Yes, you can adjust the sequence markers at any time and change their settings.


