Fast cutting and editing is essential for video-producing professionals and hobbyists. Adobe Premiere Pro CC 7.0 offers numerous tools to handle your clips effectively. In this tutorial, I will show you how to quickly remove cut edges without having to extend clips. This keeps your editing efficient and time-saving.
Main insights
- With the cutting tools in Premiere Pro CC 7.0, you can place and manage cut points specifically.
- The link function for continuous cuts allows you to work flexibly without having to rely on the original material.
Step-by-step guide
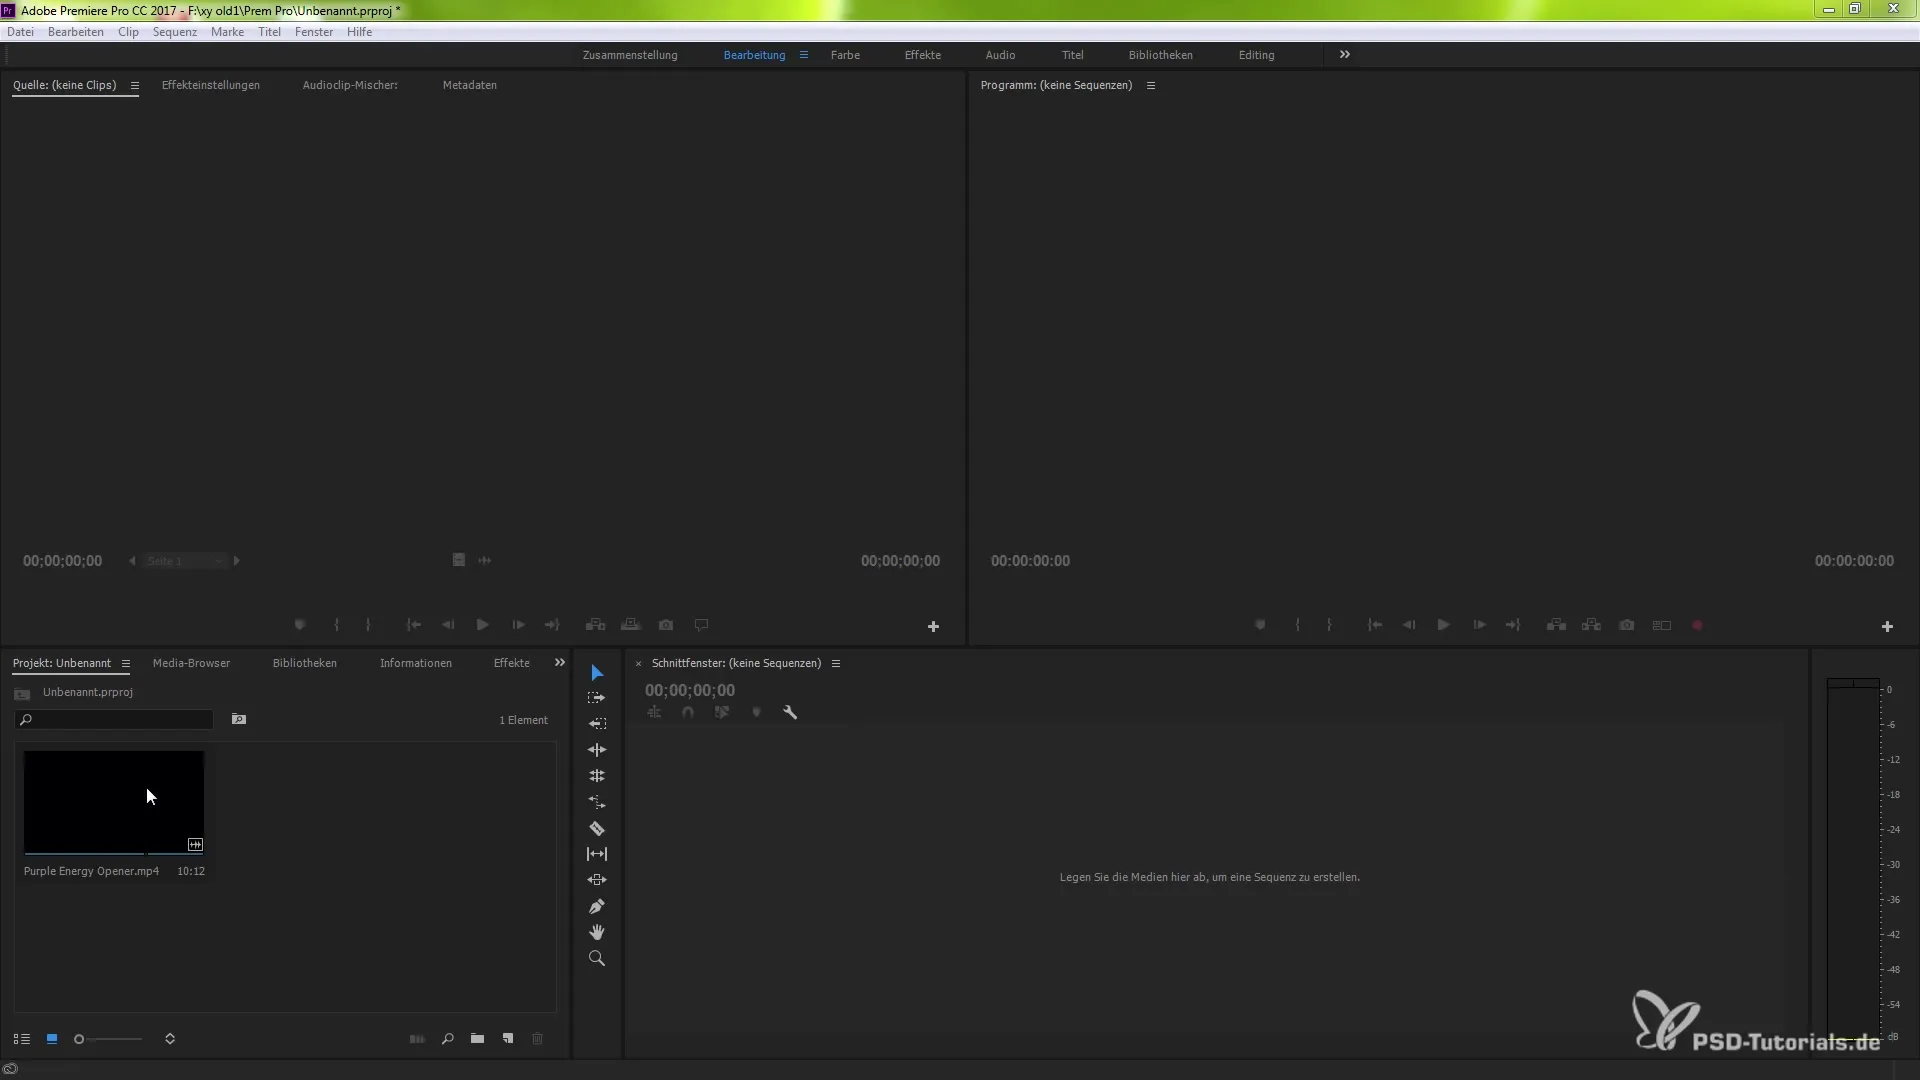
Start by selecting a clip of your choice and dragging it into your editing window. To add a clip, click with the left mouse button and drag the clip into the editing window. Release the mouse button to place the clip.
Now that the clip is in the editing window, mute the corresponding sound clip to focus better on the video. Move to a point where you want to make a cut.
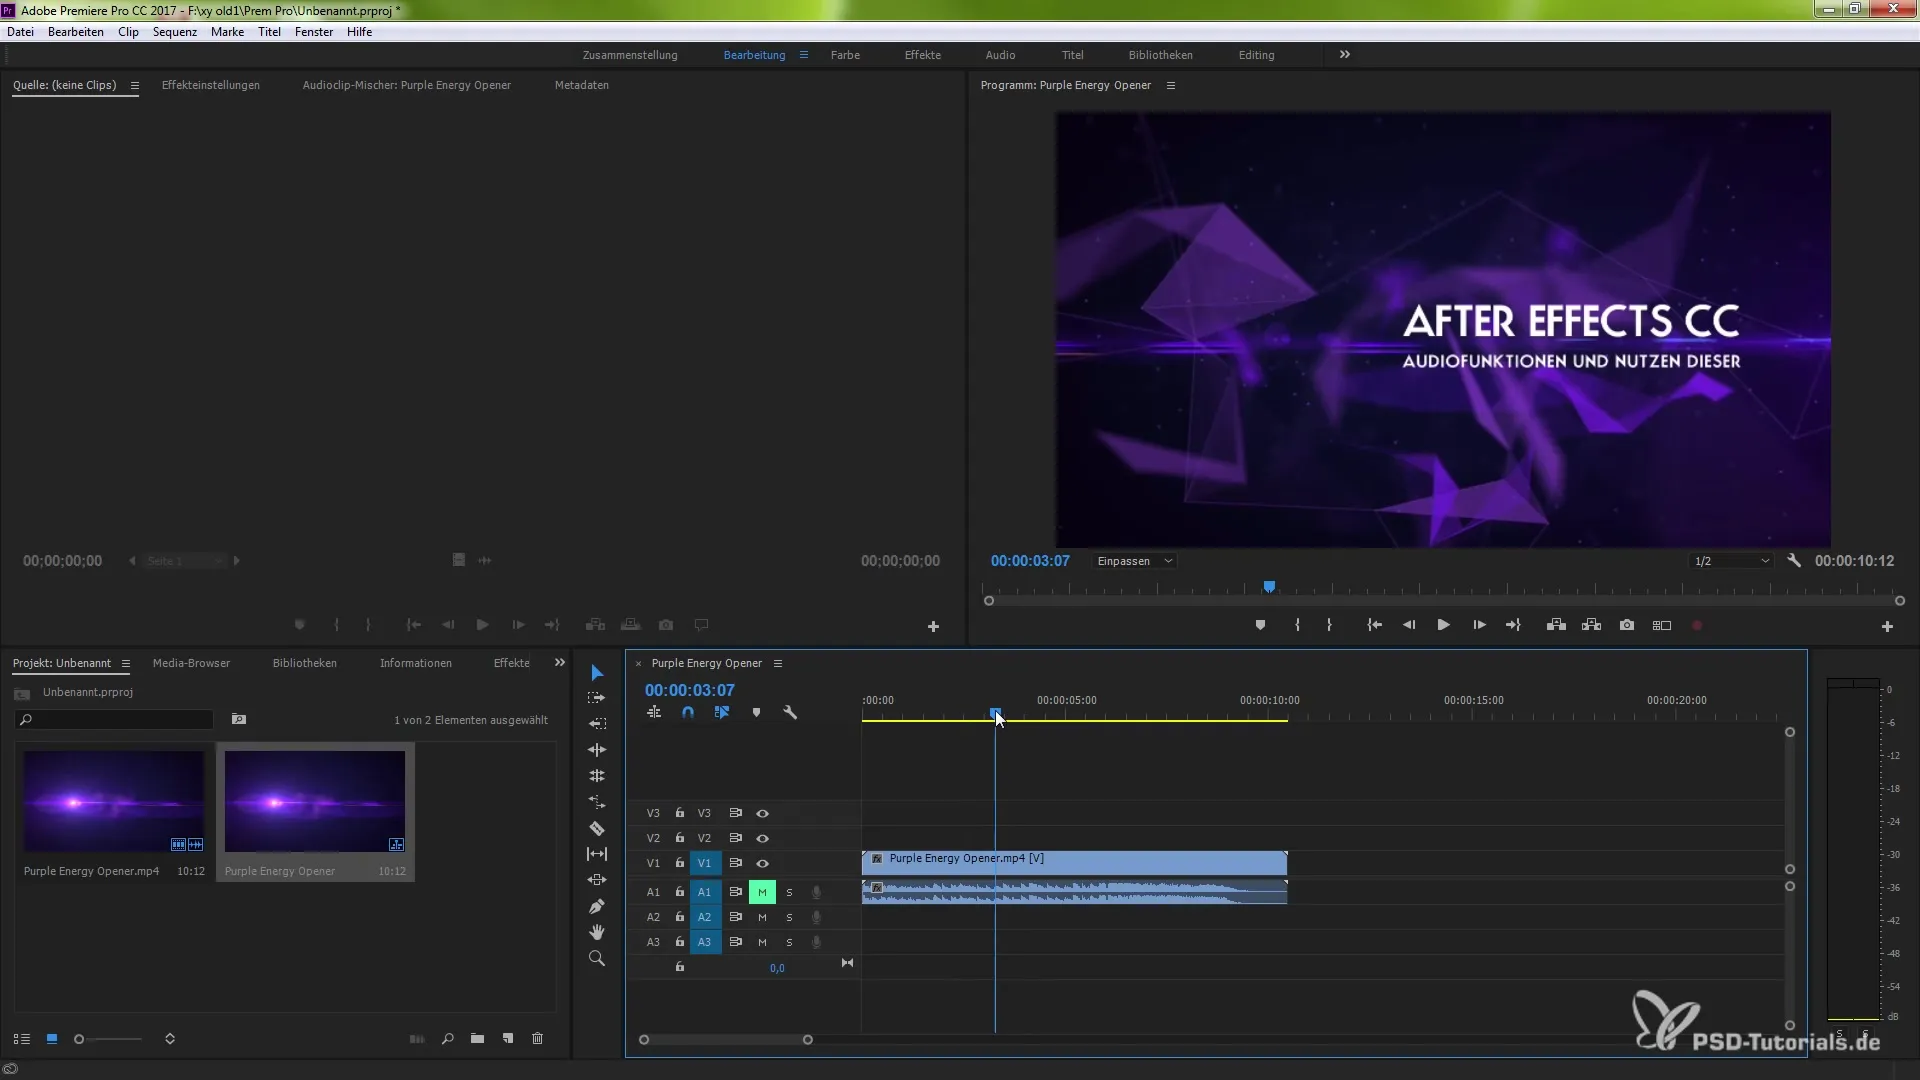
To set a cut point, you have several options. One way is to use the keyboard shortcut Ctrl (or Cmd) + K to create a cut exactly at the current playback position of your sequence. This is a quick method to make precise cuts.
Alternatively, you can also select the razor tool (C) to manually set a cut. You can also choose from the top menu under Sequence and then Ctrl + K, provided the desired clip is selected.
Now it is important to recognize that Premiere Pro CC is capable of detecting continuous cuts. Go to the settings for the editing window and enable the option "Show continuous cuts". You will now see small indicator arrows that signal a continuous cut.
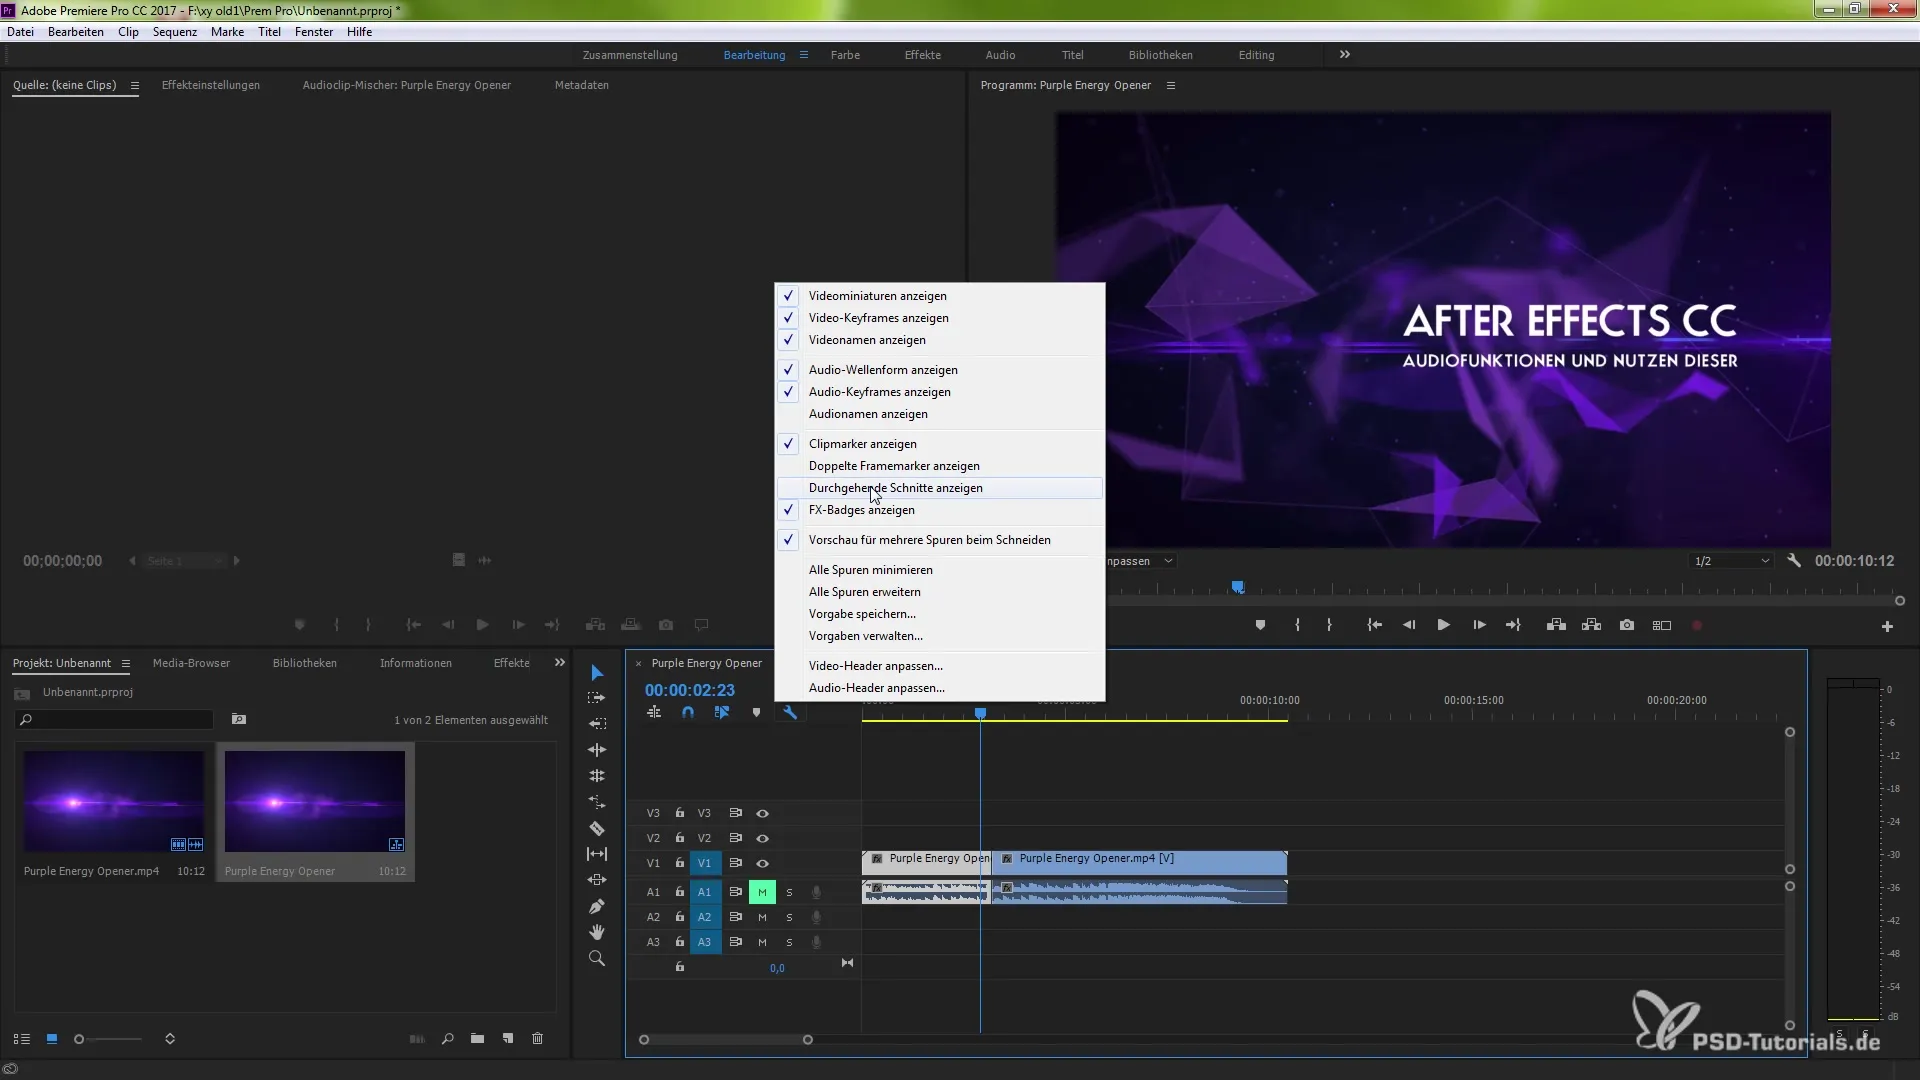
When you now pull the clips apart, you will notice that the continuous cut is lost. However, you can retrieve the cut point by merging the clips again, so you get the cut parts back efficiently.
If you have a continuous cut, there is also the option to unite it. This allows you to save the tedious process of extending your sequence. If you see a red cut point, you can right-click and select "Link continuous cuts". This gives you the advantage of being able to manage the generated cut points effortlessly.
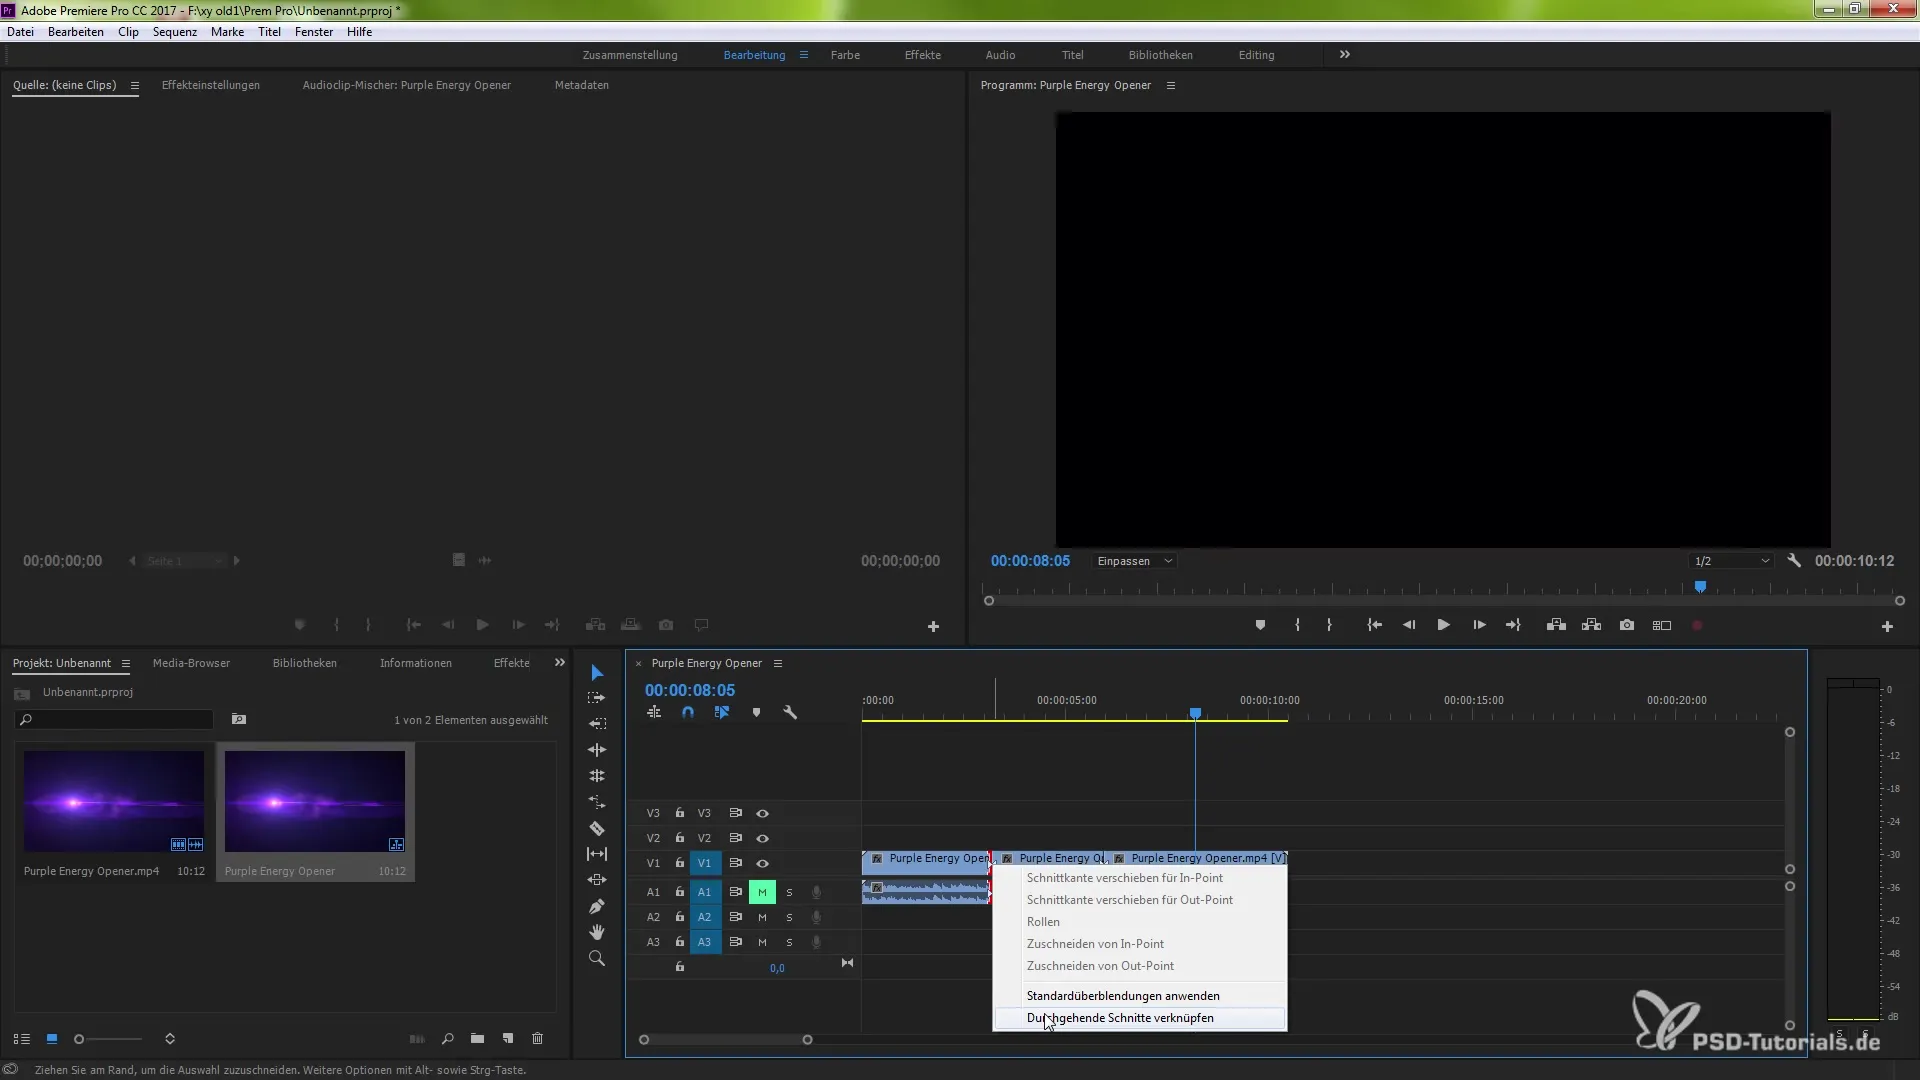
The integrated function for linking continuous cuts is extremely useful and improves your editing workflows. If the material is redundant, you can quickly and easily remove it without manually editing the clip, saving you valuable time during editing.
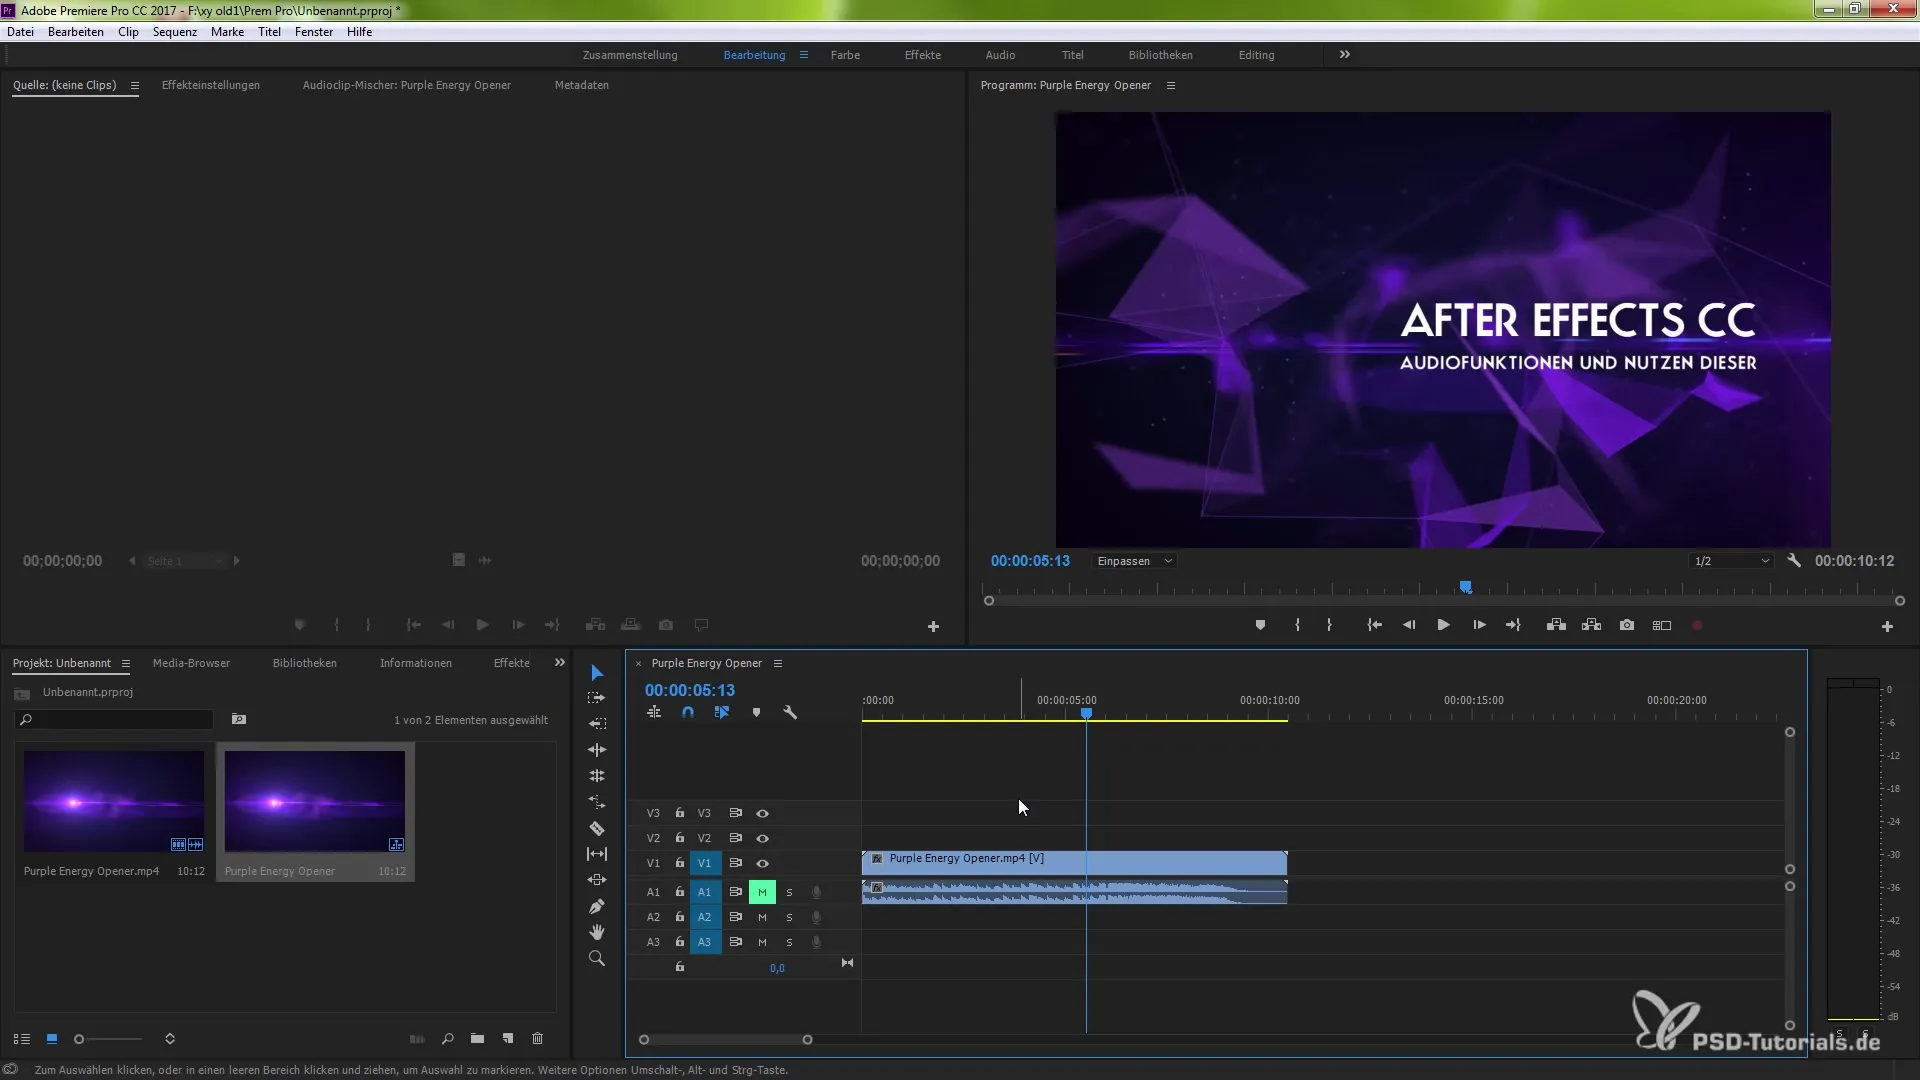
Summary – Edit clips quickly in Premiere Pro CC 7.0
You now know the steps to manage cut edges in Premiere Pro CC 7.0 and effectively edit continuous cuts. With the tools provided, you can ensure that your edits are done quickly and precisely.
Frequently Asked Questions
How do I set a cut point in Premiere Pro CC?You can set a cut point by using Ctrl (or Cmd) + K or by selecting the razor tool.
What does the "Show continuous cuts" function indicate?It shows you where your cuts are continuous, indicated by small arrows in the editing window.
Can I unite continuous cuts?Yes, by right-clicking on a cut point you can select the option “Link continuous cuts” and thus manage the clips.
What role does muting the sound clip play?Muting the sound clip helps you focus on your video work without being distracted by sounds.


