Video processing is a critical step in achieving professional quality in broadcast applications. With the new video limiter, introduced in April 2018 in Adobe Premiere Pro CC 2018, you have an effective tool for adjusting brightness values and color ranges. In this guide, I will show you how to make the best use of the video limiter and apply all important functions to achieve the best results.
Key Insights
- The video limiter allows for targeted adjustment of brightness and color ranges.
- Using the video limiter is especially important for meeting broadcast specifications.
- The effect can be applied both locally and globally across different scenes.
Step-by-Step Guide
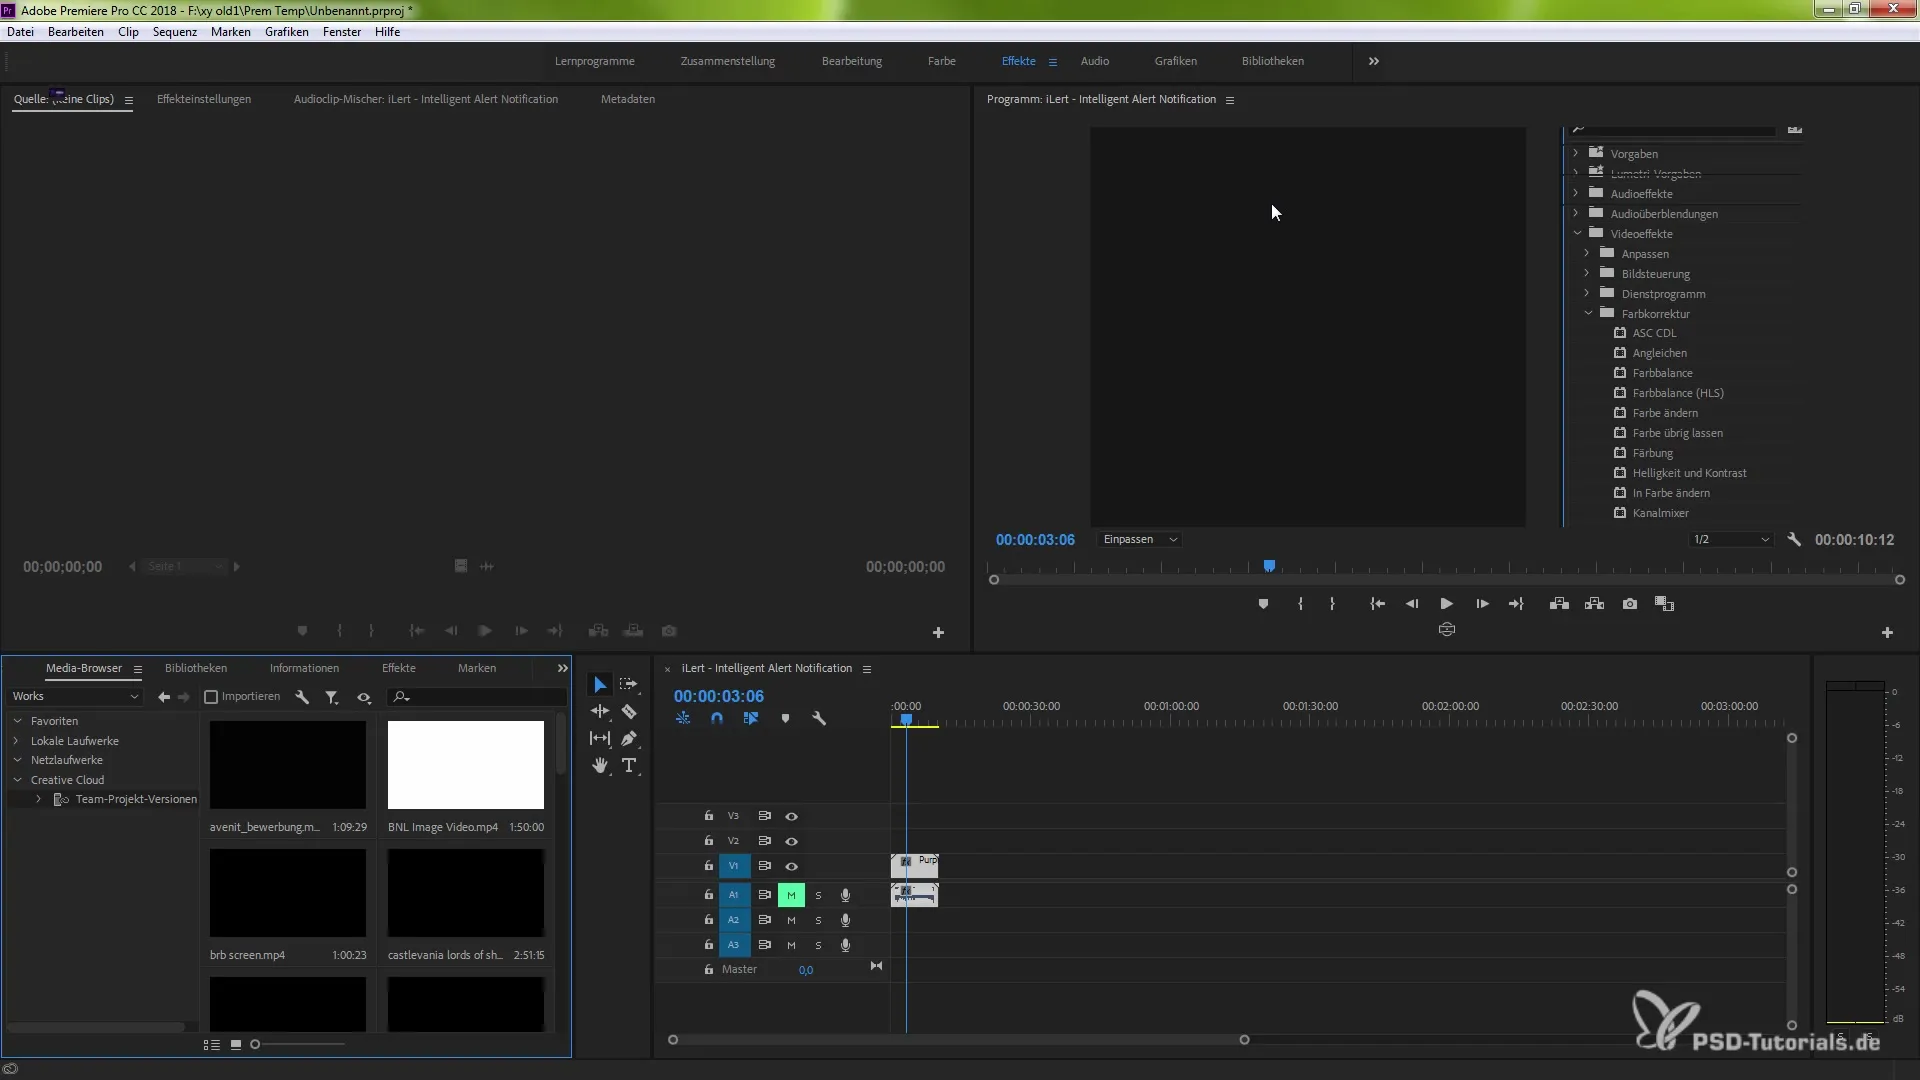
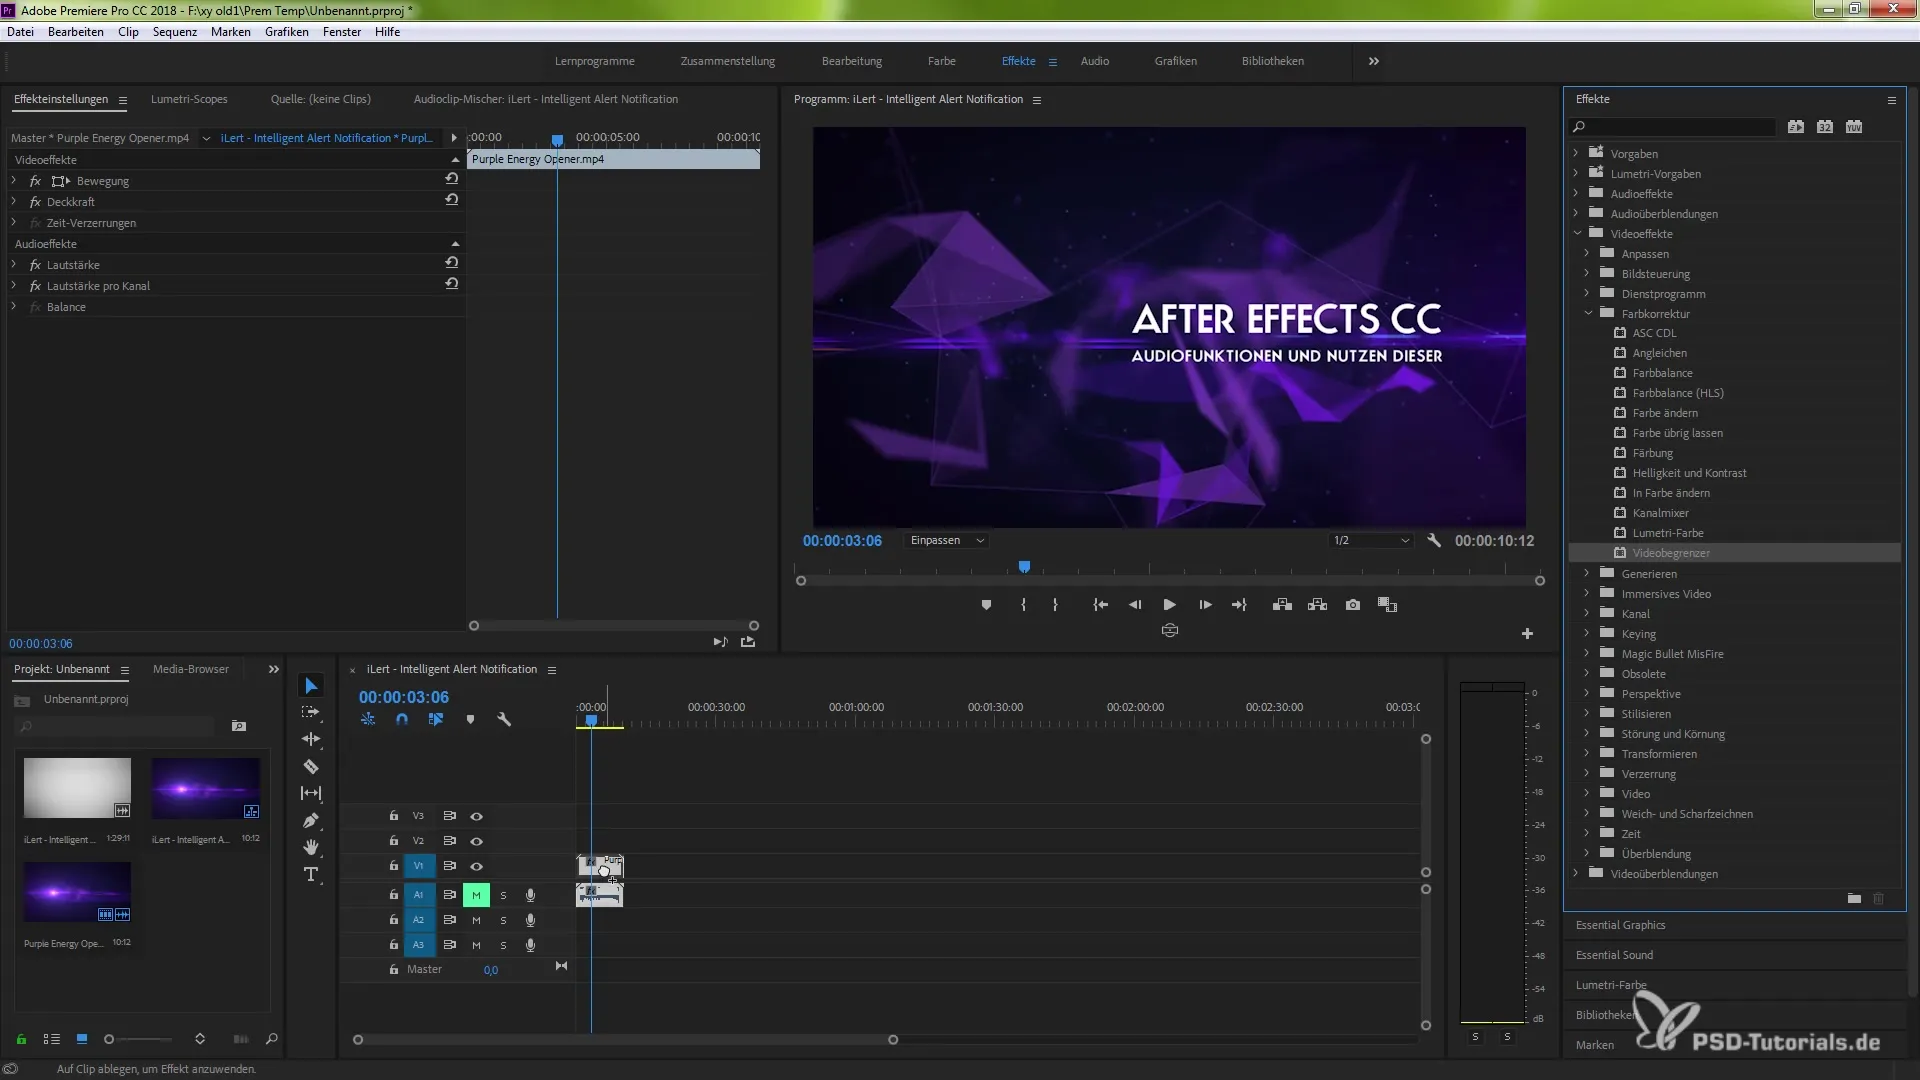
Turn on Premiere Pro CC 2018 and open your project. To find the video limiter, go to "Effects". There you have the option to combine a variety of video effects. Under "Color Correction", you will find the "Video Limiter" at the very end.

Simply drag and drop the video limiter onto your desired scene. This will immediately activate the effects settings for the video limiter. This effect offers you various options for adjusting brightness values so that you can meet the broadcast specifications.

Now you have the option to set specific values between 100 and 109. It is important to consider the compression and color range. You can enable the intensity warnings so that you can immediately see which areas are affected by the change.
To make precise adjustments, you can use the eyedropper tool. Select a typical color value from your scene, such as a purple hue, and confirm your selection. Subsequently, you will see how the warnings activate and specific values are adjusted.
When adjusting brightness, it is crucial to find the right values. If you have a bright scene, for example, you can tilt the value from 100 to 20 to significantly compress the brightness. The effect immediately shows you the change, allowing you to understand the impact right away.
An additional advantage of the video limiter is GPU support, provided your graphics card allows it. With GPU support, you can achieve more efficient rendering times and improve performance.
If you want to apply the effect to multiple scenes, you can simply copy it. This way, you save time and ensure that the entire project remains consistent. Remember to check the filtering of the scenes to guarantee a balanced image.
The targeted application of the video limiter not only improves the quality of your videos but also simplifies editing and adjusting to the specific requirements of the broadcast world. Trust in the strengths of this new effect and experiment with the numerous possibilities it offers.
Summary - New Video Limiter in Premiere Pro CC 2018: Step-by-Step Guide
This guide has shown you how to use the video limiter in Adobe Premiere Pro CC 2018 to efficiently control brightness and color values. Through targeted adjustments, you can meet the necessary broadcast specifications and improve the quality of your projects.
Frequently Asked Questions
What is the video limiter in Premiere Pro CC 2018?The video limiter is an effective tool for adjusting brightness values and color ranges specifically for broadcast applications.
How do I find the video limiter in Premiere Pro?The video limiter can be found under video effects in the "Color Correction" section.
Can I apply the video limiter to multiple scenes?Yes, you can copy the effect and apply it to different scenes to ensure consistency in your project.
Do I need a special graphics card to use the video limiter?A graphics card with GPU support allows for faster processing but is not strictly necessary to use the video limiter.
How can I adjust brightness with the video limiter?You can set specific values between 100 and 109 and see the effects on brightness directly.


