Working with 4K and higher quality footage poses a significant challenge for many video editors. Premiere Pro CC 2014.1 brings an innovative solution to the table: support for the GoPro CineForm codec. This feature allows you to efficiently import and edit GoPro videos while benefiting from intelligent rendering and optimized workflows.
Key Insights
- Premiere Pro CC 2014.1 supports the GoPro CineForm Intermediate Codec, making it easier for you to work with high-resolution GoPro videos.
- The codec allows for seamless integration of your 4K and 8K projects.
- You can customize various export settings to meet your exact requirements.
Step-by-Step Guide
First Step: Import GoPro File
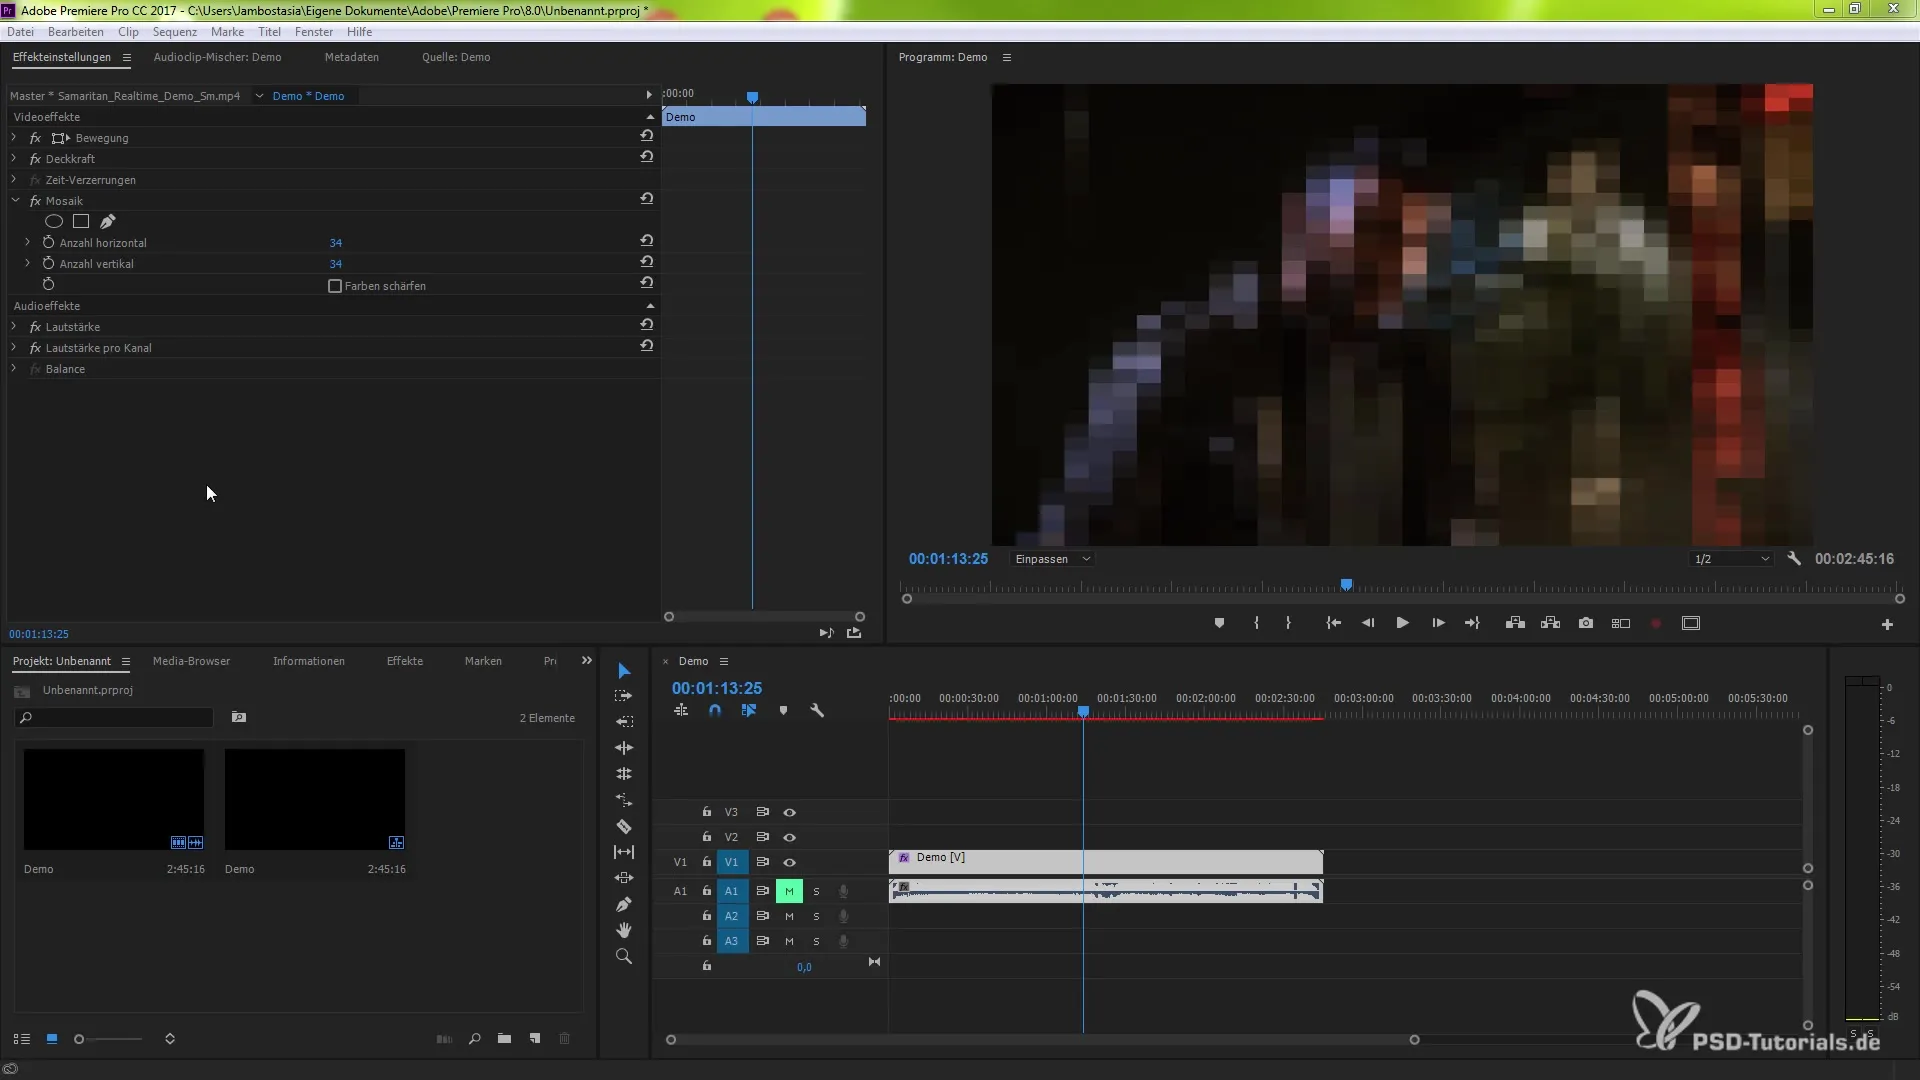
Start by importing your GoPro file into Premiere Pro. You can open the program and select the desired file you want to edit. It is recommended to start with a 1080p MoF file, as you can later use 4K footage as well.

Second Step: Export the File
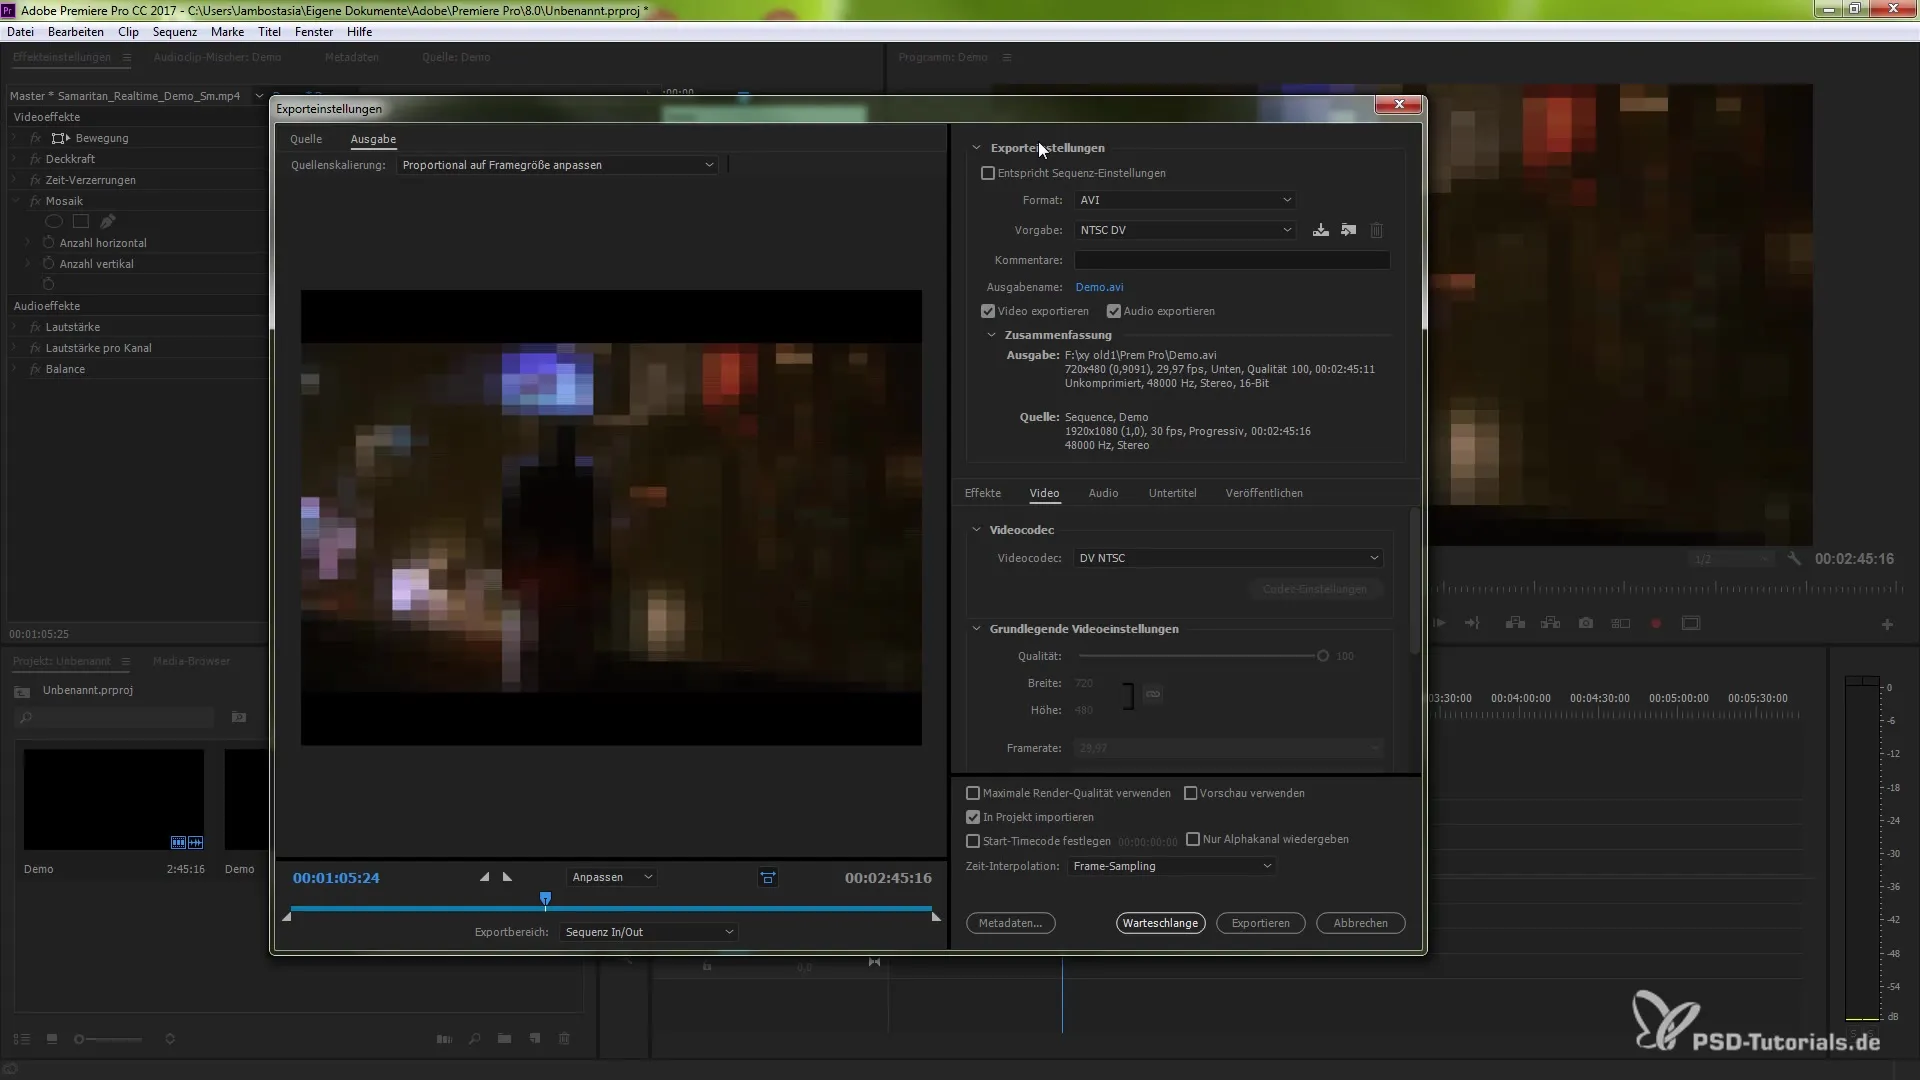
After importing your file, go to the export settings. To do this, click on "File" and then on "Export". A new window will open for the export settings. Here you have the option to choose your output format.
Third Step: Choose Format
In the export settings, choose the format you want to use. Click on the dropdown menu and select "QuickTime" to choose the GoPro CineForm Intermediate Codec. This allows you optimal access to all codec features.
Fourth Step: Adjust Codec Settings
After selecting the format, click on the codec options. Here you can choose from the available presets. You will see the options for GoPro with different bit depths and alpha channels.

Fifth Step: Make Custom Adjustments
Here you have the opportunity to adjust various parameters such as bitrate, image size, and aspect ratio. Be careful not to unnecessarily adjust fields like frame rate, as this could lead to unsatisfactory results.
Sixth Step: Utilize Advanced Settings
If you scroll further down, you will find the advanced settings. Here you can adjust useful options for keyframing and bitrate that will help you achieve optimal export quality.
Seventh Step: Start Export
After reviewing and adjusting all your settings, you can click on the "Export" button. Your project will now be exported with the GoPro CineForm Intermediate Codec.
Summary – Effectively Use GoPro CineForm Codec in Premiere Pro CC 2014.1
The support for the GoPro CineForm Intermediate Codec in Premiere Pro CC 2014.1 offers you versatile options for editing high-resolution videos. You can follow these steps to ensure that your workflow is as smooth and efficient as possible.
Frequently Asked Questions
How can I import the GoPro file into Premiere Pro?You can easily add the GoPro file by drag & drop or through the "File -> Import" menu in Premiere Pro.
Which export format should I choose?Select the "QuickTime" format to utilize the GoPro CineForm Intermediate Codec, which offers optimal export options.
Can I customize the export settings?Yes, you can customize the export settings to optimize the desired bitrate, image size, and other parameters.
What are the advanced settings?In the advanced settings, you can adjust keyframes, frame rates, and bitrates to improve the quality of your export.
How do I start the export process?After making all your settings, simply click "Export" to start the process.


