In the world of video and film production, Adobe Premiere Pro pushes the boundaries of what is possible. In particular, the “Essential Graphics” panel is a central component that provides you with a wide range of features to manage and edit graphics in your projects. This tutorial will guide you through the latest optimizations in the Premiere Pro CC 2018 panel and show you how to efficiently implement these changes into your workflow.
Key Insights
The Essential Graphics panel now offers more comprehensive editing options that enhance your efficiency. You can quickly select objects, create roll titles, and fine-tune the fonts. These features improve the user experience and simplify your creative process.
Step-by-Step Guide
To ensure you can make the most of the new features, follow these steps:
Inserting Graphics from the Project
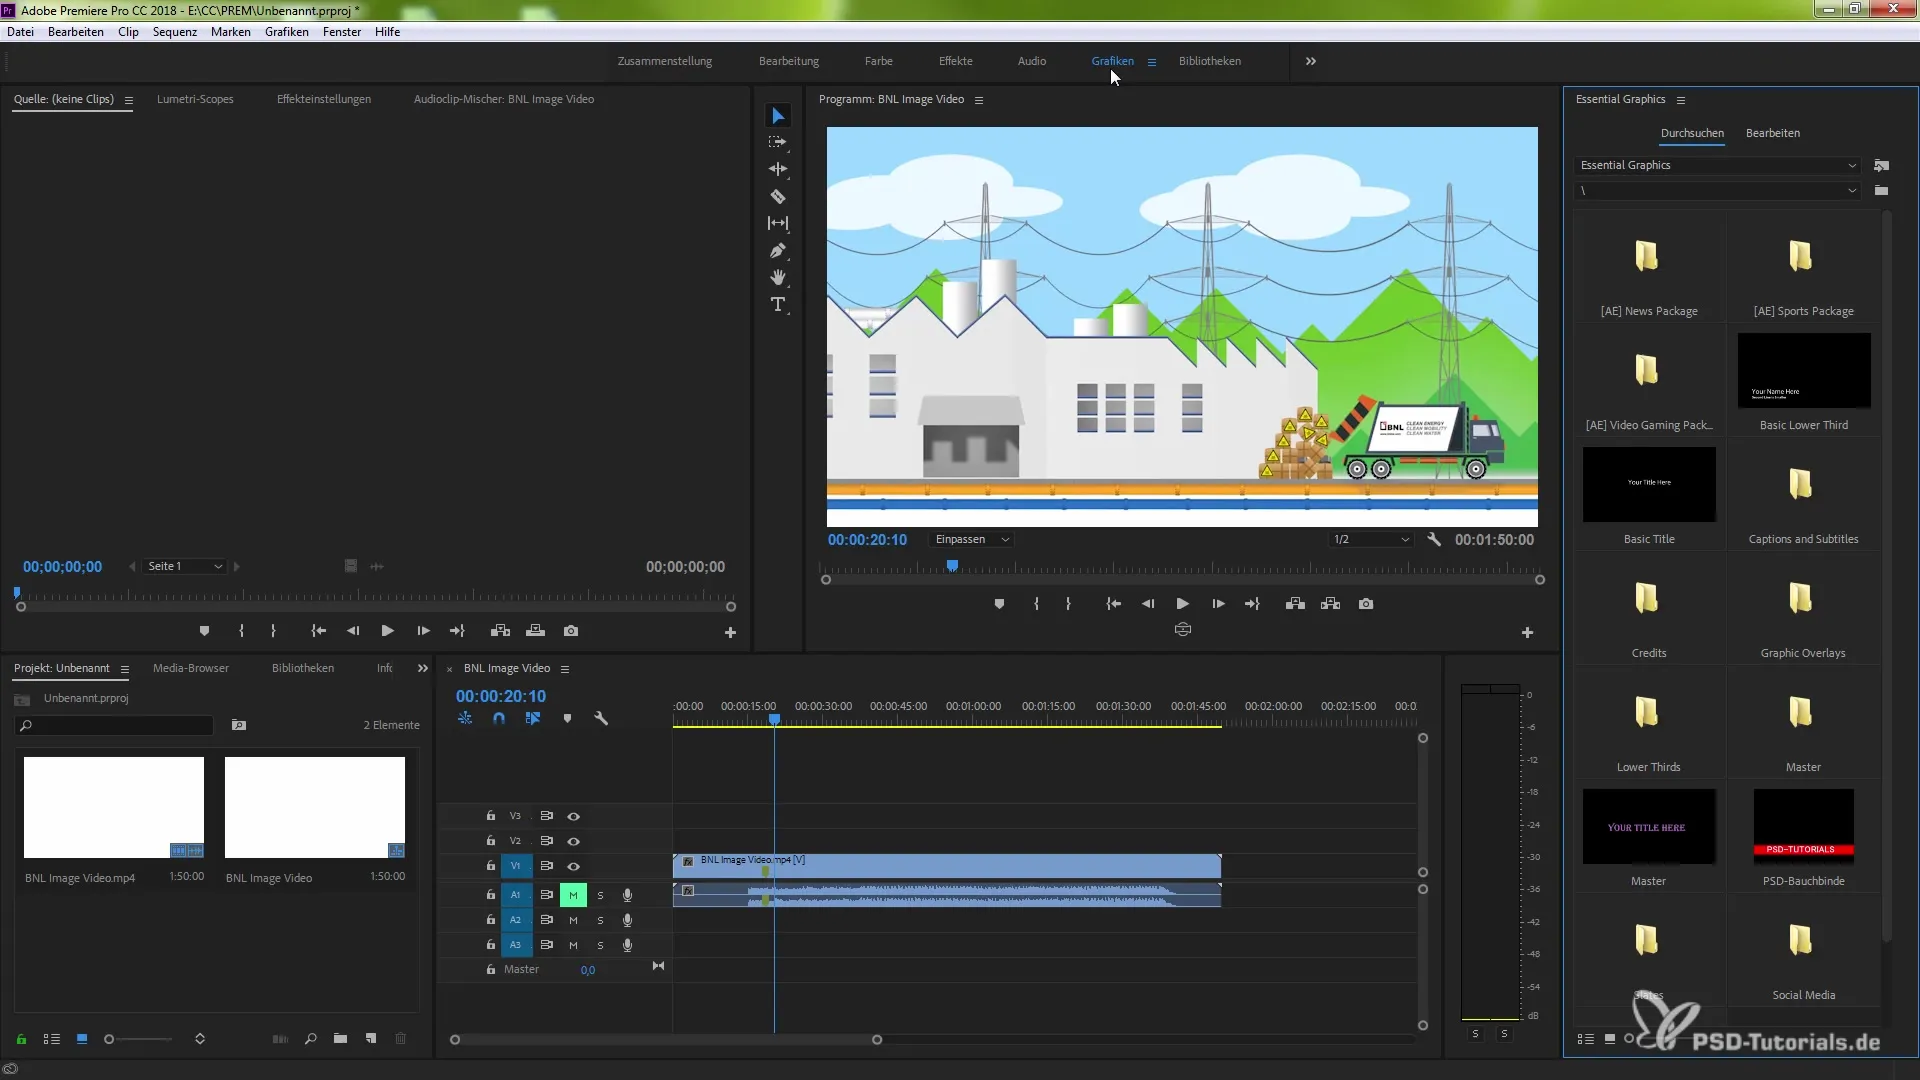
To effectively integrate your graphic elements into the Essential Graphics panel, first open the control menu. Click on the menu and then drag the desired graphics directly from your project into the panel. This speeds up the process as the elements are immediately available.

Designing Overlaid Objects
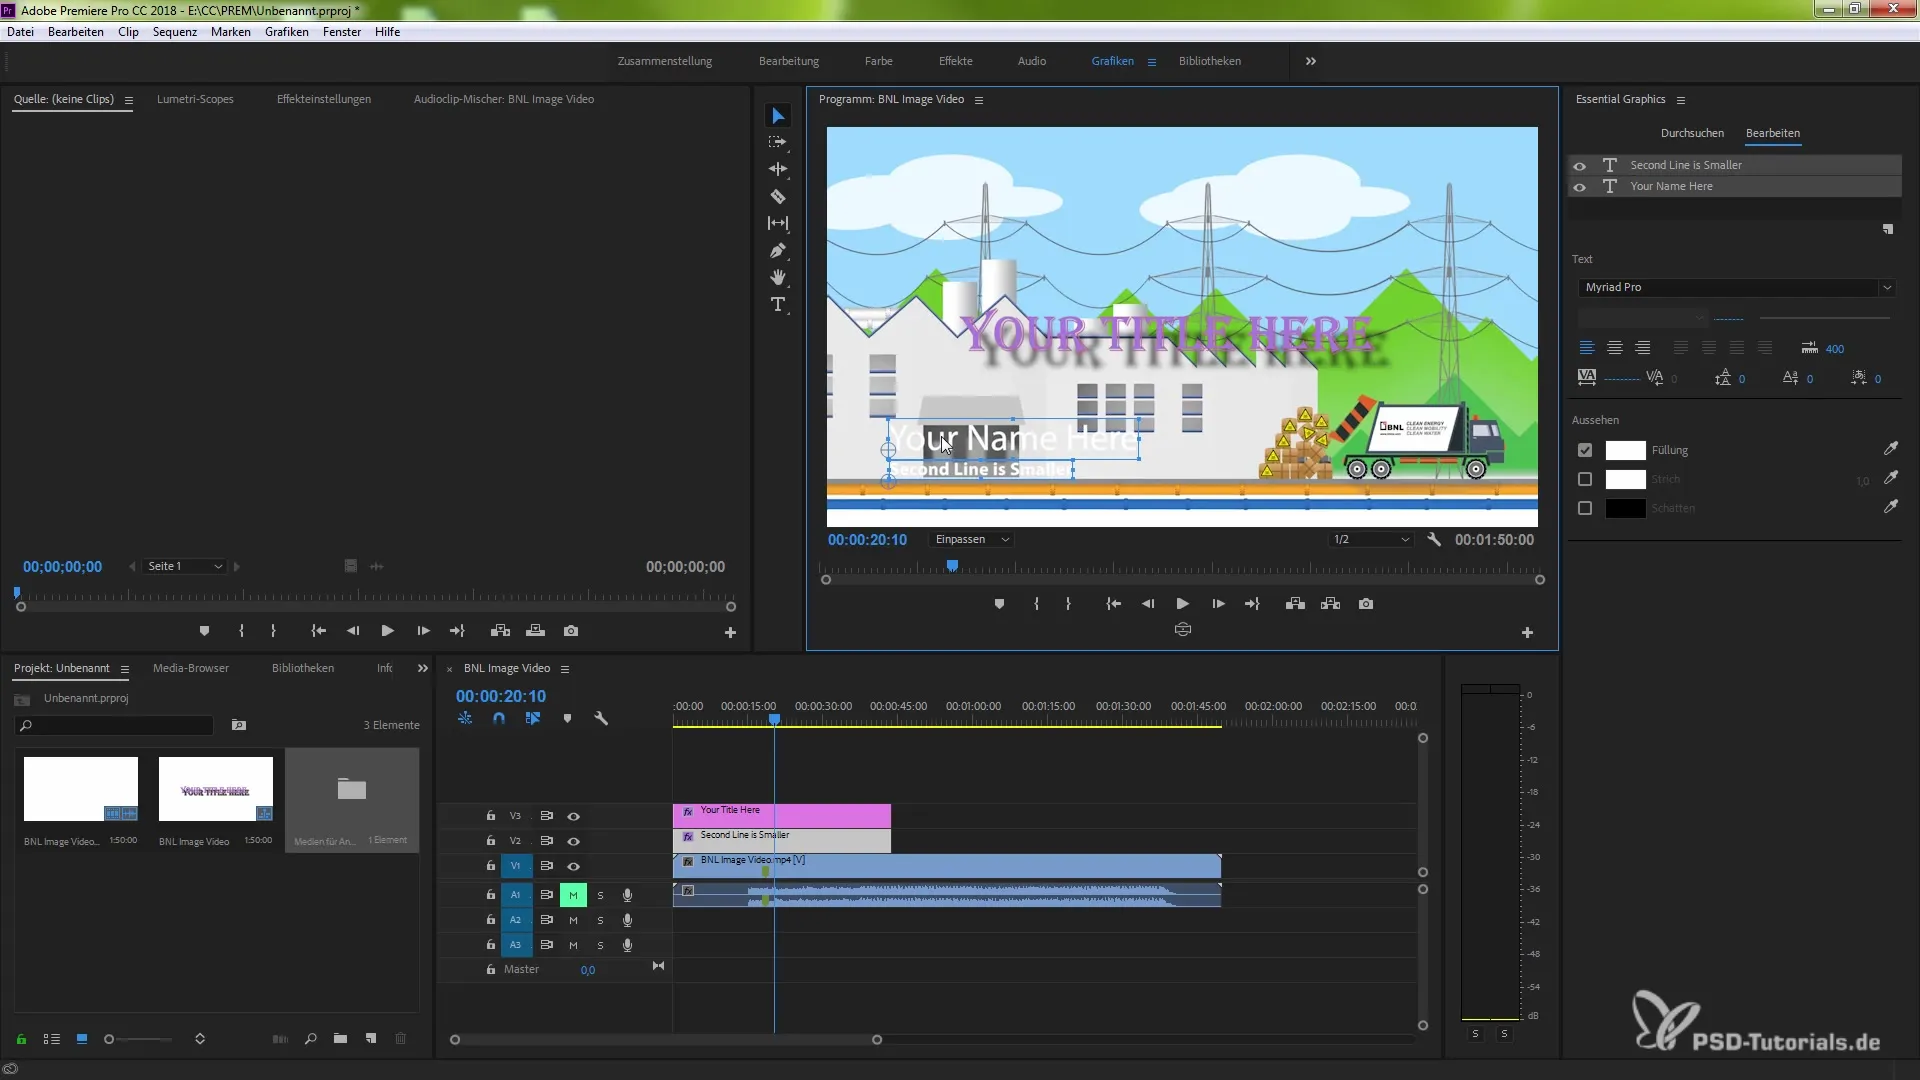
You can also manage multiple objects simultaneously. Select the desired objects in the panel and adjust them as needed. Whether you want to enlarge, reduce, or move them, everything can be done intuitively with a few clicks. You will quickly notice how easy it is to make changes “on the fly.”

Creating Roll Titles
Another highlight is the ability to create roll titles. To do this, activate the roll title box. You will see immediately what happens when you format text as a roll title. Experiment with the length of the roll title and adjust the animation effects. You have control over all aspects, from the opening credits to the end credits.
Editing the Roll Title
Within the roll title, you can adjust the text. Select the text box and enter the desired text. In addition to simple text entry, there are significant new features that allow for versatile editing. Note that the preview on the right side immediately shows you the current style.

Working Flexibly with Fonts
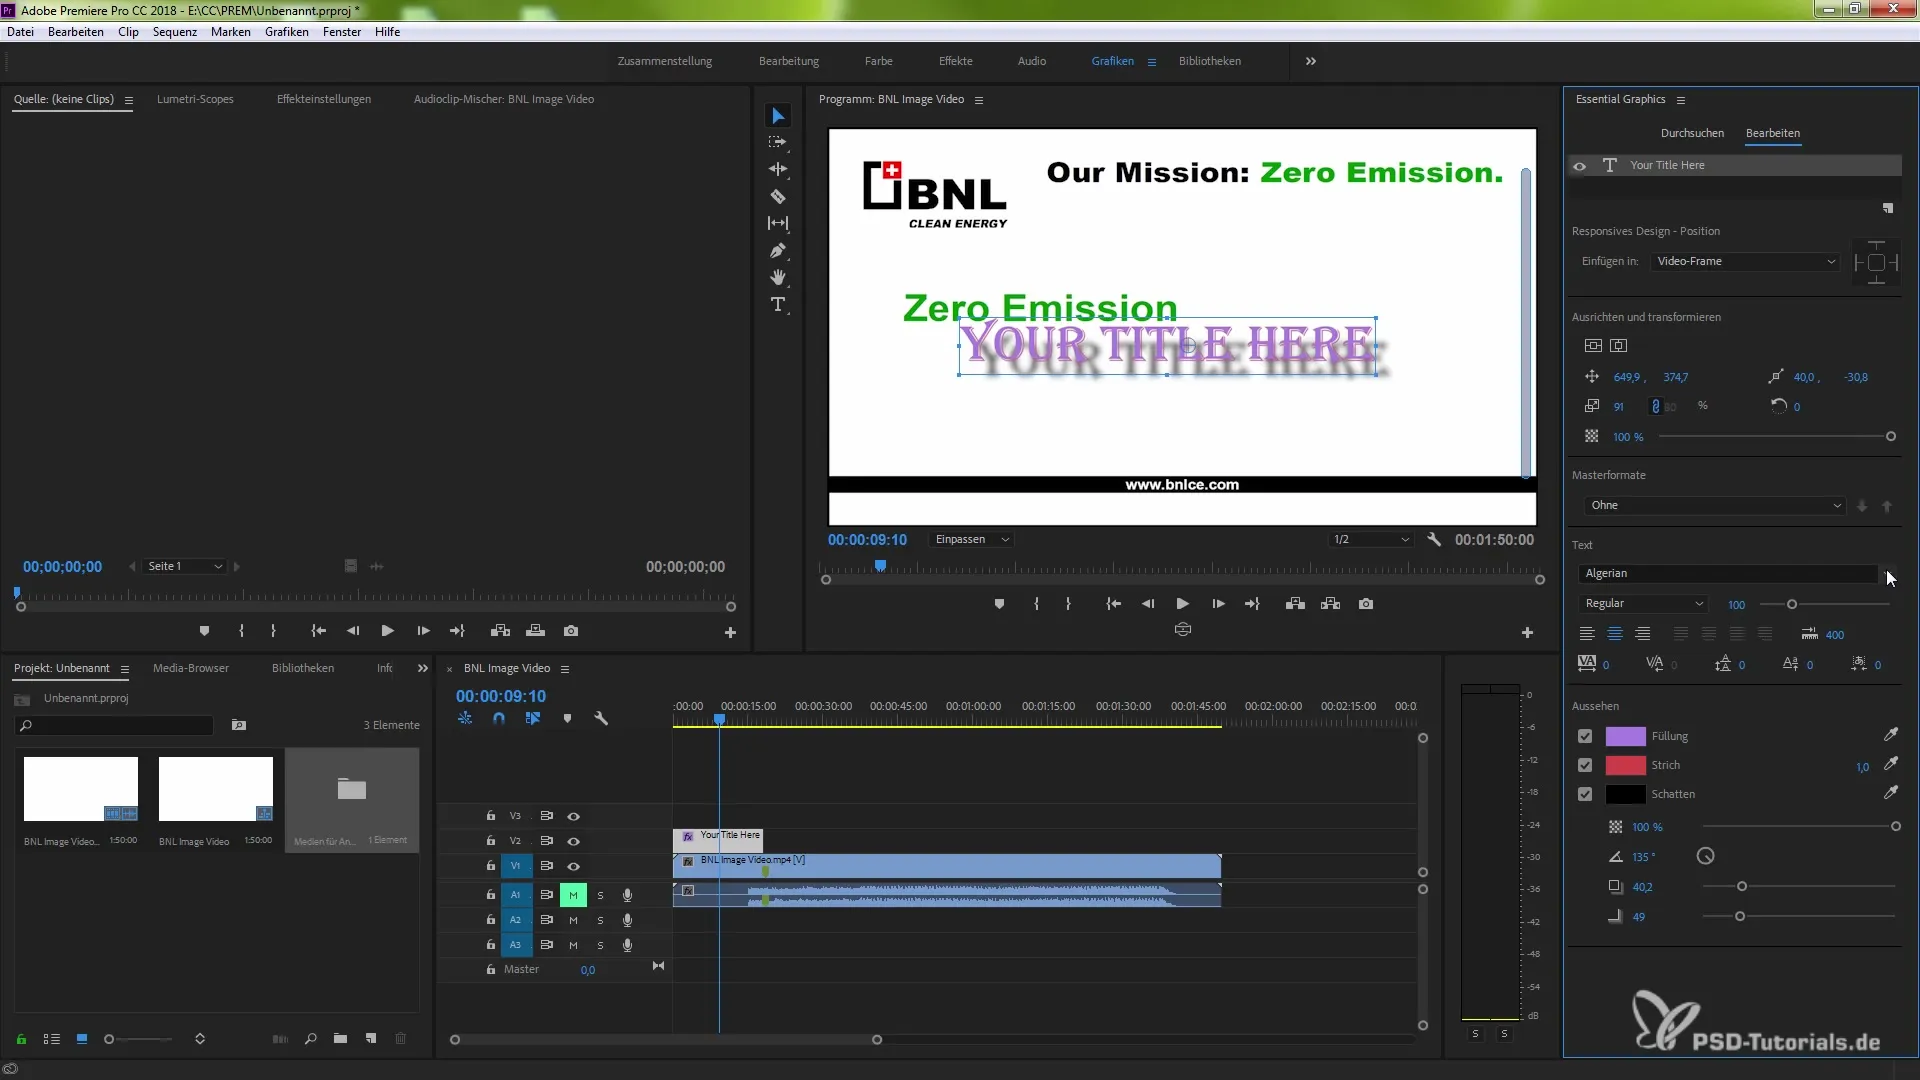
The panel now offers advanced font management options. By adding fonts via Typekit, you can quickly make your preferred fonts accessible. Mark your favorites with a star to have quick access at any time.
Previewing Selected Fonts
When you select a font, different display modes appear on the screen. This allows for a detailed view of the fonts so you can see exactly how the text will look in your project.
Customizing Existing Texts
Utilize the functions of the panel to quickly select existing texts and change their styles as needed. Whether you want to adjust the color, size, or other attributes – the possibilities are nearly endless.
Summary – Optimizations in the Essential Graphics Panel in Adobe Premiere Pro CC 2018
You now have an overview of the key functionalities of the updated Essential Graphics panel in Adobe Premiere Pro CC 2018. These new features not only enhance your creativity but also increase the efficiency of your workflow. Experiment with the various functions and discover the diverse possibilities available to you.
Frequently Asked Questions
What is the Essential Graphics panel in Premiere Pro?The Essential Graphics panel enables the management and editing of graphics in Premiere Pro and offers various features for text design.
How do I create a roll title?Activate the roll title box in the panel to turn text into a roll title and adjust the animation effects.
Can I add fonts through Typekit?Yes, you can add fonts via Typekit and mark your favorites for quick access.
Can I edit multiple objects simultaneously?Yes, you can select and adjust multiple graphic elements in the Essential Graphics panel at the same time.
How can I preview my fonts?When you select a font, the various display modes appear in the panel to assist you in customizing.


