Adobe Premiere Pro CC 2017.1 brings an exciting new feature: the ability to upload and sell your own stock footage directly through the platform. In this guide, you'll learn how to use this feature not only to create creative content but also to earn money from it. Let's get started.
Key insights
- You can upload your project sequences directly as clips.
- With the new feature, you can create seasonal material or specific clips for sale.
- The use of Adobe Media Encoder is required to export and upload your media.
- You must first register as a Contributor on Adobe Stock and accept the corresponding terms.
Step-by-Step Guide
In this guide, we will walk you through the steps necessary to sell your own material through Adobe Stock.
Step 1: Start Adobe Premiere Pro
Open Adobe Premiere Pro CC 2017.1 and make sure you have the latest version of the update installed.

Step 2: Create a project or open an existing project
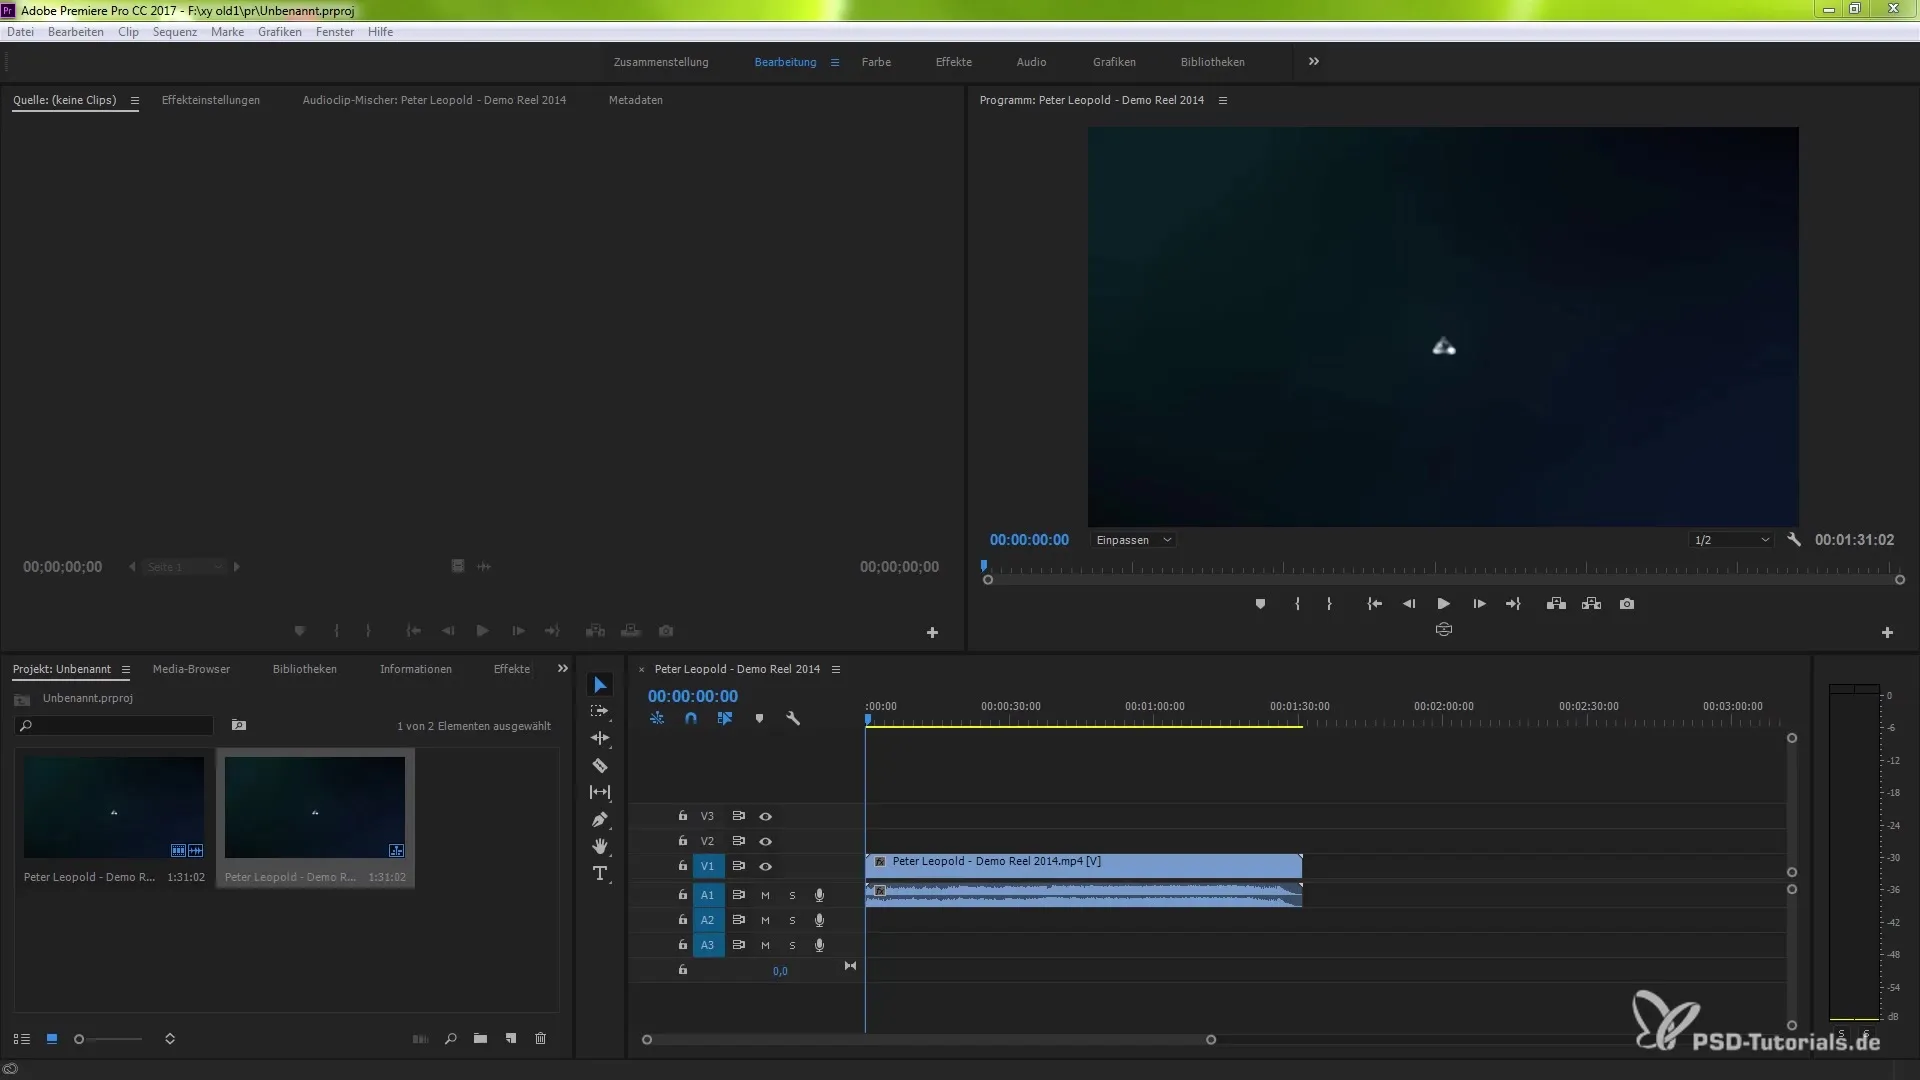
If you want to start a new project, you can do so now. Alternatively, open an existing project that already contains your clips or sequences.
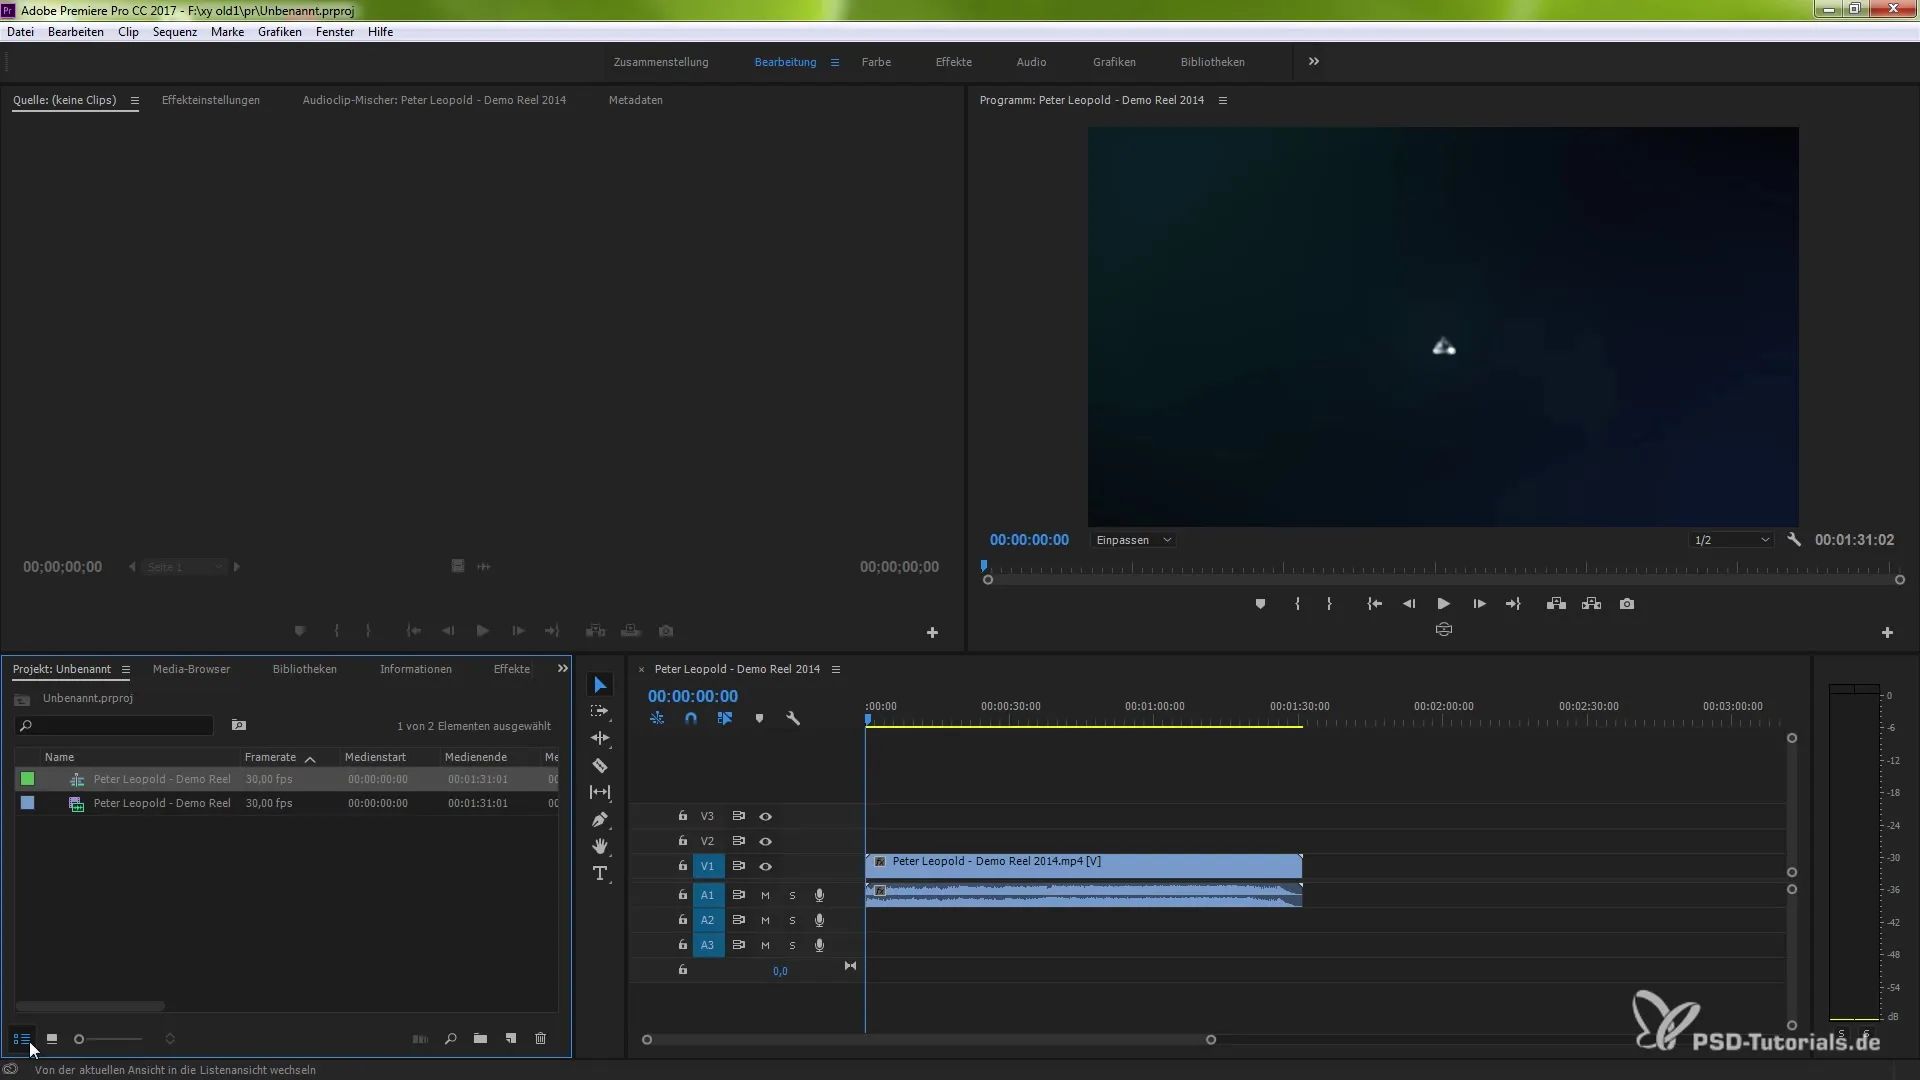
Step 3: Enable list view
Activate the list view by clicking on the corresponding toggle button in the lower left corner of the window. This will make it easier for you to keep track of your projects.
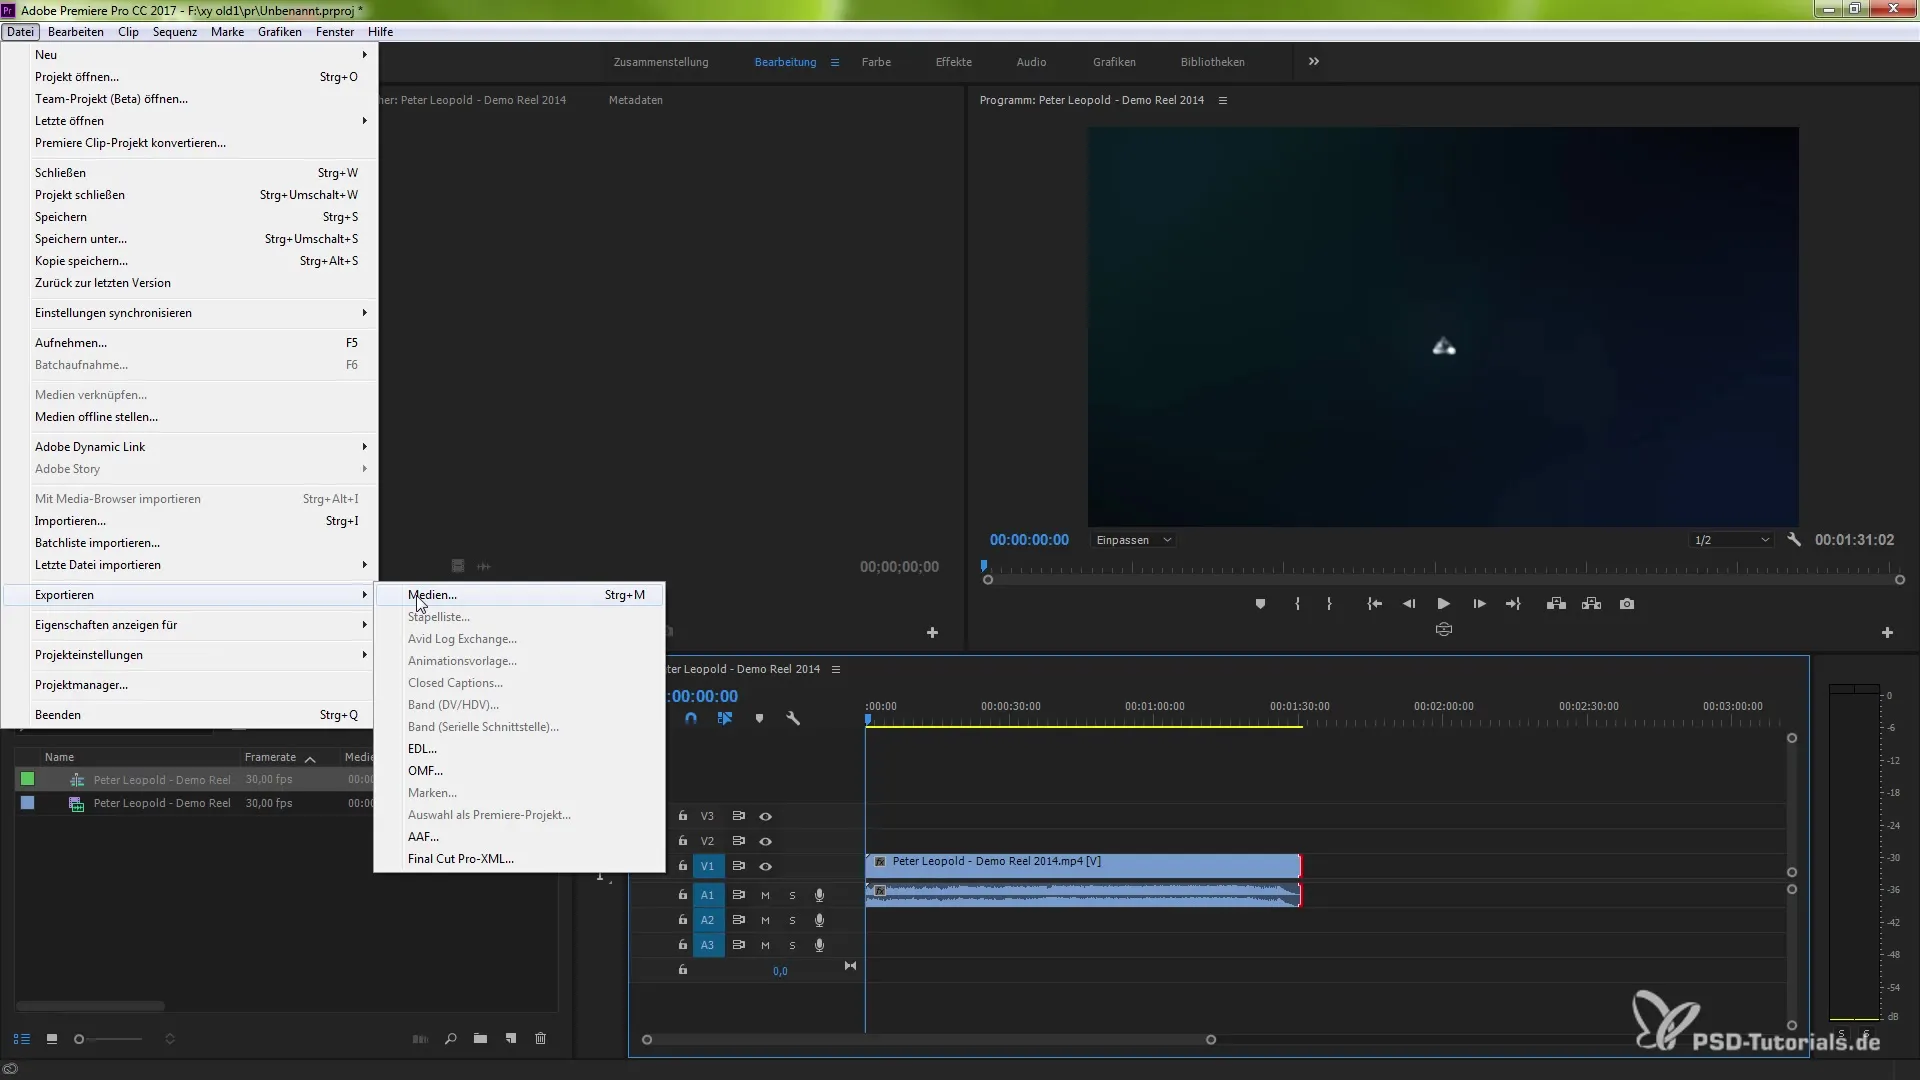
Step 4: Access export function
Once you are in list view, click on your project to start the export function. Go to "File," then "Export," and finally "Media."
Step 5: Install Media Encoder
Make sure you have installed Adobe Media Encoder. This is required for exporting your projects and can be obtained for free through Adobe Cloud.
Step 6: Choose export settings
Select the format in which you want to export your clip. A common format is H.264, ideal for various online platforms. You can choose a predefined template like "YouTube" or "Vimeo," depending on your needs.
Step 7: Additional export settings
After choosing the format, you can adjust additional export settings. Here, you can decide whether to export the audio as well and make further options for aspect ratio correction.
Step 8: Define custom range
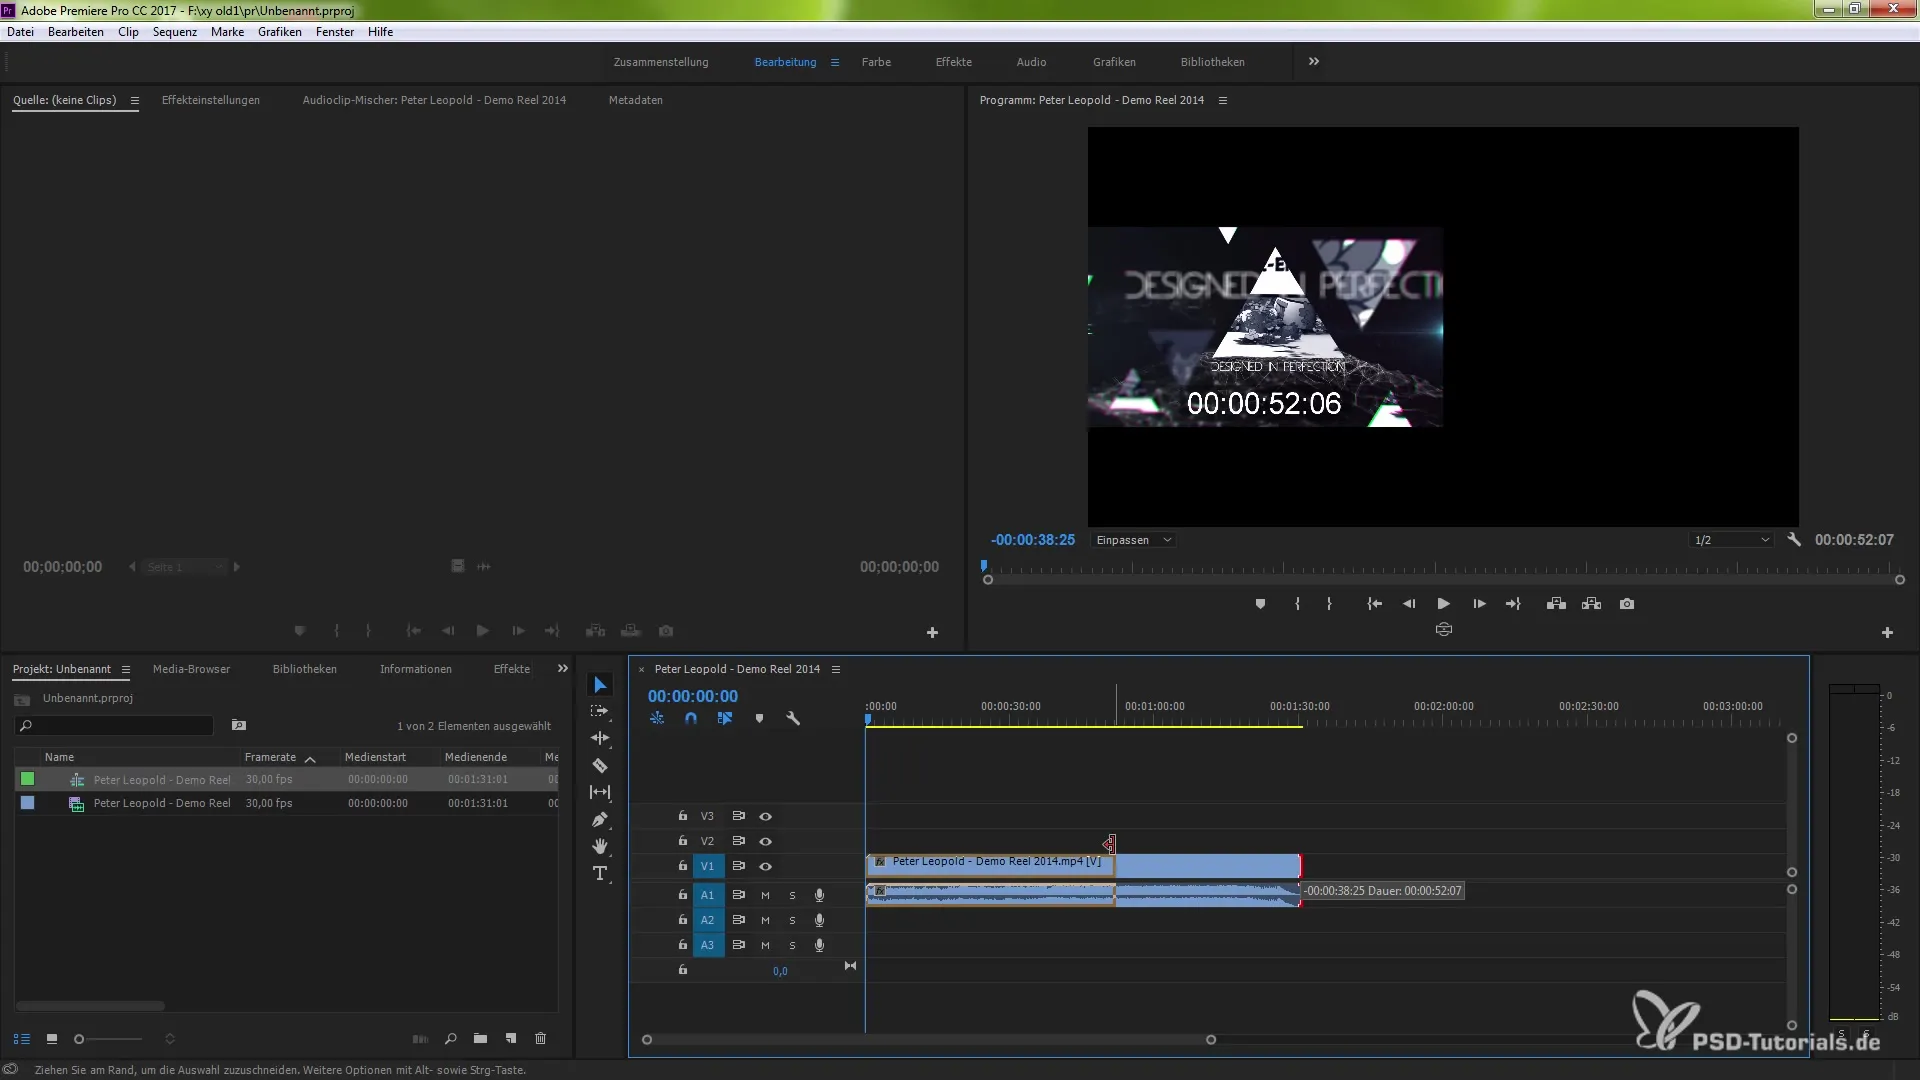
You have the option to set a custom range for export. Select your specific clip range or the entire sequence to ensure everything is exported correctly.
Step 9: Add to queue
At this point, you can decide whether to export the project directly or add it to the queue for multiple exports. This feature is particularly useful if you want to upload multiple clips simultaneously.

Step 10: Register as a Contributor on Adobe Stock
Before you can upload your material, you need to register as a Contributor on Adobe Stock. Follow the link you need to get to the registration page.
Step 11: Accept terms
After arriving on the Contributor page, you must confirm that you find the terms of service acceptable. Here, you also need to confirm that you are over 18 years old and have the appropriate rights to your videos.

Step 12: Upload material
Now you are ready to upload your material. The uploaded video will appear directly in Adobe Stock and will be available to customers from now on.

Summary – Adobe Premiere Pro CC 2017.1: Effectively Selling Stock Footage
With the new features in Adobe Premiere Pro CC 2017.1, it's easier than ever to create and sell your own stock footage. The steps you need to follow are simple and allow you to be creative while generating an income on the side.
Frequently Asked Questions
How can I download Adobe Premiere Pro CC 2017.1?You can download the software through Adobe Creative Cloud by logging in with your credentials.
What formats can I choose for export?You can select among others H.264, MPEG-2, and QuickTime, depending on the intended use of your material.
Do I need additional software to upload to Adobe Stock?Yes, Adobe Media Encoder is required to successfully export your videos.
How long does it take for my video to be available on Adobe Stock?After you upload your video, it may take some time for it to be approved and displayed on the platform.
Do I need to provide tax information to work as a Contributor?Yes, as a Contributor you typically need tax information to receive compensation.


