With the latest updates in Adobe Premiere Pro CC 2019, you have the opportunity to significantly accelerate mask tracking. This offers you great advantages, especially when editing 2K and 4K footage. In this tutorial, you will learn how to effectively utilize the new features to edit your projects even faster without sacrificing quality. Let's get started and explore the new possibilities!
Main Insights
- Premiere Pro CC 2019 offers optimized mask tracking that makes editing 4K footage easier.
- You can draw masks to track or retouch faces or objects.
- The software downscales the 4K footage to a lower image level to enhance performance without compromising mask tracking quality.
Step-by-Step Guide
1. Create a Mask in the Layout Monitor
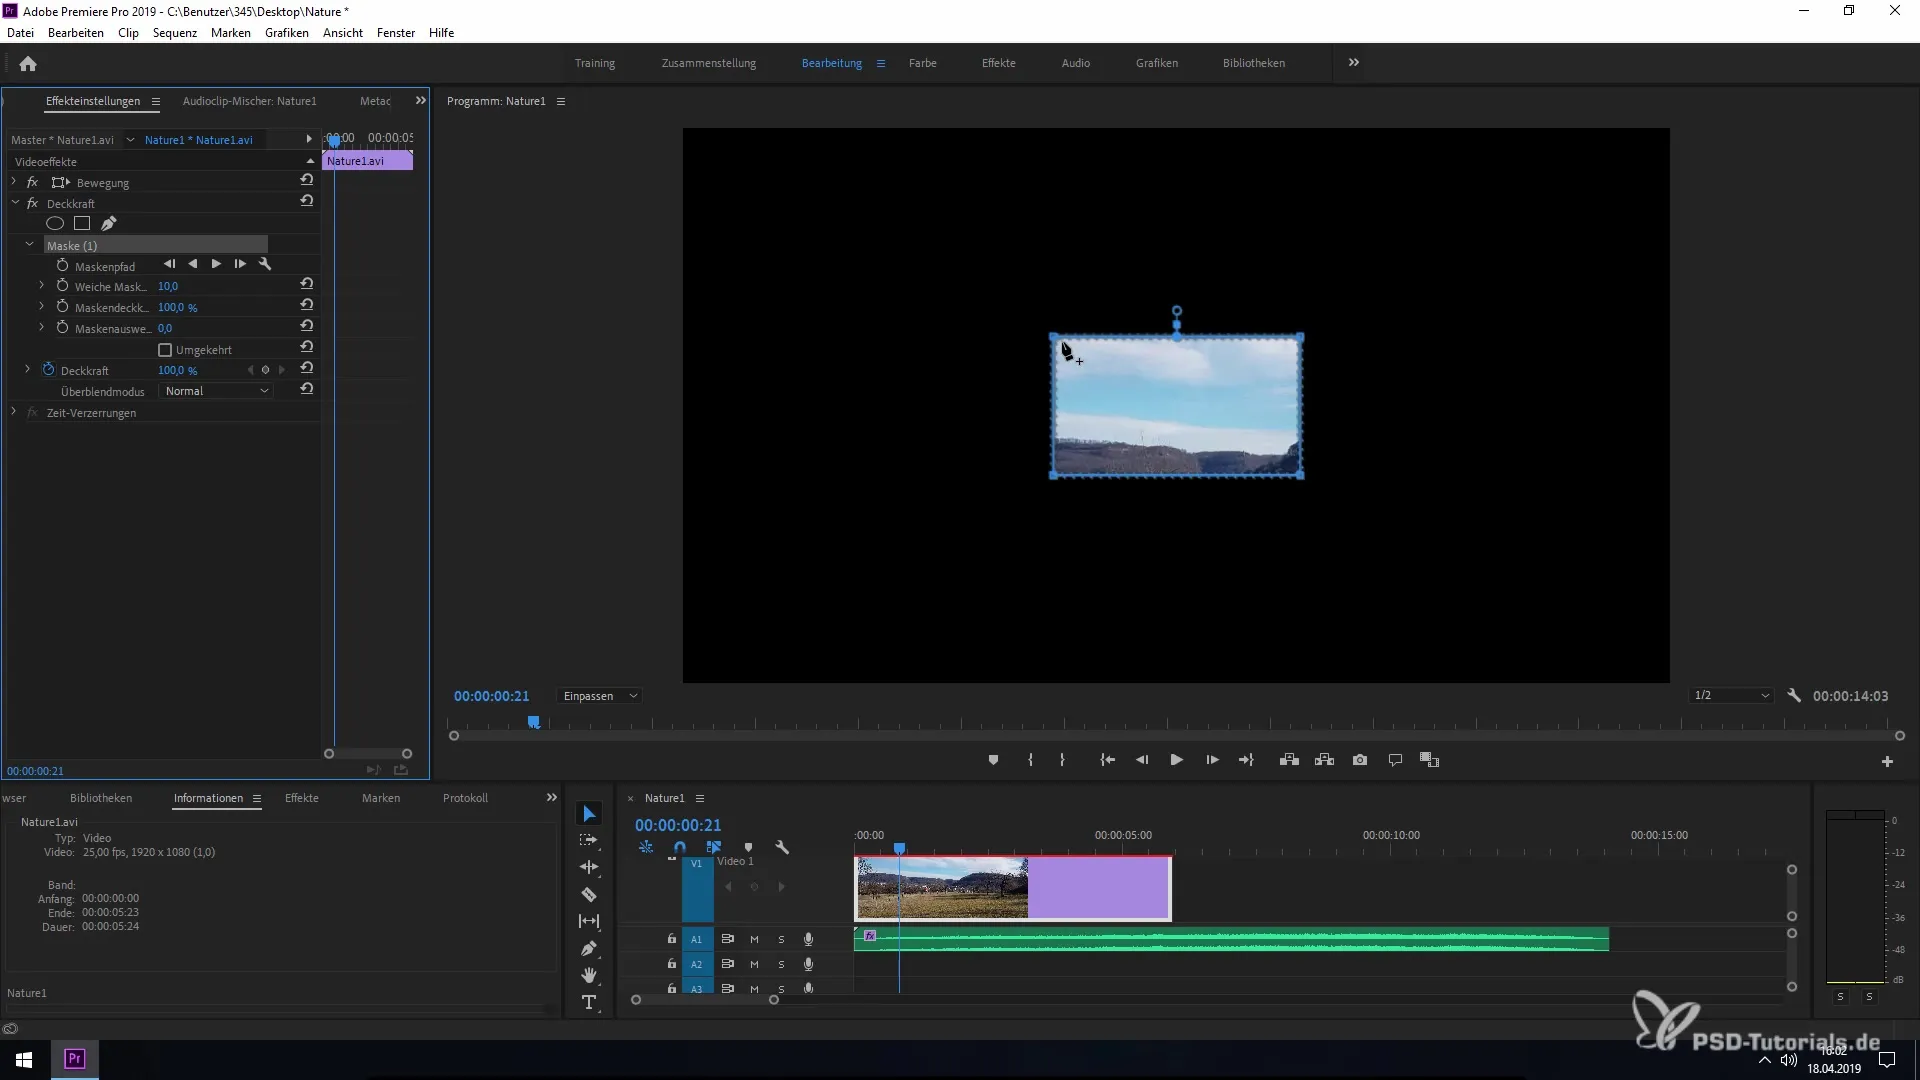
To get started with the new mask tracking feature, first, open the Layout Monitor in Premiere Pro. Click in here and select a spot in the video that you want to mask. Go to the effect settings and choose the option to draw a mask. At this point, you can draw the mask around the desired object or face.

2. Activate Mask Tracking
Once you have created the mask, it is important to activate the mask tracking. This is done through the corresponding settings in Premiere Pro. Select the mask path and activate tracking. Premiere Pro will now track the movements in the video based on your mask.

3. Efficiently Edit 4K Footage
A standout feature of the new functionality is the ability to keep even 4K footage editable without the software consuming too much processing power. This is achieved by Premiere Pro downscaling the 4K footage to a lower quality while still allowing for precise mask tracking. This enables you to work efficiently in the 4K projection view without overloading system resources.
4. Optimize Your Workflow
With this technical improvement, you can significantly speed up your workflows. There’s no need to switch to a lower resolution anymore, as Premiere Pro manages the display data in the background. This means you can fully concentrate on the creative side of editing while the software makes the necessary adjustments in the background.

5. Test Your Mask Tracking
After activating the tracking, you should check your result. Play the video and observe how precisely the mask tracks the object. This is the moment when you can ensure that the function is working as intended and provides you with the desired precise tracking.
Summary – Faster and More Efficient: Utilizing Mask Tracking in Premiere Pro CC 2019
The new features in Adobe Premiere Pro CC 2019 allow for faster and more efficient mask tracking, especially with 4K footage. Thanks to the optimization of mask tracking, you can now work without performance losses and thus implement your projects more effectively.
Frequently Asked Questions
How do I create a mask in Premiere Pro CC 2019?You can create a mask by selecting a spot in the Layout Monitor and choosing the mask option in the effect settings.
What can I achieve with mask tracking?With mask tracking, you can track faces and objects or retouch them.
How does the performance improvement work for 4K footage?Premiere Pro downscales the 4K footage to a lower quality, reducing performance requirements while keeping mask tracking accurate.
Can I use mask tracking with other video formats?Yes, the new mask tracking feature works seamlessly with various video formats.
How can I improve the efficiency of my workflows in Premiere Pro?The new mask tracking allows you to work more efficiently by optimizing processing power and enabling you to focus on creative editing.


