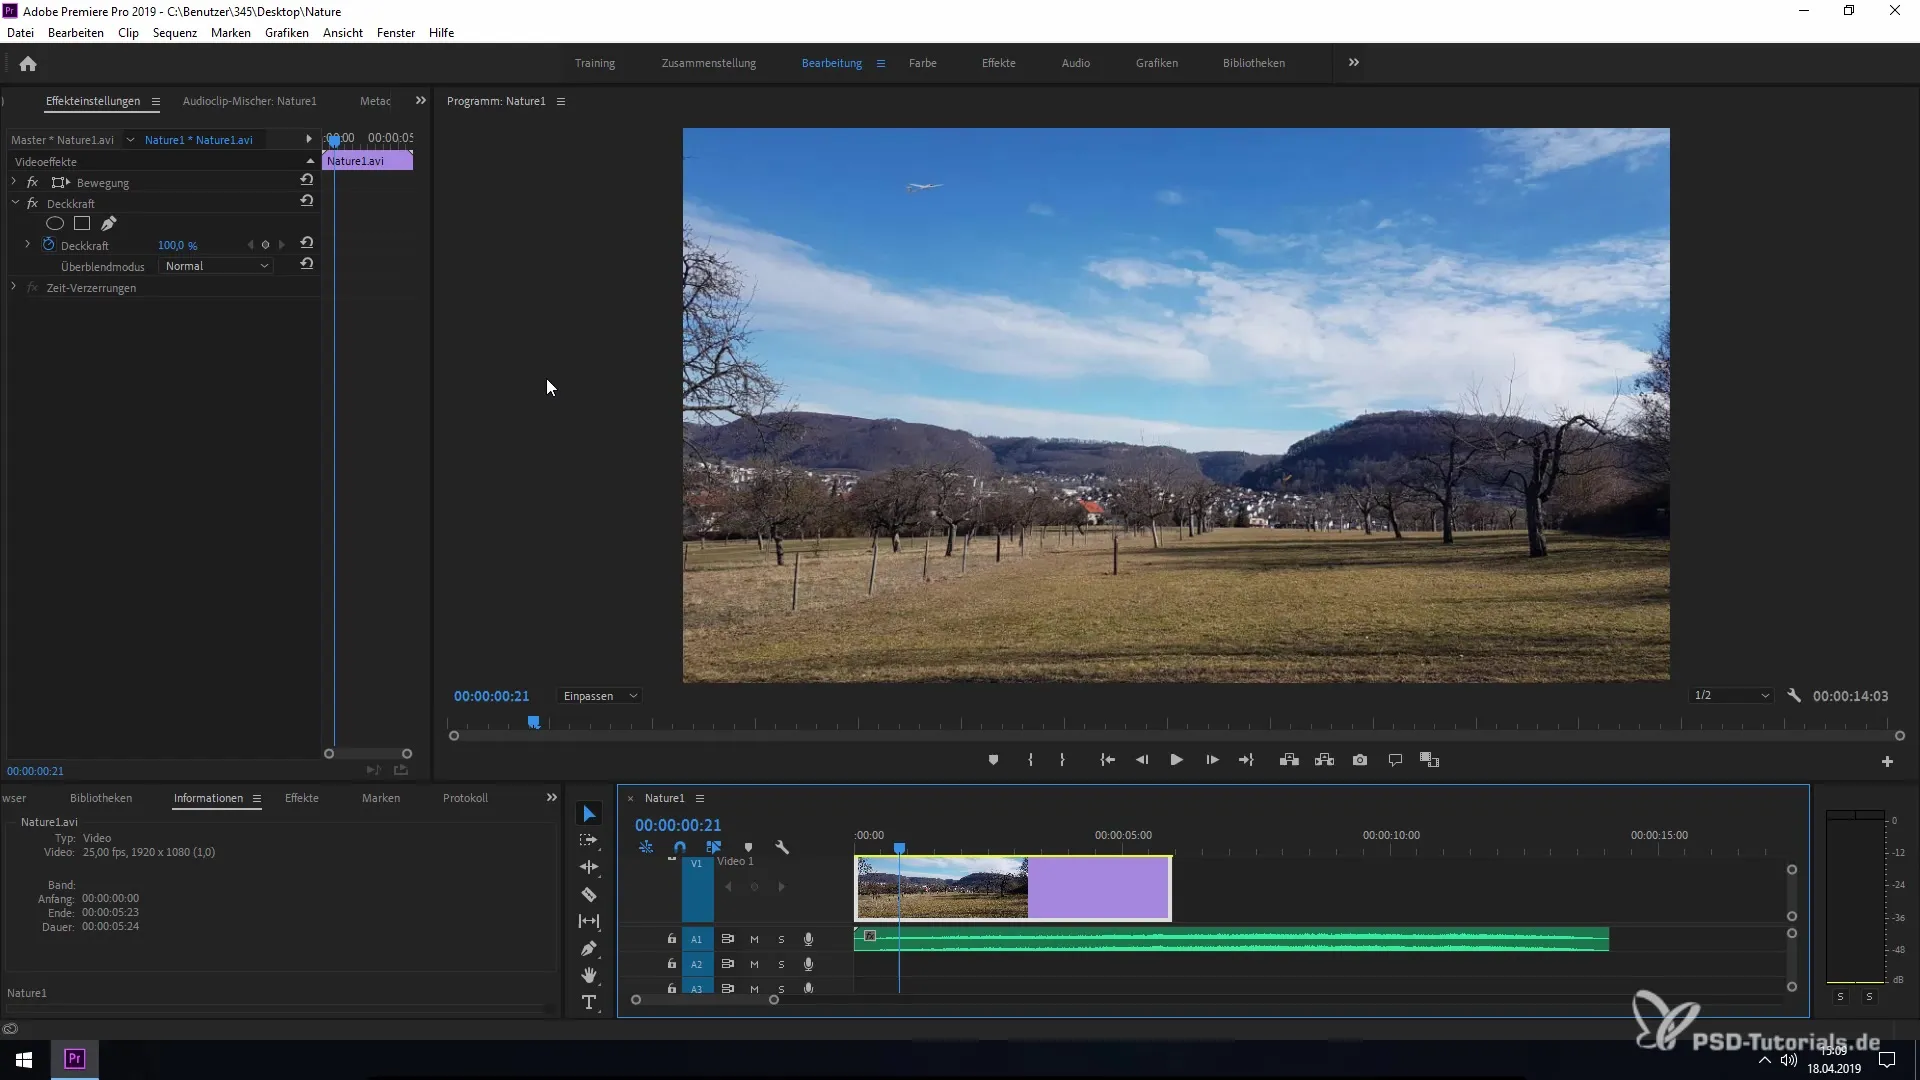
With the introduction of automatic Ducking in Premiere Pro CC 2019, editing audio and speech is significantly simplified. This new feature allows you to effortlessly adjust ambient noises to the volume of your audio or speech recordings. This way, you can create a harmonious sound landscape without having to manually fiddle with the volume levels. In this tutorial, I will show you how to efficiently use Ducking for your projects. Let’s get started and see how you can make the most out of this feature!
Main insights
- Automatic Ducking is activated in Premiere Pro CC 2019 through the Essential Sound Panel.
- The sensitivity and ducking strength functions allow for precise adjustments.
- Keyframes are created automatically to ensure a seamless volume adjustment.
Step-by-step guide
1. Select audio clip
First, you need to select your audio clip in the project window. Ducking works best when you have clearly defined audio sources, such as music or speech. Select the appropriate clip to begin the adjustment.

2. Open Essential Sound Panel
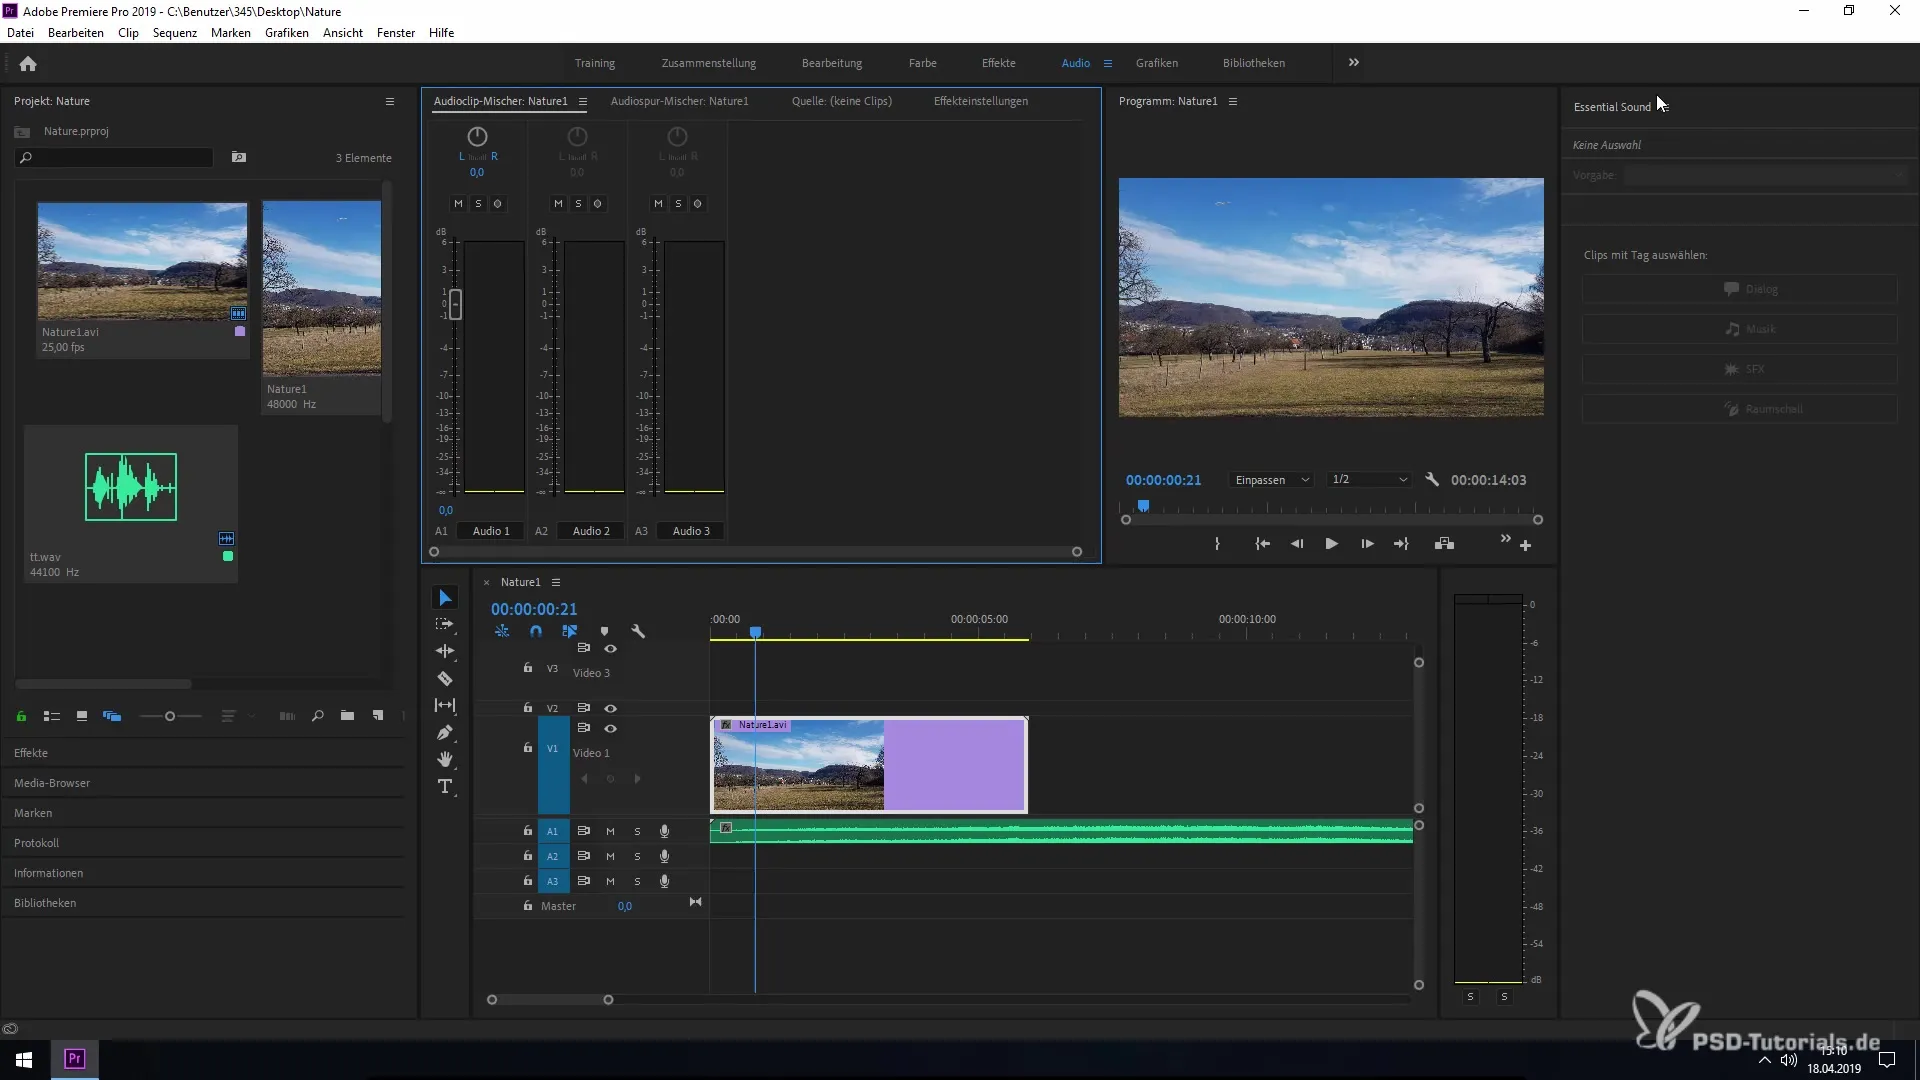
Next, navigate to the "Audio" section in the menu bar and open the Essential Sound Panel. Here you have the functions available to edit the audio properties of your clip.

3. Define ambient sound
In the Essential Sound Panel, you have the option to define the type of your audio file. Click on "Ambient Sound" to specify that it involves background noises. This way, the editor defines which parts of the audio file should be suppressed while other audio elements like speech or music dominate.
4. Activate Ducking
Now you can activate Ducking. Click on the corresponding box in the Essential Sound Panel. This function will lower the ambient noise relative to the identified main audio elements.
5. Adjust Ducking settings
Here you have the option to regulate the sensitivity of the Ducking. Move the slider in the positive and negative range to define how strong the Ducking function should be. This is an important setting to achieve the optimal sound.
6. Set Ducking strength
In addition to sensitivity, there is the option to adjust the Ducking strength. This setting gives you control over how much the volume of the ambient noises is reduced. Experiment here to achieve the most suitable result for your project.
7. Add fades
Additionally, you can set fades in specific time intervals. This function ensures a smooth transition between the volume changes and avoids abrupt volume shifts.
8. Create Keyframes
If you are satisfied with the adjustments, click on "Create Keyframes." This will automatically set all the necessary keyframes to implement the Ducking effects you want in the audio.
9. Review effect
Now you can check the result by playing a preview of your project. Pay attention to how Ducking balances the ambient sounds against the main audio elements.
10. Finalize the project
Finally, if everything sounds good, save your changes and close the Essential Sound Panel. Your audio should now be optimally prepared. Enjoy the result of your work!
Summary - Ducking for Ambient Sounds in Premiere Pro CC 2019
The new Ducking tool in Premiere Pro CC 2019 gives you the ability to effectively adjust ambient sounds to voice or music recordings with minimal effort. The user-friendly settings in the Essential Sound Panel significantly simplify audio processing in your projects.


