Introduction Adobe Premiere Pro CC 2018 introduced a new feature in the April update that makes your color grading significantly more efficient. Thanks to the comparison view, you can easily switch between different edits to quickly make the desired color corrections. In this guide, you will learn how to effectively use this new feature to enhance your color corrections and make your videos even more appealing.
Key Takeaways
- The comparison view allows for an easy display of before-and-after images.
- Color adjustments and comparisons can be implemented efficiently.
- There are various options to adjust the view, including vertical and horizontal splits.
Step-by-Step Guide
To properly use the comparison view in Premiere Pro CC 2018, follow these steps:
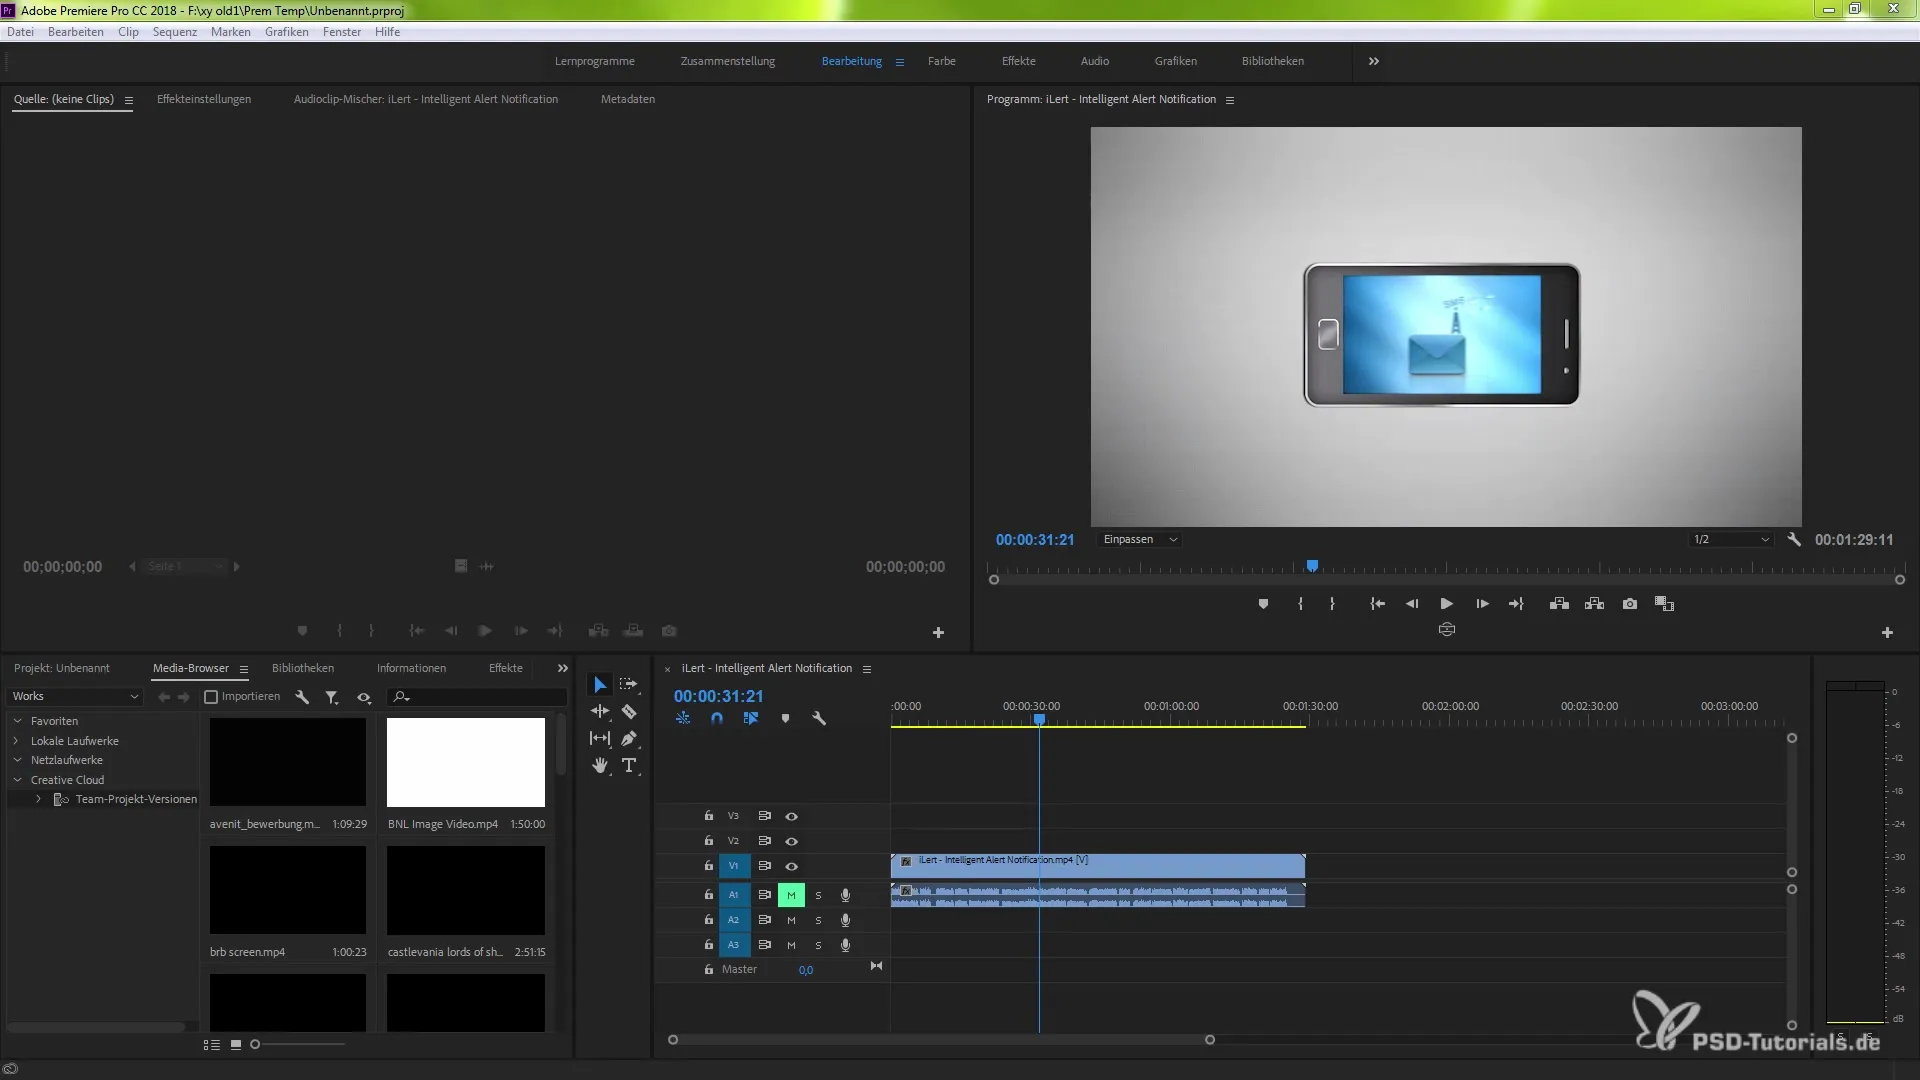
Activate Comparison View
To activate the comparison view, first switch to the clip you want to edit. Hover over the relevant icons in the program and make sure that the comparison view icon is active. If it’s not visible, you may need to add it via the button editor.
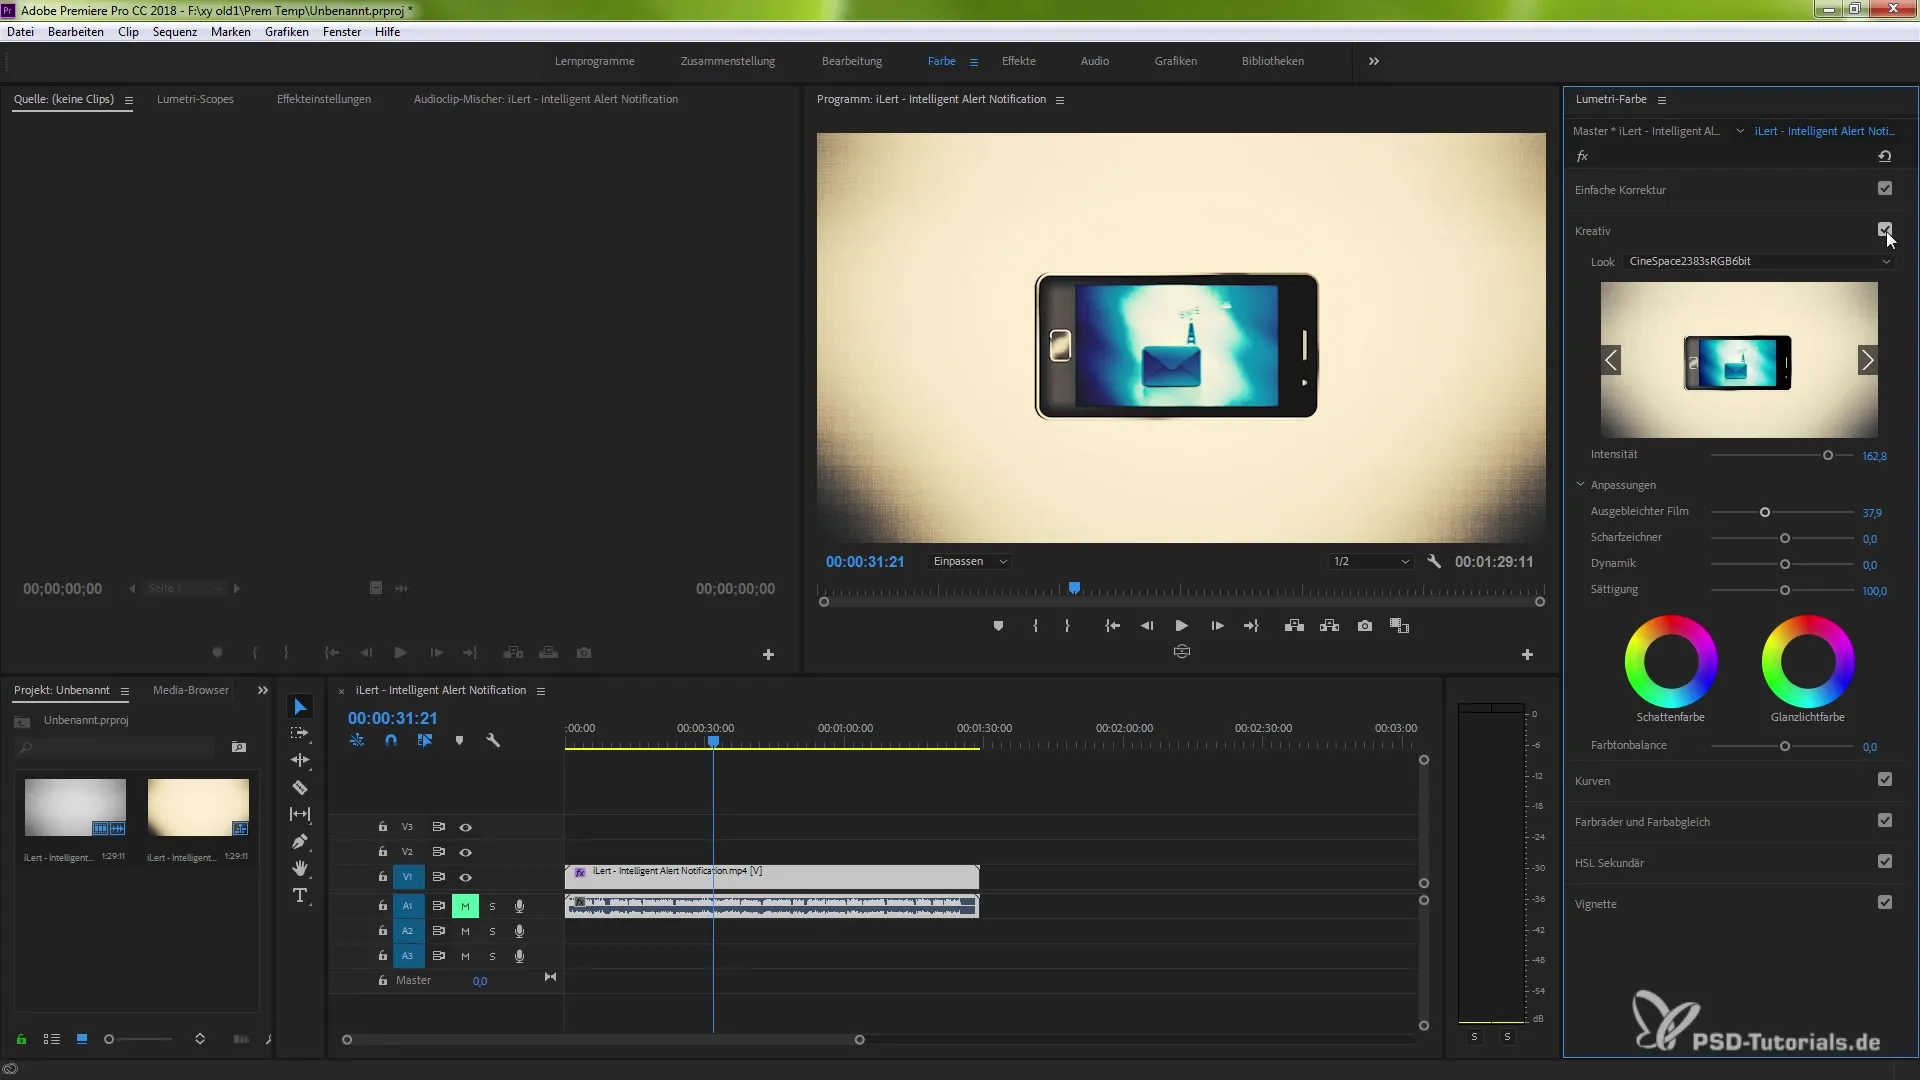
Apply and Compare Effects
Once you have opened the comparison view, you are ready to apply effects. Implement your desired color corrections by using color presets or manual adjustments. These changes will be displayed to you in real time as you observe the comparison view.
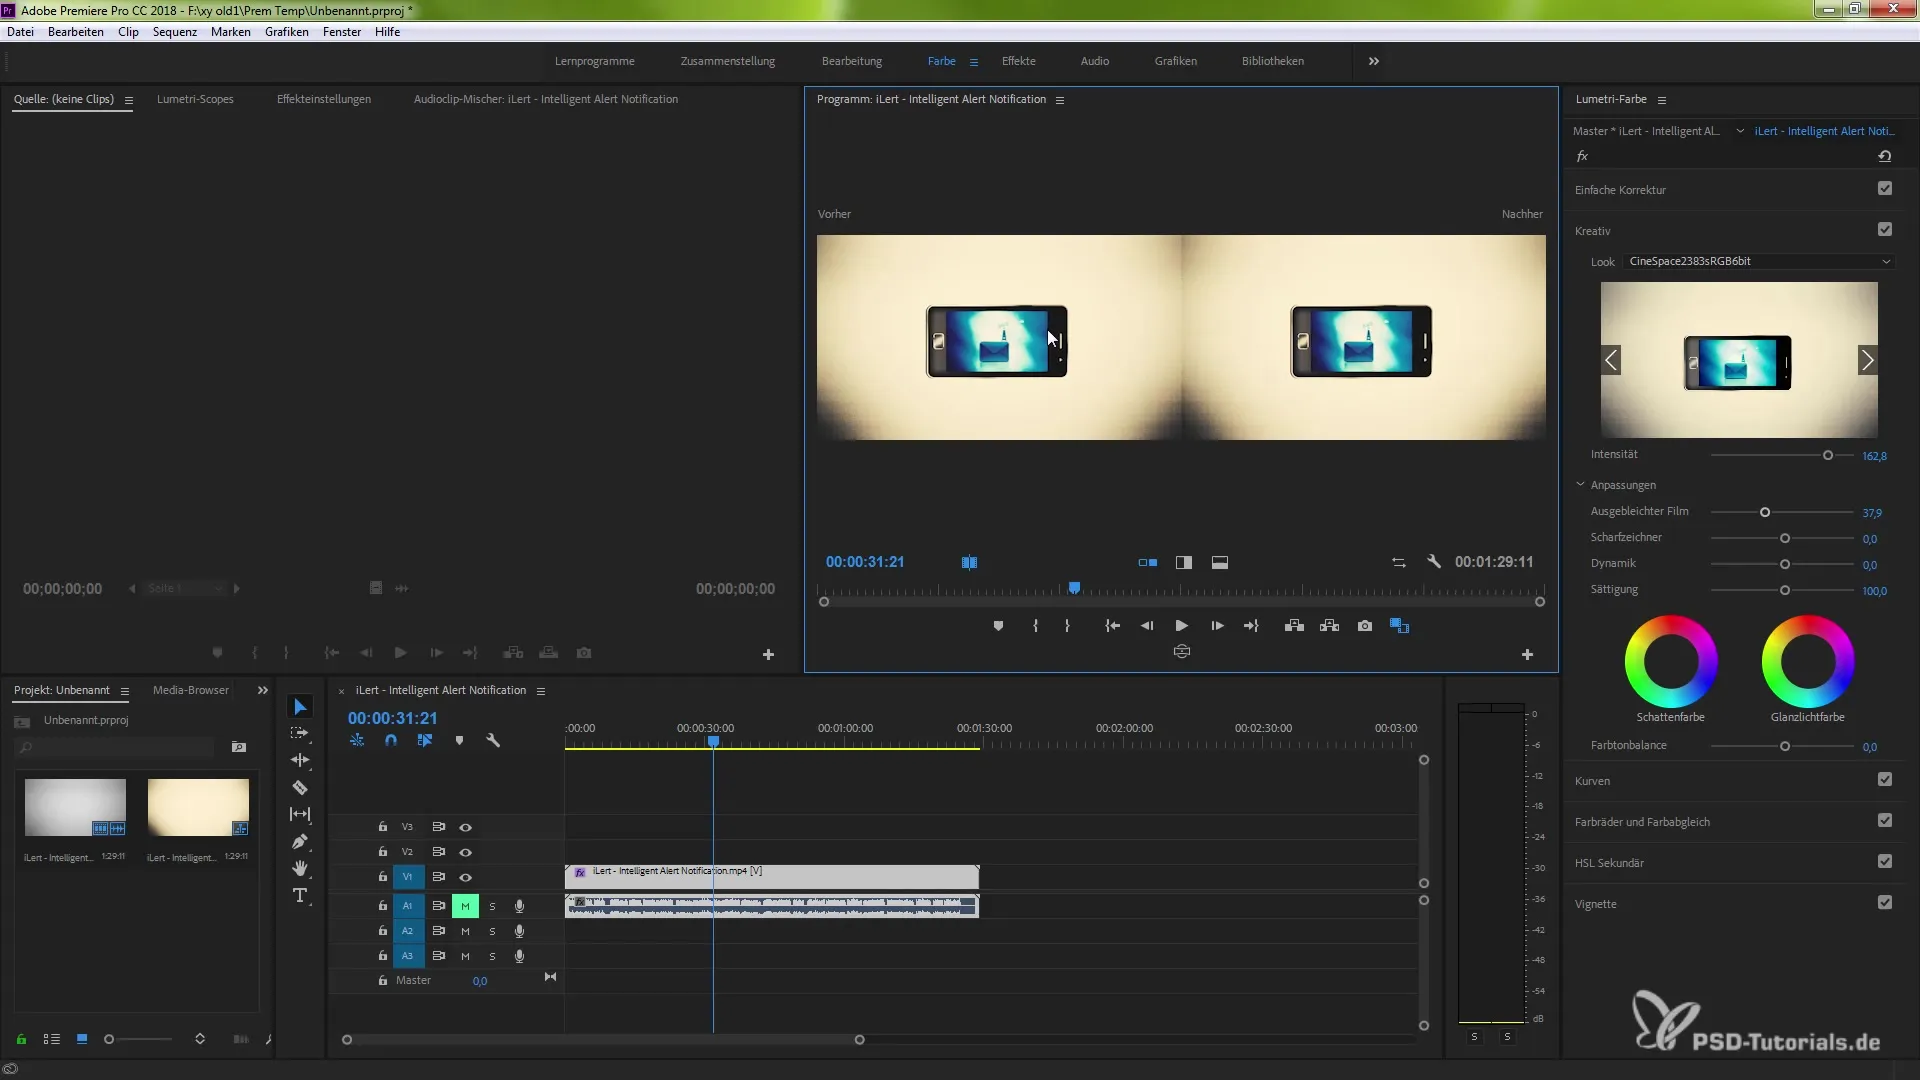
Before-After Comparisons
To create an effective before-after comparison, simply activate the split view. This way, you can see immediately how your changes affect the image. If desired, you can also deactivate the split and work in detail between different frames.
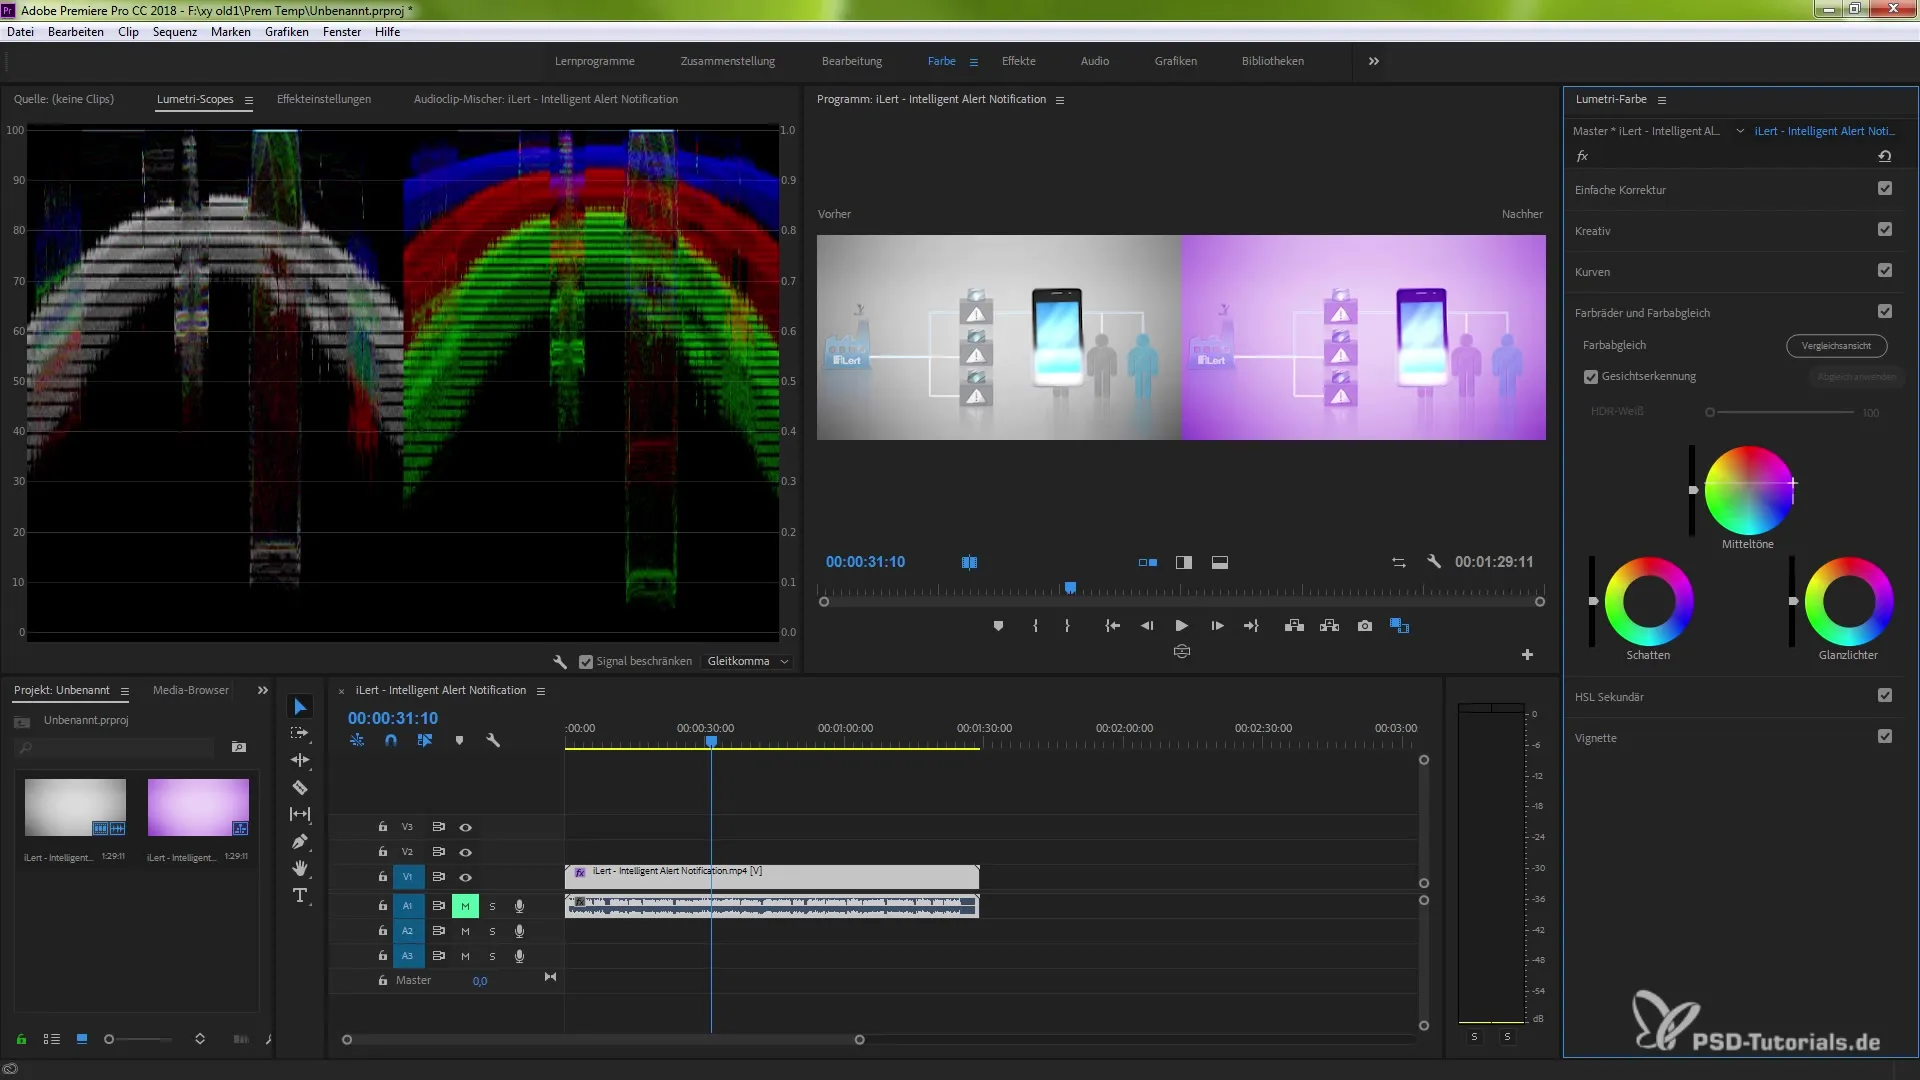
Compare Frames
To compare specific frames, go to the color area of Lumetri. Here you have the option to select different frames. You can activate frame comparison and simultaneously check different colors and settings. This allows you to fine-tune your color adjustments in detail.
Make Fine Adjustments
You can also activate vertical or horizontal splitting to optimize the comparison view. These adjustments offer you different perspectives, which can be helpful when editing scenes. Use the mouse wheel for precise adjustments while scrubbing.
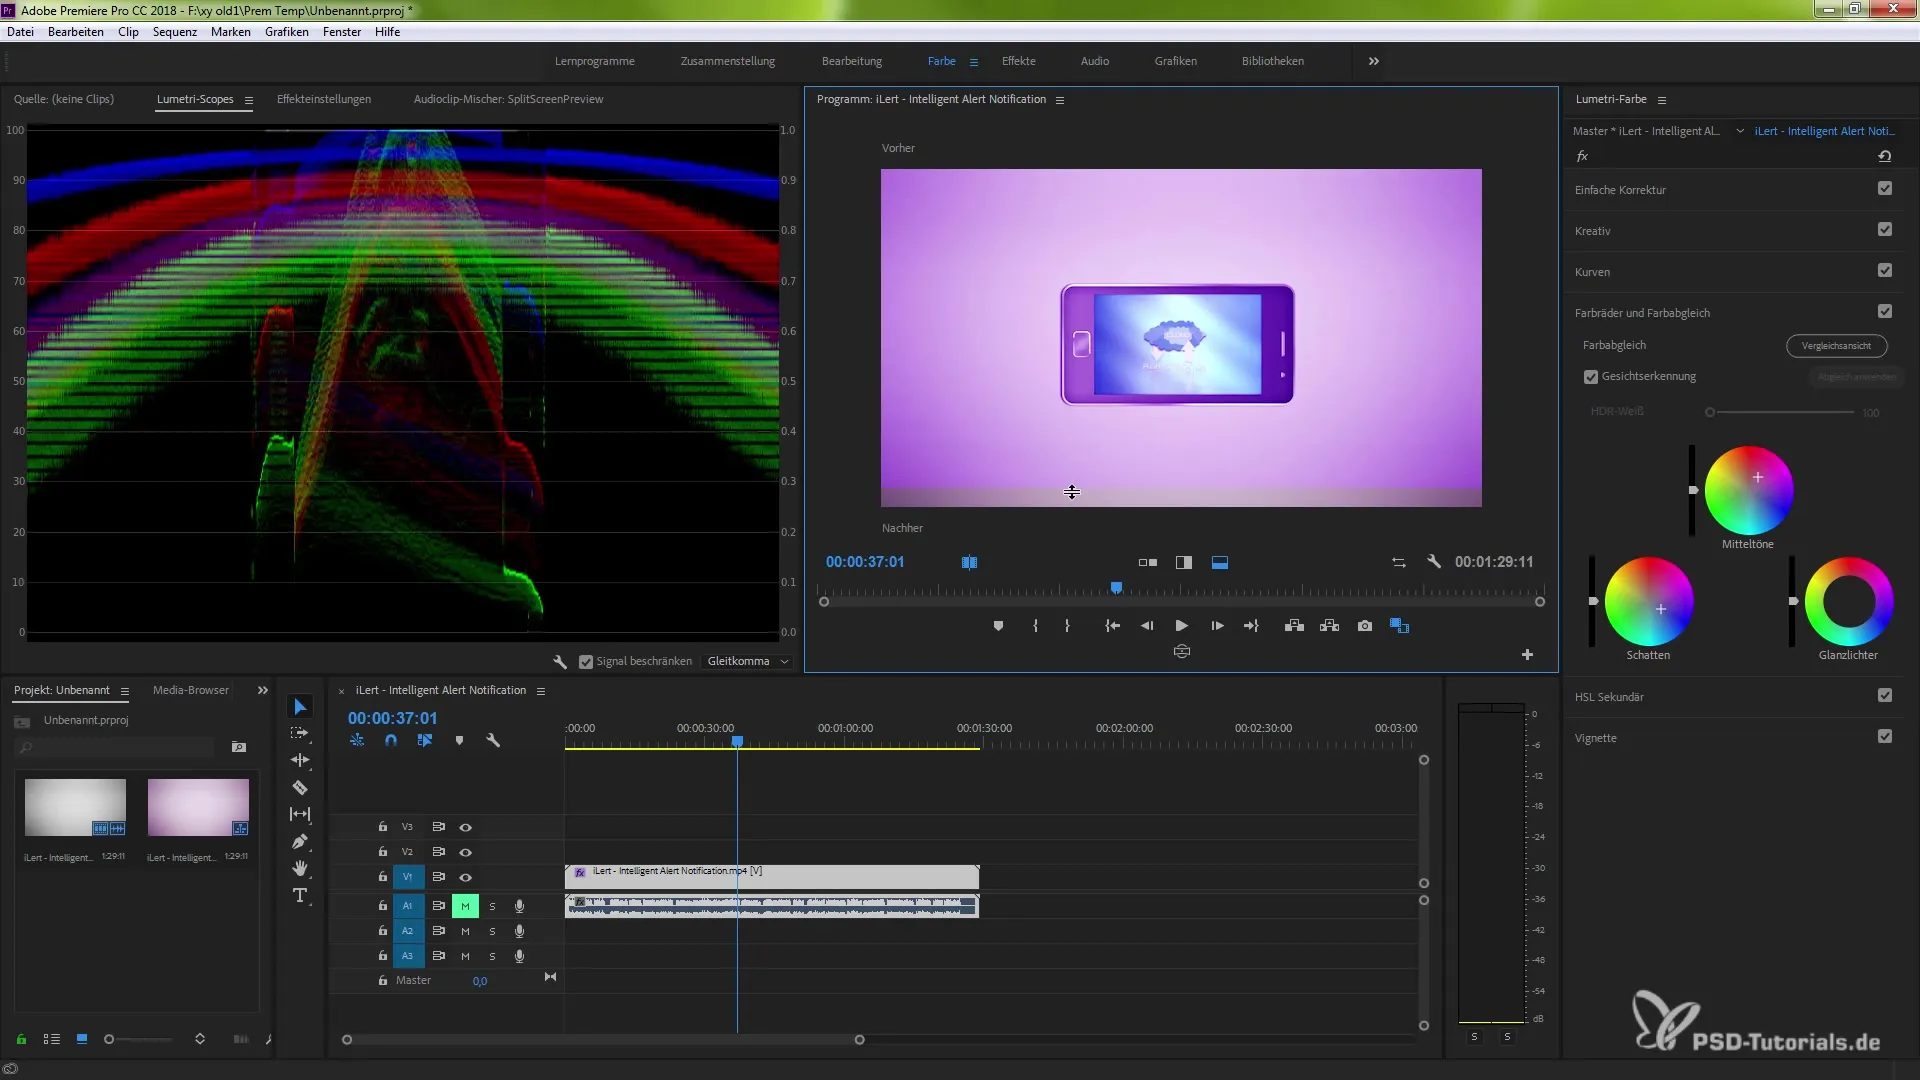
Switch Modes
While working, you also have the option to swap views using two arrows. This is handy for trying out different modes of the comparison view. You can switch between the reference view and the effect view at any time.
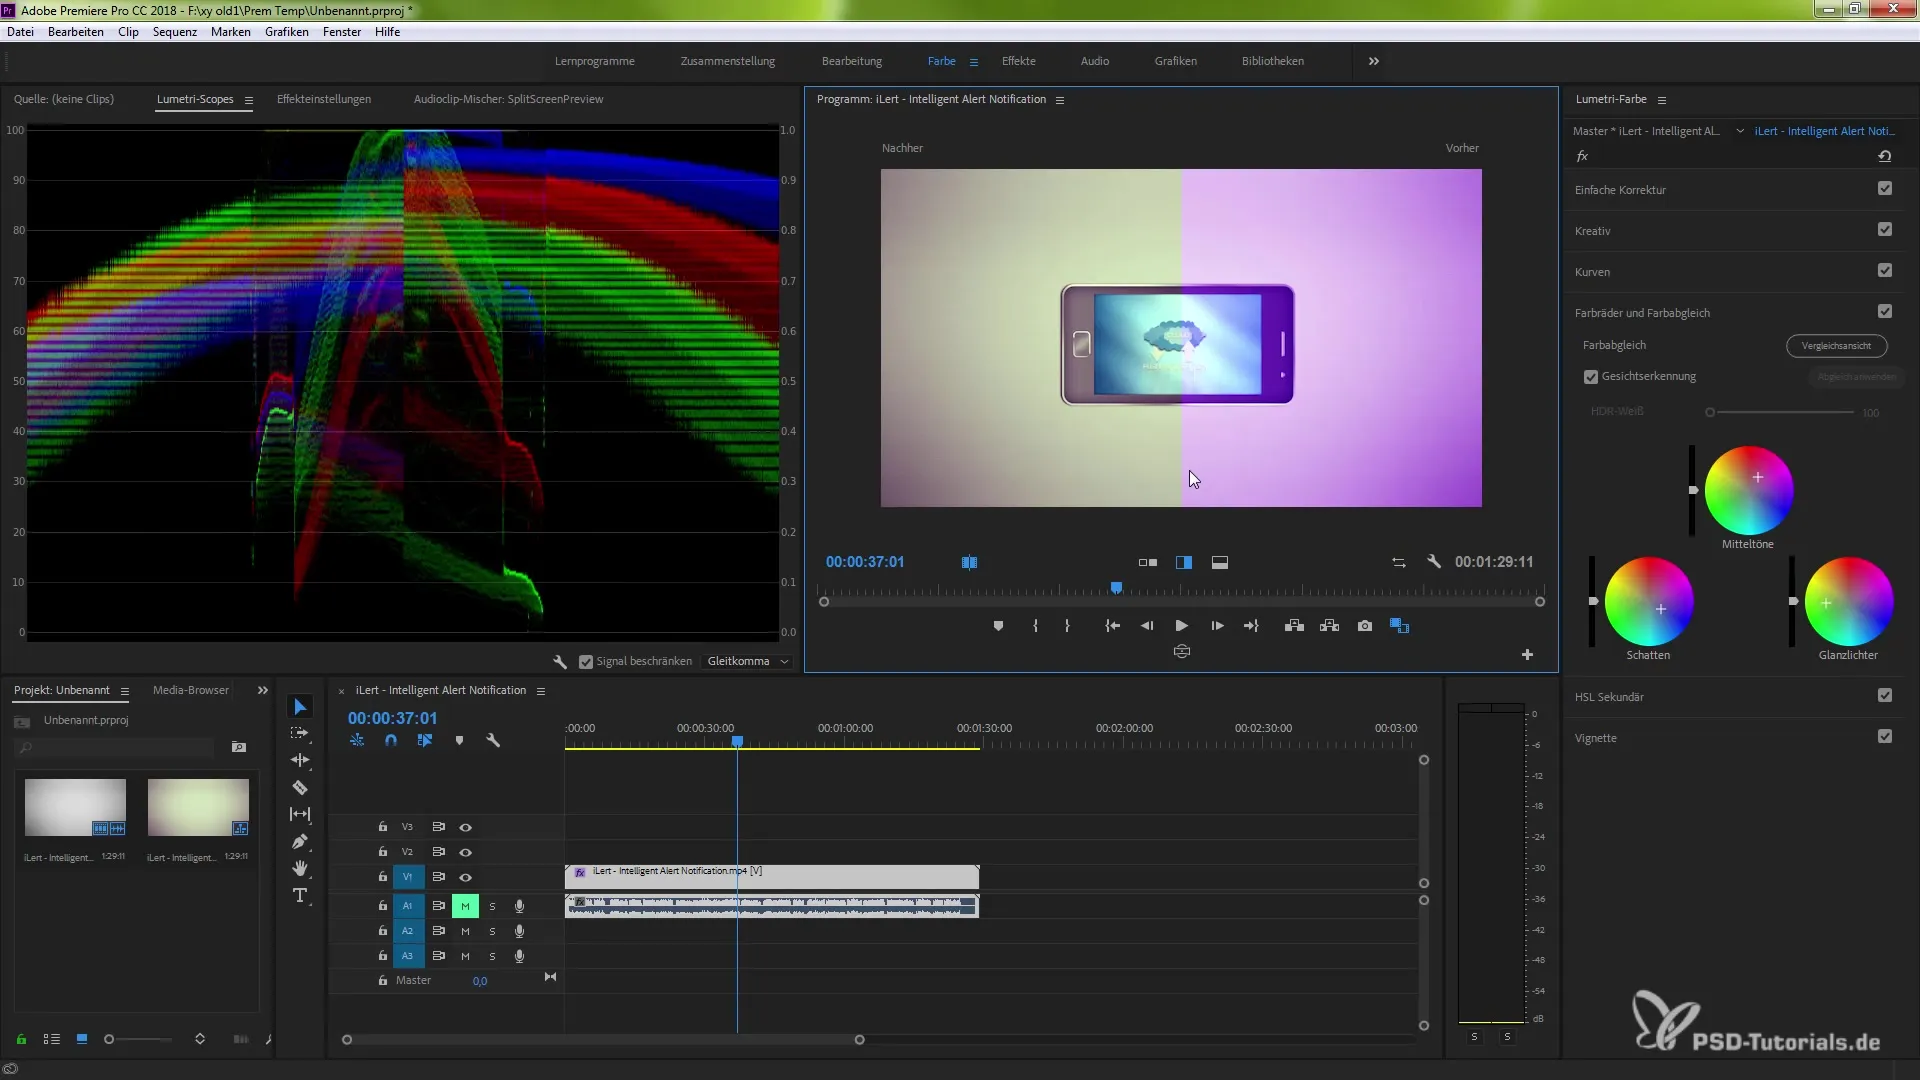
Further Adjustments and Color Control
You can further adjust the comparison view through the settings by activating the multicamera option. However, note that a match must be applied to update the view correctly, especially when setting a new reference.
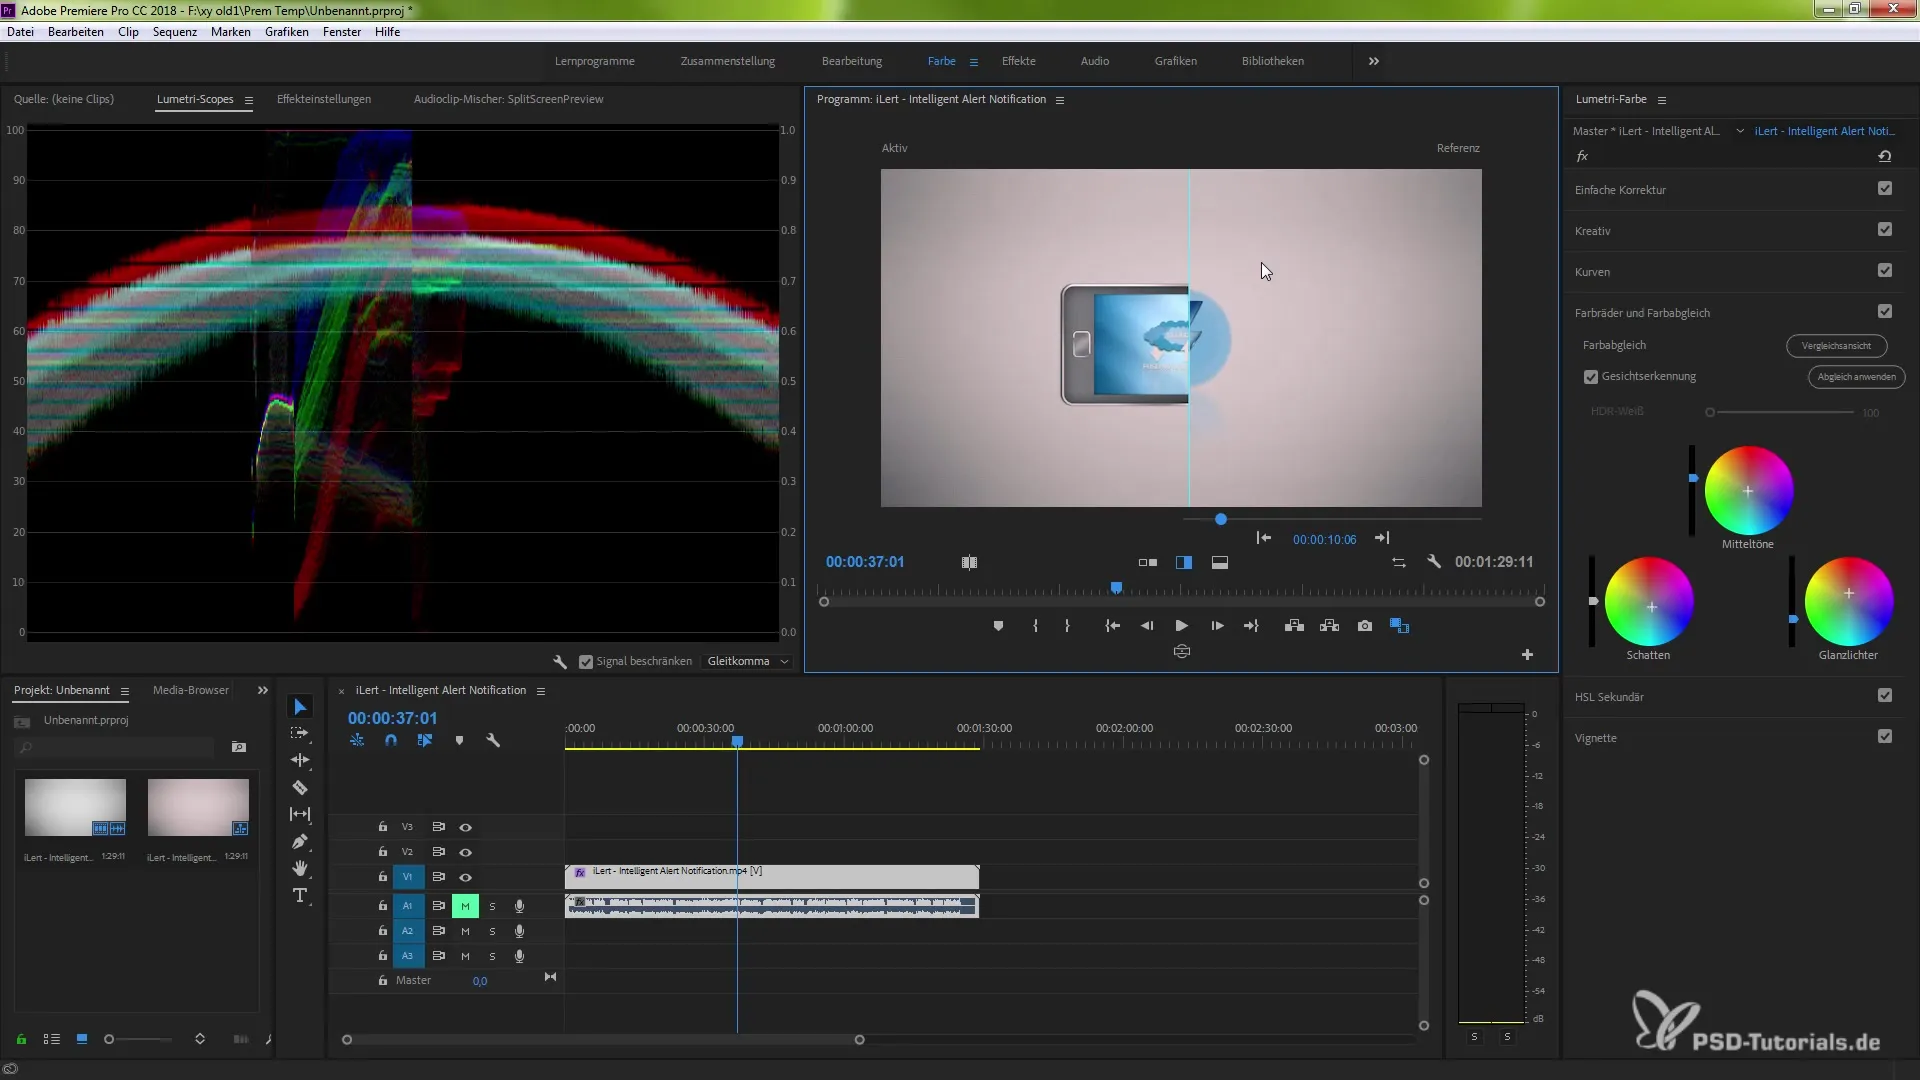
Explore Color Palettes
With the comparison view, you can try out different color palettes to find the desired look for your project. Even though it may seem challenging at first, you will find how useful this feature is once you get used to it.
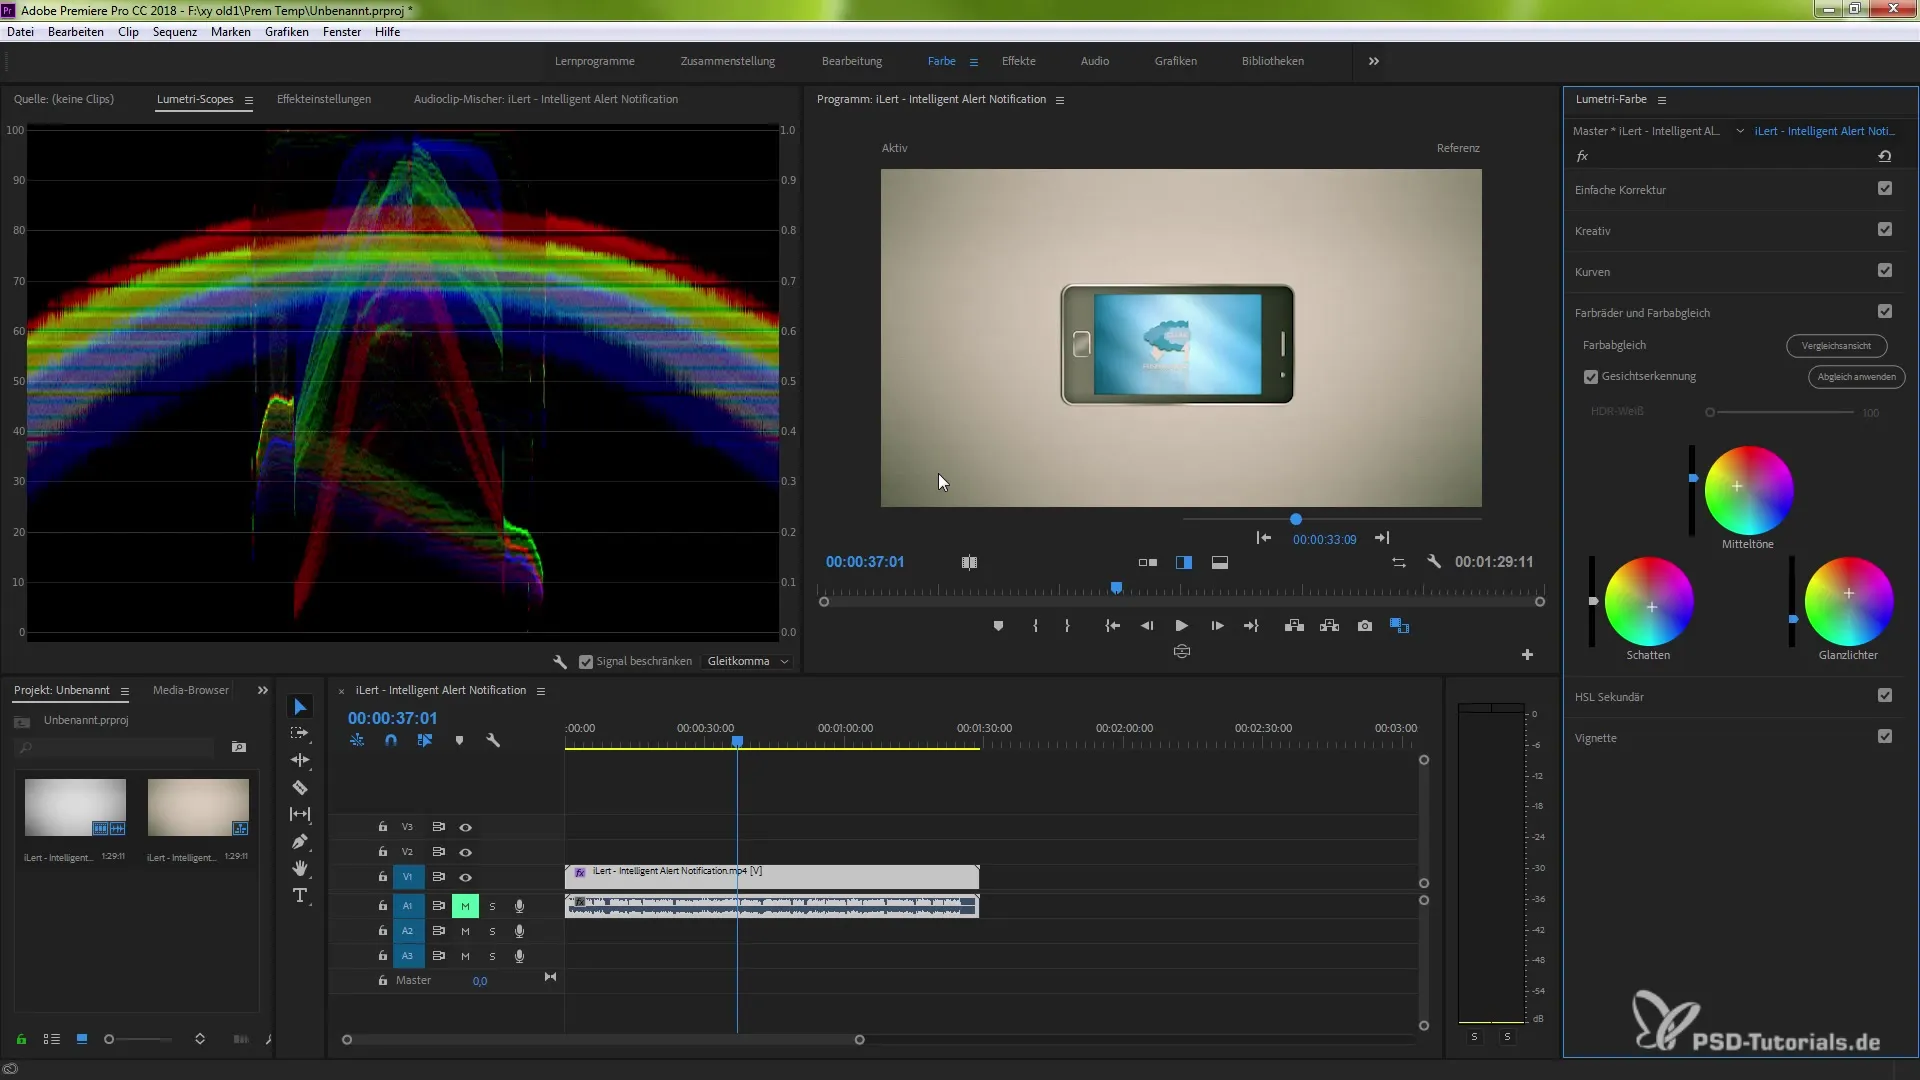
Summary – Make Optimal Use of the Comparison View for Color Grading in Premiere Pro CC 2018 The comparison view in Premiere Pro CC 2018 is a powerful tool that helps you visually represent your color corrections. You can create simple comparisons between different color variants and make fine adjustments with ease. The various view options, including splits, give you the flexibility you need to take your video projects to the next level. Use these features to work even more professionally on your projects.
Frequently Asked Questions
How do I activate the comparison view?You can activate the comparison view by selecting the corresponding icon in the program monitor or adding it in the button editor.
Can I compare multiple frames at the same time?Yes, you can compare multiple frames by using the frame selection in the Lumetri color area.
Are color corrections visible in the comparison view in real time?Yes, all changes are displayed to you in real time while the comparison view is active.
Can I adjust the view?Yes, you can split the view vertically or horizontally and even switch between different modes.
Where can I find the multicamera option?The multicamera option can be found in the settings of the comparison view.


