If you are working with Adobe Premiere Pro CC 7.0, you will appreciate the new audio enhancements. These enhancements allow you to significantly optimize your audio editing and give you more control over your projects. Let’s explore the key new features in the audio area.
Key Insights
- Introduction of the audio clip and audio track mixer.
- New visual feedback elements for volume adjustments.
- Improved audio waveforms, similar to Audition.
- Integration of VST3 plugins for enhanced audio processing.
- New options for channel configuration during export.
Step-by-Step Guide
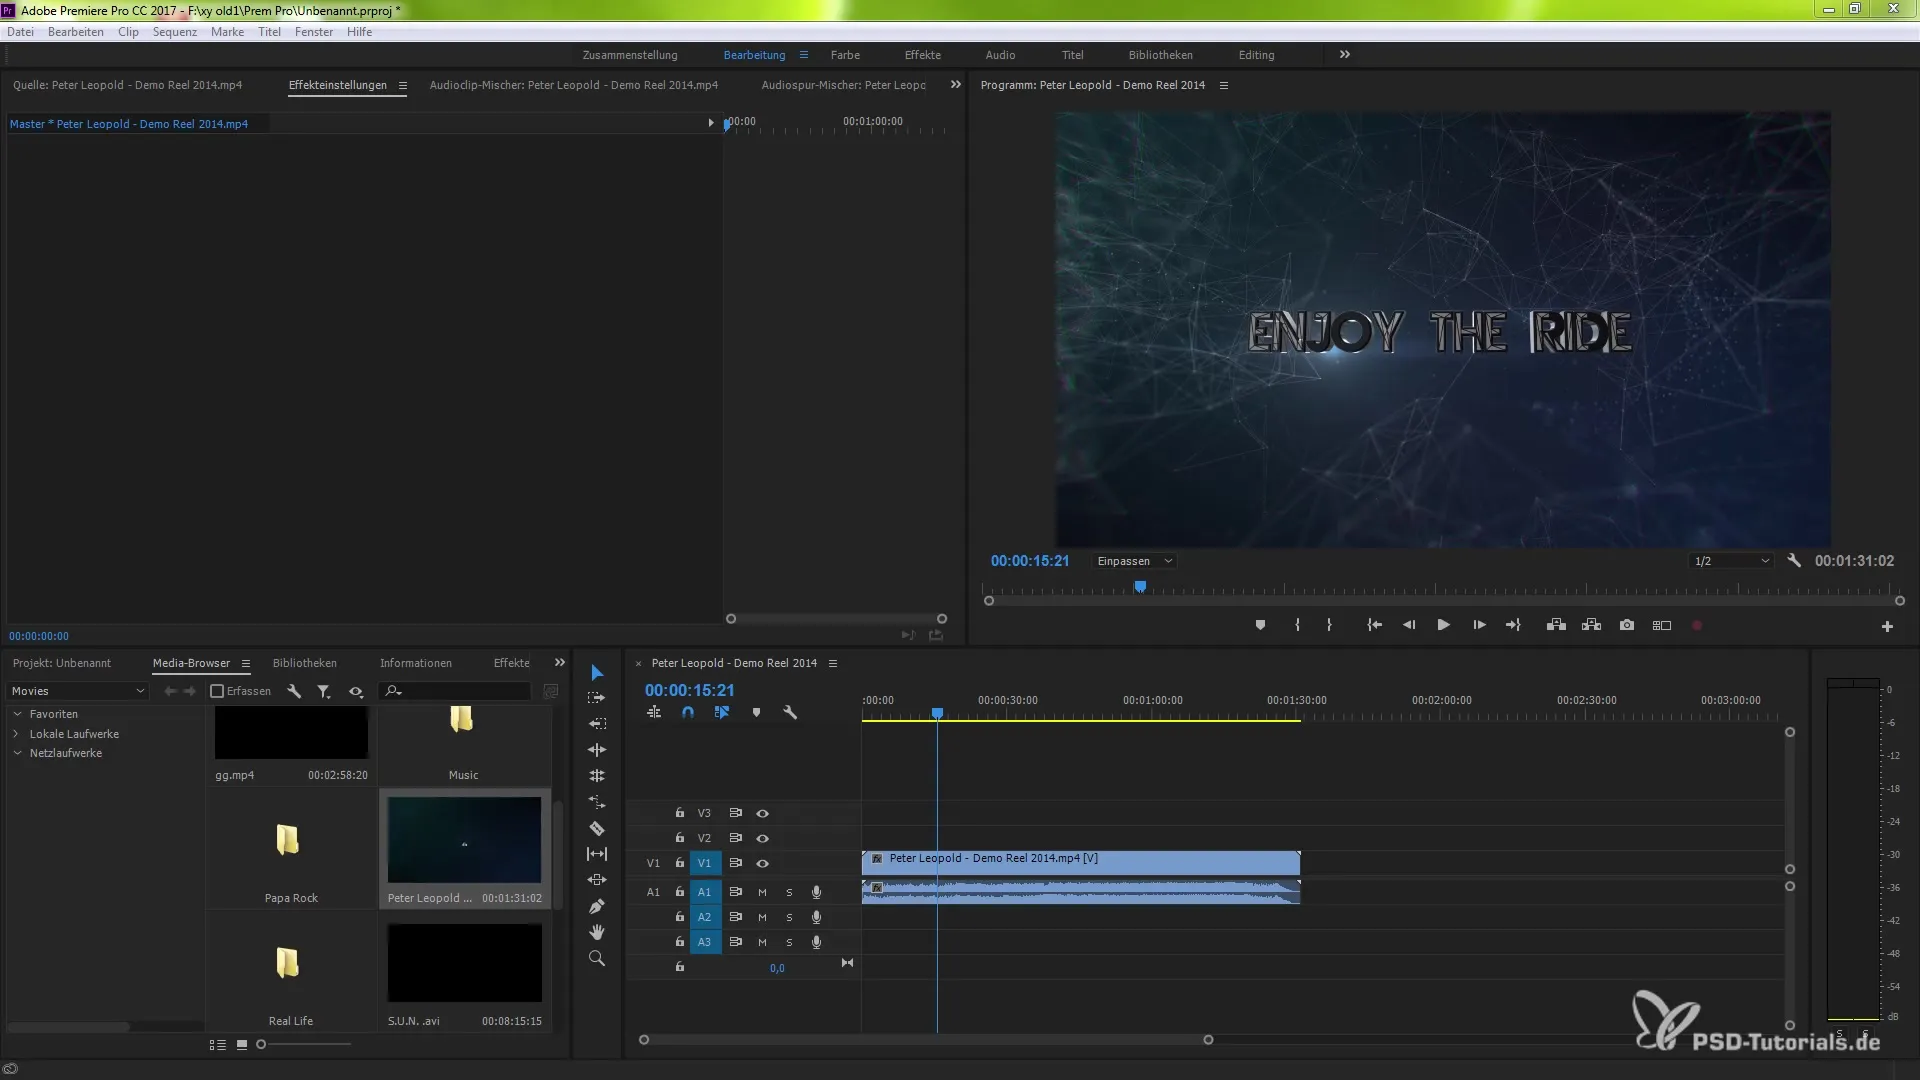
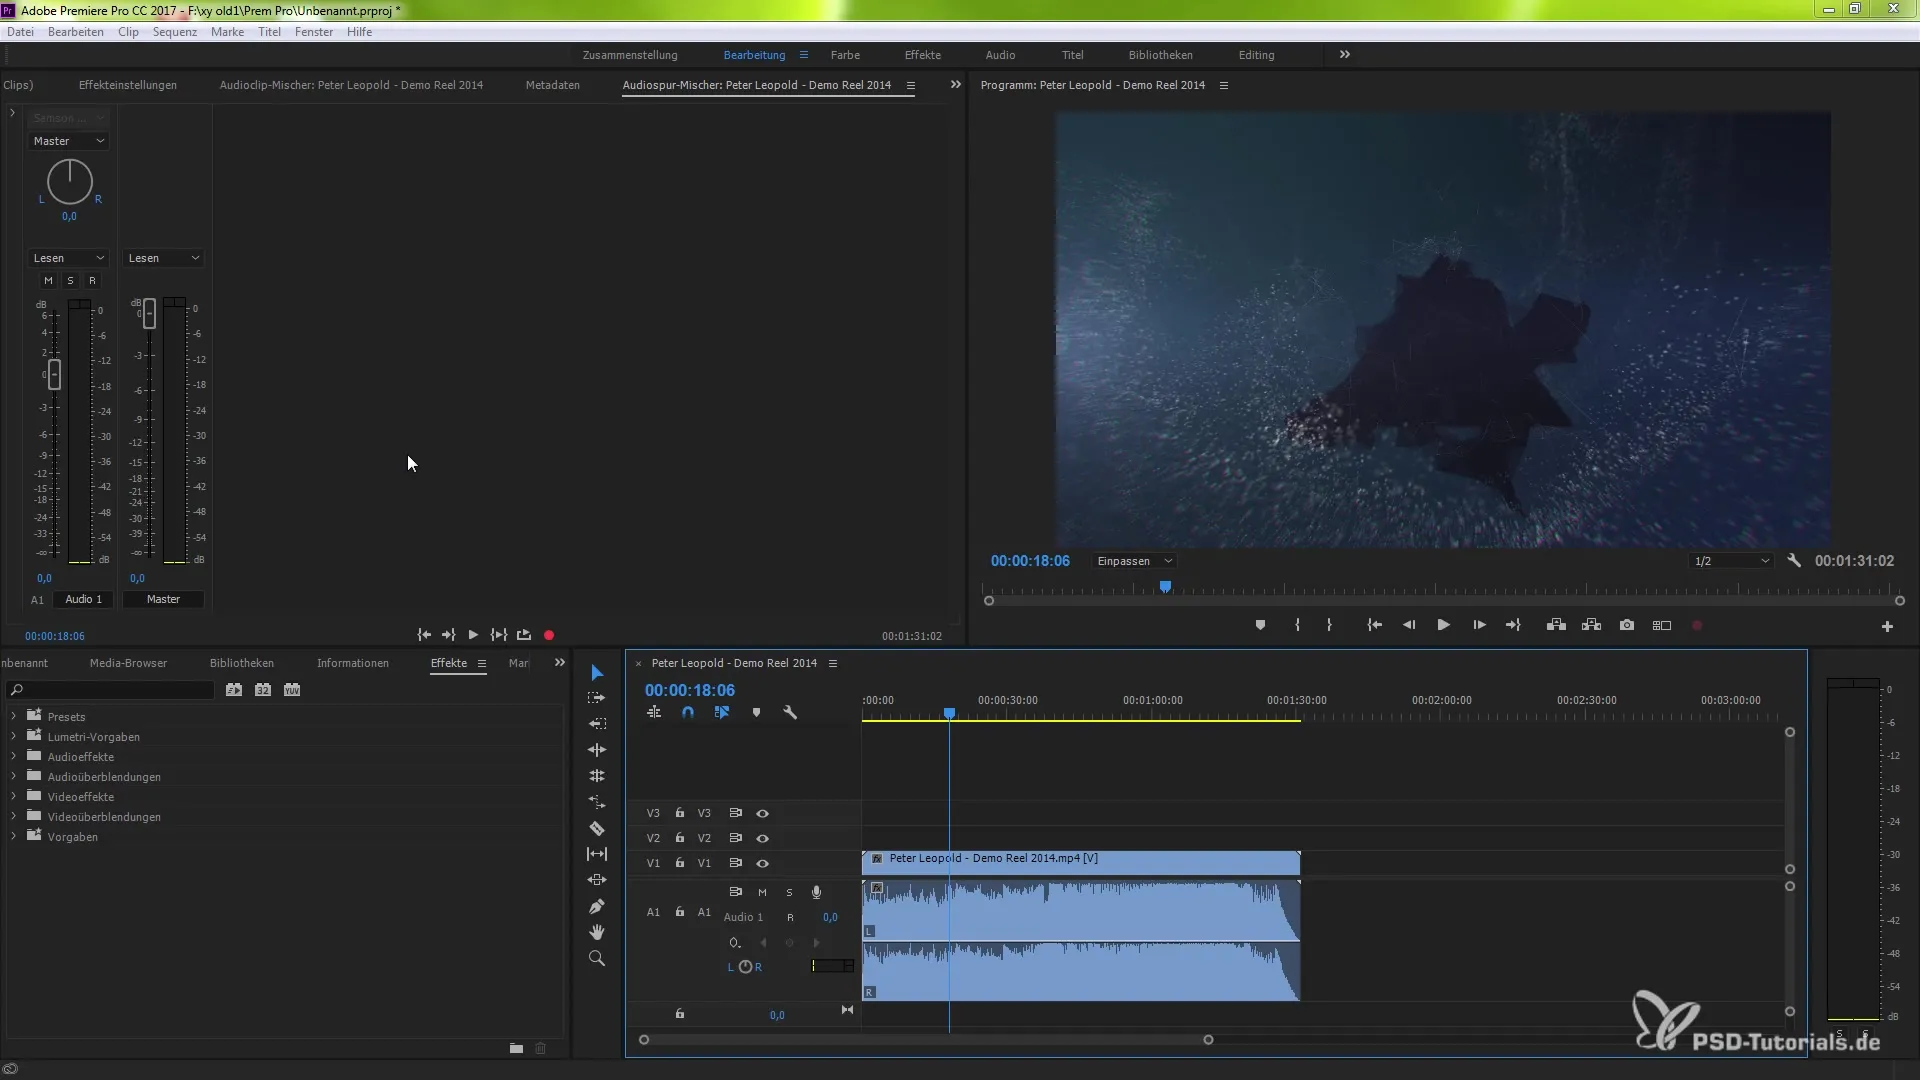
1. Use Audio Clip Mixer and Audio Track Mixer
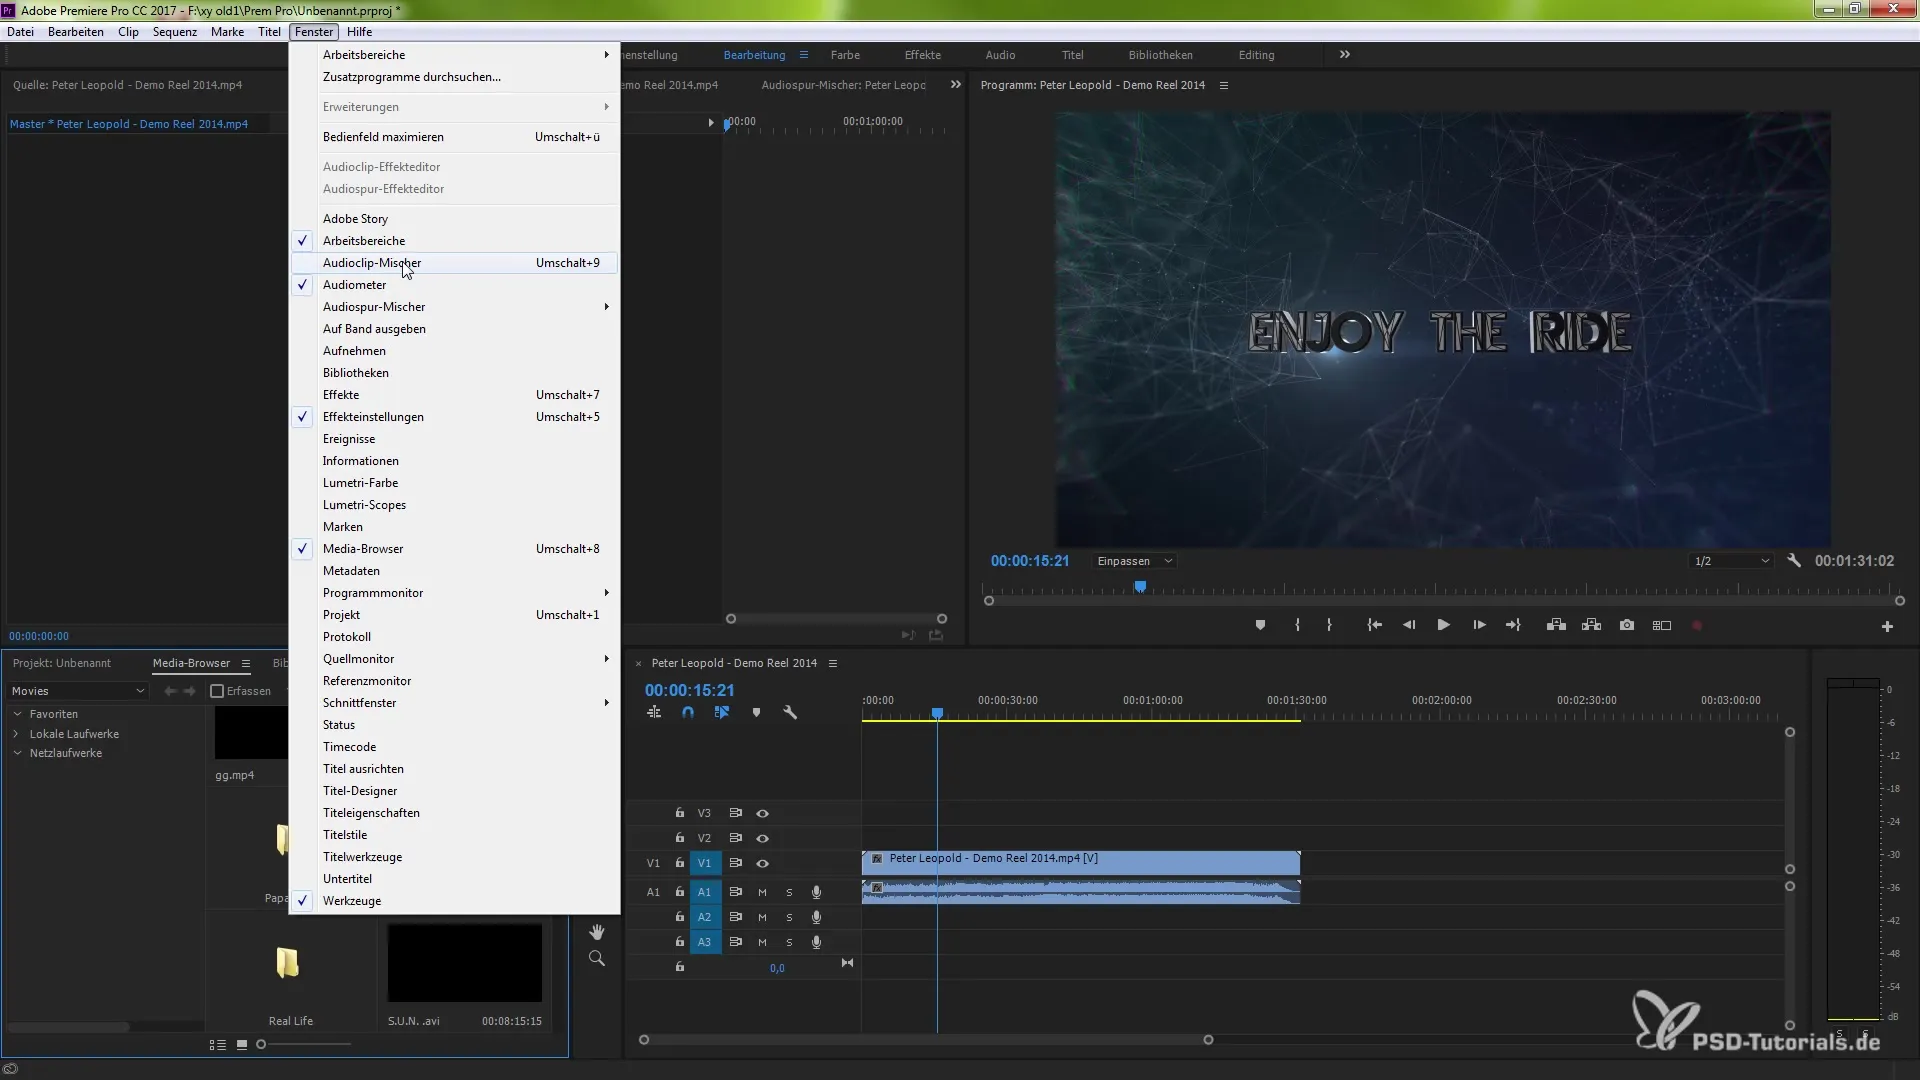
Open the main window of Premiere Pro and navigate to “Window”. Then select the “Audio Clip Mixer” option. Here you can adjust the volume of clips during playback. Click on the track you want to edit and make the desired settings. You will see visual feedback showing how the volume changes.
2. Adjust Volume Dynamically
If you want to reduce the volume of a clip, you can do this through the Audio Clip Mixer. Slide the fader down, and you will immediately see the volume level decrease. This way, you can ensure that your audio mix sounds perfect while working on your project.
3. Adjust and Add Tracks
Do you want to add an additional audio track? Right-click in the audio mixer and select “Add Track”. This track will appear immediately and allow you to integrate more audio elements into your project. Press Ctrl and Z (or Command + Z on Mac) to undo changes if you change your mind.

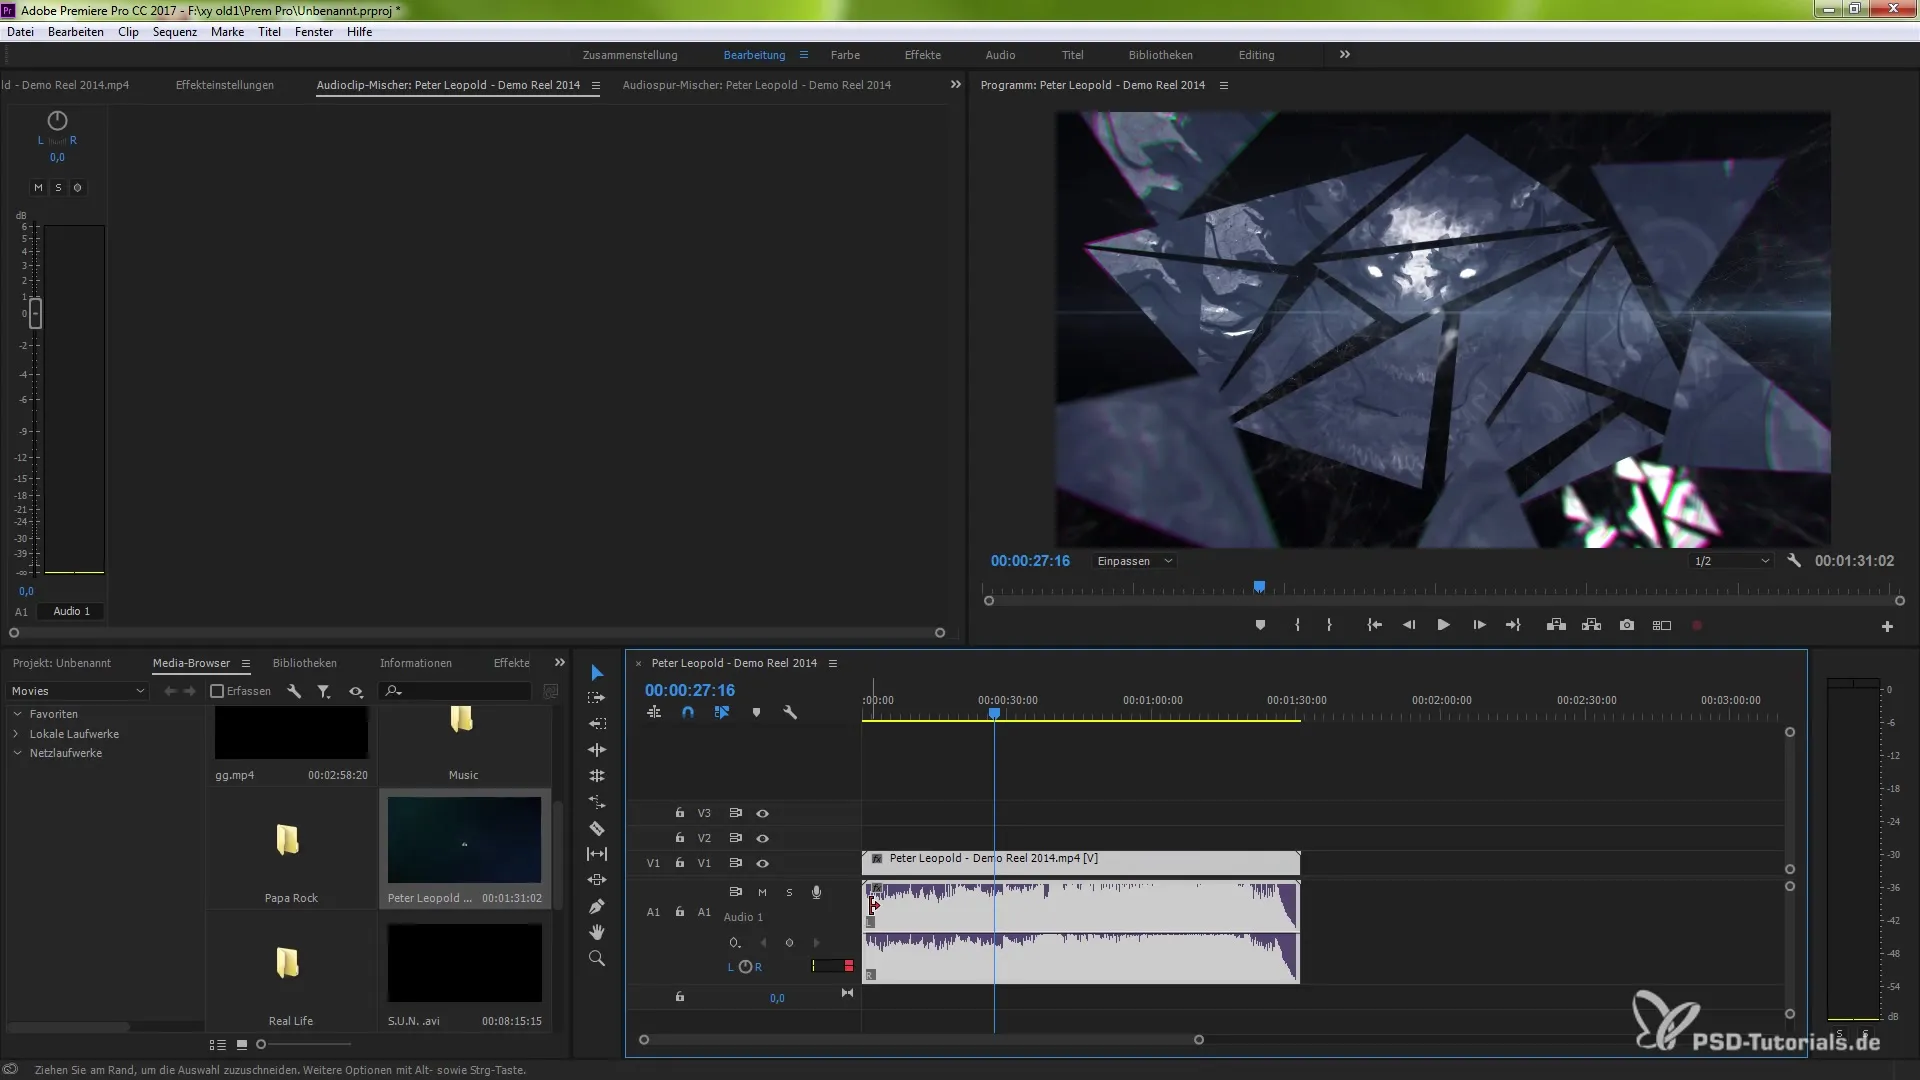
4. Visualize Audio Data with Waveforms
The representation of audio data has been improved. Now you will see the audio waveform similar to Adobe Audition. This makes visual editing easier and helps you understand how your audio tracks are structured. You can select and analyze the waveforms at any time.
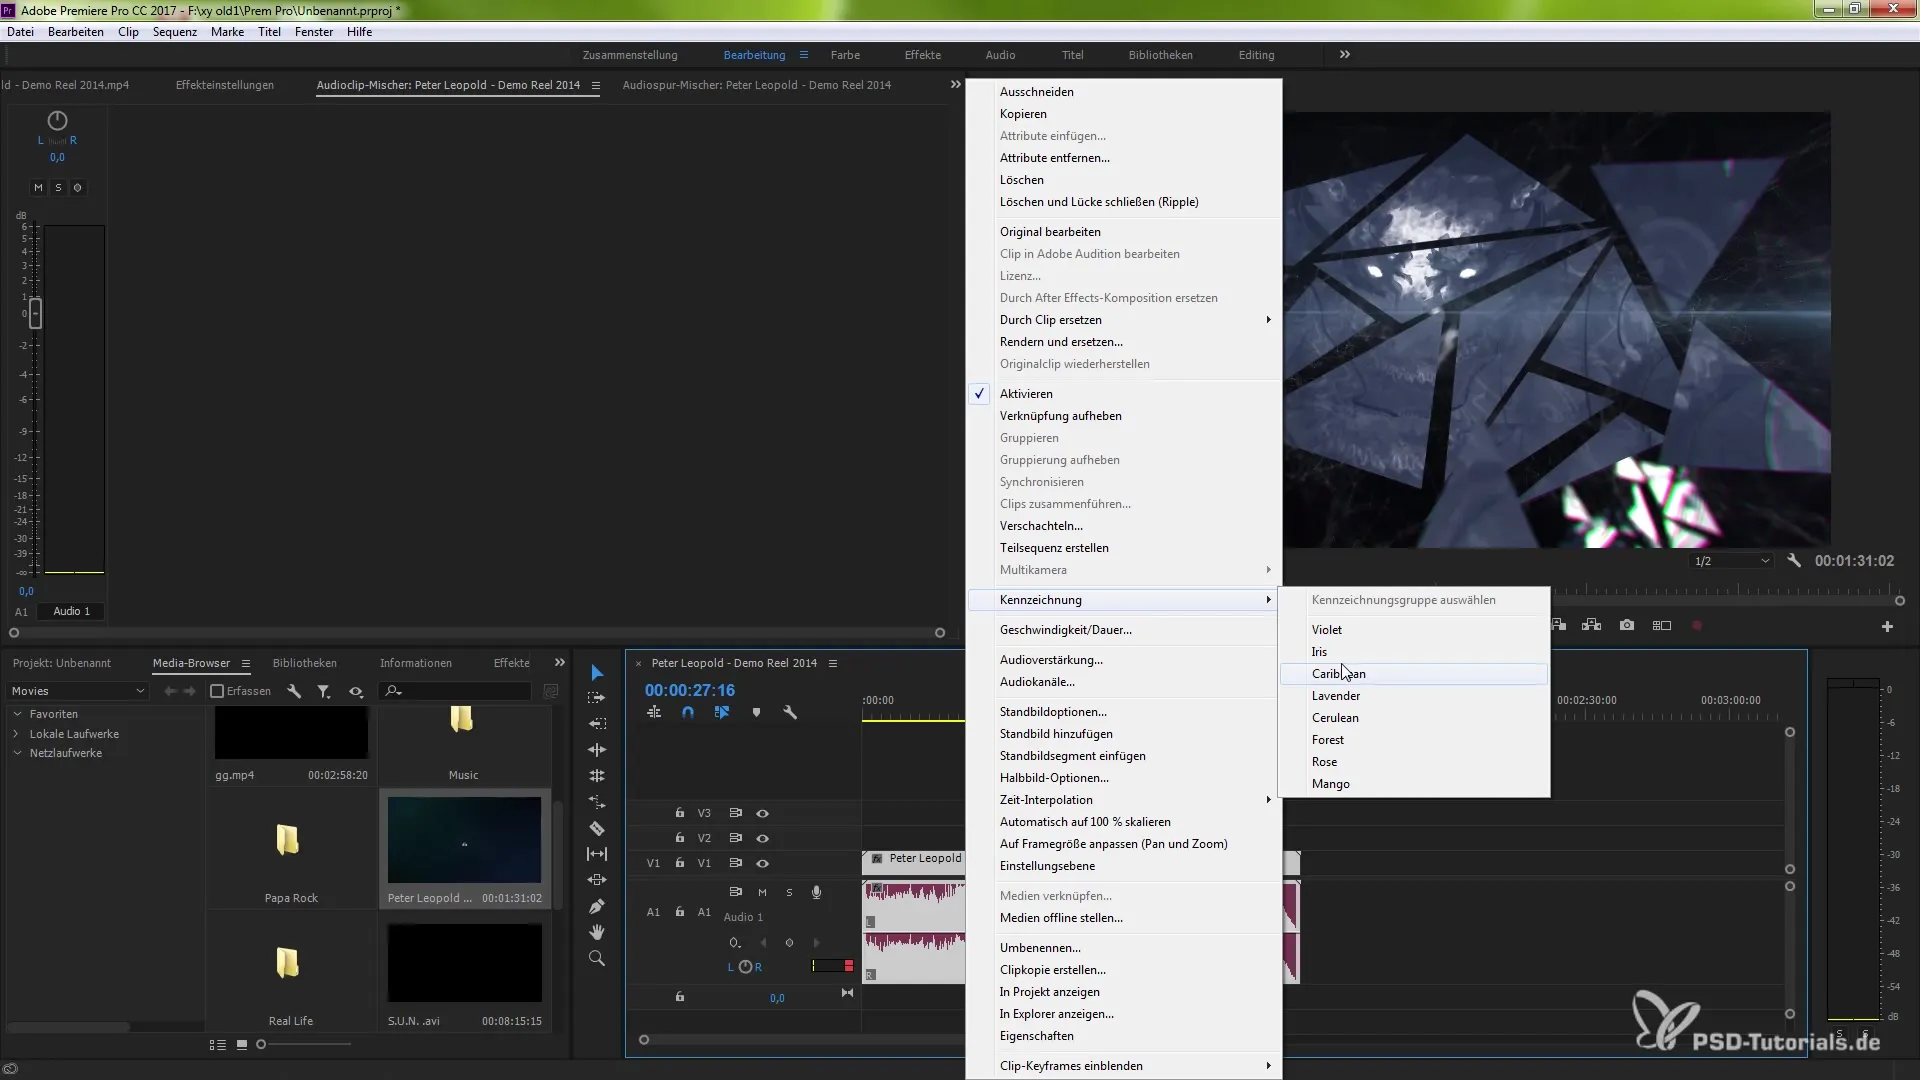
5. Change Color Assignments for Audio Clips
You can adjust the colors of your audio waveforms to create better clarity. Right-click on the audio material and select the color for your labeling. This way, you will receive clear visual feedback about the different audio elements in your project.
6. Insert VST3 Plugins
Go to the audio mixer and click to display the Audio Plugin Manager. If you have third-party VST3 plugins, you can now import them and use them in your project. Click “OK” to confirm the changes and activate the plugins.
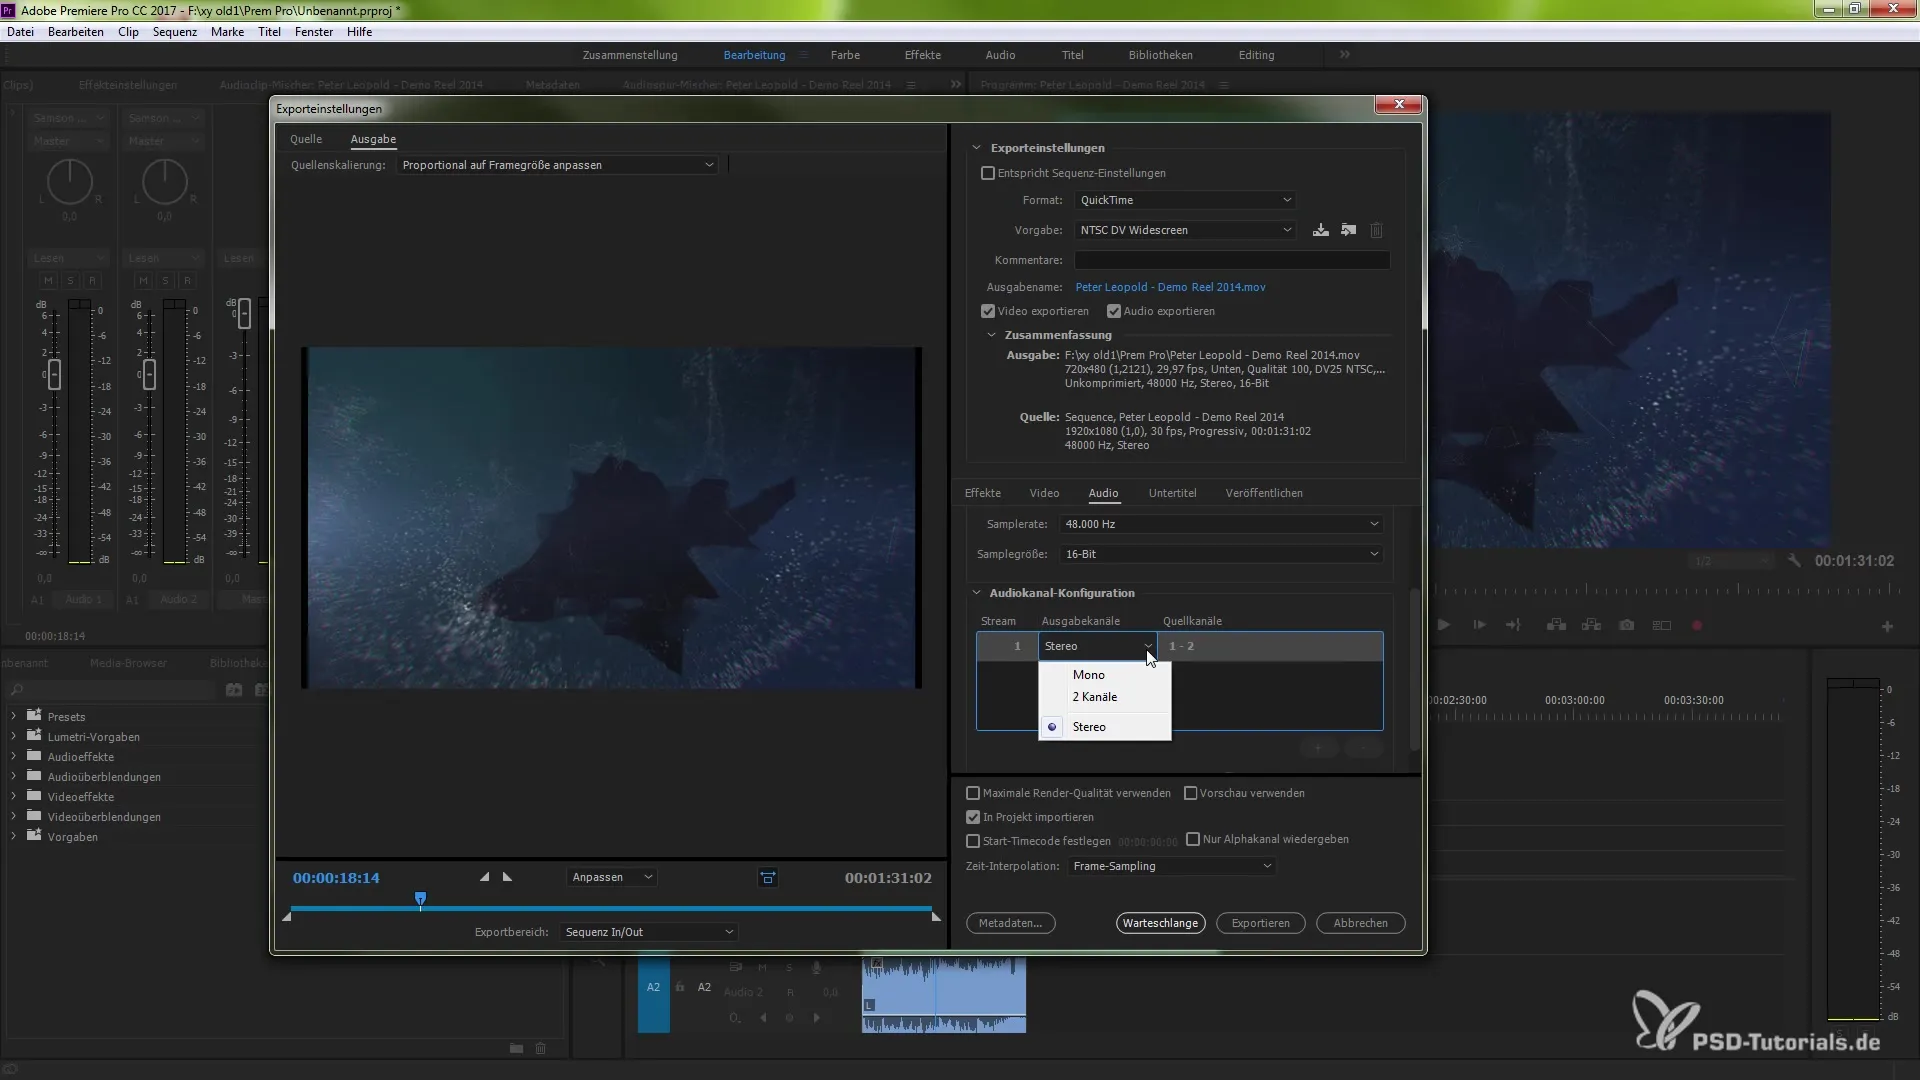
7. Audio Channel Configuration during Export
When you export your project, you have the option to configure the audio channels in the export dialog. Select the format “Quicktime” and click on the new audio channel configuration menu. Here you can define the channels for stereo, mono, or 5.1 audio.
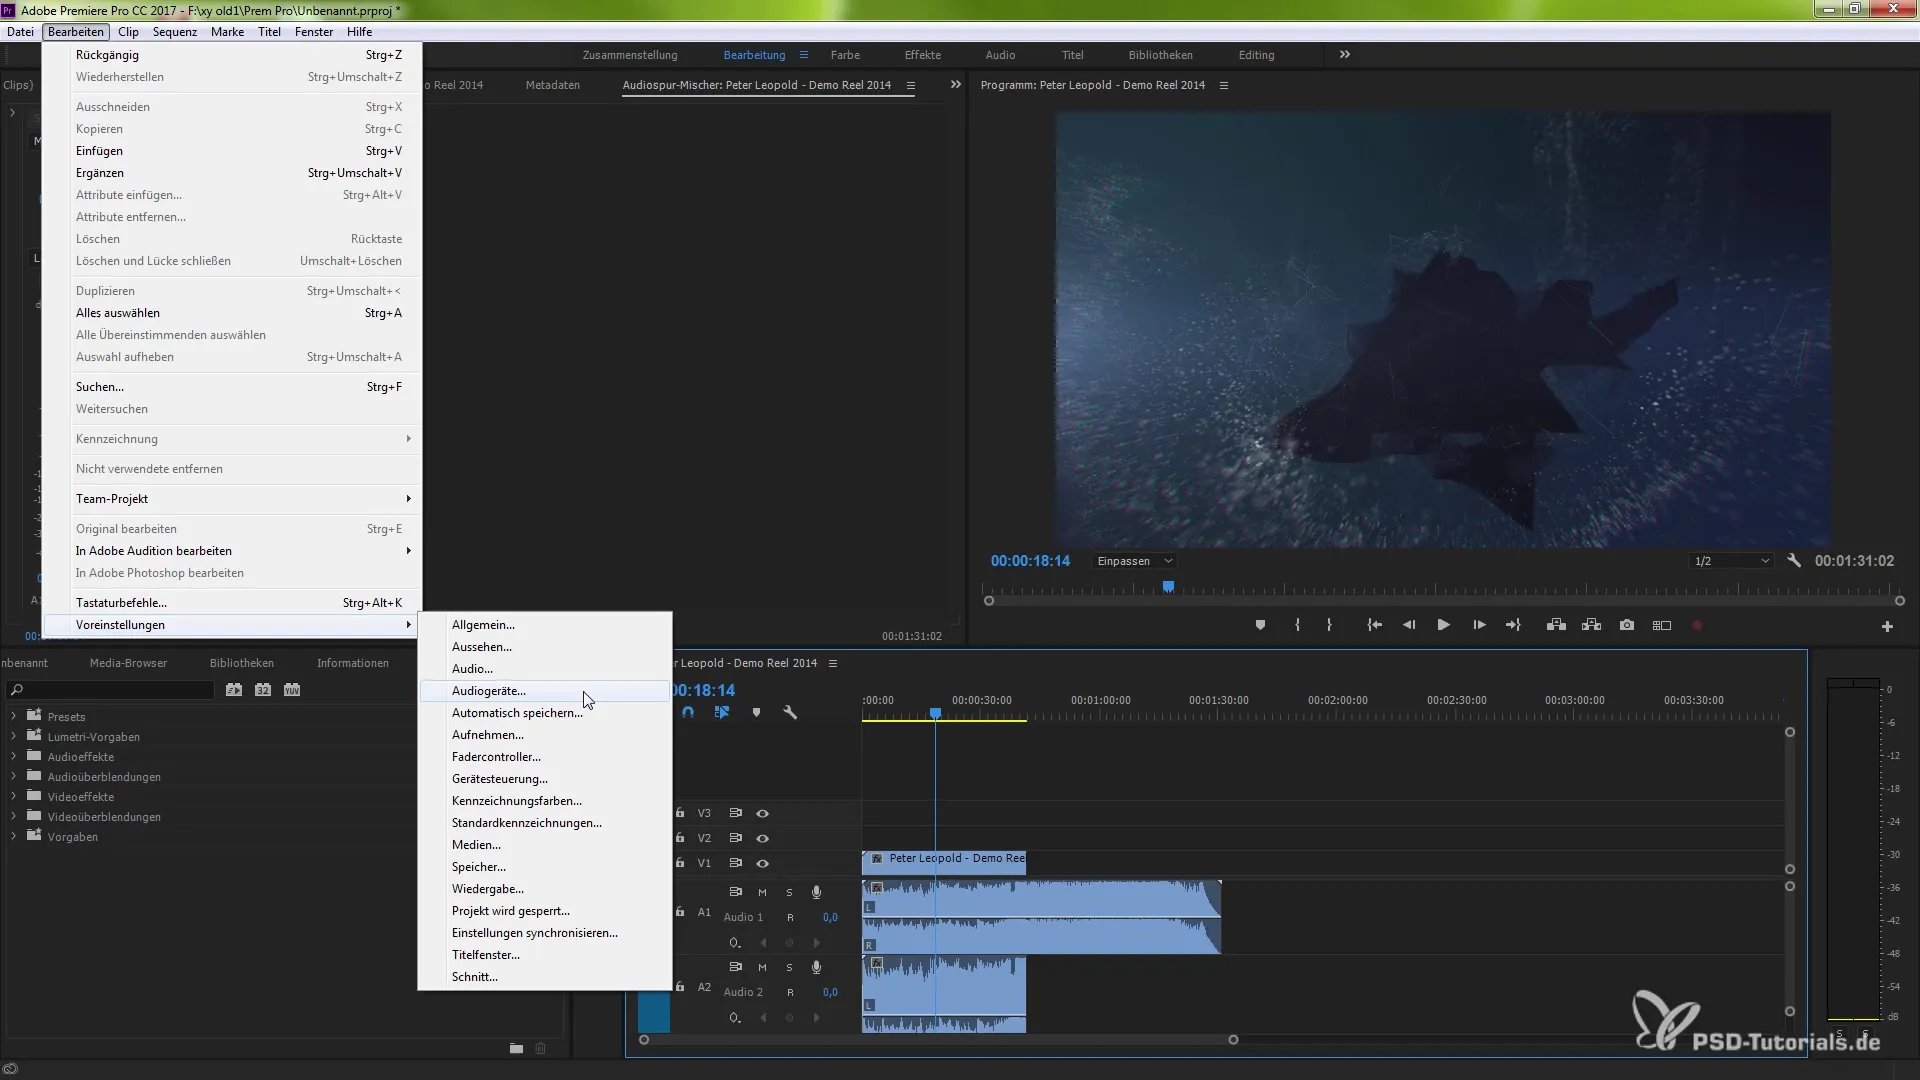
8. Use the Fade Controller
Use the Fade Controller to control specific audio effects hardware-wise. Under “Edit”, you will find the presets for the Fade Controller. Here you can configure various classes and even use your tablet as a control element.
Summary – Audio Enhancements in Premiere Pro CC 7.0
The new features in the audio area of Premiere Pro CC 7.0 provide you with a variety of tools to optimize the sound of your projects. You gain not only more control over volume but also improved visual feedback and the ability to integrate professional plugins. The customization and export options for audio channels have also significantly improved. Explore these innovations and take your audio work to a new level.
Frequently Asked Questions
What is the Audio Clip Mixer?The Audio Clip Mixer allows you to adjust the volume of individual clips during playback.
How can I change the color of the audio waveforms?Right-click on the wave and select the color under “Labeling”.
What are VST3 plugins?VST3 plugins are extensions that integrate additional audio effects and instruments into your project.
How do I export multiple audio channels?Select “Quicktime” format in the export dialog and configure the audio channels accordingly.
Can I undo changes in the Audio Mixer?Yes, you can undo changes with Ctrl + Z (or Command + Z on a Mac).

