If you are working with Adobe Premiere Pro, you may find that certain media in your project is displayed as “offline”. This often happens when files have been moved, renamed, or disconnected from the storage medium. Such a problem can be frustrating, especially if you are in the middle of an important project. In this guide, I will introduce you to the process of how to effectively relink these offline media so that you can continue working without interruption.
Key Takeaways
- Relinking offline media is essential to avoid interrupting your workflow.
- You can customize your search for the files to save time.
- There are several options to optimize the relinking process.
Step-by-Step Guide
1. Identifying Offline Media
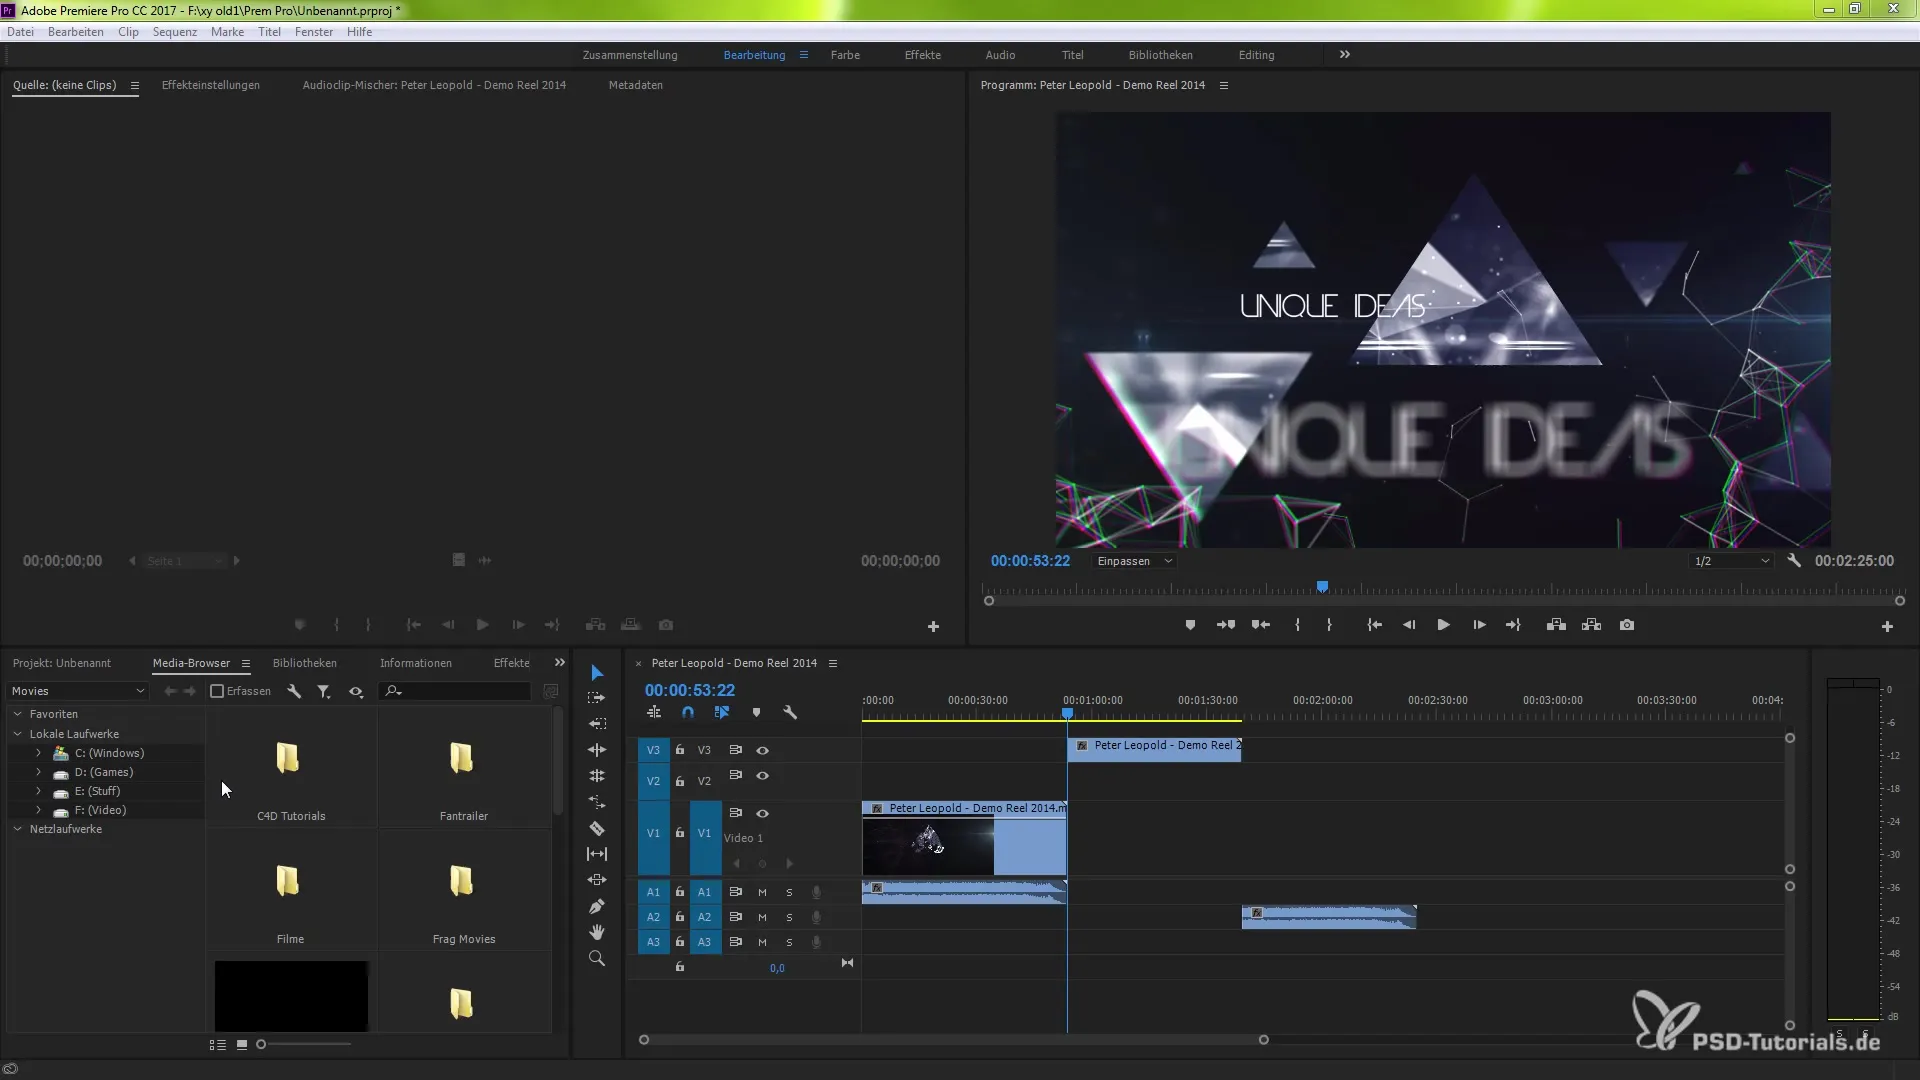
Start by opening your project in Premiere Pro. You will often notice that offline media is highlighted with a red symbol or a red frame. If you have started a project but cannot find important files, it usually shows up in the project overview as “offline”.

2. Identifying Missing Media
Navigate to the missing clips in your project folder. Here, you may see a dialog informing you that certain media is missing. The display usually has an exclamation mark for missing media and lists the clips that could not be found. Now it is important to find out which media is affected.

3. Searching for Missing Media
To start the relinking process, click on the button to search for missing media. Here you have the option to browse for the key media files to relink them. Note that you can adjust the search parameters to make the search more efficient.
4. Adjusting File Search Settings
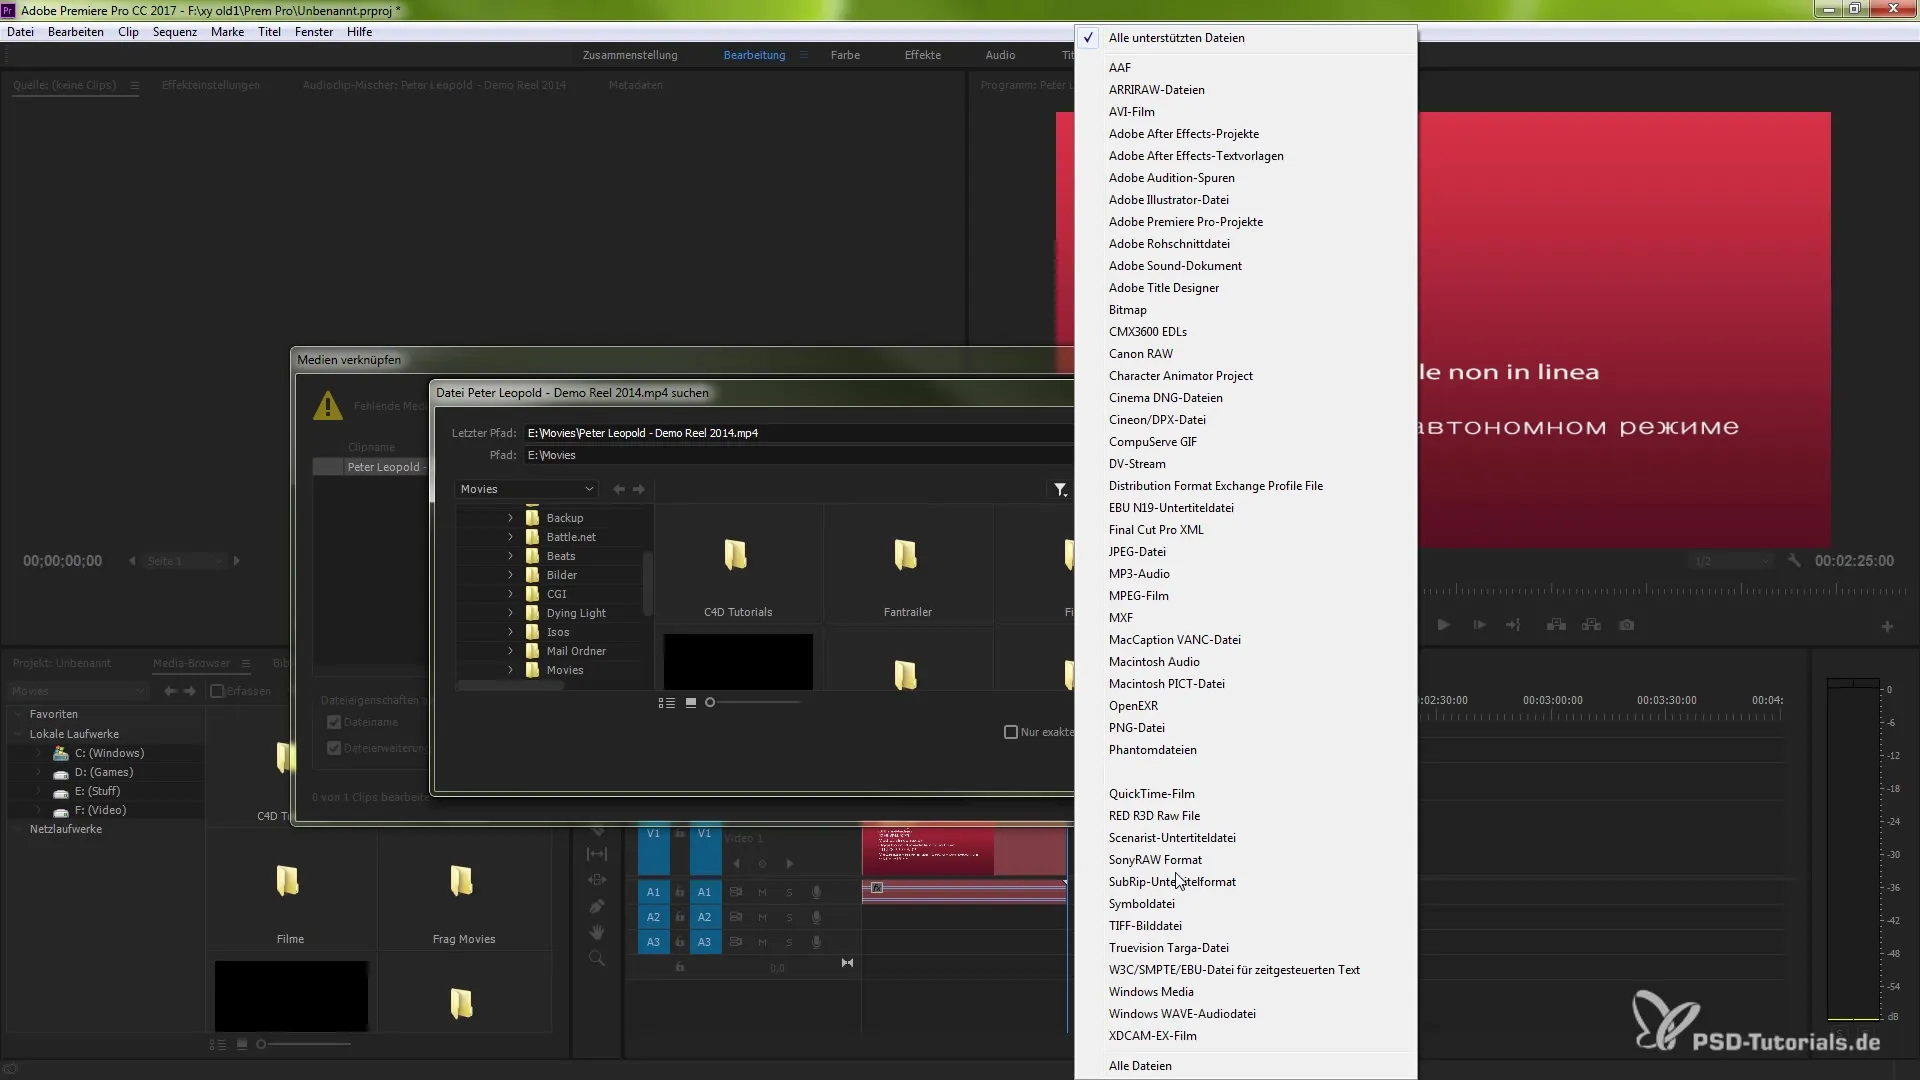
You have the option to set the search parameters to consider the type of selected clips. Check whether you have specified the correct file types (such as MP4, AVI, or MKV). Depending on the types of files you are working with, it may be helpful to select multiple file formats to ensure that all possible versions are found.

5. Using the Media Browser
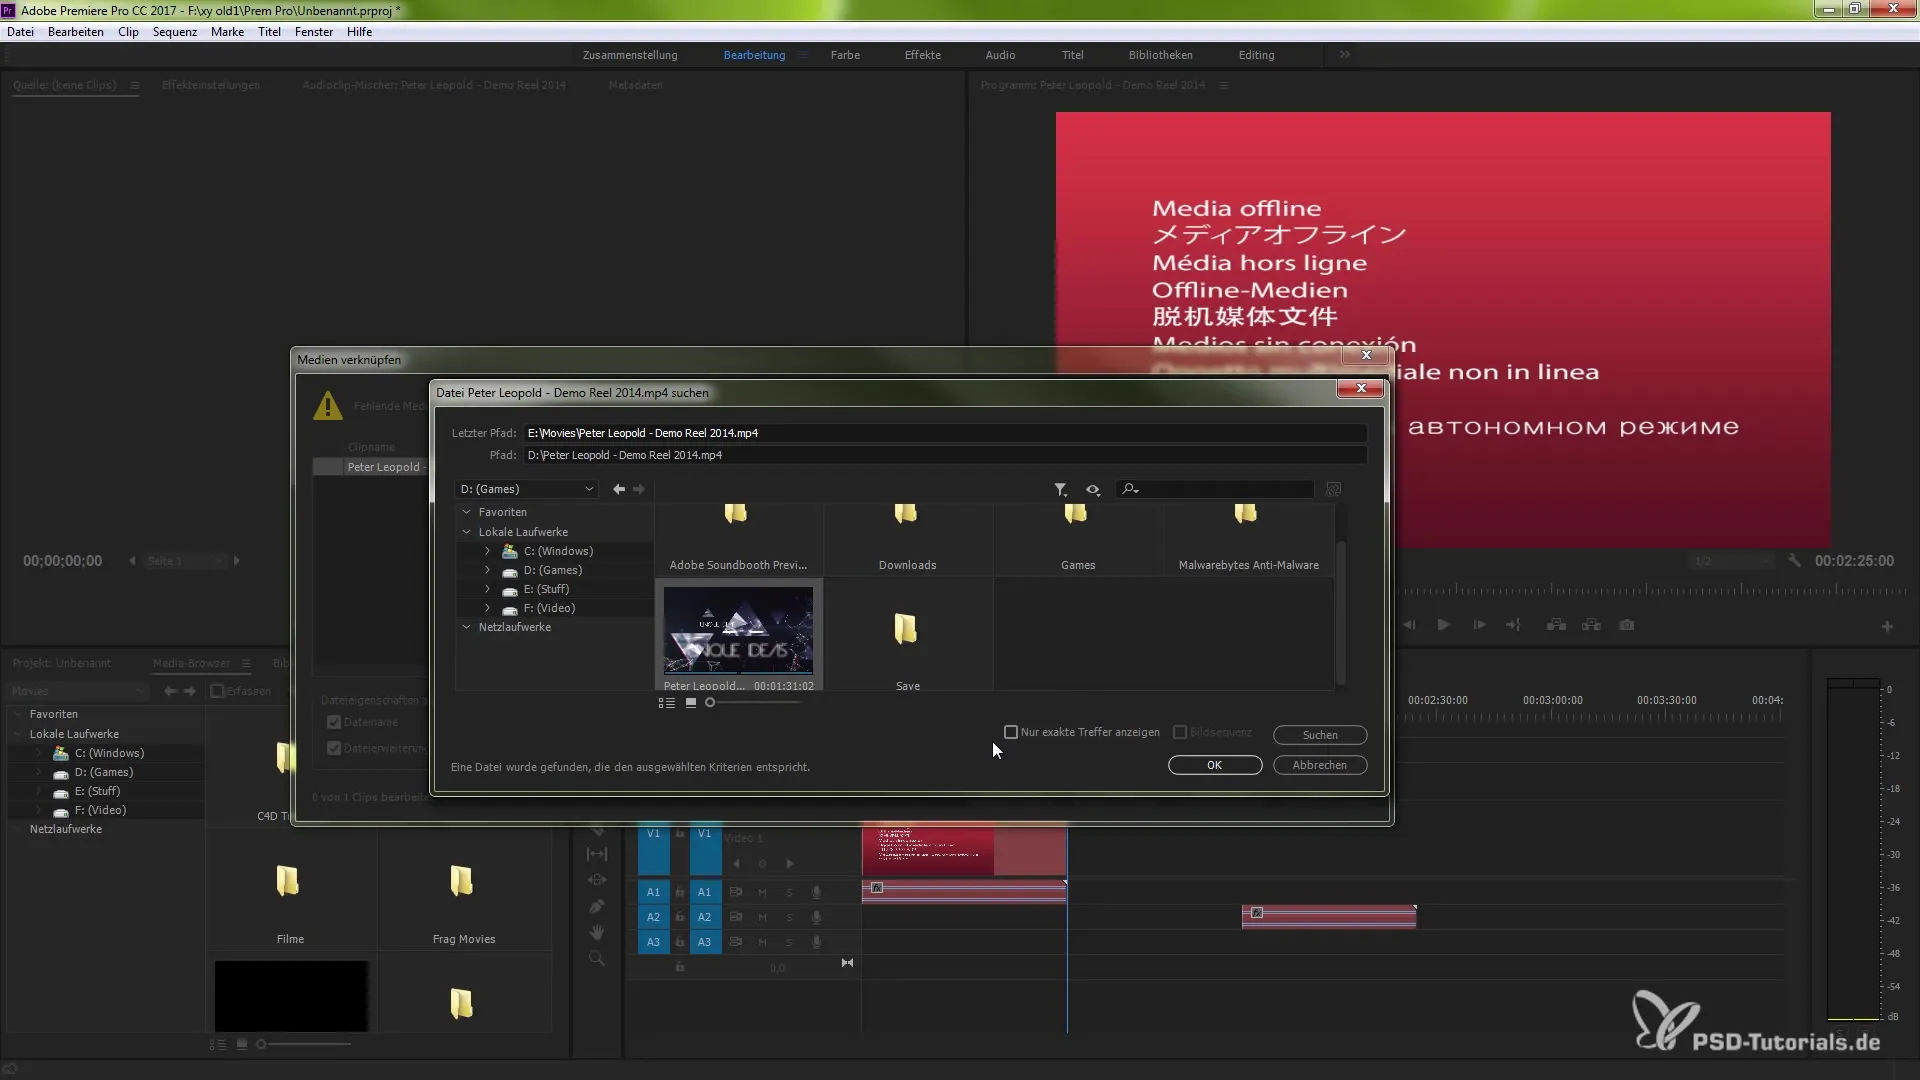
Once you have adjusted the search, open the media browser. This is an extremely useful tool that allows you to search specifically for the required file. You can navigate through folders and select the file directly when you find it. Alternatively, you can also search manually for the location if you are unsure where the file is saved.

6. Displaying Exact Matches
When you start the search, Premiere Pro will display a list of the found files. Check the list and make sure it is the correct file you want to relink. You can play a preview of the file to be sure.
7. Confirming and Linking
Once you have identified the correct file, confirm the selection. Click “OK” to link the file to your project. The clip is now available again in your editing window, and you can continue with your editing.
Summary – Relinking Offline Media in Premiere Pro CC 7.0
Relinking offline media in Adobe Premiere Pro CC 7.0 is a simple but essential process that helps you maintain your workflow. Regardless of the reasons why media is offline, you can follow the steps described above to quickly regain access to all your clips.
Frequently Asked Questions
How can I tell if media in my project is offline?Media is typically highlighted in red or displayed with an exclamation mark.
What should I do if I can’t find the file?Check the most recently used locations or use the “Browse” feature to search for the file in your file system.
Is there a way to speed up the search for media?Yes, by pre-selecting file types and folders, you can make the search more efficient.
Could I accidentally link the wrong file?Yes, be sure to play a preview of the file before confirming the link.
What happens if I have permanently deleted a media?In this case, you need to make sure you restore the file from a backup or another source, as Premiere Pro cannot access deleted files.


