Adobe Premiere Pro CC 7.0, released in June 2013, brings exciting new features. Among other things, you can manage and adjust your clips and audio tracks more efficiently through source-patching and targeting. This guide shows you step by step how to optimally use these functionalities in your projects.
Key Insights
- With source-patching you can specifically target certain tracks or clips.
- The targeting feature allows you to easily work with audio and video tracks and helps avoid synchronization issues.
- With the new editable areas, you can work more efficiently by selecting and managing specific cut points.
Step-by-Step Guide
To make the most of the new features in Adobe Premiere Pro, start by familiarizing yourself with the user interface, especially the areas for source-patching and targeting.
Get a Quick Overview
First, you should customize the user interface. Open your project and identify the areas responsible for source-patching and targeting. These areas are crucial for editing your clips, so take a moment to explore them.
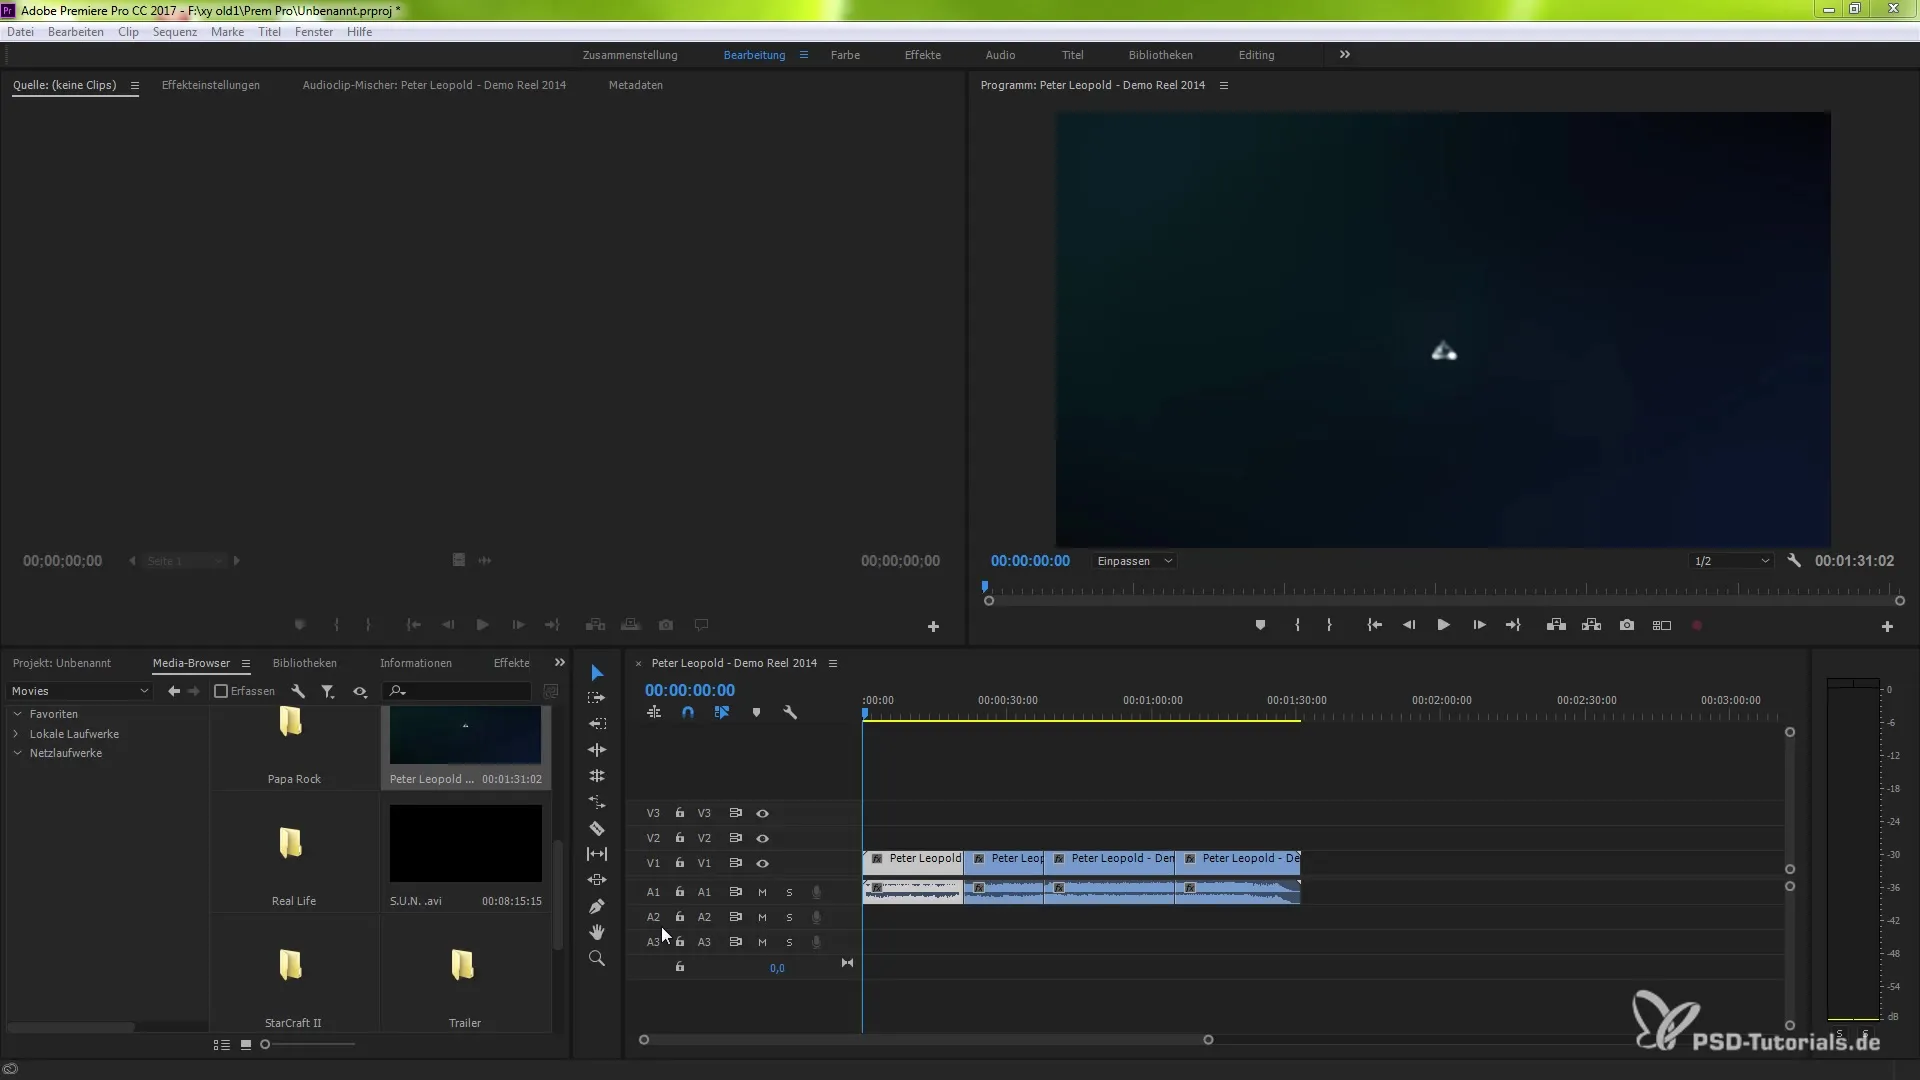
Unlink Tracks
When working with tracks, you may notice that sometimes you want to unlink the connection between video and audio. Right-click on the desired track and select “Unlink.” This will give you a detached track that can be edited independently.
Utilize Targeting for Audio and Video
Now you can use the arrow keys to navigate between the cut points. First, activate the video and audio activation. When you then select a cut point in the upper area, you will see that the audio no longer changes, as the corresponding points are identical. Try it out by shortening the audio slightly. You will find that you are now only sitting on the currently generated audio edge.
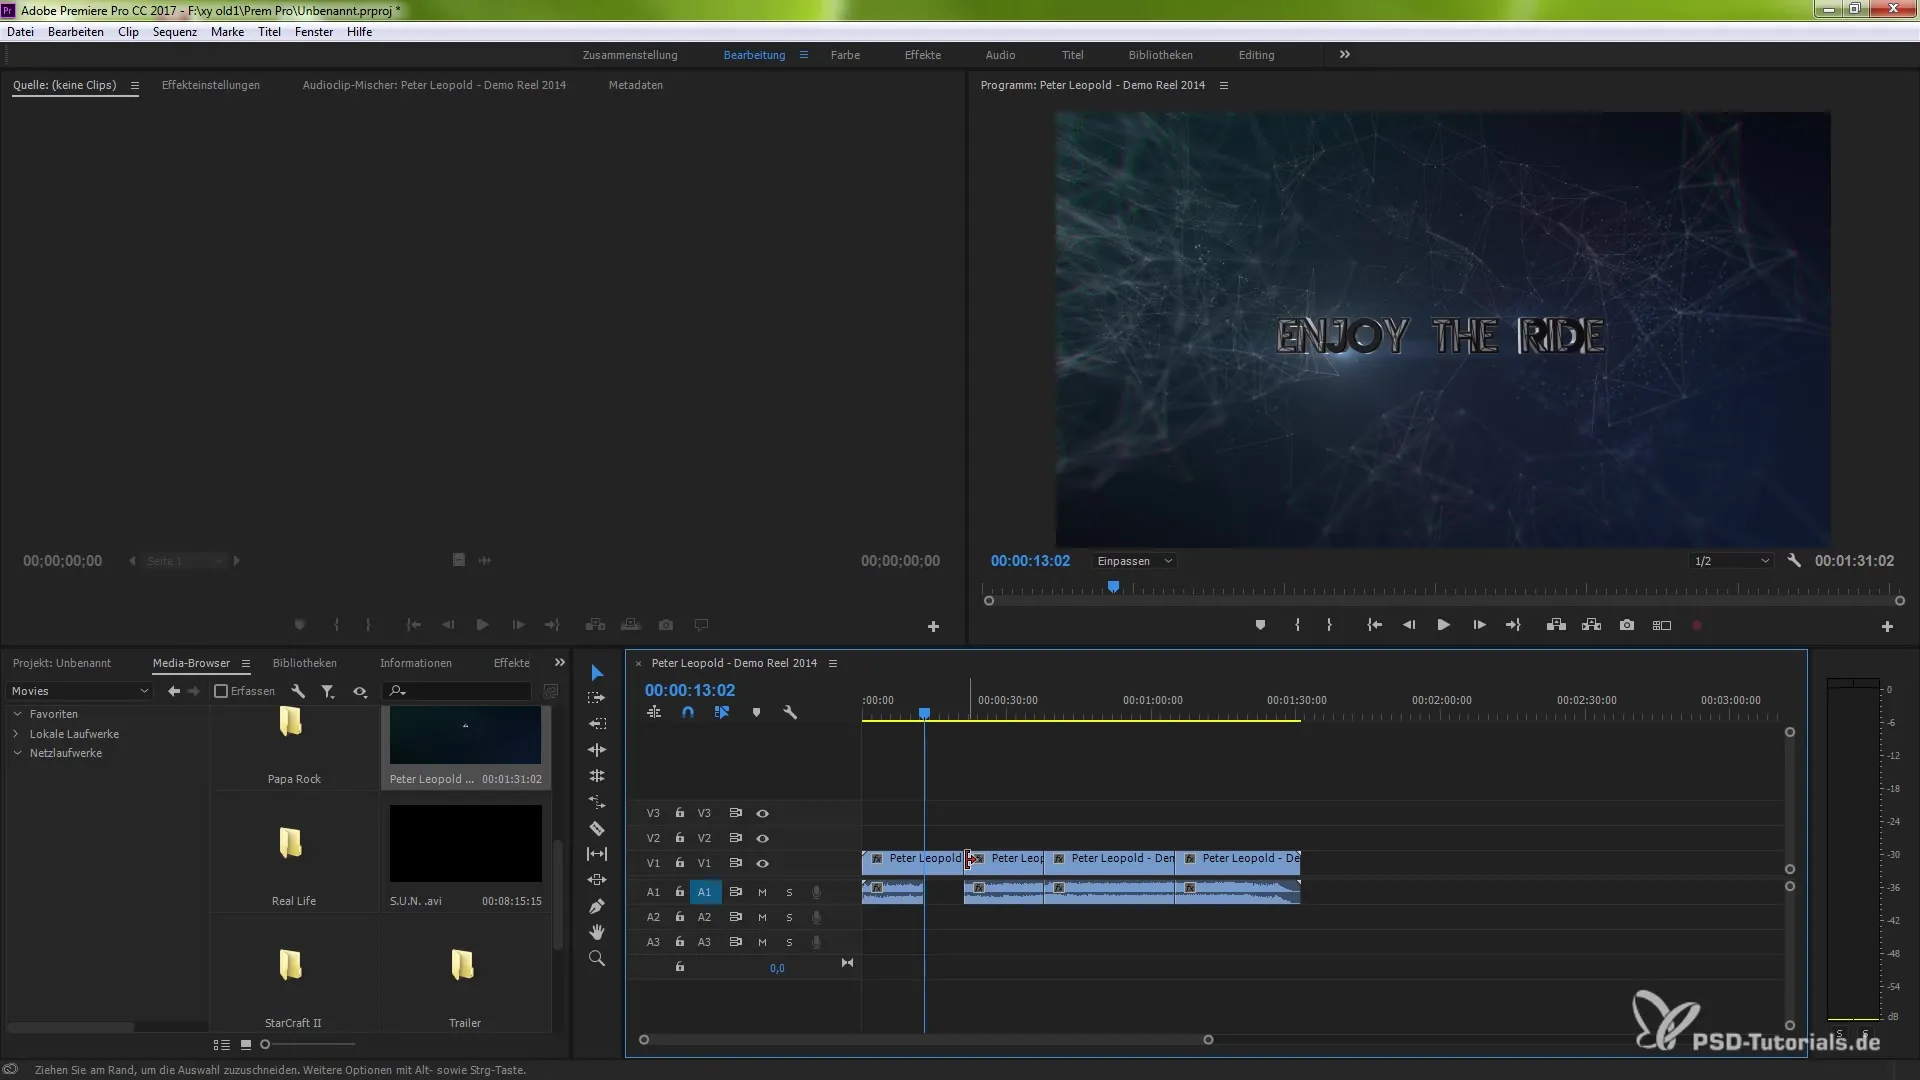
Deactivate Audio
If you deactivate the audio targeting, you can ensure that you focus exclusively on the video edges. This function is particularly useful when you have clips that only need to be edited in the video area.
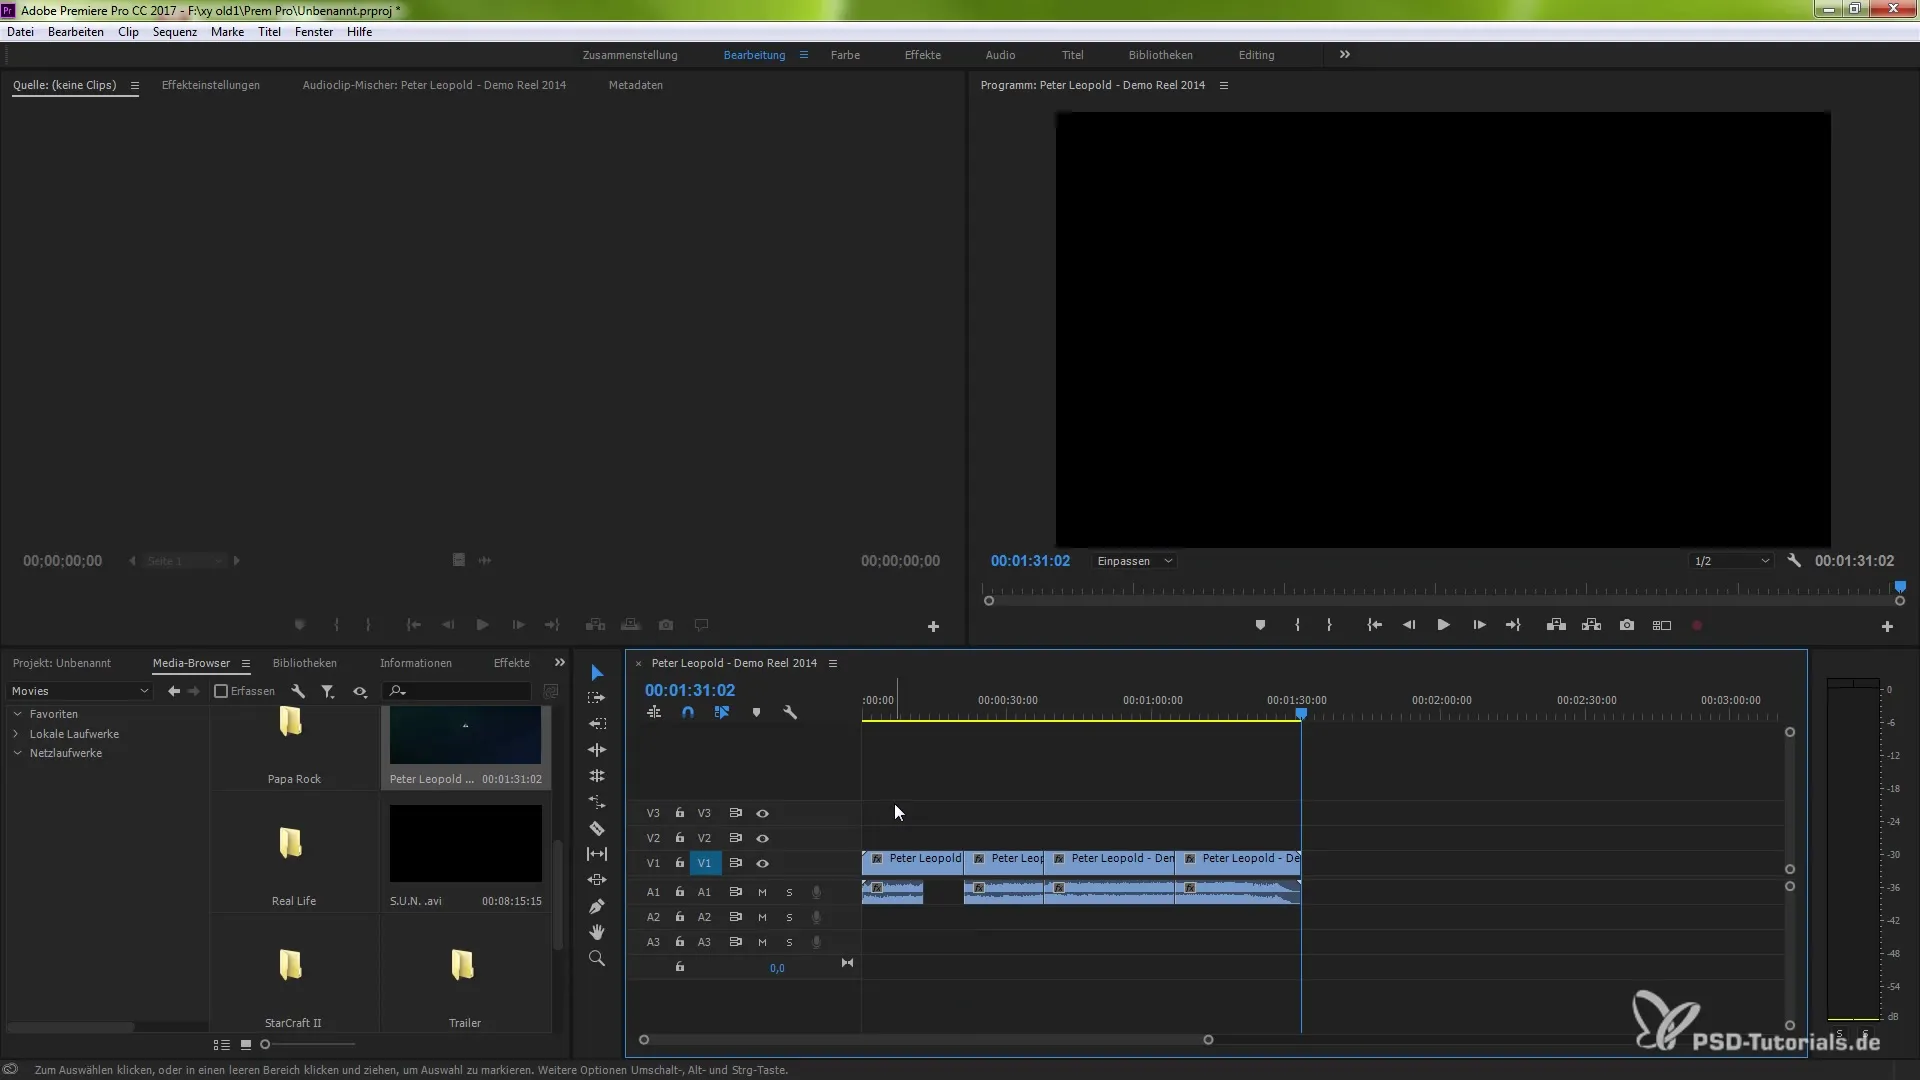
Copy and Paste Clips
Another useful feature is the ability to copy and paste clips. If you want to move clips from one track to another, use the shortcut Ctrl (or Command) and C to copy the clip, and Ctrl (or Command) and V to paste it. You will see that the activated track positions the new clip correctly.
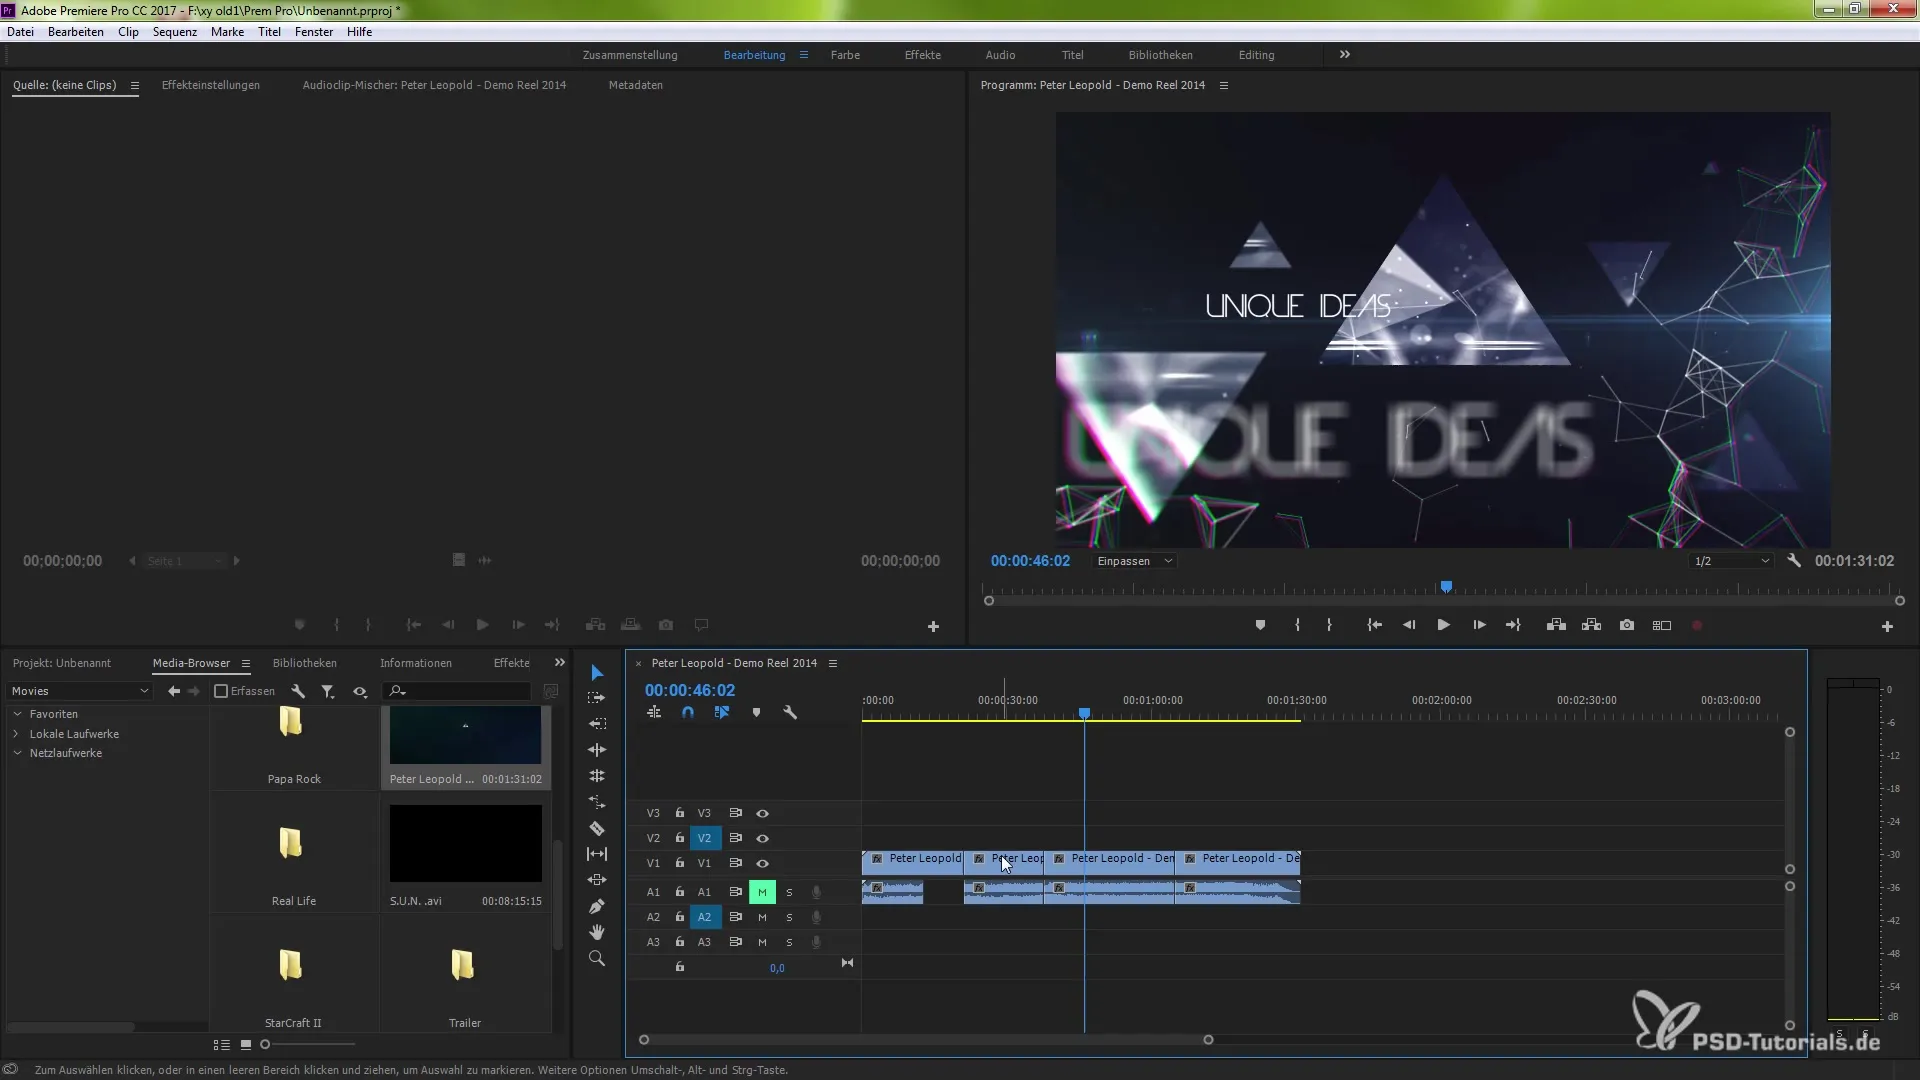
Supplement and Avoid Overlaps
If you want to supplement clips, go to “Edit” and select “Supplement.” Make sure to activate the correct track. If you use the padlock, you can prevent unwanted clips from being edited. Make sure to activate or deactivate all necessary tracks correctly to avoid overlaps.
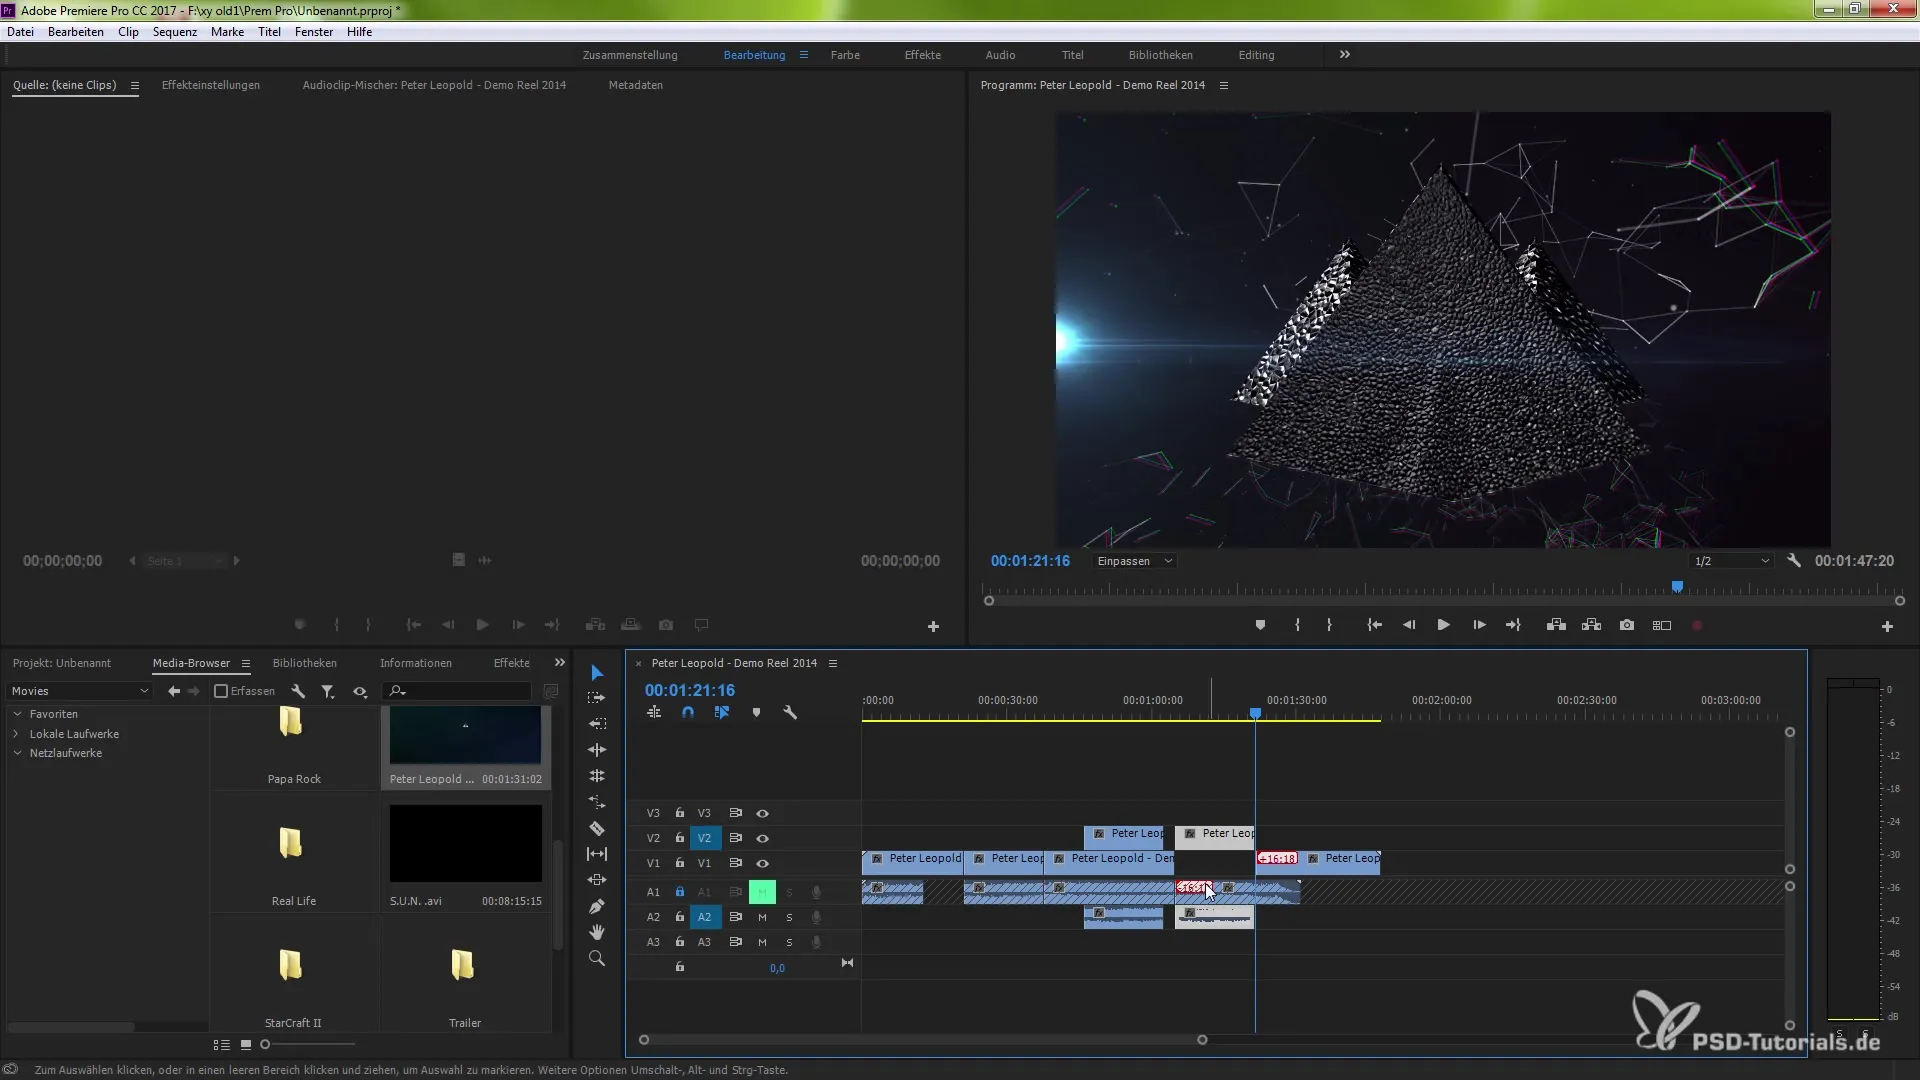
Activate Synchronization Lock
By activating the synchronization lock, you can control individual clips in your project independently. When you insert a track, the other track remains untouched. This is particularly helpful to avoid synchronization issues when multiple audio and video channels are edited simultaneously.
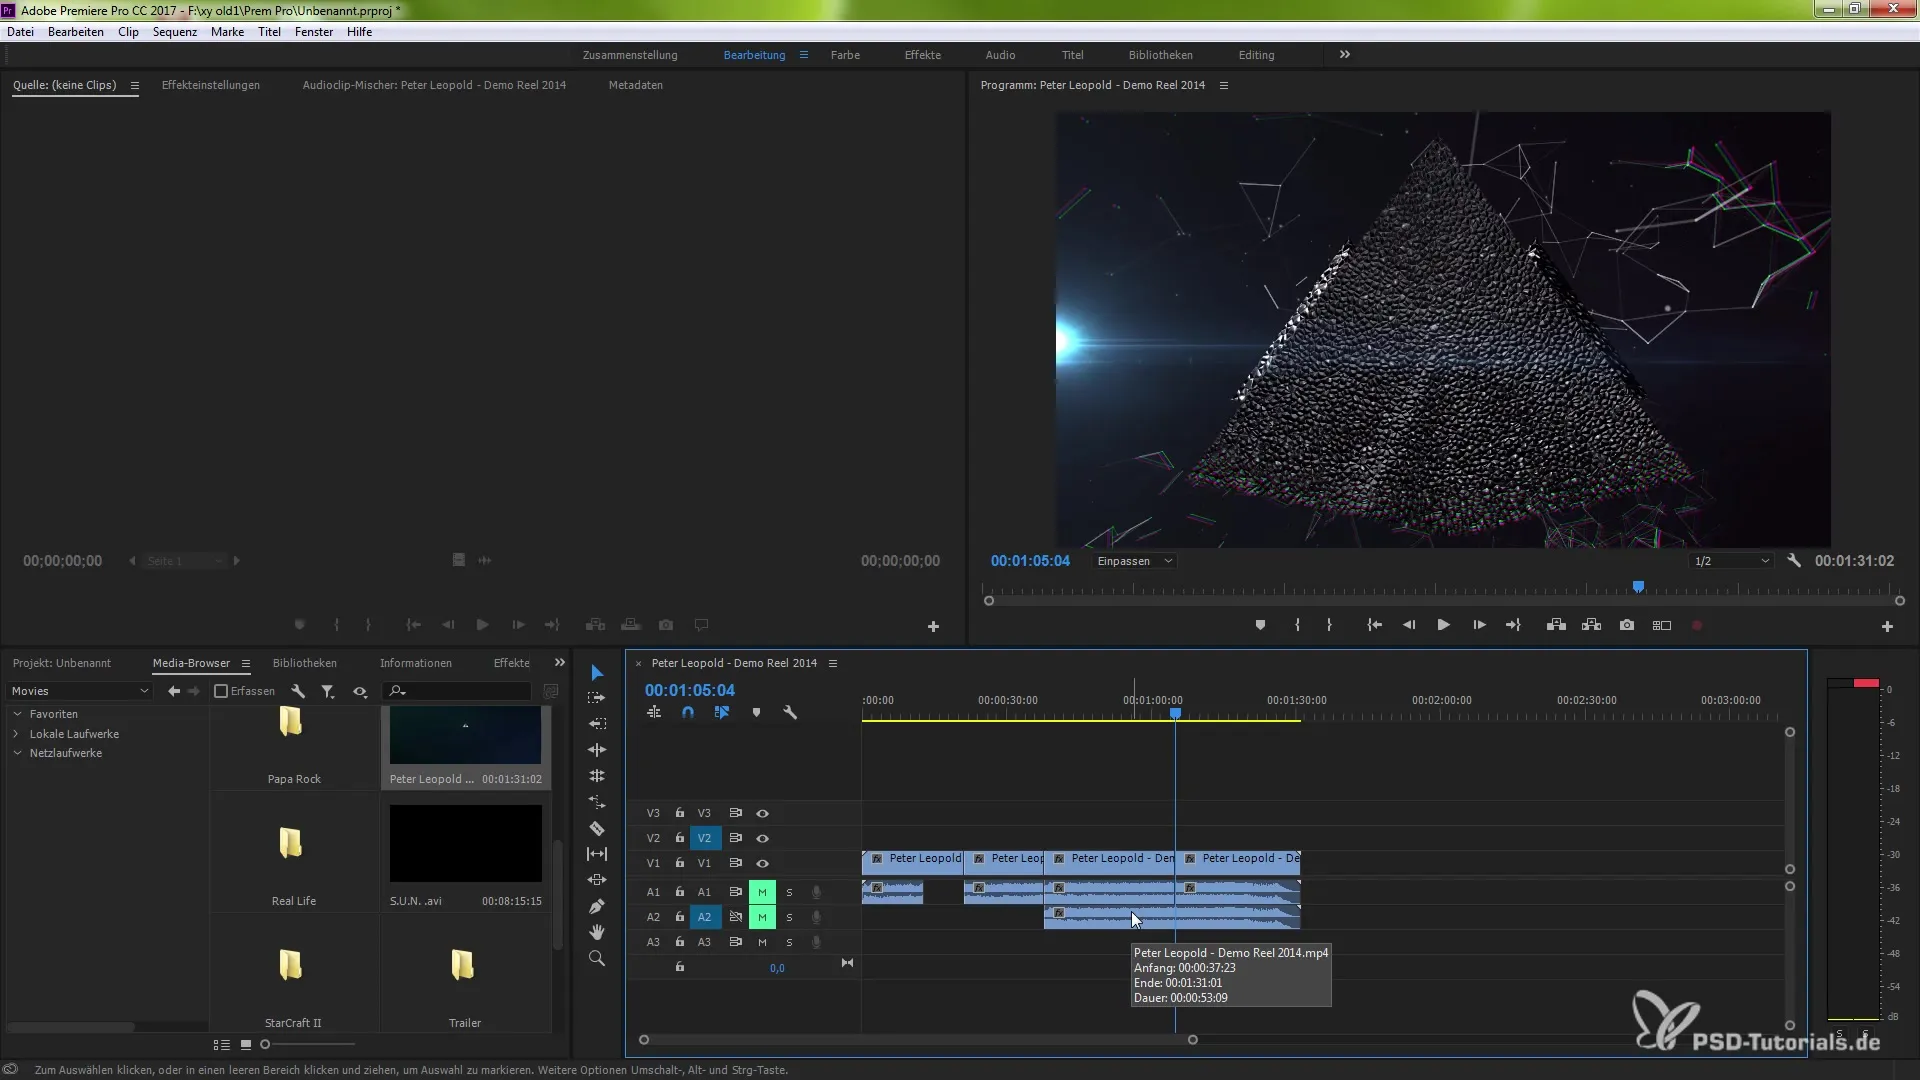
Use Adjustment Areas for Tracks
You can also use the adjustment areas in your user interface to determine where your future videos should be positioned. When you drag clips from the media browser, you can choose where they should land based on your previous configuration in source-patching.
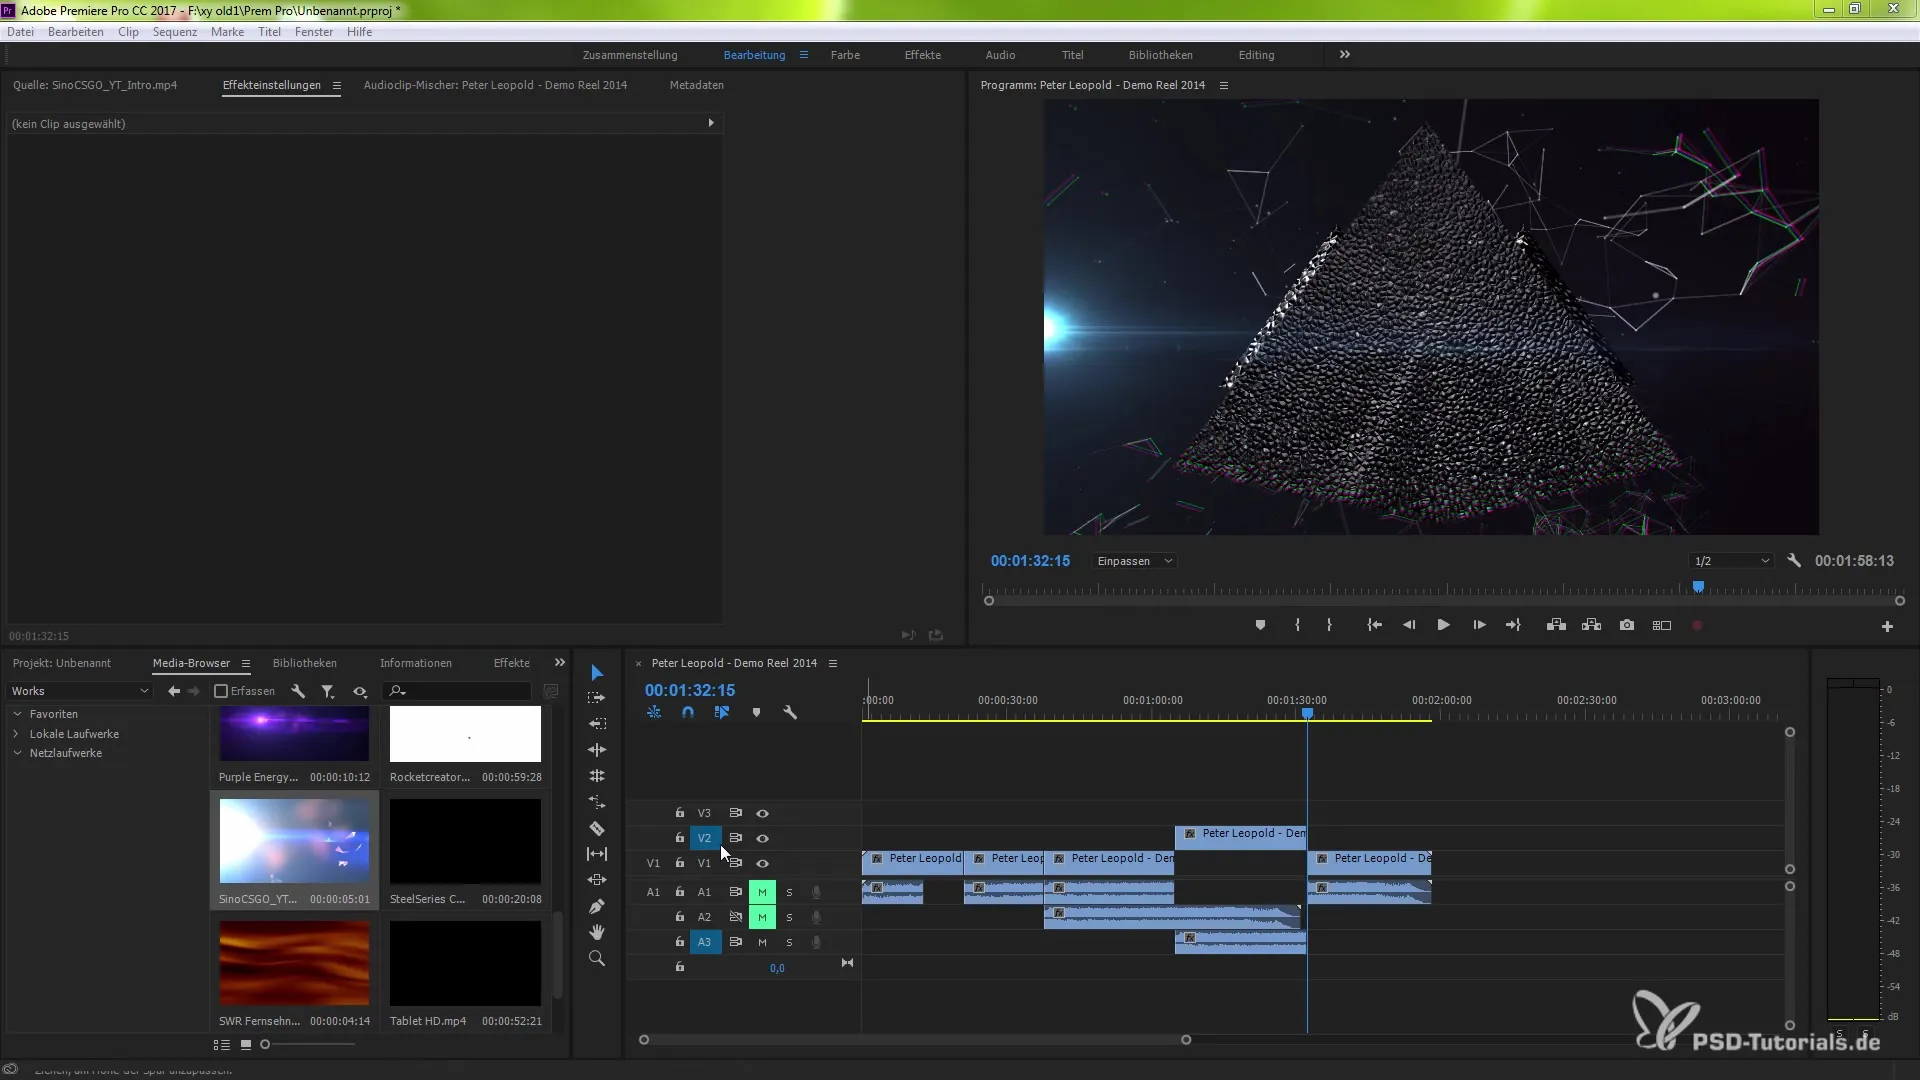
Summary – Source and Targeting in Premiere Pro CC 7.0
In this guide, I have shown you various ways to effectively use the new source-patching and targeting feature in Adobe Premiere Pro CC 7.0. From linking tracks to using synchronization locks, you now have the necessary knowledge to create clean and efficient projects.
Frequently Asked Questions
What is source-patching in Premiere Pro?With source-patching, you can select specific video and audio tracks for editing or playback.
How do you activate targeting?You activate targeting by clicking on the clip activation icons in the respective area of the tracks.
What does the synchronization lock do?The synchronization lock prevents certain clips from being unintentionally moved during edits.
How do I import clips into specific tracks?When you import clips, they will be placed according to the activated sources in source-patching.


