With the latest updates of Adobe Premiere Pro CC 2020, there are significant improvements in the field of audio editing. One of the standout features is the optimization of audio effects and routings. In this guide, I will show you how to successfully utilize the new functions to take your audio to the next level. Whether you have experienced glitches or other issues in the past, the new tools provide you not only with precise control but also significantly improved performance.
Key Takeaways
- Optimization of audio effects and routings
- Easy handling of new adjustment options
- Significant improvement in volume control
- Extended possibilities for time stretching
Step-by-Step Guide
Step 1: Utilize improved performance with audio effects
First, you should try out the optimized performance of Premiere Pro CC 2020. The overhaul of audio effects ensures that everything runs natively and conserves resources. This means that when you work with audio effects, you'll notice that the software runs much more smoothly. Glitches and other audio problems are now a thing of the past. You'll be able to complete your audio work faster and more efficiently.

Step 2: Adding audio effects more easily
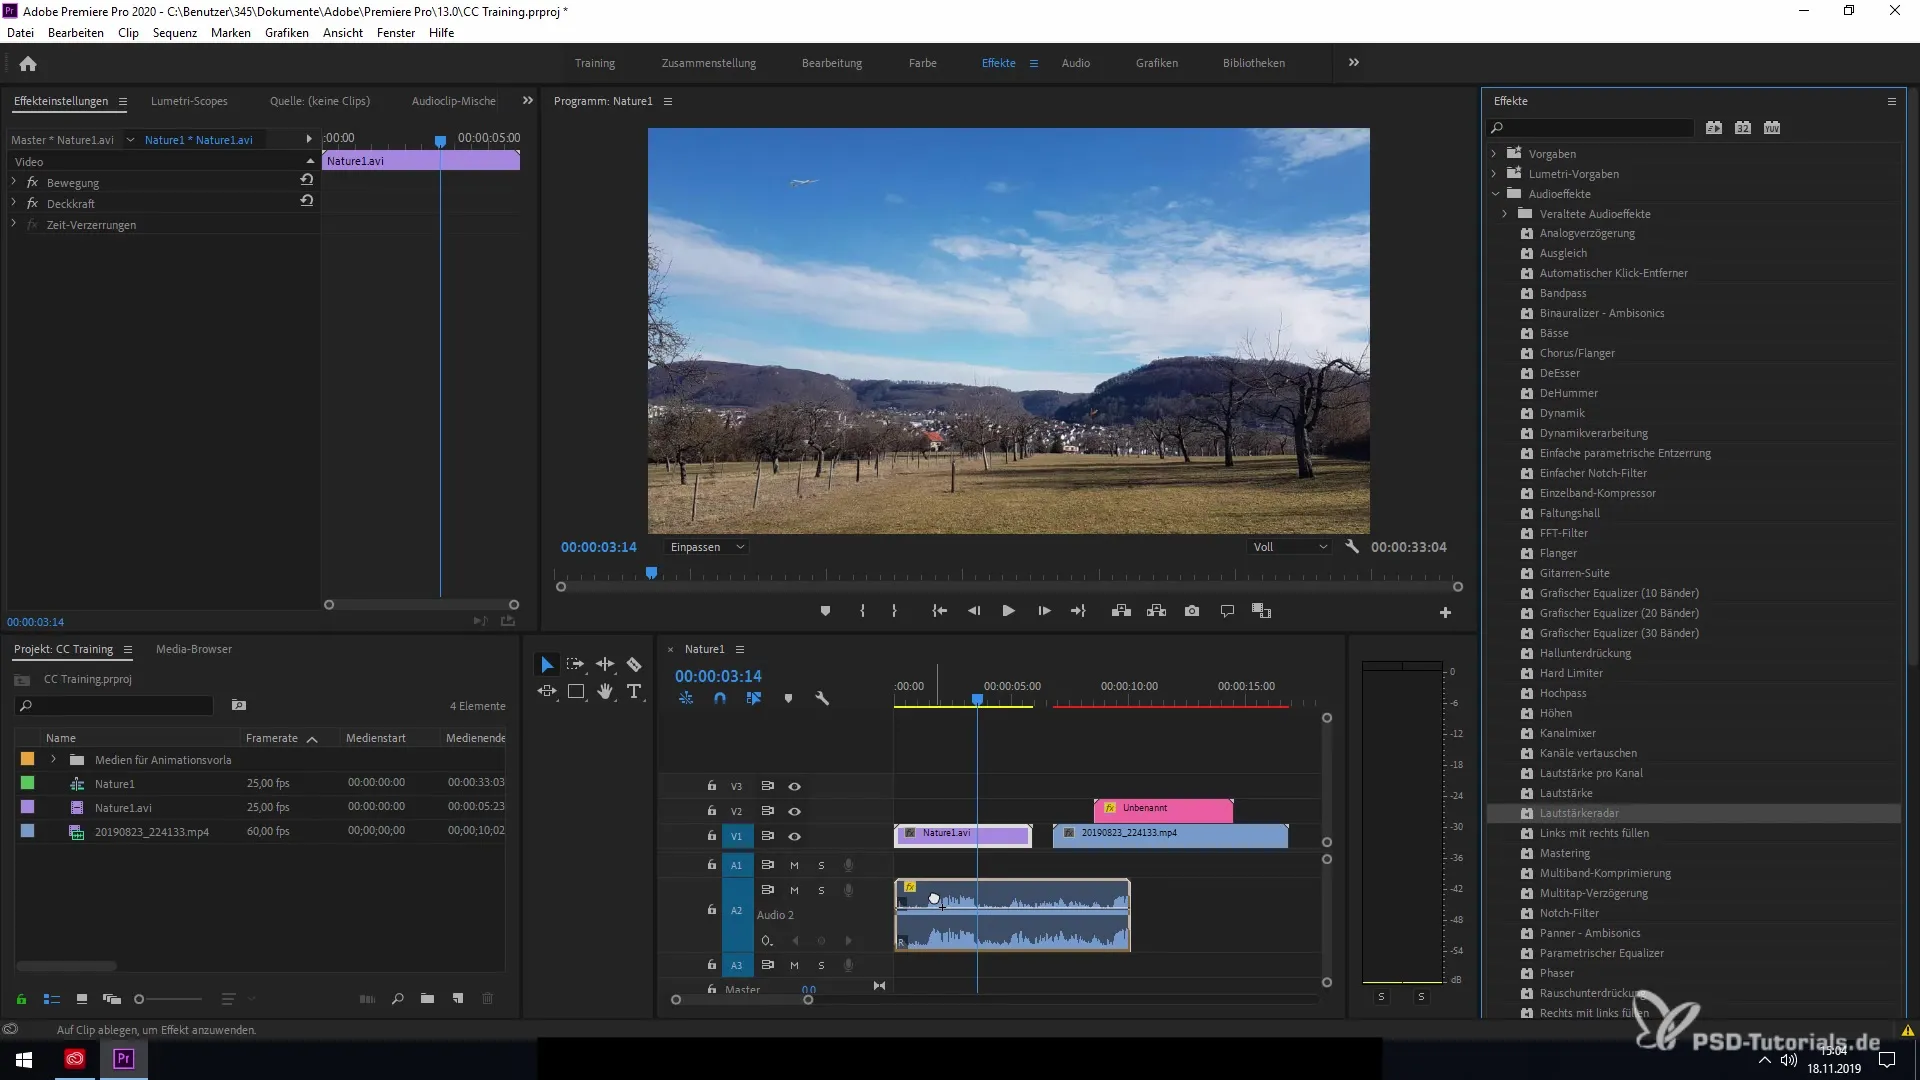
Adding audio effects has also been simplified. You can now quickly insert effects via drag-and-drop into your timeline. Just select the desired audio effect and drag it onto the corresponding audio track. This allows you to make specific adjustments much faster and concentrate fully on your creative work.

Step 3: Use the volume radar
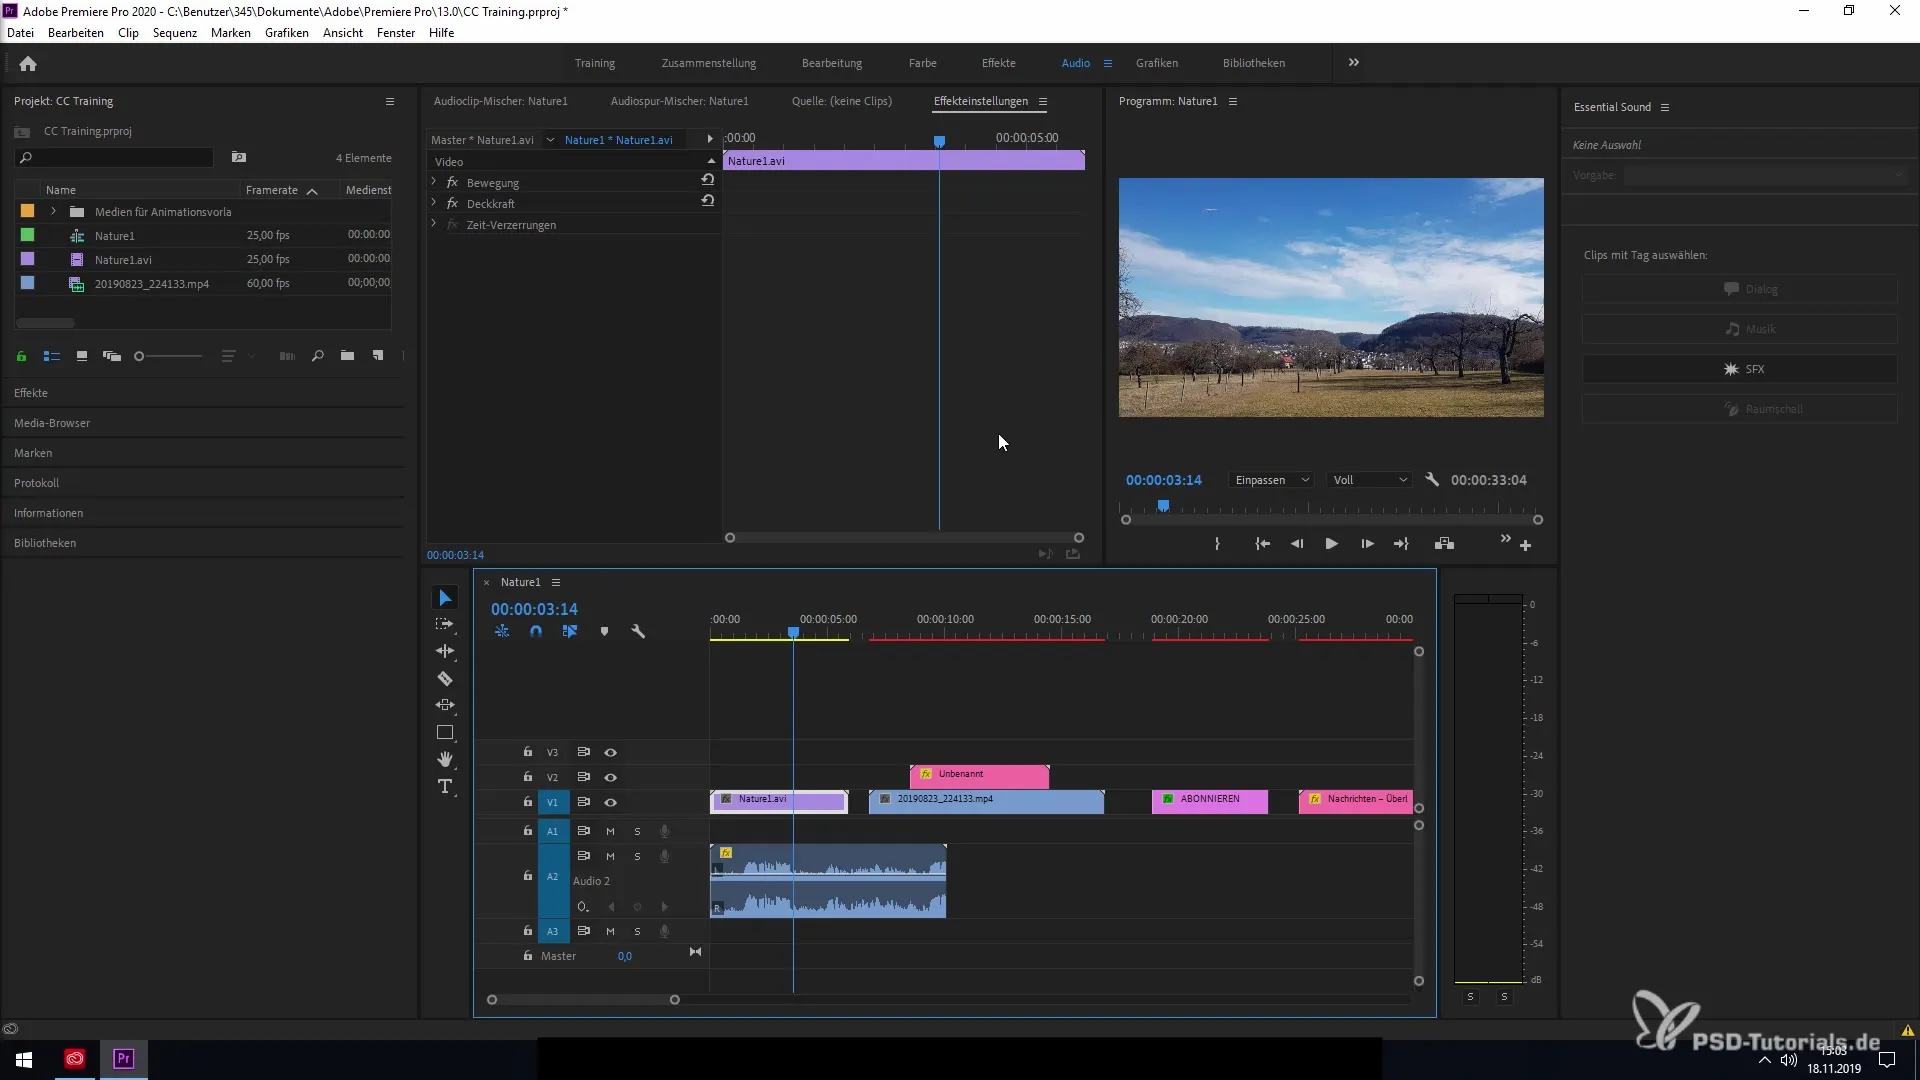
After adding the audio processes, you can use the new feature of the volume radar. Go to the effects settings and click on volume radar. Here, you can precisely measure whether your audio meets broadcast standards. You can see at a glance what level your audio has and use this information strategically to optimize your content.
Step 4: Better control audio levels
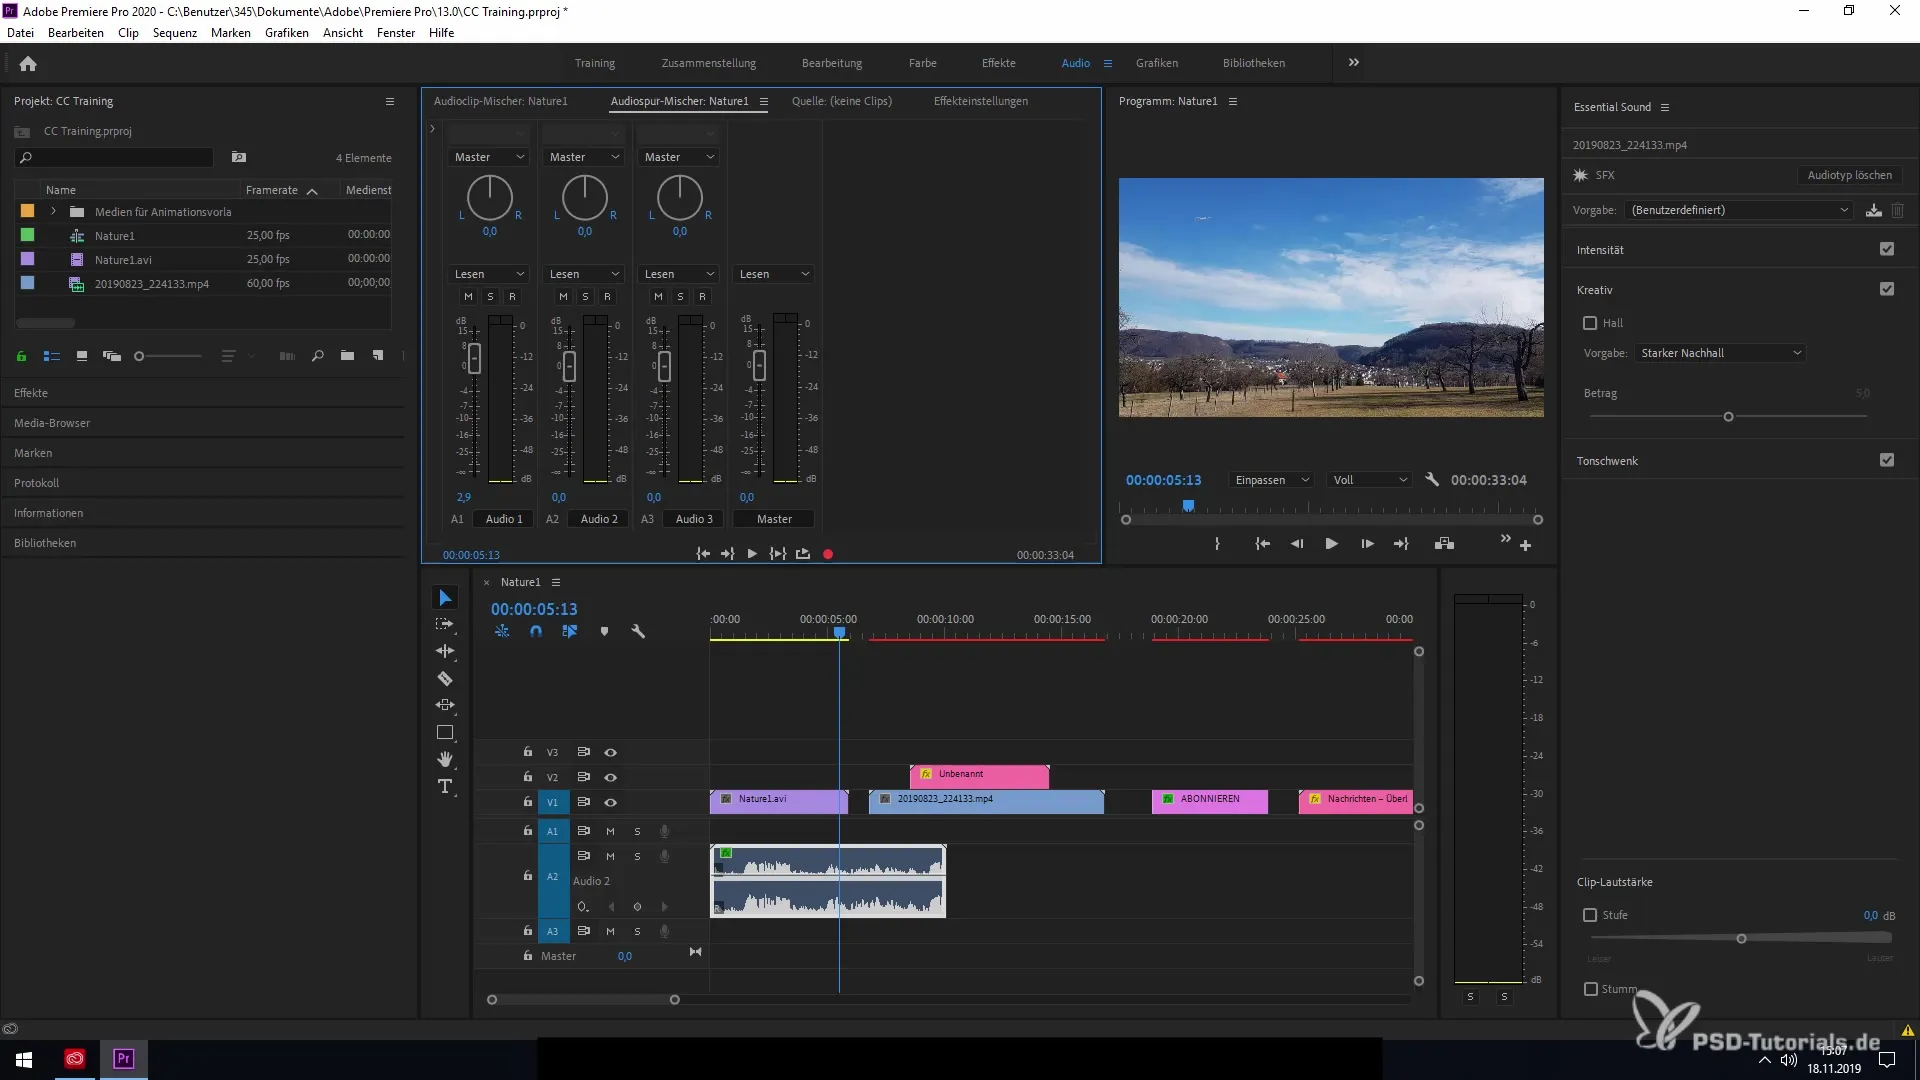
Another clear advantage is the improvement of audio level control. You can now adjust the levels of your audio tracks without additional rendering or external programs. With a maximum boost of up to +15 decibels, you can easily amplify quiet passages. This creates greater flexibility in your workflow and noticeably improves audio quality.

Step 5: Working with time stretching
The new features for time stretching allow you to stretch and playback audio files up to 20,000%. This happens natively in the source clip, meaning you don't have to take any additional steps to utilize this feature. Experiment with this powerful function to create creative effects or synchronize your audio tracks with visual elements.
Summary - Effectively Shaping Audio Editing: New Features in Premiere Pro CC 2020
This guide has introduced you to the exciting new features in the audio editing of Adobe Premiere Pro CC 2020. You have learned how to utilize the optimized performance of audio effects, that adding effects has been simplified, and how to work with the volume radar and improved level controls. In addition, you have discovered the extended possibilities of time stretching. Use these features for even more professional audio in your projects!
Frequently Asked Questions
How do I find the new audio effects in Premiere Pro CC 2020?You can find the new audio effects in the menu under "Effects". There, you can select and use the desired effects.
Can I easily adjust the volume of cut clips?Yes, you can adjust the volume of cut clips directly in the timeline without having to re-render the entire file.
Is there a way to export audio files?Yes, you can export audio files directly from Premiere Pro by using the export function in the menu.


