When it comes to creating videos in an engaging way, the options that Live-Text-Templates in Premiere Pro CC 2017 offer are a true game changer. With the new version, you have the opportunity to design your text creatively and efficiently adjust your animations. Let's explore the different features together that will help you take your projects to the next level.
Key insights
- Live-Text-Templates allow easy adjustments of text and animations.
- Using Adobe Dynamic Link makes it easier to exchange between Premiere Pro and After Effects.
- Changes in After Effects are automatically reflected in Premiere Pro without affecting existing animations.
Step-by-Step Guide
1. Preparing the Live-Text Template
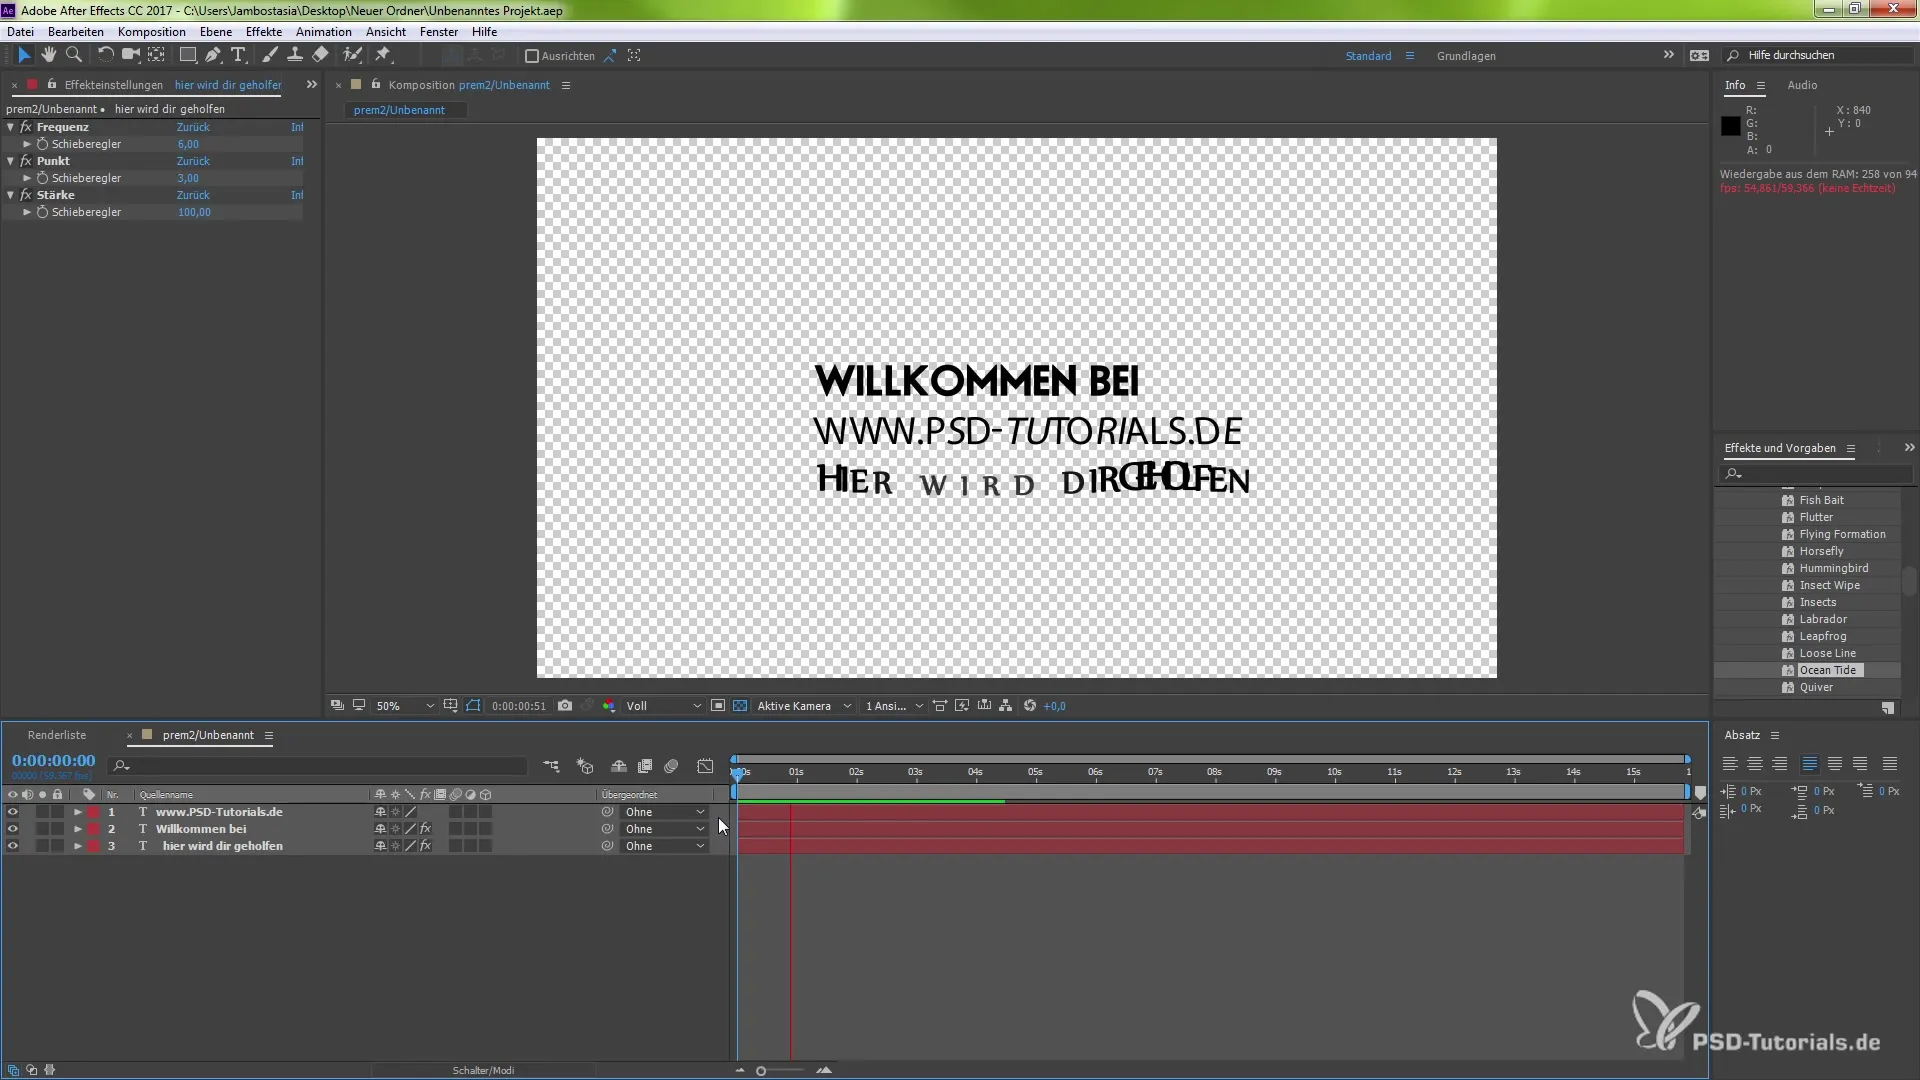
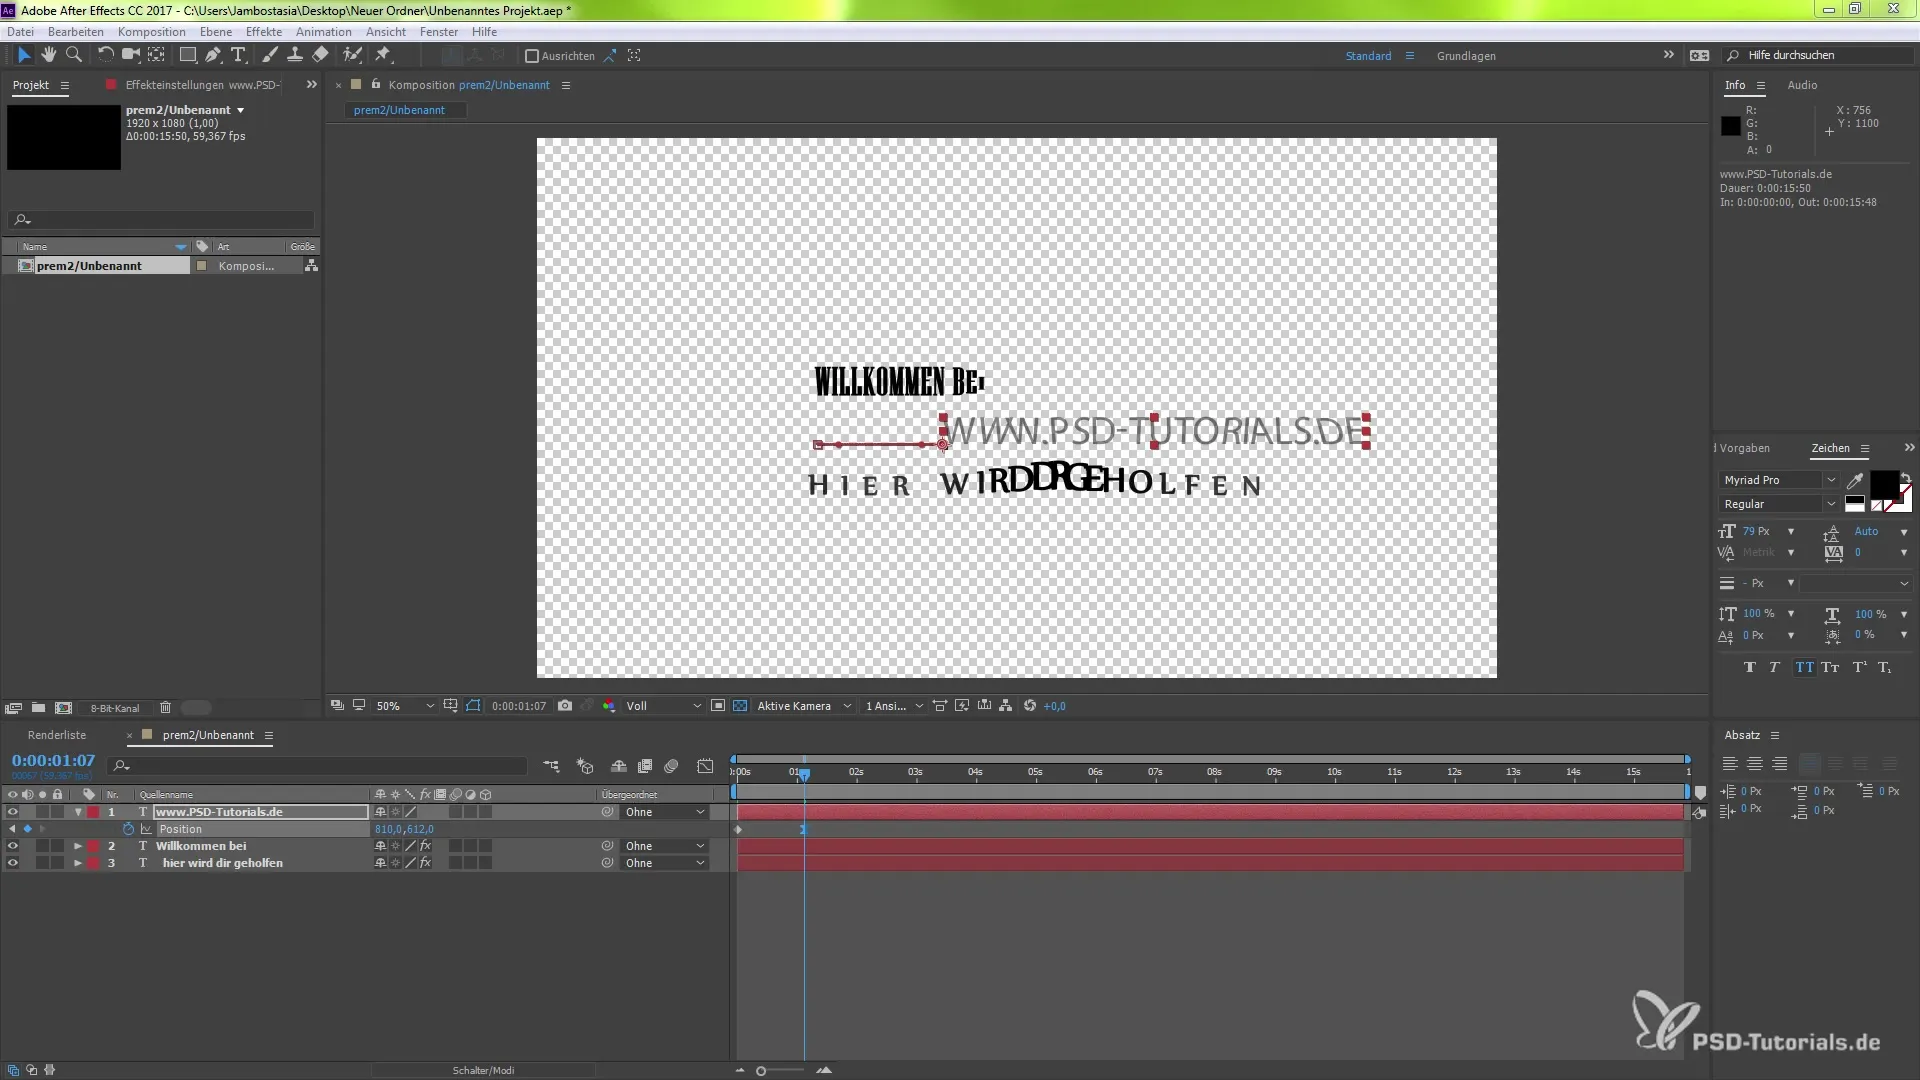
Start by setting up your environment in After Effects. Here you can create simple text layers that you want to animate later. To use this feature, create a new project and add a text layer. It is important to save this file so that you can easily retrieve it later in Premiere Pro. Since I have already prepared something, I will now show it to you.
2. Transferring the File to Premiere Pro
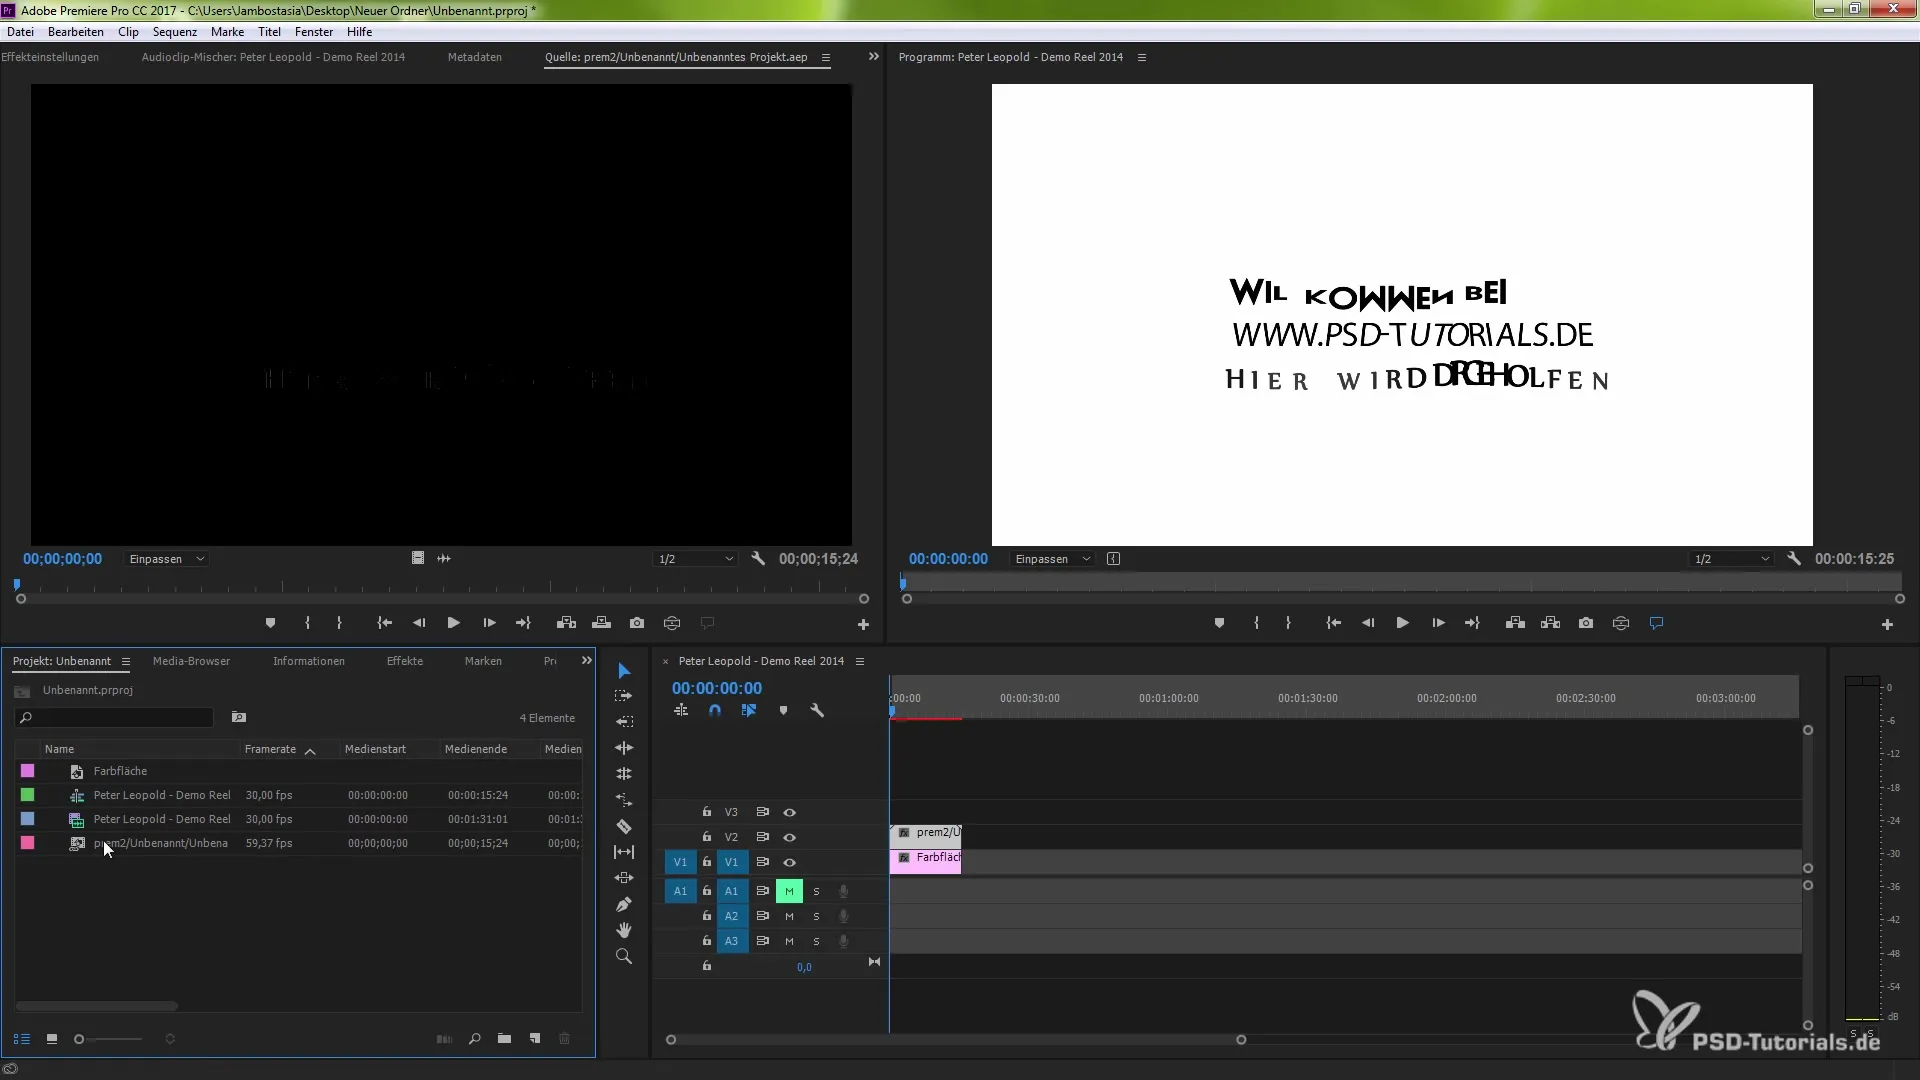
Once you have completed your text template in After Effects, it is time to import the file into Premiere Pro. Simply go to your project window in Premiere Pro, right-click, and select the import option. You can select and import the previously saved file. This procedure is crucial for editing the animation and text simultaneously.
3. Working with the Imported Composition
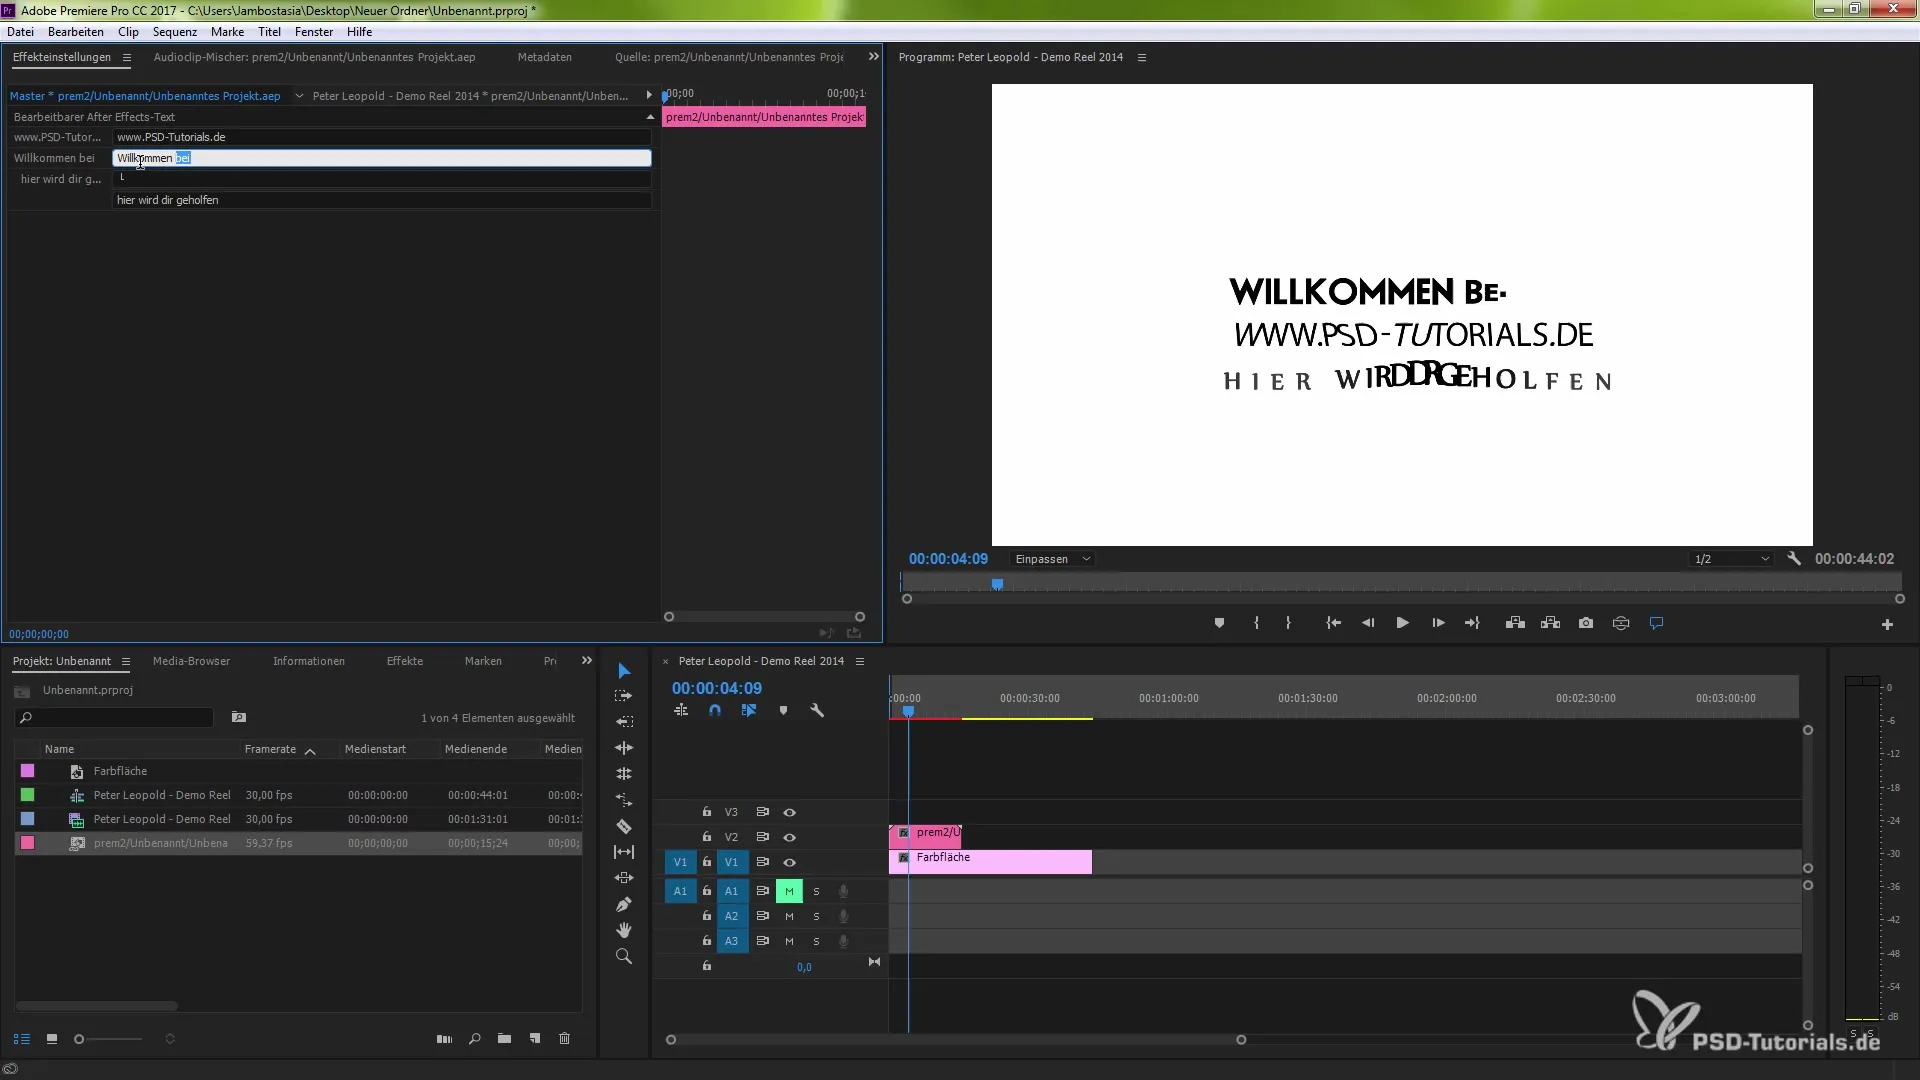
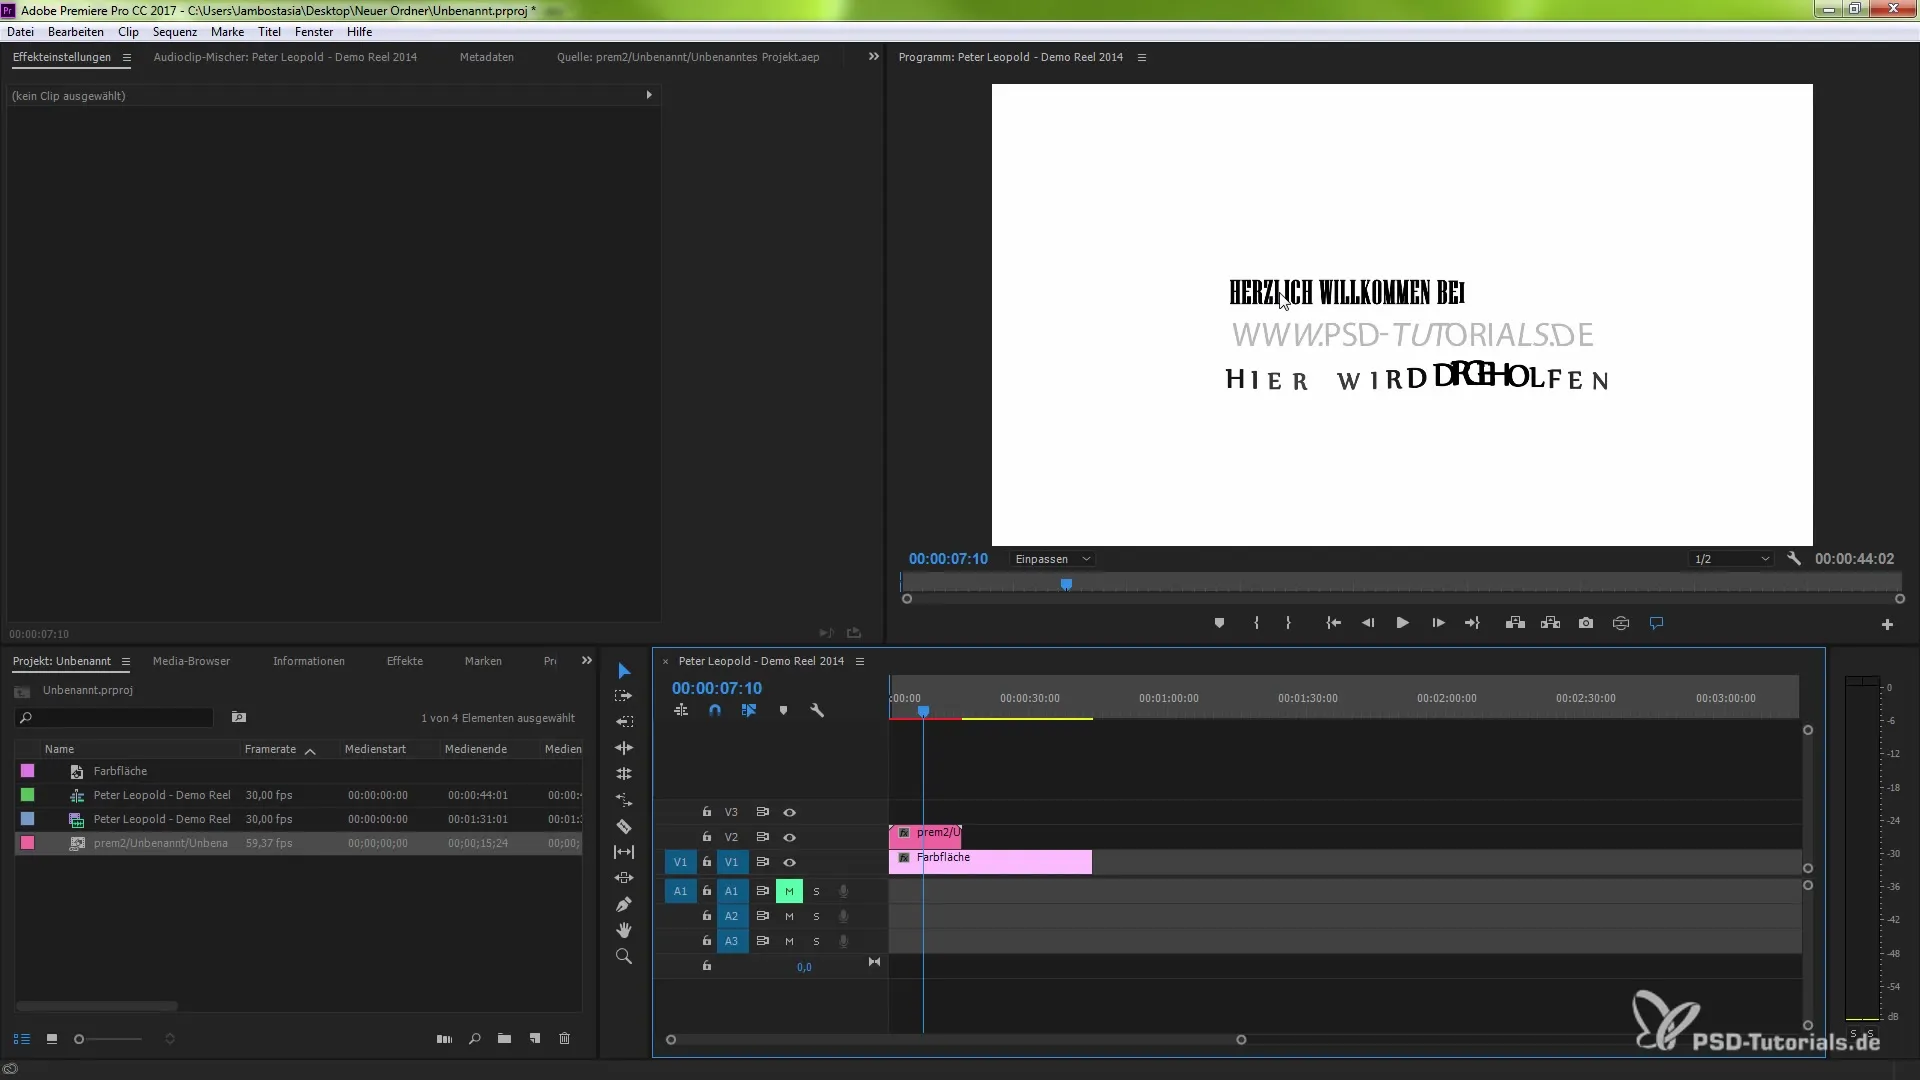
Once the file is imported, you will find the composition in the project window. Double-click on the composition to open it in the source monitor. In this monitor, you can view the effect settings. If this area is not visible, press the corresponding arrows to activate the effect settings. You will now see all animated areas and can make adjustments.
4. Making Changes to the Text
To change the text, select the desired text layer and edit the text directly in the source monitor. This is the moment when you will feel the magic: you just have to adjust the text, and the animation will automatically remain intact. For example, change the text to “Welcome” and watch how the animation adjusts accordingly.
5. Adjustments to Animations
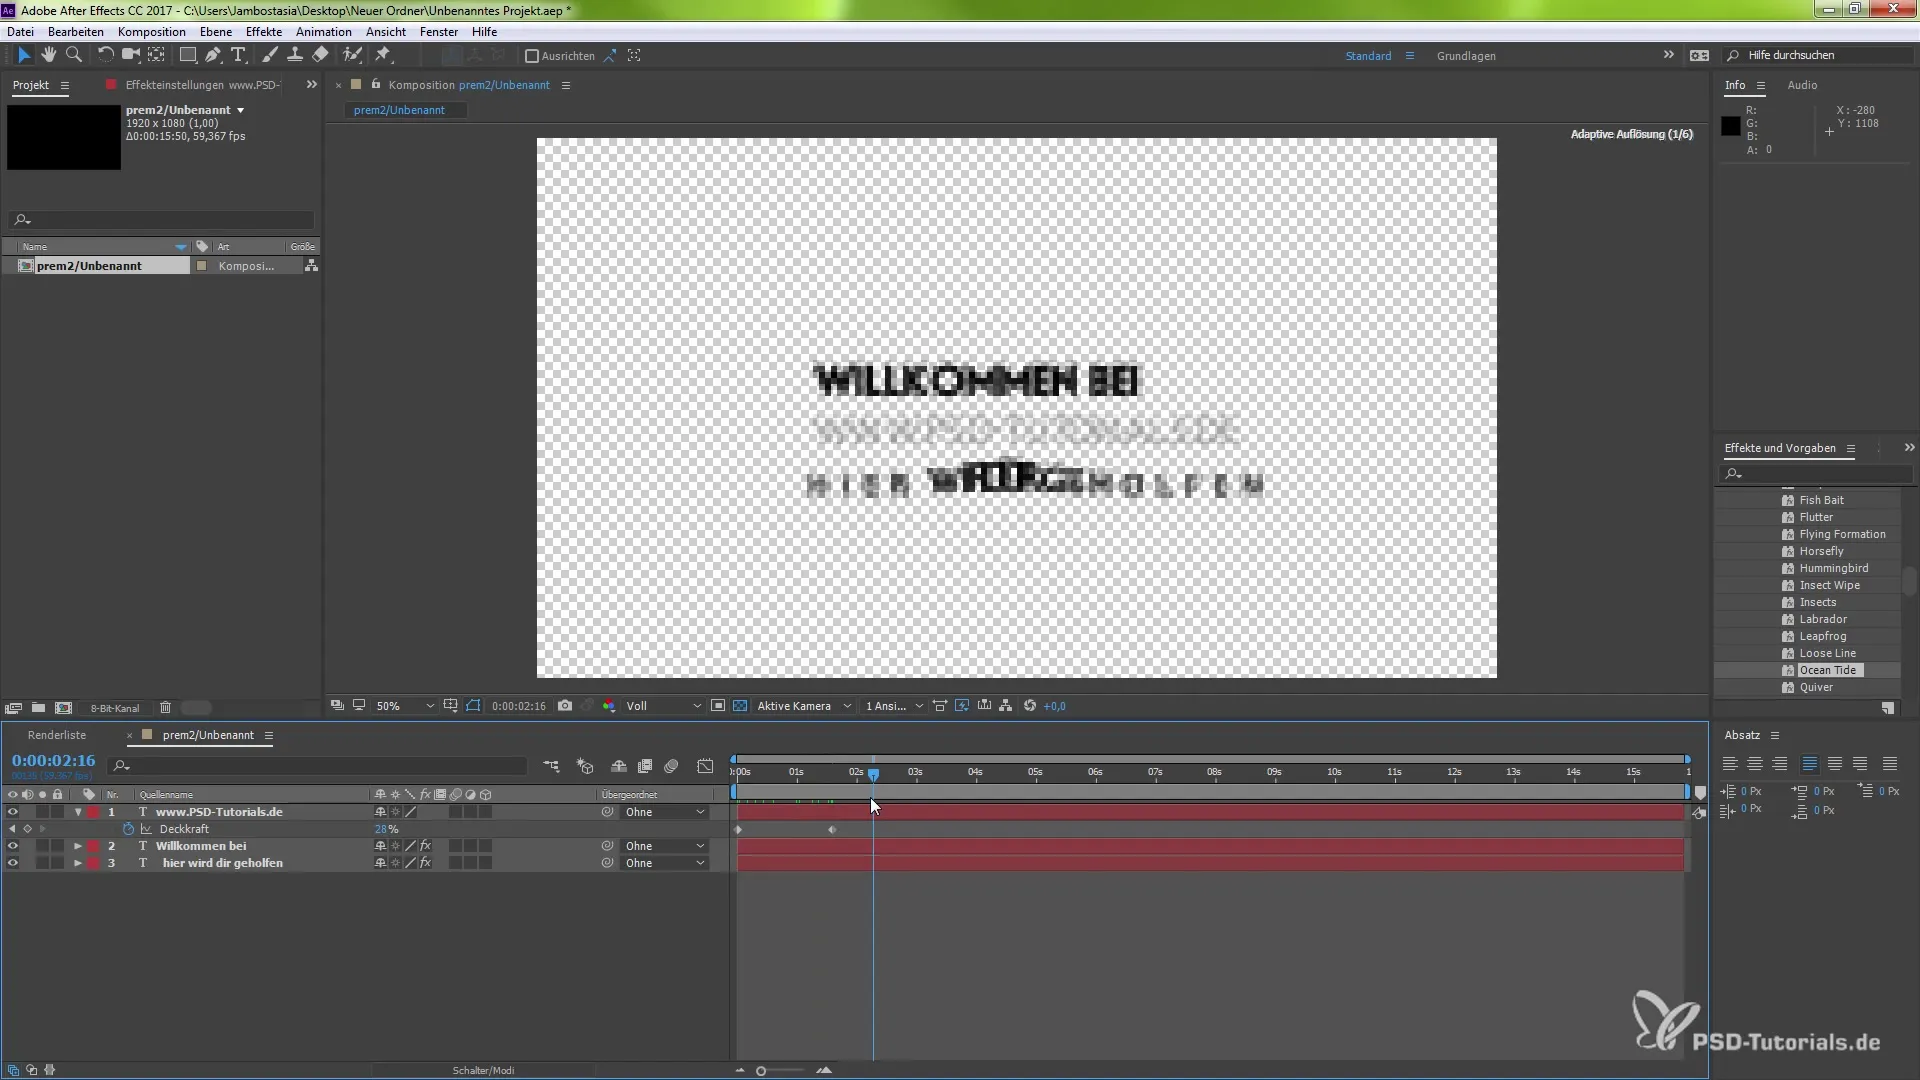
In addition to entering text, you can also change other settings such as brightness or opacity. These adjustments immediately affect the animation. Use the effect settings to reduce the transparency of the text, for example, to achieve impressive visual effects.
6. Changing Font and Position
If you want to change the font, select the respective option and choose the desired font. Once you have made all the desired adjustments, return to your Premiere Pro project. Here you will see that all changes have also been reflected there, which makes the integration between After Effects and Premiere Pro really efficient.
7. Final Adjustments and Export
Once you are satisfied with the adjustments, you can further refine the position of the text. Use the transform tool to position the text accurately. To save the changes and prepare the project, export it according to your preferences. Now you are ready to share the final video!
Summary – Using Impressive Live-Text Templates in Premiere Pro CC 2017
In this tutorial, you have learned how to efficiently create and customize Live-Text Templates in Premiere Pro CC 2017. The seamless integration with After Effects allows you to make quick changes without affecting the animations. With these new features, you can design your videos in a impressive way.
Frequently Asked Questions
What are Live-Text Templates in Premiere Pro CC 2017?Live-Text Templates allow you to customize text in Premiere Pro while maintaining animated effects.
How do I import my After Effects file into Premiere Pro?Right-click in the project window and select the import option to load your After Effects file.
Could changes in After Effects affect the animations in Premiere Pro?No, the animations remain intact in Premiere Pro while you make changes in After Effects.
Can I easily change the font of the Live-Text Template?Yes, you can change the font at any time, and the animation will automatically adjust.
How do I export my finished project?Go to the menu File > Export to export your project in the desired format.


