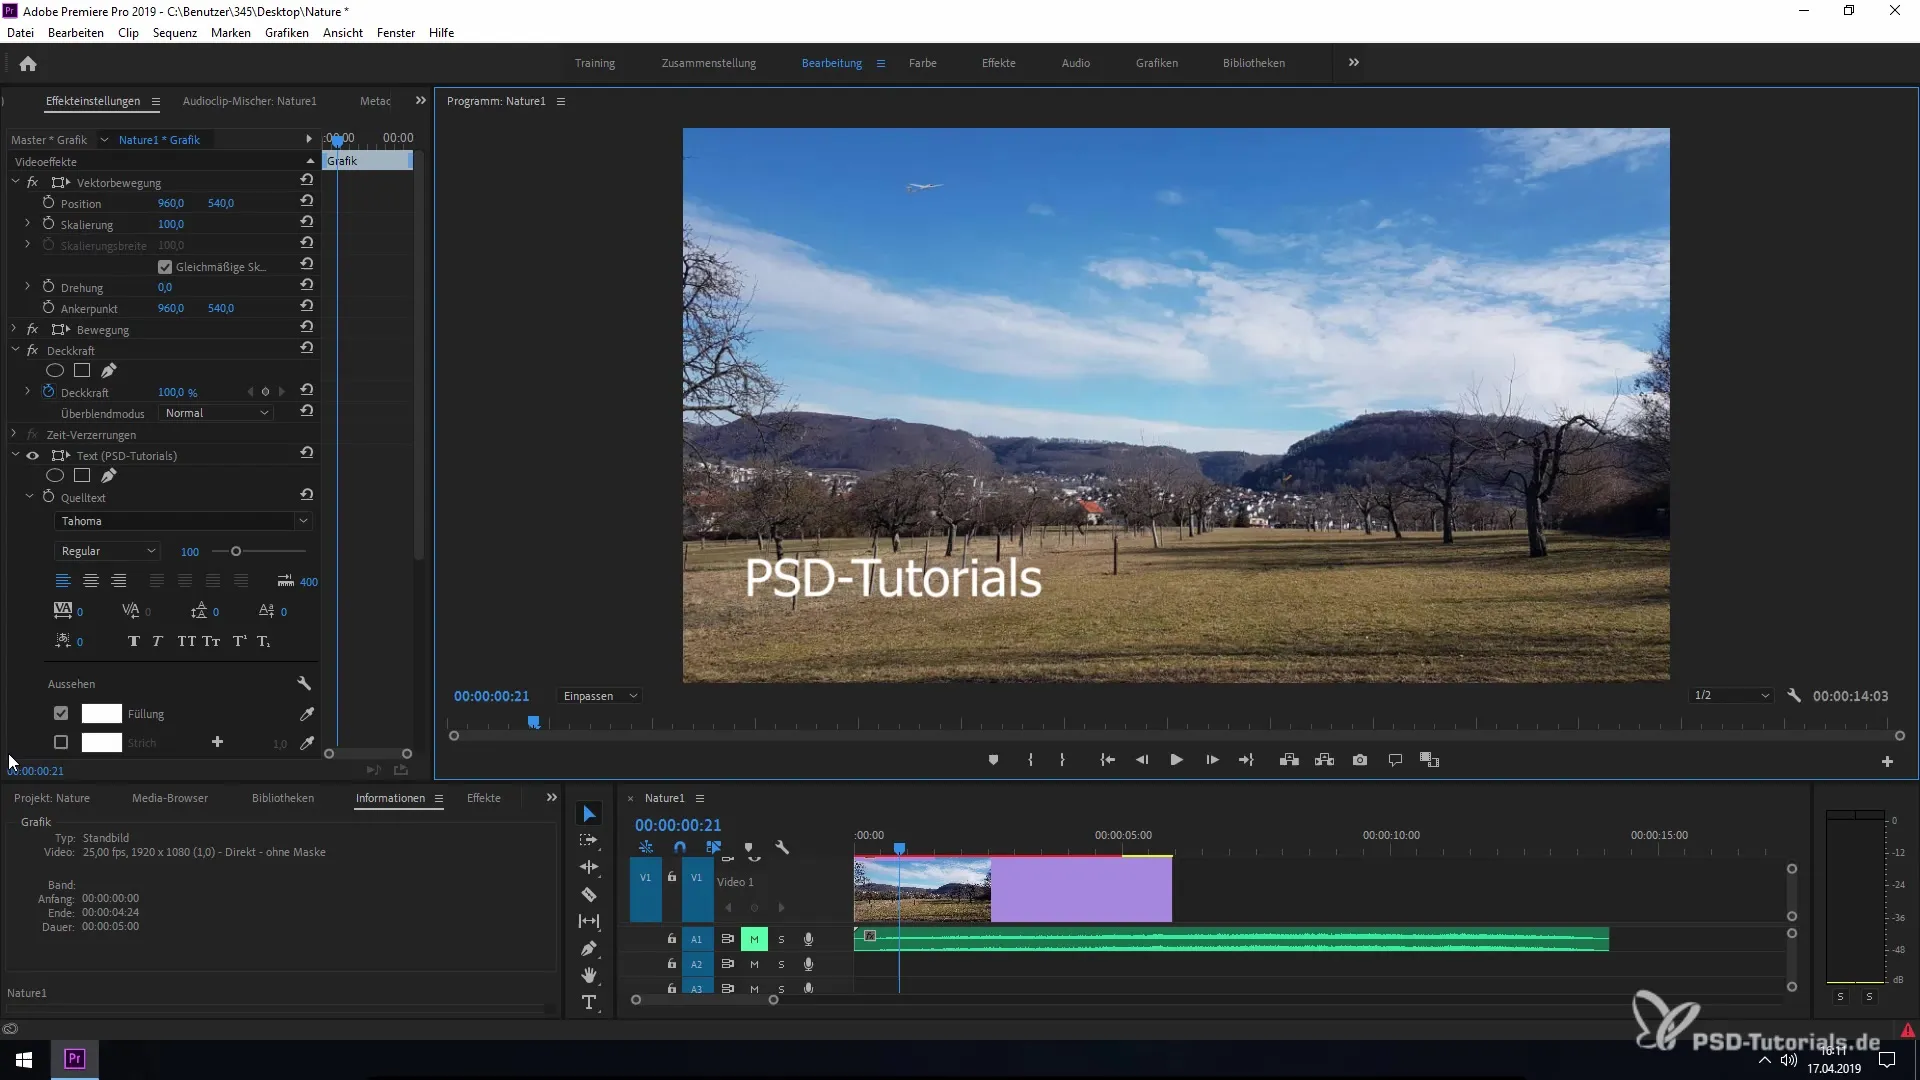
Guidelines are an indispensable tool in video and image editing that allows you to position and align elements precisely. With the new features of Premiere Pro CC 2019, you can not only create guidelines but also effectively save and share them between different projects, even in After Effects. In this guide, you will learn how to use guidelines effectively in your workflow.
Key Findings
- Guidelines are now available in Premiere Pro CC 2019.
- You can create, customize, save, and export guidelines.
- It is possible to share guidelines between Premiere Pro and After Effects.
Step-by-Step Guide
Activate Guidelines
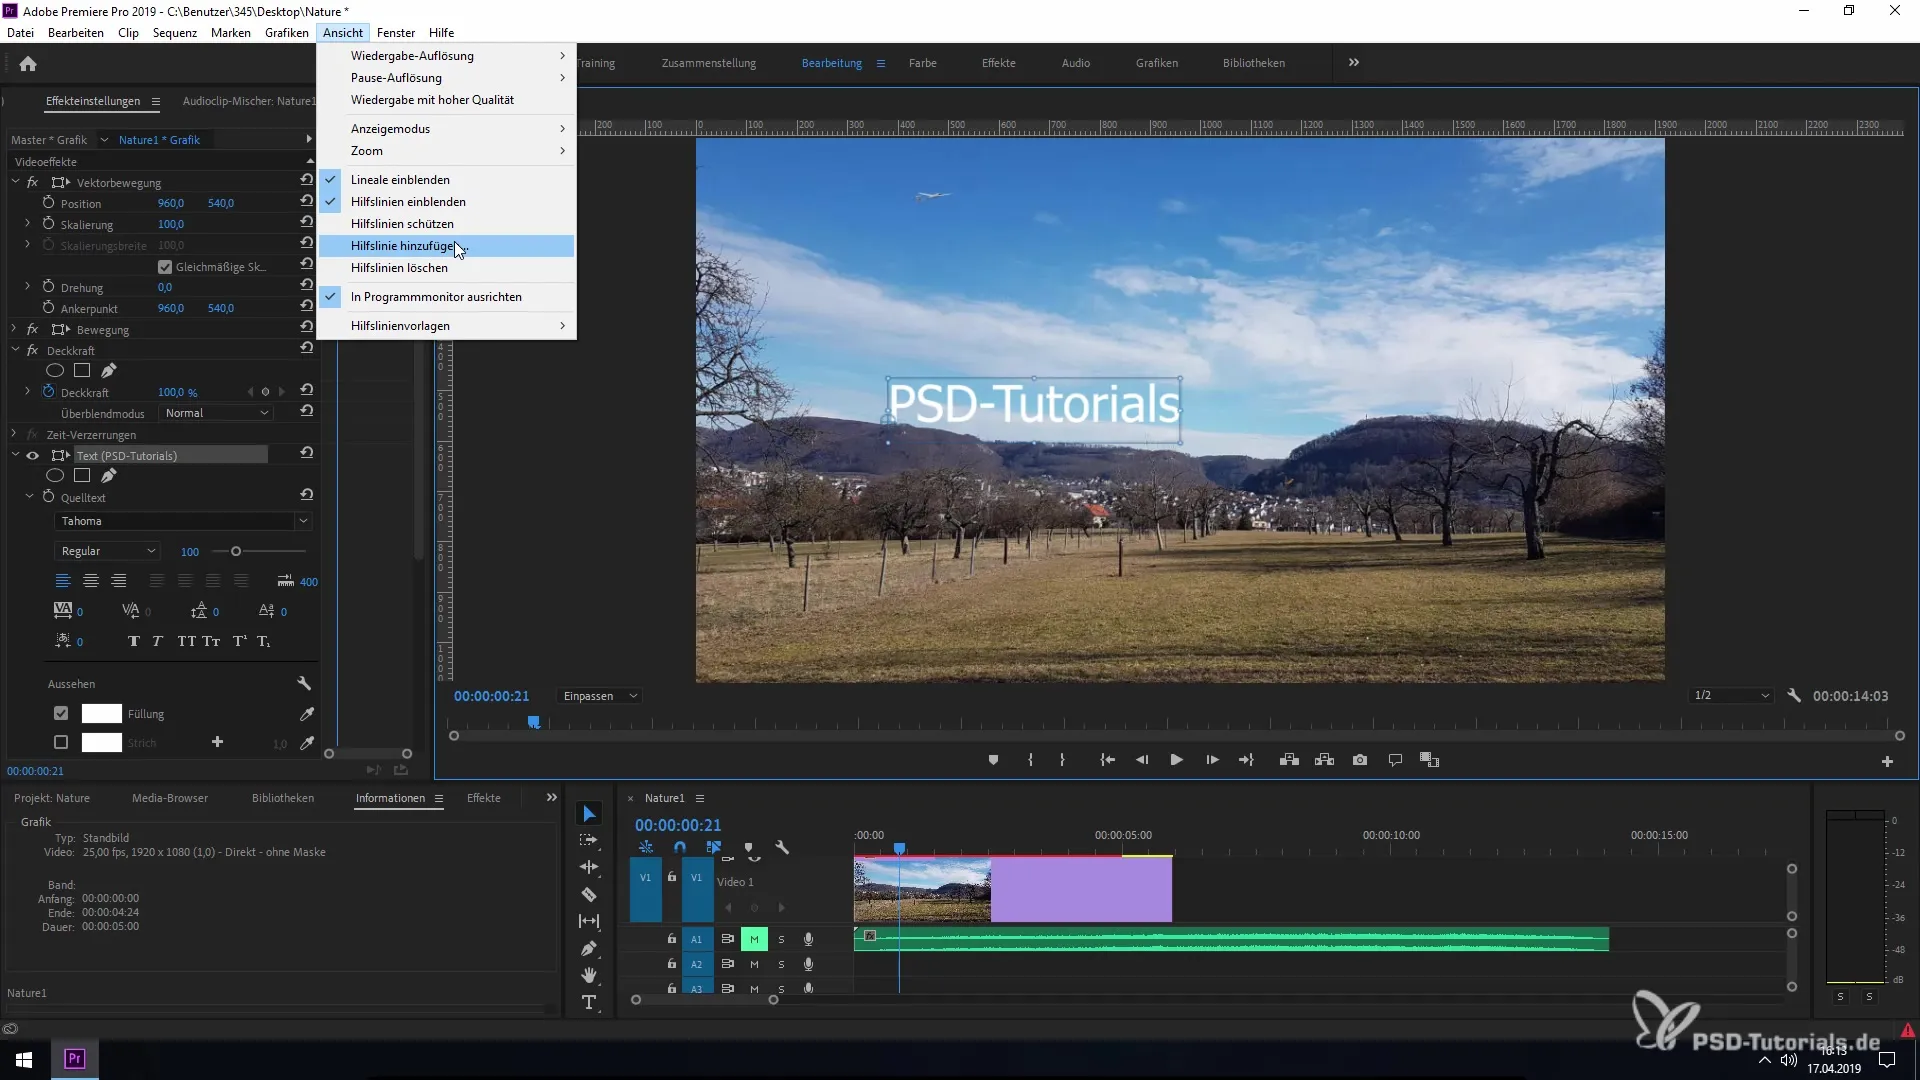
To activate guidelines in Premiere Pro CC 2019, select the program monitor and go to "View." Click on "Show Rulers" and the guidelines will appear in the program monitor. Here you can configure and use the guidelines as needed.

Add Guidelines
Go back to "View" and select the option "Add Guidelines." First, decide at which position the guideline should be displayed. For example, you can add a guideline at a height of 100 pixels to ensure that your text or other elements are properly aligned.

Customize Guidelines
After you have added a guideline, you can edit it. Right-click on the guideline. Here you have the option to adjust the position, color, or orientation (horizontal/vertical) of the guideline. Choose a color that is helpful for your design, such as black for a transparent display or red for a striking design.
Protect and Delete Guidelines
If you are working on your project and want to ensure that certain guidelines are not accidentally deleted or moved, you can use the "Protect Guidelines" feature. To delete a guideline, select it and go back to "View." Here you will find the option "Delete Guidelines." Password or other adjustment techniques are not required, making these options very user-friendly.
Create Multiple Guidelines
To quickly create multiple guidelines, drag in the ruler area to increase the number of guidelines. Each time you press and drag the mouse button, you can add an additional line. This gives you the opportunity to efficiently design your layouts.
Save Guidelines as Templates
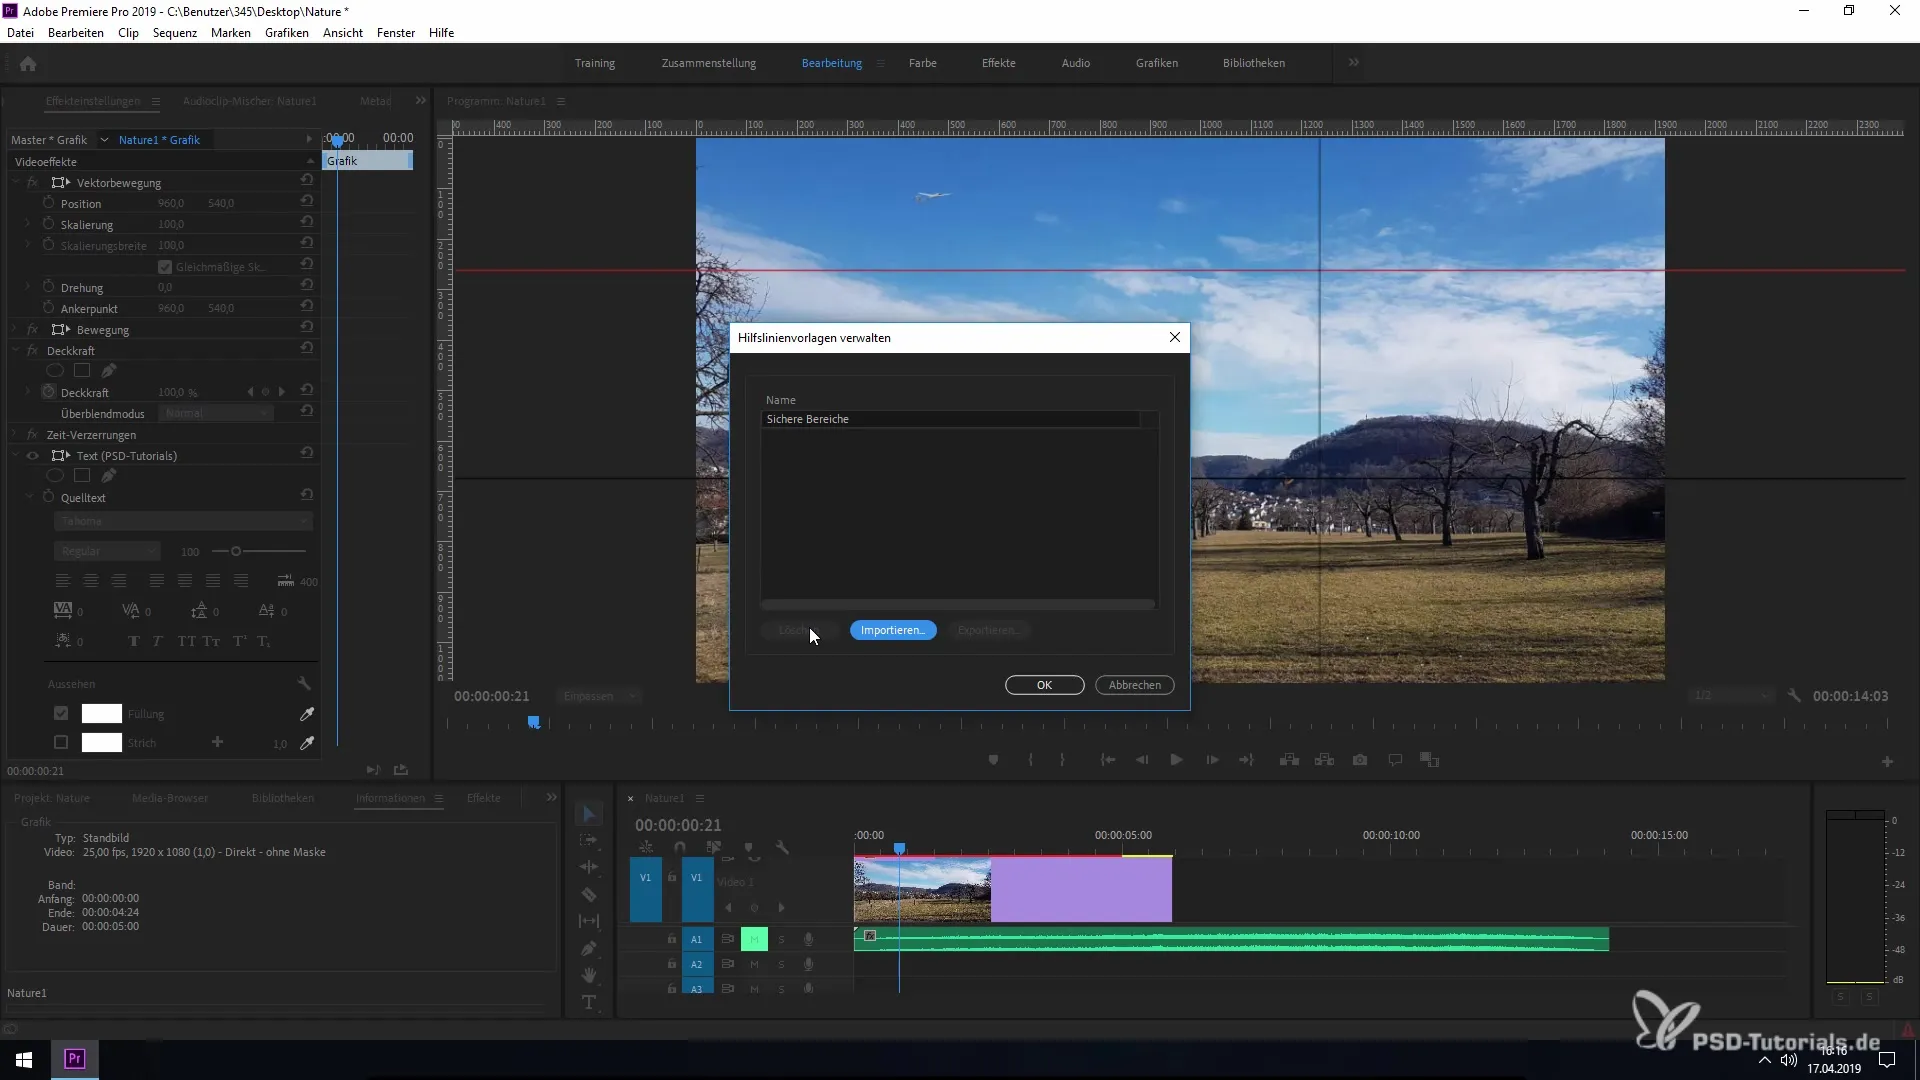
A particularly useful feature is saving guidelines as templates. Go to "View" and select "Save Guidelines." Give the template a unique name, such as "Guideline 1," and confirm with "OK." The template is now accessible under "Guideline Templates" at any time.
Export and Import Guidelines
Do you want to bring your guidelines into another project or share them with a colleague? No problem! You can export the guidelines by selecting an existing template and clicking on "Export." Likewise, you can import guidelines, provided the composition size is identical. This allows you to work efficiently with After Effects CC 2019 and share guidelines effectively between programs.

Manage Guidelines
Go to "View" to manage the saved guidelines. Here you can delete them or create new templates. This is especially helpful if you need to use different layouts or customizable settings for future projects.
Summary – Guidelines in Premiere Pro CC 2019: Utilization and Exchange
In this guide, you have received a comprehensive introduction to the use of guidelines in Premiere Pro CC 2019. You can not only effectively create and save guidelines but also exchange them between projects, which significantly simplifies your workflows.
Frequently Asked Questions
How can I activate guidelines in Premiere Pro CC 2019?Select the view in the program monitor and enable "Show Rulers."
Can I import or export guidelines?Yes, guidelines can be imported or exported between Premiere Pro and After Effects.
How do I save my guidelines as a template?Under "View," you can select the option "Save Guidelines" and specify a name.
How do I delete a guideline?Select the guideline and go to "View" to delete it.
Can I customize guidelines?Yes, you can customize the color, position, and orientation (horizontal/vertical) of each guideline.


