Working with audio in Adobe Premiere Pro CC 2021 is significantly easier thanks to the new level meter. With this tool, you have the ability to monitor the volume of your clips more accurately and ensure that your final material has the desired sound level. This guide will show you how to activate and efficiently use the level meter.
Key Takeaways
- The new level meter allows for detailed level monitoring.
- You can set your own target levels and clipping settings.
- The level meter helps you create compliant audio content.
Step-by-Step Guide
To use the level meter in Adobe Premiere Pro CC 2021, follow these steps:
Step 1: Accessing the Level Meter
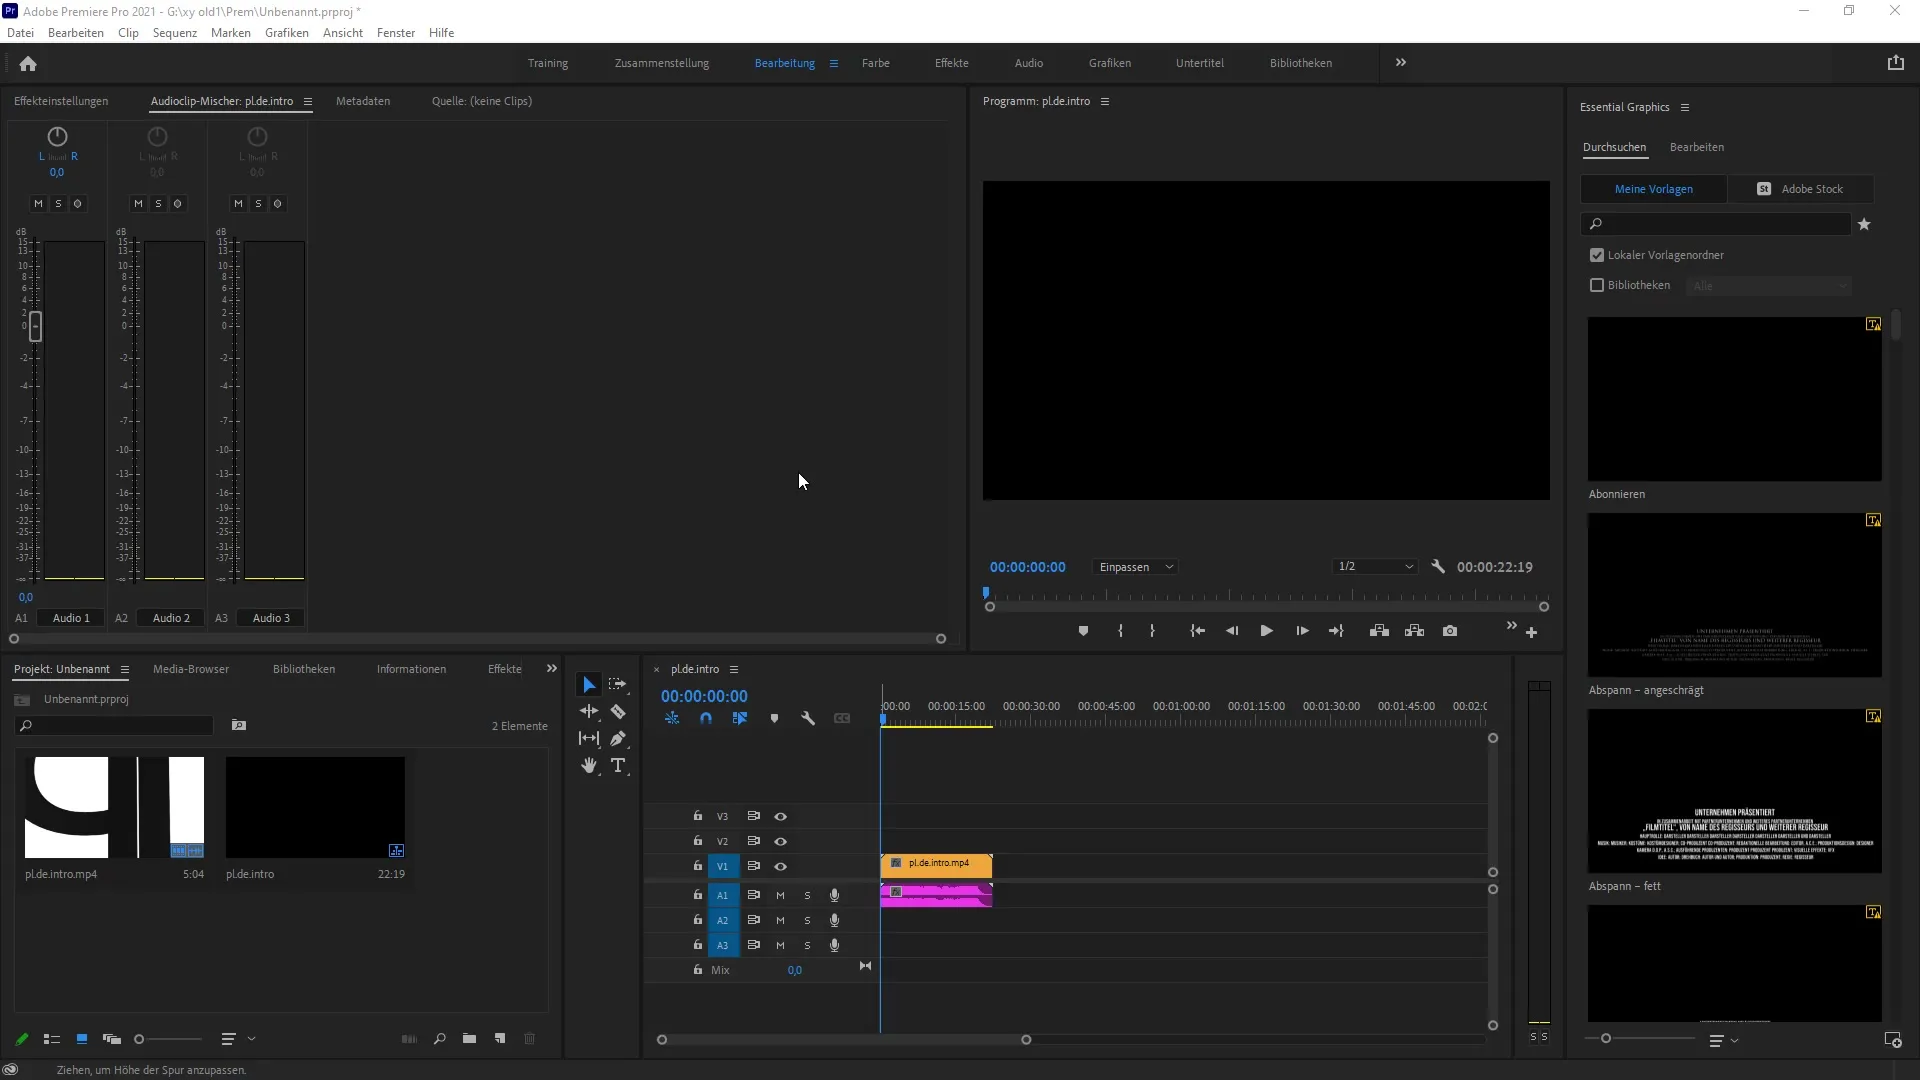
Open the audio menu in your project. Click on the "Audio" tab to find the relevant settings. Make sure to navigate to your audio clip mixer or the effect settings.

Step 2: Activating the Level Meter
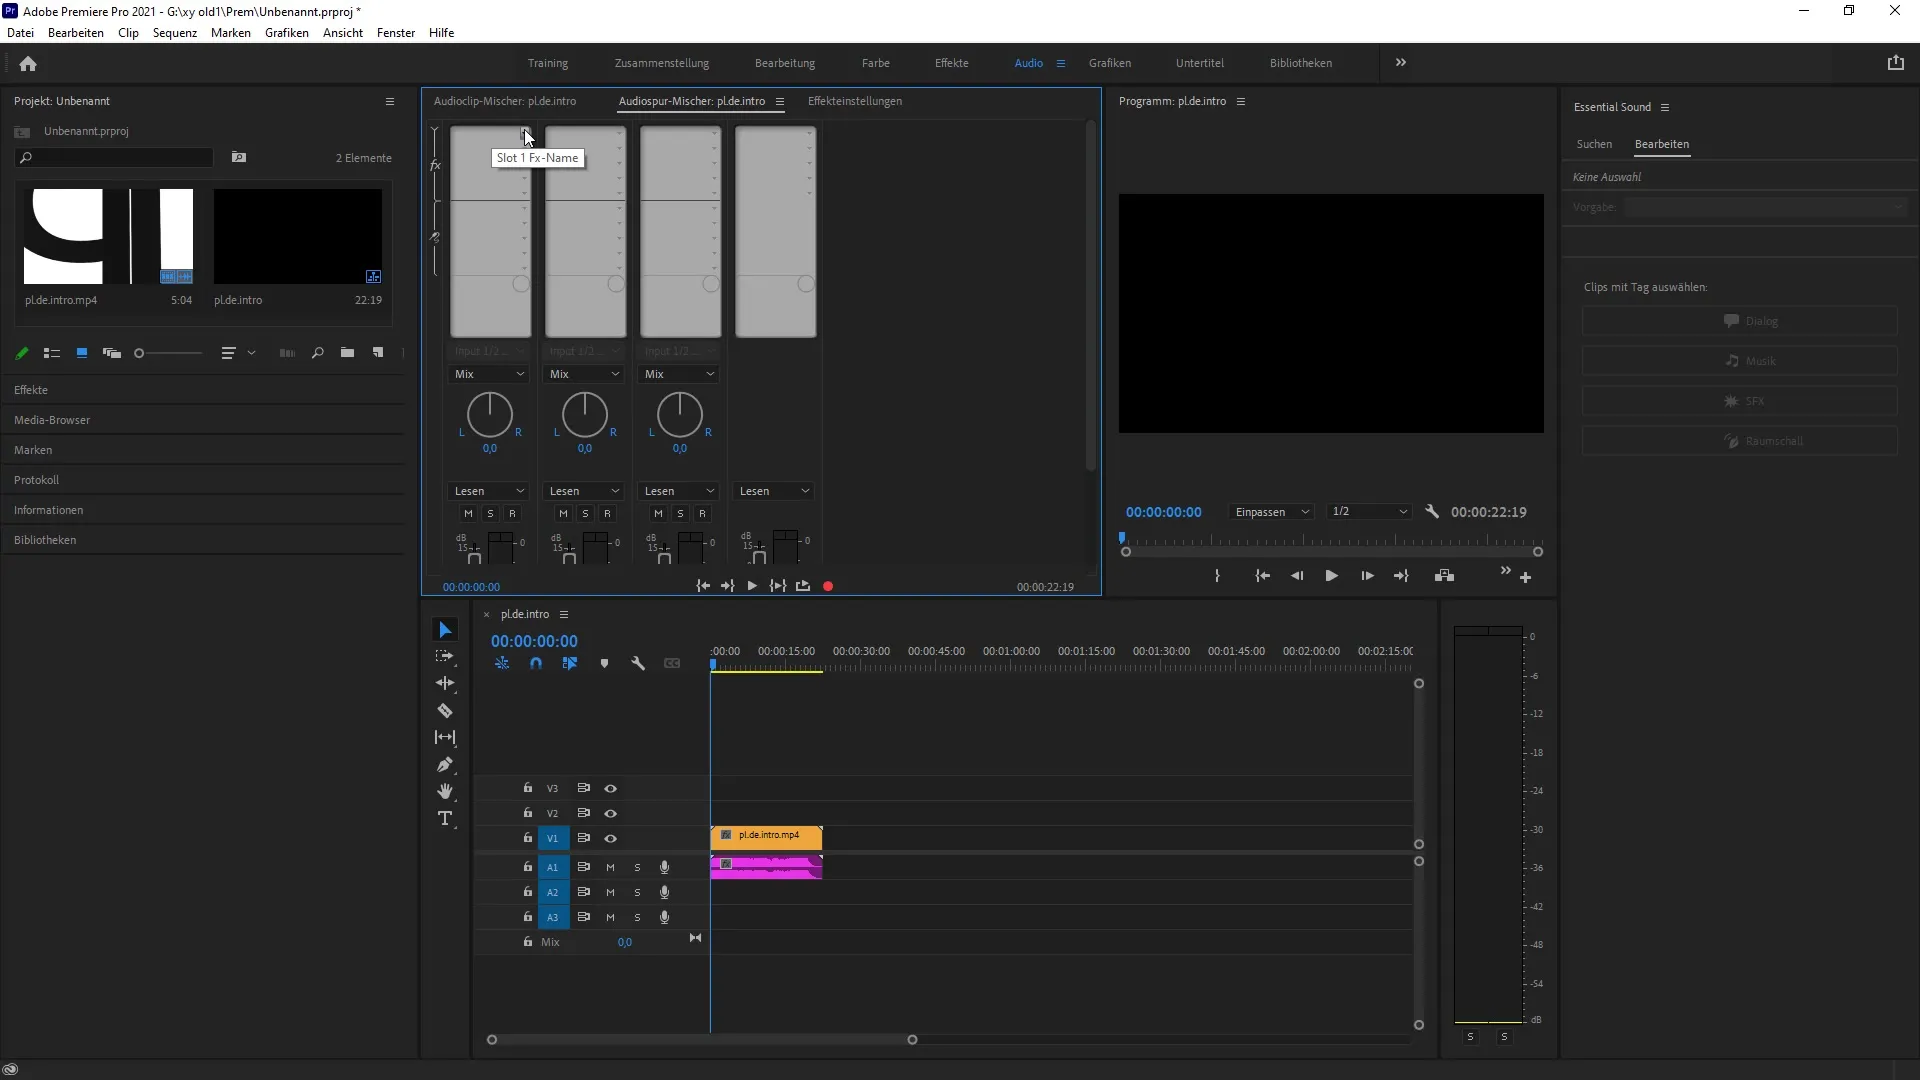
Navigate to the audio mixer and look for the rack that gives you control over the volume. Here you will see several racks as dropdown buttons. Select the first rack and click on “Special” to choose the level meter.

Step 3: FTC – Making the Level Meter Accessible
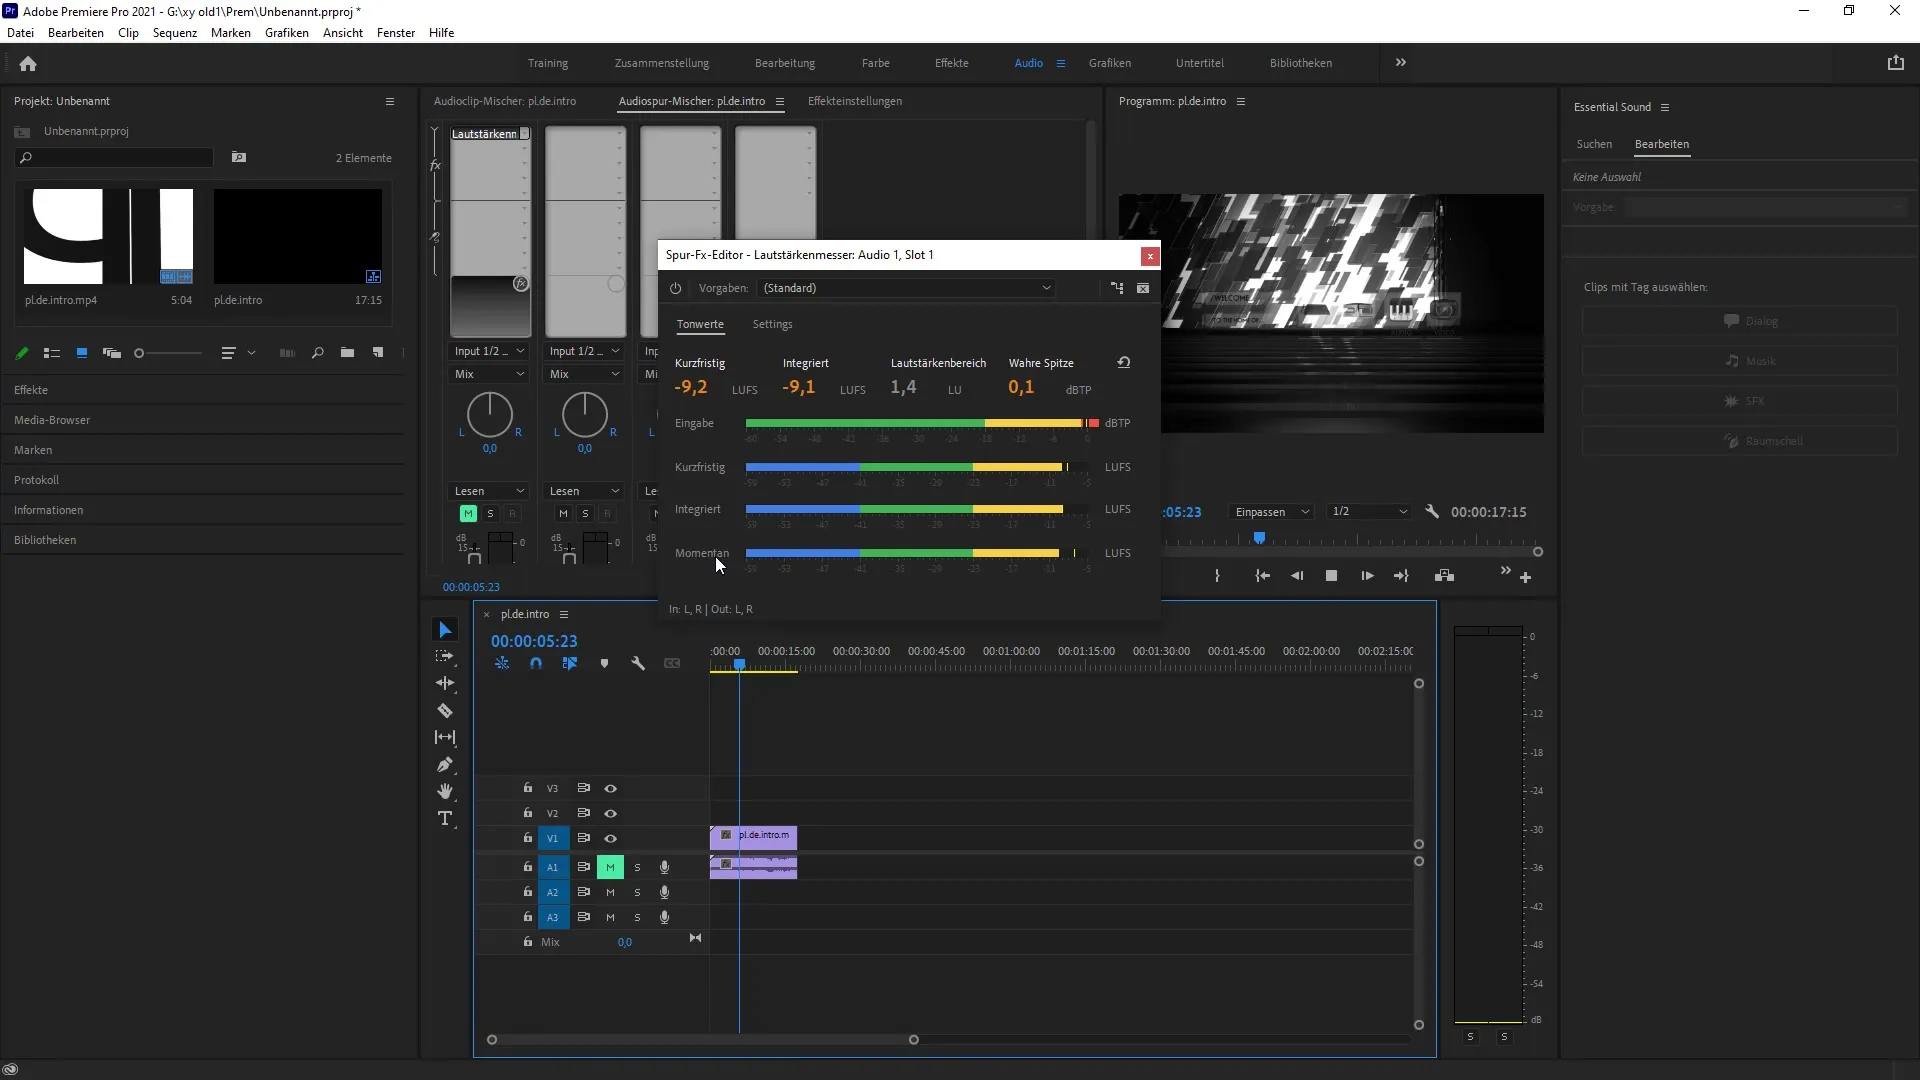
The level meter is activated by double-clicking. This opens a detailed view where you can monitor the levels of your material. Make sure the level meter is active to see the outputs in real-time.
Step 4: Level Monitoring and Analysis
Play your material while the level meter is active. It will show you the levels in real-time, allowing you to immediately see if the volume matches your desired range. Pay special attention to the current, short-term, and integrated LUFS values to ensure that you do not exceed the correct level.

Step 5: Adjusting Target Levels
Go to the settings of the level meter to set your target values. Here, you can adjust the target volume level and the maximum true peak. These adjustments help you create compliant content that meets the standards for platforms like YouTube.
Step 6: Troubleshooting and Resetting
If you notice an error while adjusting the levels or want to reset, you can click the arrow at any time to reset the settings. This is particularly useful if you have tried different settings while adjusting the levels and want to return to the original values.
Summary – New Level Meter in Premiere Pro CC 2021
The introduction of the level meter in Adobe Premiere Pro CC 2021 is a significant step for audio monitoring. This guide has provided you with the various steps to activate and use the level meter. Now you can ensure that your audio clips always have the desired volume level and are compliant.
Frequently Asked Questions
How do I activate the level meter in Premiere Pro?To activate the level meter, go to “Audio”, select the corresponding rack, and activate it through the special option.
Can I make my own settings for the level meter?Yes, you can adjust target levels, maximum true peaks, and other parameters in the level meter.
What should I do if I made an incorrect setting?Just click the arrow to reset your settings.


