Adobe Premiere Pro CC 2021 brings some exciting updates that make editing and stabilizing videos even more efficient. In particular, the improved warp stabilization is an outstanding feature that significantly eases your work on shaky footage. In this guide, you'll learn where to find the feature, what adjustments have been made, and how to benefit most from these innovations. Let's dive right into the topic!
Key insights
- The warp stabilization is now more accessible.
- The analysis process of shaky footage has become faster.
- The stabilization process itself remains high quality.
- The effects panel offers extended adjustment options.
Step-by-step guide
To utilize the improved warp stabilization in Adobe Premiere Pro CC 2021, follow this detailed guide:
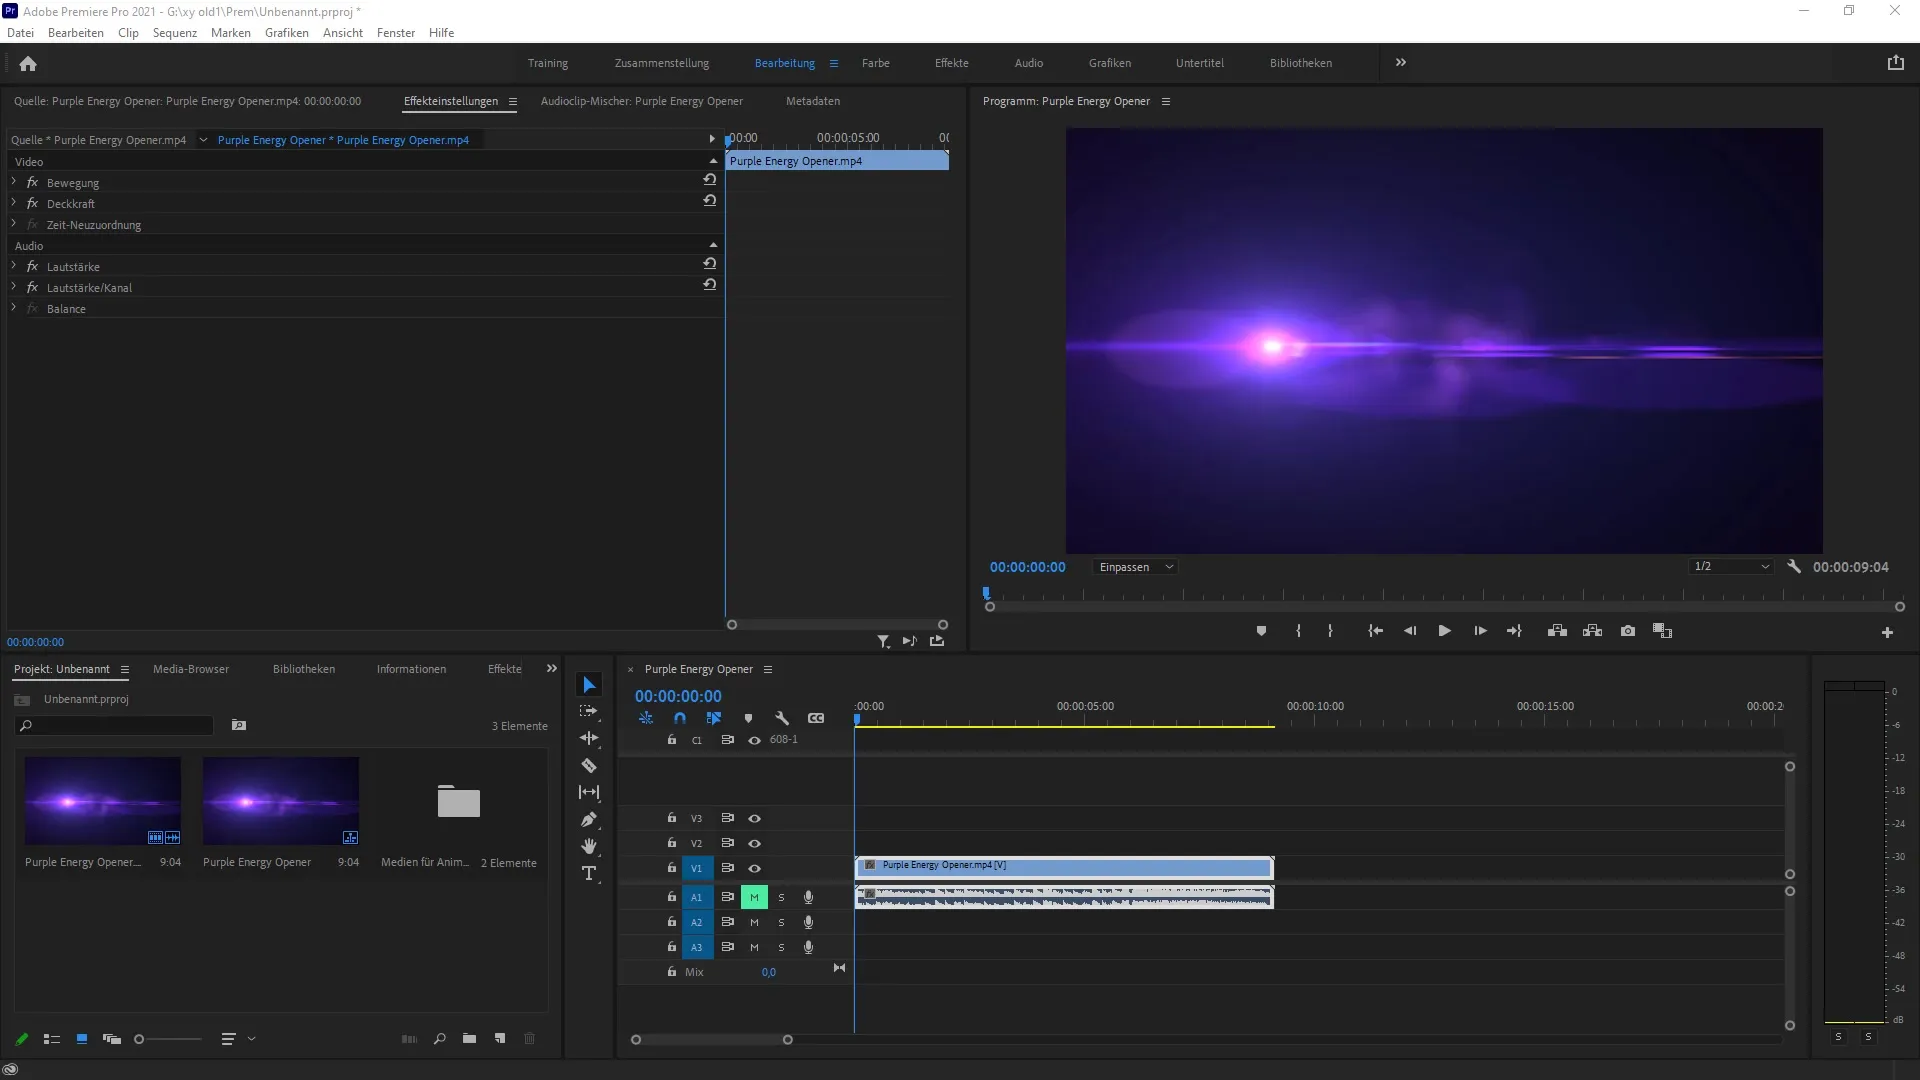
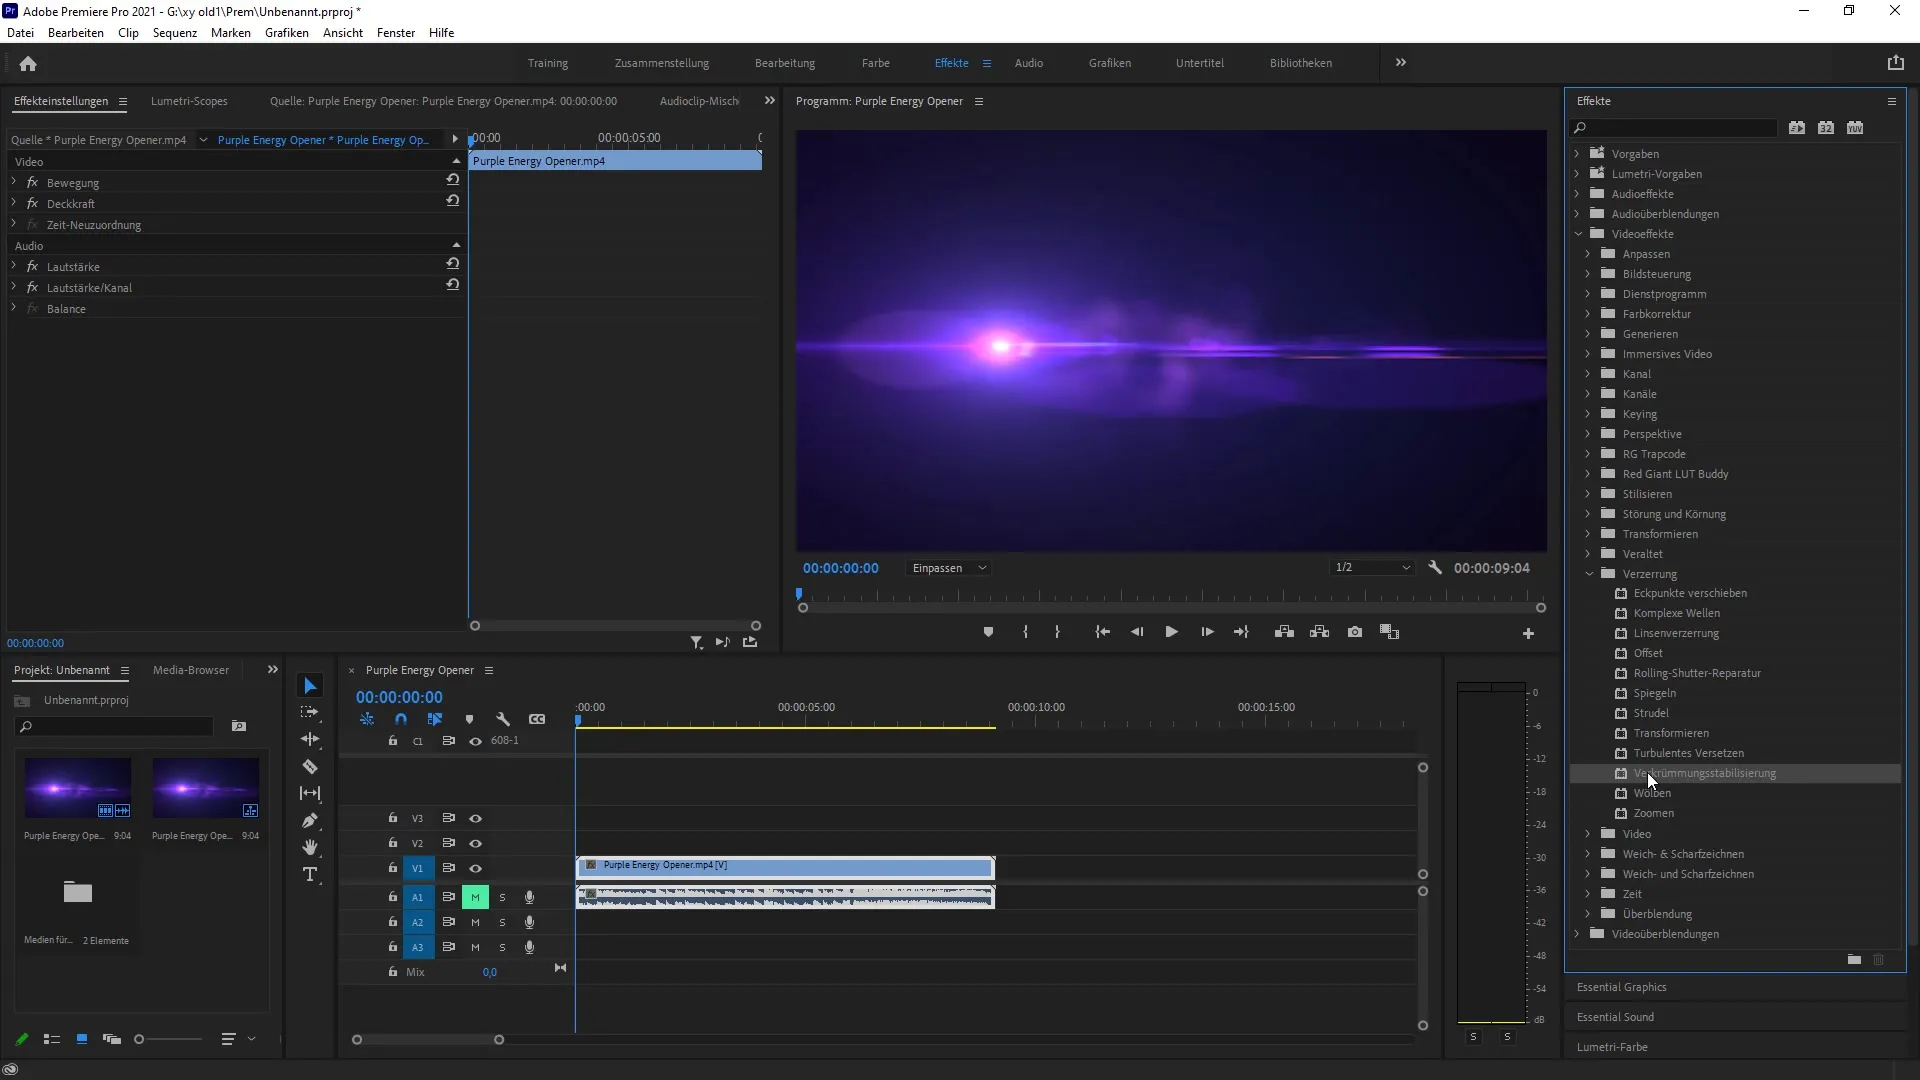
First, open Adobe Premiere Pro CC 2021. When the program loads, you will see several options and a menu on the central user interface. To find the warp stabilization, navigate directly to your project and go to the effects panel. You can do this by clicking on “Window” and then “Effects.” Once the effects panel appears, you are ready for the next step.

The next thing you need to do is find the specific category for video effects. Within the effects panel, look for the "Video Effects" section. Here you will discover various effects that you can apply to your material. Scroll down until you find the option “Distortions” and click on it. In this section lies the warp stabilization that we need.
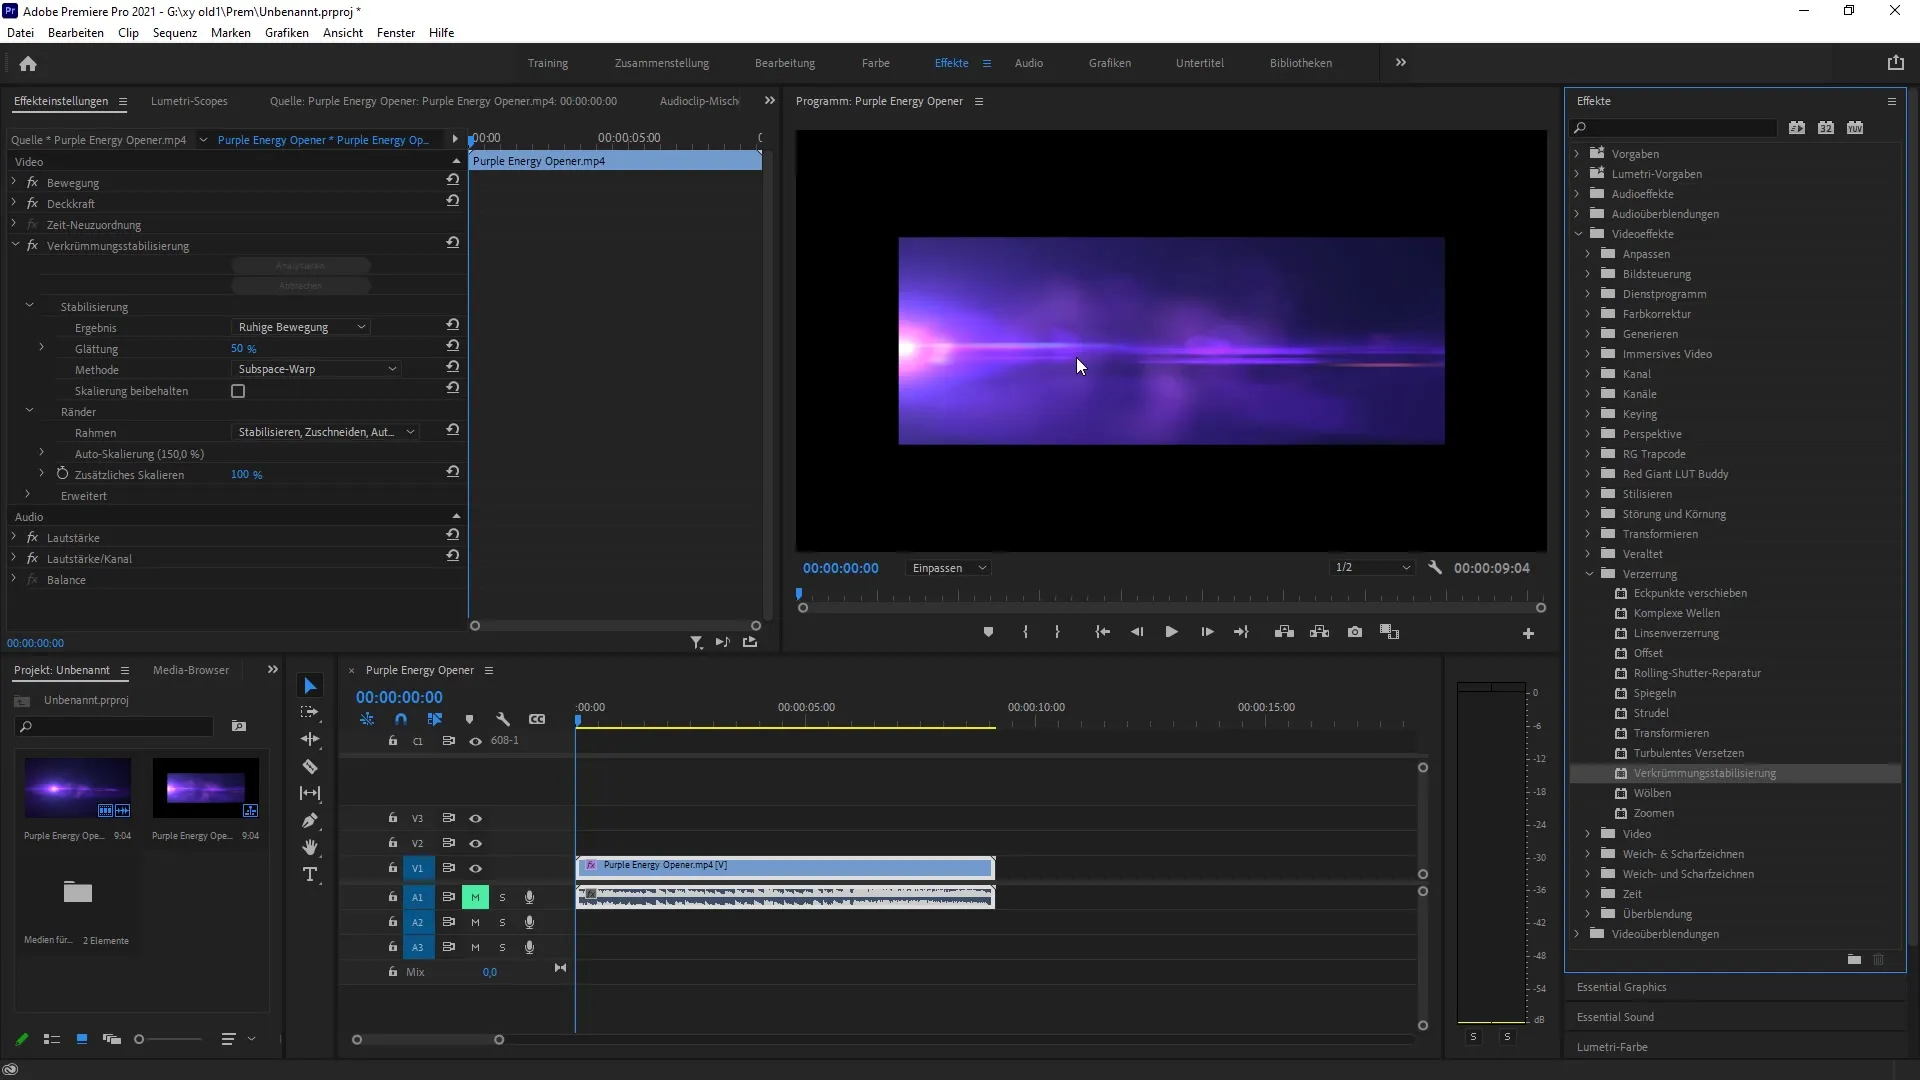
Once you have found the warp stabilization, drag the effect onto the video that you want to stabilize. This will open the settings window where you can start the analysis. During the first application, you should ensure that your clip's timing is correct and that the scenes are well chosen, as the stabilization is performed in real time.

The analysis time has significantly shortened thanks to the new version. You will find that the program no longer takes as long as it used to in earlier versions. This allows you to reach your results faster. Even though the analysis process is quick, the quality of the stabilizations remains exceptionally high, so your video still looks professional.
In addition, you have the option to make further adjustments in the effects panel after the analysis. Experiment with the settings to achieve the best result for your project. This flexibility allows you to tailor the stabilization effect precisely to your specific needs and make any further adjustments necessary to give your clips the final polish.

Don't forget to save your stabilized clips at the end and see the result! You will be impressed by how much more professional your material looks with the new warp stabilization. I hope you have utilized these tips and tricks for warp stabilization in Adobe Premiere Pro CC 2021 and can successfully implement them in your projects.
Summary – Warp stabilization in Premiere Pro CC 2021
In this guide, you learned how to find and use the improved warp stabilization in Adobe Premiere Pro CC 2021. The new features offer you the opportunity to stabilize shaky footage quickly and effectively, taking your video projects to a new level.
Frequently Asked Questions
What is warp stabilization in Premiere Pro?Warp stabilization is an effect that stabilizes shaky videos to improve image quality.
How do I find warp stabilization?It's located in the effects panel under "Video Effects" and then "Distort."
Has the analysis time changed with the update?Yes, the analysis time has become significantly faster compared to earlier versions.
Can I make additional settings for the stabilization effect?Yes, the effects panel offers extended settings that you can adjust.
Does the quality of stabilization remain high?Yes, the quality of stabilization remains high-quality despite the increased speed.


