Photo editing is not just a matter of taste, but also of technique. With Analog Efex Pro 2 from the Nik Collection, you get tools to elevate your images to a new level. In this guide, we focus on the basic adjustments and the effective use of control points. This allows you to specifically edit areas of your image, leading to impressive results.
Key Insights
- Basic adjustments such as detail extraction, brightness, contrast, and saturation play a crucial role in photo editing.
- Control points allow you to apply effects precisely to selected areas of the image, making editing even more flexible.
Step-by-step Guide
Step 1: User Interface and Tool Selection
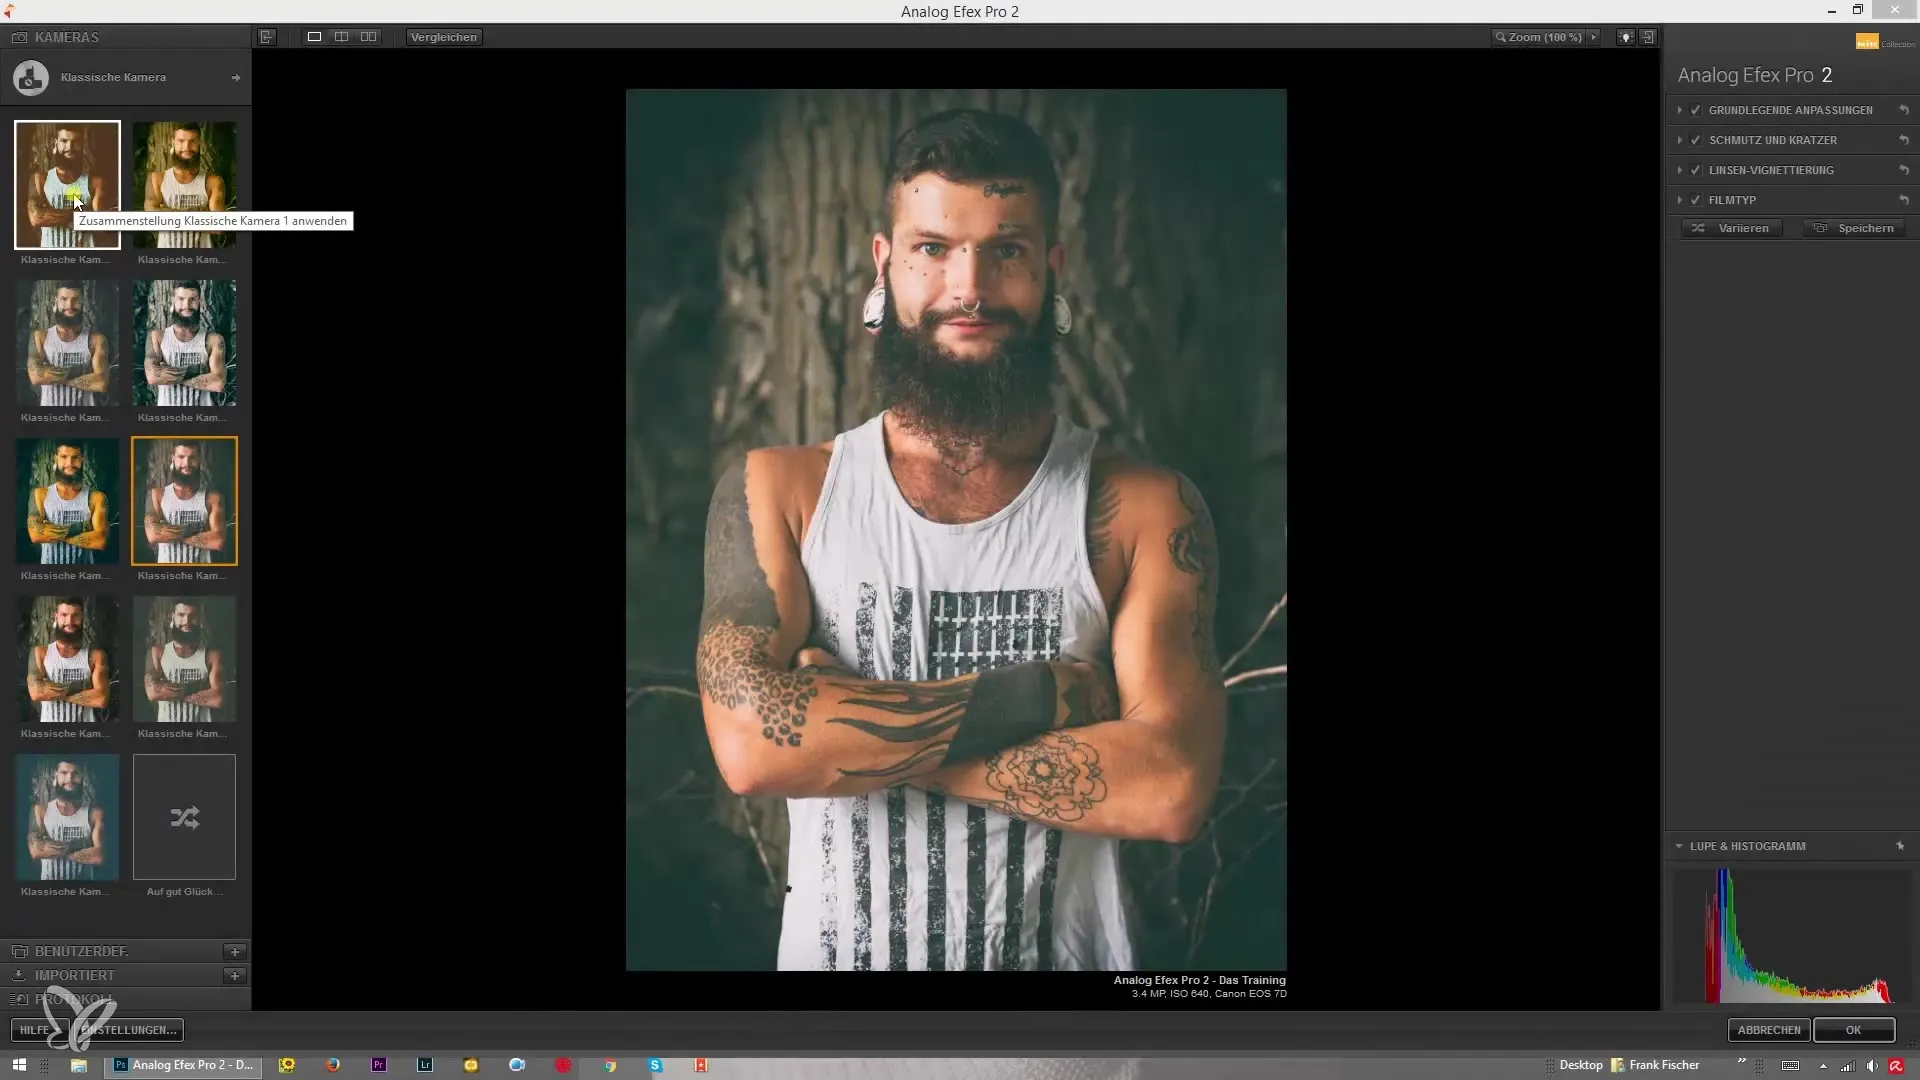
Once you have opened Analog Efex Pro 2, you will see the classic camera view. Click on the options to explore the various settings available. Here, you can access the classic camera layouts and combine different tools at your disposal.
Step 2: Make Basic Adjustments
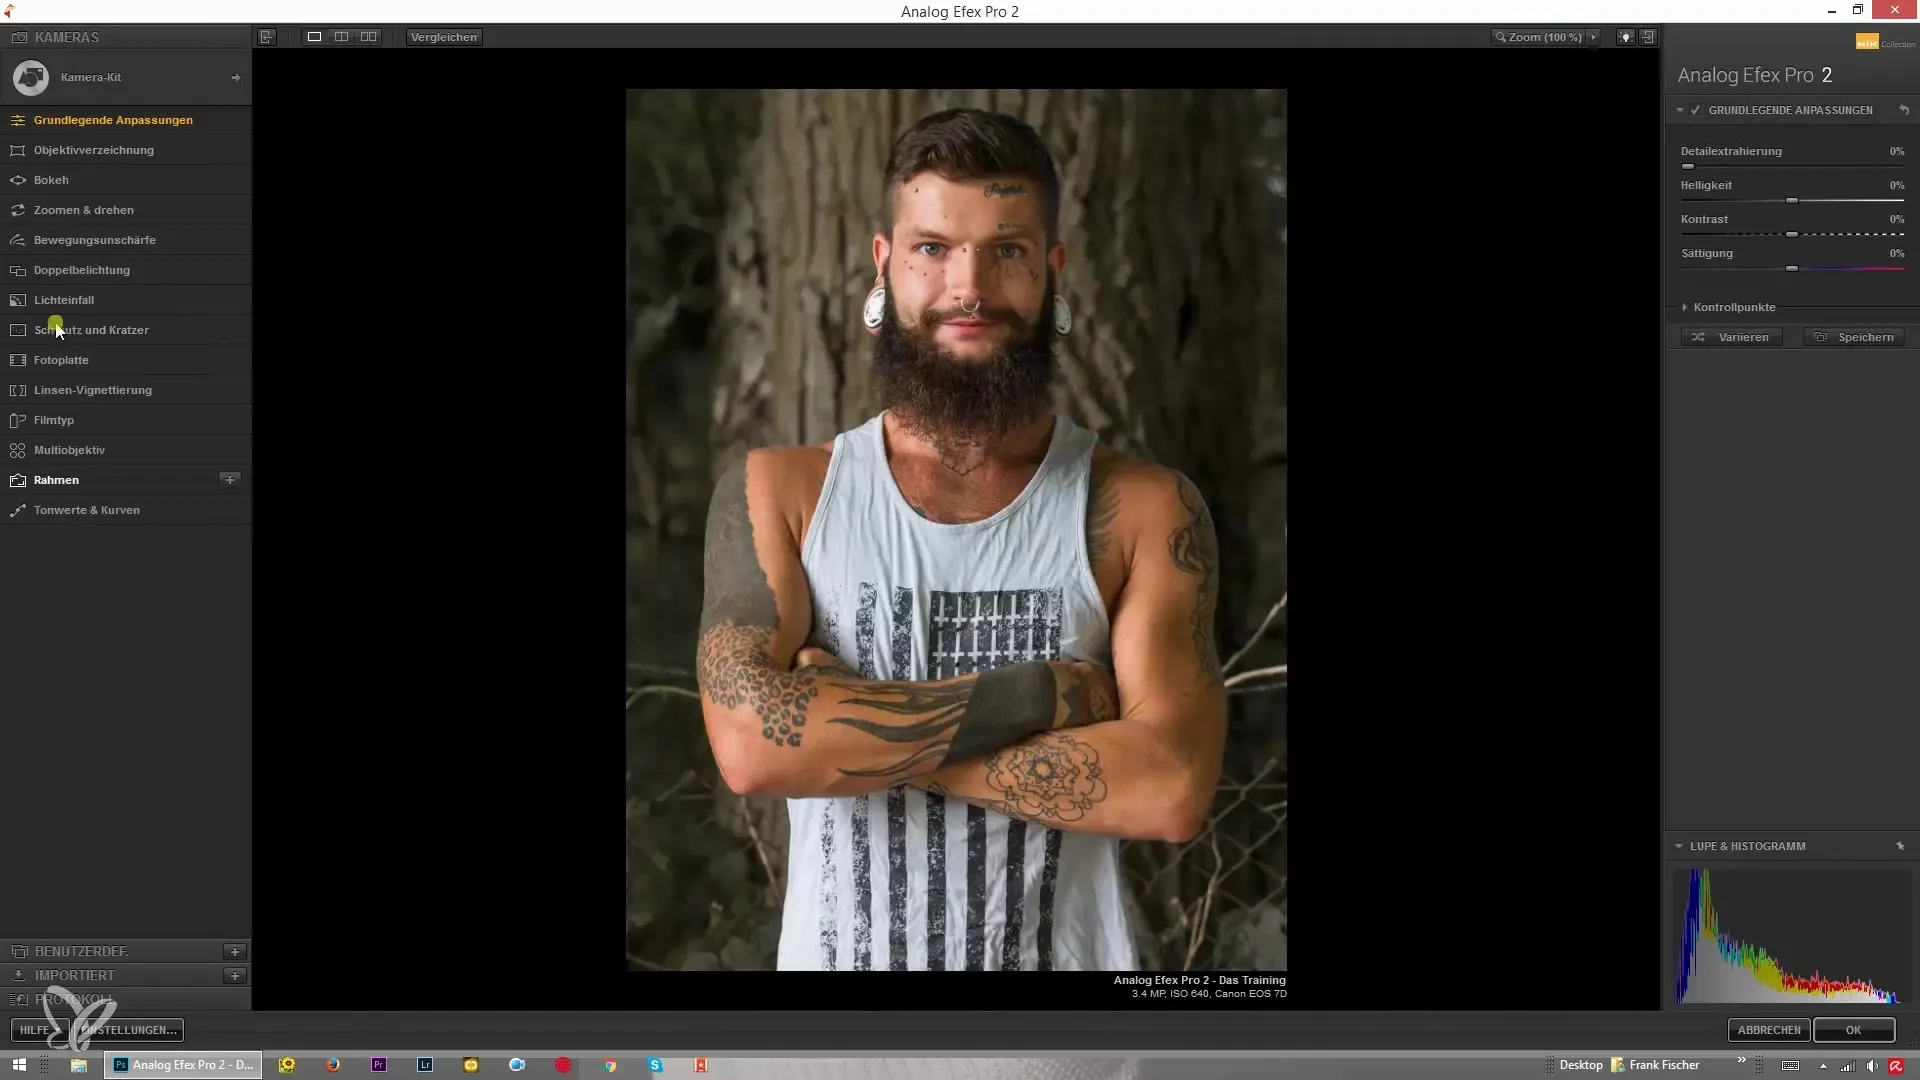
Navigate to the basic adjustments in the software. Here you can view the original image and make initial changes. Focus on detail extraction by sliding the corresponding slider to the right. This will brighten the image, making details such as skin texture and hair color stand out more clearly.
Step 3: Further Adjustments
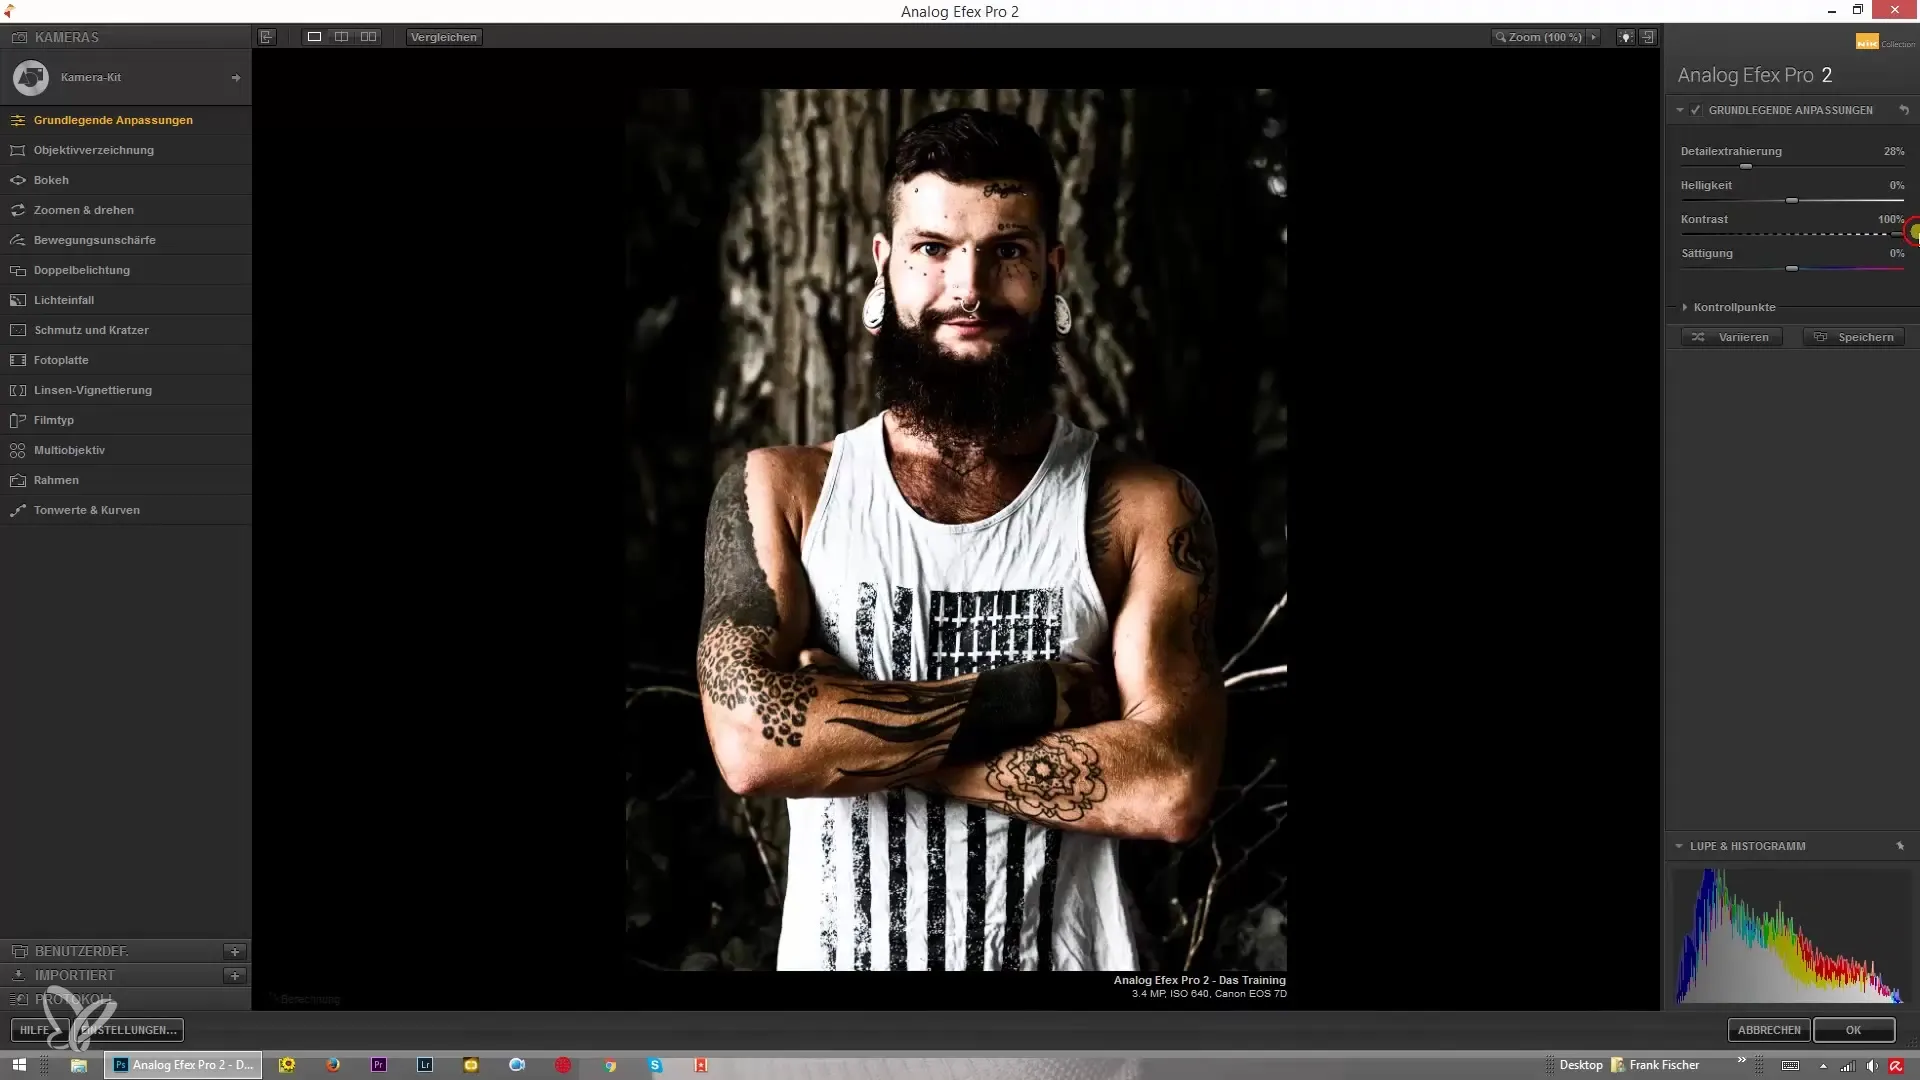
Continue by adjusting the brightness. This function is self-explanatory and will help you change the overall lighting mood of your image. Also experiment with contrast; it can be dramatically increased or decreased depending on the desired effect. Likewise, you can increase the saturation to make the colors more vibrant, or reduce it completely to create a black-and-white image.
Step 4: Special Features – Control Points
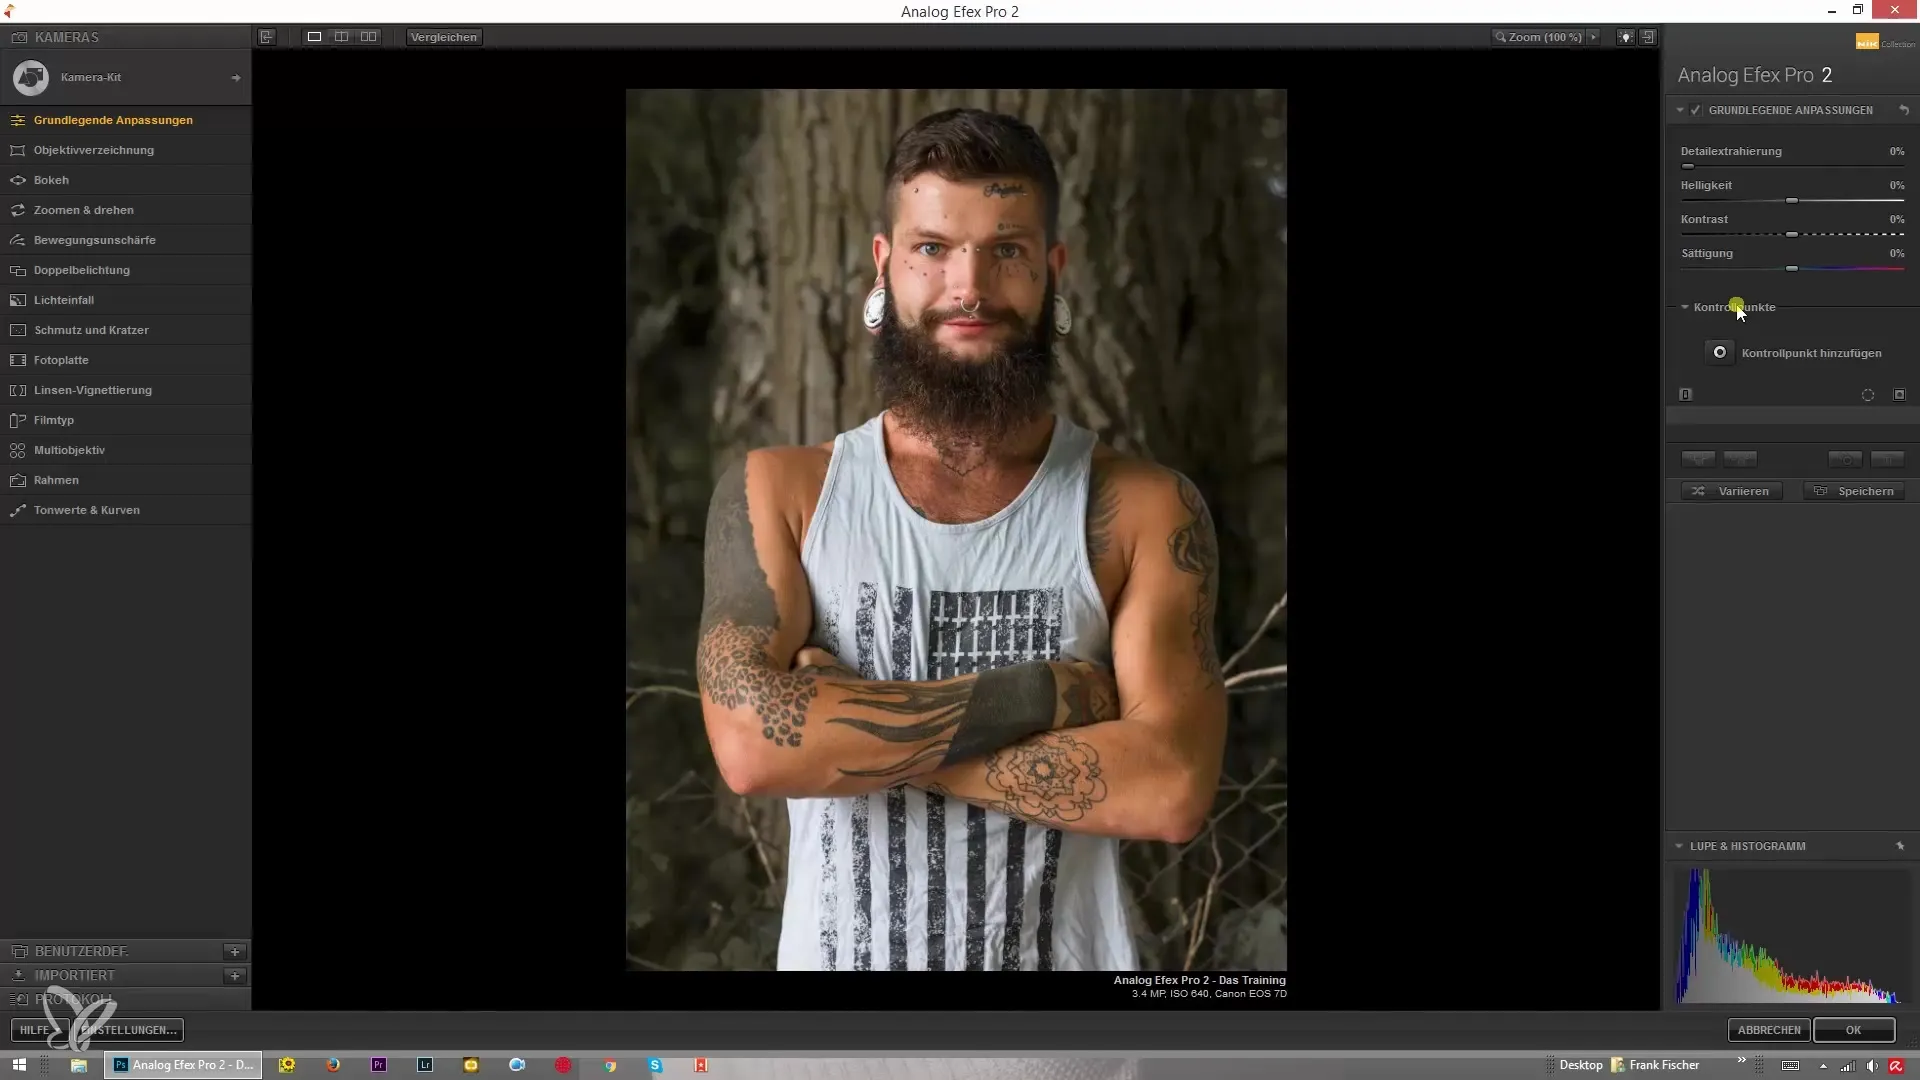
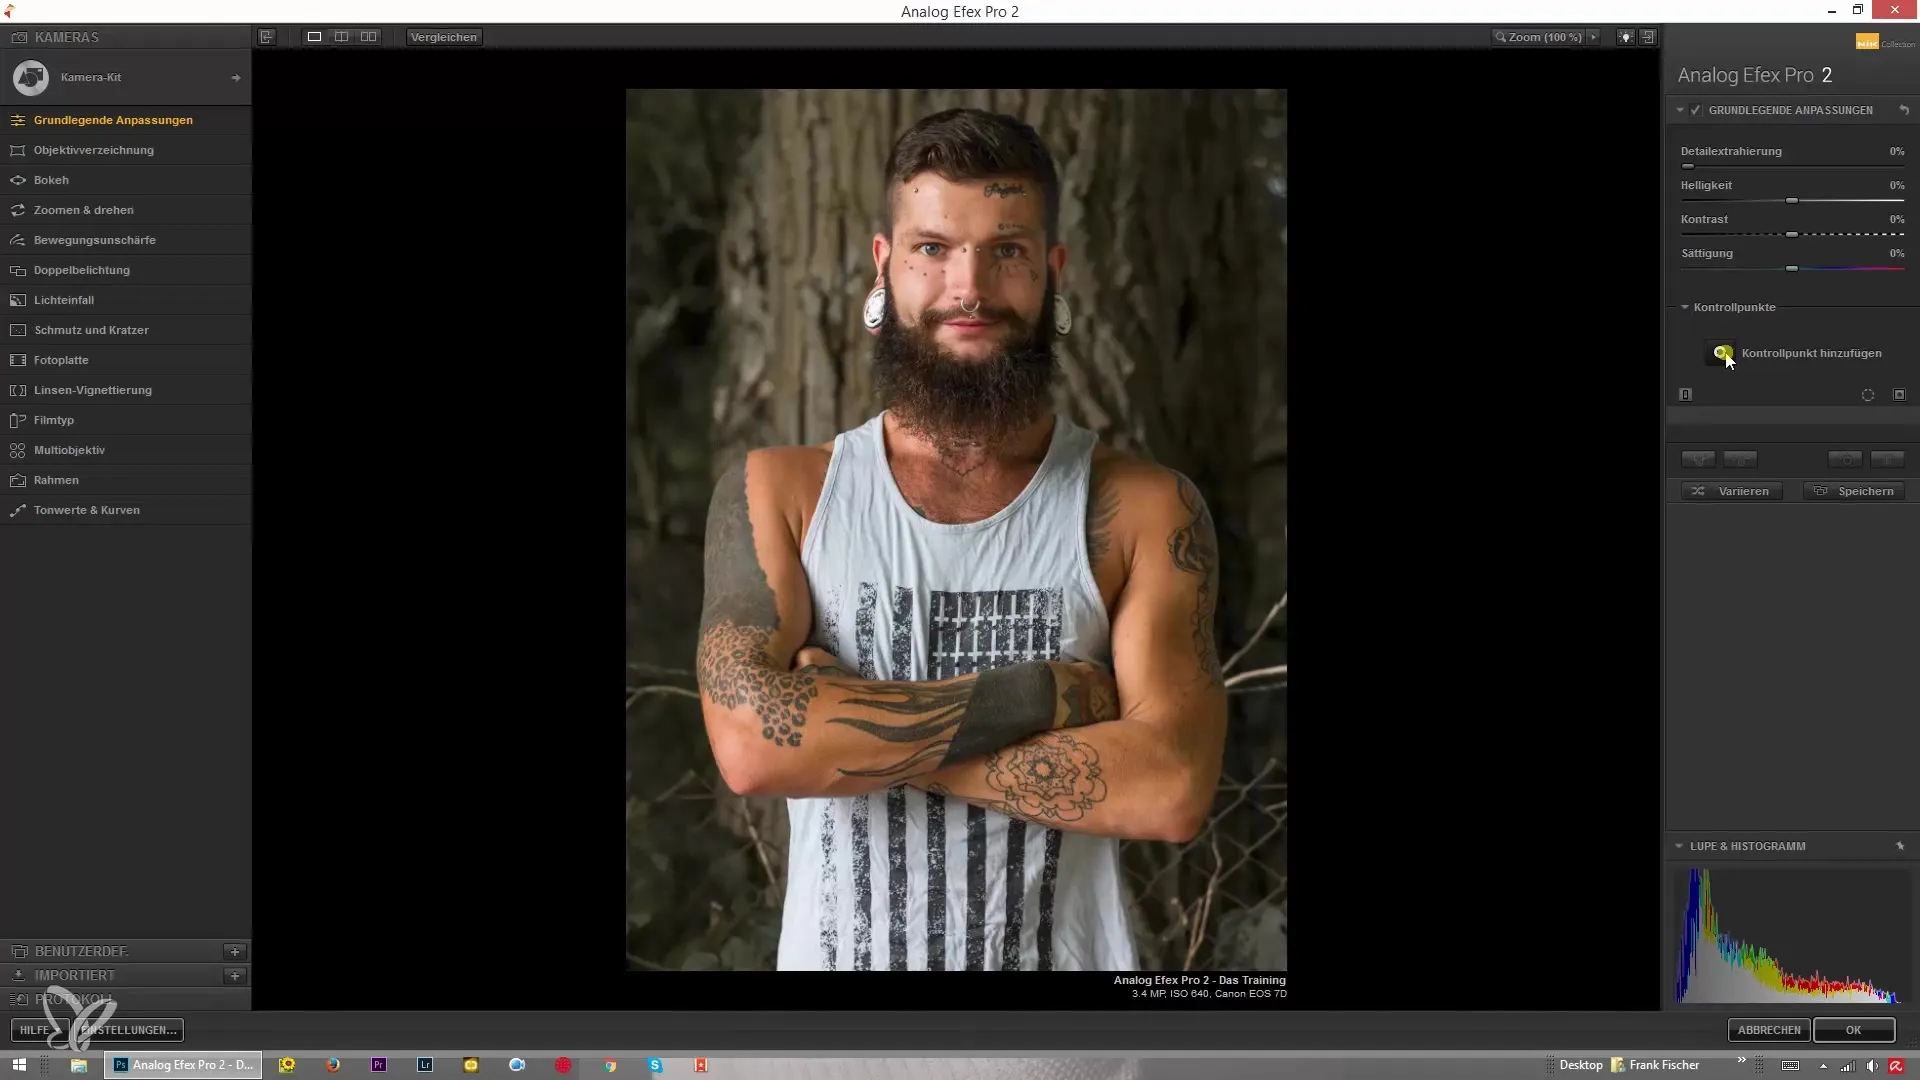
A highlight of Analog Efex Pro 2 is the control points. To use these, open the control point tool. This innovative feature allows you to apply effects such as detail extraction and brightness specifically to certain areas of the image.
Step 5: Add Control Point
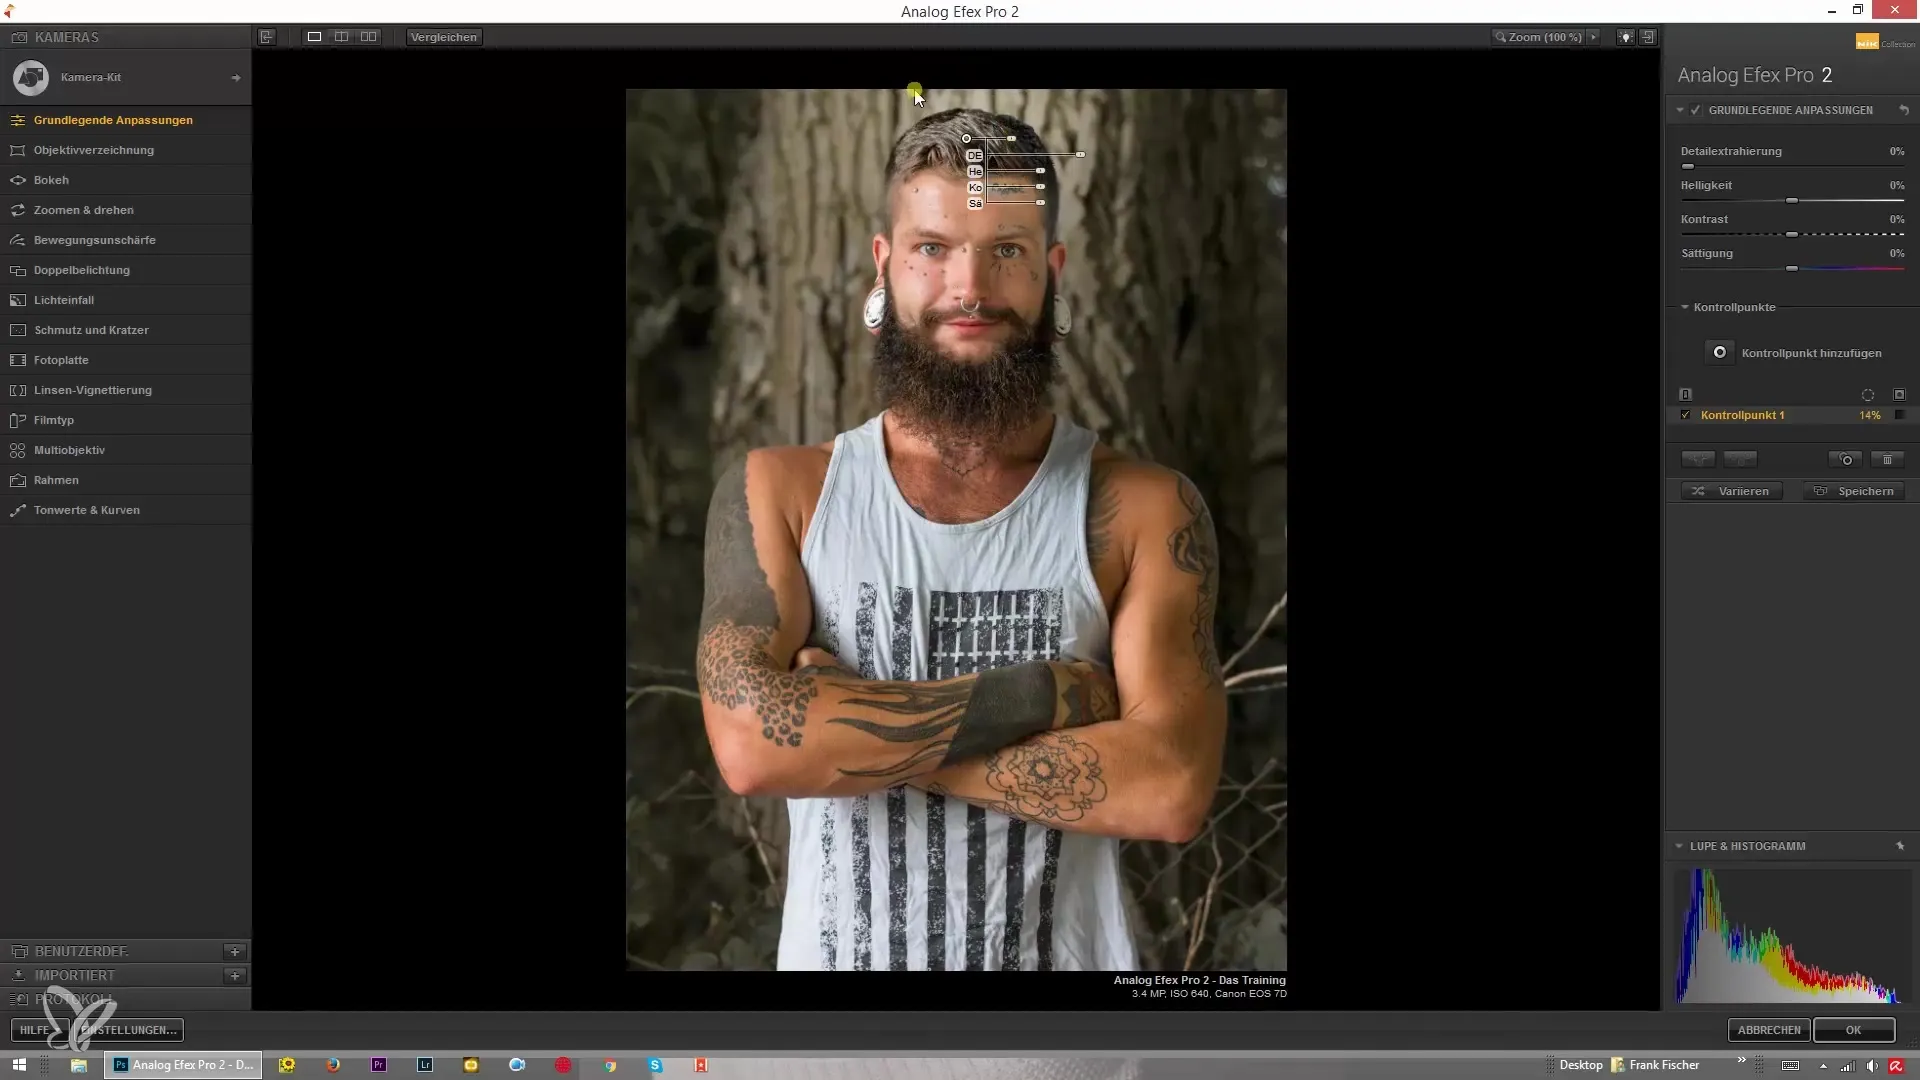
Add a control point by clicking on it. Select an area in the image, for example, the hair, and increase the detail extraction to a higher percentage. You can also temporarily overdo the effect to make the change clearly visible.
Step 6: Adjust Control Point Size
The size of the control point can be easily adjusted. Make sure that the selection does not capture only round areas. For example, you can reduce the radius to ensure that only the hair is captured without affecting the background.
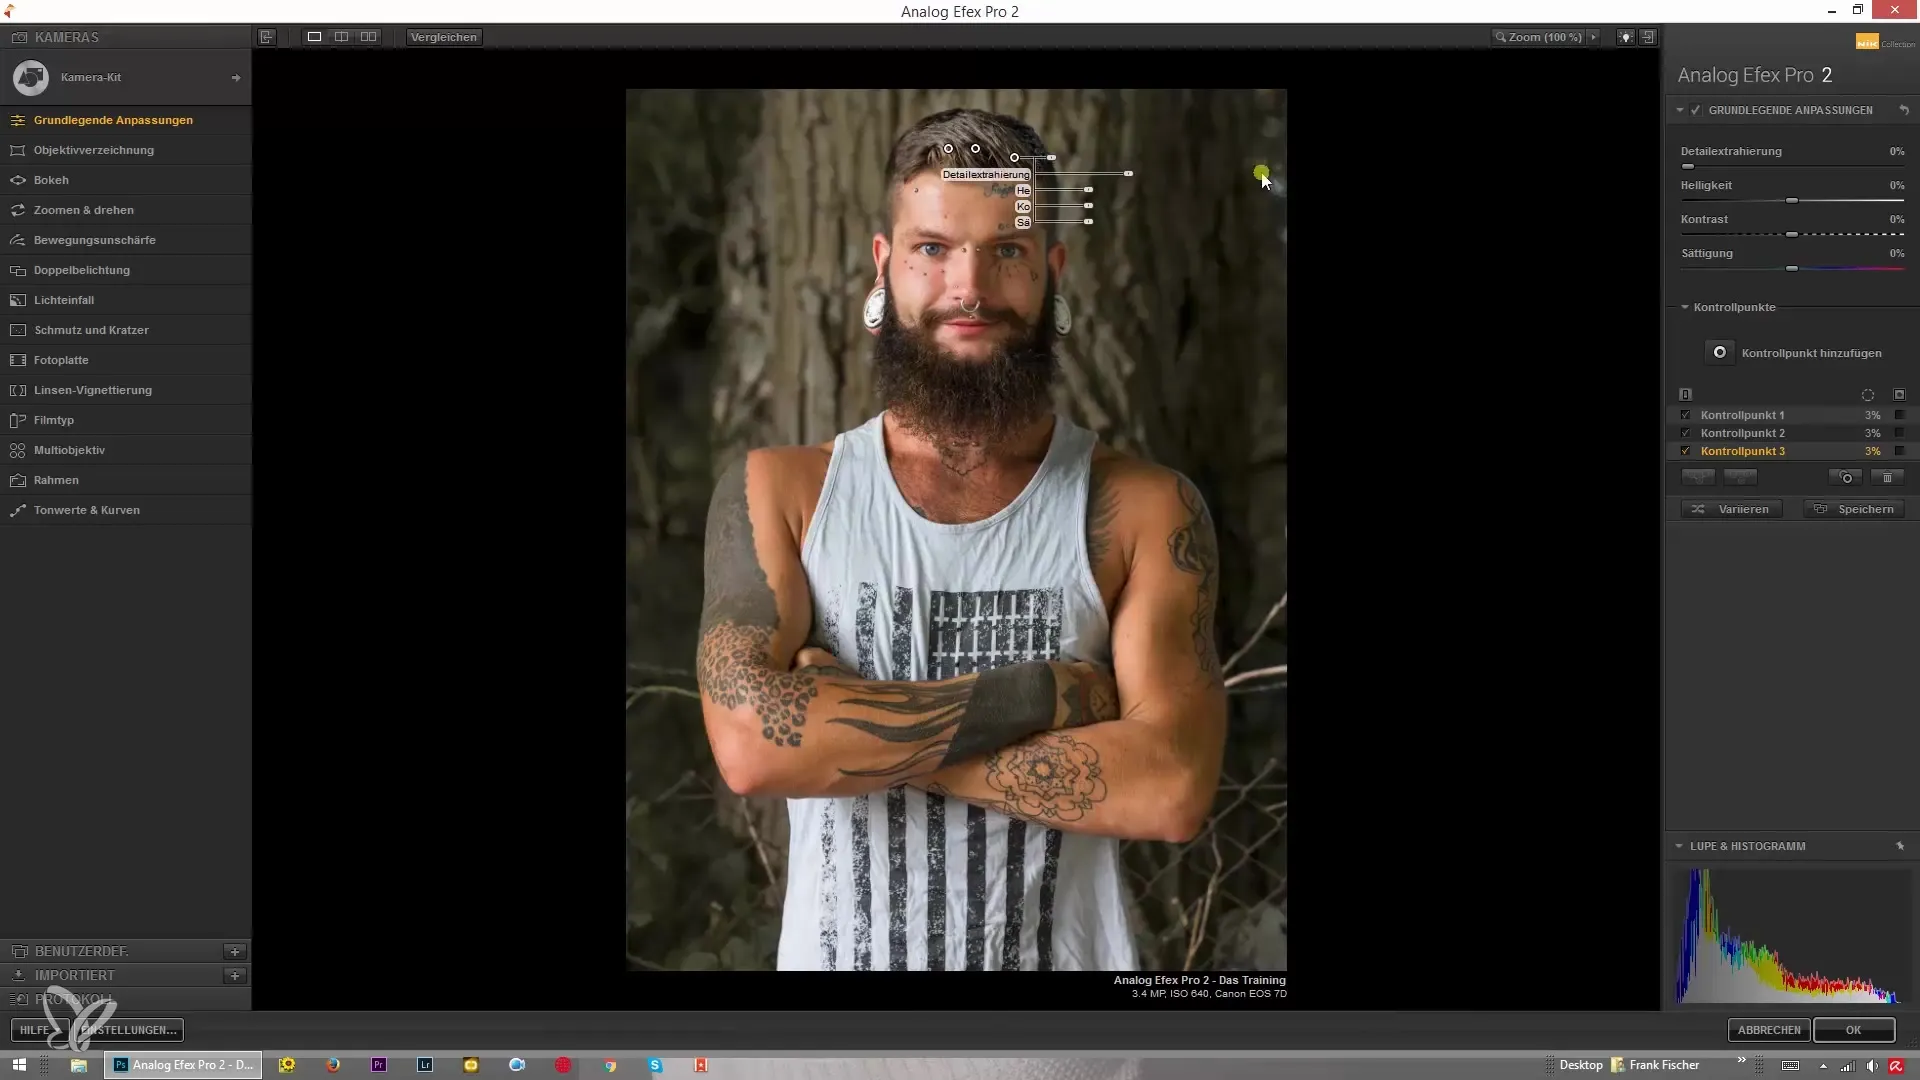
Step 7: Make Final Adjustments
You can hold down the Alt key to drag the control point and apply it to other hair areas. Repeat this process to mark all relevant hair regions. After the adjustments are made, remove the mask view to see the final result.
Summary – Analog Efex Pro 2 of the Nik Collection: A Comprehensive Guide to Adjustments
With basic adjustments such as detail extraction, brightness, contrast, and saturation, along with the use of control points, you can significantly refine your photo editing. Be creative and experiment with these tools to get the best out of your images.
Frequently Asked Questions
How do I use detail extraction?Increase the slider in the basic adjustments to enhance the detail fidelity of the image.
What are control points?Control points are selection tools that allow you to apply effects to targeted areas of the image.
How can I adjust the size of control points?Change the radius of the control point, either through the software or by moving the mouse.
Can I use multiple control points for different areas of the image?Yes, you can add multiple control points and make separate adjustments for different areas of your image.
What happens if I overdo the effect?The effect becomes more visible, which helps you better control and modify the adjustments if needed.


