If you love creative photography and want to equip your images with unique effects, Analog Efex Pro 2 is an excellent tool. In this guide, you will learn how to not only save your creations but also export and import them. This way, you can preserve your styles or integrate the works of others into your repertoire.
Key Insights
- You can individually save and manage your settings in Analog Efex Pro 2.
- Exporting allows you to use your effects on other devices or share them with others.
- Import templates from third parties to enrich your creative process.
Step-by-Step Guide
Step 1: Make Initial Creative Adjustments
Start by editing your image. Contrasts, lighting conditions, and other settings can be easily adjusted to achieve the desired look. You can combine different effects to get the most out of your image.
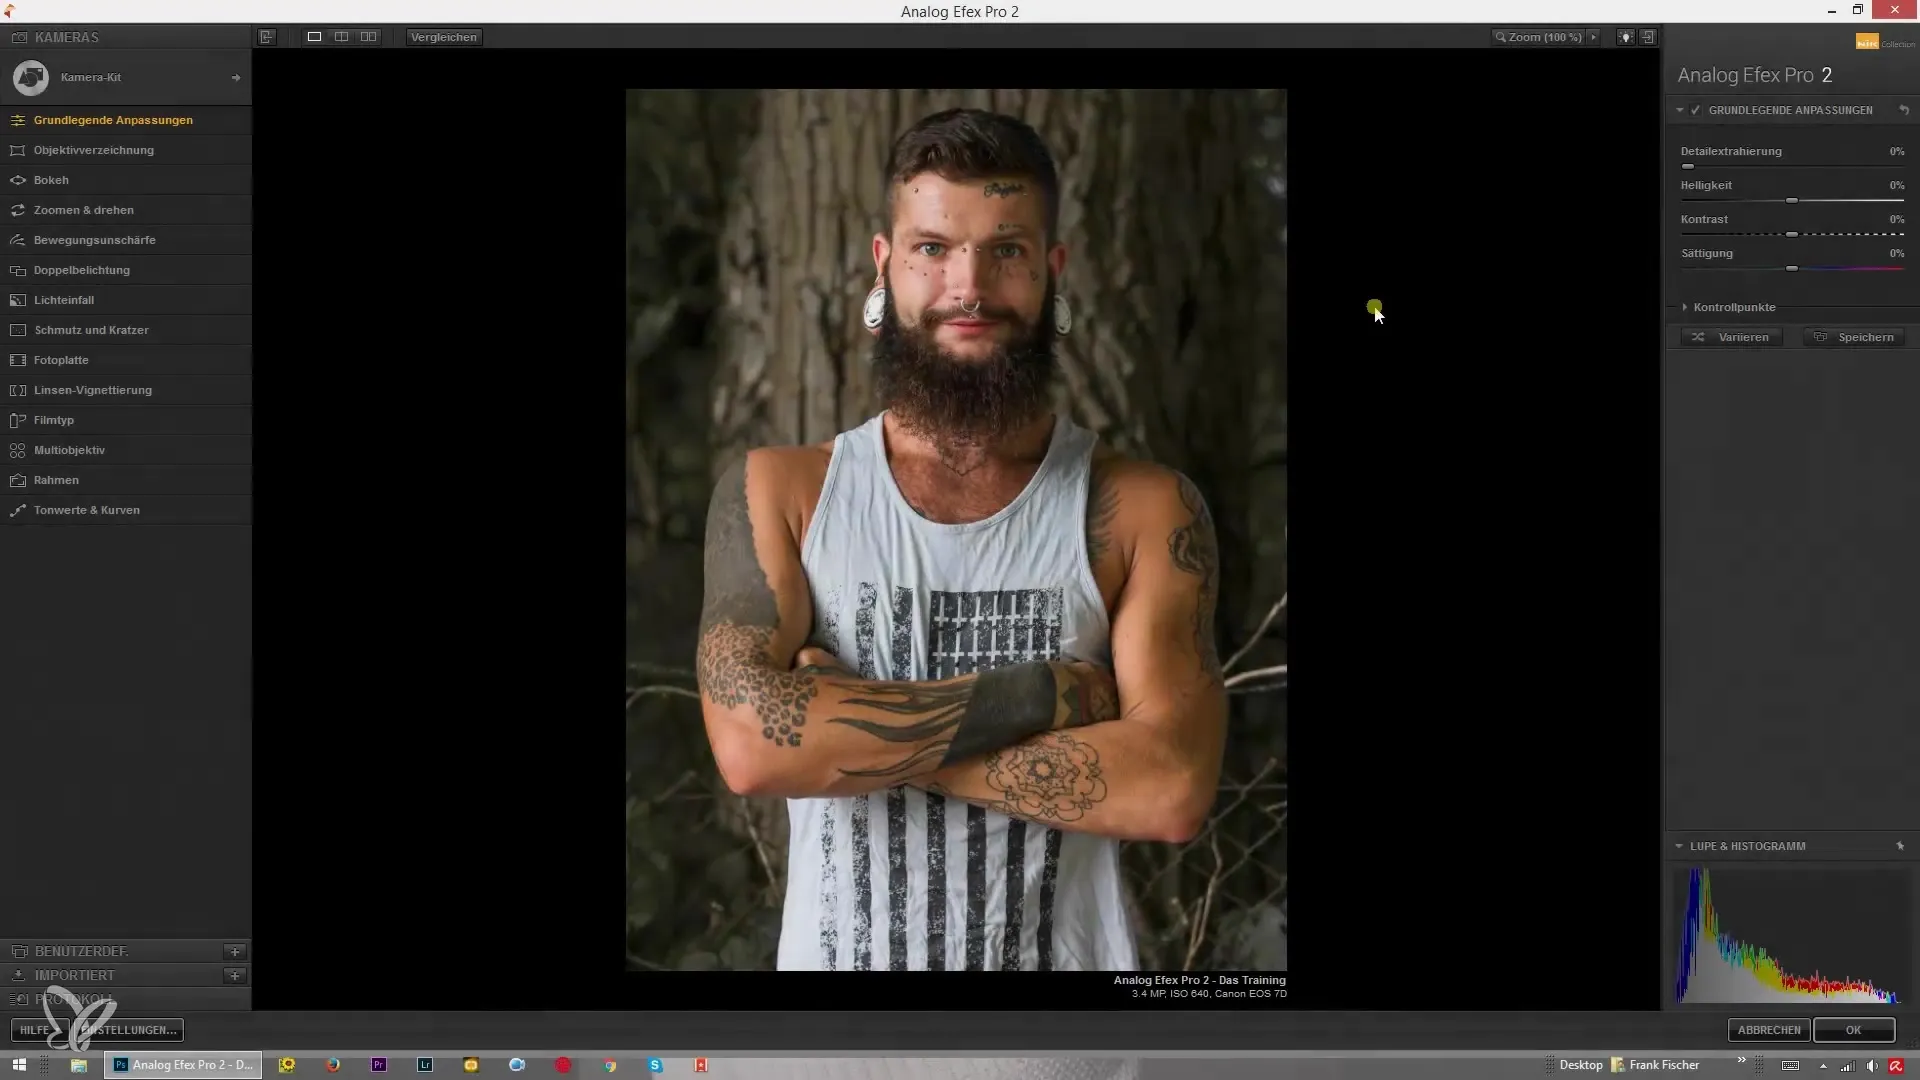
Step 2: Save Your Composition
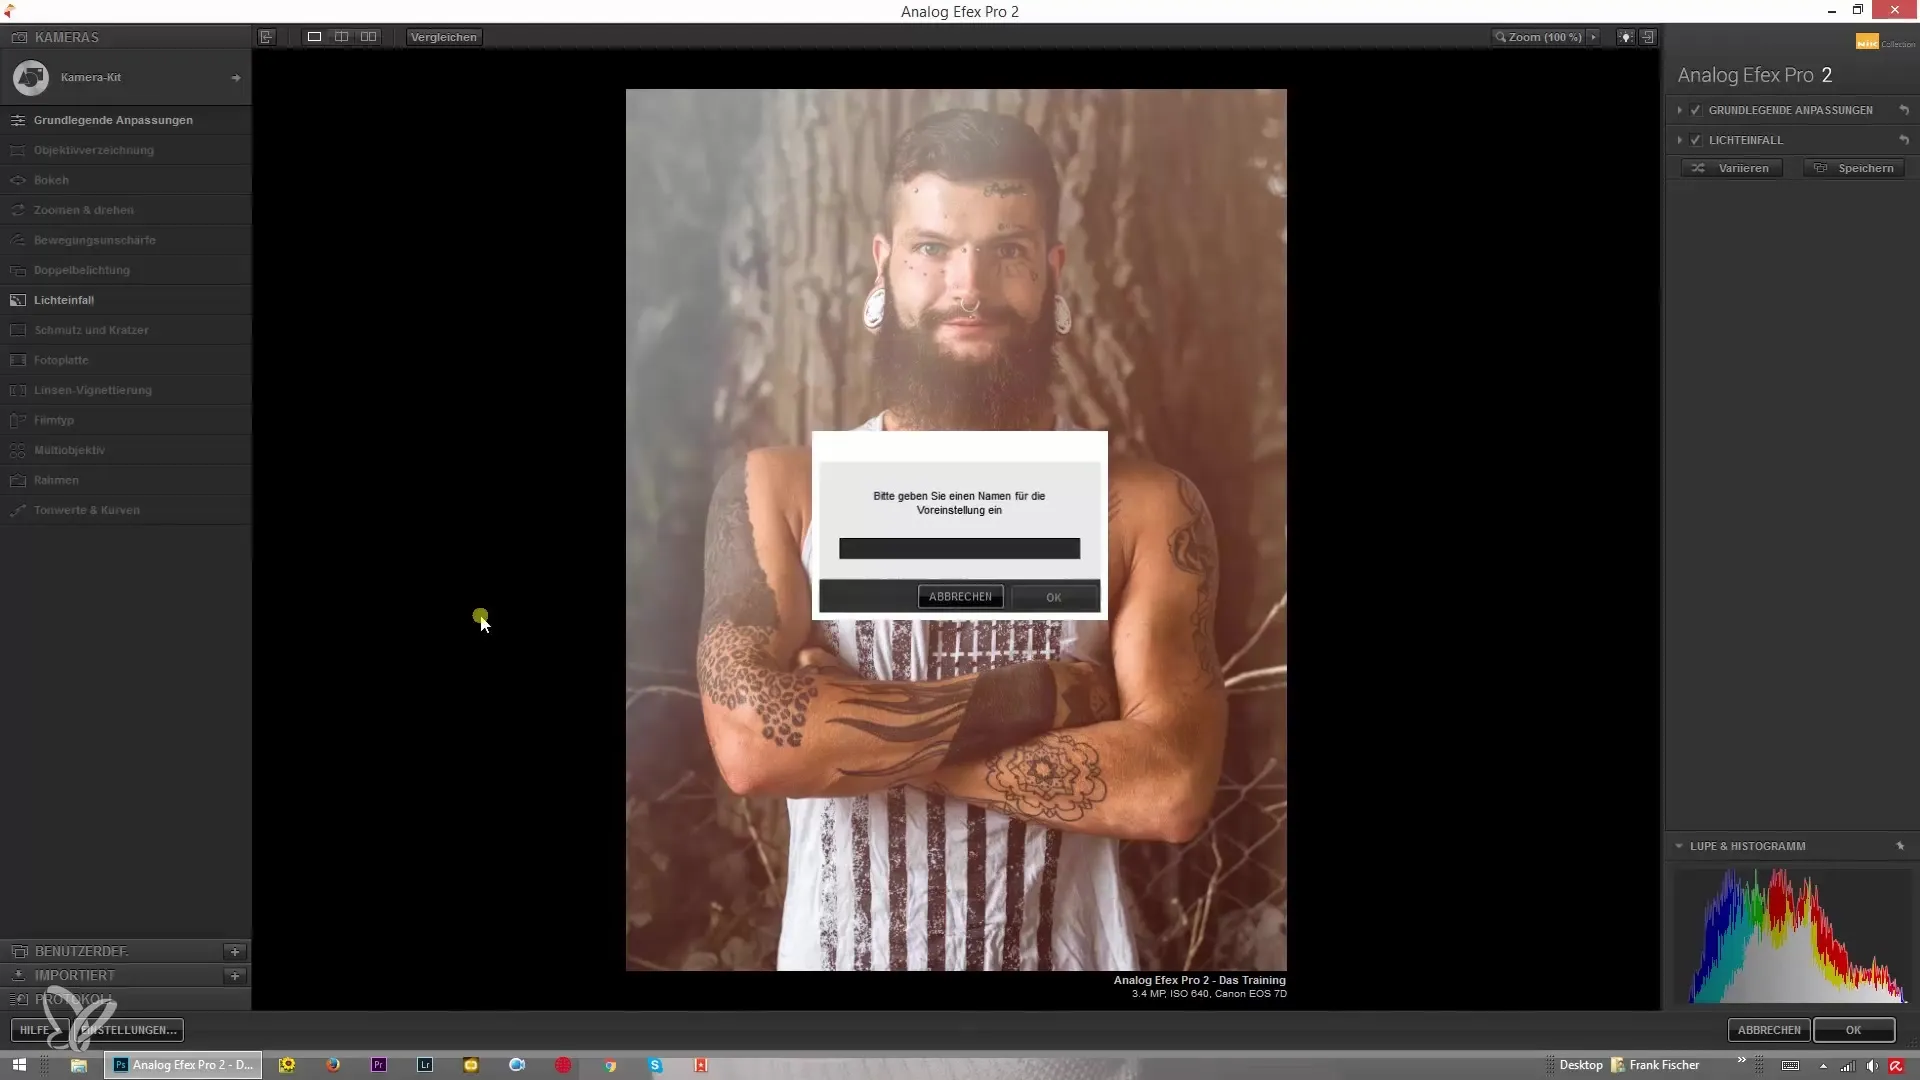
Once you are satisfied with your editing, it's time to save your individual composition. Click on the “Save” option and give your creation a meaningful name. This way, you can always return to this specific version. If you already have presets, you can use them as a foundation and build upon them.
Step 3: Custom Settings
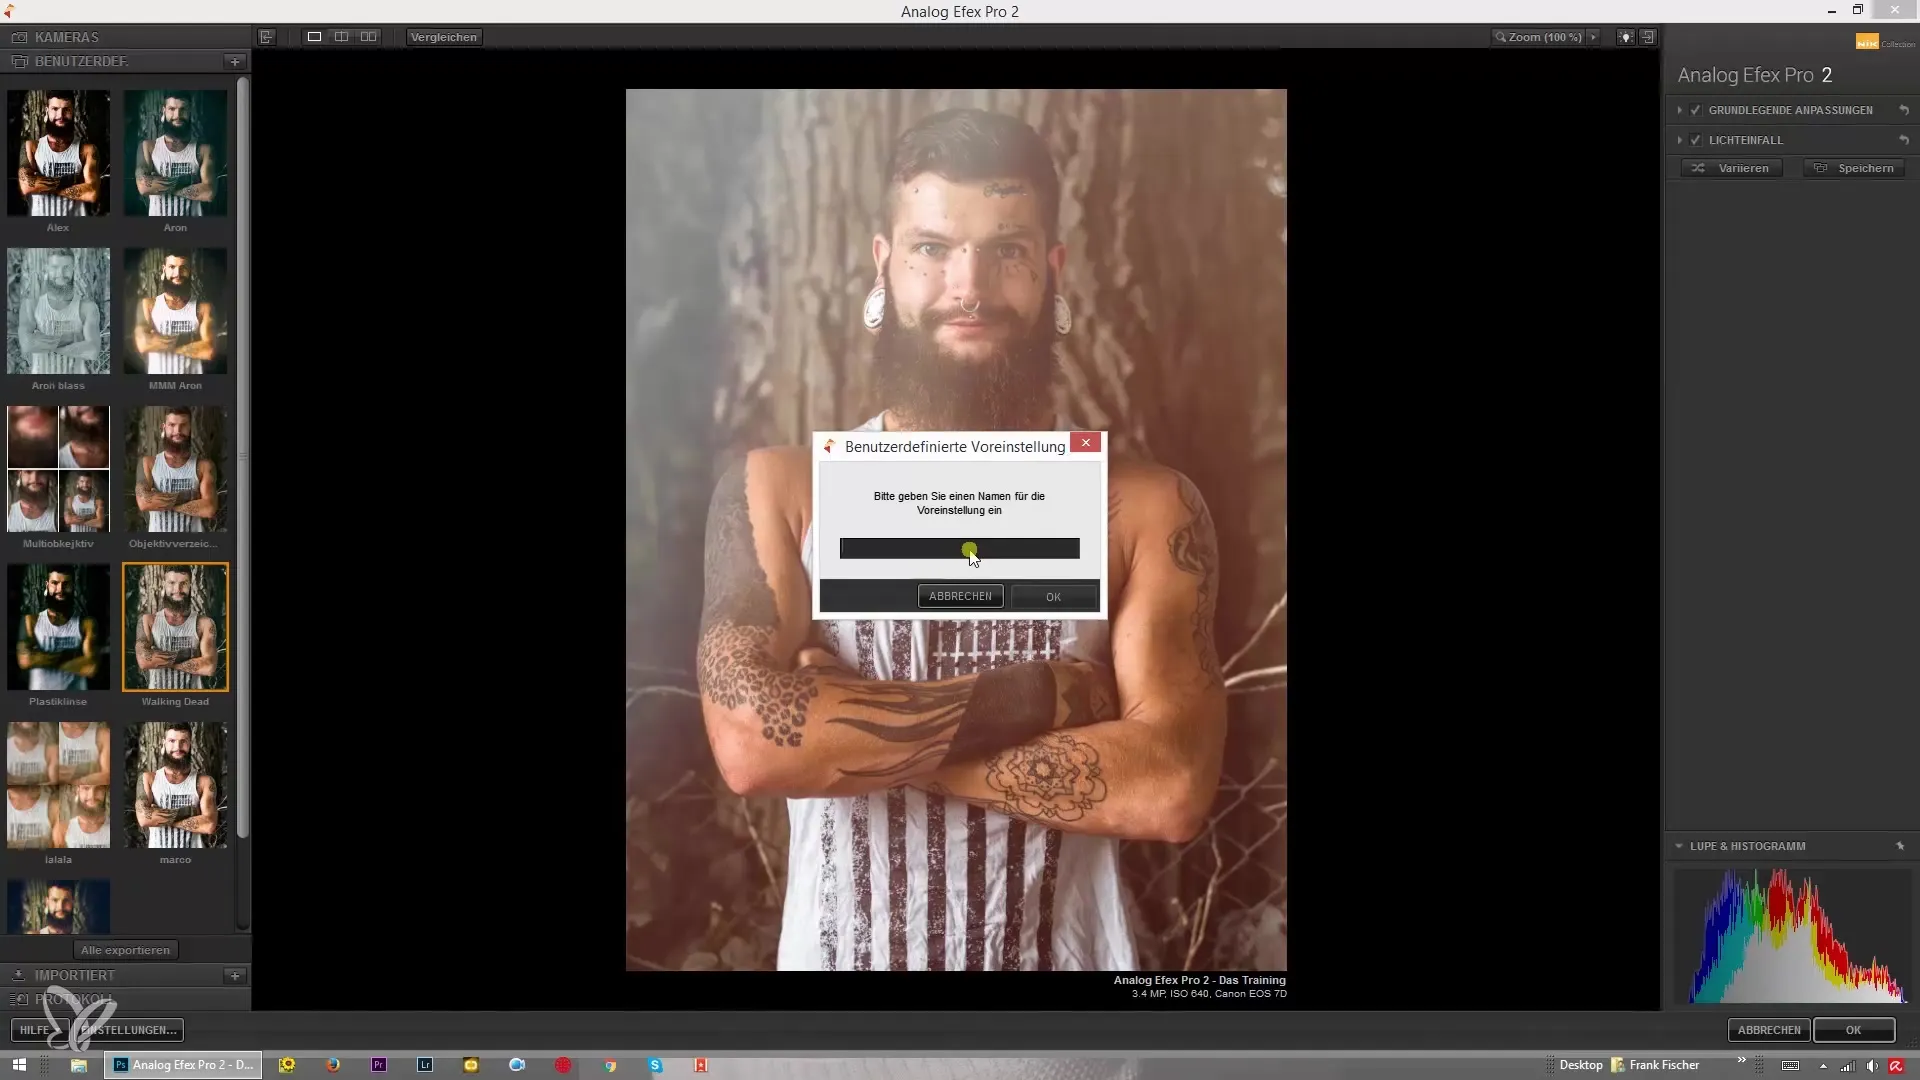
If you have already created your own styles, you can return to them by clicking on “User Defined.” Adding new templates is just as easy; just click on the plus sign and enter your desired name.
Step 4: Delete Compositions
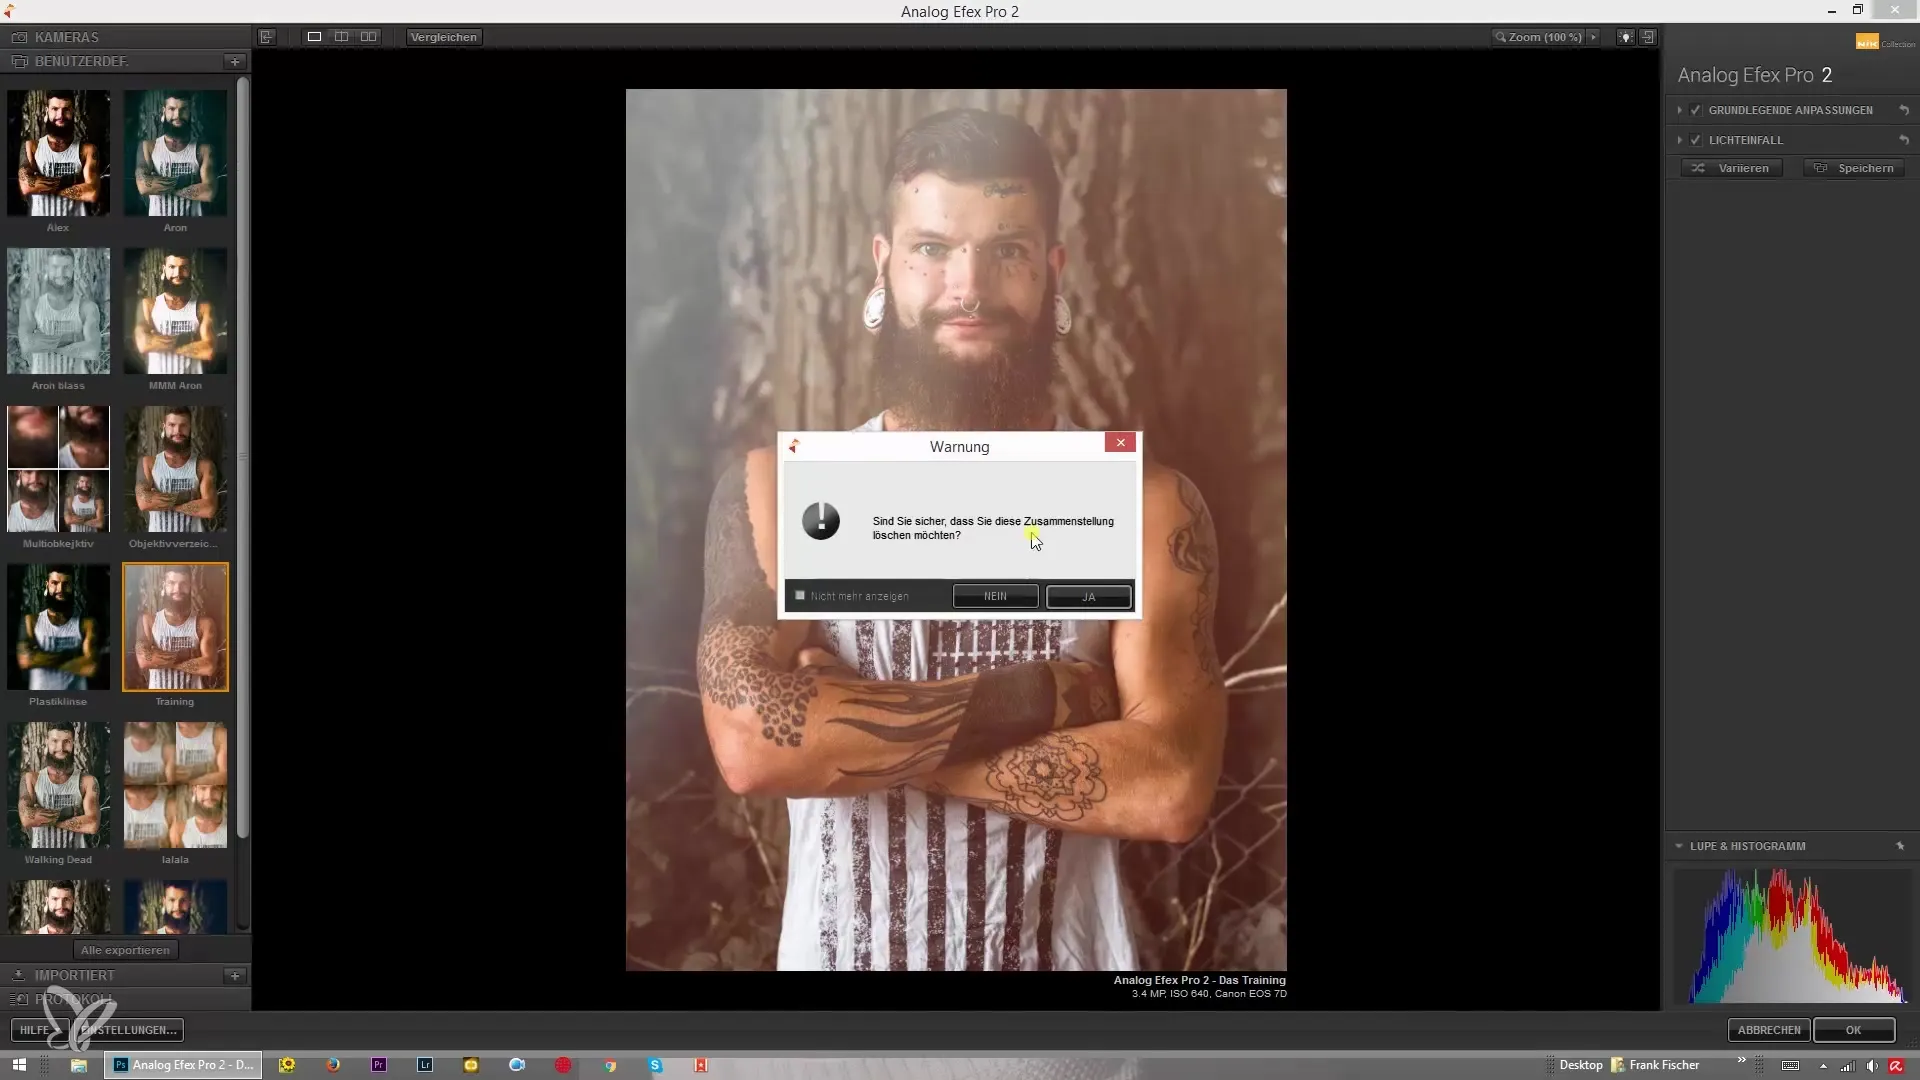
Sometimes it's necessary to make space or stop using a particular composition. By clicking on “Delete Composition,” you can easily remove styles you no longer need. Make sure to do this only if you are sure you no longer need them.
Step 5: Update Existing Settings
You have the option to easily update existing settings. For instance, if you make another adjustment, you can replace the old composition with the new one. Click on “Update” and confirm to save the changes.
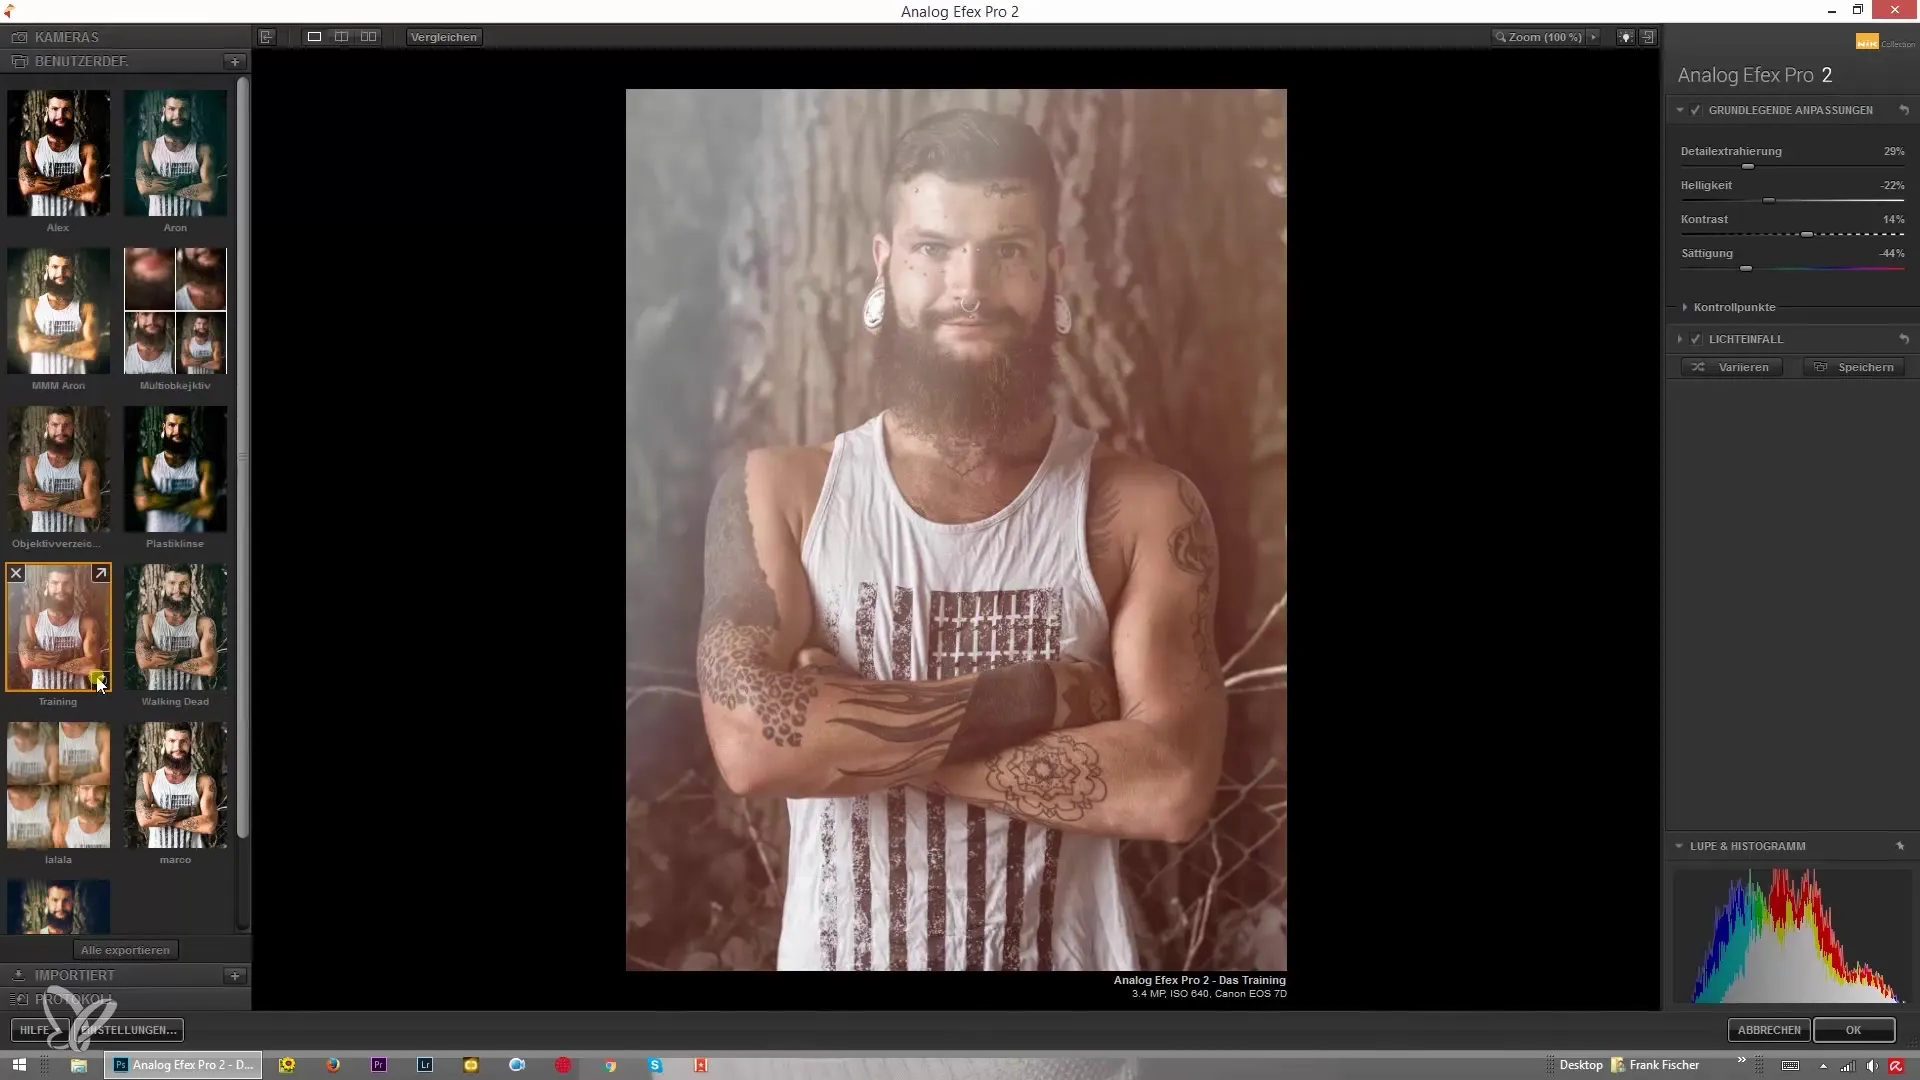
Step 6: Export Your Composition
When your creation is finished and you want to use it on another device or share it with others, exporting is the next step. Click on the corresponding export icon, choose the appropriate destination folder, and name your file so you can easily find it later.
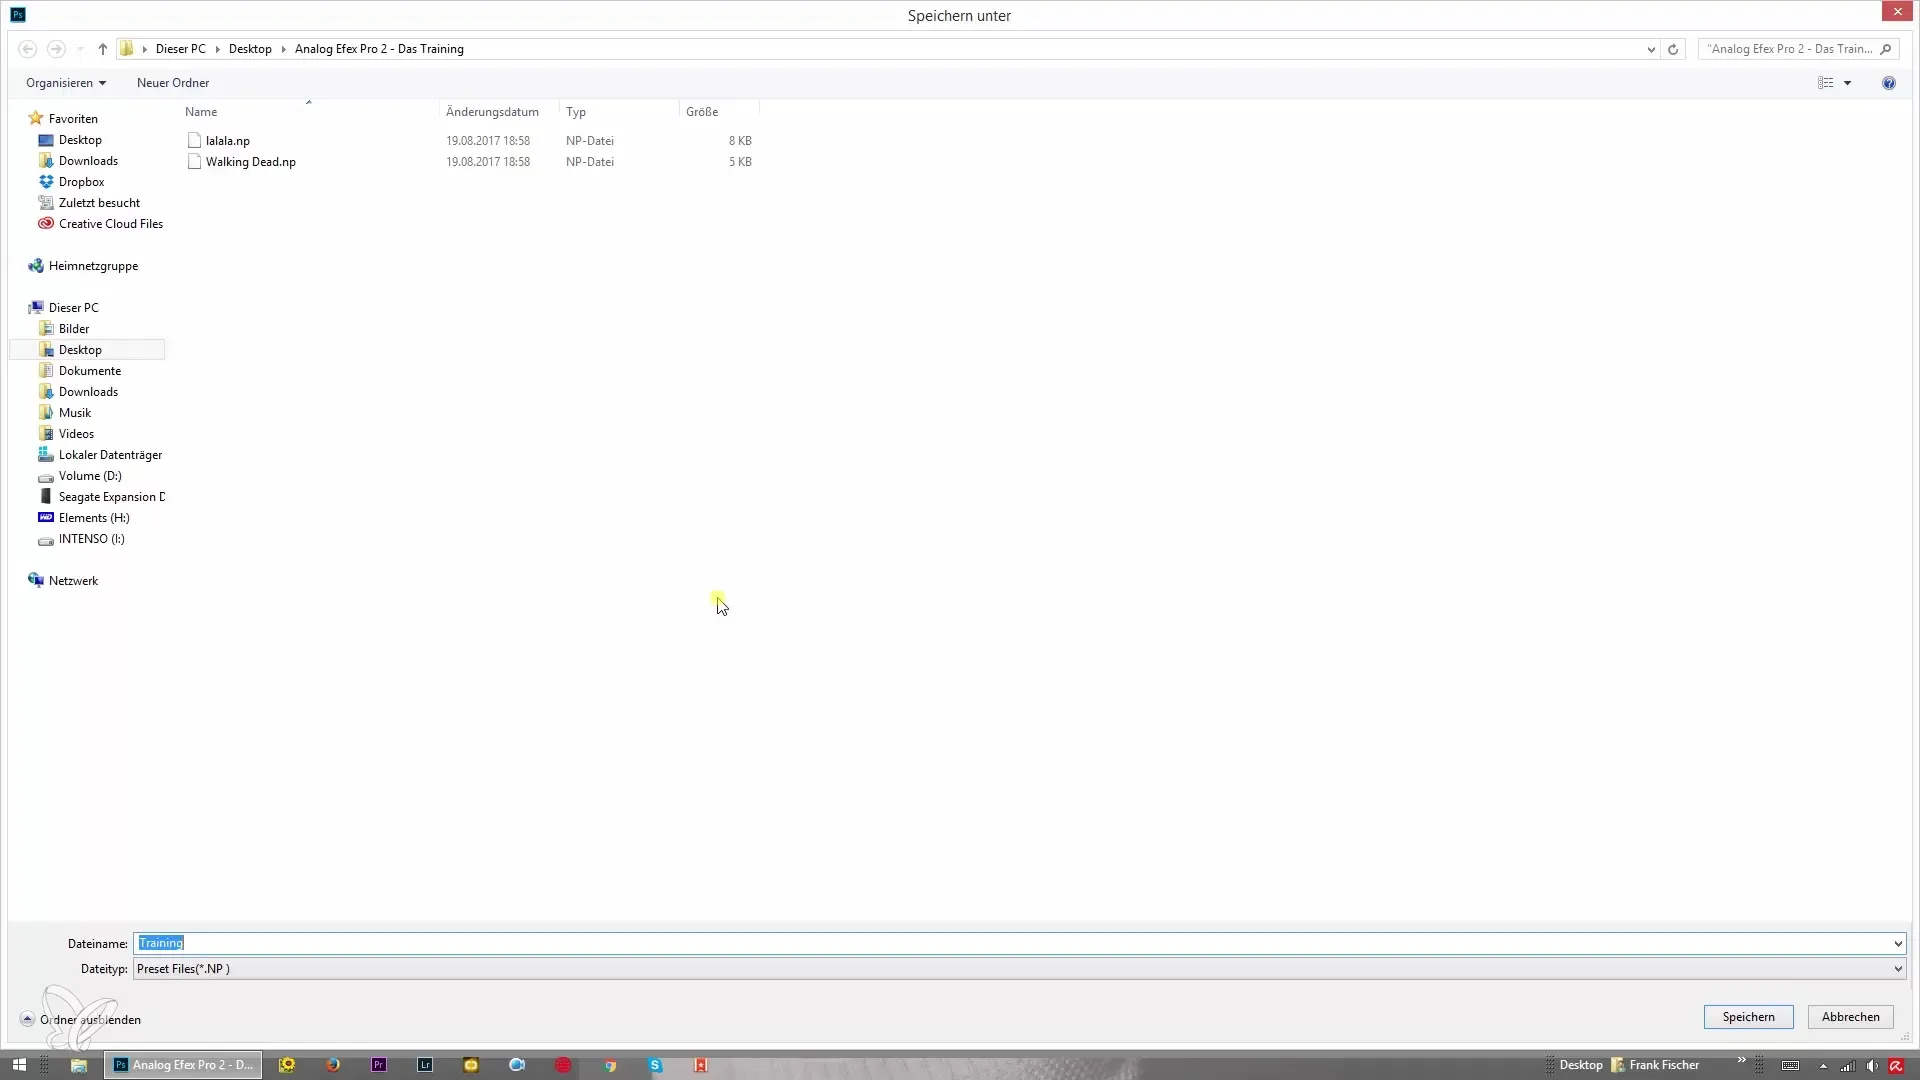
Step 7: Import New Templates
To learn from other creative minds or utilize their styles, you can also import templates. Click on “Import,” select the file from your computer, and open it. The new guides will then appear in your program.
Step 8: Further Edits and Deletion
After importing, you can adjust the new compositions or delete old versions if you no longer need them. This way, you always maintain an overview of your creative works.
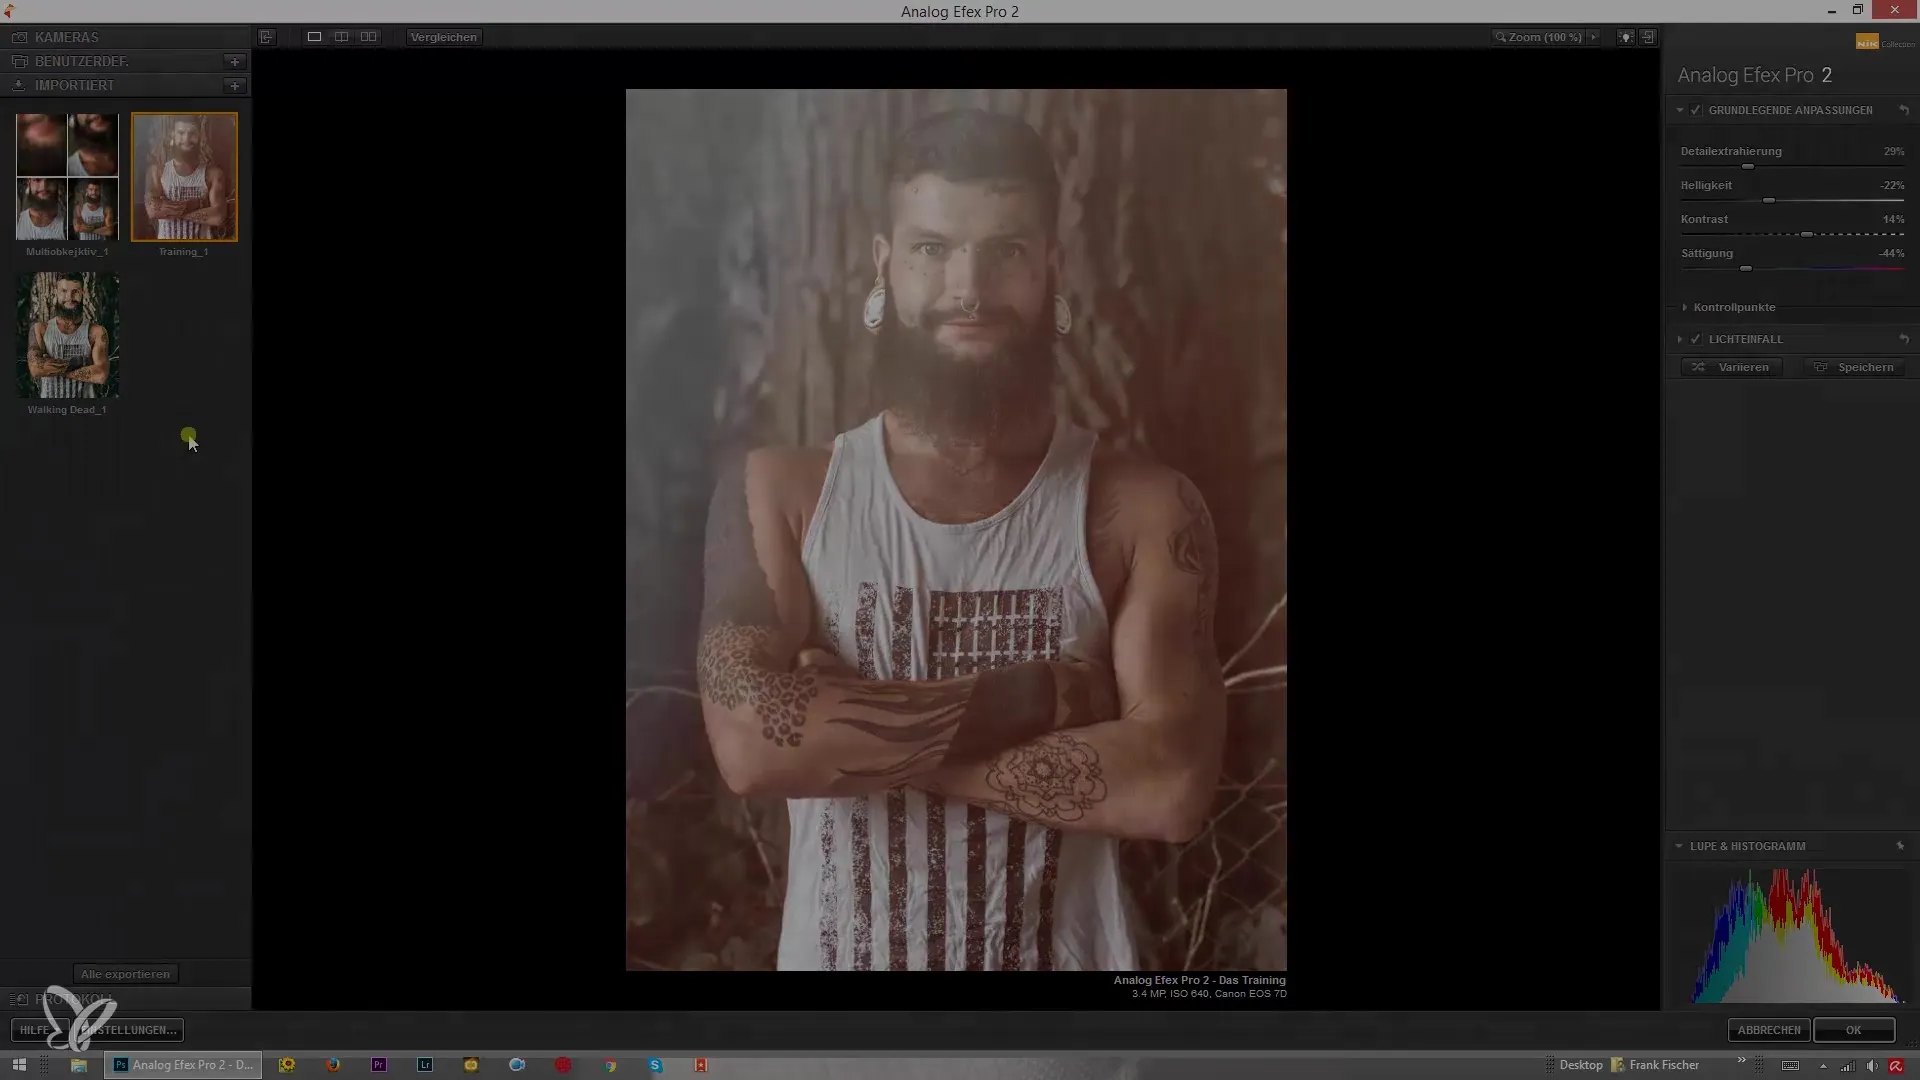
Summary – Working with Analog Efex Pro 2: Saving, Exporting, and Importing
With this guide, you now have a clear overview of effectively saving, exporting, and importing effect templates in Analog Efex Pro 2. Use these functions to fully exploit your creative opportunities and elevate your photography to the next level.
Frequently Asked Questions
How do I save a composition?Click on “Save” and give your creation a name.
Can I update existing settings?Yes, click on “Update” and confirm the changes.
How do I export my composition?Click on the export icon and choose the save location.
How do I import templates from others?Click on “Import,” select the file from your computer, and open it.
Can I delete old compositions?Yes, select the composition and click on “Delete Composition.”


