Double exposures captivate many photographers as they provide the opportunity to go beyond traditional photography and create creative compositions. In this guide, I will show you how to easily create impressive double exposures using Analog Efex Pro 2. Prepare to experiment with layers, exposure, and unique looks to give your images a new dimension.
Key Insights
Double exposures allow you to combine two photos into one image to create interesting effects and visual styles. With various settings for exposure, zoom, and positioning, you can tap into creative design possibilities. Pay special attention to how you can adjust the transparency and style of the images to achieve the desired result.
Step-by-Step Guide
Let's get down to business and go through the steps to create a double exposure.
Step 1: Open Your Base Image
First, launch Analog Efex Pro 2 and select the image that will serve as your base. This could be a portrait or a landscape, depending on what you want to achieve.
Step 2: Activate Double Exposure
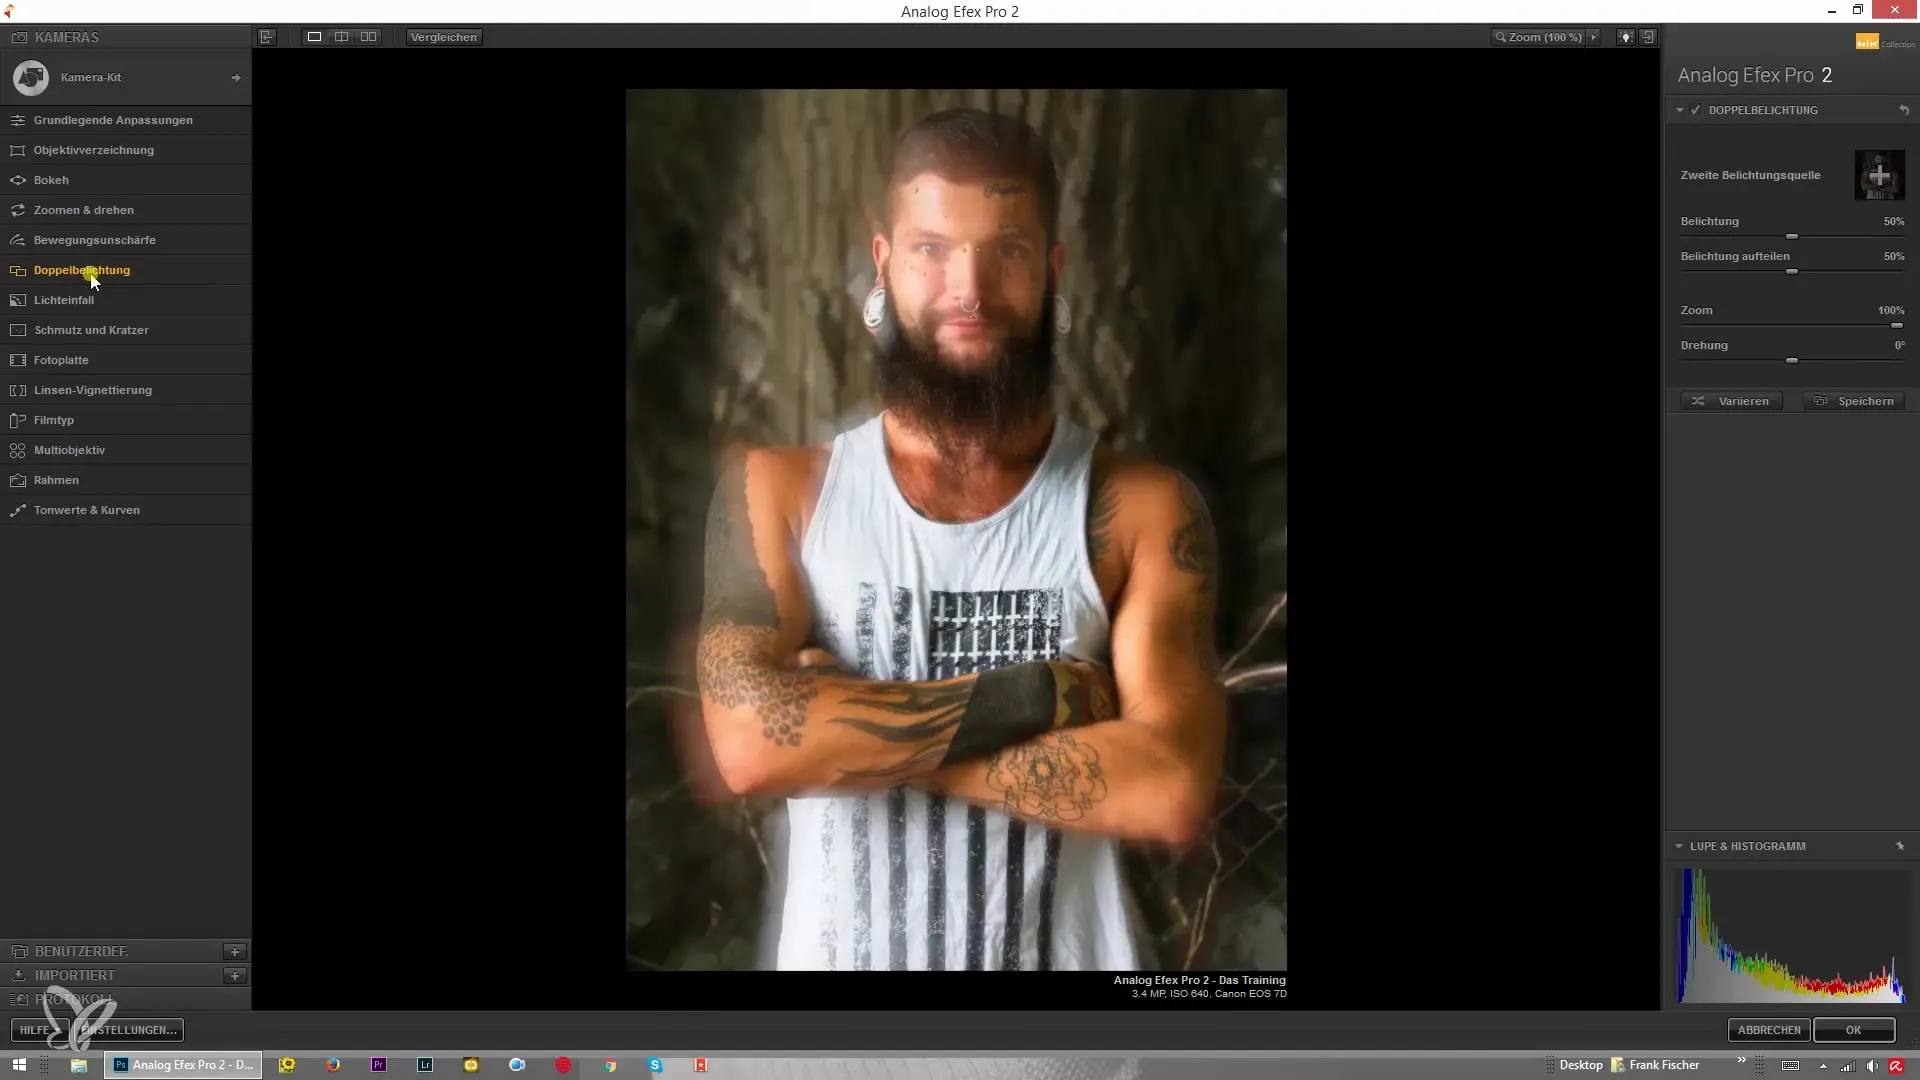
In the Analog Efex Pro 2 interface, you will find the option for double exposure. Select this mode to start editing the image directly. Here you can see the first layer of your image and make all the adjustments to it.
Step 3: Adjust the Base Image
Go to the basic adjustments. Here, you can adjust the size and brightness of the base image. Experiment with making the image brighter or darker to achieve the desired effect.
Step 4: Adjust Exposure
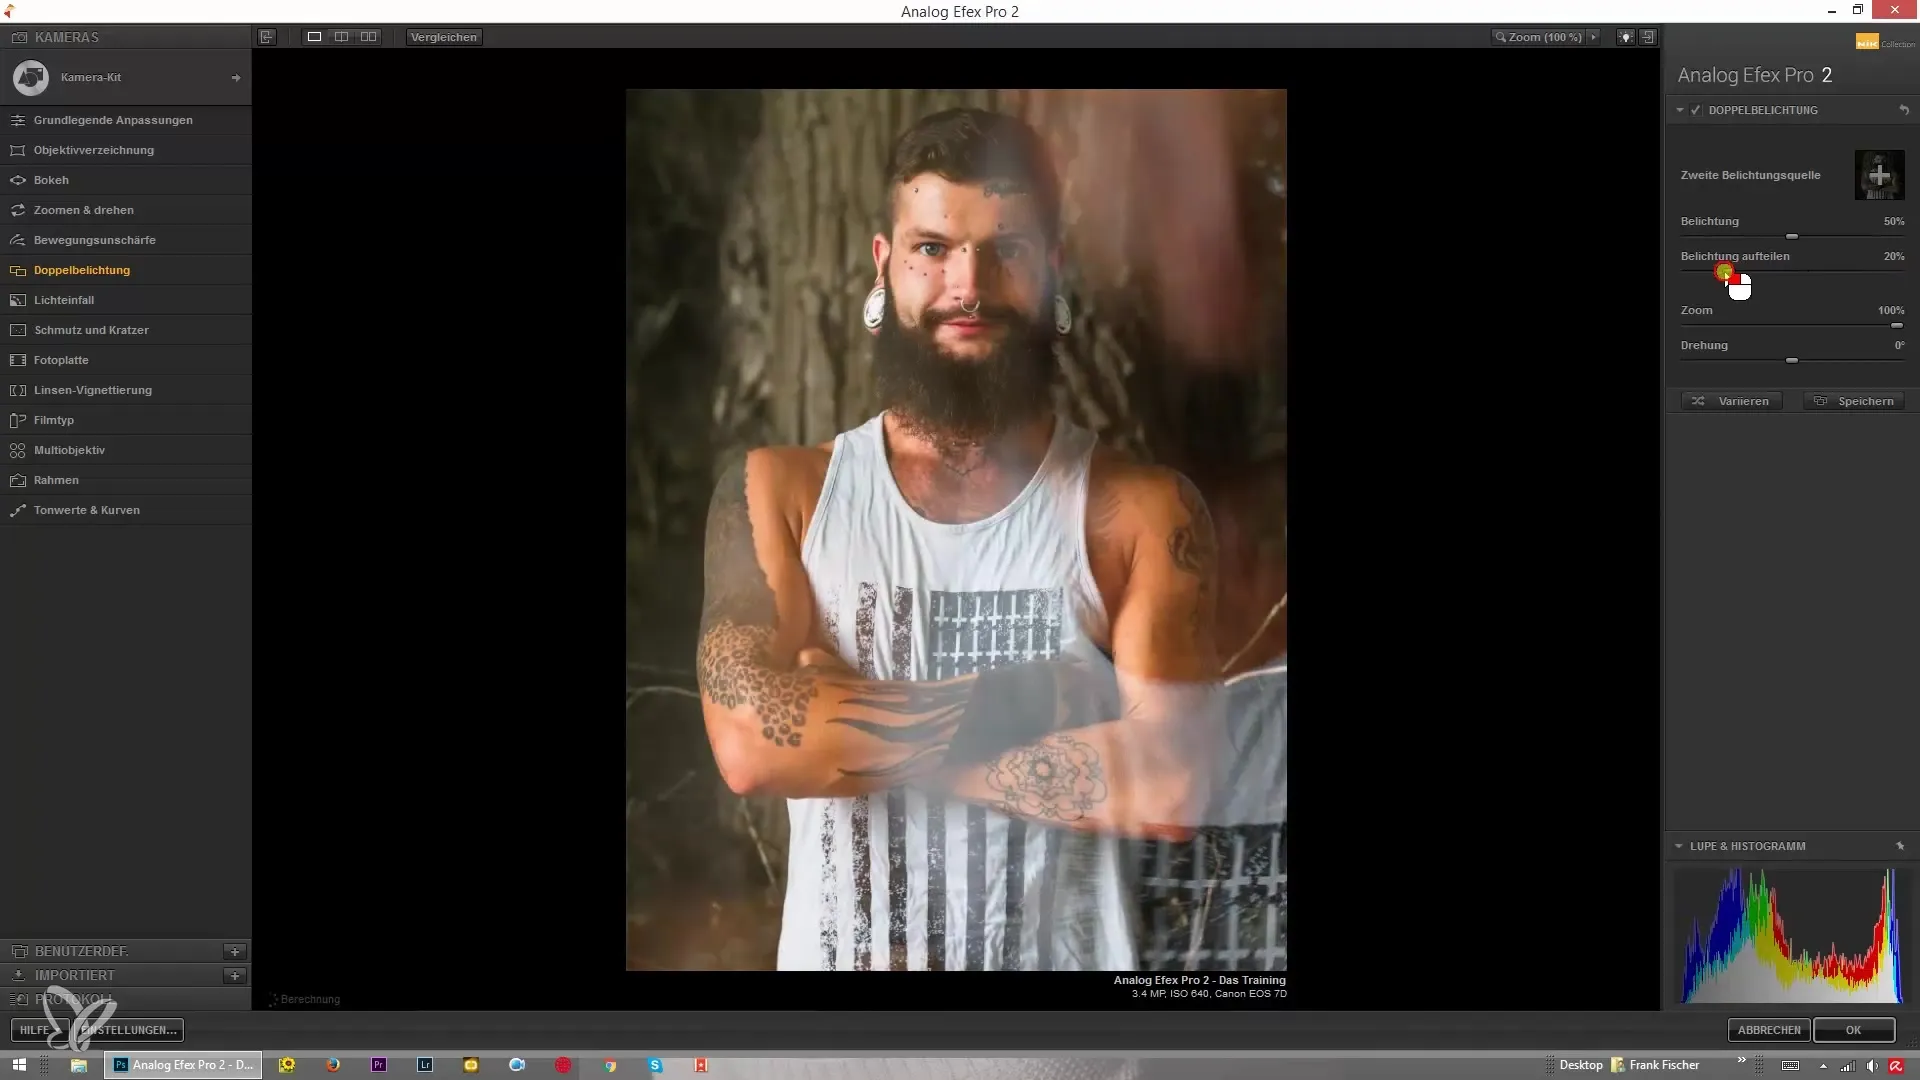
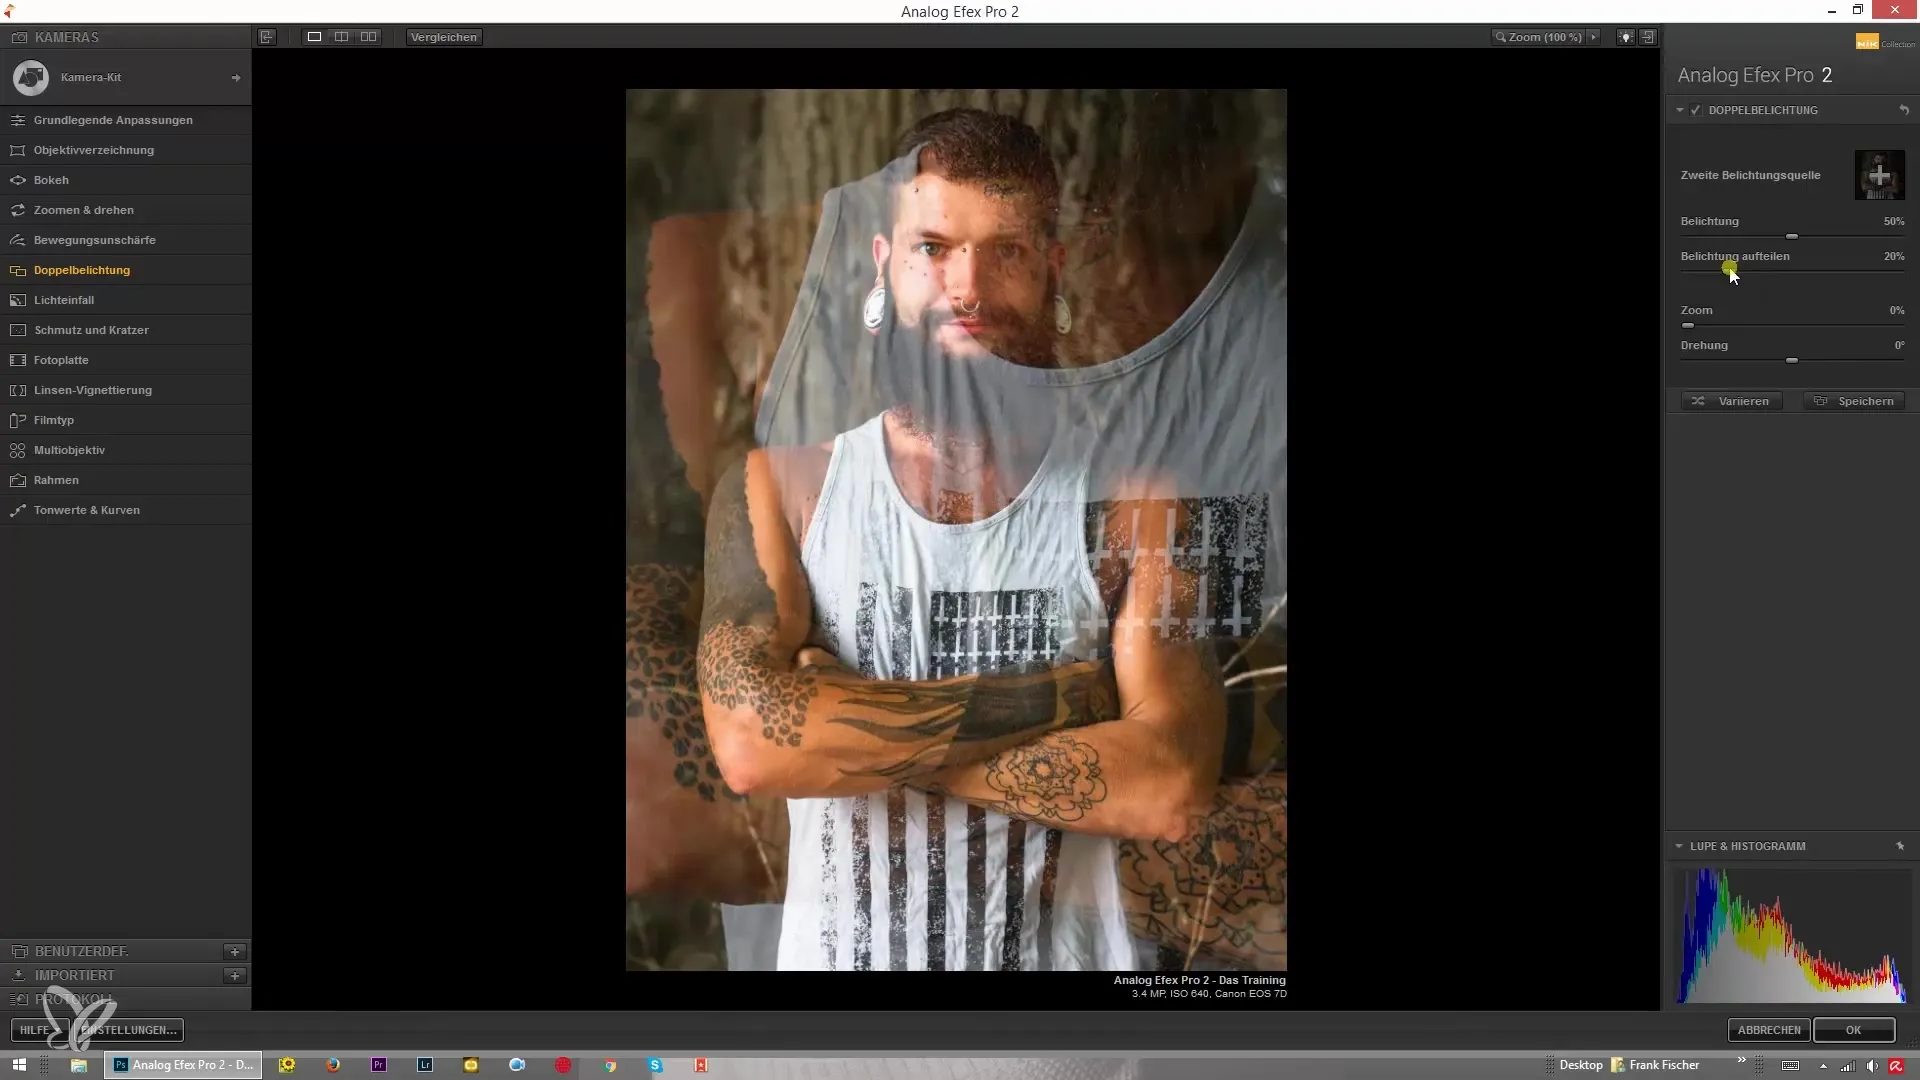
Now comes the crucial moment: you can adjust the exposure of the base image and the overlay image. With the current settings, each image receives a 50% exposure. If you want the base image to recede more into the background, move the slider to the left. Alternatively, you can increase the value to emphasize the content of the second image more.
Step 5: Change the Zoom Factor
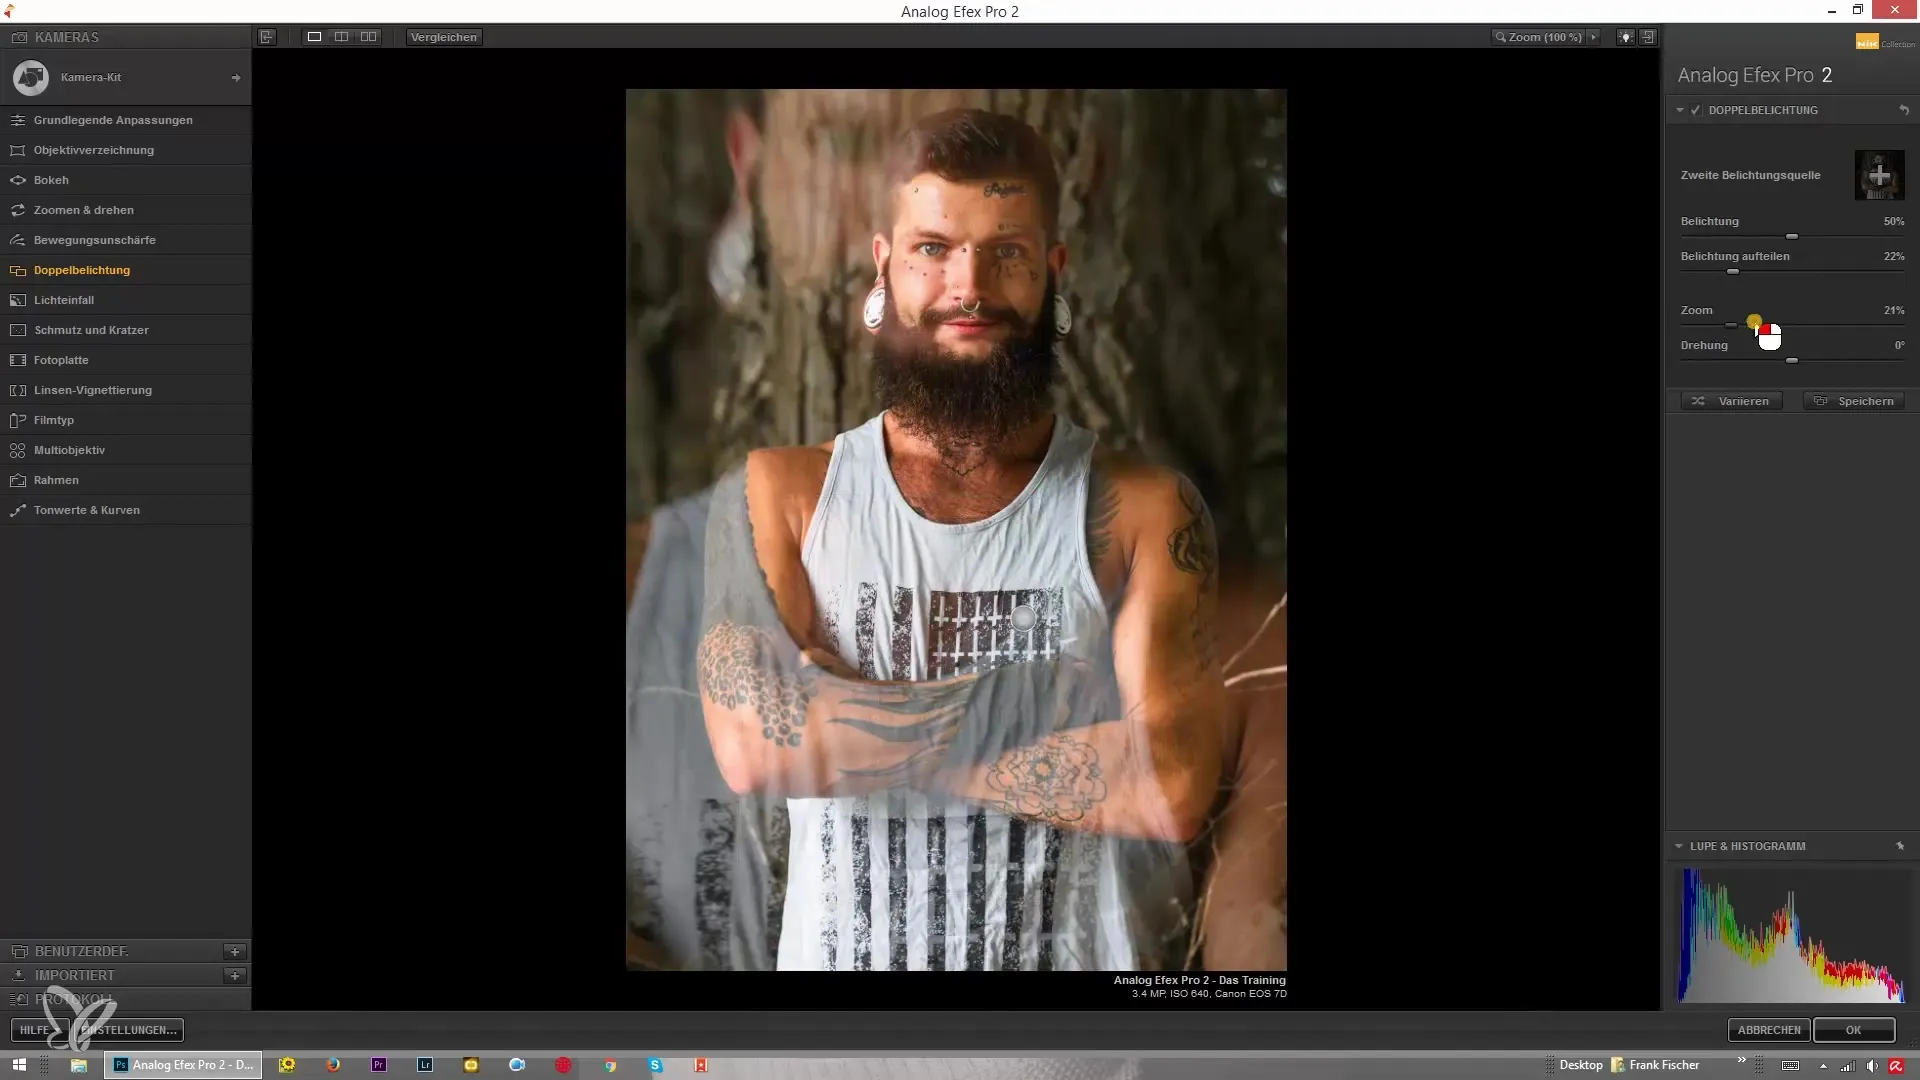
The next point is the zoom factor. Here you can adjust how much the image is enlarged or reduced. This gives you control over the composition while you continue to refine the style of the image.
Step 6: Rotate the Image
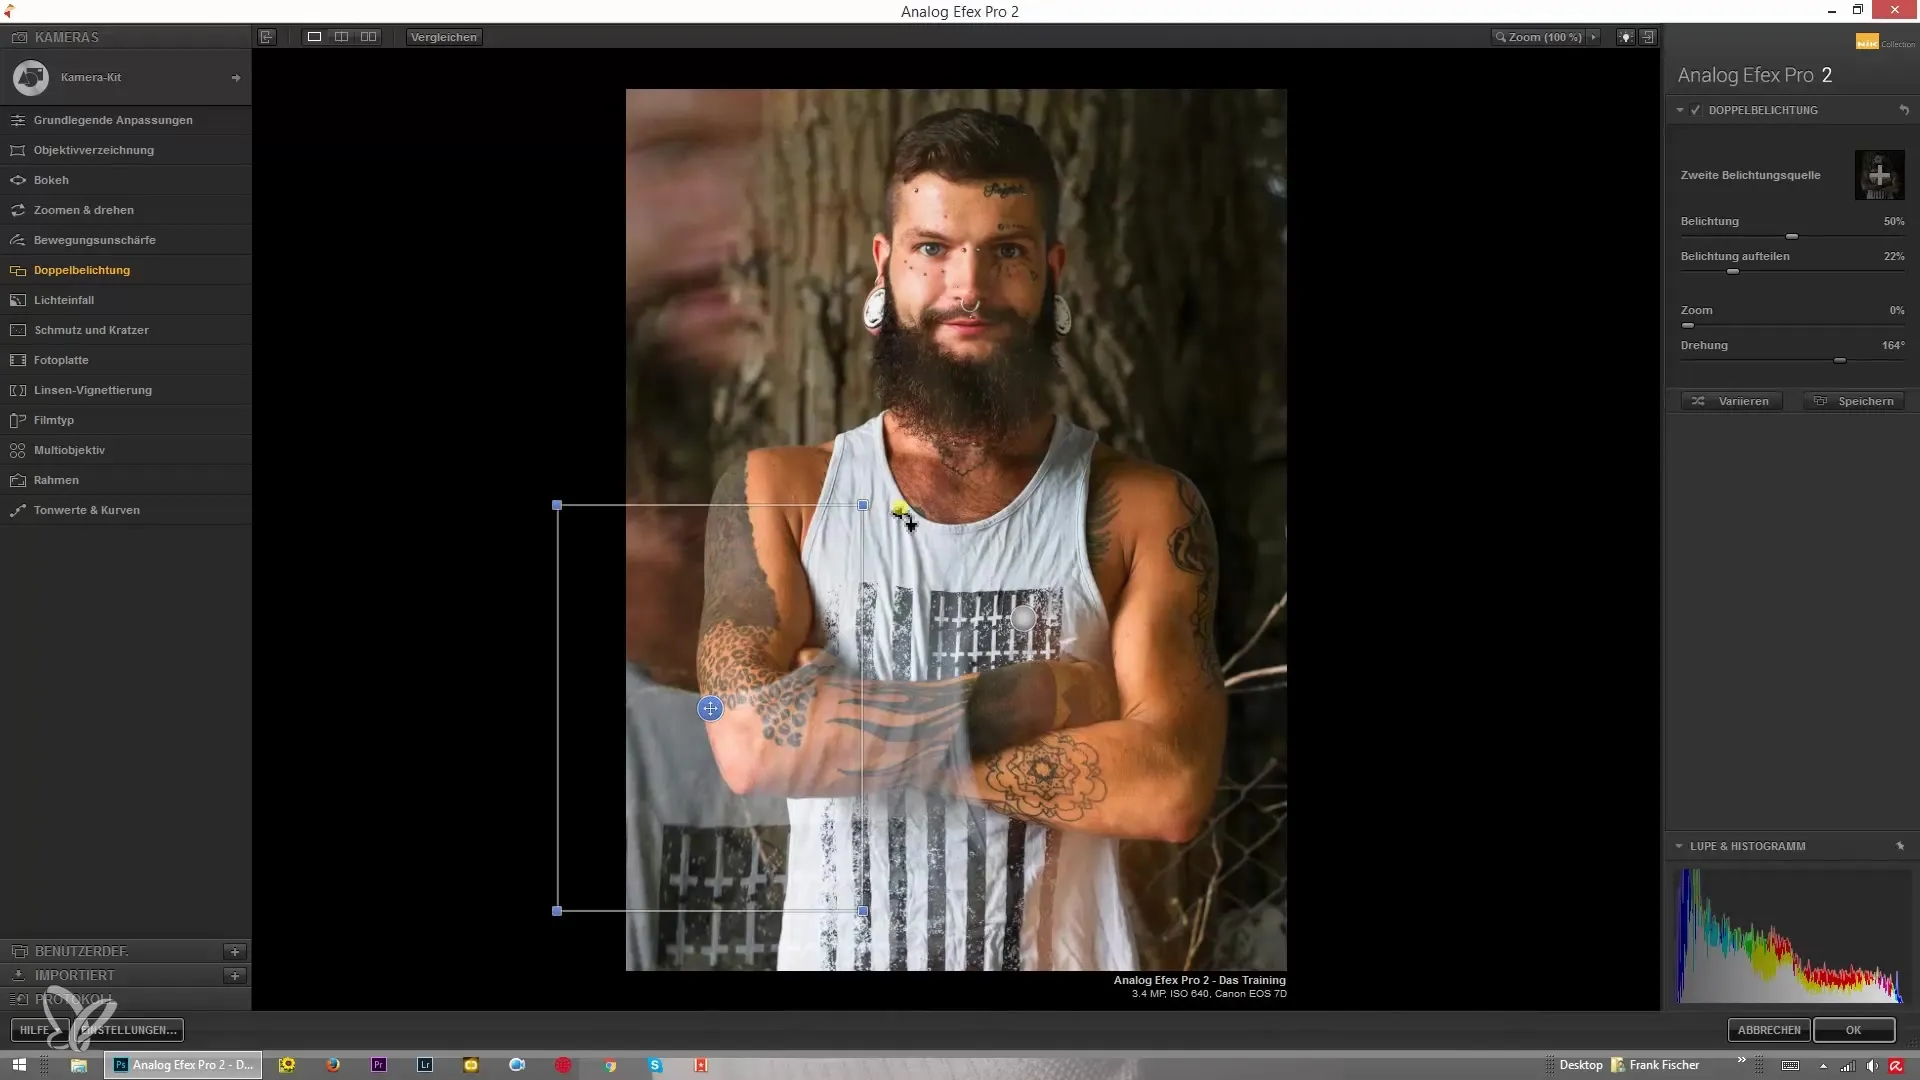
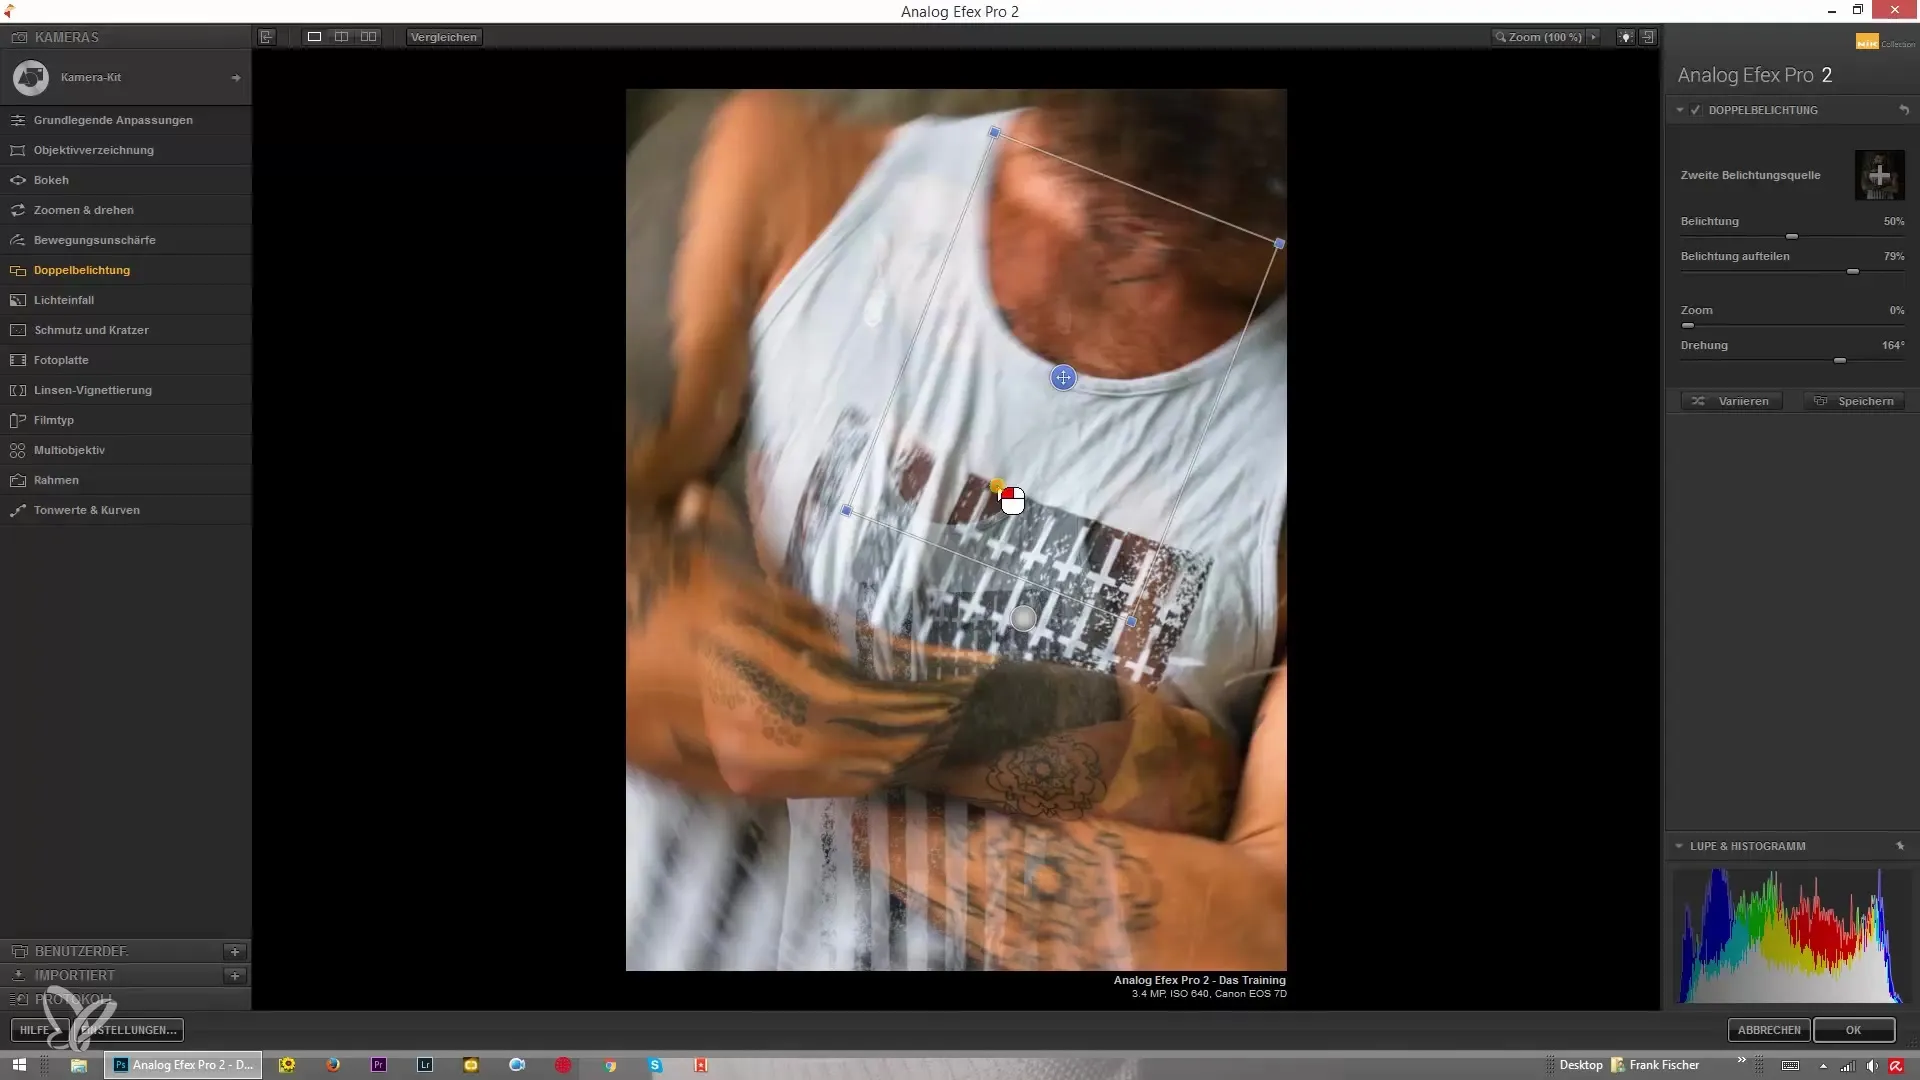
Another interesting aspect is that you can rotate the image to explore different angles. This effect can significantly change the overall impression. Make sure that the rotation of the second image also looks good in the layout.
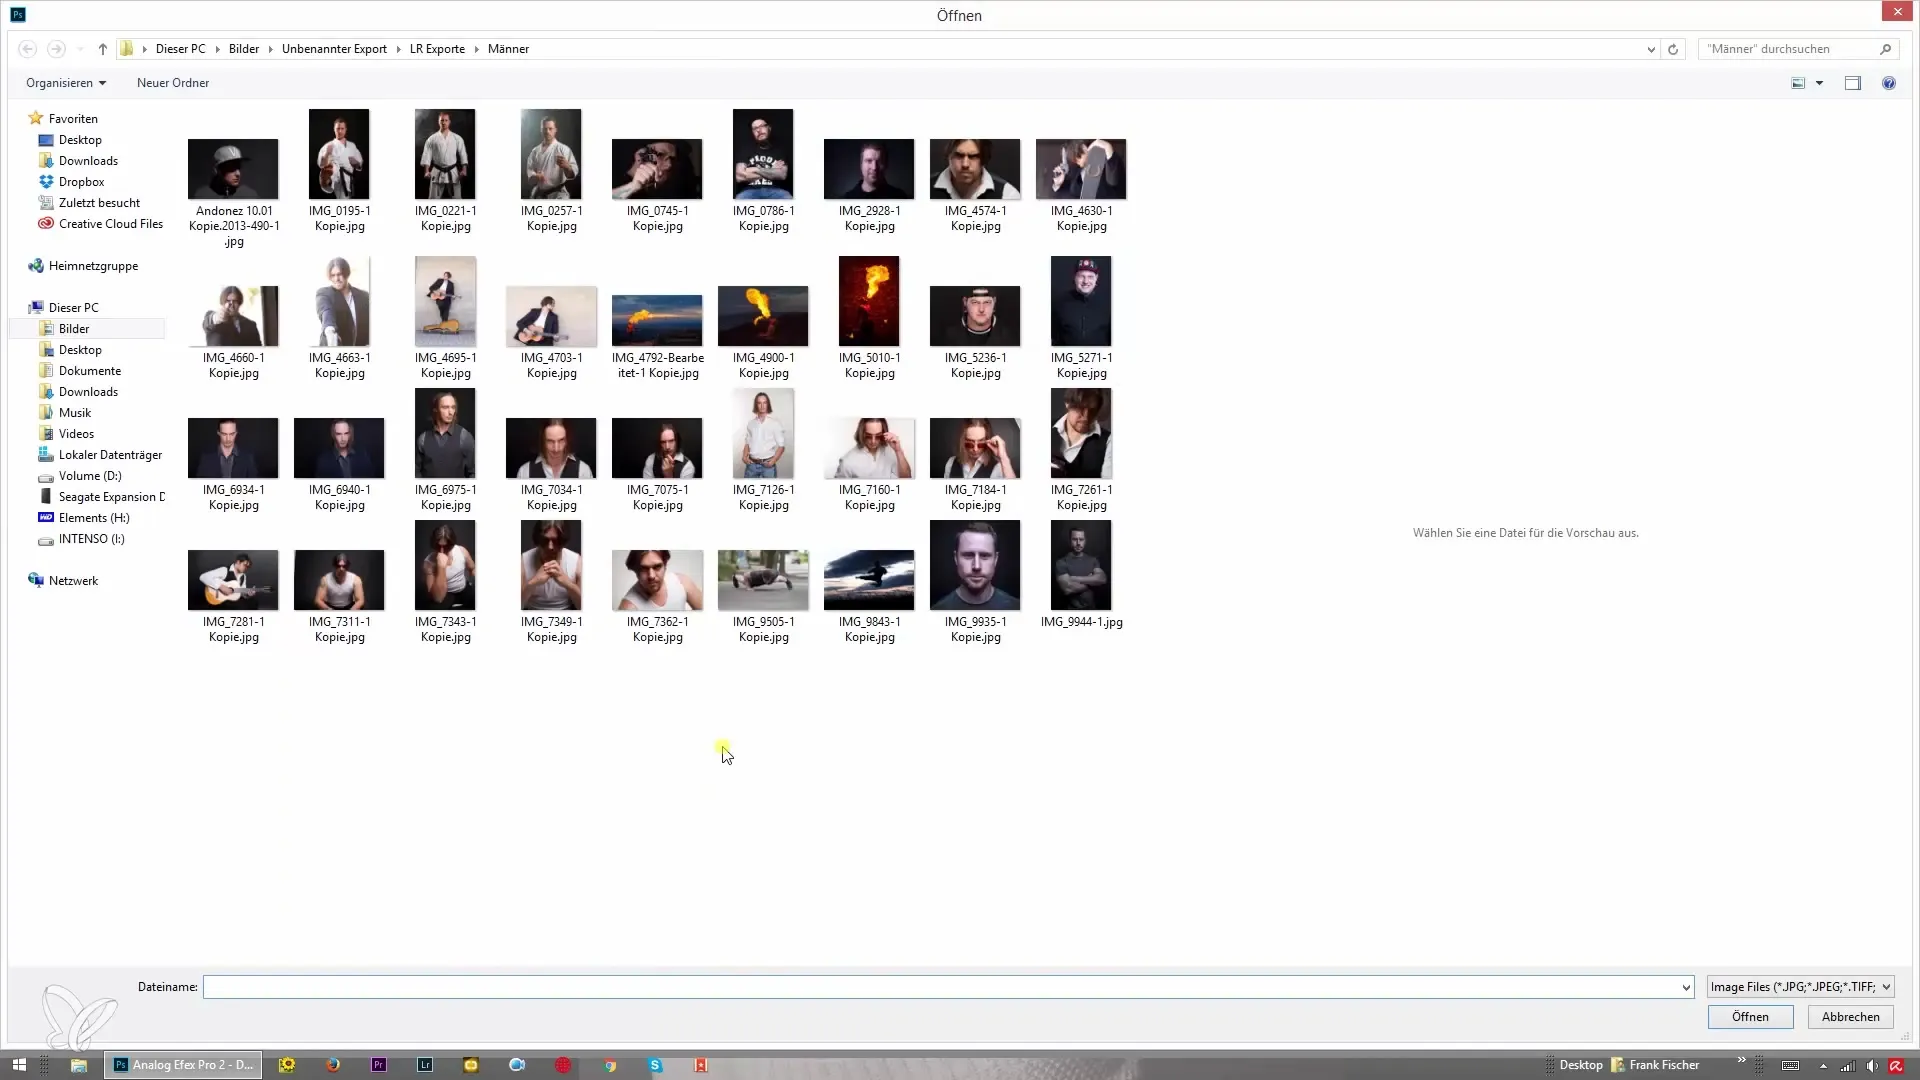
Step 7: Select a Second Image
Now that you are satisfied with the main subject, choose a second image to overlay. This is done through the "second exposure source" option, which allows you to add an image of your choice.
Step 8: Adjusting the Results
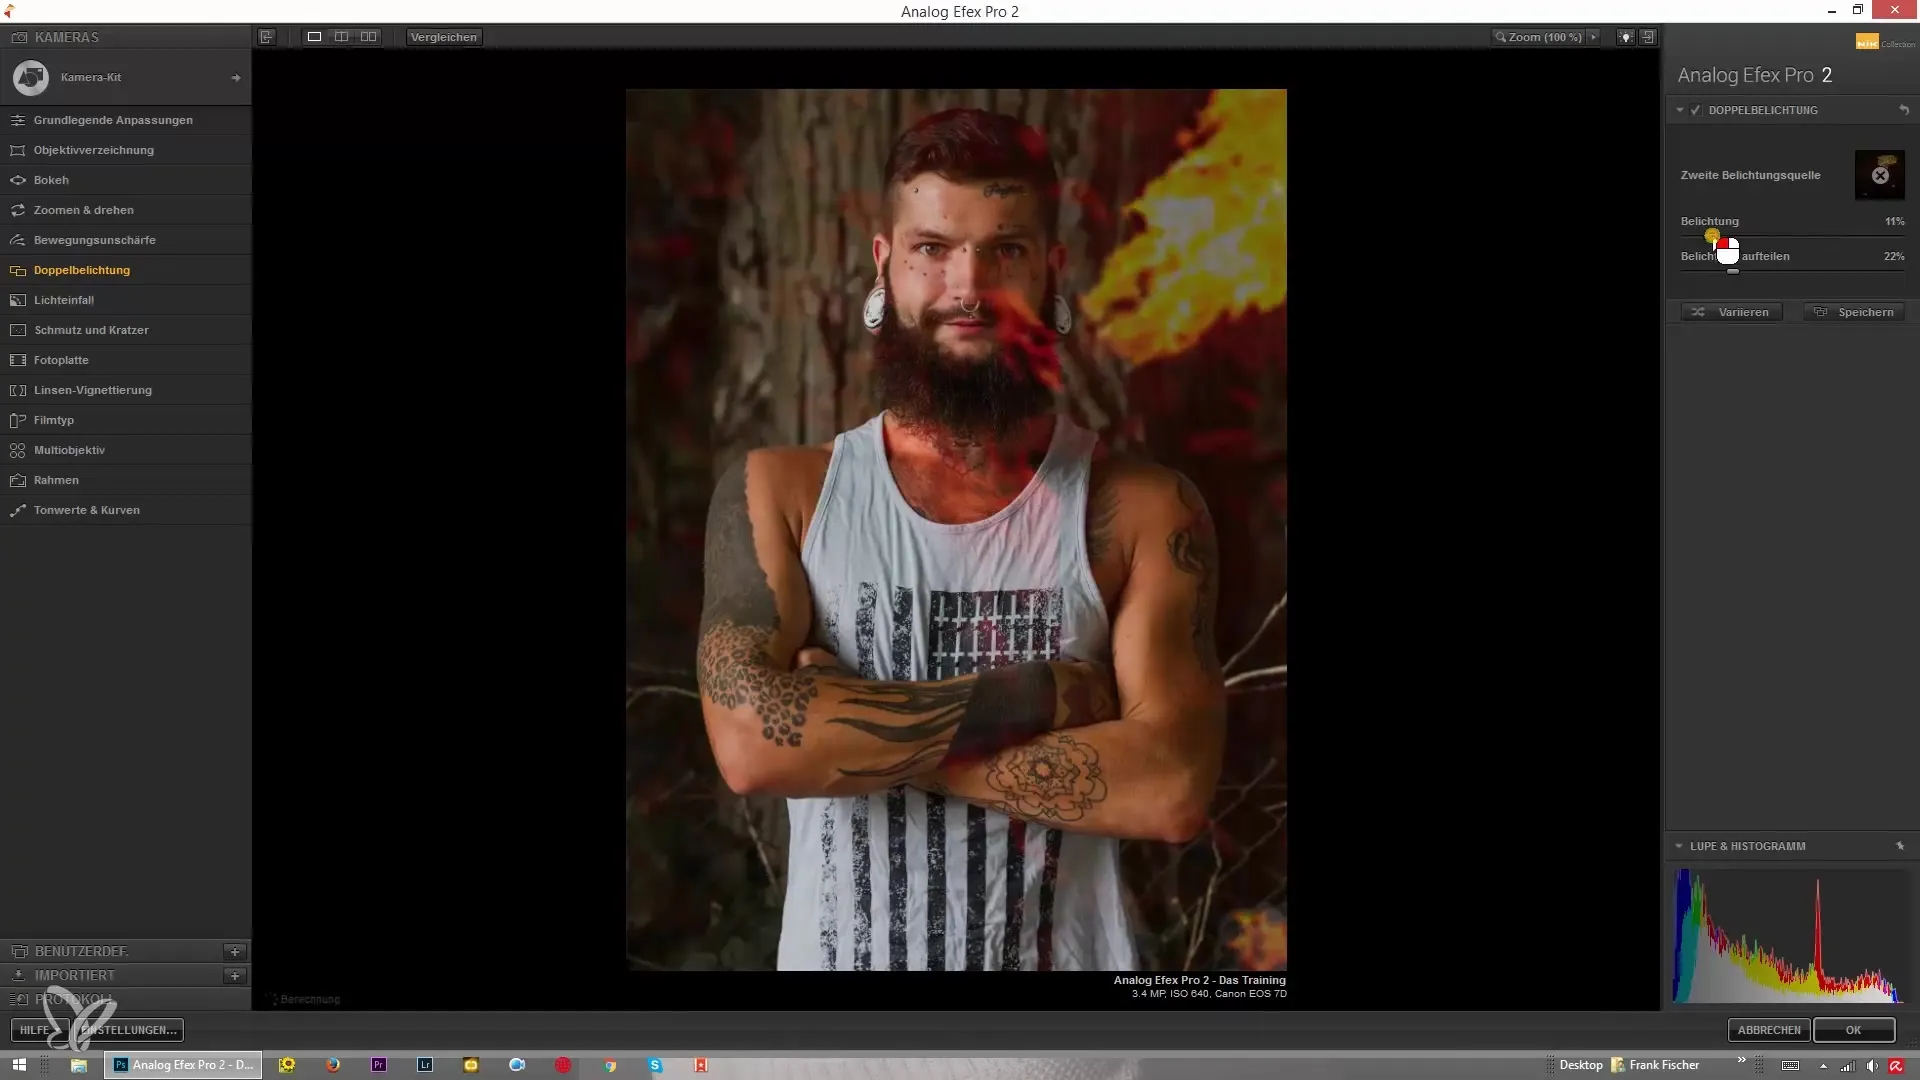
With the new image, you can make adjustments again so that the composition looks harmonious. Here too, there are options to change the brightness and transparency of the second image. Experiment until you achieve an effective interplay of the two images.
Step 9: Deleting and Returning
If you are dissatisfied with an image or want to change the layout, you can simply remove the image. Click on the unwanted image and delete it to return to the original base image.
Step 10: Final Adjustments
Before saving the image, make your final adjustments. Ensure that the rotation is aligned according to your vision and that the exposure serves your creative goals.
Summary – Double Exposures in Analog Efex Pro 2: Unleash Your Creativity
With the steps outlined, you are now well-equipped to create unique double exposures in Analog Efex Pro 2. Play with exposure, positioning, and various styles to realize your artistic vision. The key lies in experimenting and exploring your personal preferences.
Frequently Asked Questions
How can I change the size of images in Analog Efex Pro 2?You can change the size of images in double exposure mode by adjusting the zoom factor.
What can I do if I am not satisfied with an image?Click on the image you want to remove and delete it to return to your base image.
Can I adjust the exposure for each layer separately?Yes, you can adjust the exposure of each layer separately to find the perfect balance.


