Image editing is not just a matter of creativity, but also of the right tools. With Analog Efex Pro 2 from the Nik Collection, you can design your photos in different styles and looks to get the best out of them. It is essential to consider and compare the changes you make to your images in order to achieve the desired result. In this guide, I will show you how to effectively use the Before-after feature and compare images. Let's get started and see how you can get the most out of your image.
Key insights
- The before-and-after comparison is essential for making an objective assessment of your edits.
- You have the option to display the images both side by side and overlaid.
- With different background colors, you can assess the effect of your edits in a more neutral way.
Step-by-Step Guide
1. Preparations for the Comparison
To ensure the best comparison between your original image and the edited version, start by loading the image you want to edit. In Analog Efex Pro 2, you have the option to view your original image and activate the various options to analyze the current result.
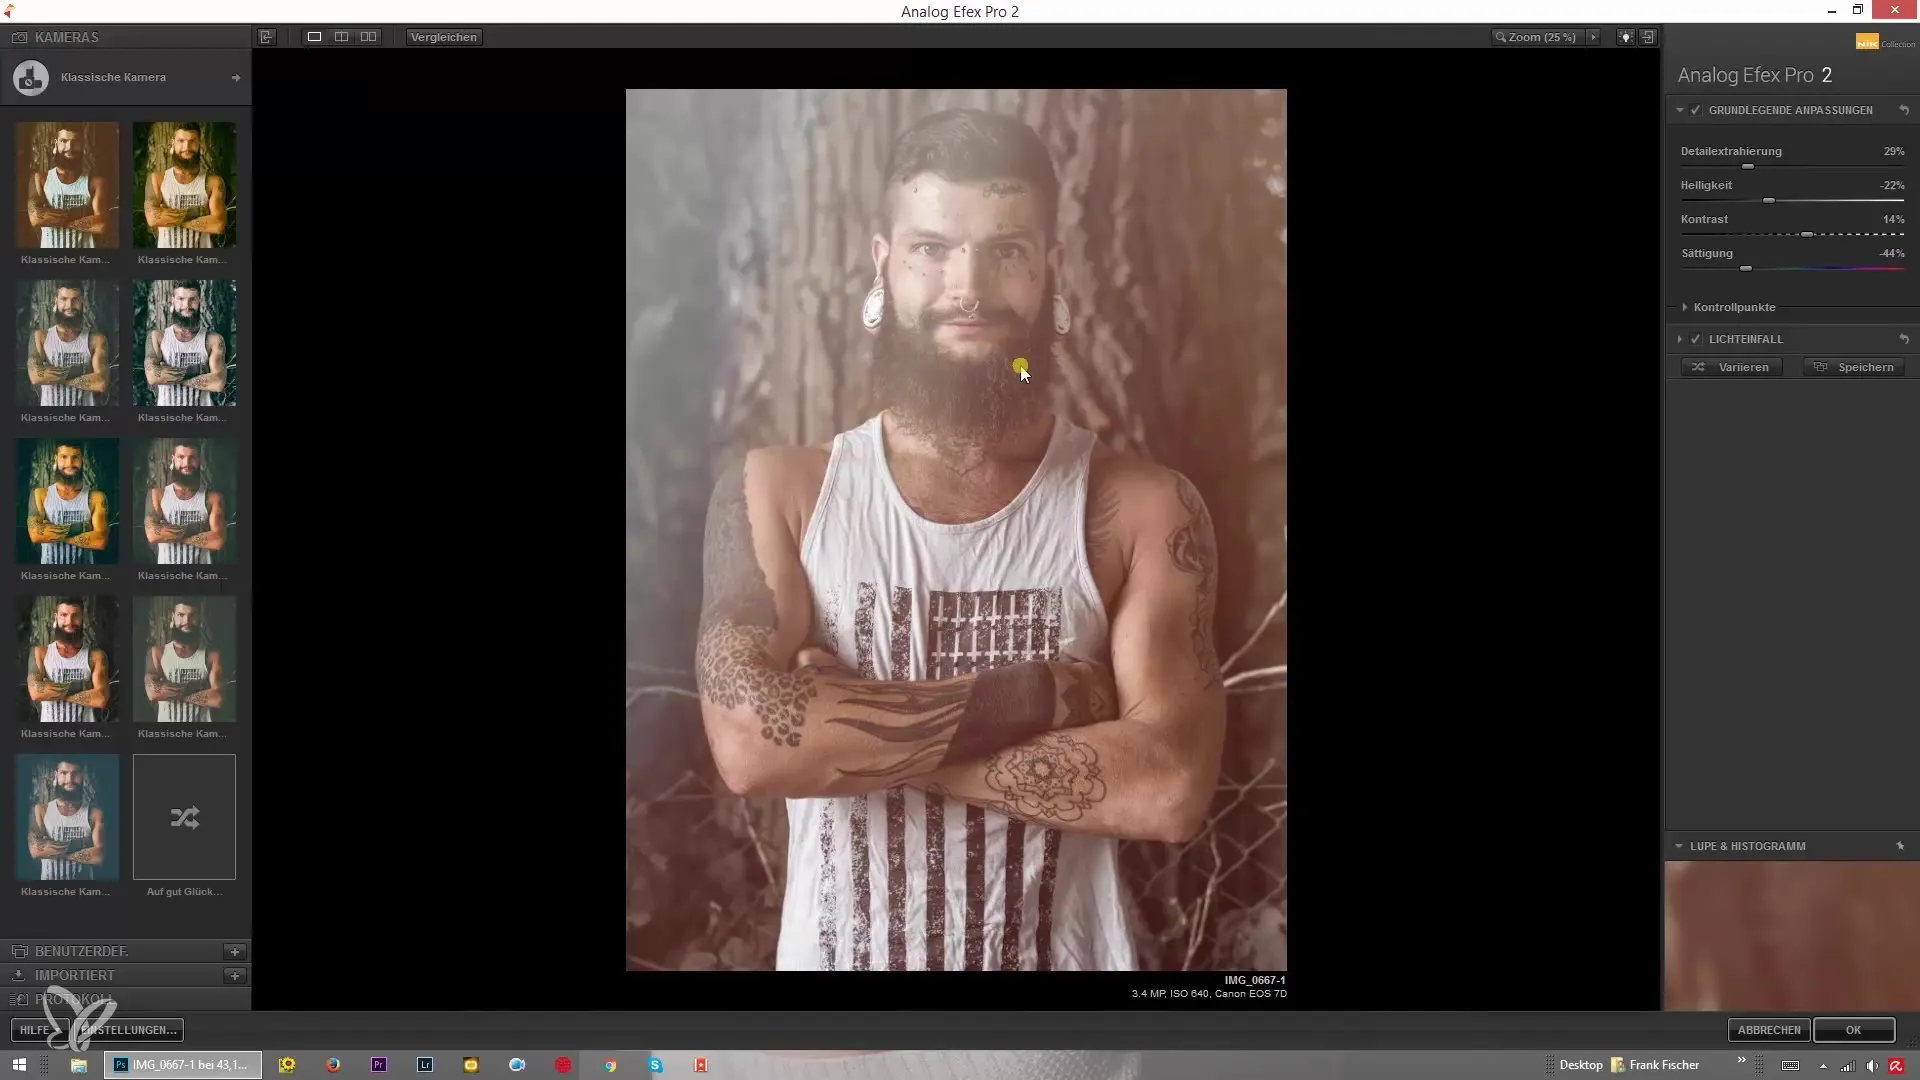
2. Activating the Before-After Comparison
One of the most effective features in Analog Efex Pro 2 is the before-after comparison. You can quickly see what changes you have made to your image. Make sure to display the original image to determine whether the adjustments made have led to a positive enhancement.
3. Using Side-by-Side Comparison
Use the side-by-side display to clearly see the differences. There is a special icon that allows you to switch from the standard view to the side-by-side comparison. This enables you to directly visually assess the changes you have made to your image.
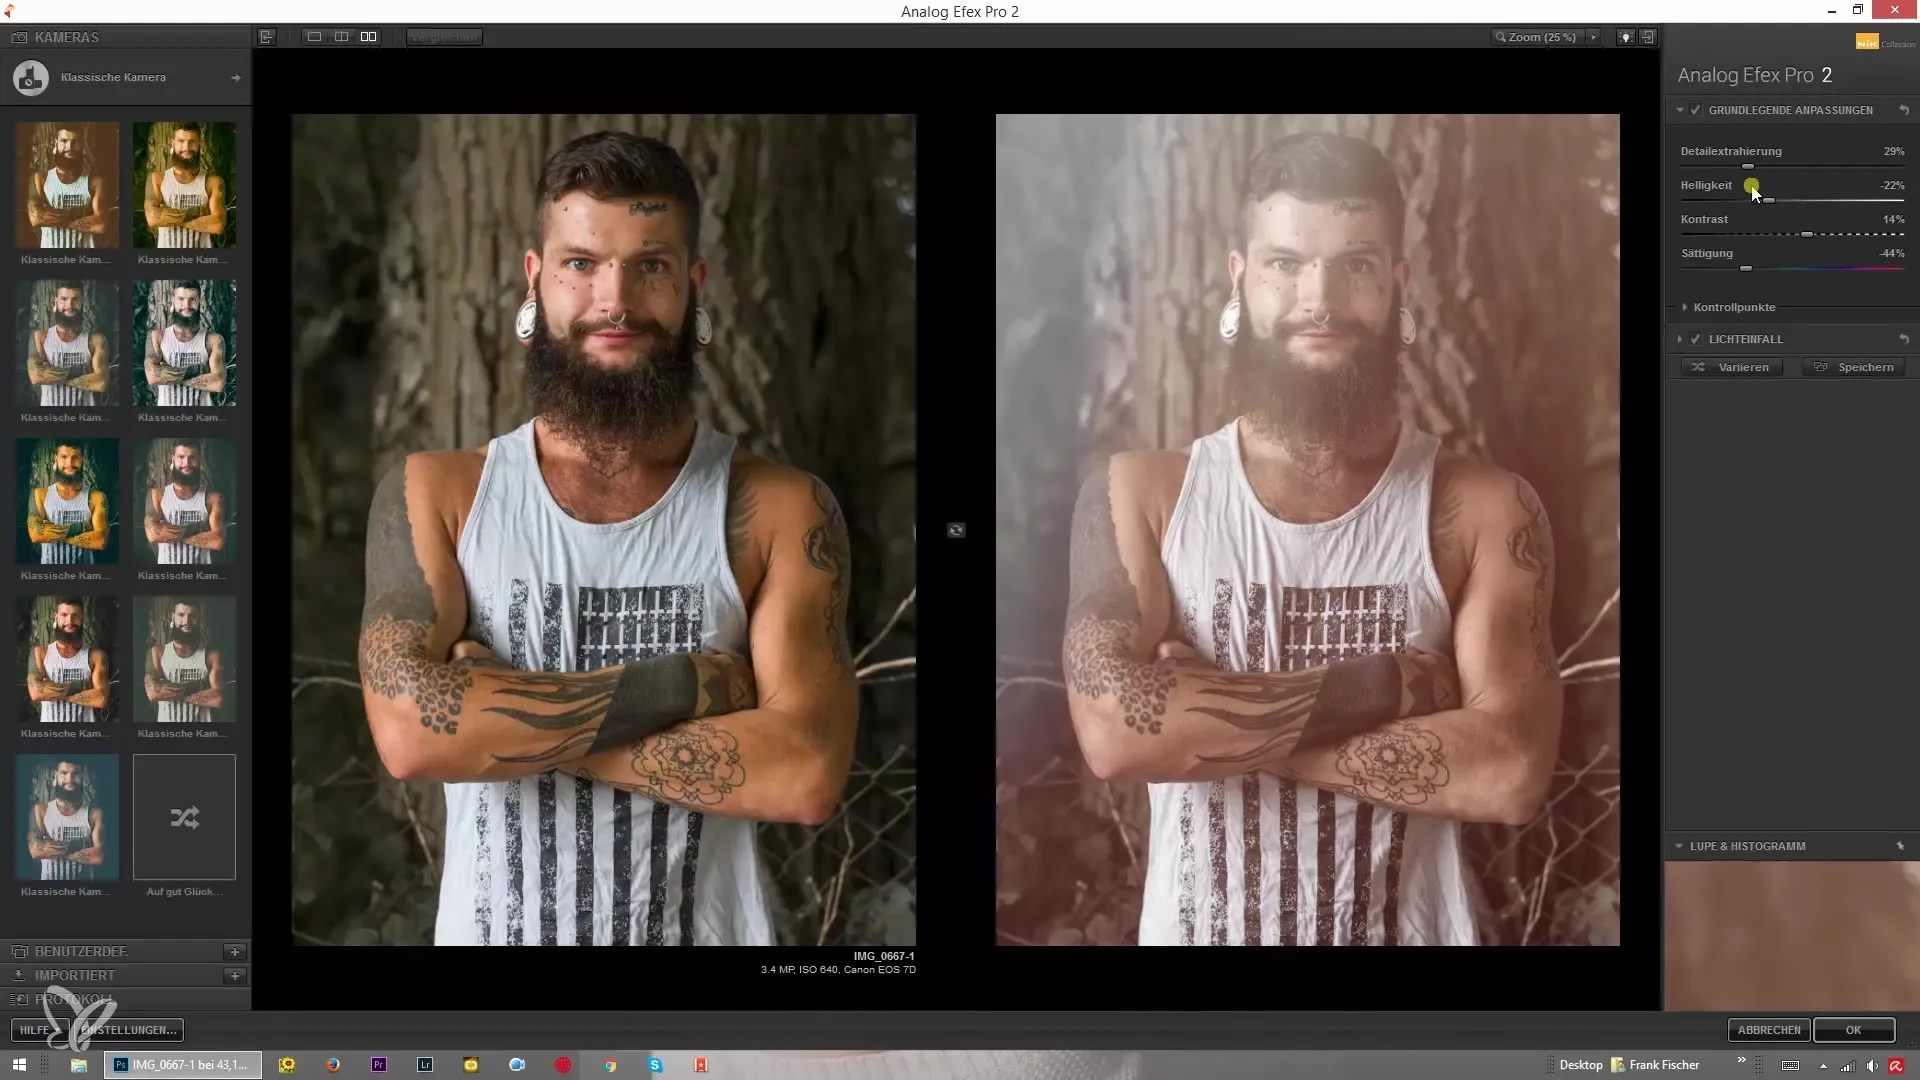
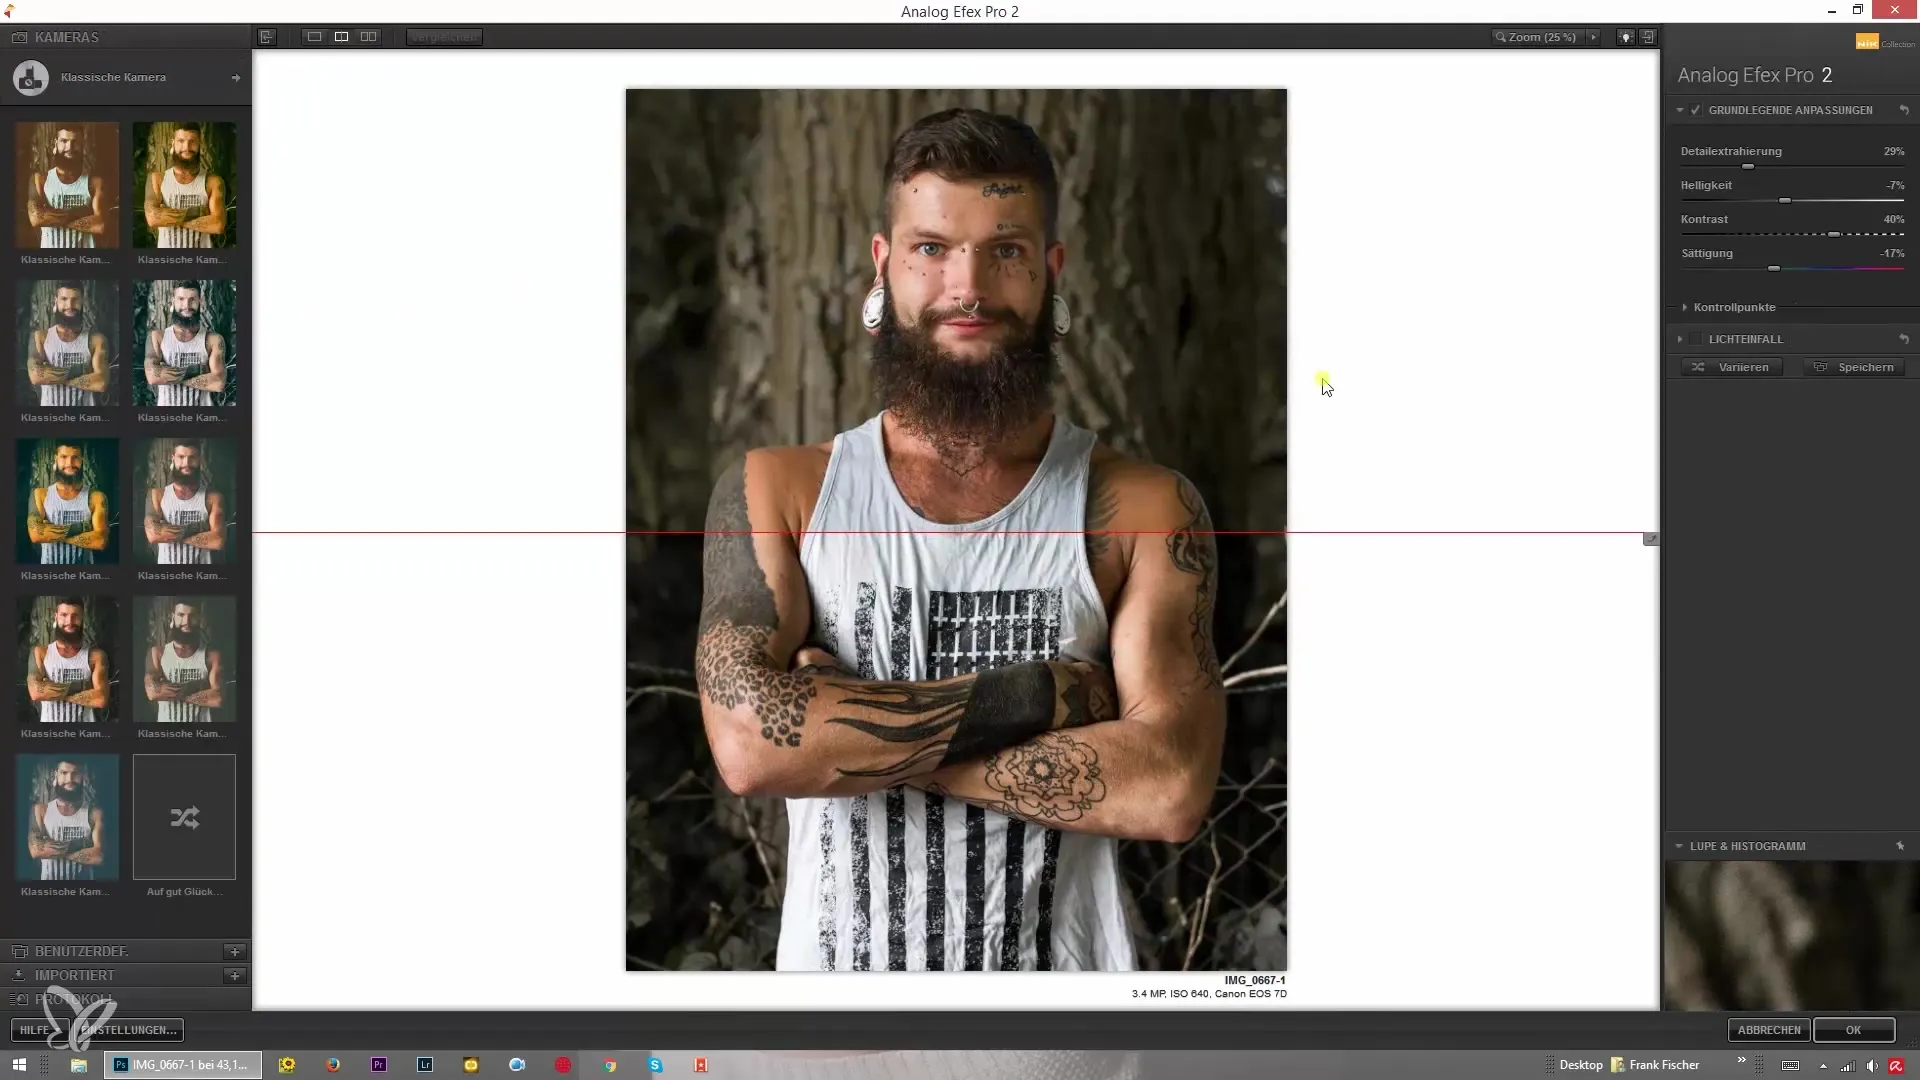
4. Activating Split Preview
Another useful feature is the ability to split the image in half. This function is especially helpful if you want to adjust specific areas like the sky or certain objects in the image. You can activate the split using the double-arrow to specifically track the changes.
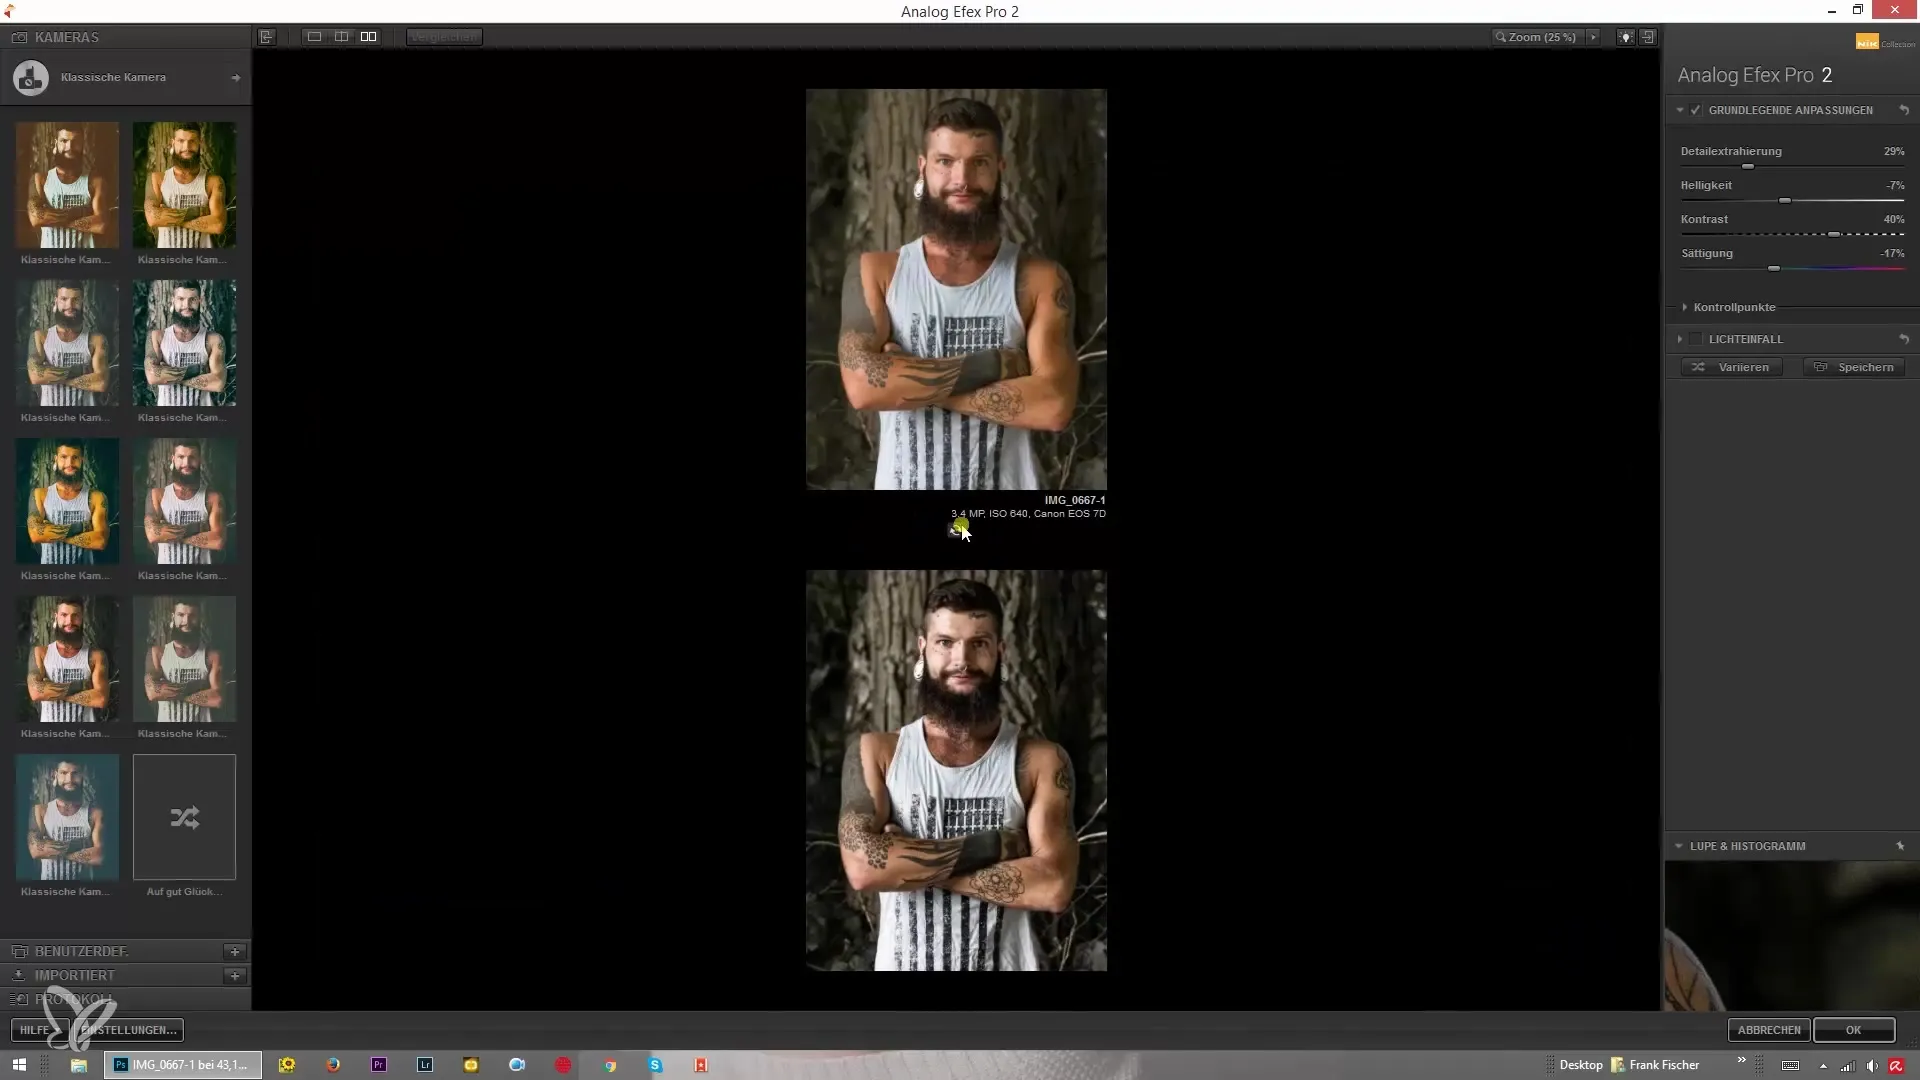
5. Optimizing the Comparison Using Arrows
By clicking and dragging with the arrows, you can decide how much of the original image or the edited image is visible. This allows you for precise analysis of the edits made. Experiment to find what works best for your image.
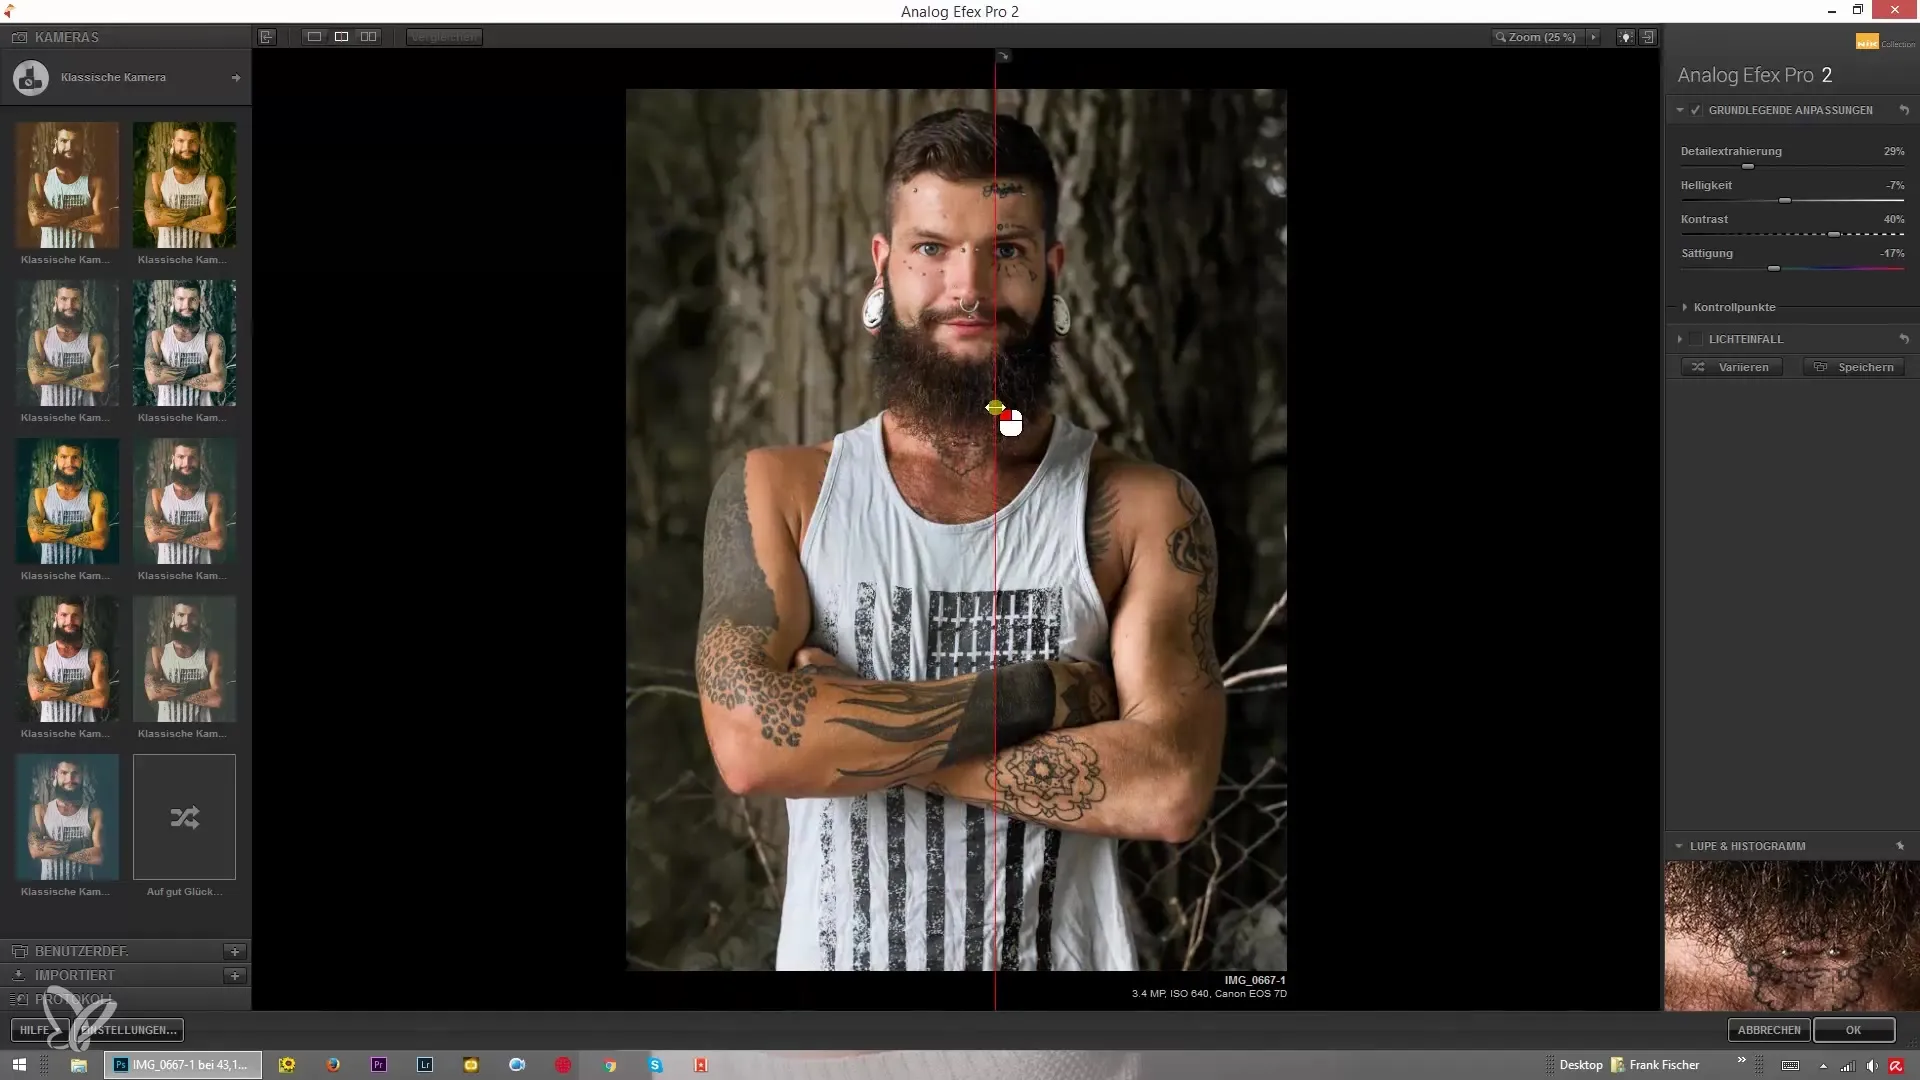
6. Using the Before-After Feature
A practical feature in Analog Efex Pro 2 is that you can get an immediate view of the original image by simply clicking on it. Hold down the mouse button to view the original image and release to regain the edited version. This makes for quick comparisons.
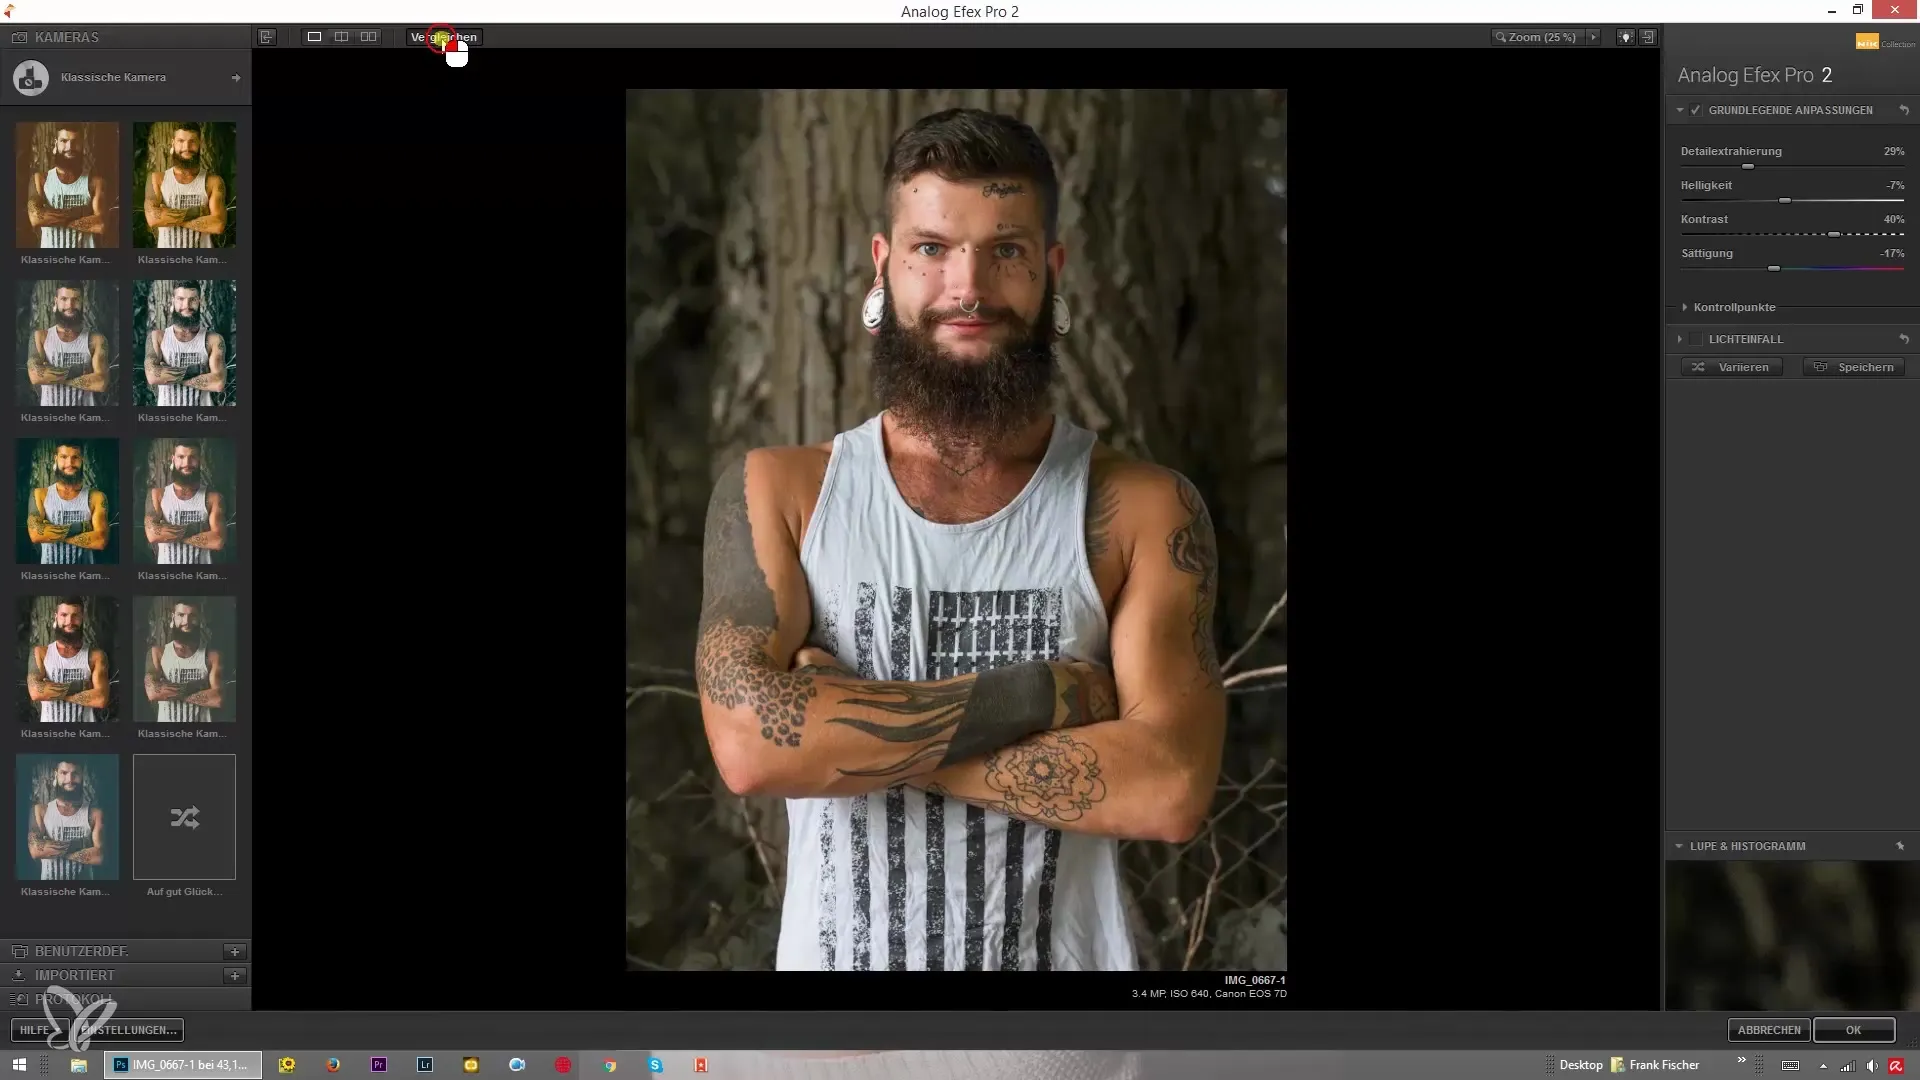
7. Using the Tab Key
Additionally, you can hide or show both sides simultaneously by holding down the Tab key. This gives you the opportunity to review your progress at any time without disturbing the menu. This little tip can significantly speed up the editing process.
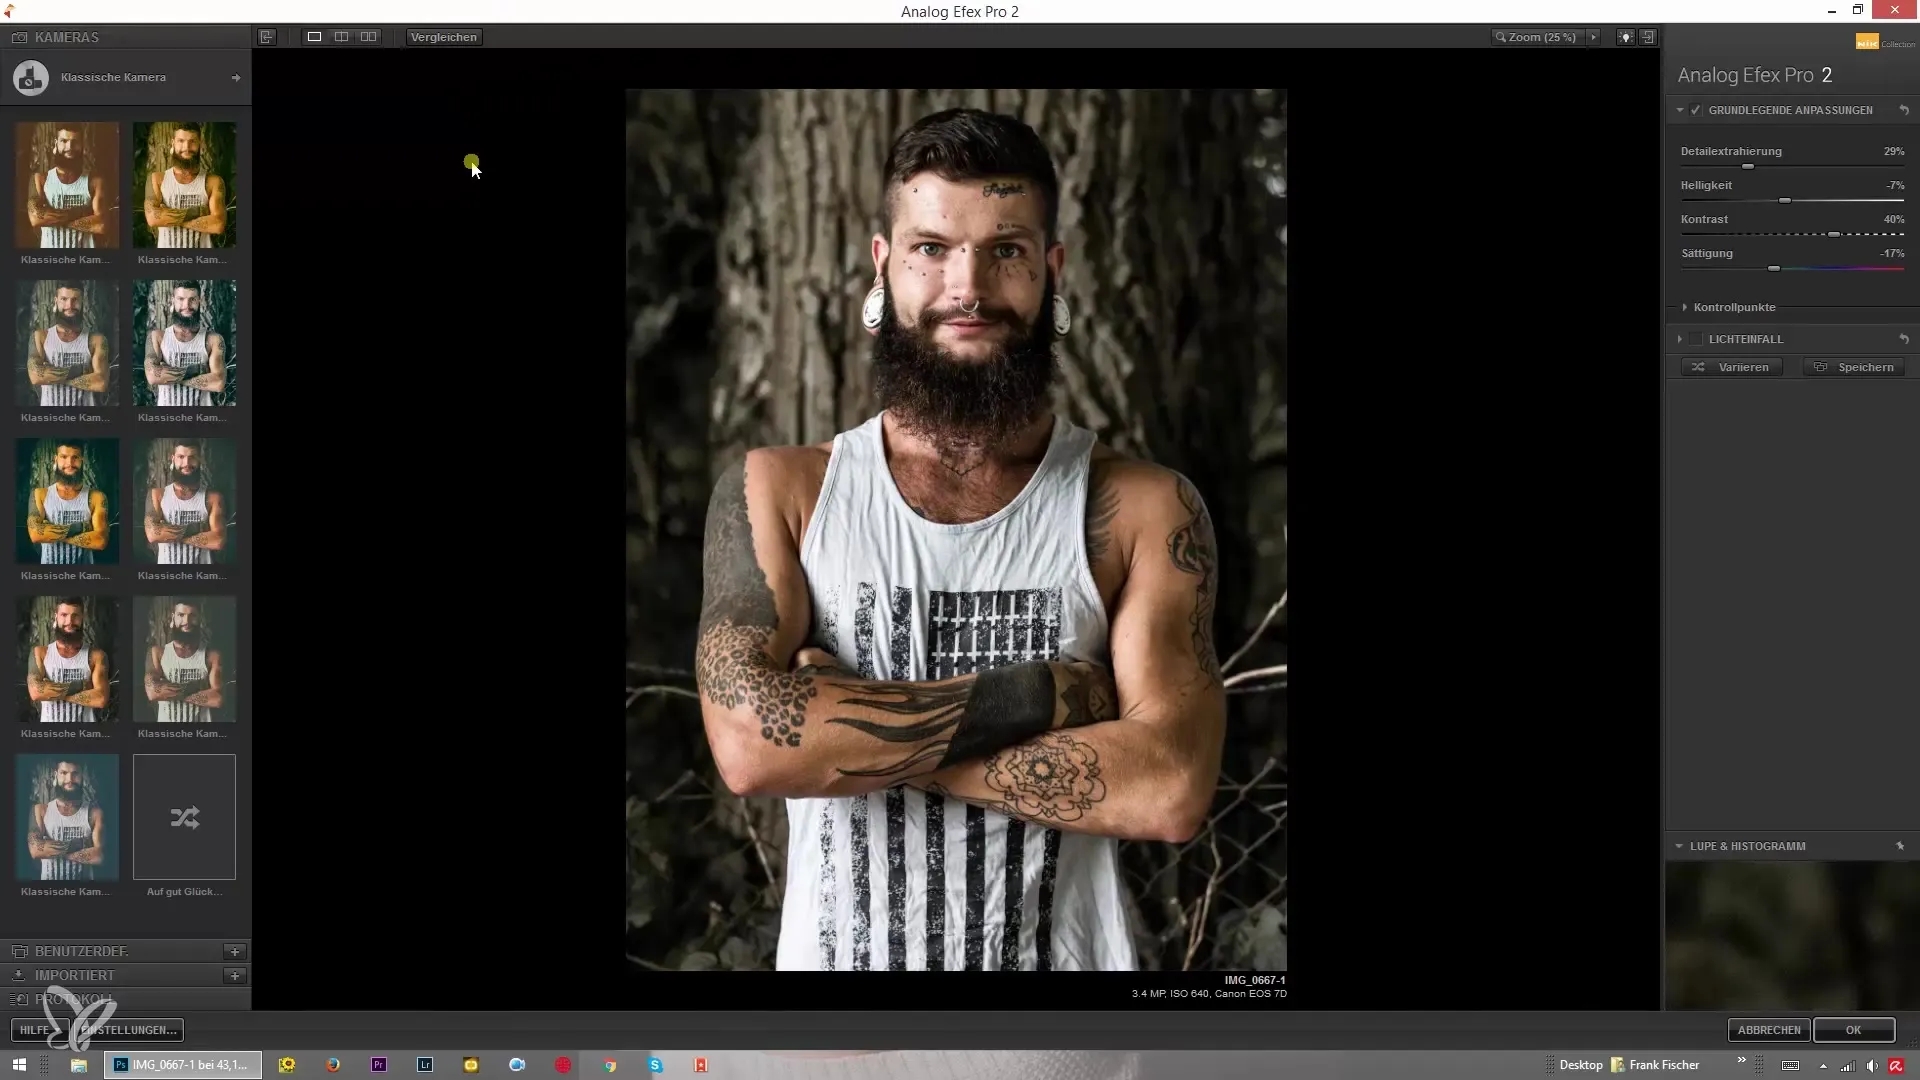
8. Adjusting the Background Color
Reviewing the changes with different background colors can help you view your edits more objectively. Change the background to neutral colors like gray, black, or white, and check how your perception of the image changes as a result.
Summary – Analog Efex Pro 2: Comparing and Editing Images
The exchange between your original image and the edited version is a crucial step in photo editing. With the features of Analog Efex Pro 2, you can effectively make these comparisons and continuously optimize your edits. Use the various viewing options and check your results under different conditions.
Frequently Asked Questions
What is Analog Efex Pro 2?Analog Efex Pro 2 is an image editing software that offers various analog photo effects.
How can I activate the before-after comparison?You can activate the before-after comparison by clicking on the corresponding icon in the user interface.
Can I adjust the image display?Yes, you can adjust the image display either side by side or stacked.
How can I change the background color?You can adjust the background color through the settings options.
What should I do if I am unsure whether the adjustments were successful?Use the before-after comparison and the different background colors to objectively assess your edits.


