In the digital image editing process, it is crucial to master the right tools to fully exploit the potential of your images. With Analog Efex Pro 2 from the Nik Collection, you can achieve a great look and feel that inspires and stimulates your creativity. This guide will walk you through the essential settings the program has to offer so that you can create images with unique effects.
Key Insights
- The user interface can be set in different languages.
- The preview can be displayed in various views to enable you to get the best results.
- Background color and zoom settings can be customized individually.
- GPU support can be activated for faster image processing.
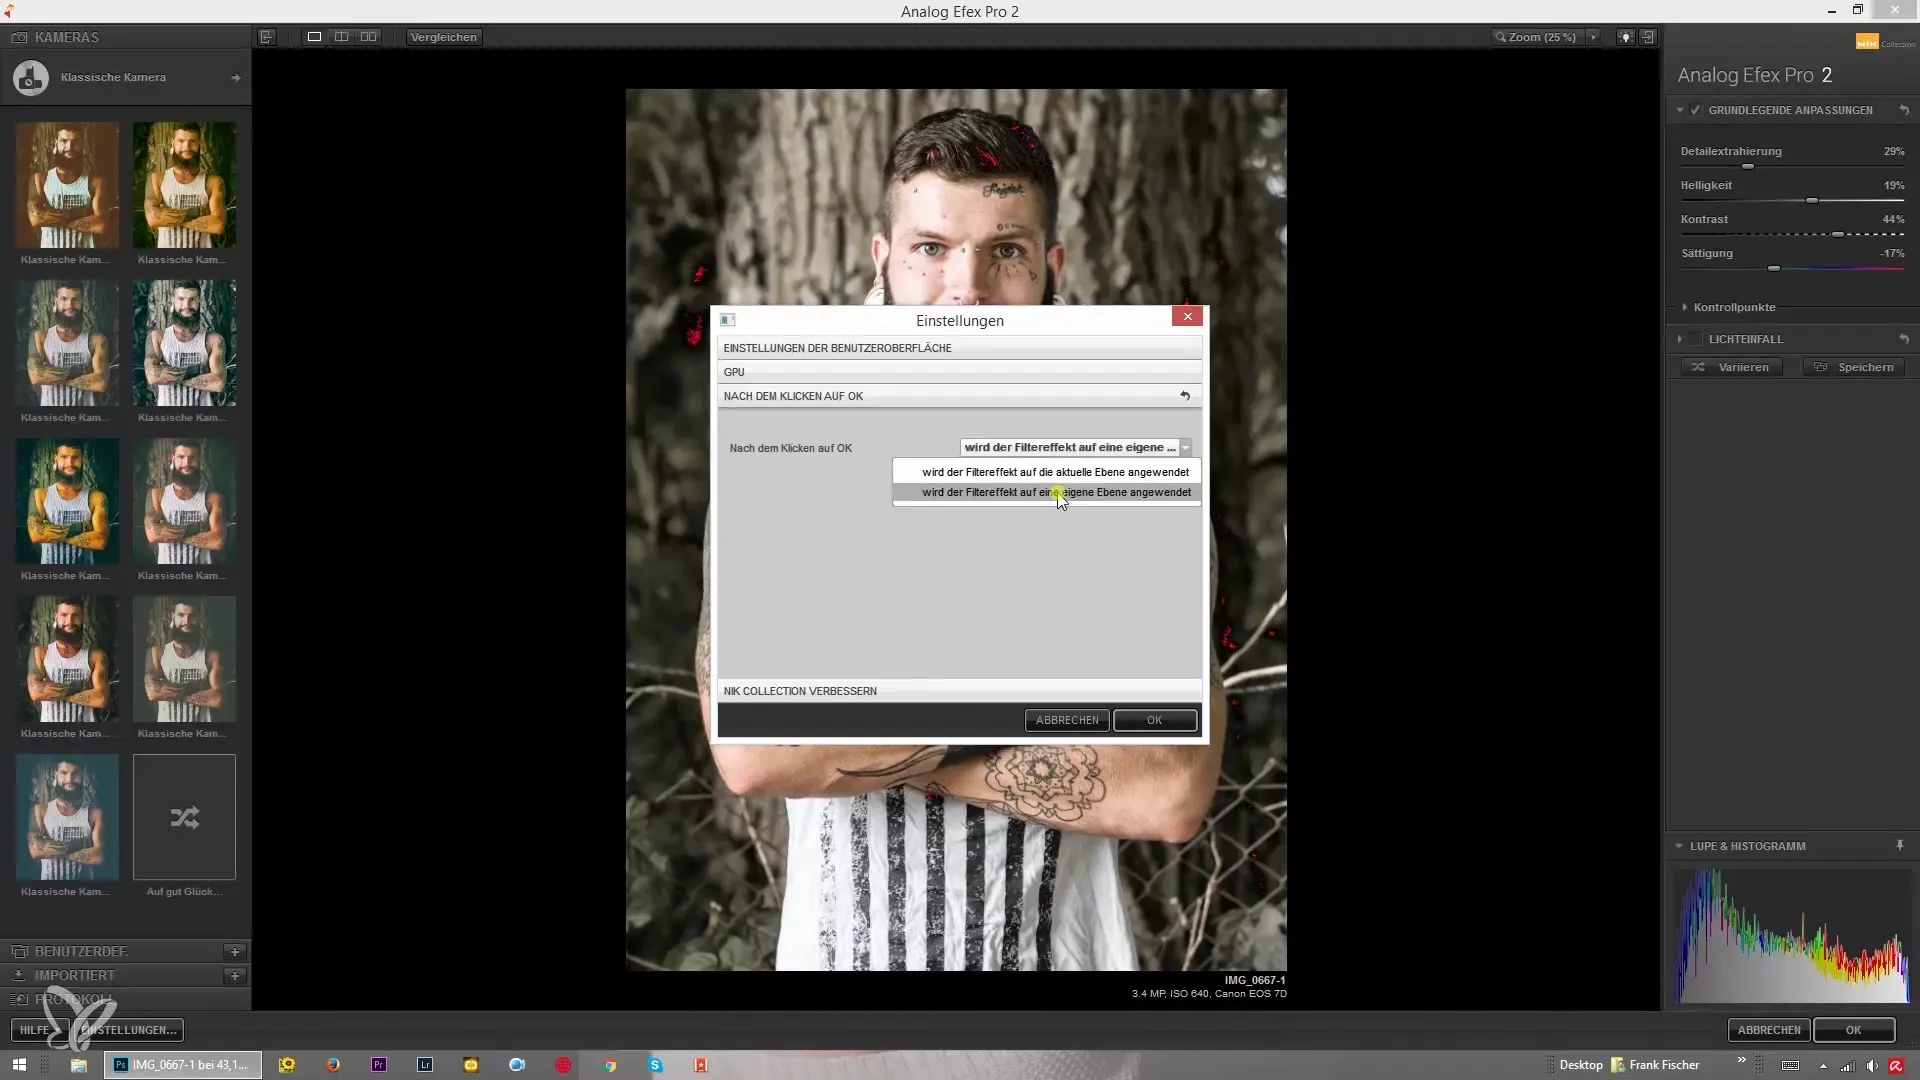
- Filters can be applied to the current layer or a separate layer.
Step-by-Step Guide
To make the most of the settings in Analog Efex Pro 2, follow these steps:
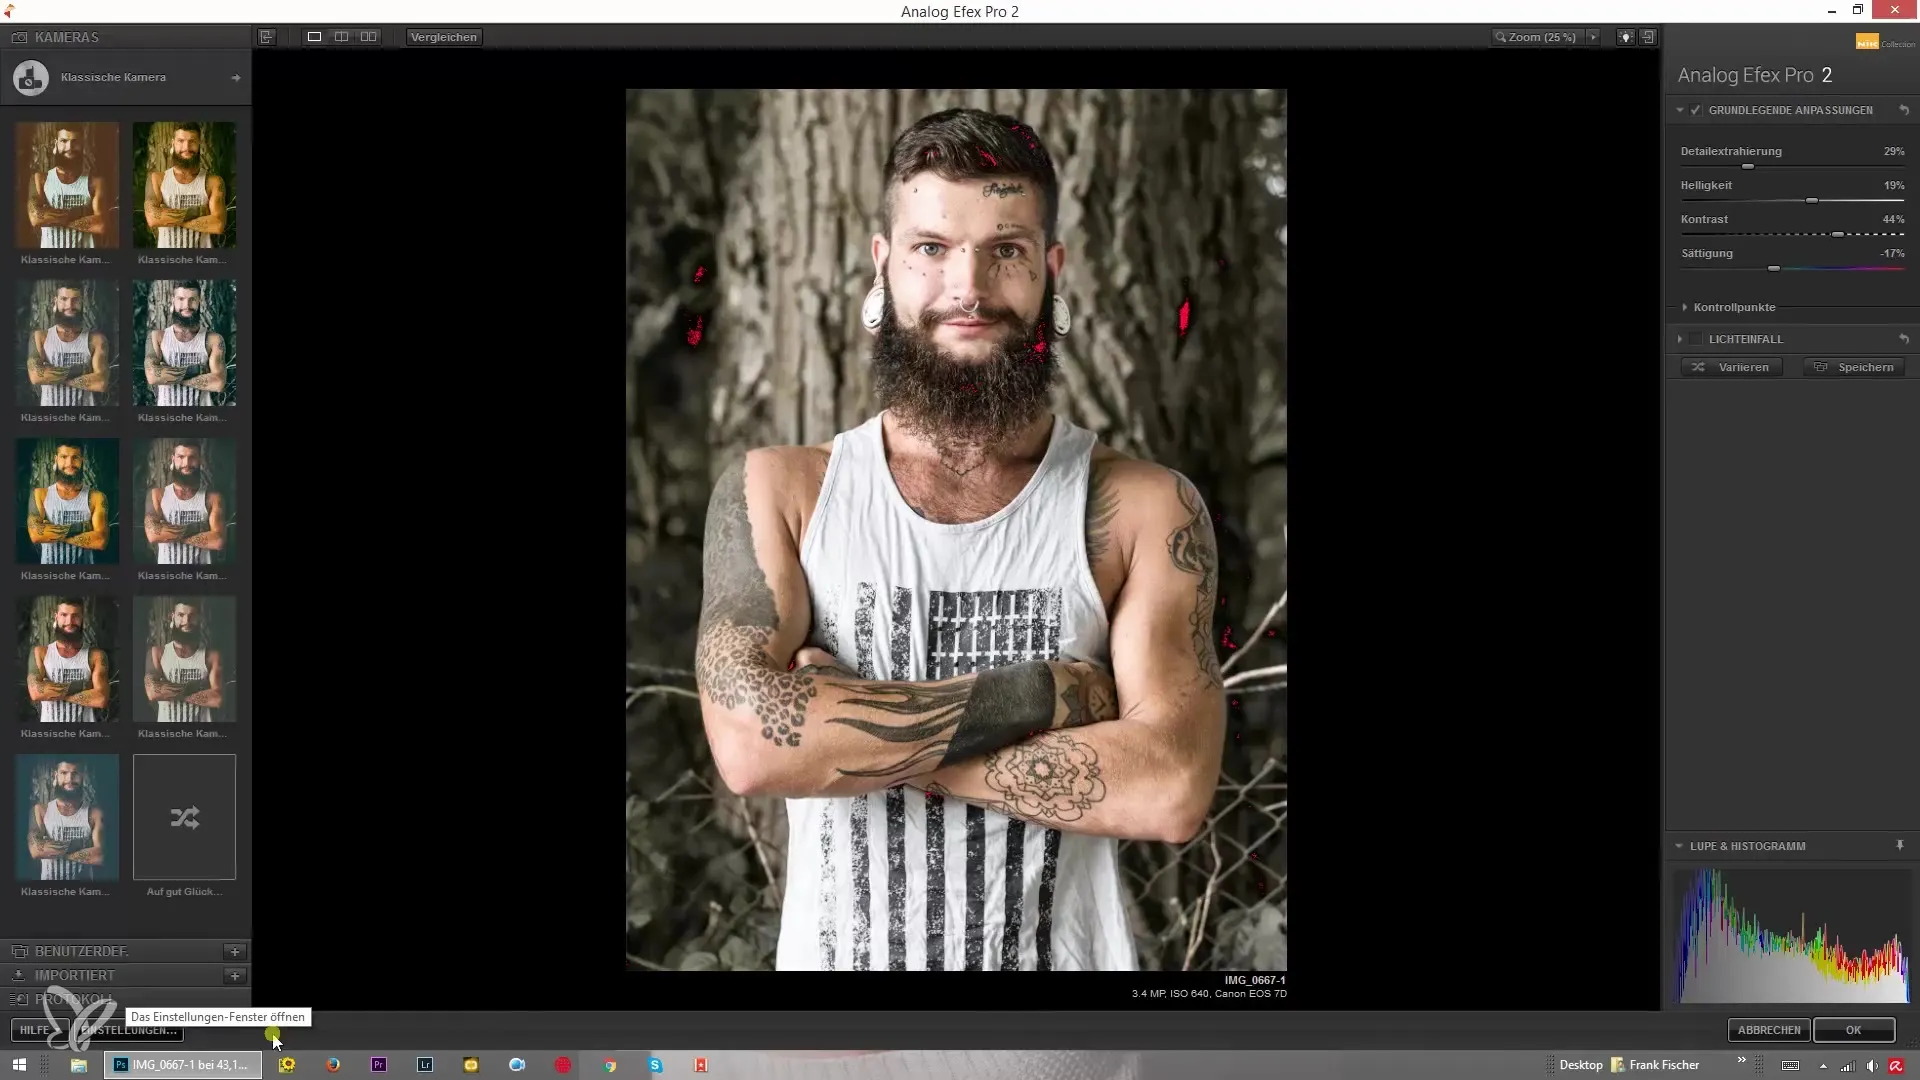
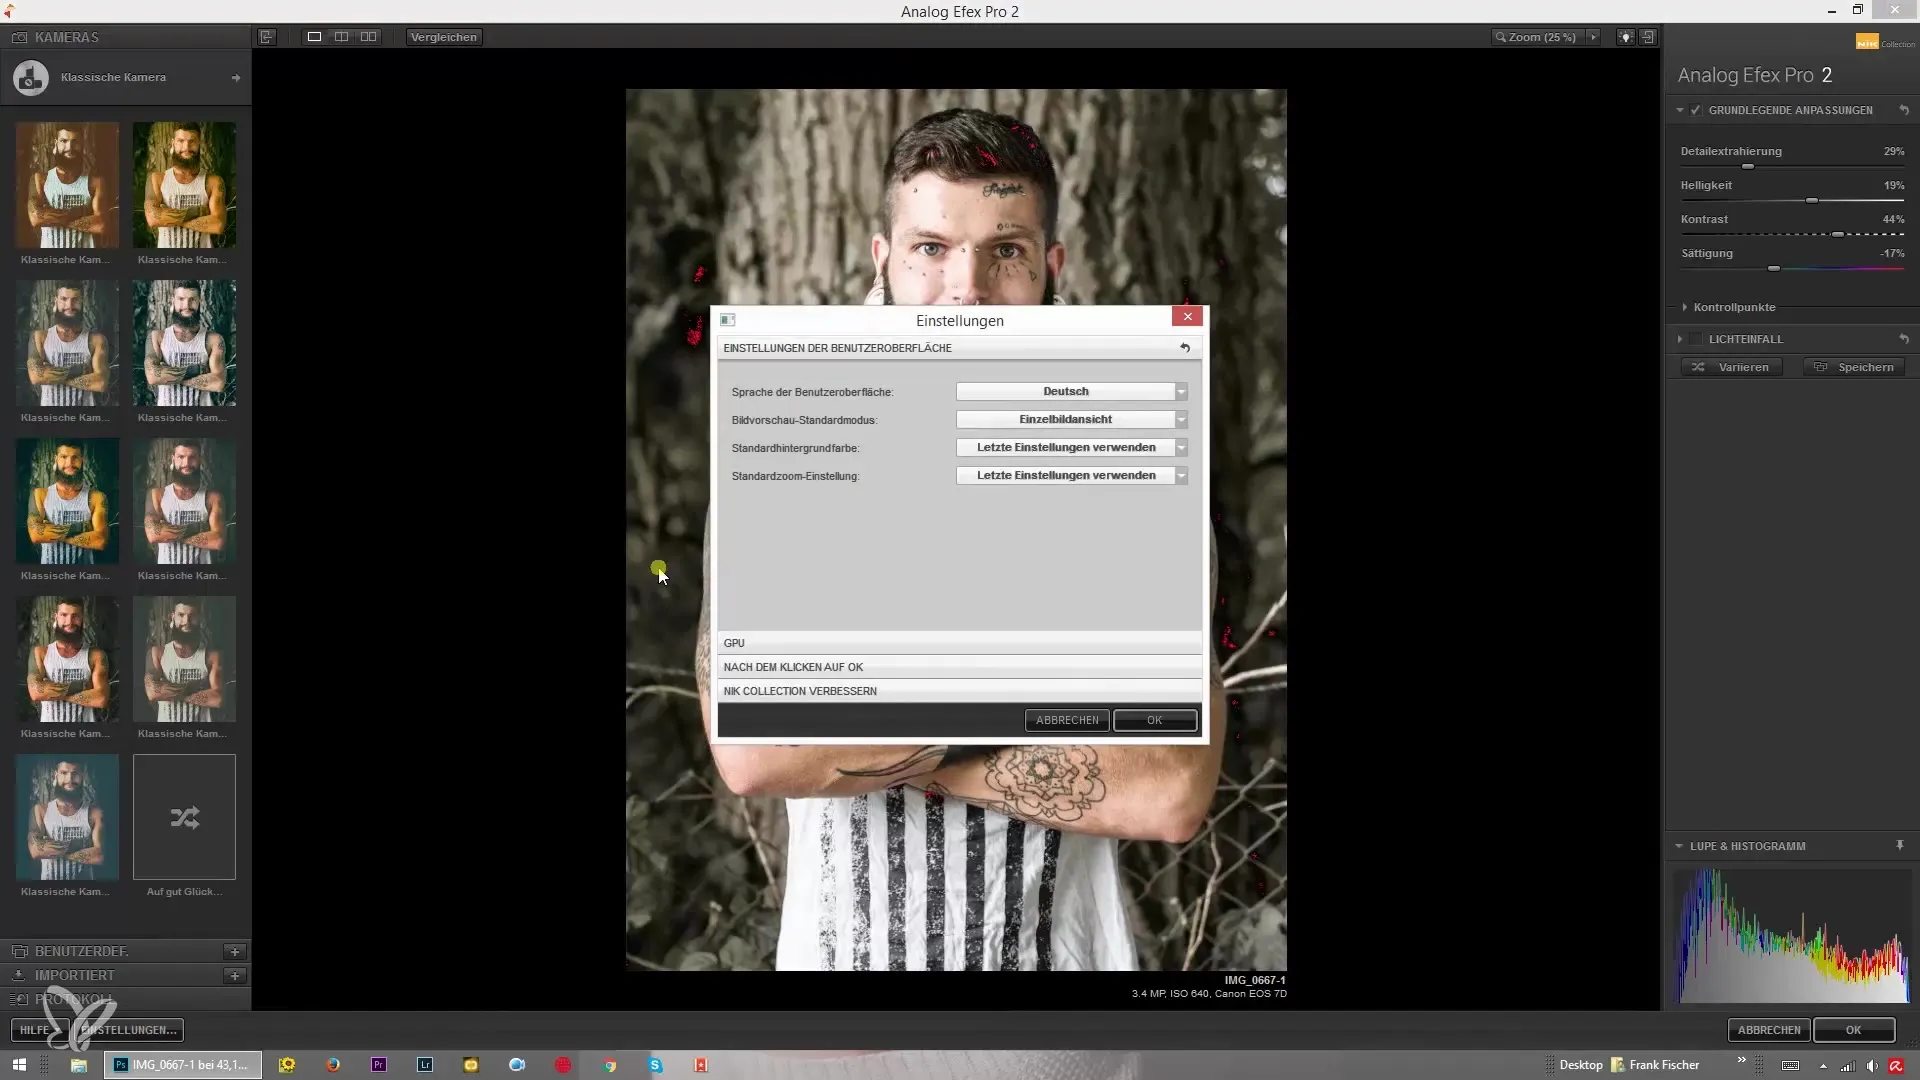
First, open Analog Efex Pro 2. To customize the user interface to your liking, click on the settings icon at the bottom left. Here, you can select the language. I recommend choosing English to simplify the operation.
The selection of preview settings is particularly important. You can choose between several views. The default view displays a single image, but you can also compare two images side-by-side or use the last preview view. I stick with the single image view as it seems the clearest to me.
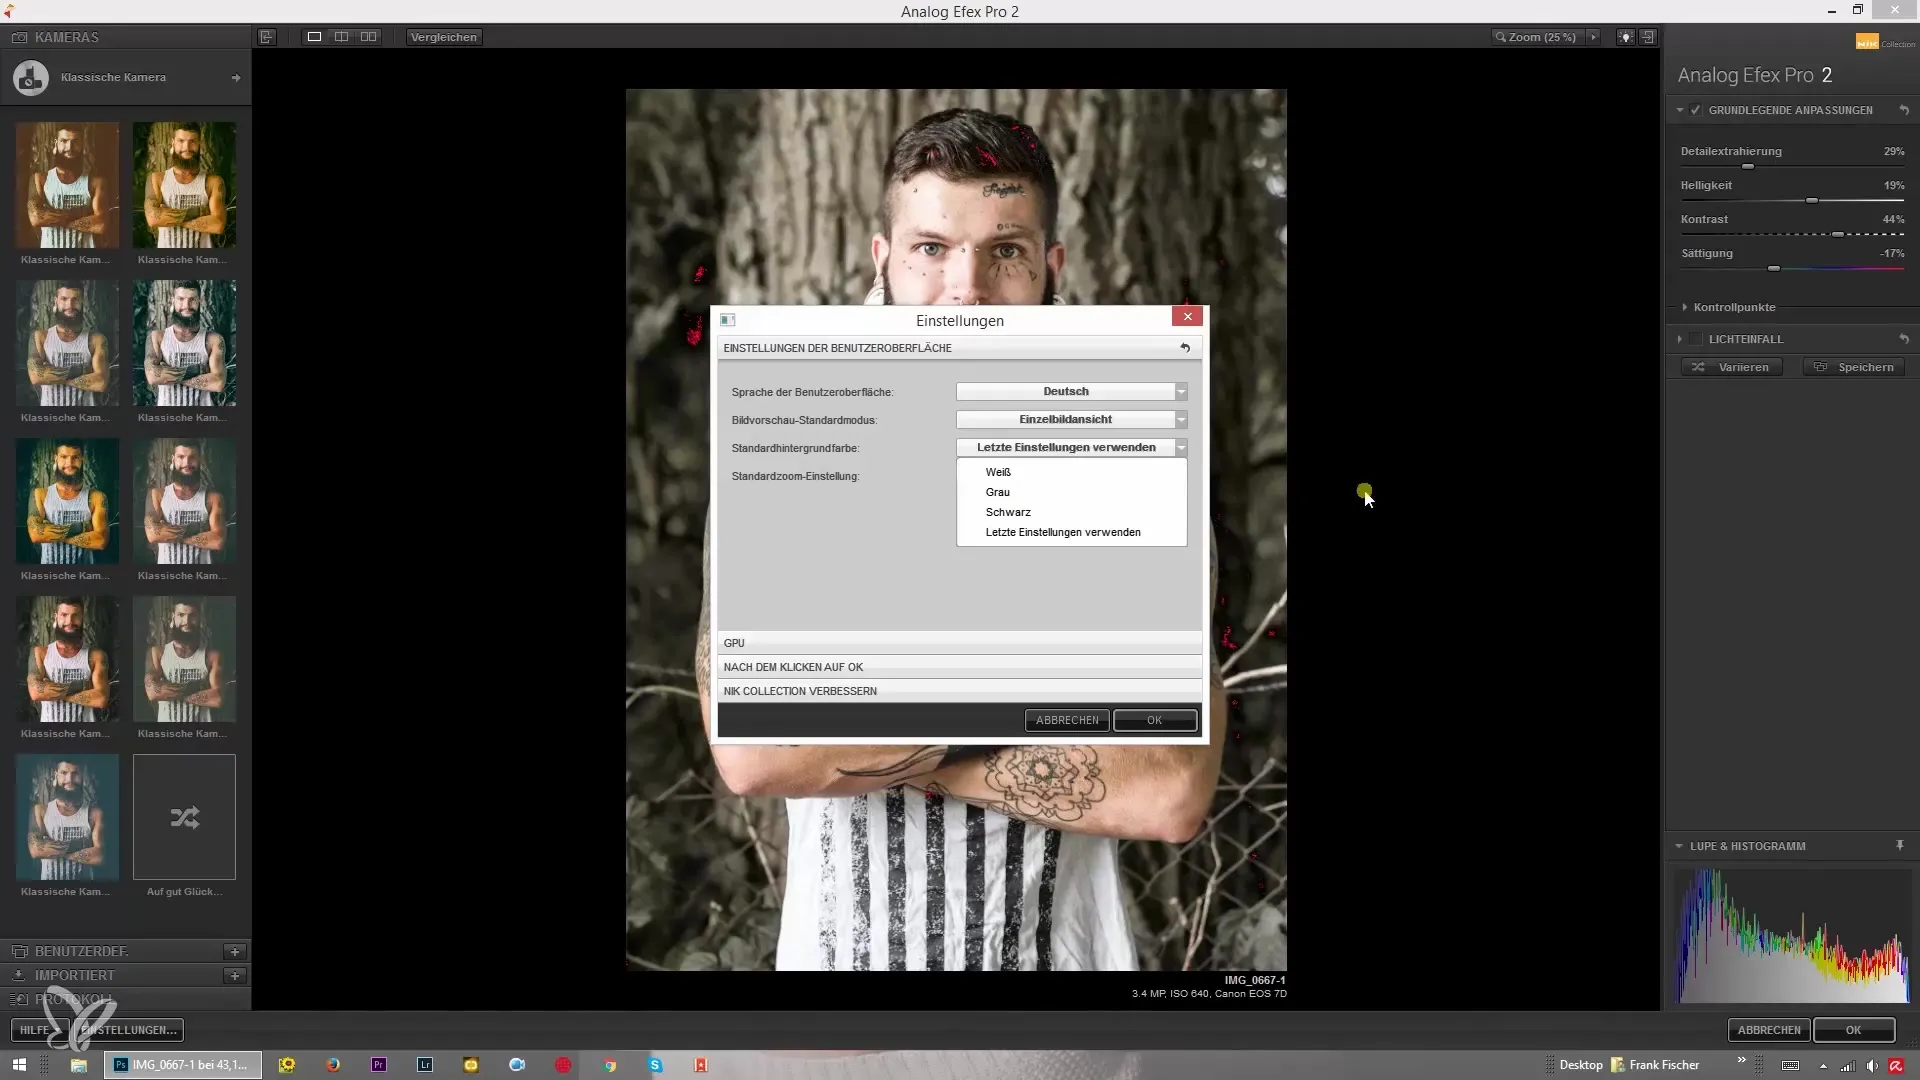
The background color of the user interface can also be adjusted. You have the option to choose between white, gray, and black. You can also set the last used color. This way, the user interface remains familiar to you, no matter how often you open the program.
Another crucial point is the zoom setting. I mostly use the last zoom setting so I can see exactly the image I edited last. This ensures a seamless workflow.
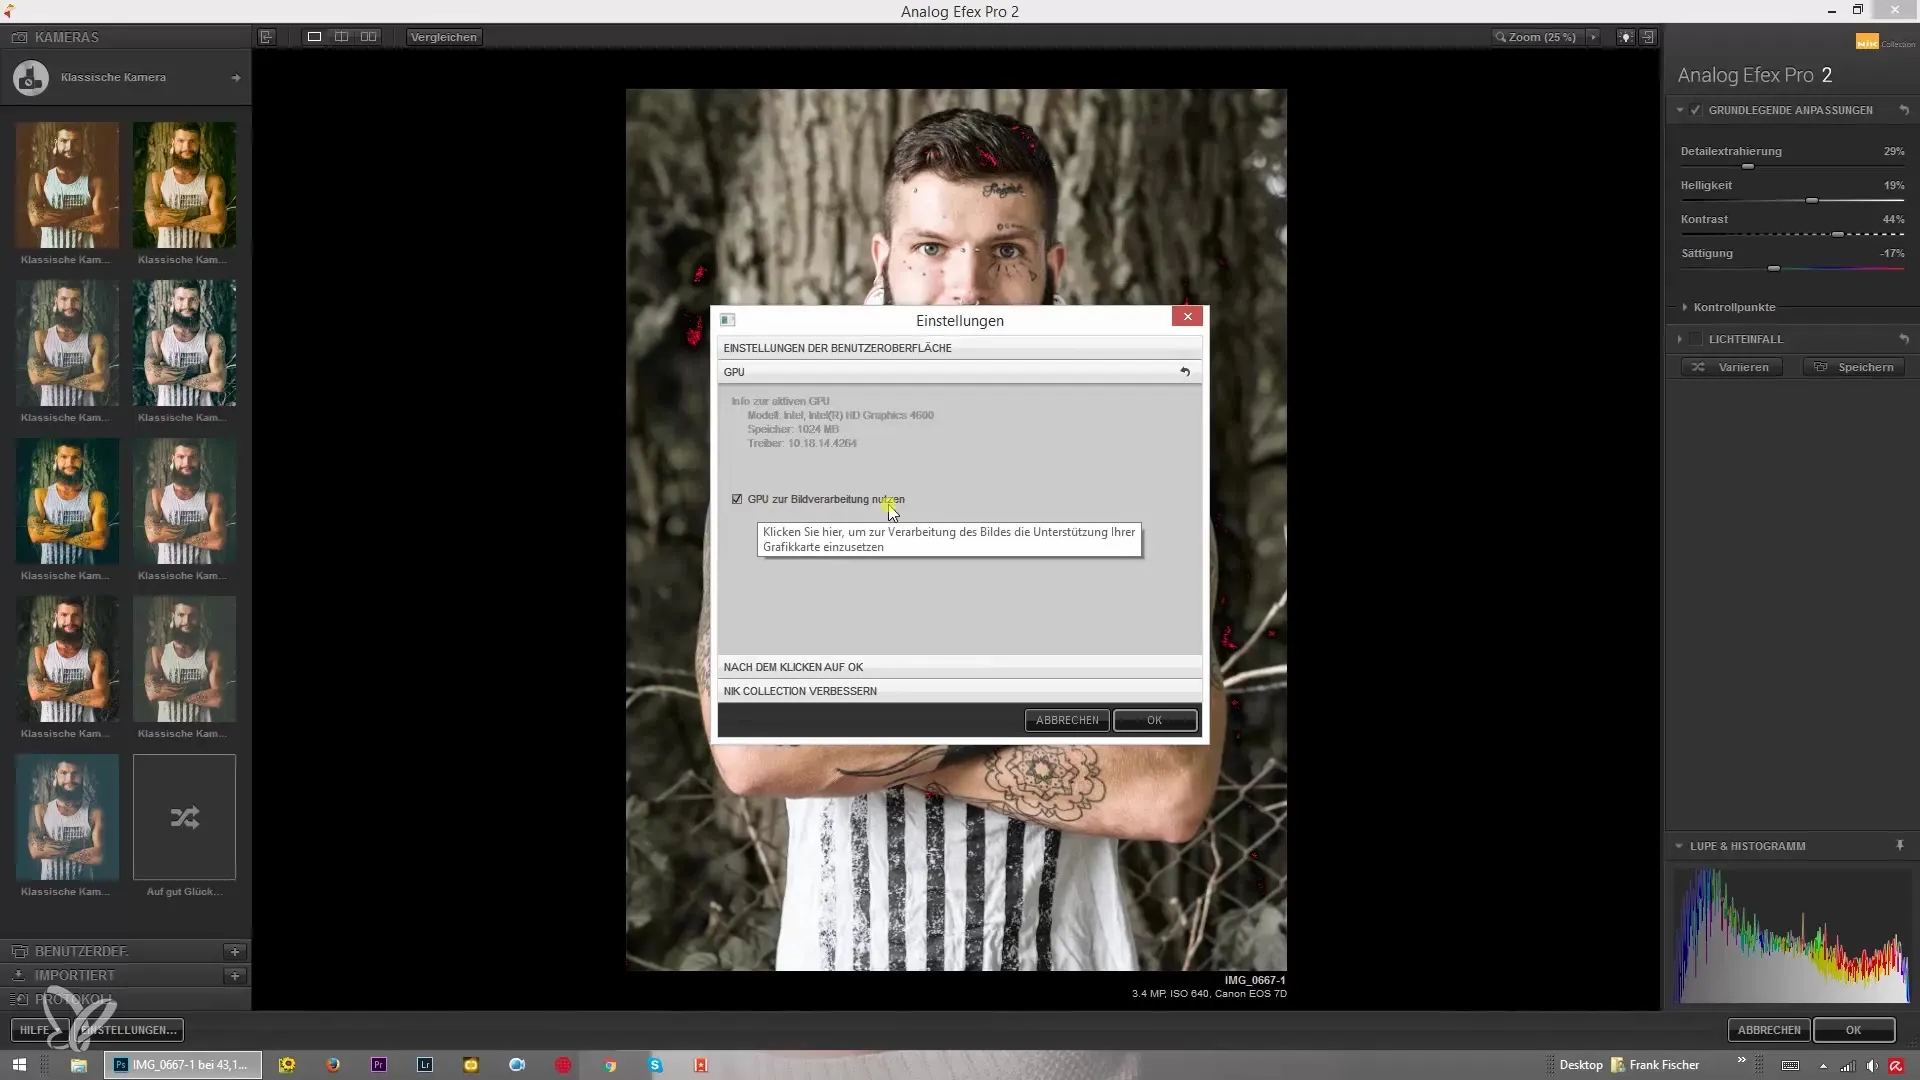
Enable the GPU option to make image editing faster and smoother. This setting can make a significant difference in performance, especially with large-format images or complex edits.
Finally, you can choose to apply the filter effect to the current layer or a separate layer. This is particularly useful if you want to try out different effects without changing the original image or if you want to make additional adjustments after filtering.
If you have any questions, I am available to help you at any time. You can send me an email at info@rekordzeitstudio.de or use the contact form on my website. I am happy to assist you if you need support!
With these basic settings, you are well-equipped to get creative in Analog Efex Pro 2. Have fun in image editing and experimenting with the various effects available to you! I hope this guide has helped you and you have learned a lot.
Summary – Analog Efex Pro 2: Handling the Settings
In this guide, you have learned about the various ways you can customize the user interface of Analog Efex Pro 2 to work effectively and creatively. The choice of language, customizing the preview views, and utilizing the GPU are just a few of the factors that will help you achieve impressive results.
Frequently Asked Questions
What settings can I change in Analog Efex Pro 2?You can adjust the language, the preview view, the background color, the zoom settings, and the GPU options.
How can I change the background color?Simply click on the background color settings and choose one of the available colors.
What is the advantage of GPU support?Enabling the GPU improves the performance of image processing, leading to faster loading times and smoother editing experiences.
Can I apply different filters to separate layers?Yes, you can apply the filter effect either to the current layer or to a separate layer for more flexibility in editing.
Where can I get support if I have questions?You can send me an email or use the contact form on my website to receive support.


