Do you want to give your images a unique and dynamic look? In this tutorial, you will learn how to create visual effects that captivate the viewer by zooming and rotating areas of an image in Analog Efex Pro 2. The ability to emphasize or blur certain areas can give your image the finishing touch. Let’s explore these features in detail so you can take your photo editing to the next level.
Key Insights
- With the zoom function, you can control the intensity of the effect.
- The rotation function allows for a rotation of up to 360° for interesting perspectives.
- The adjustment of effect strength can vary depending on the image and desired outcome.
Step-by-Step Guide
When you’re ready to make your images more dynamic, follow these steps:
1. Accessing the Zoom and Rotate Effects
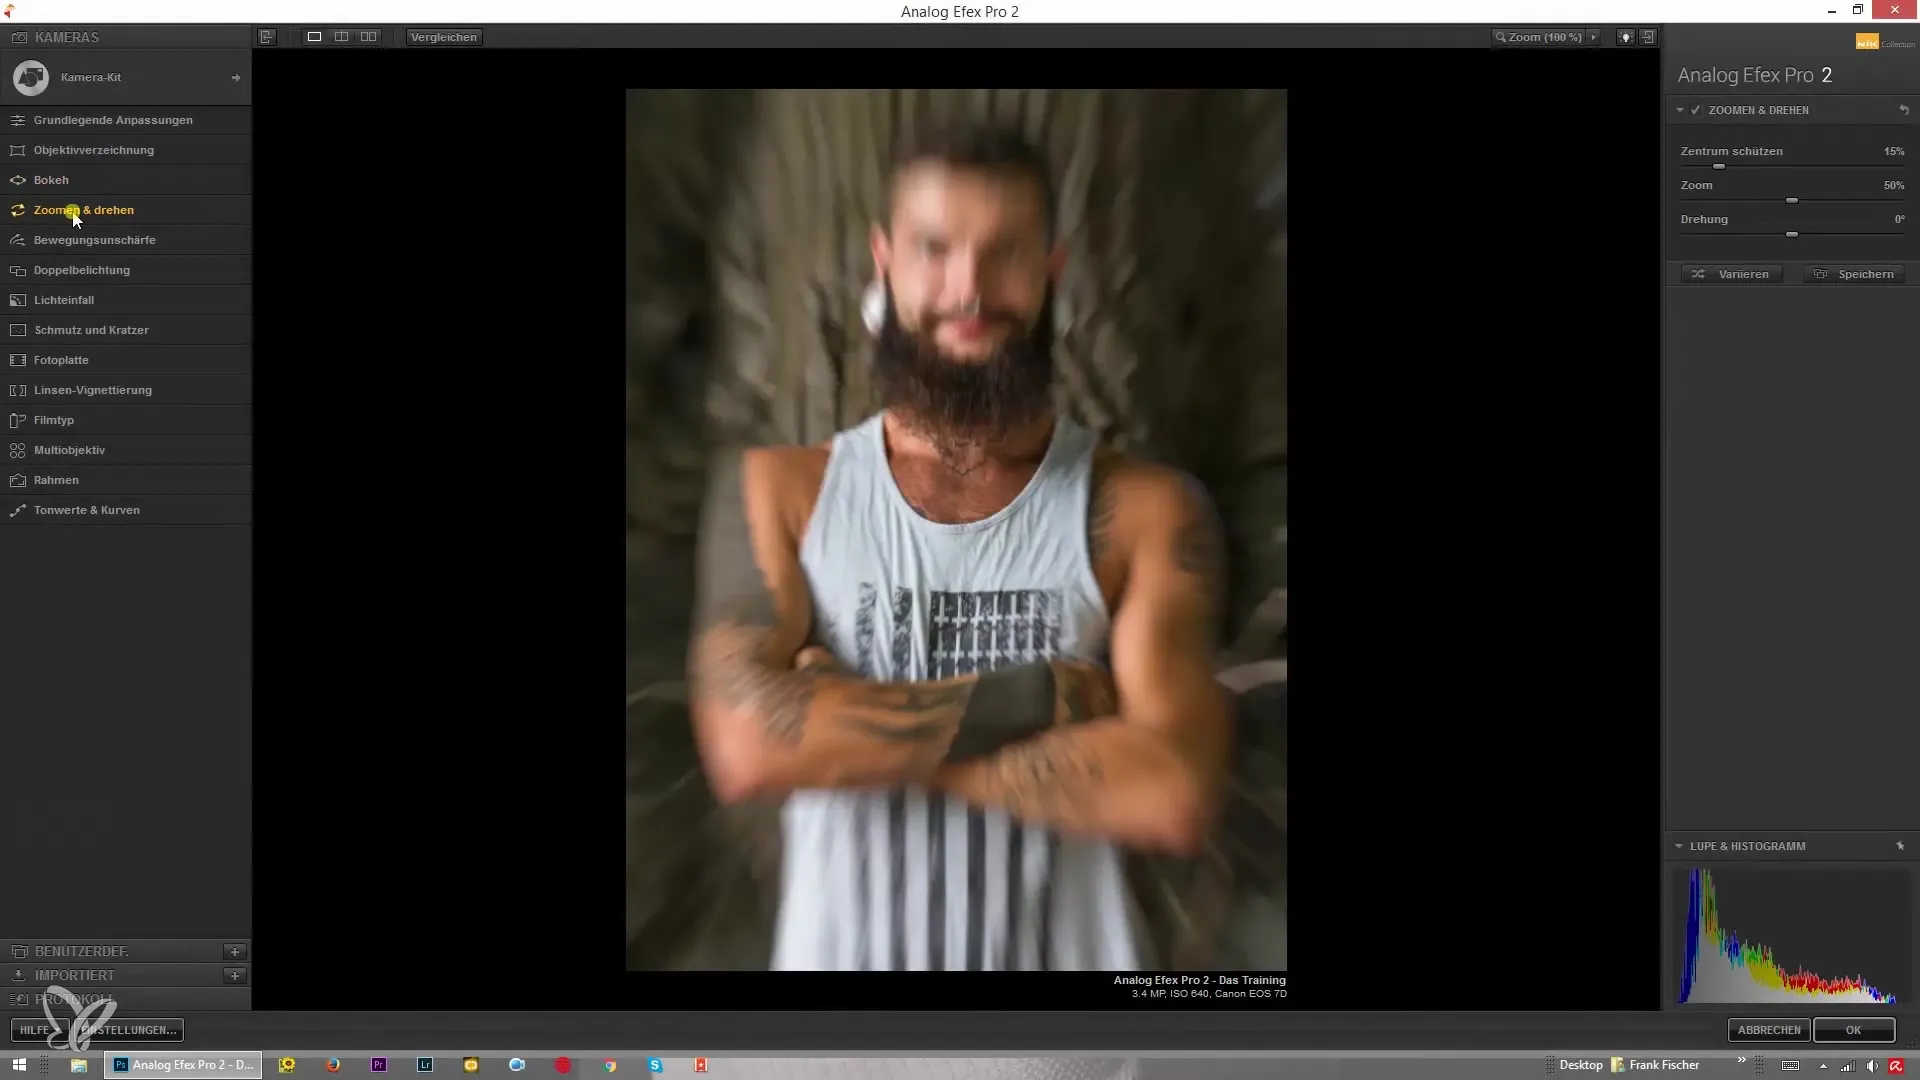
Start by opening the zoom and rotate area in Analog Efex Pro 2. By clicking on the corresponding option, it quickly becomes apparent that the image gains a surreal touch.
2. Adjusting the Zoom Strength
To change the strength of the zoom effect, move the slider in the interface. You can make the effect subtle by pulling the value down, resulting in a slight blur, or raise it to maximum values to create striking, harsh rays.
3. Setting the Center
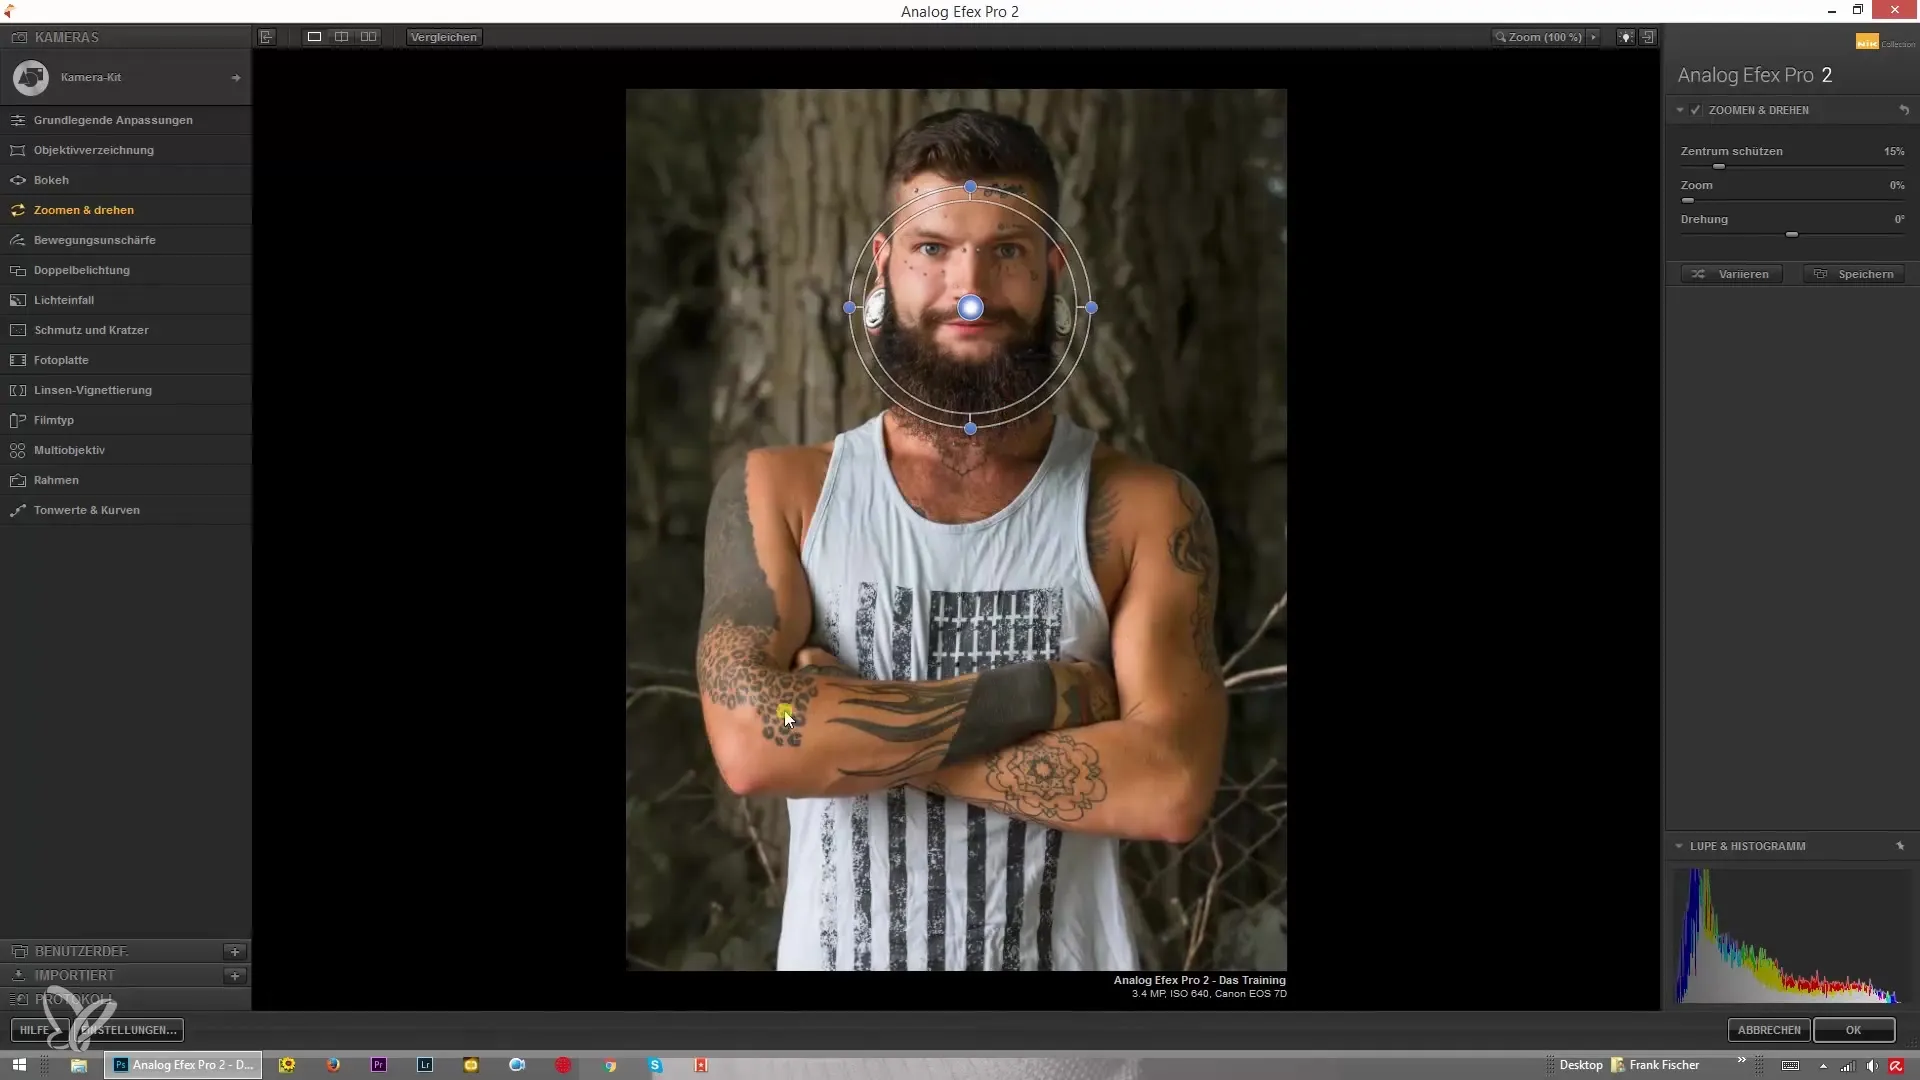
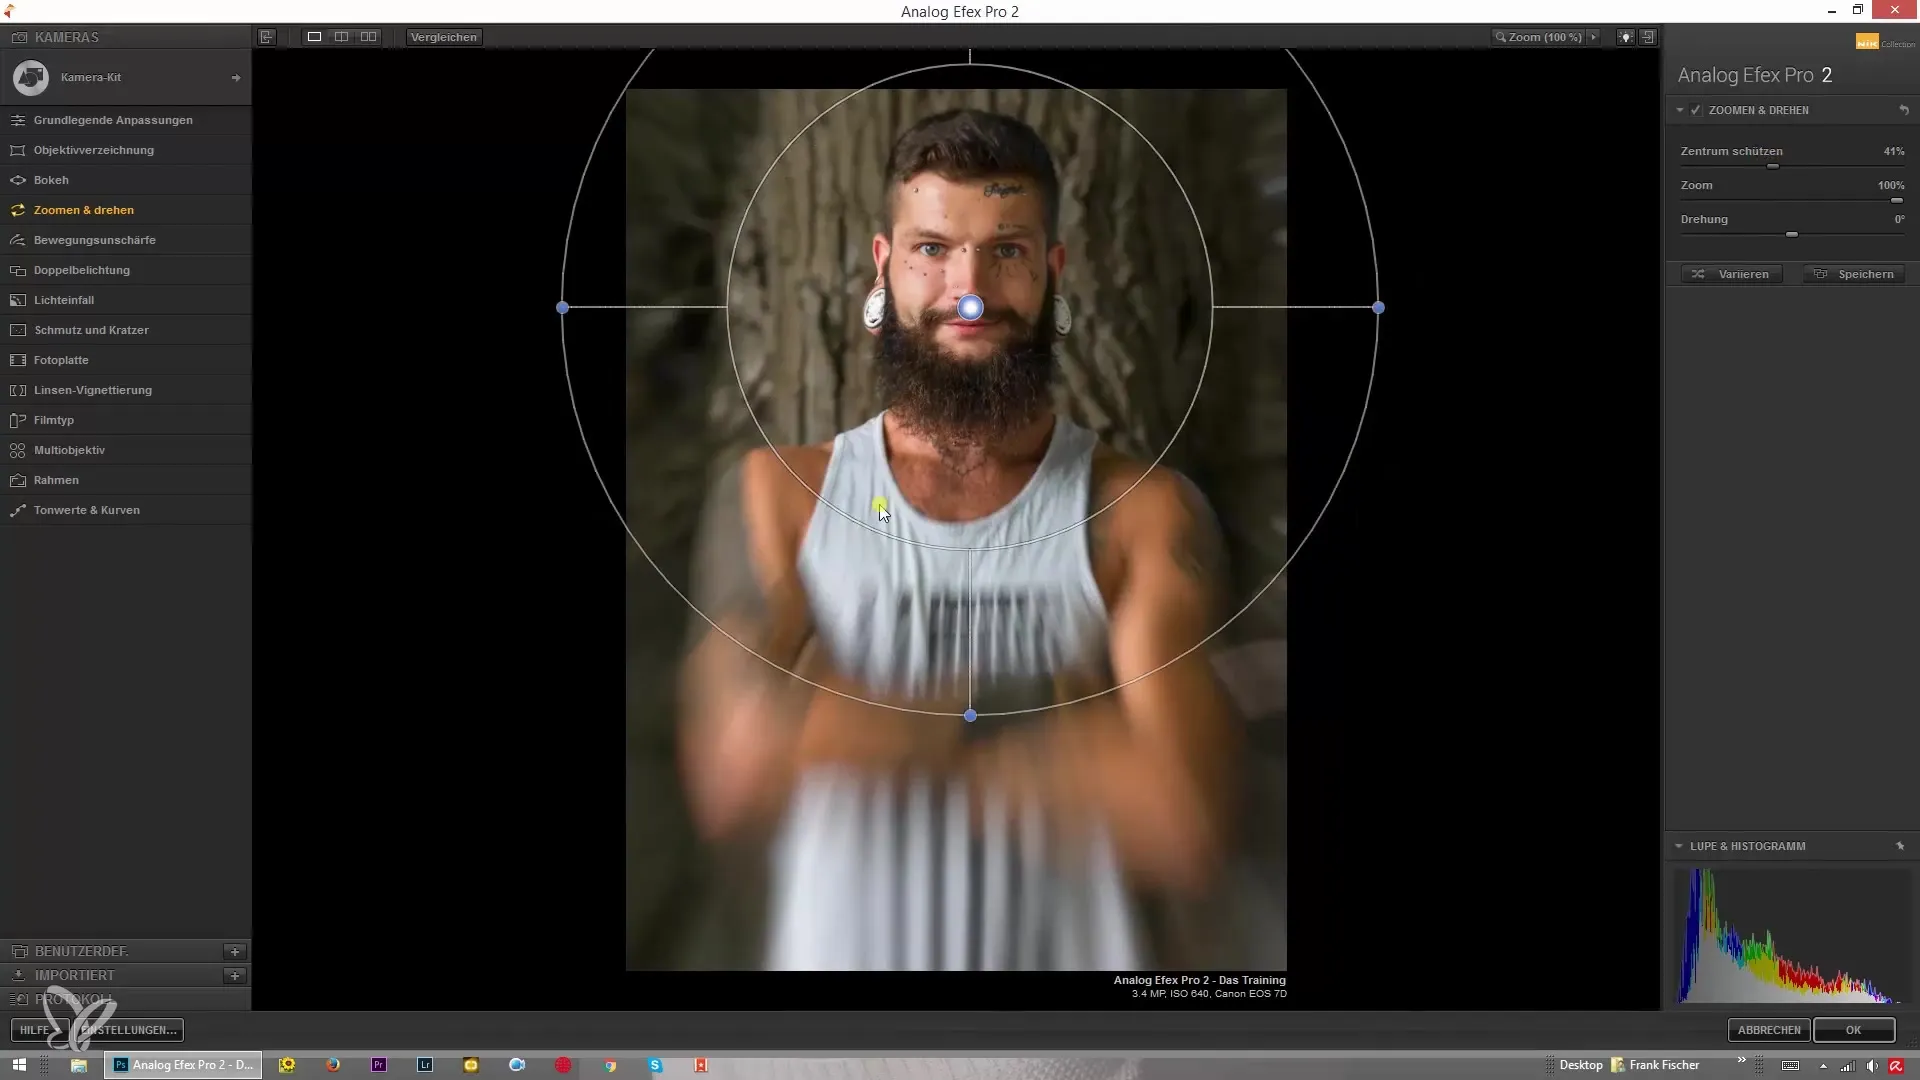
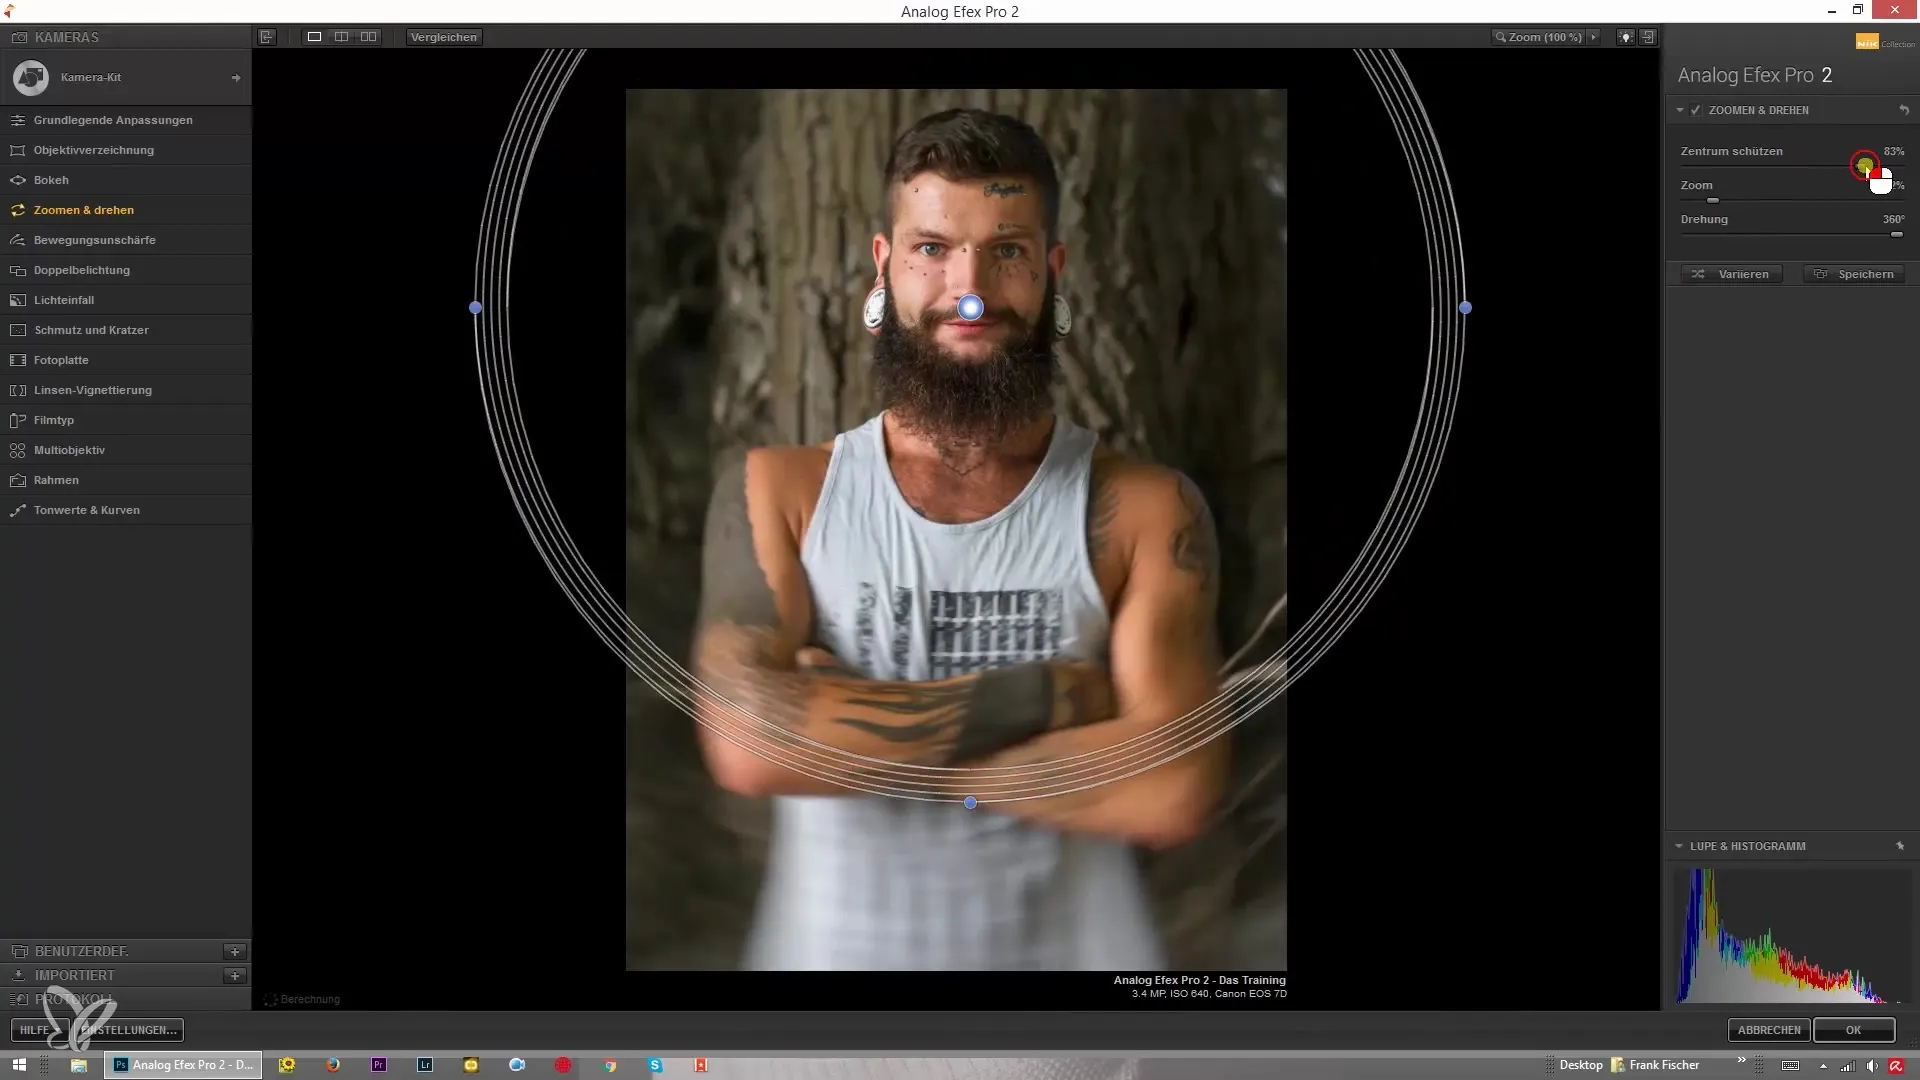
Decide which element in your image should be the focus by selecting the center. The middle area remains sharp while the edges become blurry. This adds more depth and perspective to your image.
4. Varying Zoom Strength via Sliders
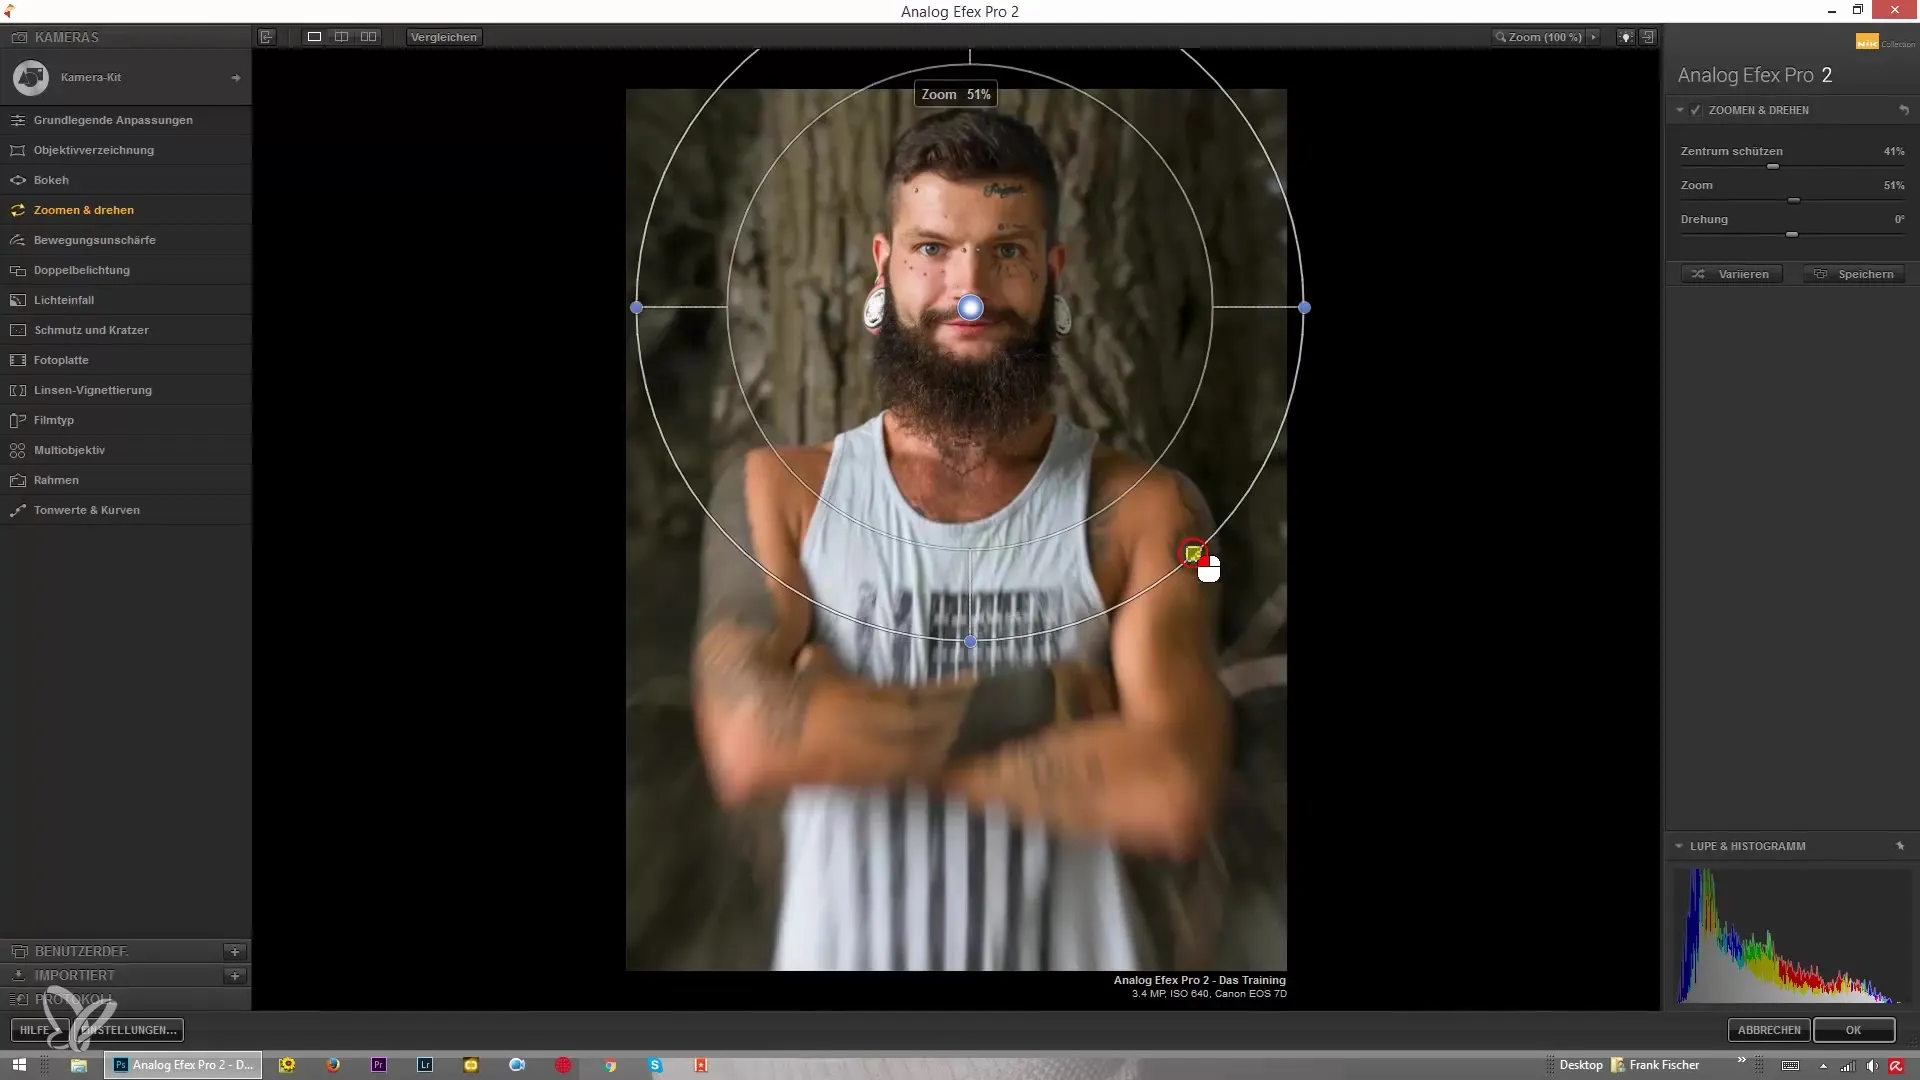
In addition to manual adjustment, you can also vary the zoom strength using the appropriate sliders in the menu. This method gives you more control over the precision of the effects.
5. Introduction to the Rotation Function
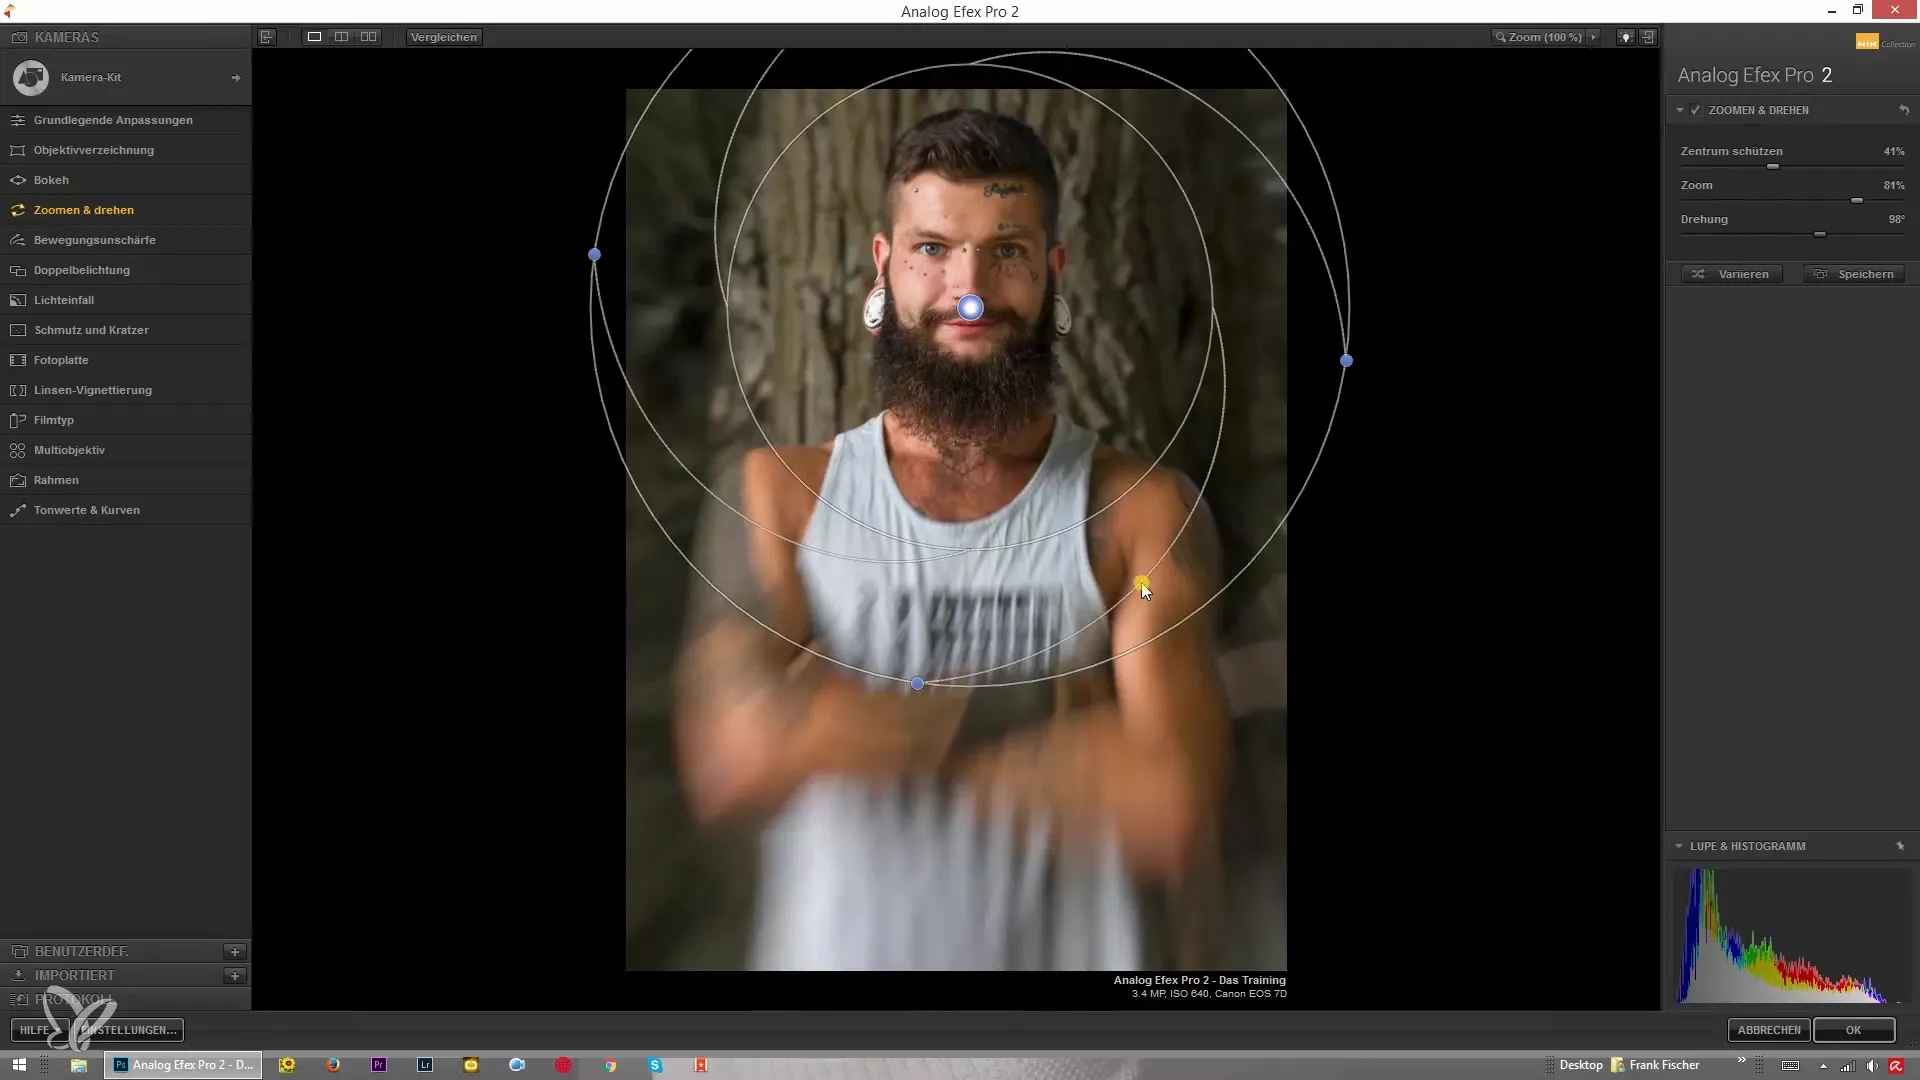
The next step involves the rotation function. This allows you to rotate individual areas of the image by up to 360°. This creates visual tension by changing the perspective of an image.
6. Applying the Rotation
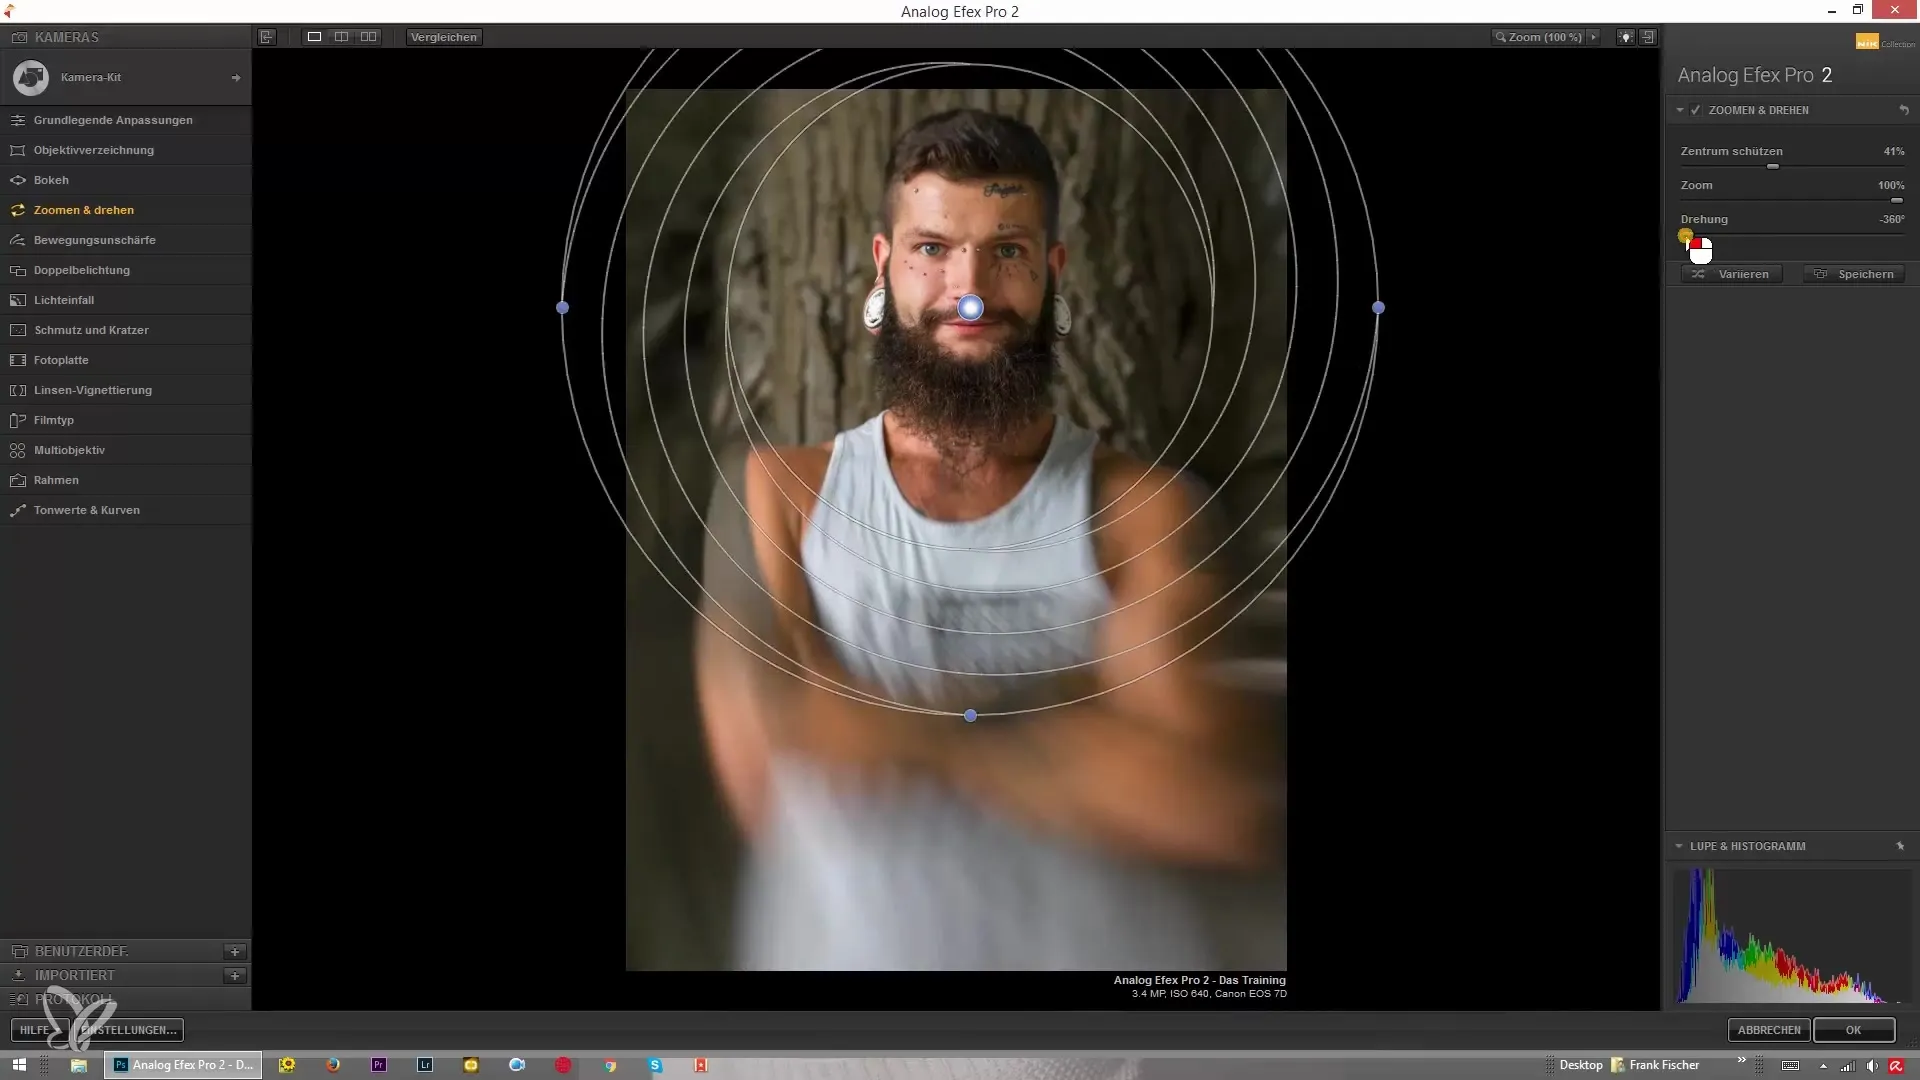
Scroll up to activate the rotation. As soon as you move the slider, you will see the changes immediately. Experiment with values in the positive and negative range to see the effects of the rotation.
7. Using the Blue Button
In the interface, you will find a small blue button that allows you to make individual adjustments directly on the image. Use this to see the rotation and zoom effect in real-time.
8. Combining Effects
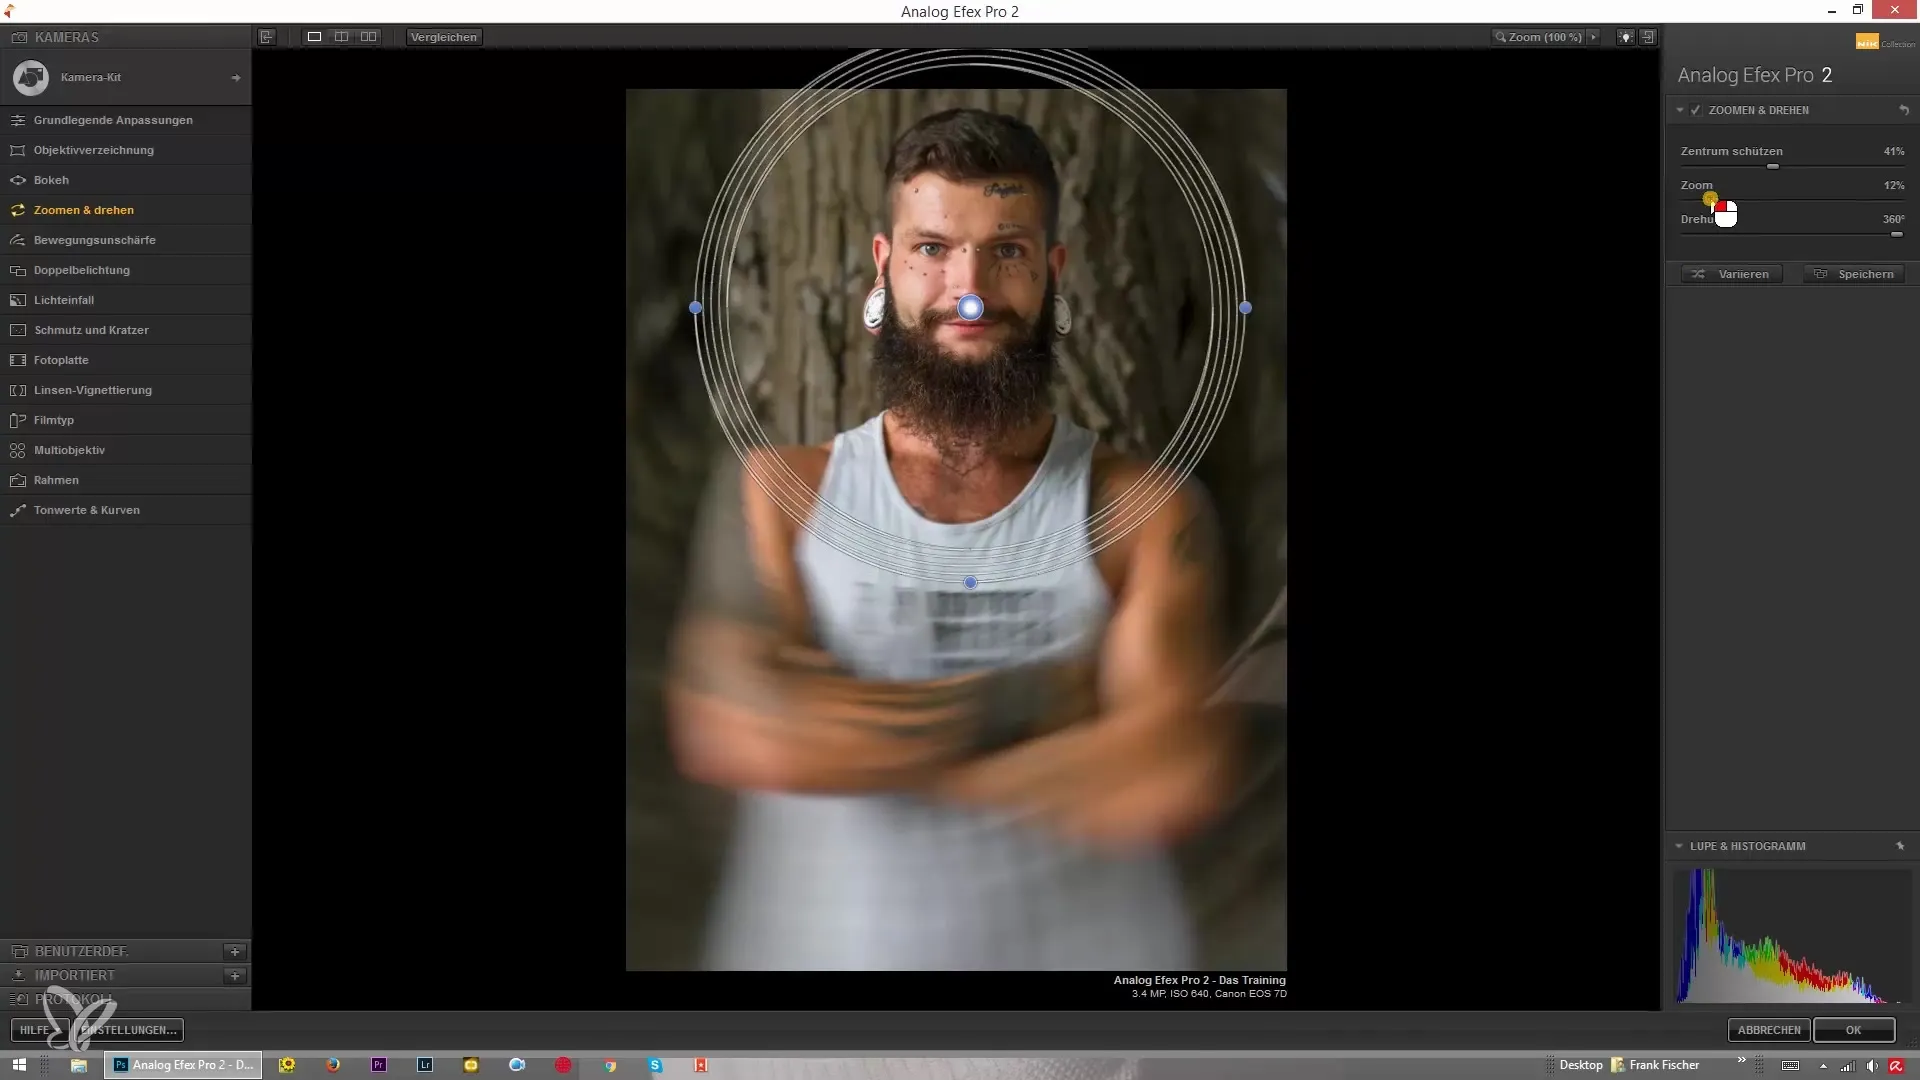
You can vary the strength of zoom and rotation to achieve different styles. For example, a low zoom strength combined with a strong rotation can yield interesting results that draw the viewer's attention.
9. Recommendations for Application
It is recommended not to overdo the effects, so the design of your image remains natural. However, a targeted use of the effects can create a strong impact and draw attention.
Summary – Efficient Zooming and Rotating in Analog Efex Pro 2
To optimize your images, Analog Efex Pro 2 offers effective tools for zooming and rotating. Use the ability to adjust zoom and rotation effects to give different areas of your image a special touch. Experiment with the strengths of these settings to achieve an impressive result.
Frequently Asked Questions
How can I activate the zoom effect in Analog Efex Pro 2?Simply click on the zoom and rotate area in the program.
Can I vary the strengths of the effects?Yes, the sliders allow you to finely tune the effect strengths.
How does the rotation function work exactly?You can rotate an image up to 360° to create interesting views.
Is there a recommendation for applying the effects?Avoid using the effects too strongly to maintain a natural appearance.
Could combining effects be sensible?Yes, a skillful combination can create unique visual results.


