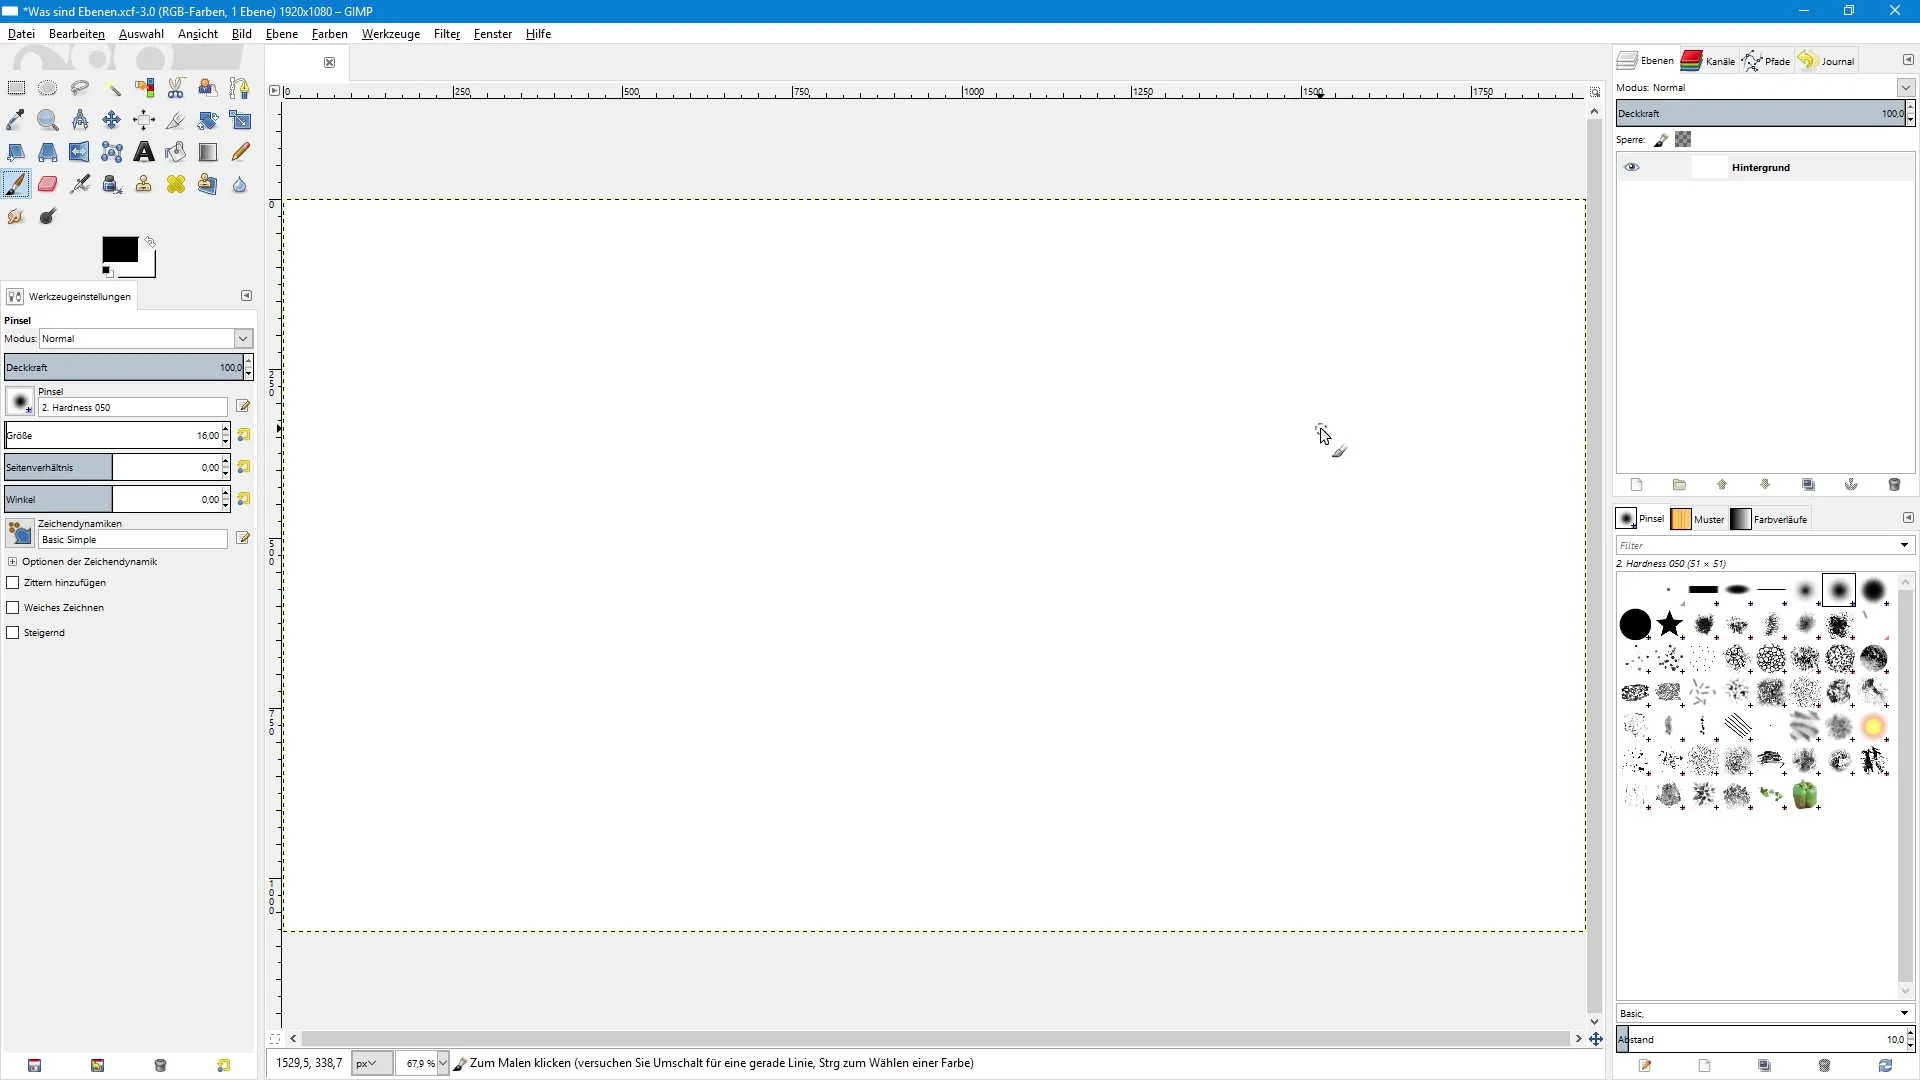
Layers are the foundation of digital image editing. They give you the opportunity to structure and flexibly design your work. In this tutorial, you will learn what layers are in GIMP and how to use them effectively to realize your creative vision.
Key Insights
- Layers are like transparent sheets that are stacked on top of each other.
- You can create multiple layers to edit different elements of your image independently.
- Hiding layers allows for non-destructive editing.
- Each layer can be edited and moved individually.
Basics of Layers
At the beginning of this tutorial, you created a new document with a white background. The white background is the foundation or the bottom layer. To explain the principle of layers, imagine using several transparent sheets that you stack on top of each other. On the first sheet, you have your white table, and on top of that, you place another transparent sheet that you can name.

Creating Your First Layer
To create a new layer, click on the corresponding icon for a new layer. Name this layer, for example, "Landscape" and select the option for a transparent fill type since you want to work with a transparent sheet. By clicking "OK", this transparent layer will be placed over the background.
Drawing on Your New Layer
Now that you have a new layer, you can switch to the brush tool. Set your foreground color to black and start sketching an abstract landscape. This will place a brush stroke on this transparent layer. This technique allows you to be creative without affecting the underlying layers.
Working with Multiple Layers
After you have drawn the landscape, you may want to add another layer to sketch a castle, for example. Repeat the process by creating a new empty layer, naming it "Castle," and painting on it with the brush tool. You can hide this layer at any time to see only the underlying landscape or to emphasize other elements.
Adding More Elements
Continue this process by creating several new layers for clouds, birds, or other elements of your image. You can design each of these layers independently, giving you immense creative freedom. For example, if you want to draw a cloud, you create a new layer for it and paint directly on it.
Hiding and Adjusting Layers
A notable advantage of using layers is that you can easily hide elements. If you no longer want a particular cloud to be visible, simply click the eye icon next to the corresponding layer. This allows you to alter your image without permanently deleting anything.
Adjustment through Blending Modes
Furthermore, you can assign blending modes to each layer, which affect the layers below. This gives you the ability to increase contrasts or adjust color tones. Blending modes are a very powerful tool to further refine your image edits.
Intuitive Working with Layers
Working with layers in GIMP is not only practical but also intuitive. You can change the position of any layer by selecting the move tool and simply clicking and dragging the desired layer. This flexibility will help you place your elements exactly where you want them.
Conclusion: Summary of Working with Layers in GIMP
In GIMP, layers offer you a great way to work creatively without losing or damaging your original elements. Working with multiple layers allows for incredible flexibility and control over your composition. By continuing to practice, you will soon be able to fully exploit the different possibilities of layers.
Summary – Introduction to Using Layers in GIMP
Layers in GIMP are essential for creative image editing. They allow you to work efficiently by accessing and editing them independently. Use the principle of transparent sheets for your next projects.
Frequently Asked Questions
What are layers in GIMP?Layers are like transparent sheets that stack on top of each other and allow you to edit different parts of the image independently.
How can I create a new layer?Click on the icon for a new layer, name it, and select the fill type, e.g., transparent.
How do I hide a layer?Click the eye icon next to the layer to hide it.
What are blending modes?Blending modes are settings that determine how a layer affects the layers below it.
How can I move a layer?Select the move tool, click on the layer, and drag it to the desired position.


